
We all want to improve ourselves, waste less time, and lead more efficient lives.
It can often be hard, in such a busy world filled with so many distractions, to be able to organise, prioritise and be self disciplined so that we can achieve our goals and career aspirations.
The Getting Things Done (known as GTD for short) framework is a great way to do just that and improve your productivity.
There are many good resources on the internet which explain the underlying principles of the GTD method. Some of these are:
- https://hamberg.no/gtd/
- http://mikeshea.net/An_Introduction_to_Gettin.html
At its core, the GTD method consists of:
- A medium to note down anything which comes to mind
- An agenda to keep a list of appointments
- A place to store longer-term projects
- A list of actionable items which are context-dependent
My implementation does not use a calendar section because appointment entries can change very quickly (which does not work so well on a paper medium) and because being able to synchronise calendar appointments with other people is way too useful to do away with.
Here is a simple step-by-step guide based on my tried and tested experience of what works and what doesn?t, which you can use to setup the GTD framework on a pocket-size notebook.
I will explain in detail why a paper notebook is a great solution to implement GTD and how to adapt it to suit your needs.
Learn the basics of the GTD method
In order to use GTD, you first have to understand it.
The basic idea is that GTD is a framework to enable you to free up your brain power from having to remember all the tasks you have to do so that you can use your brain more for thinking and planning, than as a storage box.
As Erlend Hamberg puts it in his excellent GTD in 15 minutes ? A Pragmatic Guide to Getting Things Done:
Its aim is to make you have 100% trust in a system for collecting tasks, ideas, and projects ? both vague things like ?invent greatest thing ever? and concrete things like ?call Ada 25 August to discuss cheesecake recipe?. Everything!
I highly recommend that website. It?s where I first learnt about GTD and it was the main inspiration for my adaptation of it.
Pro tip:Don?t be too stringent on the rules of GTD and instead modify it to suit your needs
Step 2
Buy a pocket-sized notebook
That doesn?t mean a laptop. It means a paper, old-school notebook which can fit in your pockets and you can carry with you all-the-time.
I personally use pocket-size Moleskines, squared.
You can find them very cheaply on Amazon, or in shops if you?re ready to pay a bit more for a wider choice of colours. However, any other similarly-sized notebook will do too.
Pro tip:Buy soft cover ones so that you don?t have to worry about bending them.
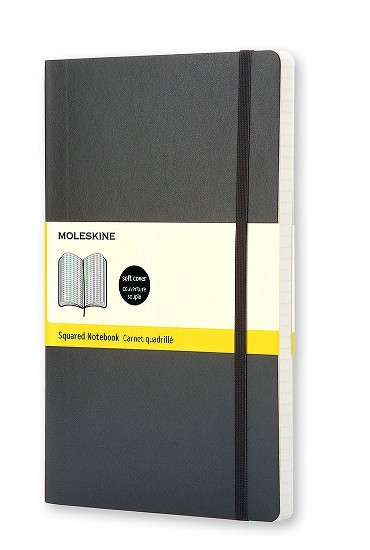 Moleskine Squared Notebook with Soft Cover
Using a paper notebook is important for 3 reasons:
- It?s extremely easy to hack and personalise
- It doesn?t run out of battery and lasts forever
- You can take notes as complex as you want
The obvious downside is that it?s not connected to the internet. However, it offers a reliability and freedom which is very difficult to find on electronic devices.
The notebook will become your new best friend and the cause of much amusement in your friends and people who meet you. You will quickly become ?the guy with the notebook? and people will ask you where you?ve left it if they don?t see it on you.
Step 3
Buy sticky tabs
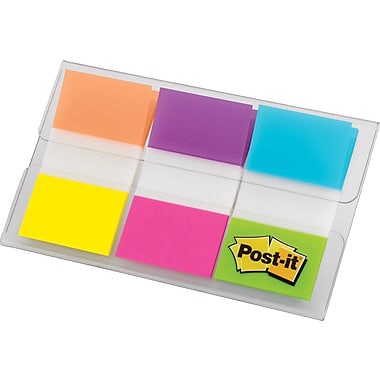
 Efficiency calls for tabs
These are an essential tool as they will help you quickly navigate your GTD-Moleskine system.
I?m a big fan of the Post-It coloured tabs, which are extremely cheap and work very well.
Pro tip:Buy the packs with tabs of multiple shapes. Having a variety of shapes other than only colours makes it easier to identify sections.
 You can find these pretty much at any copy shop or on Amazon
Step 4
Buy a pen loop
Having a pen or pencil always handy is paramount to being able to rely on your paper GTD system.
However, let?s be honest: we constantly lose pens and pencils.
For this reason it is handy to have a pen loop attached to your GTD notebook, where you can easily keep a pen and rely on the fact that 90% of the time you won?t lose it.
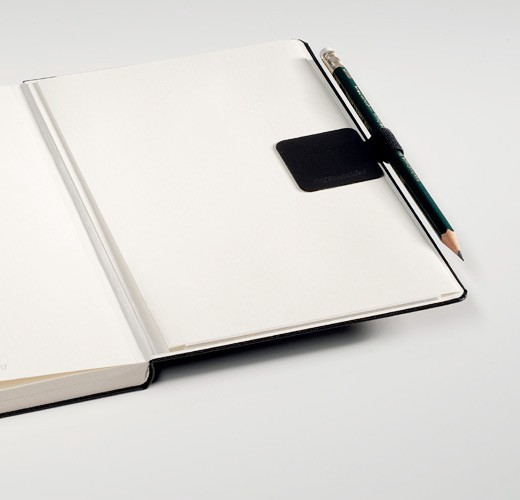 Leuchtturm pen loops are excellent
Step 5
Set up the notebook
We now get to the core of the article, where we will map physical sections of the notebook with the core sections of GTD we introduced before. Before we start, let?s remind ourselves what these are:
- An medium to note down anything which comes to mind
- A list of actionable items which are context-dependent
- A place to store longer-term projects
The ?@inbox? section
Reserve a large chunk of the pages in the notebook for the inbox section. It maps directly to the ?inbox? section of the GTD system.
To mark it, write ?@inbox? on the first line of the first page, and add the date when you started it. This will be helpful when reviewing items.
This section is where you note down anything which is thrown at you during the day, be it a request from your boss or the idea for your next project. Any time you encounter something which you might act on, note it down in the inbox section of your notebook and add a square box besides it so that you can tick it off once you have reviewed it.
Pro tip:It?s also a good place to sketch or draw mind maps.
Use the notebook?s string bookmark to mark where your latest inbox entry is. This way you can navigate to the empty section of the inbox and write a new entry extremely quickly.
Every time you go through the weekly review, mark the location up to which you processed inbox items with a sticky tab. This makes it easy to find where the first item since the last review was entered in case you mess up with the string bookmark.
The best place in the notebook for the inbox section is from the start of the notebook up until more than half of it. The distribution between the sections is something you will master with time as you use the system so don?t overthink the size of the sections.
The ?@next actions? section
You can reserve a smaller amount of space for this section compared to the inbox section. I recommend anywhere between 20 to 40 pages.
Every time you start a new one, mark it with a tab of a different colour from the one you used for the @inbox section and remove the tab from the old @next actions section.
Use two adjacent pages in the notebook so that you can read the list of actions at a glance and start working on them depending on your context.
The contexts you create depend on your needs and should change with time. For example, for a while I had a @paul (my thesis supervisor) context since I often had actionables related to the weekly meetups I had with him.
Give more space to contexts which you know will have more actionables so that you don?t have to mess up your nice layout by running out of space.
Pro tip:Use circles instead of boxes to indicate status. Semicircle: action is active. Full circle: action completed.
The ?@projects? section
This can either be a list which you grow with time or something more similar to the @next actions section.
I like to let it expand with time as I add new projects, striking off the projects which I have either completed or have become irrelevant.
As usual mark it with a tab of a different colour from the other sections so that you can quickly find it.
Step 6
Running reviews
As per the GTD method, you should periodically review the items in your @inbox list.
As you go through the items in the inbox and either add them as a project, add them as a next action or discard them, tick them off. Once you are done, mark the start of the next @inbox section with a date of the current day.
If like me you are not integrating a calendar, I suggest not changing the @next actions list until full. This way you maximise the lifespan of your notebook by saving space.
Bonus tips
Page numbering
When you start a fresh notebook, number the pages from the start of the notebook until its end. This makes it extremely easy to cross-reference pages within the notebook.
Intro section
Keep a few pages at the start for things such as:
- Phone numbers
- An index
- Information about yourself in case you lose our notebook
Having this information can be life-saving in cases where you don?t have access to a phone.
The index section is especially useful to organise sections and keep track of entries which you do not need to constantly reference but which you would like to know their location, e.g.: directions from the airport to your AirBnb. Use the page numbers to refer to these sections as a way not to clutter your notebook with tabs.
Tabs at end of mole
Keep some spare tabs at the end of your notebook so that you can always have some to mark important entries in the @inbox section.
Now go and experiment
Ultimately, in your GTD system, you should strive for simplicity and avoid to get too worked up on the details. See what works for you and experiment.
Although this might seem like a lot of information and that instead of simplifying your life it clutters it with unnecessary complexity, once you get the hang of it you will not look back.
Thanks to your notebook you will be able to jot down anything at any time with total freedom of expression. No more of those moments where you have a great idea when having pizza with your friends but can?t recall it after.
Yes, you will look like a nerd when taking out your Moleskine during dinner, but you should rejoice in knowing you?re way ahead of others when it comes to freeing your mind from clutter and getting things done.
