So, you use Discord. You?ve probably seen tons of bots around. These bots usually supplement the Discord experience by providing cool new features such as a money system, music, and moderation abilities. Of course, we will not go over how to implement all of this in this tutorial, but this will be a good start to making Discord bots in Python.
Getting Ready
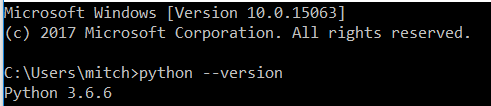
First of all, make sure you are using Python 3.4.3?3.6.6, since those are the only versions that the Discord library currently supports. To check your Python version, run this command in the command prompt like so:
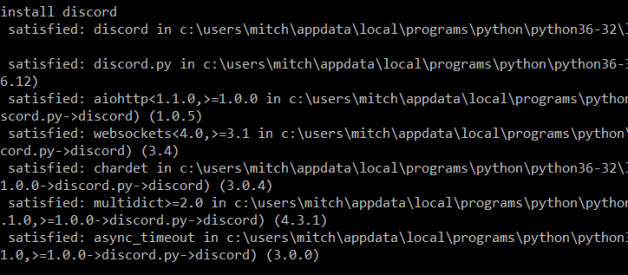
Once you?ve made sure you have the right version of Python, you need to import the Discord library, discord.py, using pip. Just enter the command ?pip install discord?. I already have it installed, but it should work perfectly for you.
Creating Our Bot
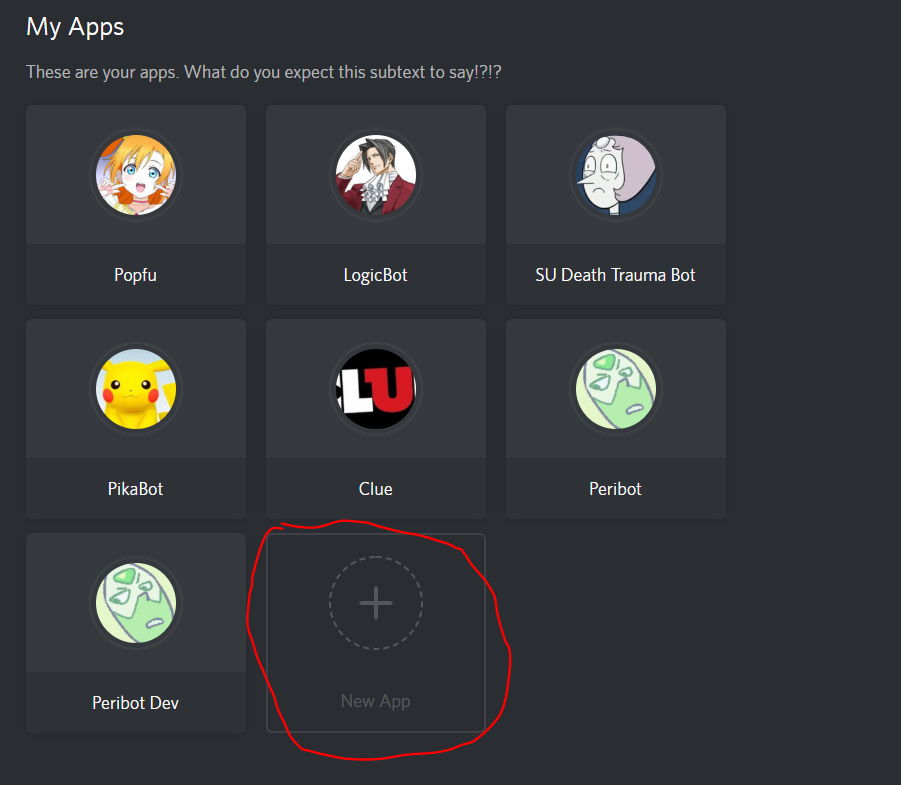
Now, let?s get on to creating the bot itself. Go to https://discordapp.com/developers/applications/me, log in, and you should see a button to create a new app. Click on that button.
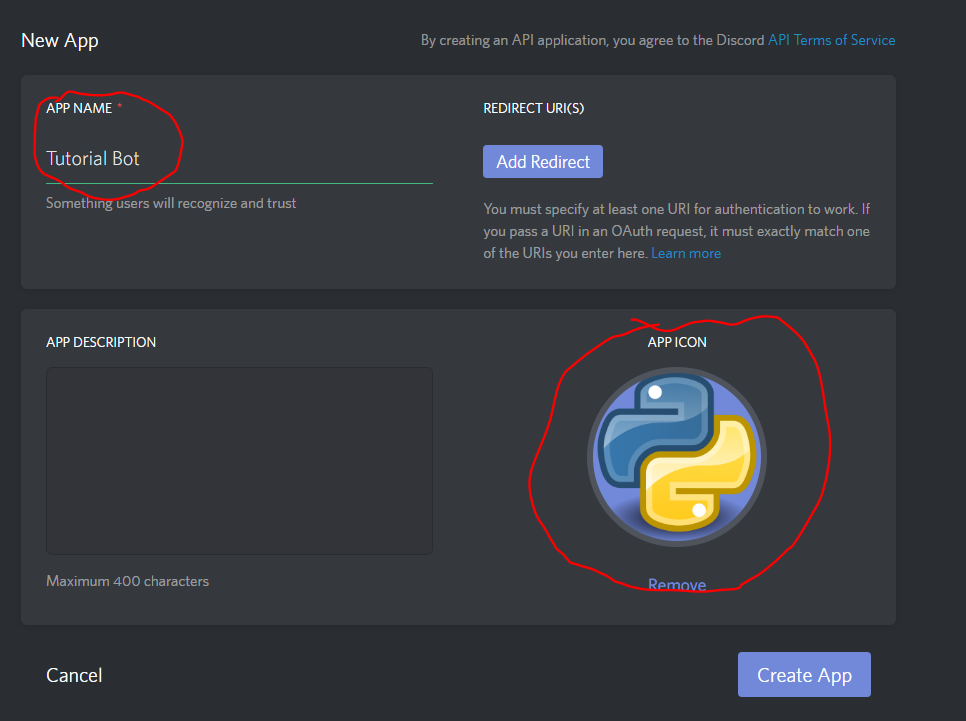
Afterwards, you should see a screen where you can enter the name of your bot and set an image for your bot. These are the only two features you really need to worry about. Set a name and picture for your bot, whatever you want, and you?re good to go.
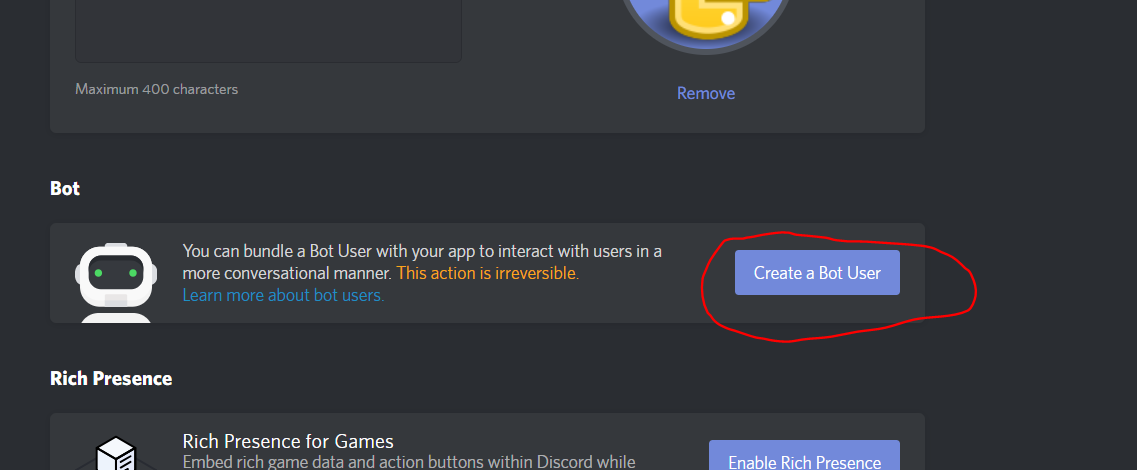
Okay, now you should be on the main page for your bot application. Scroll down a bit and you should see a blurb asking you if you want to turn your application into a bot user. Obviously, this tutorial is for making a bot, so you should do it (if you didn?t, this tutorial wouldn?t work).
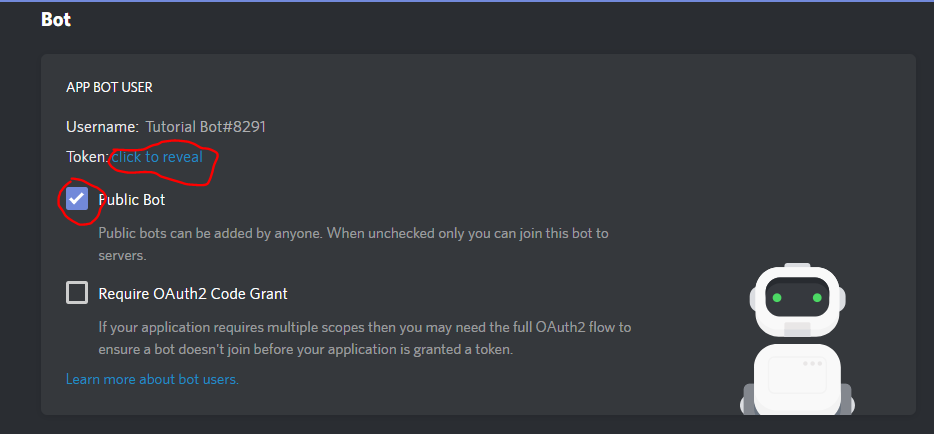
Alright, so now you should see features that are exclusive to bots. Click the ?click to reveal? to reveal the token of your bot. Don?t give this out to anyone (or else they would be able to manipulate your bot!) Check the public bot checkbox if you want other users to be able to add your bot to their server besides you.
Coding Our Bot
That?s all we need to do on the Discord developers page for now. Now, we can move on to the actual coding of the bot. Open up a new .py file in whatever IDE you prefer, and import the discord library.
import discord
Next, we need to establish our Discord client. The bot client that is connecting to discord.
import discordclient = discord.Client()
Now, this is where the fun begins. Within the discord.py library, there are certain events that the bot is able to respond to, including when a message is sent and when the bot is ready. Take this example:
import discordclient = discord.Client()@client.eventasync def on_ready(): print(“The bot is ready!”)
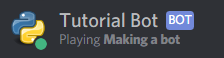
Now, whenever the bot is ready for use after startup, it will print out ?The bot is ready!?. It runs anything that is in the function. Cool, right? We can use this to do other things, too, such as set a play status for the bot, as so:
import discordclient = discord.Client()@client.eventasync def on_ready(): print(“The bot is ready!”) await client.change_presence(game=discord.Game(name=”Making a bot”))
This may look a little bit confusing, but hear me out. We have to put ?await? in front of it since it is a coroutine, which basically allows multi-tasking so the bot can respond to different events at the same time. Got it? So, when we call the change_presence method on the Discord client, it changes the presence of the client to show that it is playing the game ?Making a bot?, since we created a Game object with the name ?Making a bot?.
Next, we can get on to actually making bot commands. We detect if a message is sent with this function that takes the parameter ?message?, which will be equal to the message that was sent. We don?t want the bot to be able to respond to itself in any circumstances, so if the author of the message is equal to the client, we stop the function.
import discordclient = discord.Client()@client.eventasync def on_ready(): print(“The bot is ready!”) await client.change_presence(game=discord.Game(name=”Making a bot”))@client.eventasync def on_message(message): if message.author == client.user: return
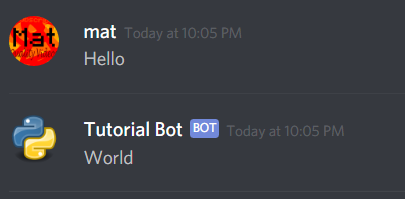
We can make some commands that our bot can respond to now. For starters, we?ll make a really simple thing, so if we say ?Hello? the bot will say ?World? back.
import discordclient = discord.Client()@client.eventasync def on_ready(): print(“The bot is ready!”) await client.change_presence(game=discord.Game(name=”Making a bot”))@client.eventasync def on_message(message): if message.author == client.user: return if message.content == “Hello”: await client.send_message(message.channel, “World”)
First, we check if the content of the message is equal to ?Hello?. If it?s anything else, the bot will not respond with ?World?. Then, the send_message method takes two parameters, the channel to send the message to, and the message to send (in the form of a string). The bot awaits until it sends this message, then looks for another response. Amazing! We just made our first bot using discord.py, but how can we connect it to our server now? Well, there?s one more piece of code we forgot.
At the end of the code, you MUST add the client.run() function, which runs the bot. It only takes one parameter, which is your bot?s token, which you should have seen earlier. Put this token in, and your bot should start up when you run the program!
import discordclient = discord.Client()@client.eventasync def on_ready(): print(“The bot is ready!”) await client.change_presence(game=discord.Game(name=”Making a bot”))@client.eventasync def on_message(message): if message.author == client.user: return if message.content == “Hello”: await client.send_message(message.channel, “World”)client.run(TOKEN)
Using Our Bot
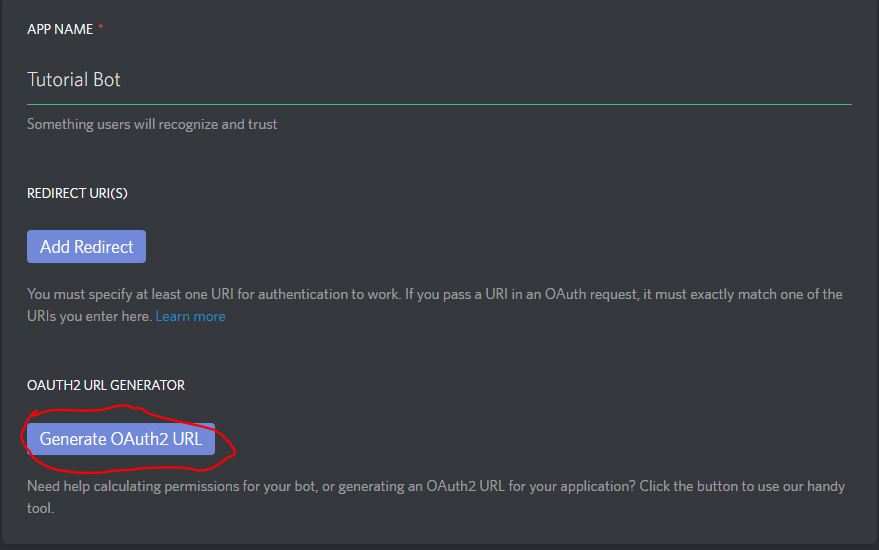
Great, we have our code all done now, but how are we supposed to add this bot to the server? To do this, we need to go back to the Discord developers page. Find the little button that says ?OAuth2 URL? and click it.
If all the bot is doing is sending messages, leave the permissions alone. However, if you want your bot to have permissions when it is added, check off the permissions you want. Do not change the Client ID, as it should already be filled in for you. All you have to do is click the copy button, and you have the link to invite the bot to your server!

Great, now we have our working bot in our server! Check it, out! Pretty cool, right? (Thanks to mat for starring in my bot tutorial).
Oh, yeah! The bot also shows the playing status, just like we wanted it to!

