Pretty much everyone I cross paths with has had an app idea or two, but rarely do they move beyond the ideation phase. Why is that?
We all live a busy life, so I get it ? time is definitely a major factor at play here. But for those who are intimidated by the learning curve, I?m inclined to document just how straightforward it can be to start out. Hence this tutorial.
This will hopefully serve as a starting point of our Android development journey. I will attempt to follow up with progressively more advanced tutorials, featuring more and more elaborate tasks.
As it so happens, I have recently started teaching a course in Android development as well. My students are building their very first Android app as we speak ? I can?t wait to see what they come up with.
For now, let?s get a skeletal app up and running in as few as 10 minutes!
- Mac OS X (Windows tutorials to follow soon)
- Android Studio
- An Android device(not required in this starter tutorial)
Now let?s dive right in.
>> Setting up Android environment
These steps are to set up your SDK environment to build, test, and deploy Android apps.
? Installing Java Development Kit (JDK)
Install Java Development Kit (JDK) 8 or later.
? Installing Android SDK
Install Android Studio.
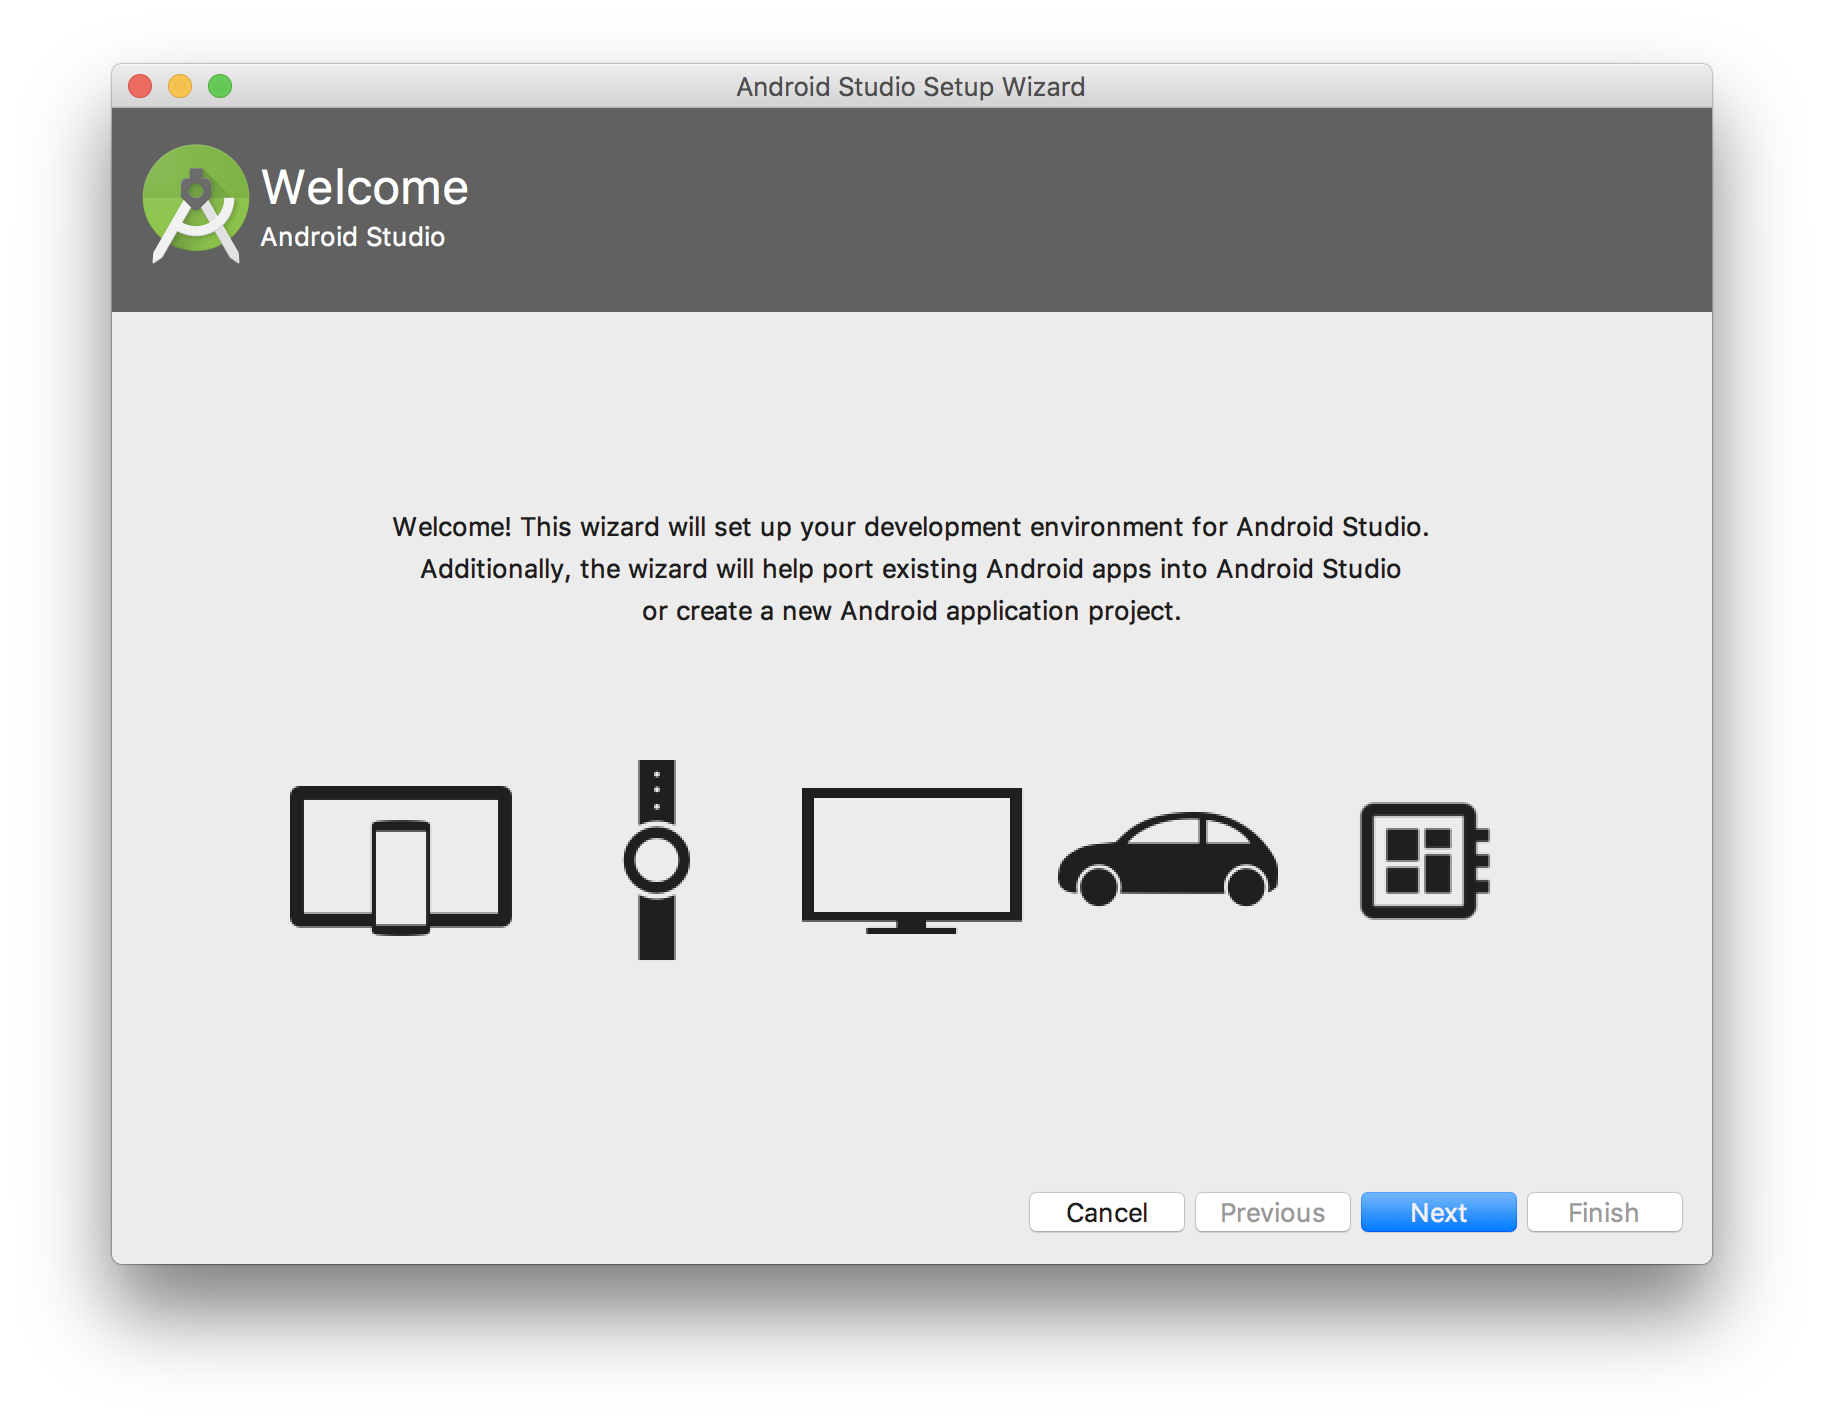
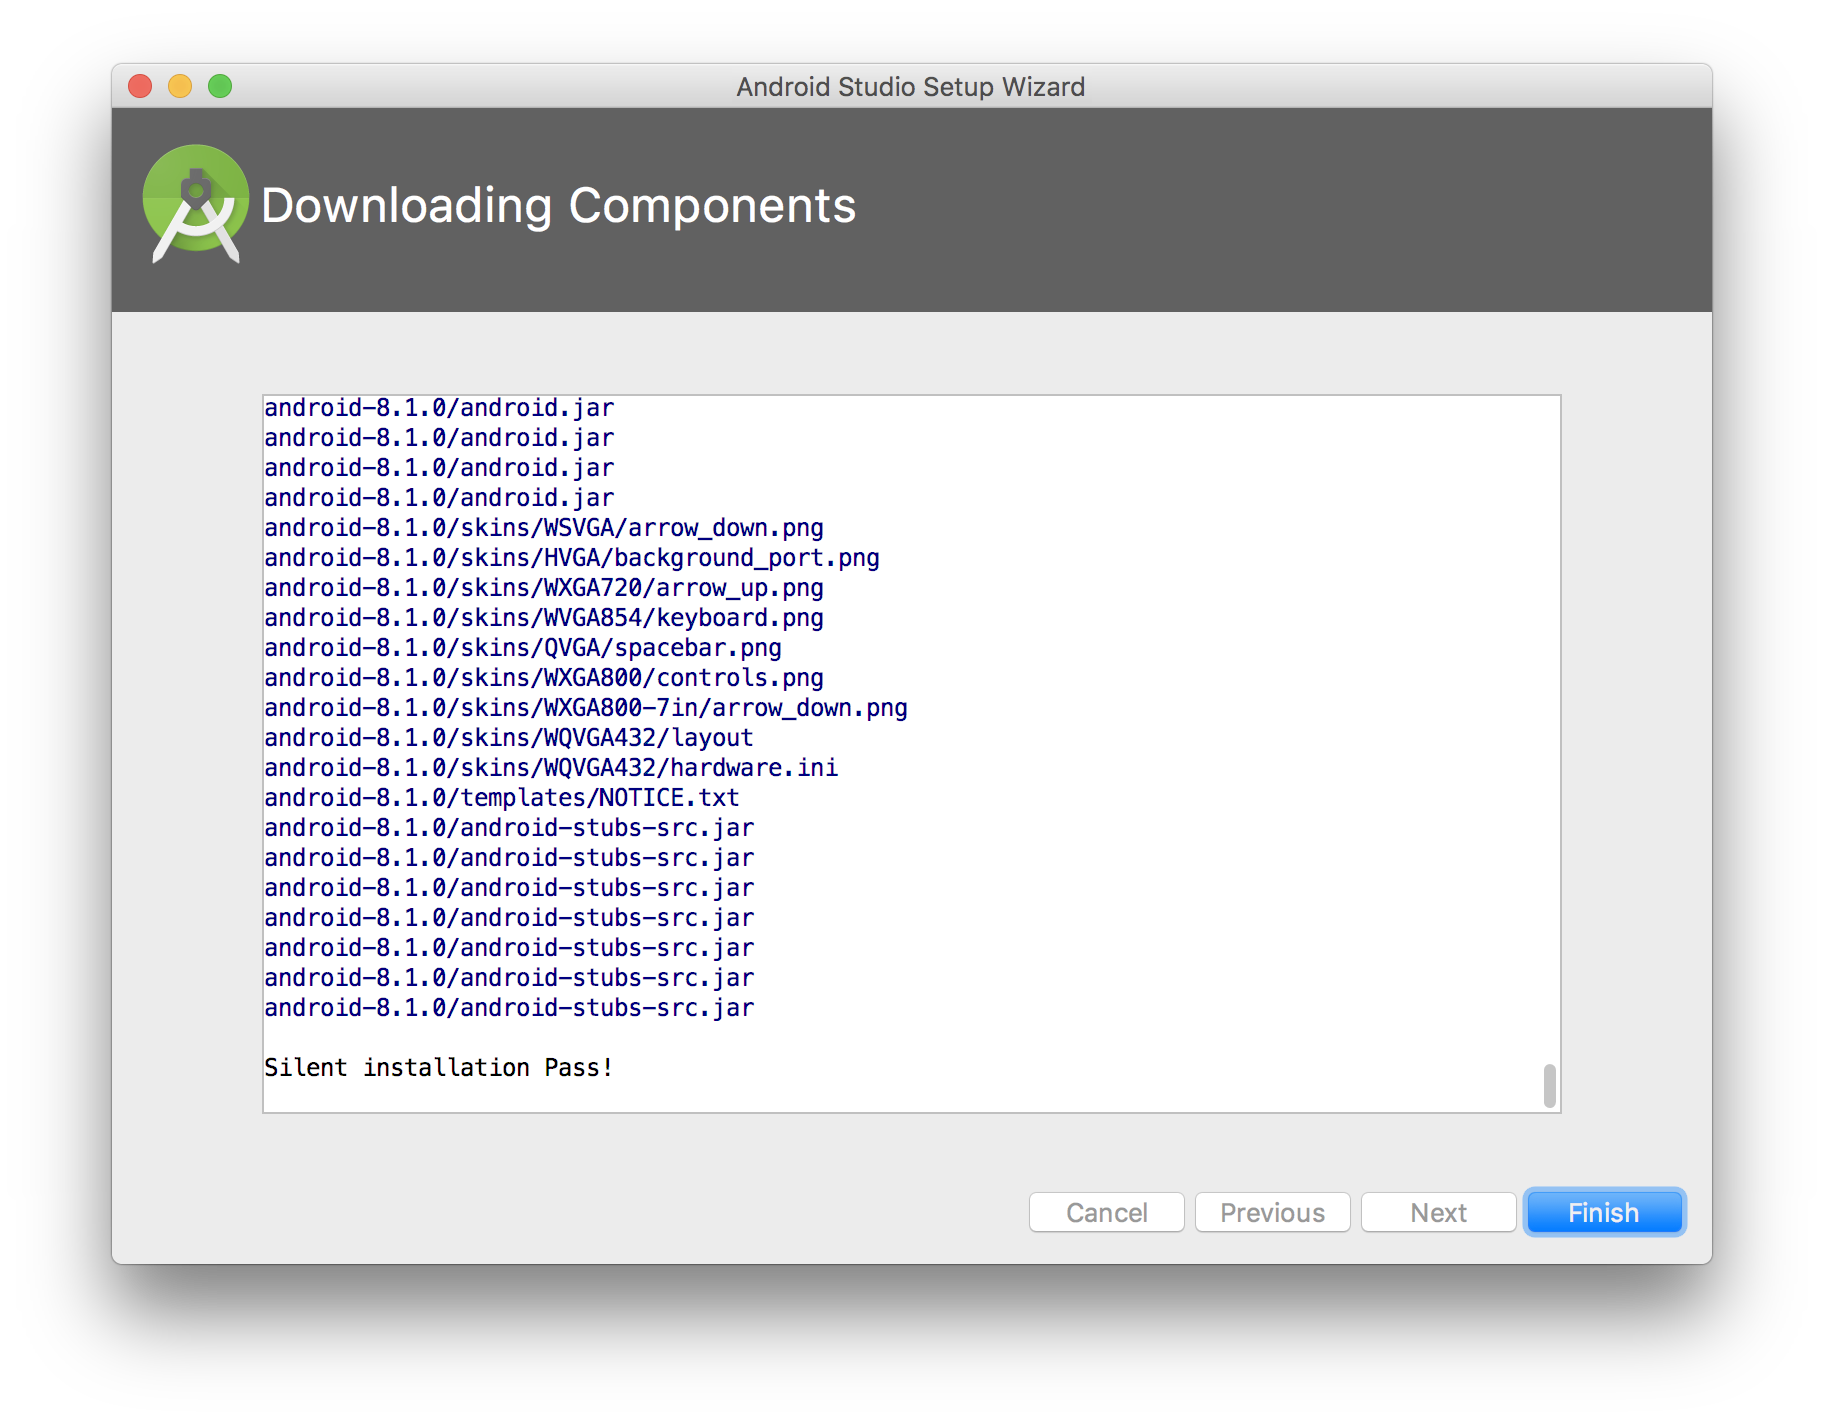
After installing Android Studio, run the Android Studio Setup Wizard to download some standard components that are required for development.
You are all set. Ready to continue?
>> Creating an Android project
? In the Welcome to Android Studio window, click Start a new Android Studio project.
Or if you have a project opened, select File > New Project.
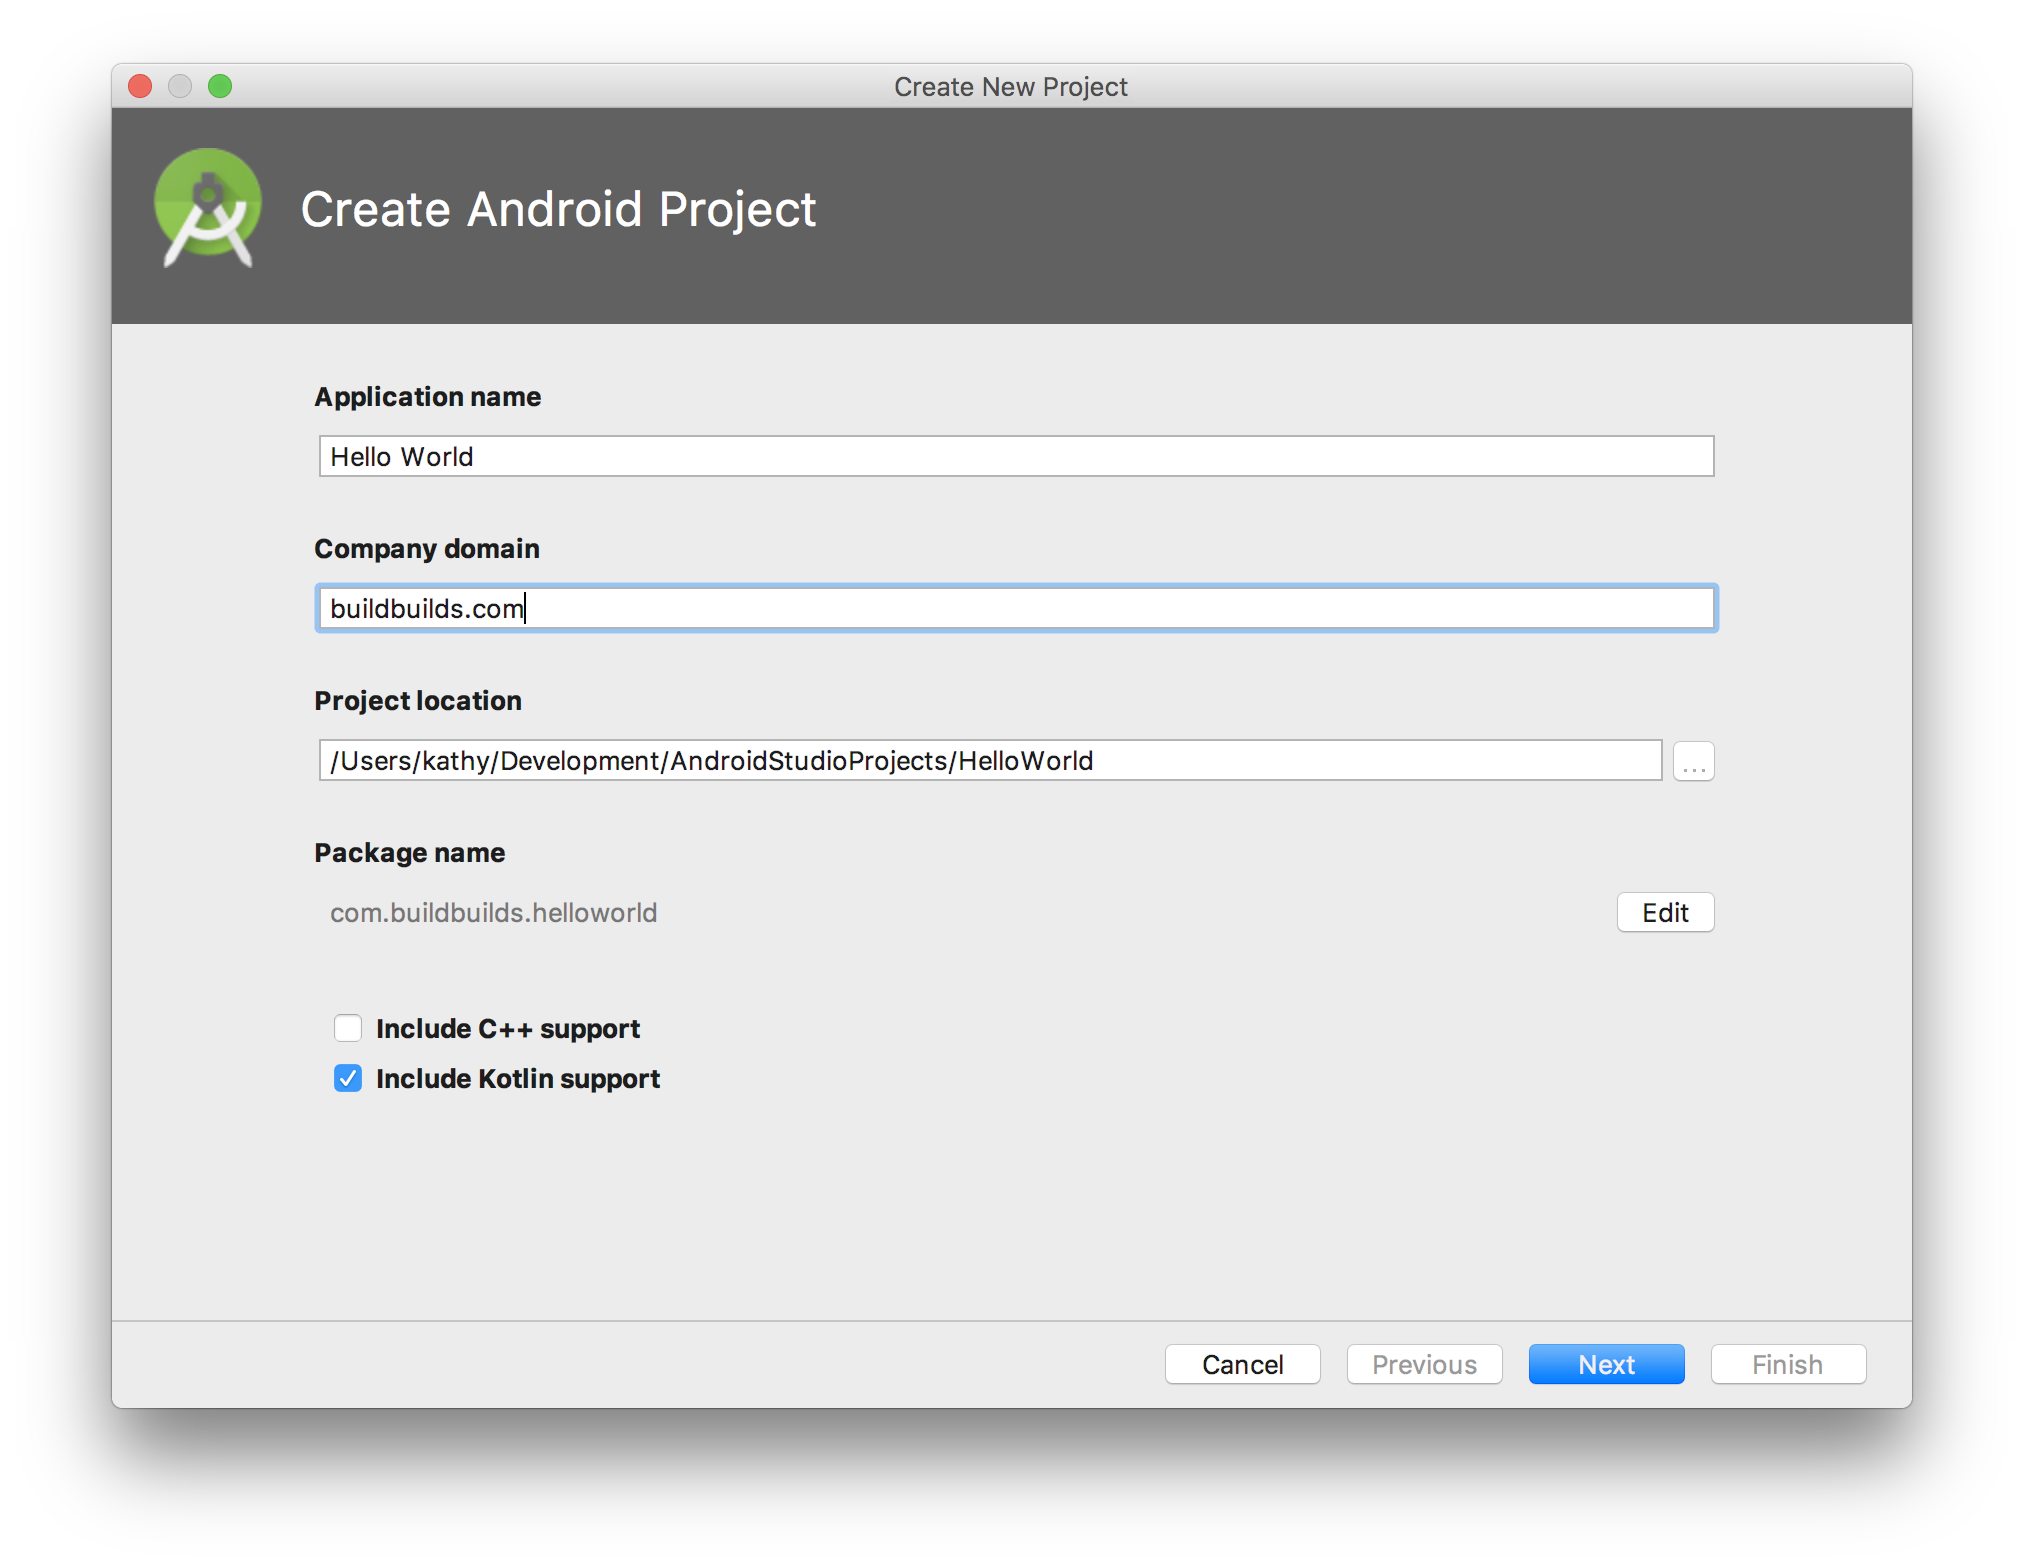
? In the Create New Project window, enter the following values:
- Application Name: ?Hello World?
- Company Domain: ?example.com?
You might want to change the project location.
If you want to write a Kotlin app, check the Include Kotlin support checkbox. Leave the other options as they are.
Click Next.
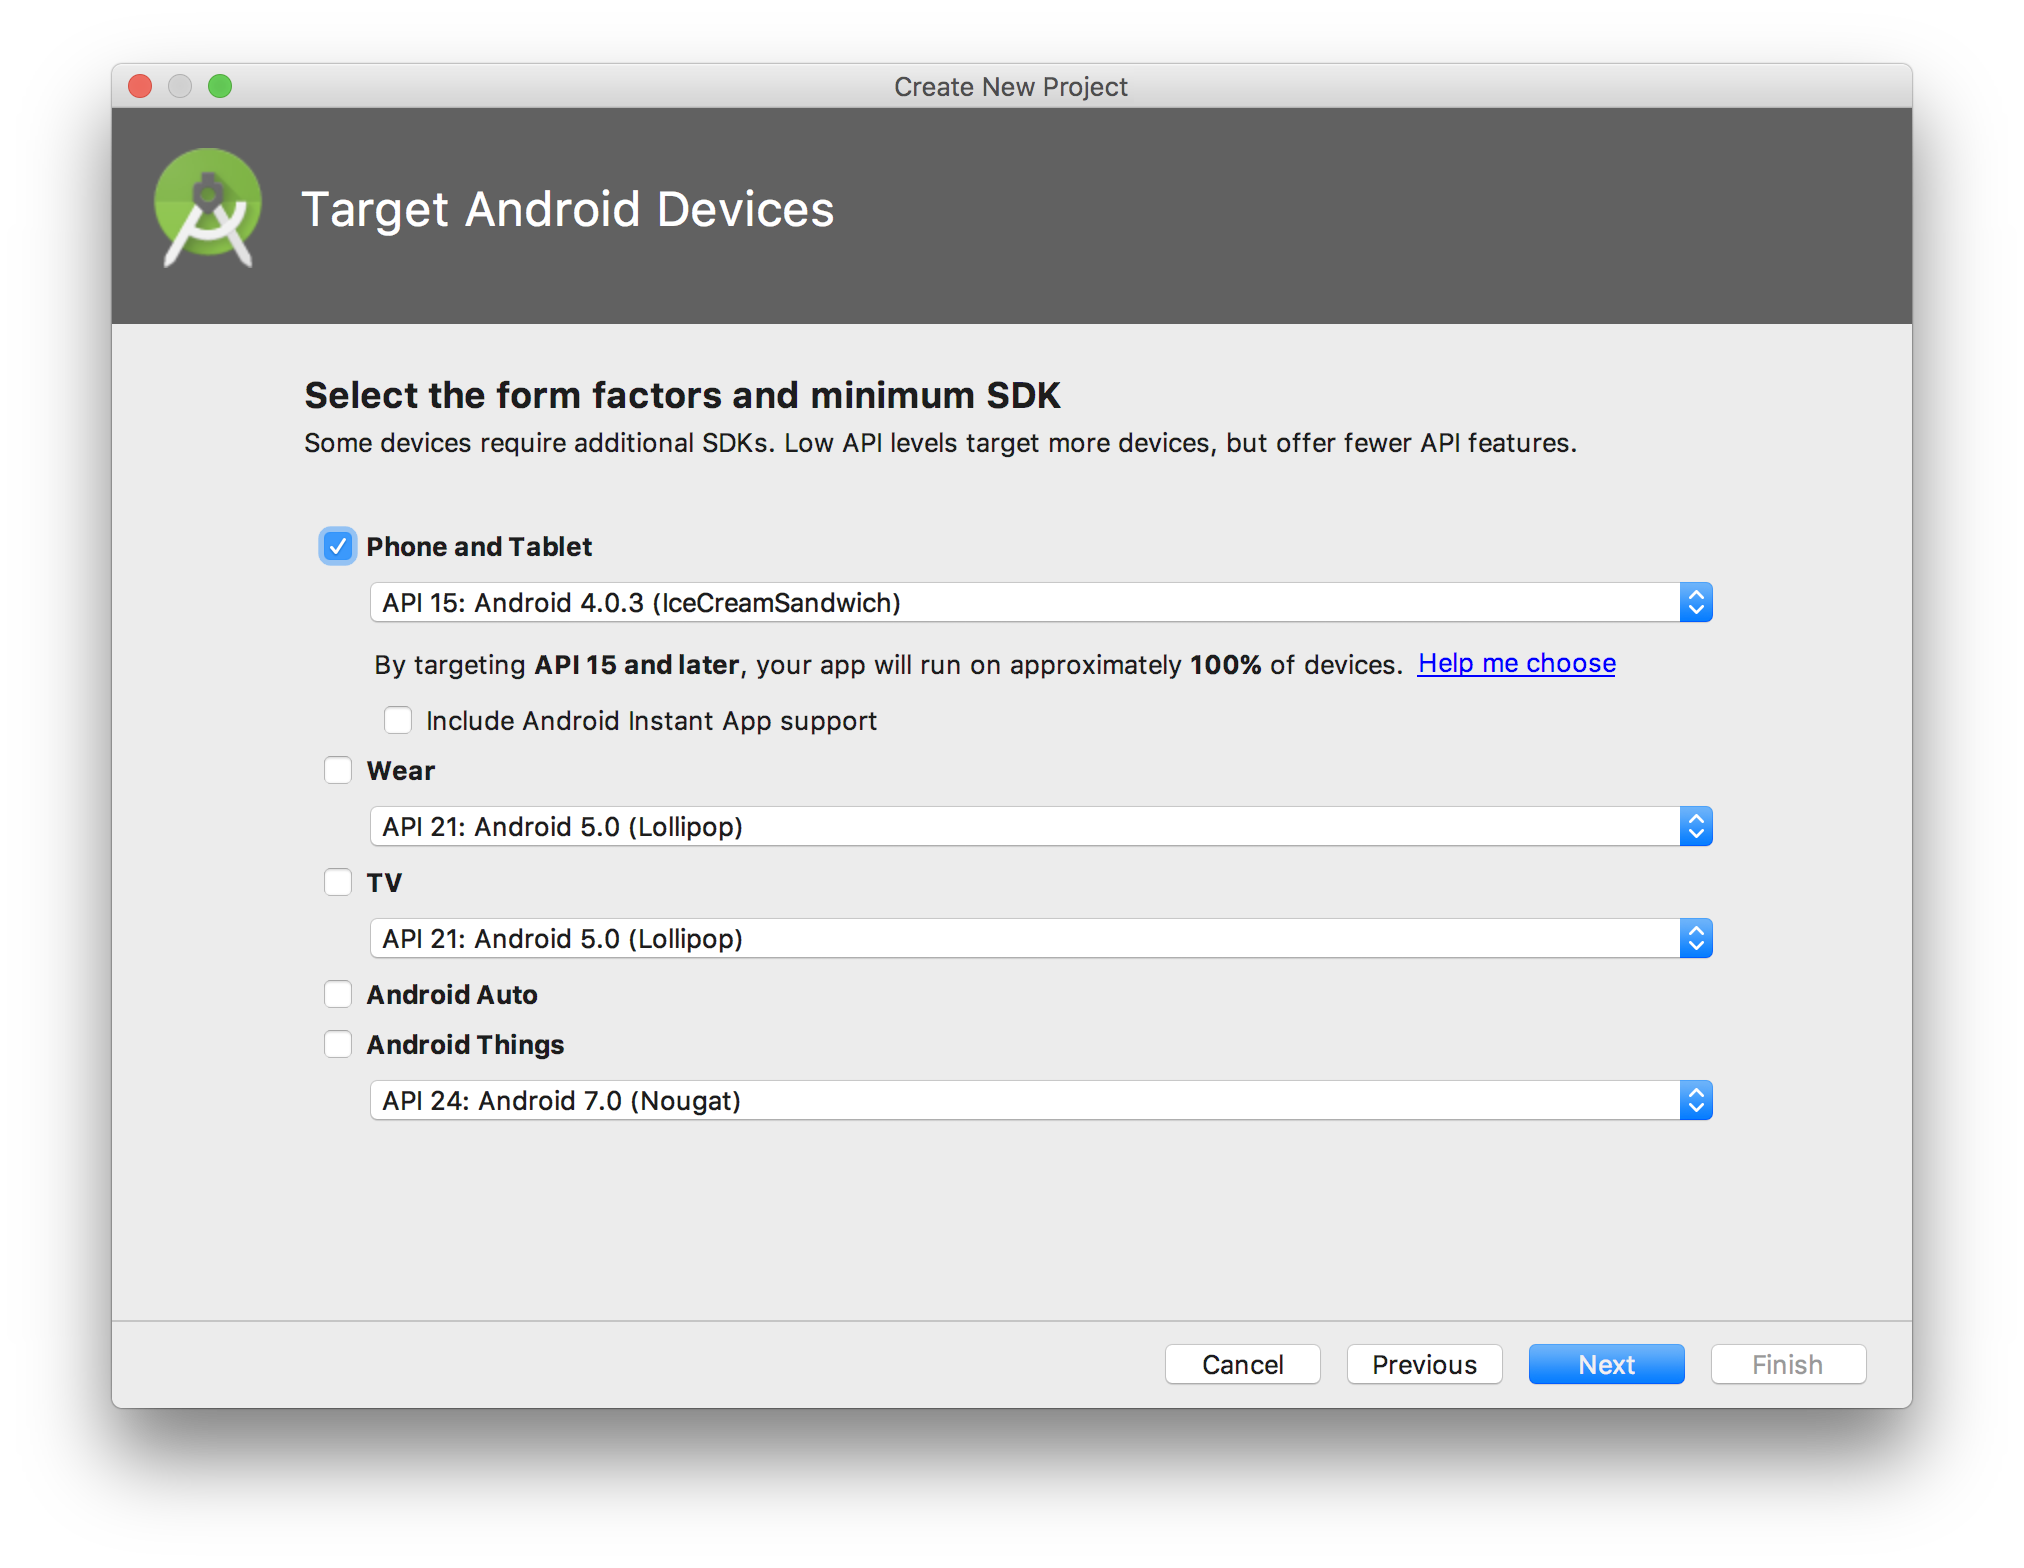
? In the Target Android Devices screen, keep the default values and click Next.
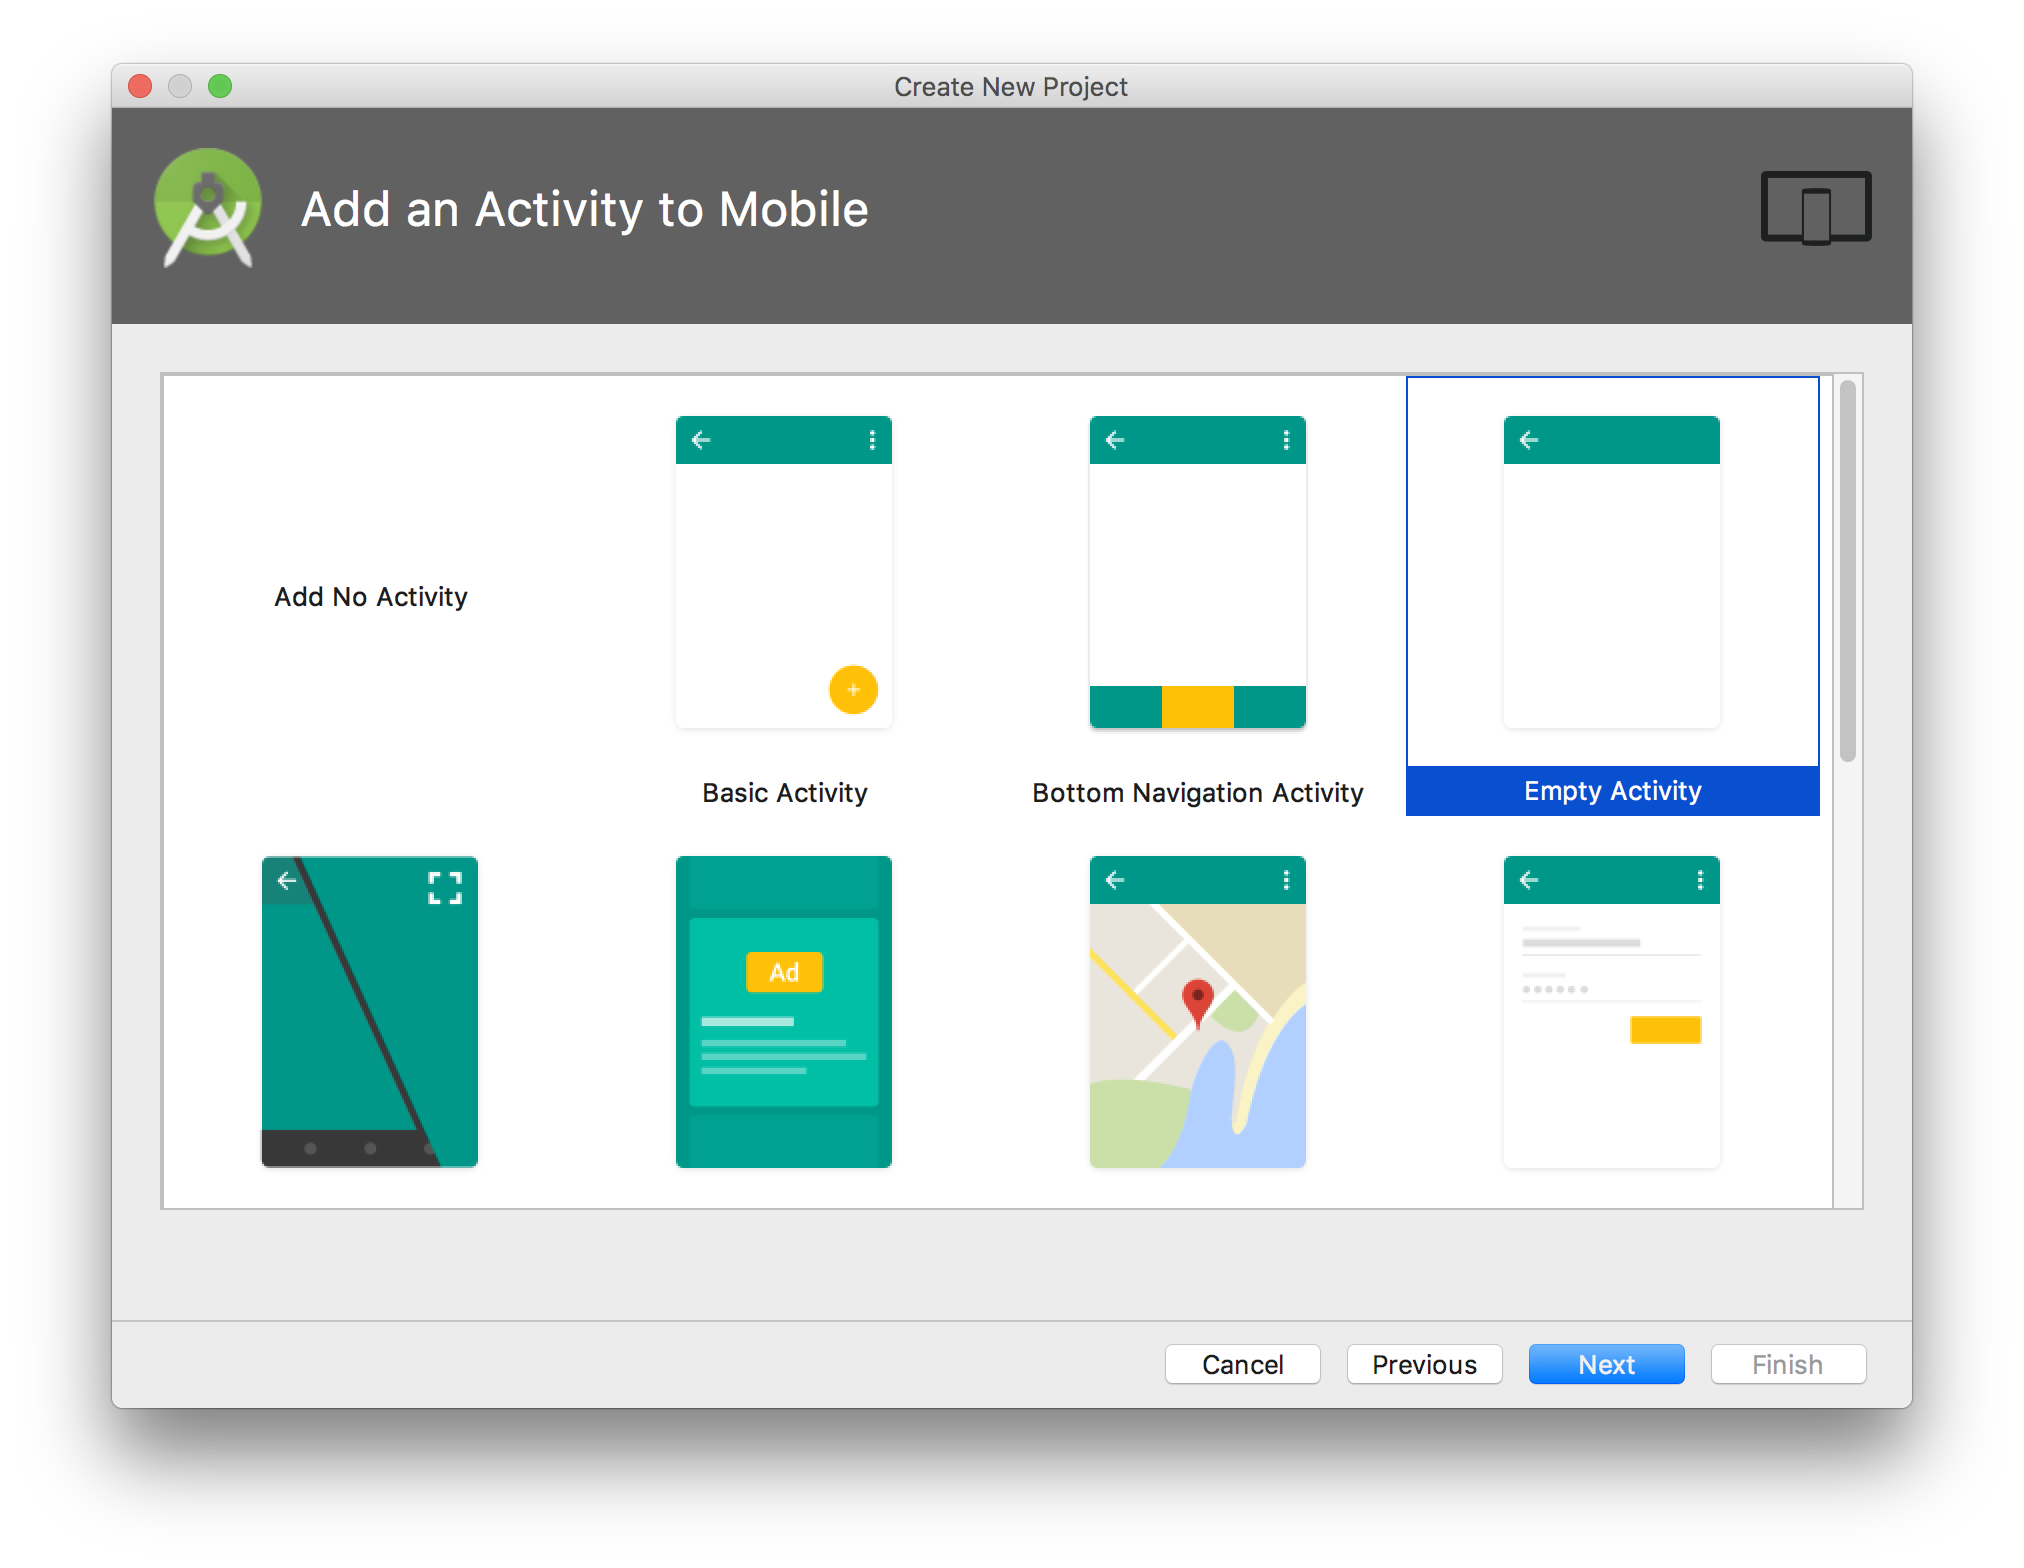
? In the Add an Activity to Mobile screen, select Empty Activity and click Next.
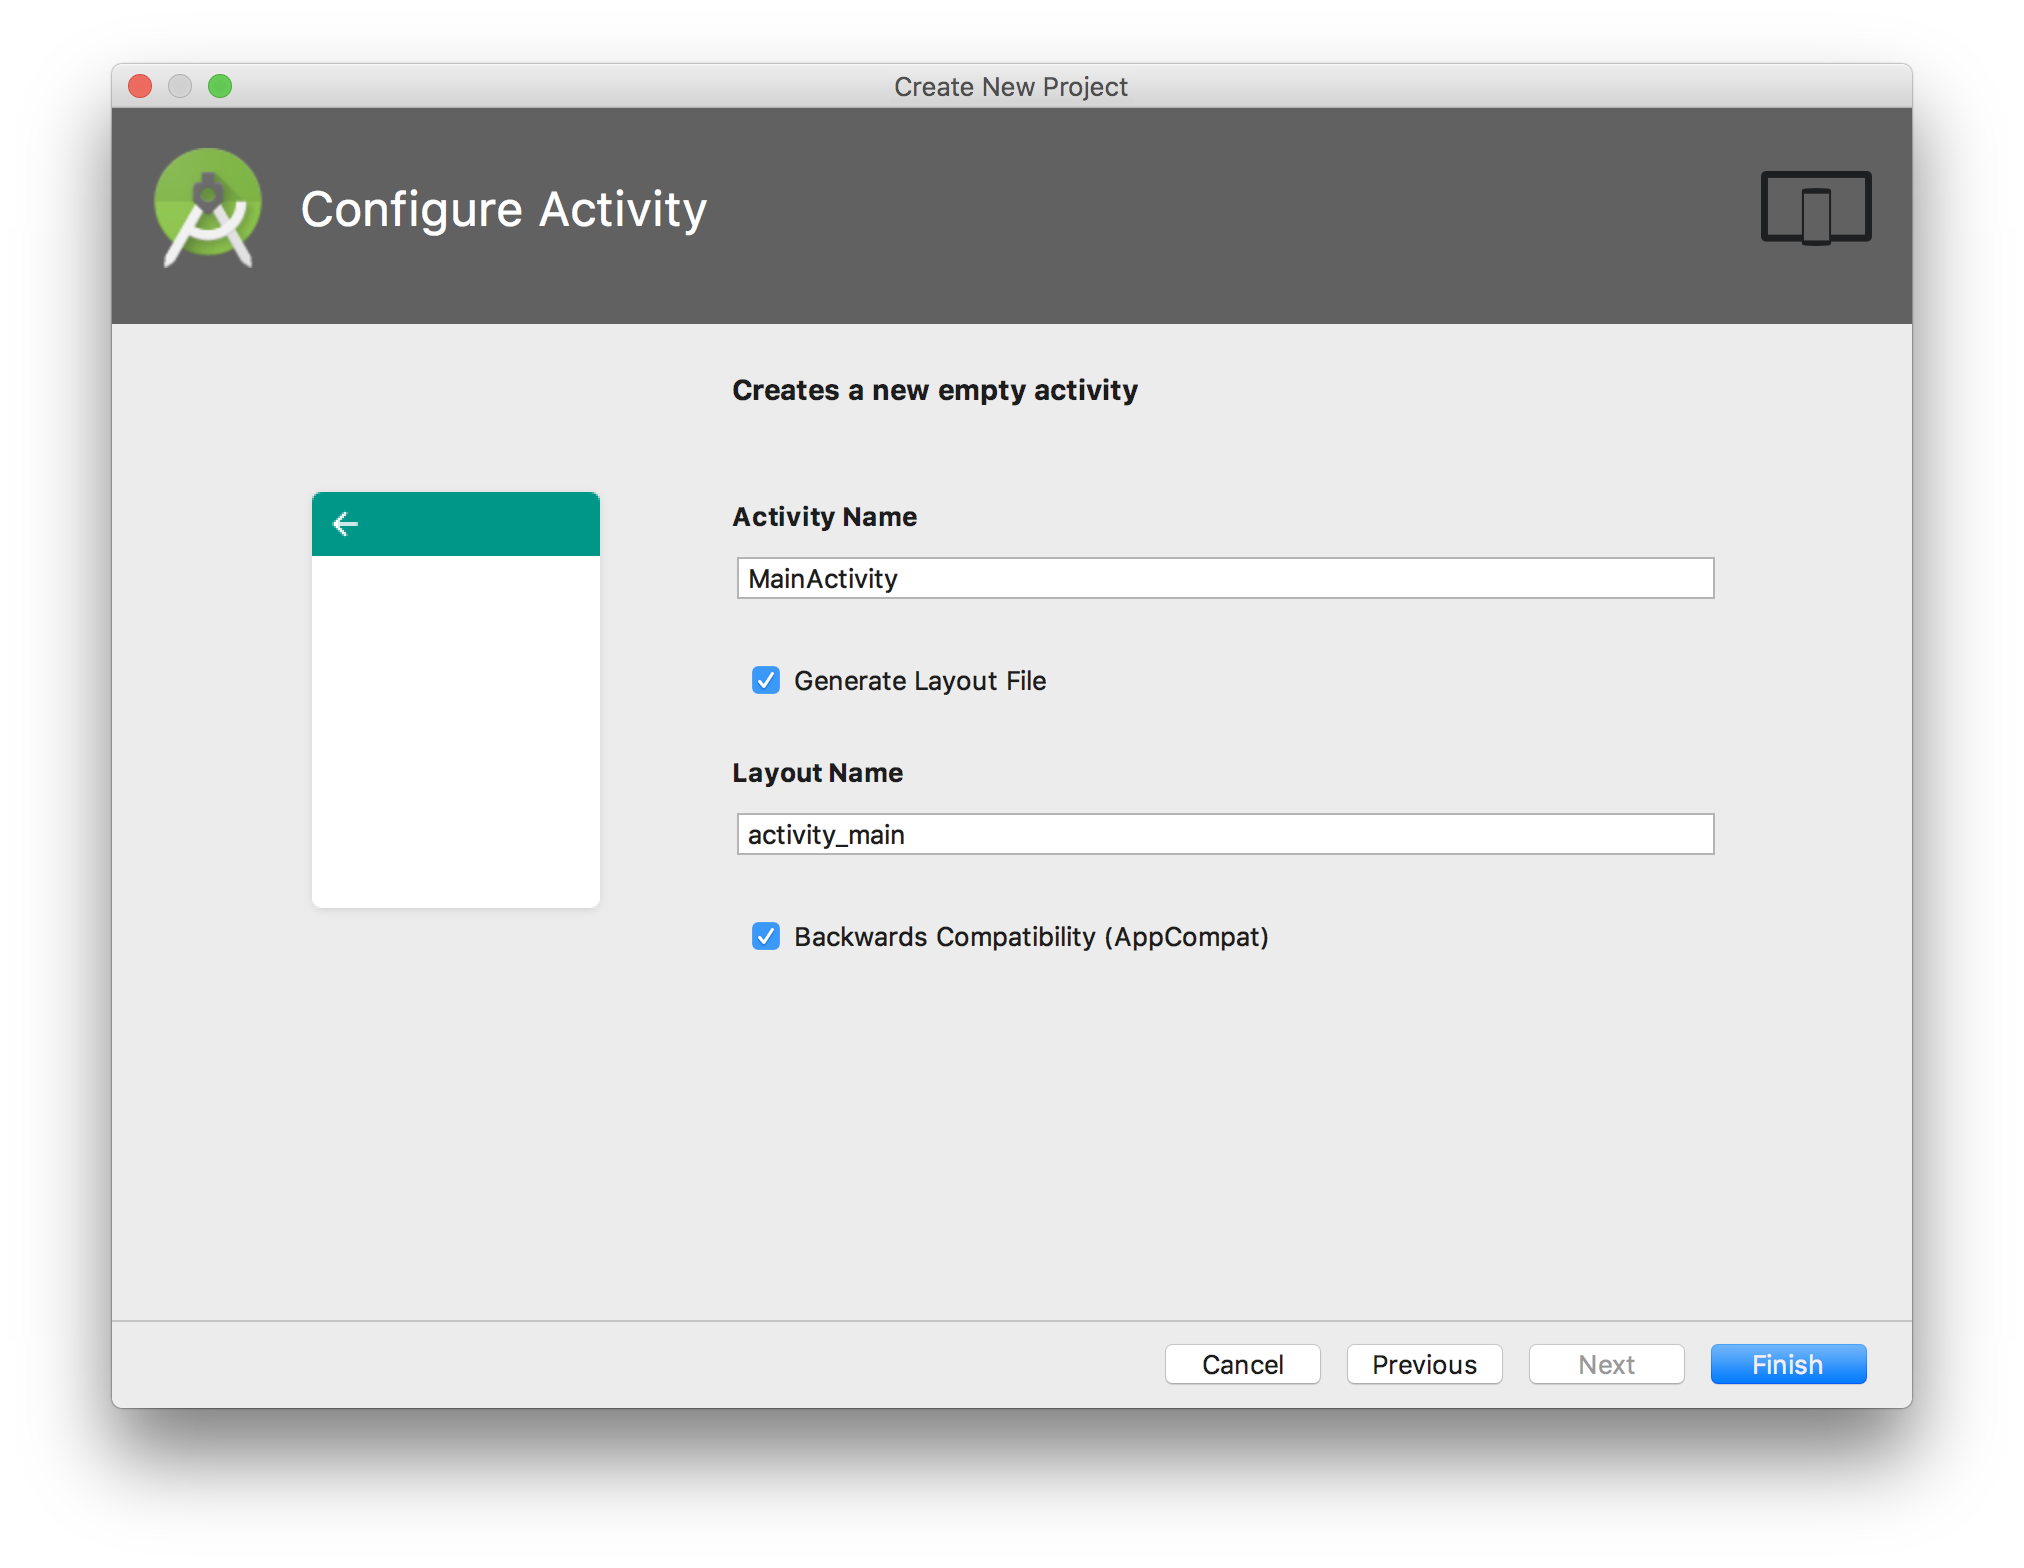
? In the Configure Activity screen, keep the default values and click Finish.
? After some processing, Android Studio opens the IDE.
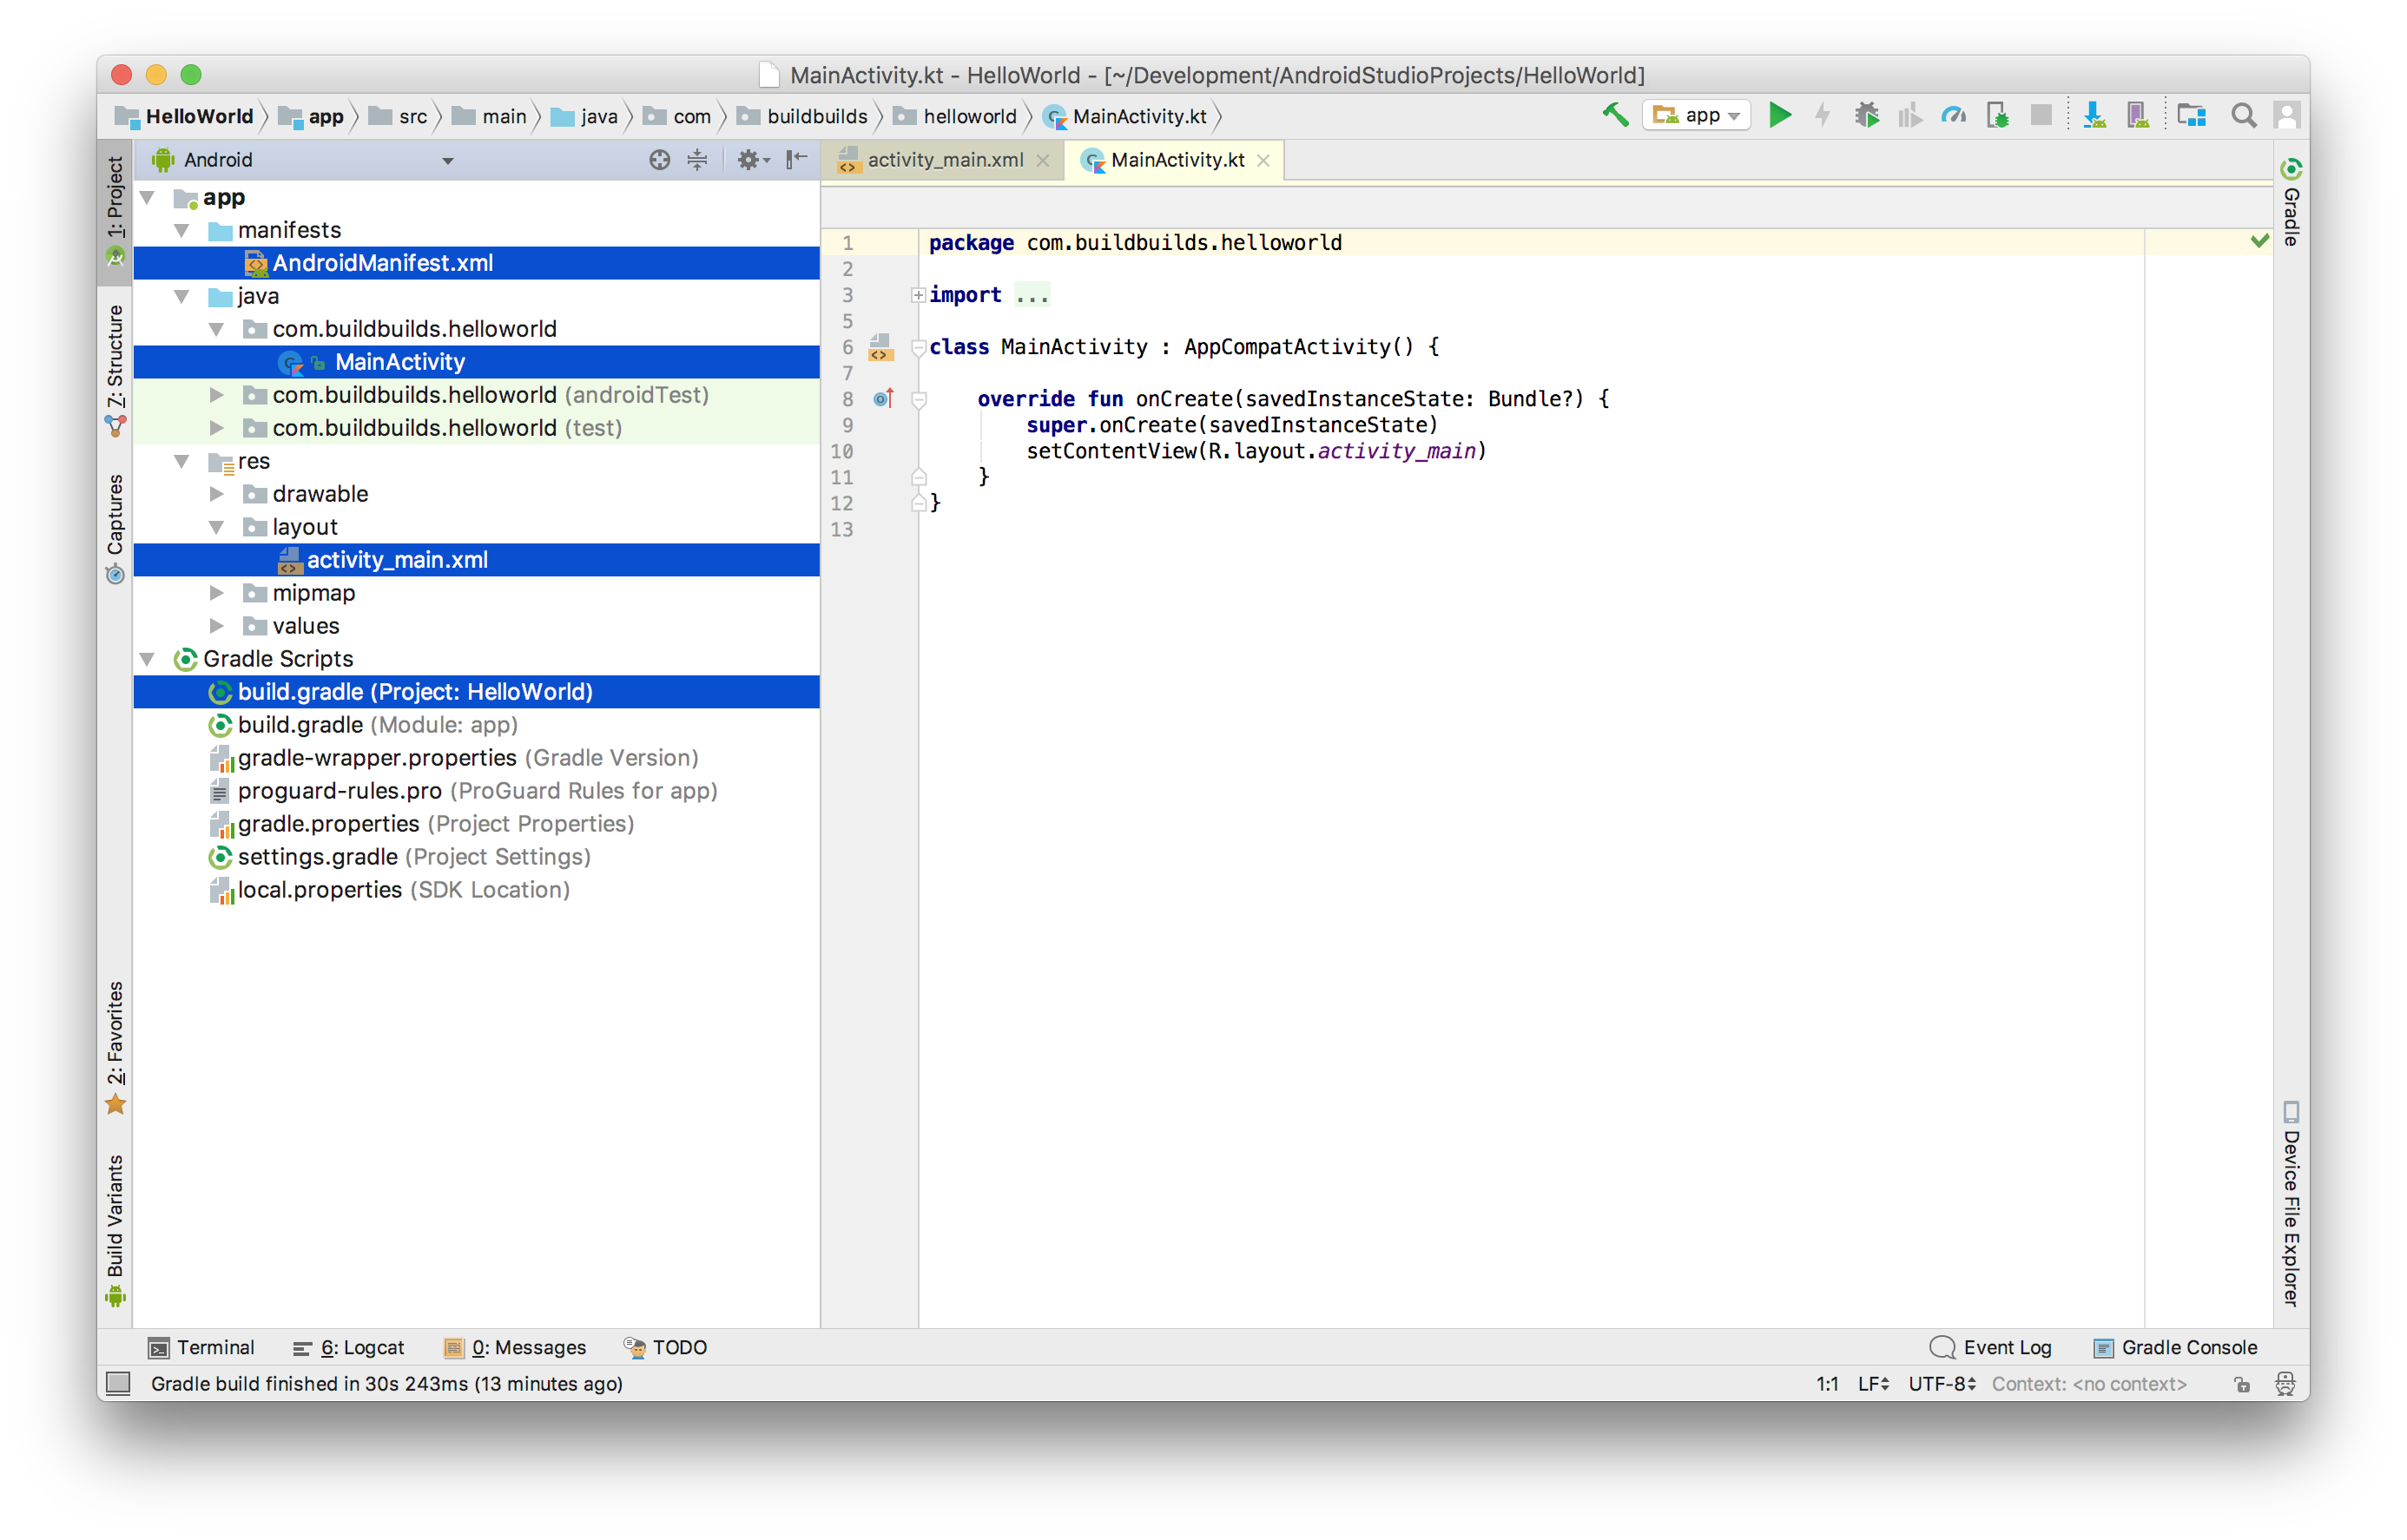
Be sure the Project window is open (select View > Tool Windows > Project) and the Android view is selected from the drop-down list at the top of that window.
>> Running the app on an emulator
Now we are ready to run the app!
? In Android Studio, click the app module in the Project window and then select Run > Run
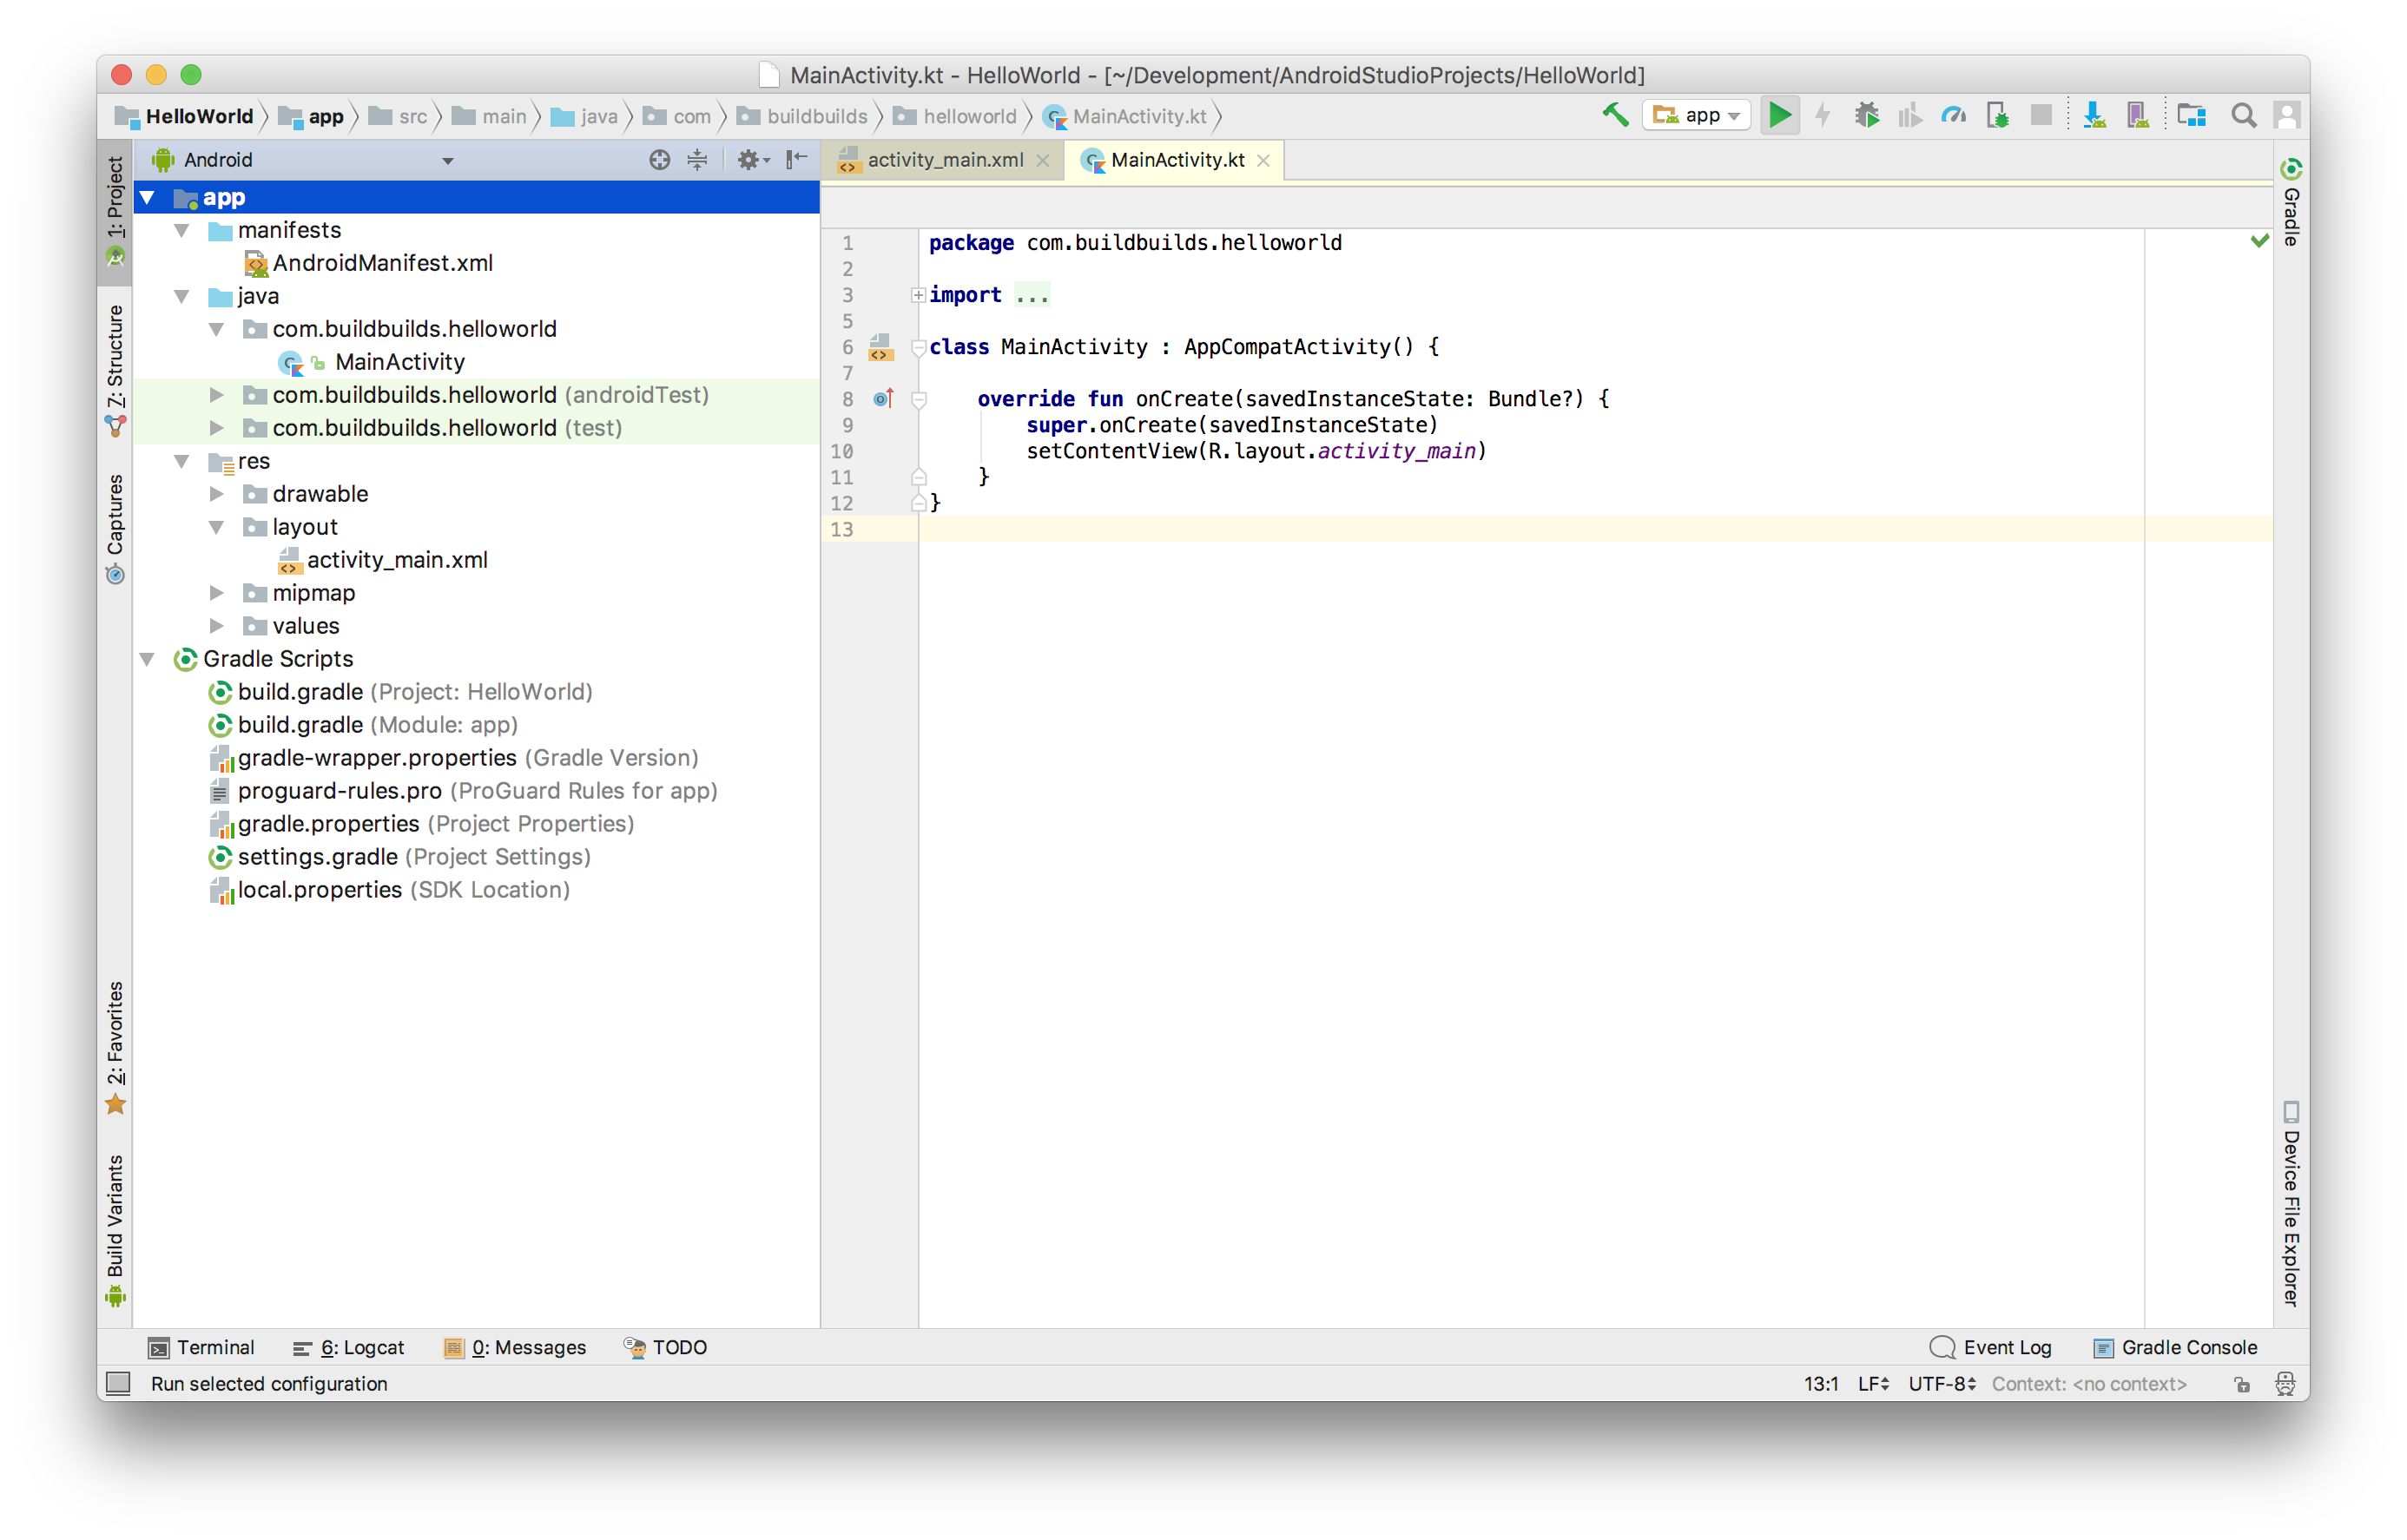
(or click Run in the toolbar).
![]()
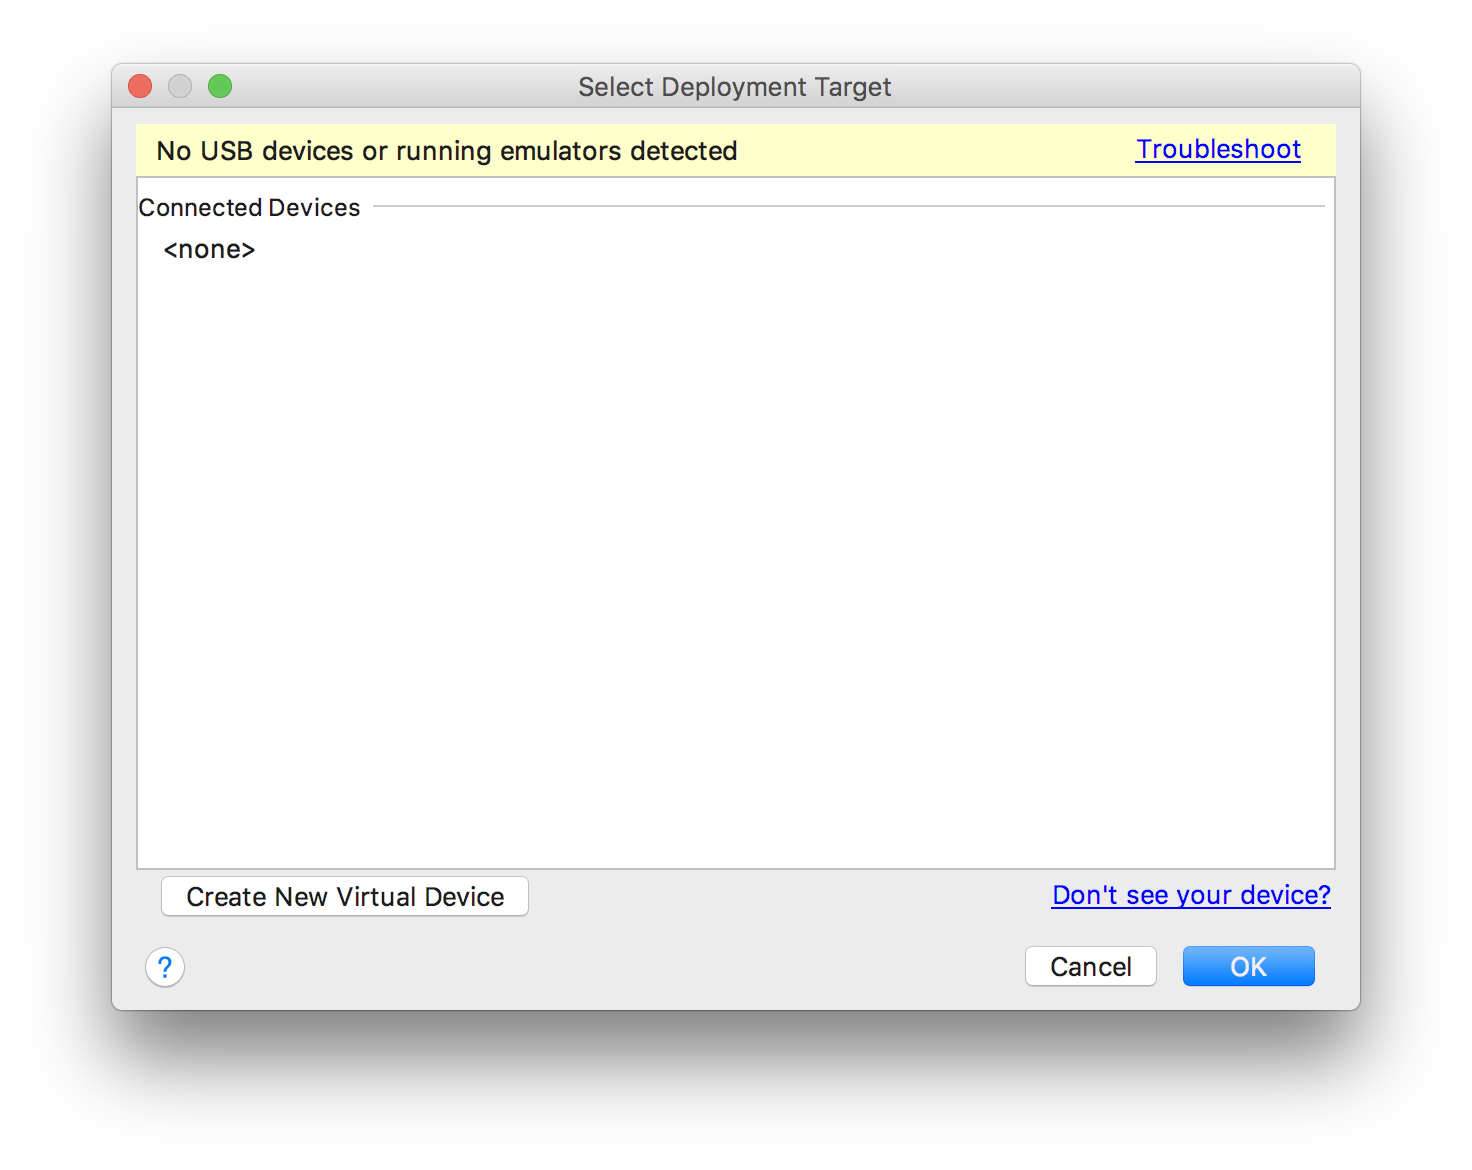
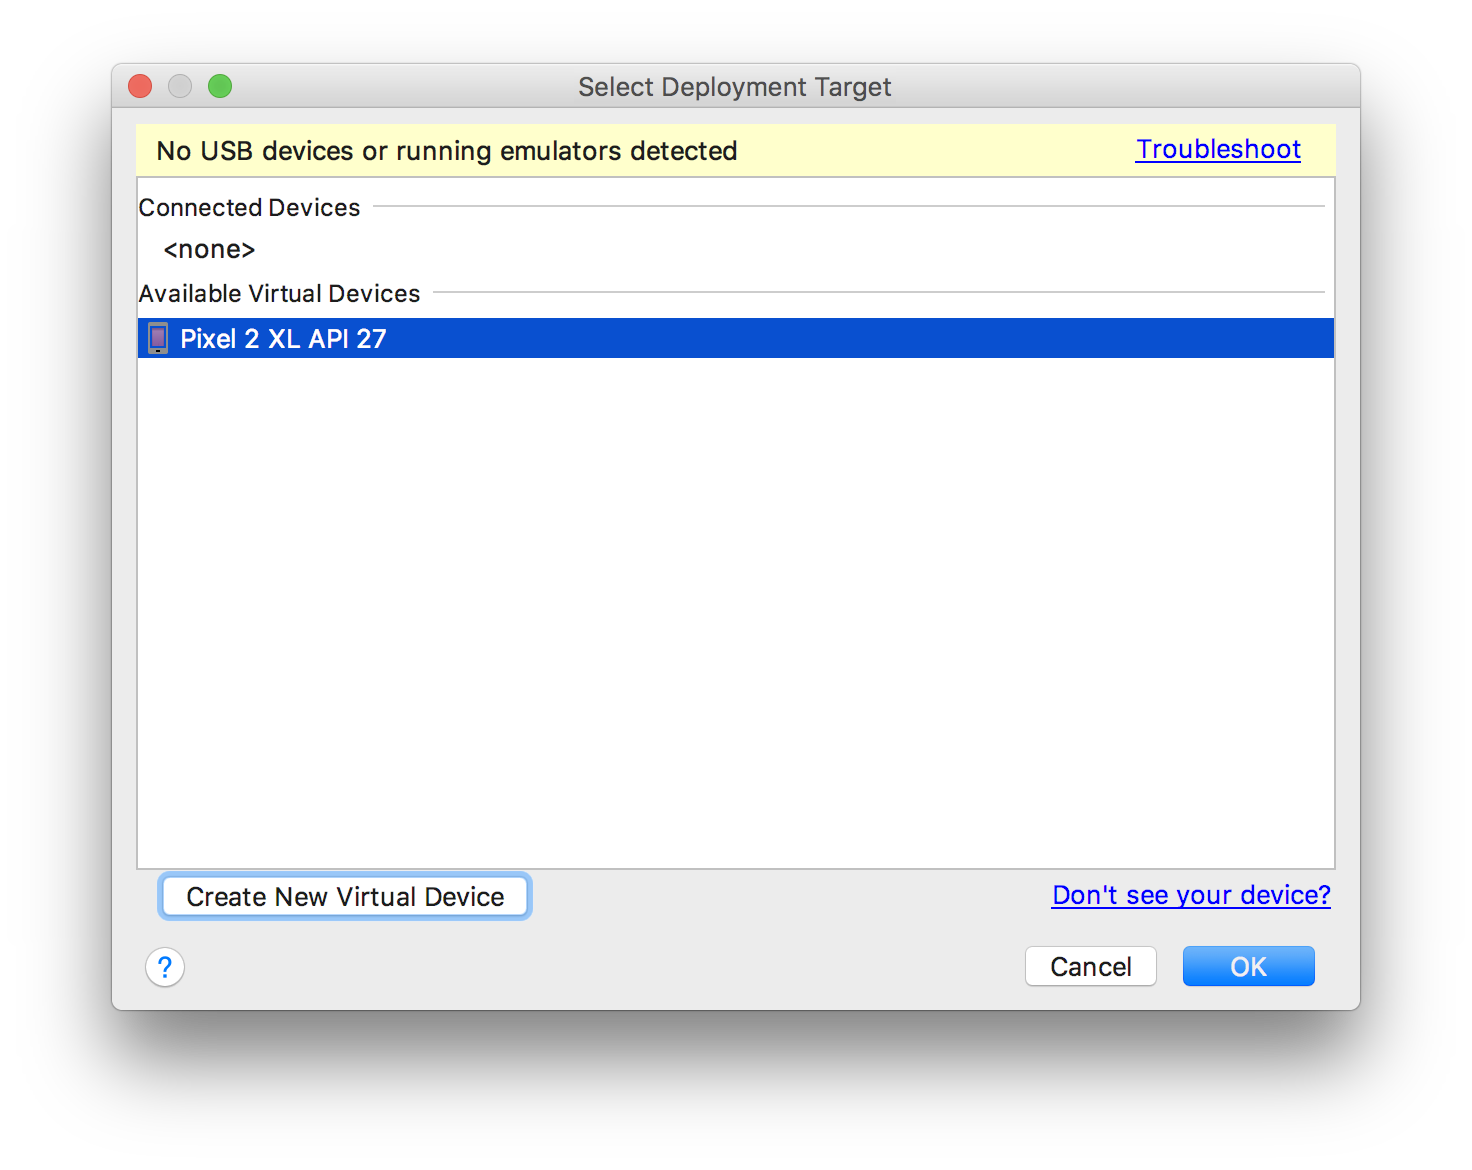
? In the Select Deployment Target window, click Create New Virtual Device.
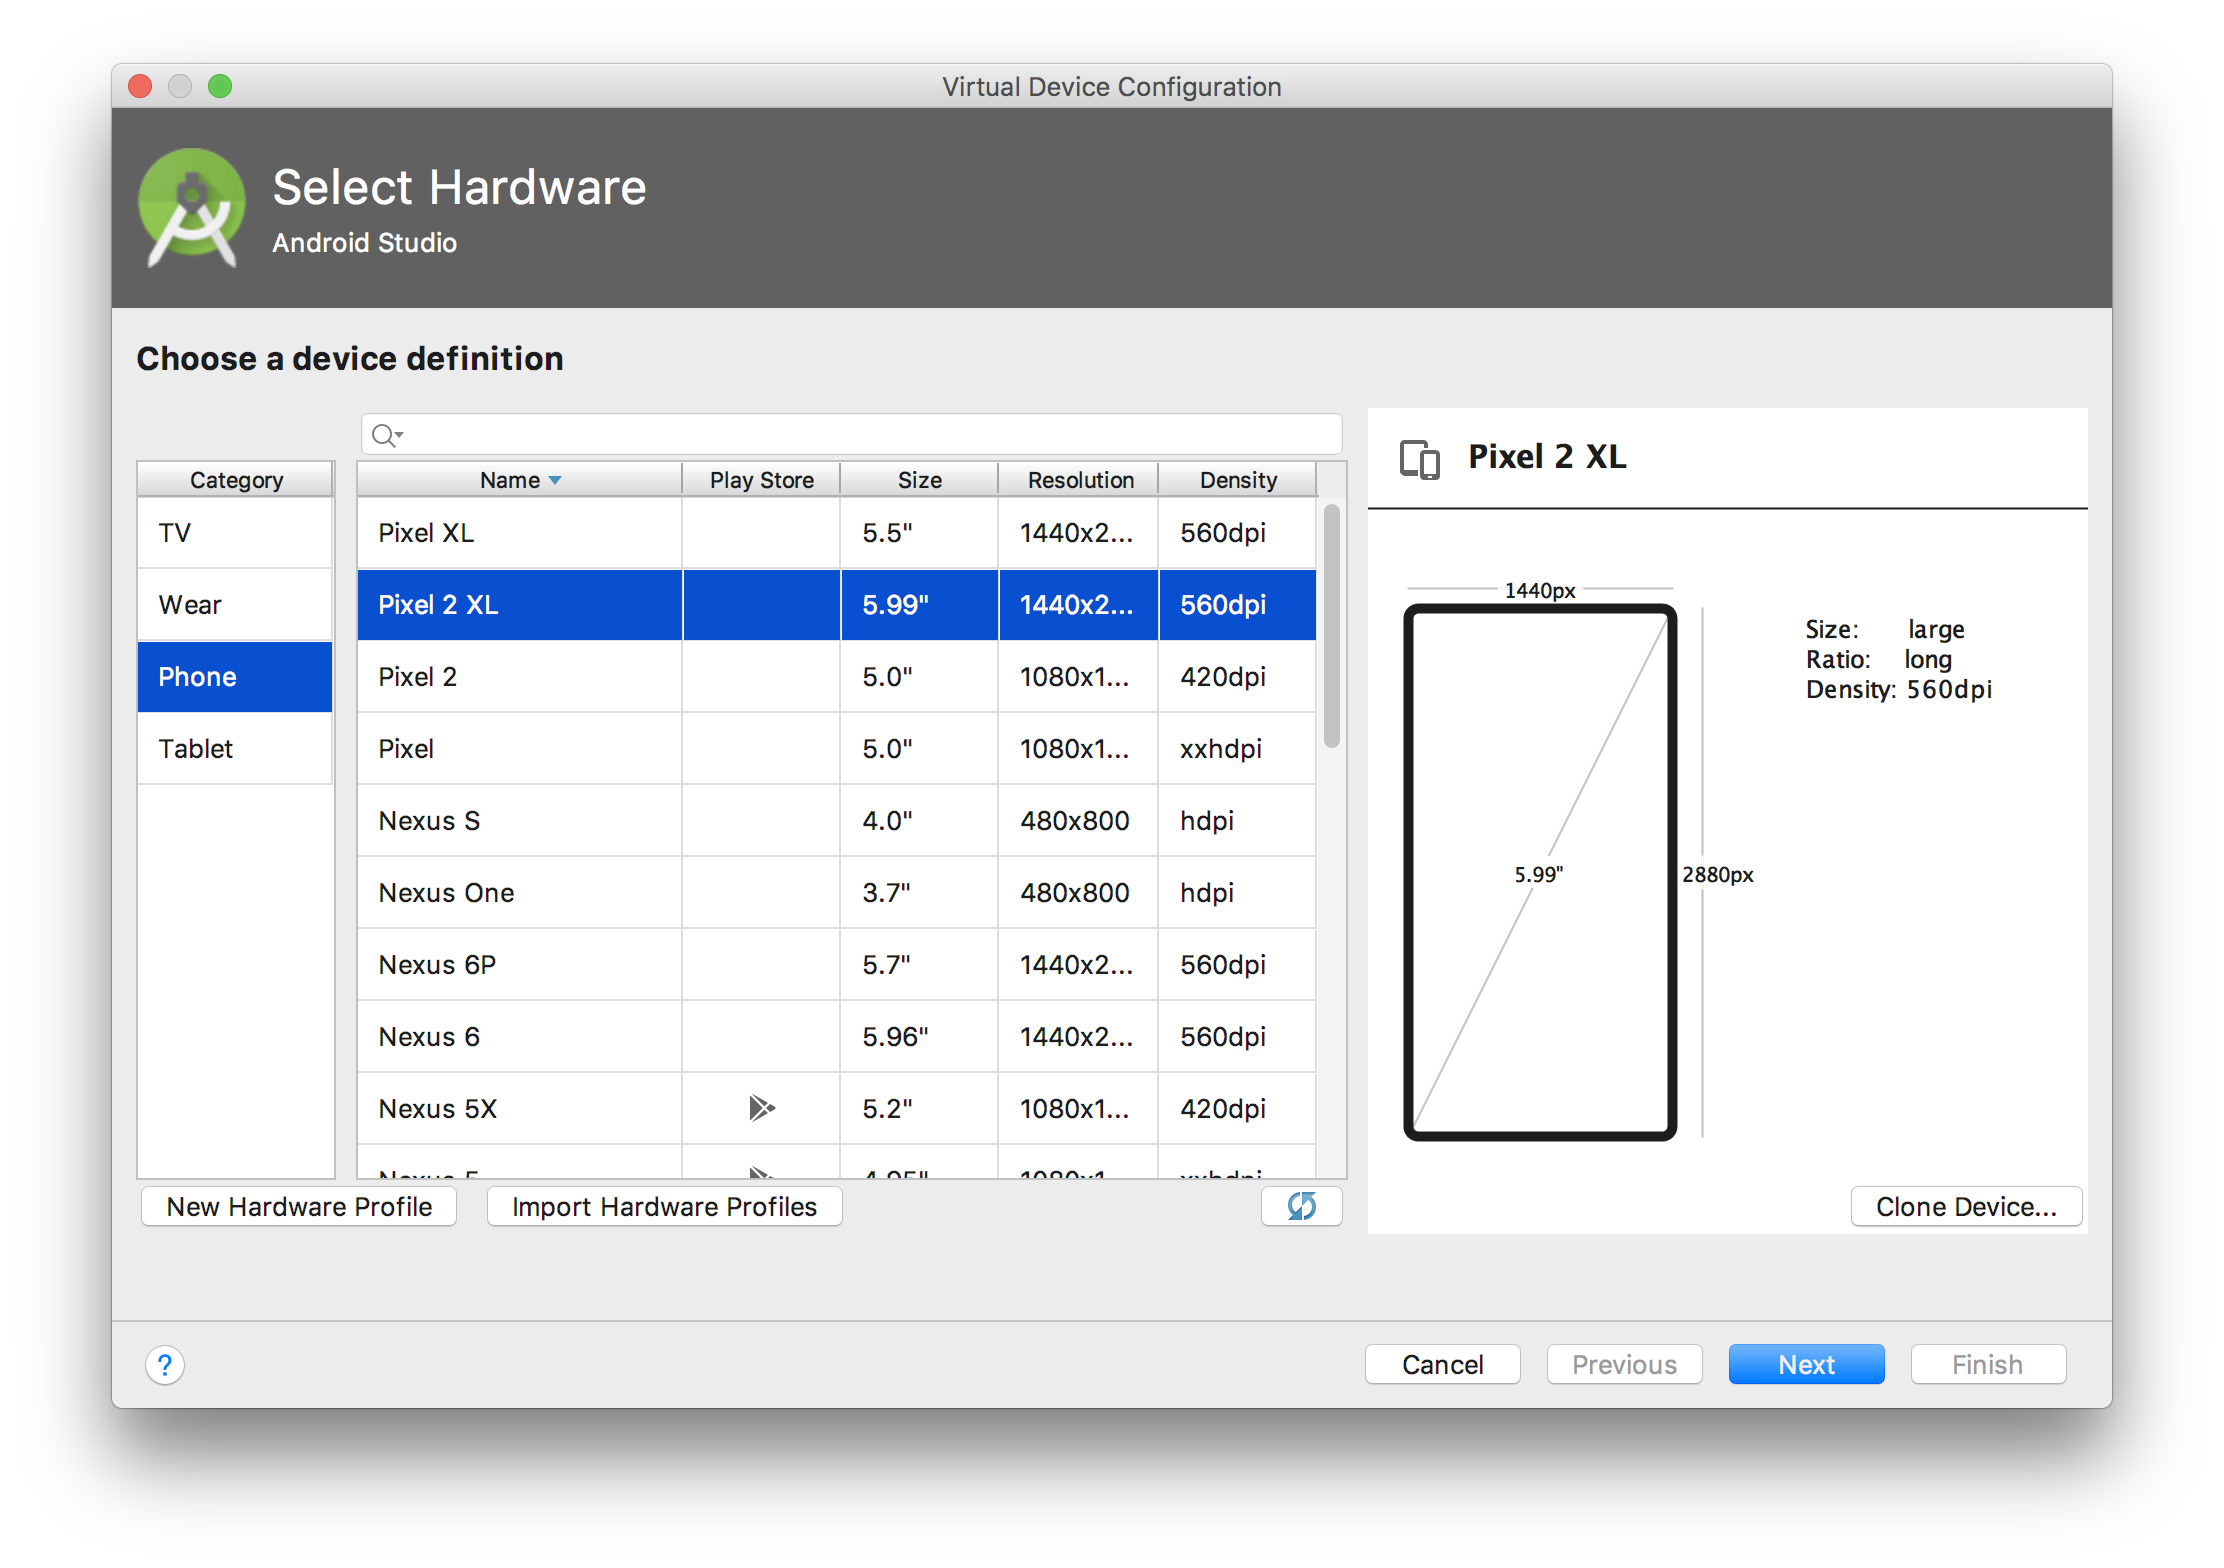
? In the Select Hardware screen, select a phone device, such as Pixel, and then click Next.
? In the System Image screen, select the version with the highest API level. If you don?t have that version installed, a Download link is shown, so click that and complete the download.
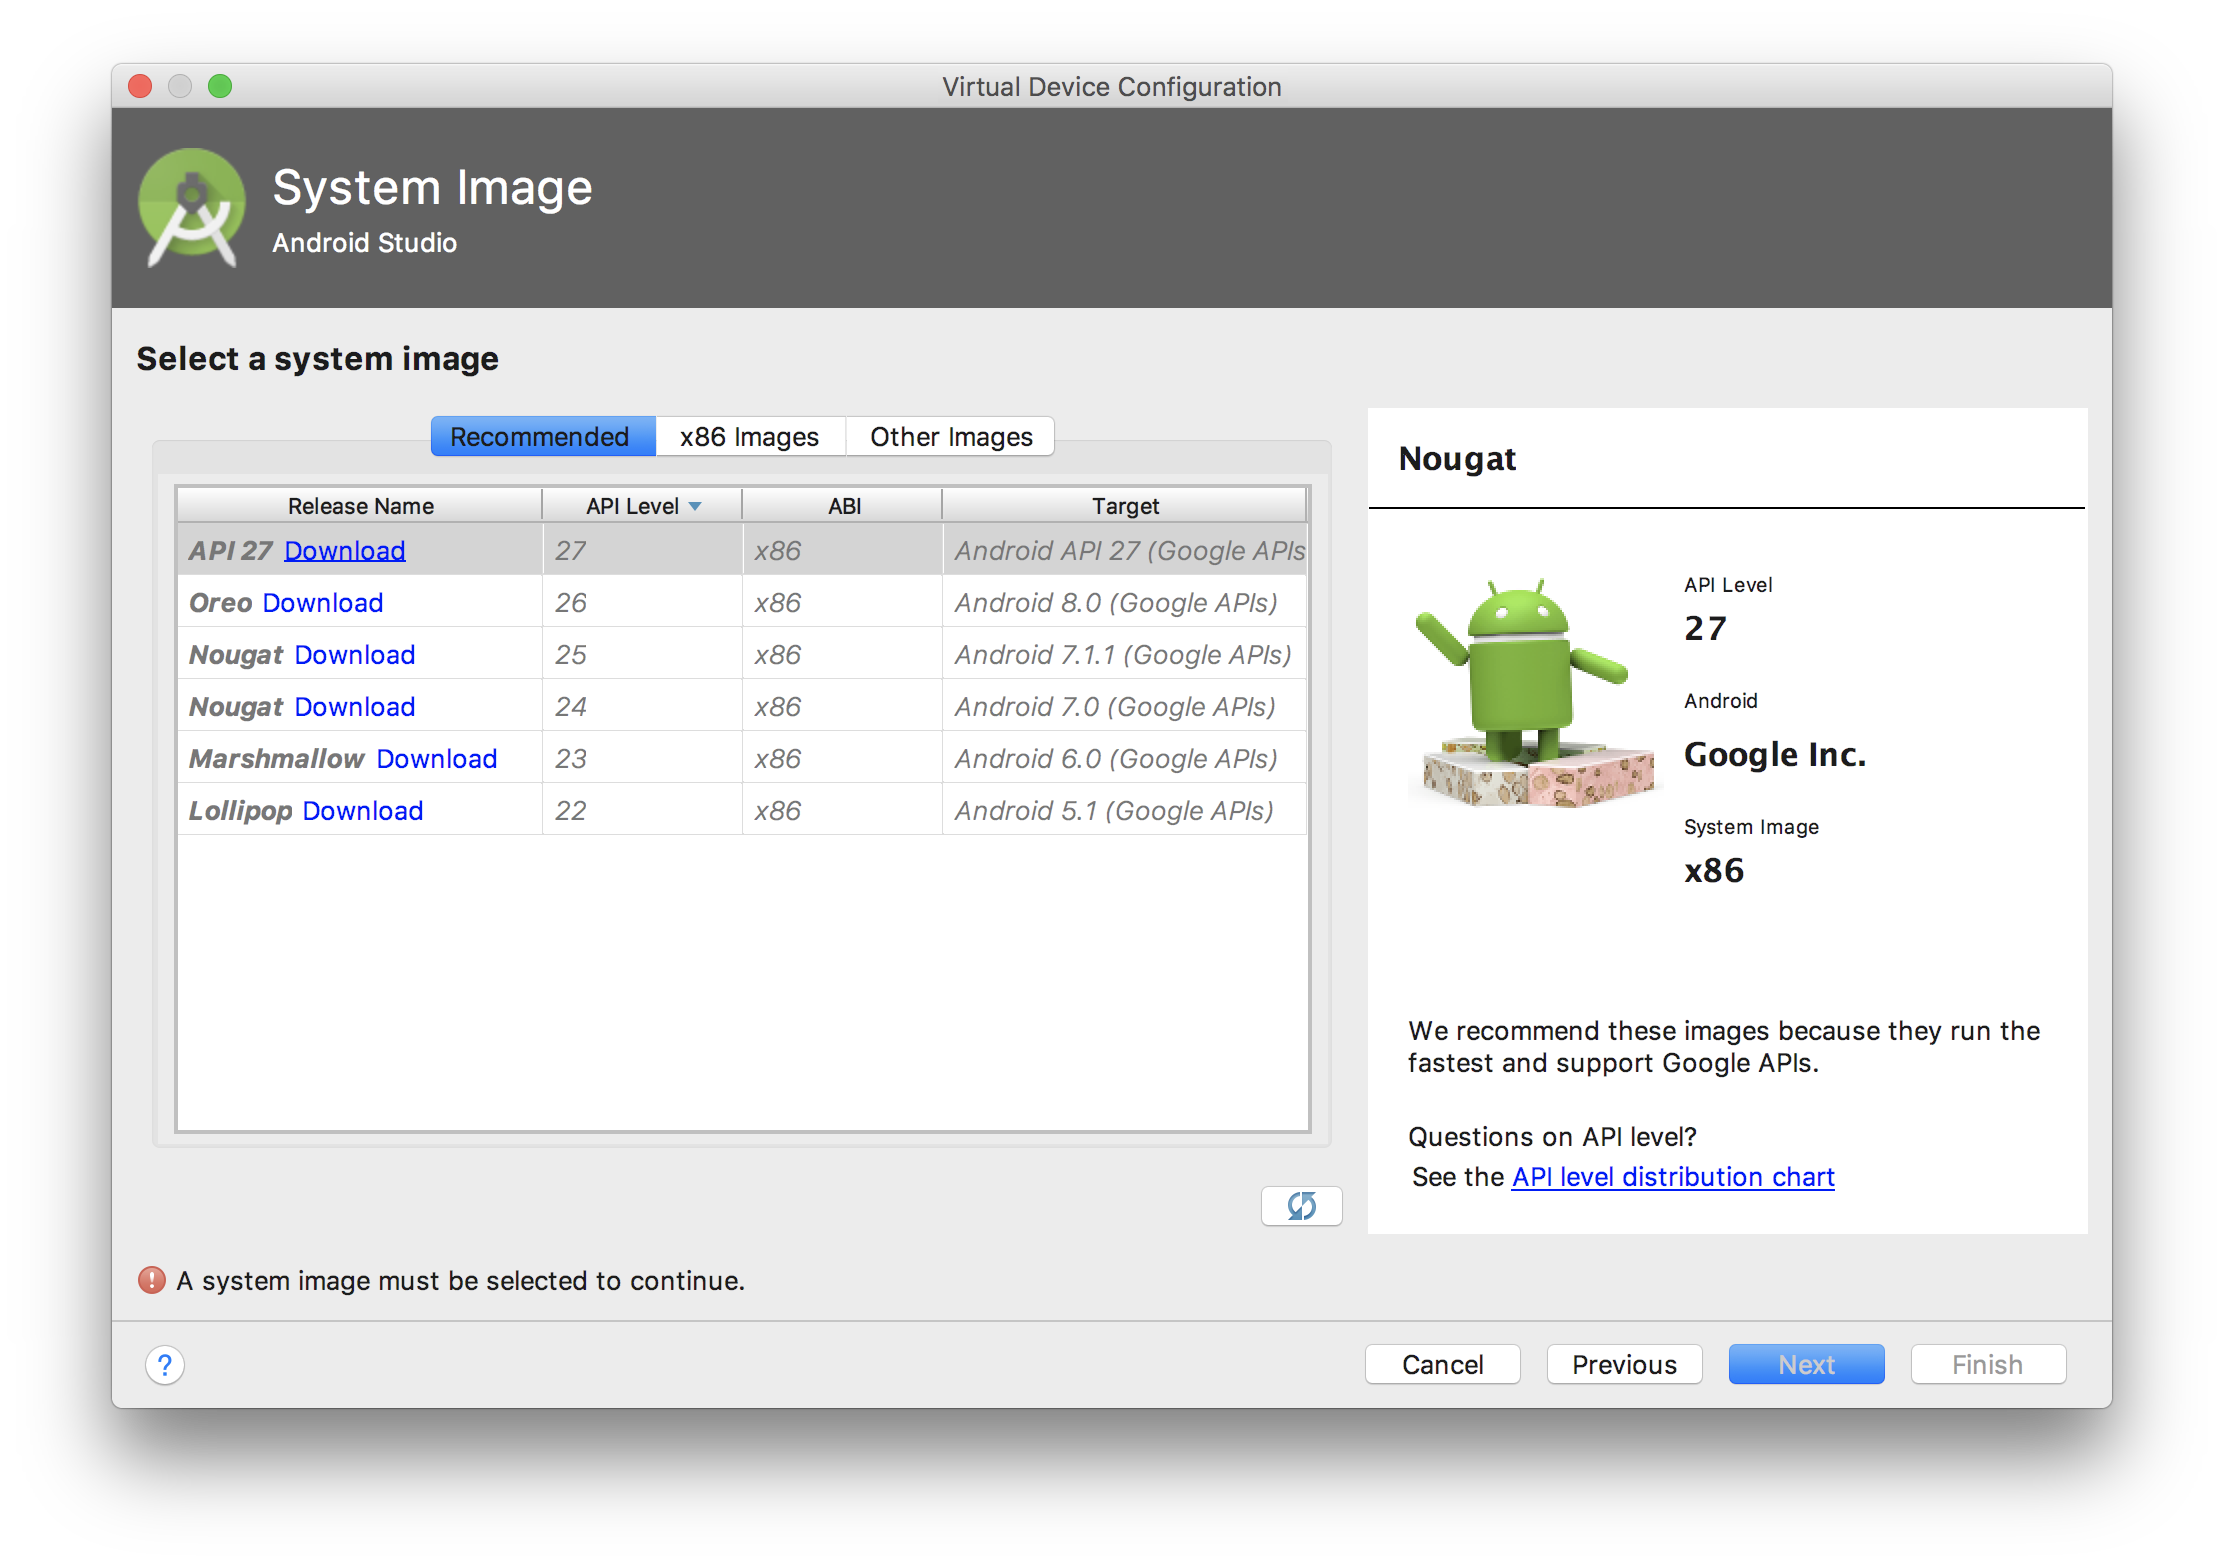
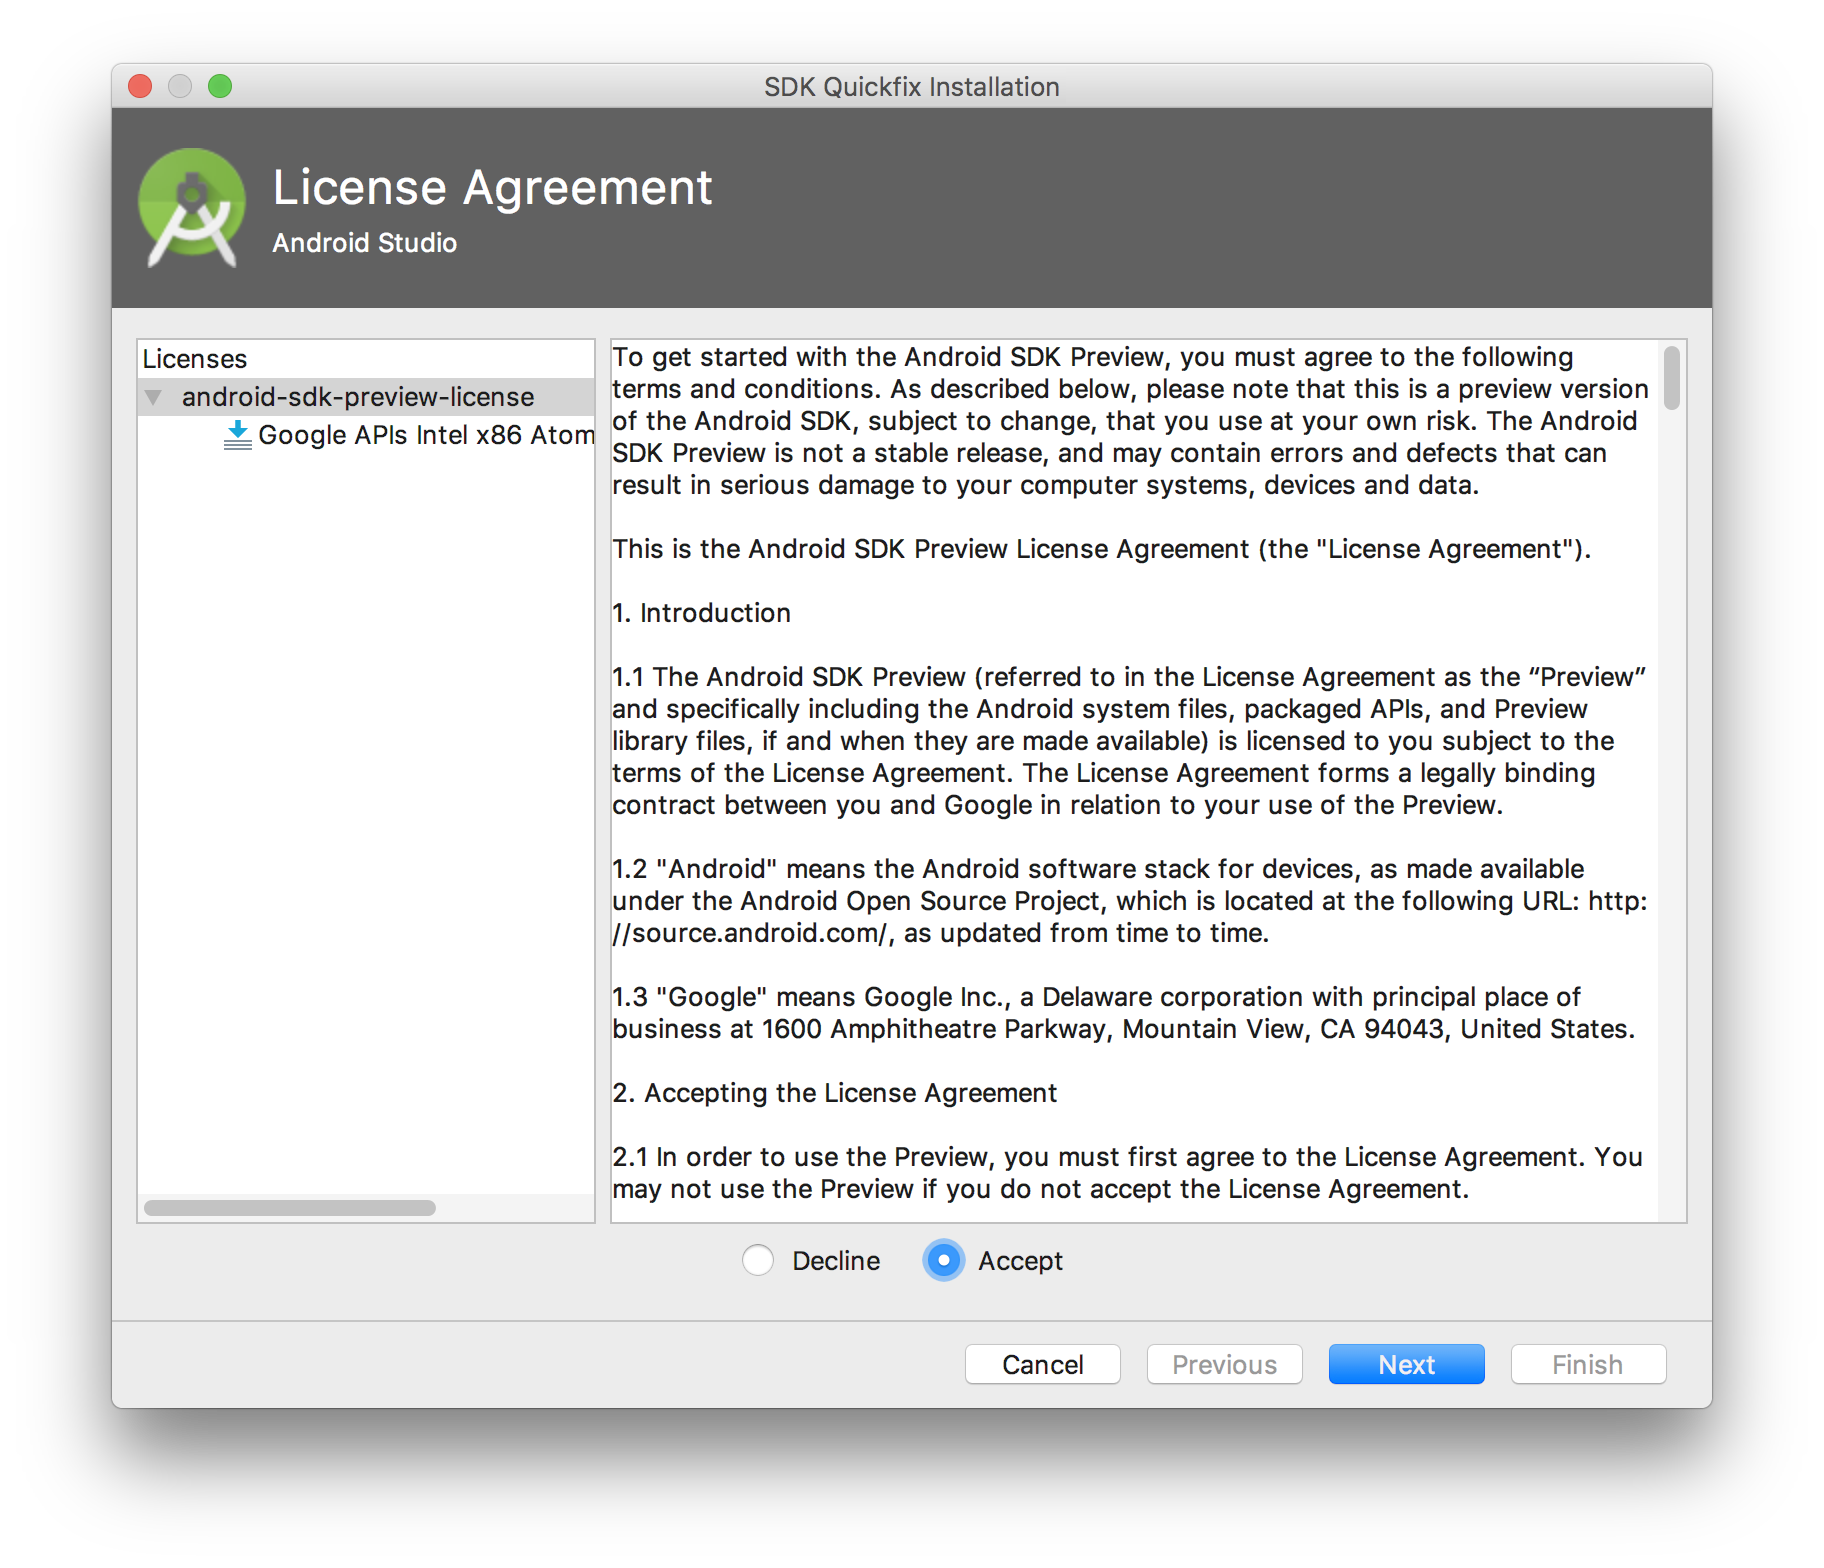
Accept the License Agreement. Click Finish when download is complete.
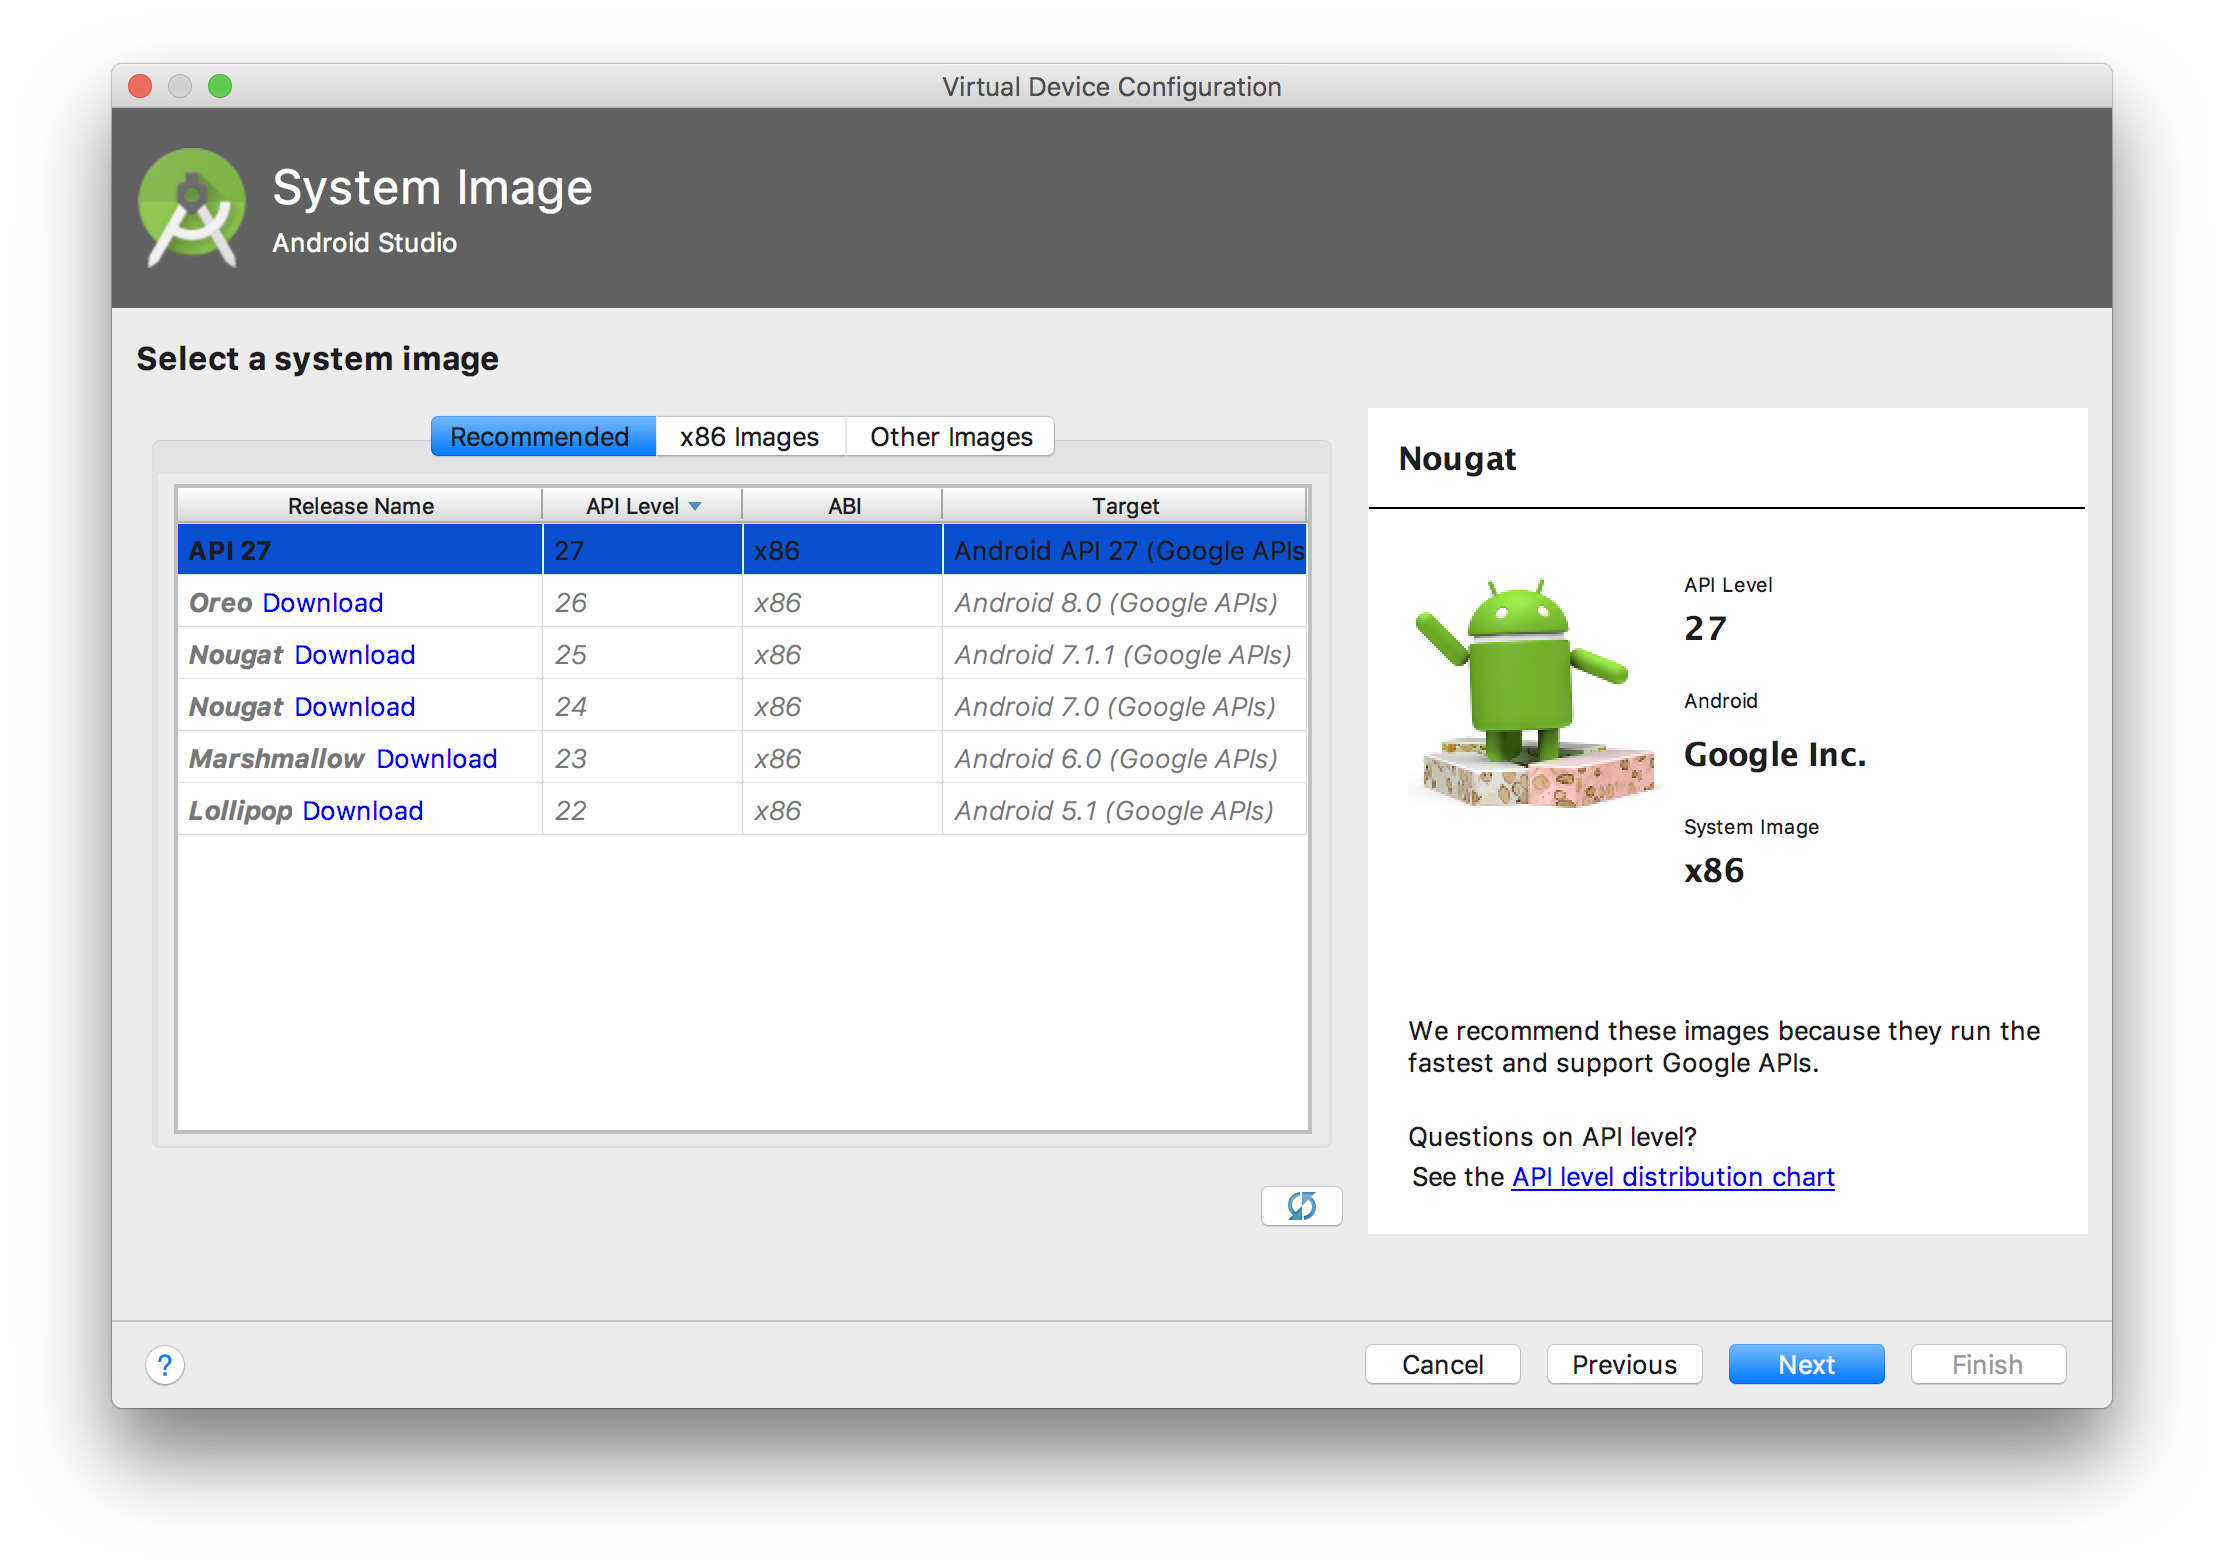
Click Next.
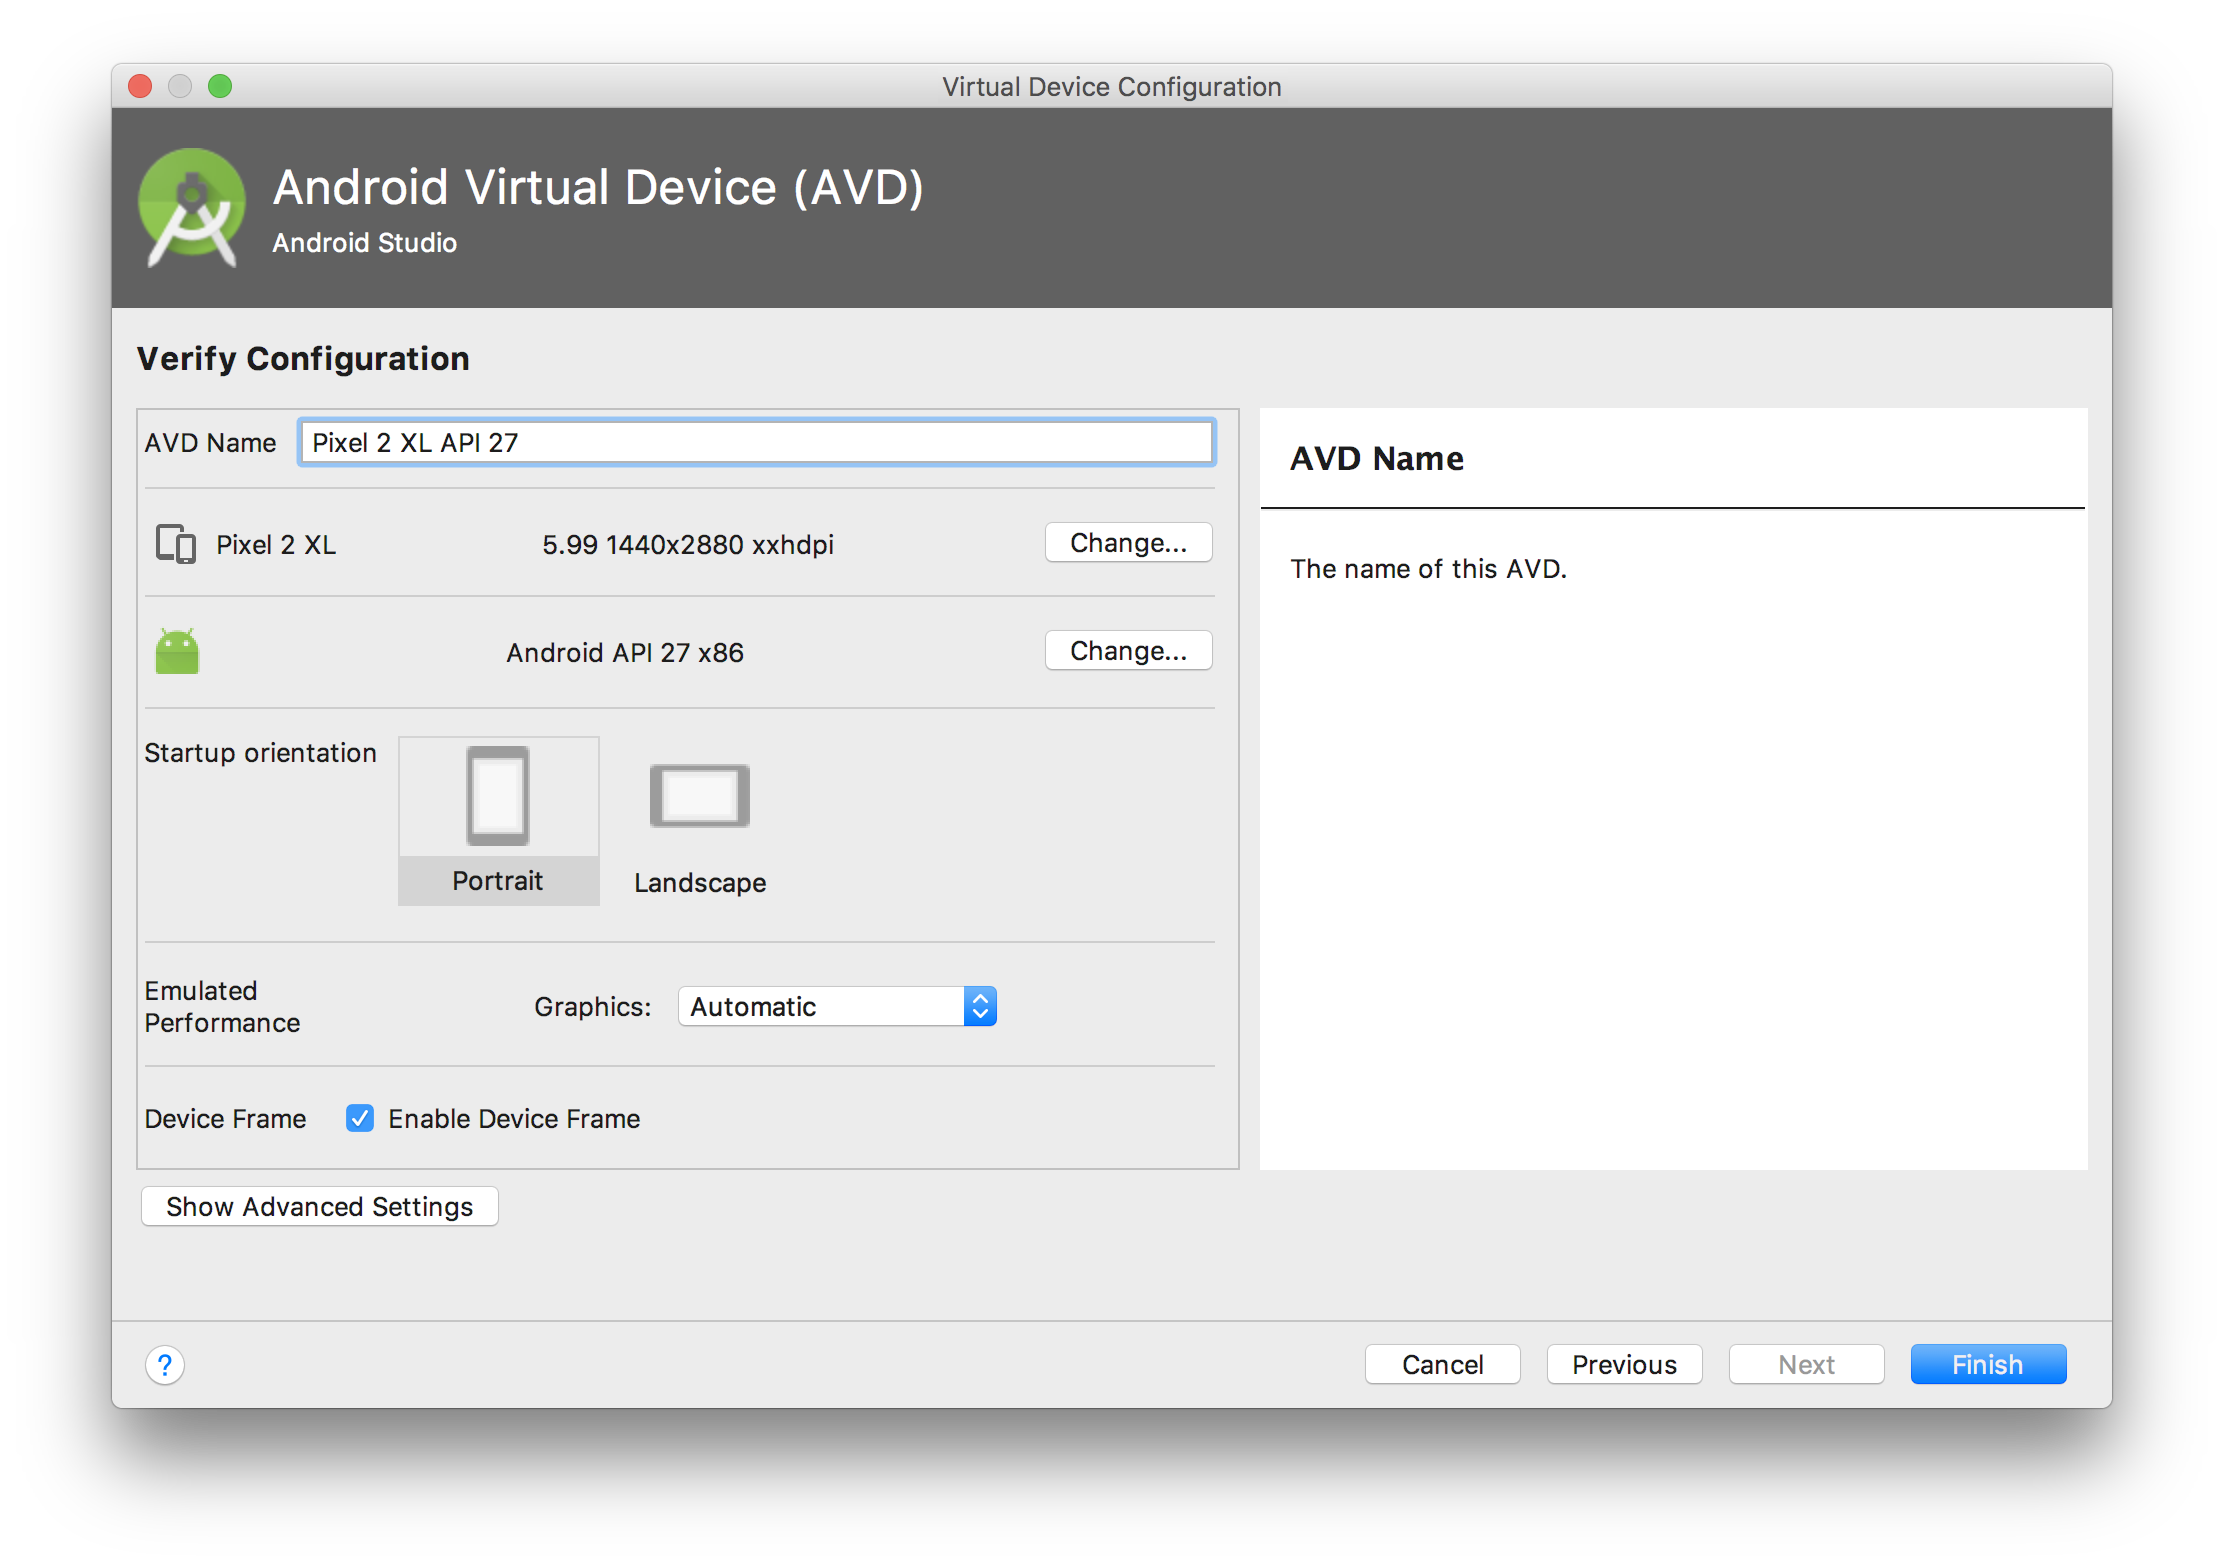
? On the Android Virtual Device (AVD) screen, leave all the settings alone and click Finish.
? Back in the Select Deployment Target dialog, select the device you just created and click OK.
? Android Studio installs the app on the emulator and starts it. You should now see ?Hello World!? displayed in the app running on the emulator.
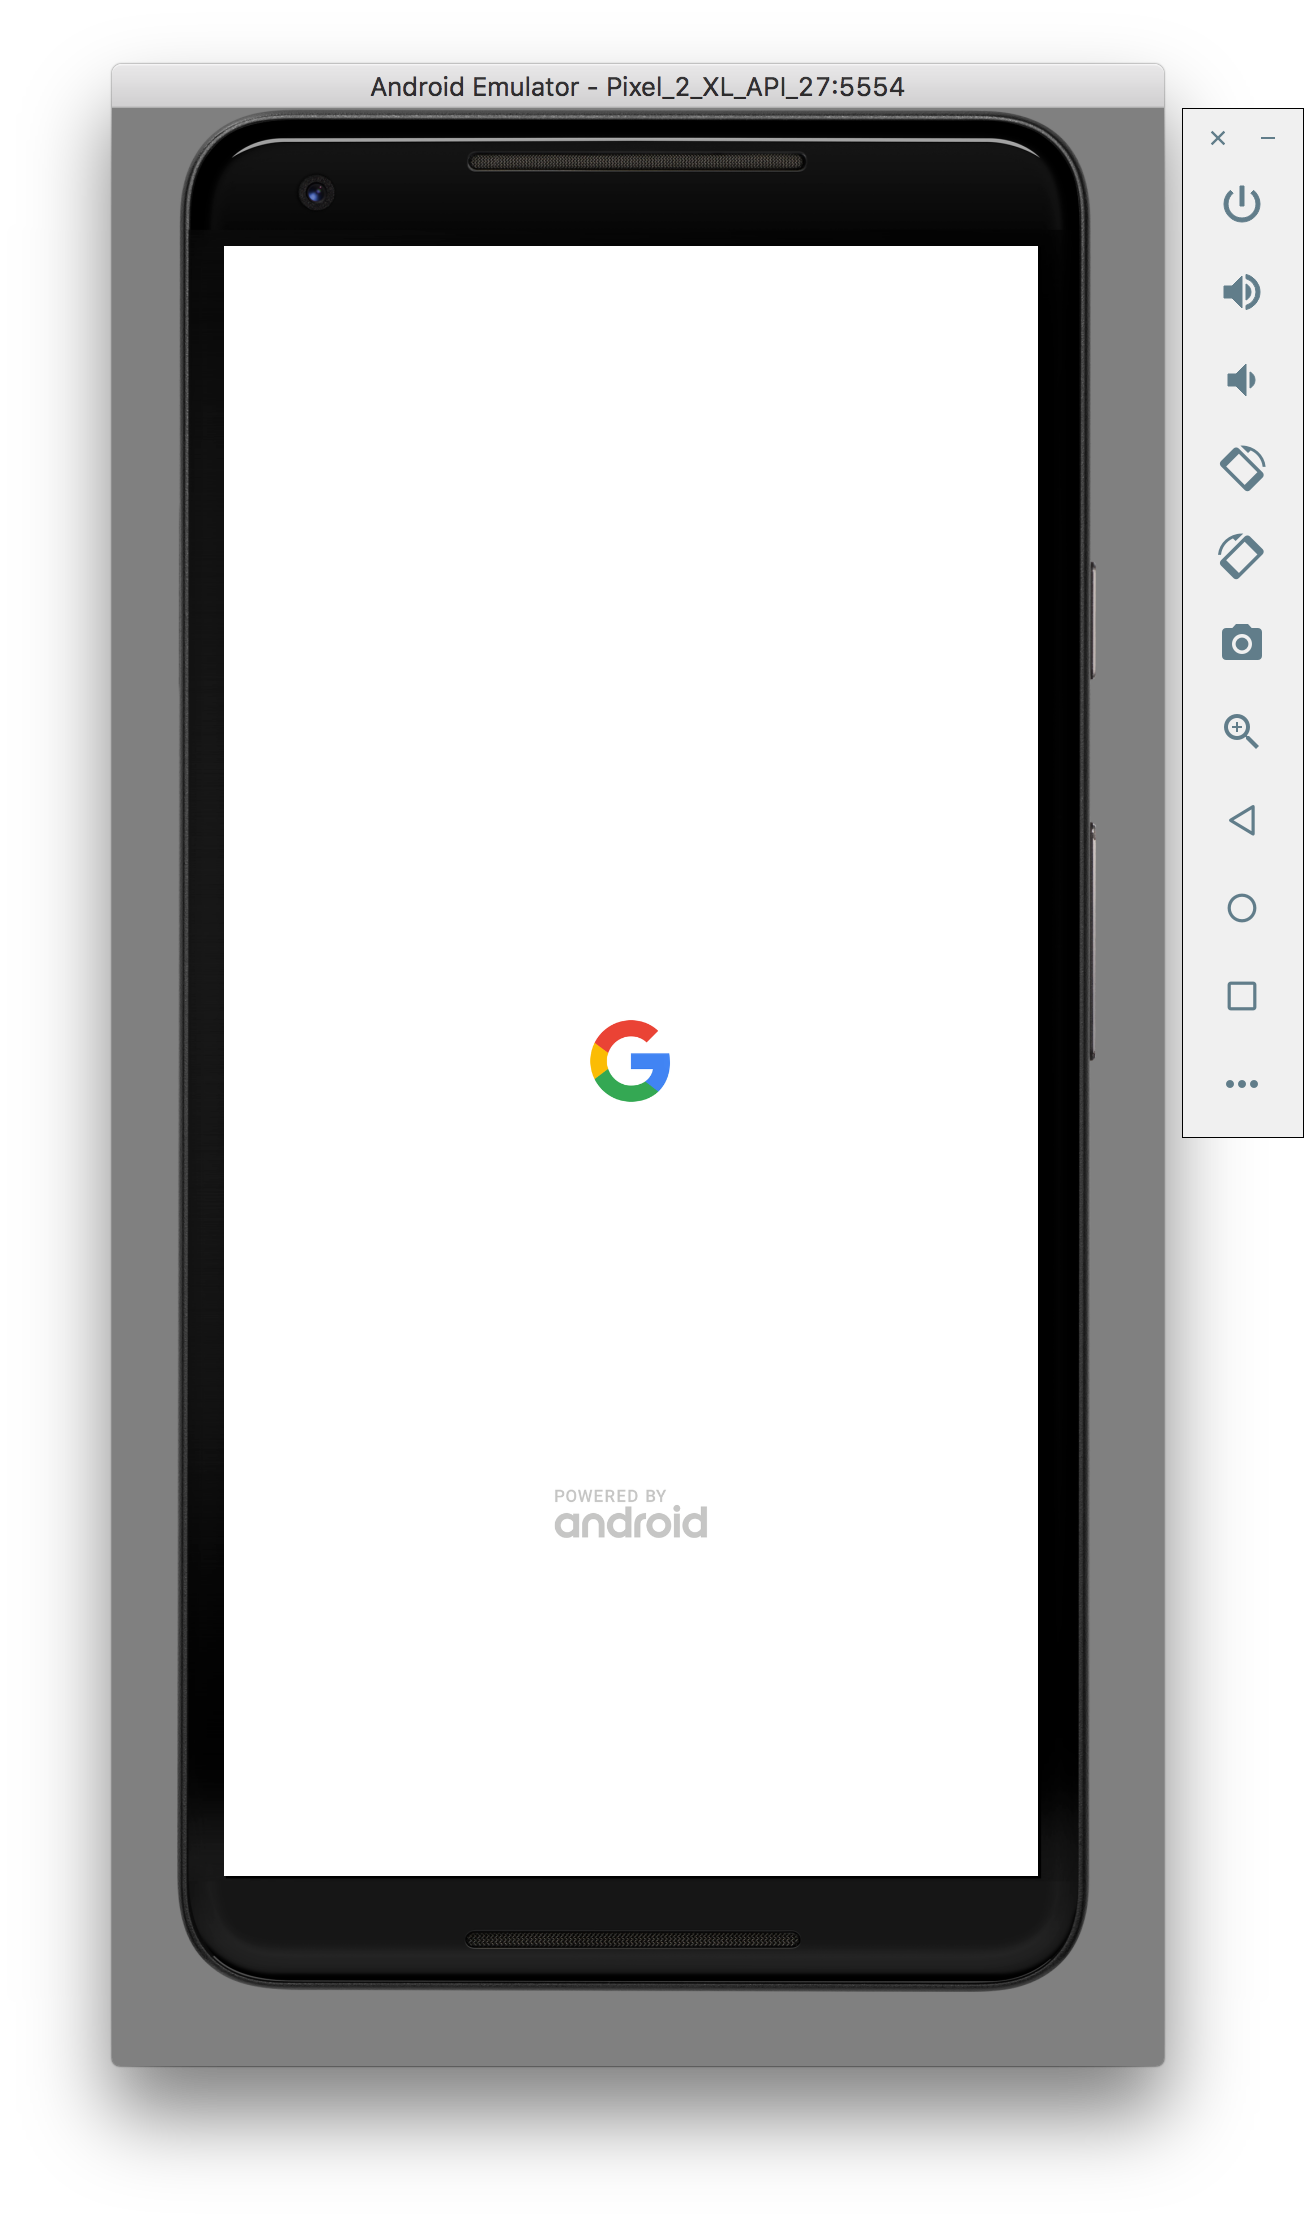 Device startup emulated
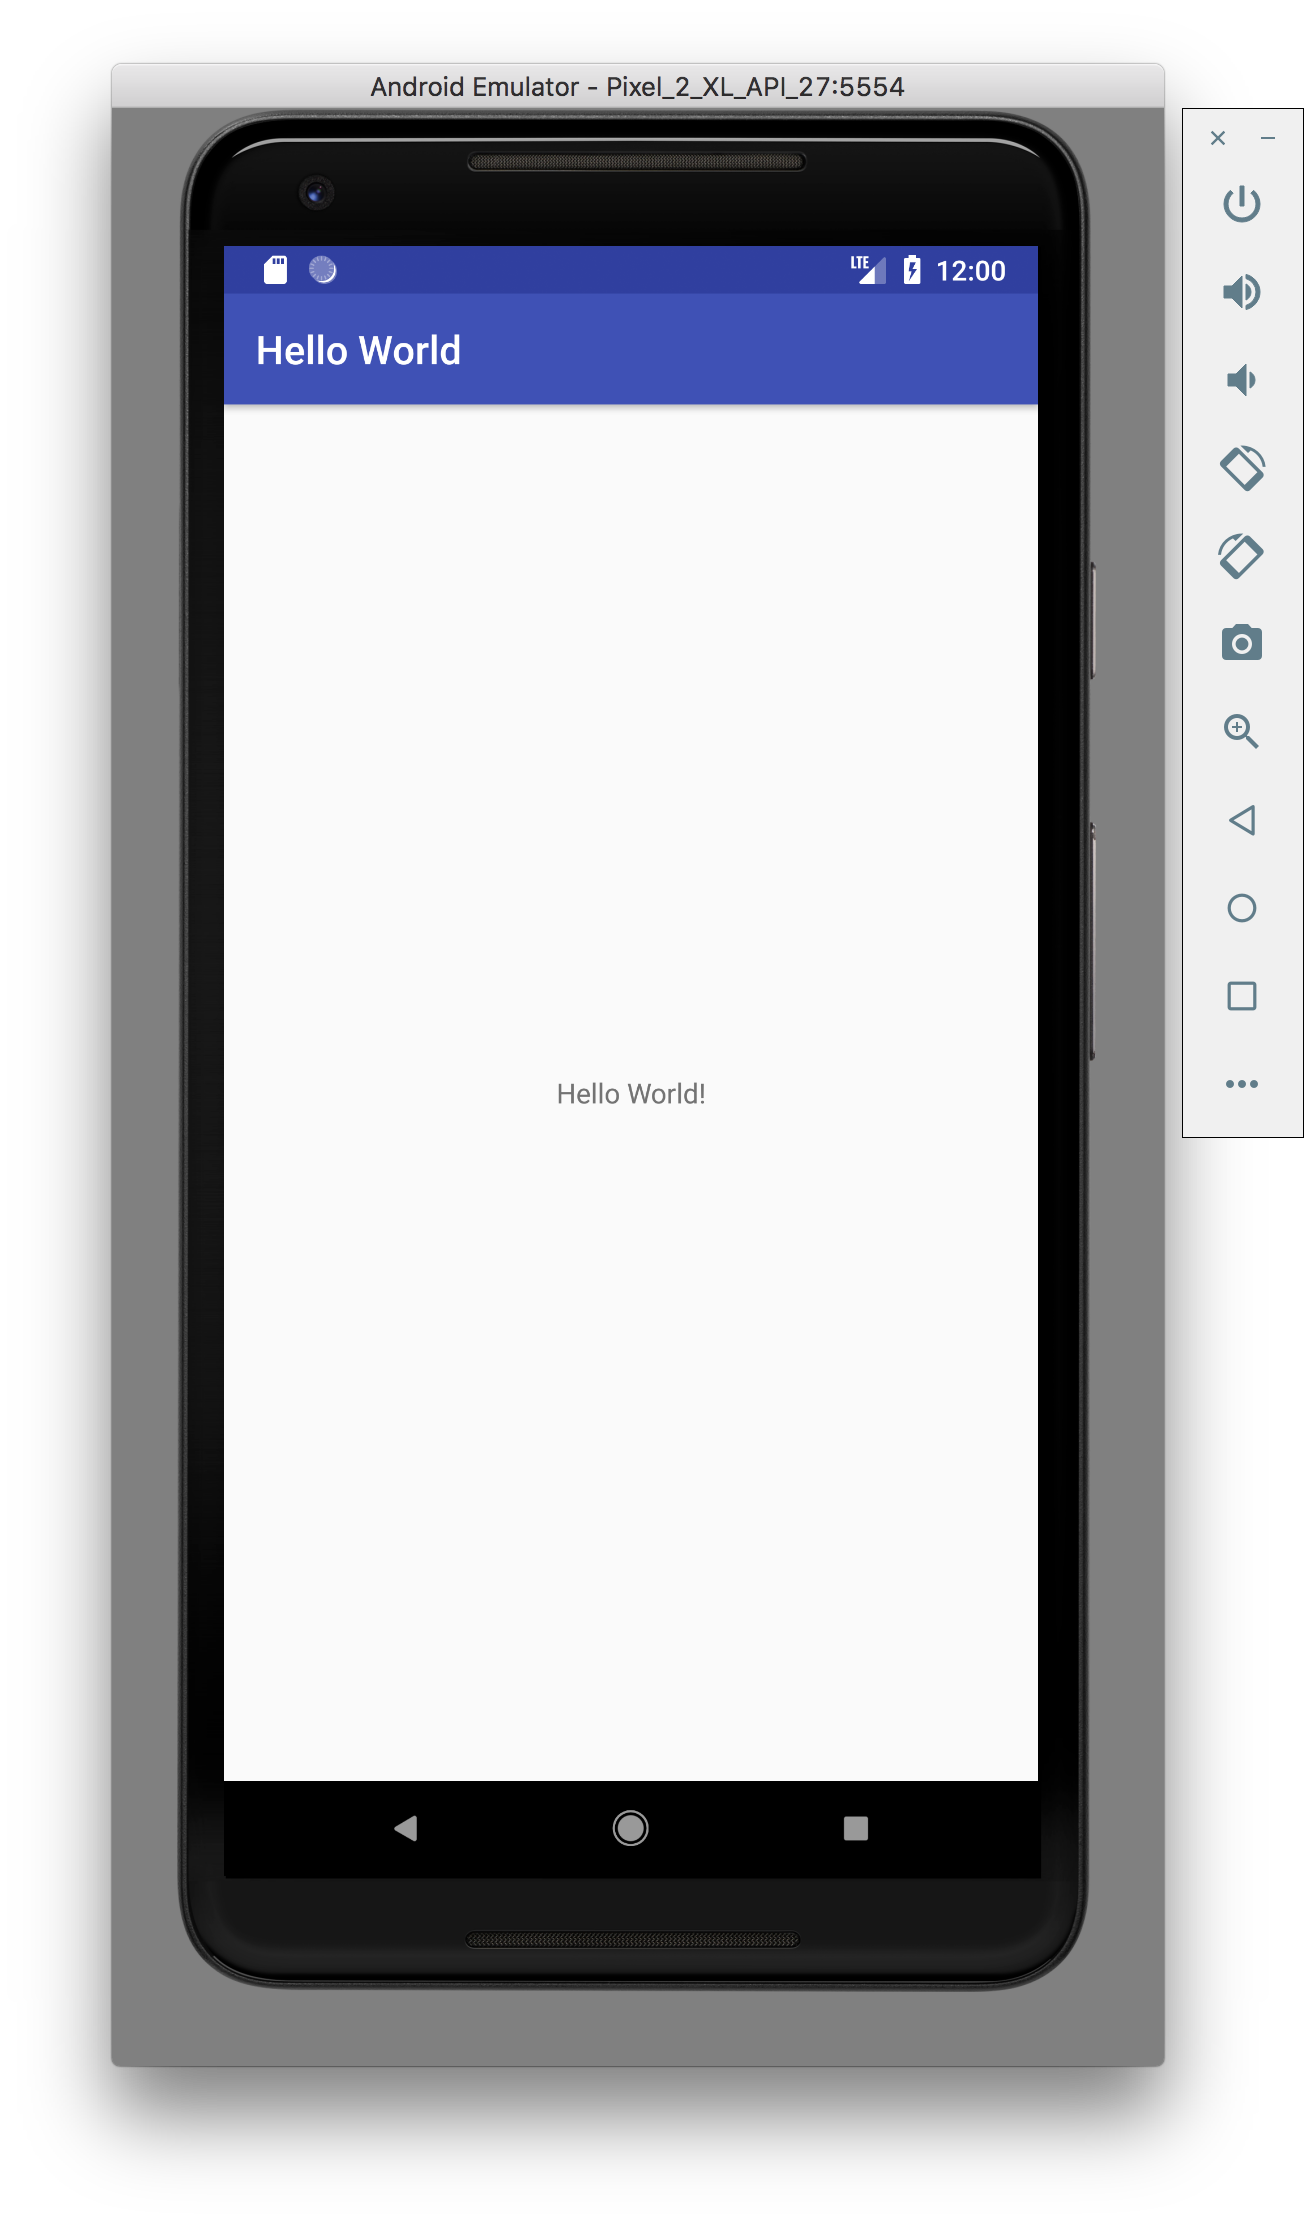 Skeletal app that displays ?Hello World!?
That?s it. Now you have successfully built an Android app!
Part 2 is now available as well.
(This is a Build Builds tutorial)

