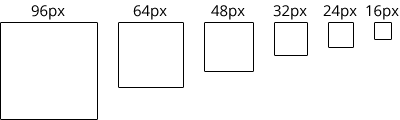
The ICO is a funny file type. It?s been around almost as long as I?ve been alive, hasn?t been updated much, but is still used widely across web and desktop apps. See that little icon in your browser tab? That?s a favicon, a.k.a. an ICO. So for as popular as these are across the web, it?s a bit surprising that neither Photoshop nor Illustrator supports directly exporting to ICO. I wish I had this guide when I was first starting out, so I?m hoping someone out there will find this useful. We?re going to assume for this guide that you want the following sizes in your ICO: 16, 24, 32, 48, 64, 96. Let?s begin!
Photoshop icon exporting method
I prefer to use Photoshop to create my ICO icons. An ICO has set sizes and you want to make sure that they are pixel perfect at every size. With my Photoshop method you?ll have control over the design of each individual icon size, unlike the Illustrator method. This is beneficial because it allows you to add more detail to the larger size icons.
Step 1: Create a template file. You can download the PSD template file that I?ve created. It?s nothing special, but it gives each icon size a frame for where the icon needs to fit. You can pick whatever sizes you want and display them in any order you?d like, but this is my preferred layout. Once you?re done save the PSD and lock it to prevent accidental overwrites!
 My template file.
I am aware that artboards do something very similar and wouldn?t require the following step. This method was created before artboards were available in Photoshop and I?ve found that I prefer this method over using artboards anyways. If Adobe keeps improving artboards I may switch someday.
Step 2: Create a Photoshop Action. This action is going to crop the artboard to the inside of the frame, save the image as a PNG, undo the cropping, and repeat for the rest of the sizes. Rather than try to explain it in writing, I?ll just show you. Checkout my quick video below and you?ll get the idea.
Very quick video showing how to create the custom action.
Step 3: Create your icon! I am working on another blog post on how I create my icons. Once it?s ready I?ll come back and link it here. You can now skip ahead to the Converting section down below.
Illustrator icon exporting method
A lot of people prefer to make their icons in Adobe Illustrator and I understand why. Illustrator is great for SVG icons (the future) but I prefer to use Photoshop when it comes to ICOs.
Step 1: Create a template file. You?ll want two artboards; one at 16×16 and the other at 24×24. We do this to try to avoid sub-pixelation as much as possible when expanding to the larger sizes. You can download the AI template file that I?ve created.
Step 2: Create your icon! I am working on another blog post on how I create my icons. Once it?s ready I?ll come back and link it here.
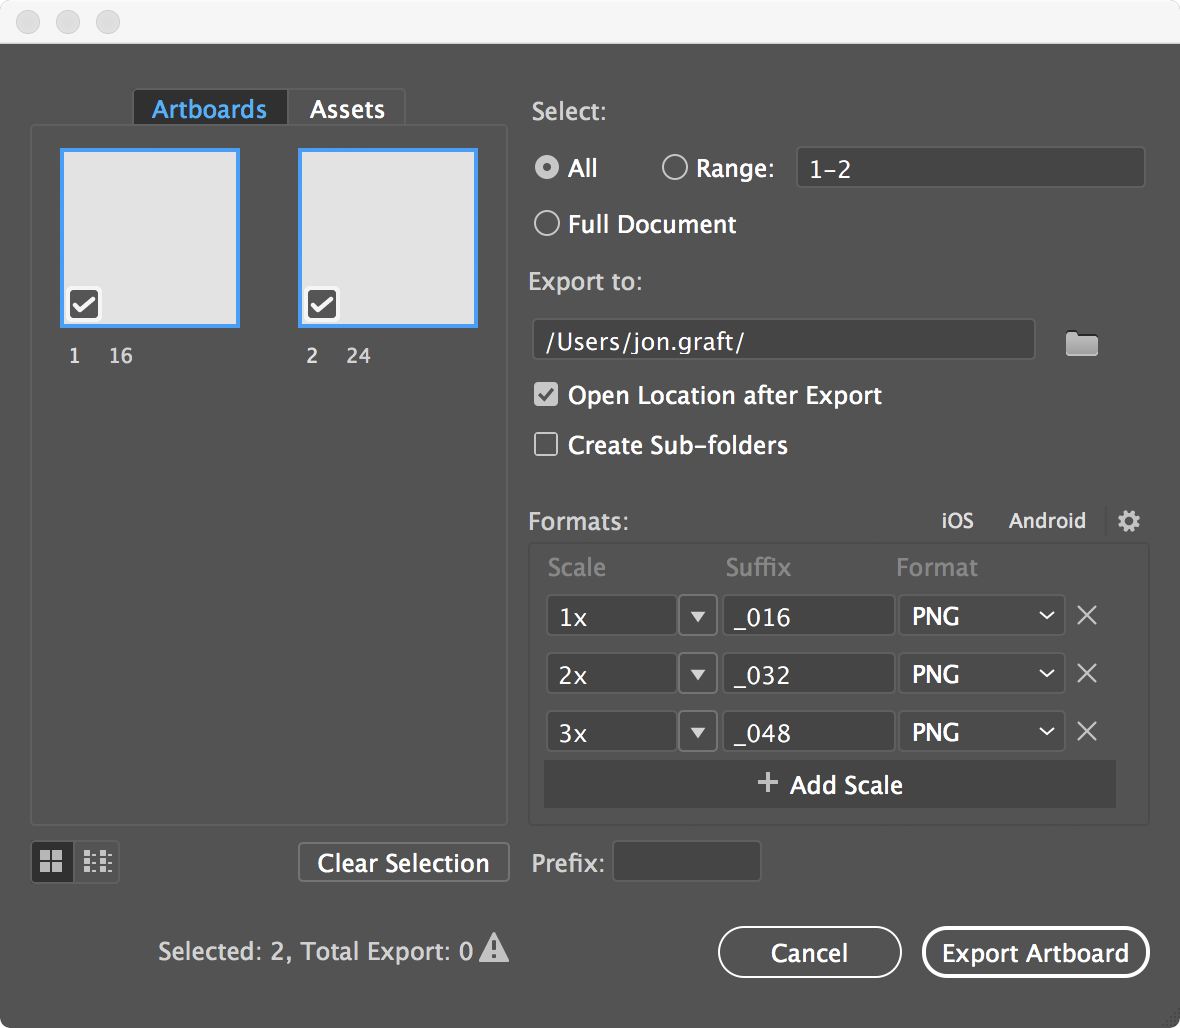 What my export screen looks like although it?s missing 4x scale.
Step 3: Export the artboards. Go to File > Export > For Screens or use the keyboard shortcut ?+?+E. In this next screen you want to export both artboards as PNGs at 1x, 2x, 3x, and 4x scale. After the export you can delete the 72px icon (24px @ 3x scale) and pick which 48px icon you want to keep (16px @ 3x or 24px @ 2x scale). You can now skip ahead to the Converting section down below.
Heads up! If you experience problems displaying the correct size of ICOs exported from Illustrator, run the exported Illustrator PNGs through ImageOptim.
Web app converting method
ICOConvert.com offers a free multiple PNG to ICO converter. It has its limitations but it gets the job done for most. ? This method works for any operating system as long as you have a web browser and Adobe Flash.
Desktop app converting method
This method only works on Mac so far. I don?t typically use Windows and when I do I use the web app method above.
Step 1: Install ImageMagick. I?m not very good at doing anything in Terminal, so I struggled a bit with getting ImageMagick set up and working properly. If you run into problems leave a comment below and I will try to help.
Step 2: Create an Automator script. Create an automation that runs my custom Shell Script available here for copy. Just be sure to replace my desktop path with your own & replace my version of ImageMagick with your own. This script can handle converting up to 10 PNGs into 1 ICO but if you need to increase that number just add ${11}, ${12}, etc. to the code snippet.
I hope this was helpful. I know it was very quick and to the point so if you need me to expand upon any section or would like to learn more about my icon creation process feel free to leave a comment and I will try to help you. And if you really liked what you read, consider using the link below to buy me a coffee, I?d really appreciate it! ??

