Photoshop CC 2015 introduced the much improved ?Export As? output but bizarrely has excluded it?s use within actions. I would encourage anyone looking to improve the export workflow in coming versions of Creative Cloud to comment on the report within Adobe?s Photoshop Community forum so that it gets fixed.
For those users on Creative Cloud 2015+ please be aware that ?Save For Web? has moved File -> Export -> Save For Web (Legacy)
I initially wrote this tutorial in 2011 ? a lot of the specifics have changed since then. Whilst the general principle (you can record ?actions? and use the ?batch? command interface to run them) remains the same I apologies if some of the screenshots/screencast are now out of date.
I have left this tutorial active as it still seems to helping people out. If you run into any specific issues with newer version of Photoshop leave a comment.
Displaying images on the Web is compromise between Image Quality and File Size.
The smaller the file-size the faster you site loads for visitors and the less bandwidth you will use. The higher the image quality the better you images will look. However, by using the Save For Web tool effectively you can reduce your image size with a minimal loss of quality.
Text Tutorial
Please note, this is the original tutorial I wrote in 2011 for CS5. The principles from both the video tutorial and the text tutorials should work in all versions of photoshop that allow use of BATCH commands and ACTIONS.
![]()
Whilst it is fairly straightforward to use the Save For Web tool in Photoshop the monotony of repeating this task for dozens of images can be quiet daunting.
This post will walk you through to create a simple Action to allow you to quickly resize whole batches of images in one go.
Step 1. Create a Web Optimisation Action to Taste
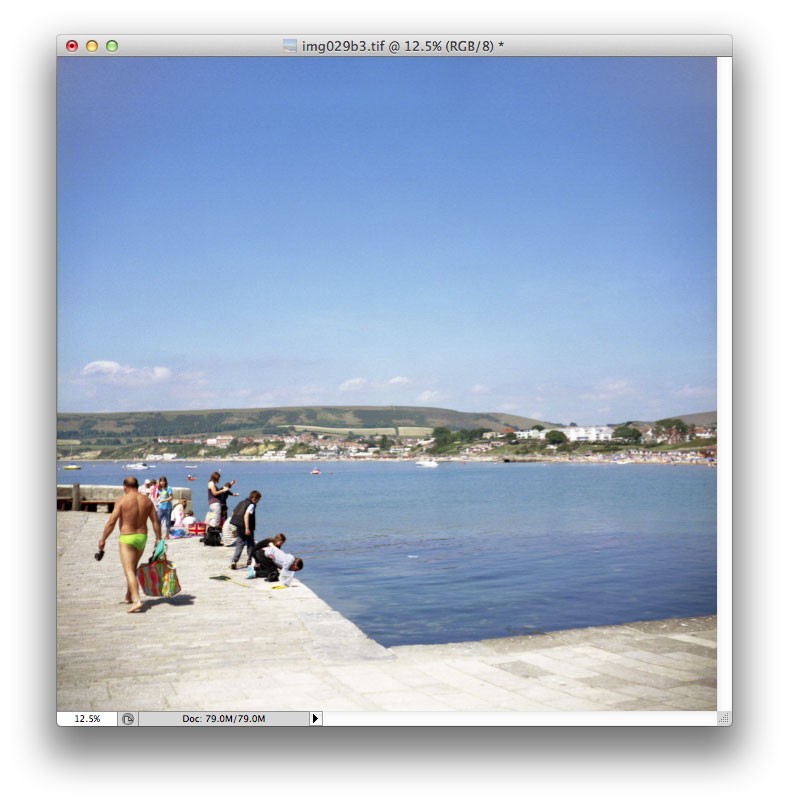
Open the image. For this tutorial I will be using a scan of a 120 image that is bright and vivid.
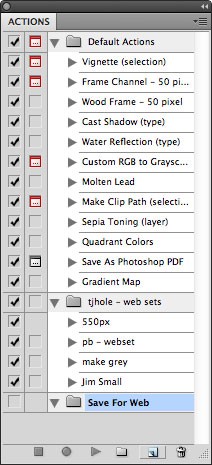
First you need to make sure the Action panel is visible in Photoshop.

The panel should look similar to this
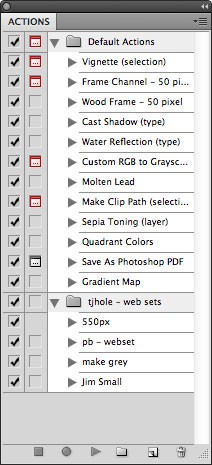
Click the folder Icon at the bottom of the panel to create a new set.
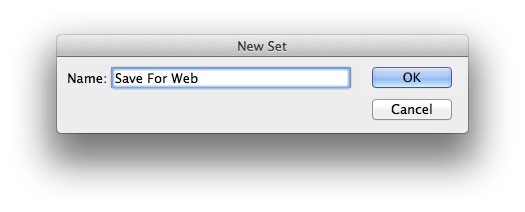
A new folder will appear. (Note you can create the action in an existing folder if you wish)
Click the New Action icon between the folder icon and the bin.
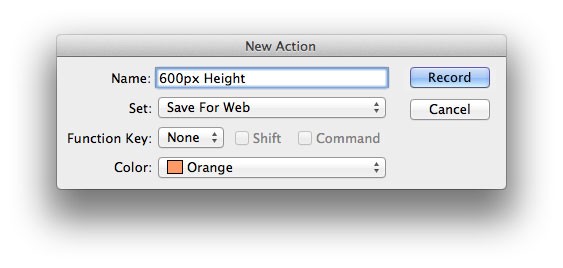
Note you can assign a shortcut to the action so can quickly access it in future.
Once you have created the New Action it will automatically start recording.
Note you can pause/restart recording using the Stop/Record icons at the bottom of the panel
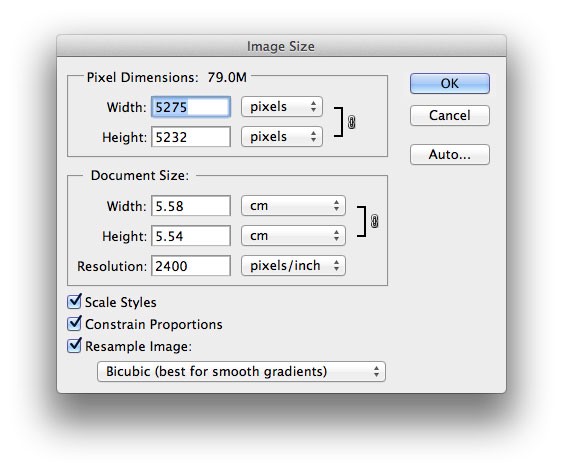
Open up the Image Size dialogue
Image->Image Size
The image I am using for this tutorial is a scan and the resolution is very high. A normal digital photography will be 240dpi/300dpi (pixels/inch).
Screen resolution is 72dpi. Change your Resolution to 72dpi (pixels/inch)
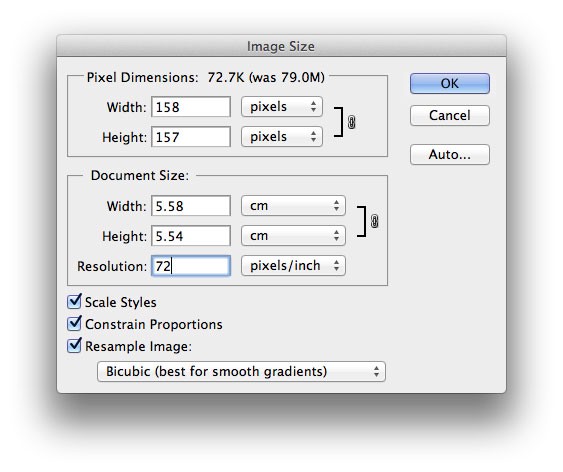
You will notice the width decreases from 5275pd to 158px. Now change your Height/Width dimension to the desired size.
Note if you wish to resize all your images to have a height of 600px set height to 600px, if you want to resize all the images width to 600px set the width to 600px.
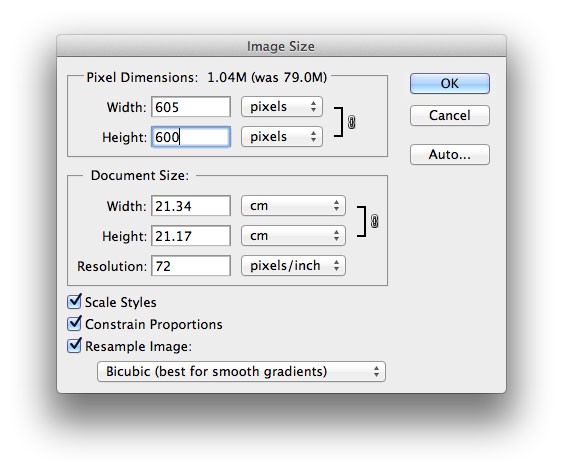
For photography Resample the Image using the Bicubic setting.
Bicubic is best for creating smooth gradients, Bicubic Smoother is best for enlargement and Bicubic Sharper is best for reduction.
Click OK
The image is now resized.
Next we need to change the colour space to sRGB (which most Web browsers will automatically try to render the image using).
Note if we try to view the image in a Web browser with Adobe1998 as the colour space compared to if we convert the image to SRGB it will appear desaturated. Having the wrong colour space in a JPEG when you upload it explains why many images look under-saturated online.
Open Edit->Convert to Profile
Select Working RGB sRGB 2.1 from the dropdown menu.
Select Perceptual from the Intent menu.
Click OK.
Now select Save for Web and Devices from the Menu.
Select JPEG High as a preset.
You can now use the JPEG quality slider to adjust the image quality to taste. For a portfolio site I would suggest 80. For general use 50/60.
Note you can resize images/change colour spaces in this menu but it is advisable not to because opening a large 5000px wide image in the dialogue as it slows the whole system down as Photoshop attempts to render an optimised version.
Click Save and select the folder you want your Web Optimised Images to appear in.
Now Close the image. This is important because when you run a batch you do not want to optimised dozens of images and leave them all open in Photoshop.
It will ask you if you want to save select NO. If you save again at this point you will overwrite your original image.
Now stop the Action Recording by selecting stop in the bottom left of the Action menu.
Step 2. Use Batch to Run the Web Optimisation Action for multiple files
Now your action is complete you can open any image, run the action and know that it will save the Web optimised image using your settings.
However what is really helpful is using the BATCH command to open and optimise large number o images.
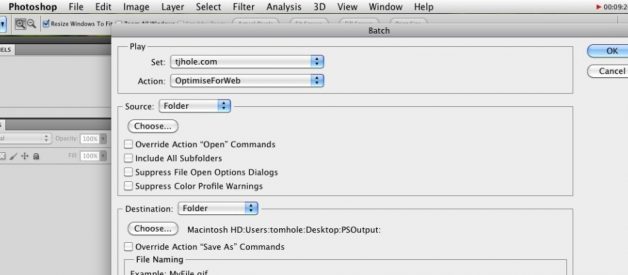
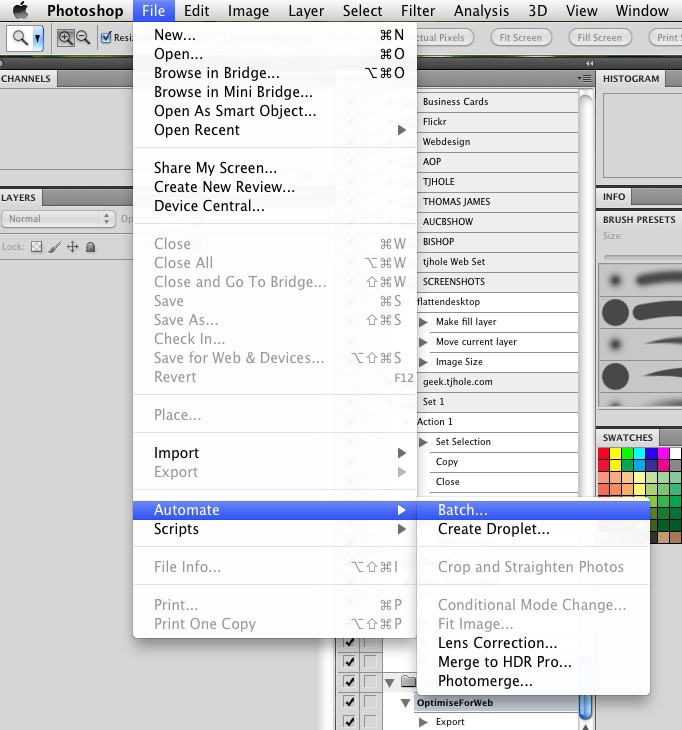
Open File->Automate->Batch.
When the batch dialogue opens select your Set/Action.
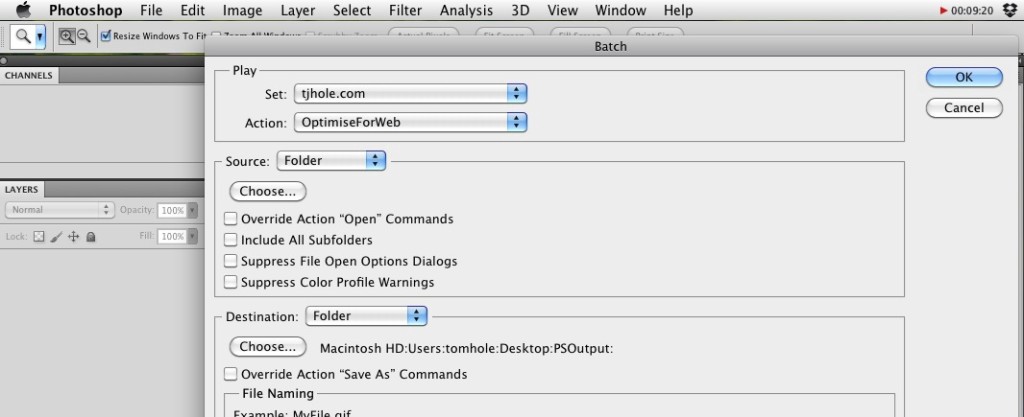
For the source select Folder, and Choose the directory where the images you want to optimise are stored.
Click OK.
It is worth noting this is a very basic application of the BATCH command and that you can use actions to build up more complex workflows