Learn how to implement unwind segues
A segue creates a new view controller instance, but it can not ?decreate? that view controller, or some preceding ones. Once a segue is triggered, it can not go back. It is like a one-way street.
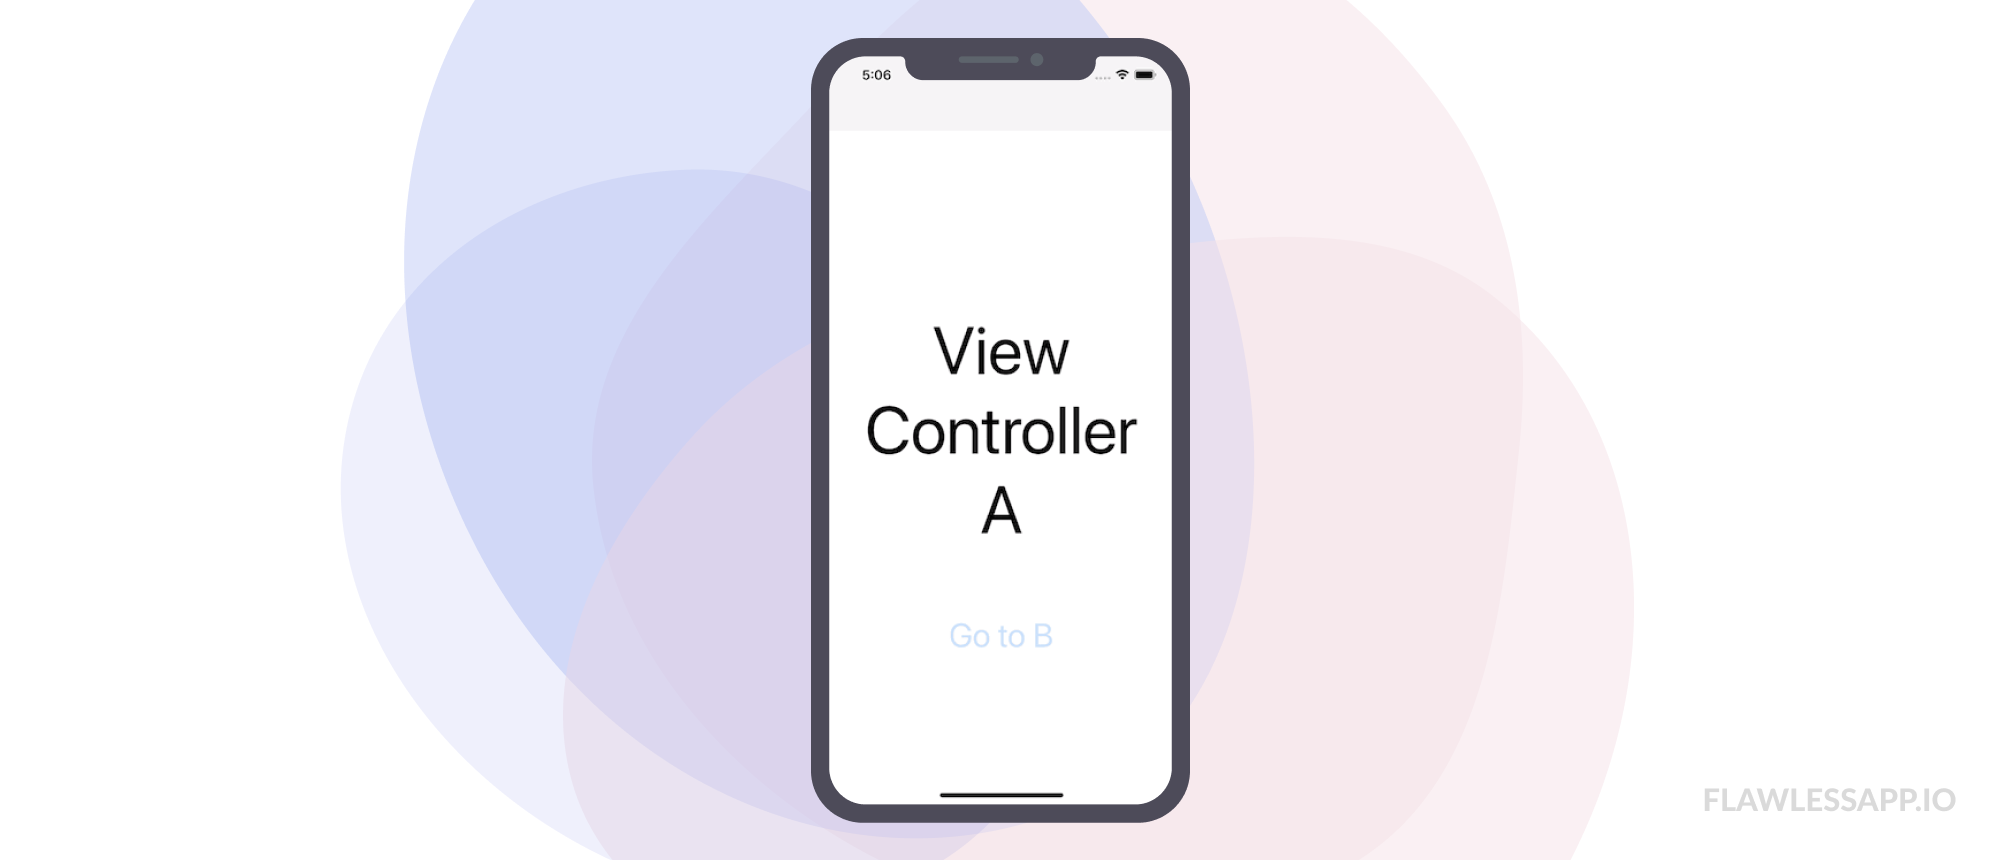
Let?s assume you have View Controller A, B, and C. You segue from A to B and from B to C, but when you dismiss C you want to return to A and not B. A simple back button in a navigation controller is no use here because that always takes you to B.
Unwind segues offer an elegant solution to these problems and that?s why I think they are a valuable but not-often-talked-about tool in your iOS developer arsenal.
 Photo by Karina Carvalho on Unsplash
What is an unwind segue and how does it work?
An unwind segue lets you jump to any view controller further up your view controller hierarchy, destroying all view controllers preceding the destination.
Before actually creating one, let?s overview how an unwind segue works.
- You implement an unwind method in the destination view controller. This method takes one parameter, a UIStoryboardSegue and it serves as a sign to the runtime that this view controller can be the destination of an unwind segue.
- Creating the unwind segue in the storyboard.
- You trigger the unwind segue in your source view controller.
- The source view controller?s shouldPerformSegue(withIdentifier:sender:) method is called.
- The runtime goes through the view controller hierarchy looking for the destination view controller. This will be the first view controller it finds that implements the unwind method.
- The source?s prepare(for:sender:) method is called, just like for a normal segue, which is the perfect opportunity to pass data from the source to the destination.
- The unwind method in the destination view controller is called, taking our segue as the input parameter. This method is often empty and serves only as a marker.
- The segue is performed.
Implementation
Now it?s time to implement our first unwind segue. I?m assuming here that you know how to create view controllers and elementary stuff like that.
Set up the project
Create a new Xcode project, make it a single view app, set the language to Swift and select the Storyboard as the User Interface.
Once your project is created, implement the following changes:
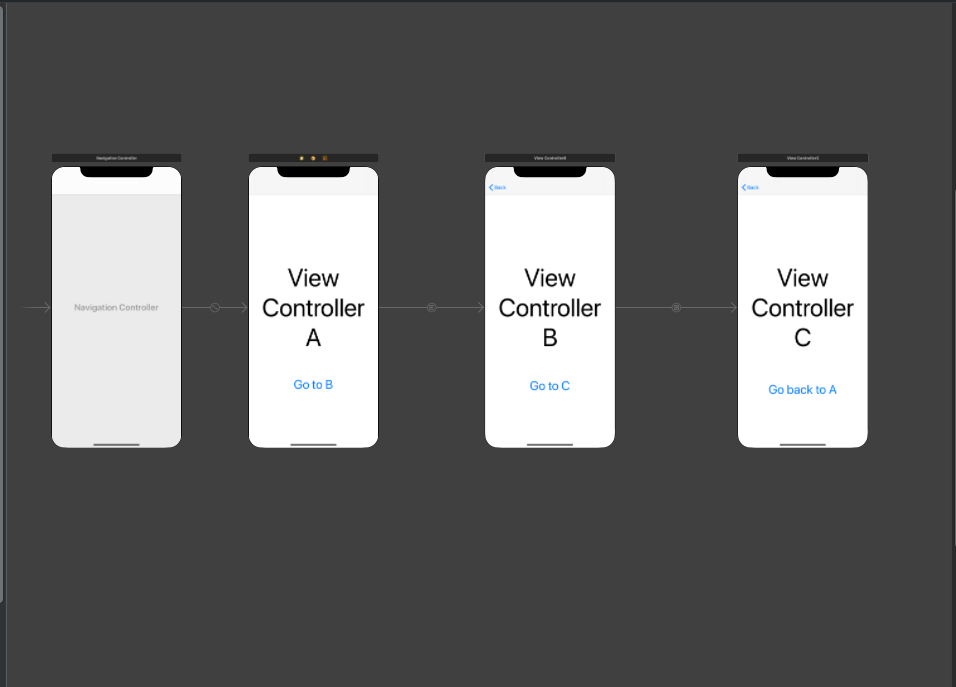
- Create three new view controllers in the Storyboard (I?m going to call them View Controller A, B, and C.)
- Embed them in a navigation controller (Editor ? Embed In ? Navigation Controller)
- Create a show segue from View Controller A to B and from B to C. Give each a unique identifier.
- Add a button to each view controller. In A and B, this is will trigger our show segue and in C this will trigger our unwind segue.
Once you?re done with this, this is how your storyboard should look like:
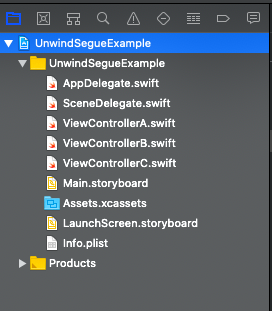
And this is our Project Navigator:
Next, trigger the show segues in view controllers A and B when the buttons are pressed:
//View Controller Aclass ViewControllerA: UIViewController {override func viewDidLoad() { super.viewDidLoad() }@IBAction func goToBTapped(_ sender: Any) { performSegue(withIdentifier: ?segueToB?, sender: self) }}//View Controller Bclass ViewControllerB: UIViewController {override func viewDidLoad() { super.viewDidLoad() }@IBAction func goToCTapped(_ sender: Any) { performSegue(withIdentifier: ?segueToC?, sender: self) }}
Create the unwind segue
The first step is to implement the unwind method. You have to do this in your destination view controller. For us that?s ViewControllerA.
@IBAction func unwind( _ seg: UIStoryboardSegue) {}
You have to mark it as IBAction and pass in a single parameter, the UIStoryboardSegue that we will trigger. I named it ?unwind?, but the name doesn?t matter, you can call it whatever you like.
As mentioned above, this method most often will be left empty. It does get called when the unwind segue is triggered, but its signaling functionality to the runtime is much more important.
Now we go back to the Storyboard, select ViewControllerC and drag from the view controller to the Exit proxy.
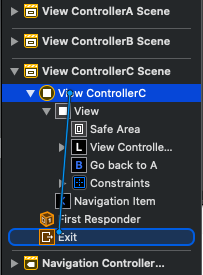 Dragging to the Exit proxy
In the popup we select our unwind method.
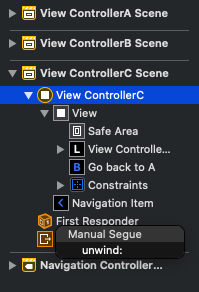 Selecting the unwind method
Finally, we give our unwind segue an identifier.
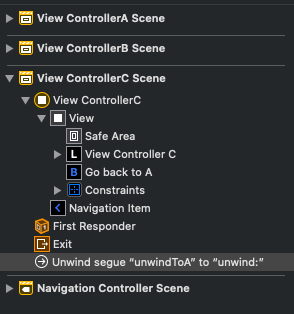 The unwind segue now has an identifier and is connected to the unwind method.
Now all that?s left is to trigger the unwind segue when our button is pressed.
@IBAction func backToATapped(_ sender: Any) { performSegue(withIdentifier: ?unwindToA?, sender: self)}
We?re done! ?
 Unwind segue
Some technical details
Before concluding this article I want to look at what the runtime is doing under the hood.
Locating the destination is basically a walk up the view controller hierarchy. The current view controller?s parent or presentingViewController will be the next one.
At each stop, the runtime also has to check whether the view controller has any children because the unwind method might be contained in one of those. This is done by calling the allowedChildrenForUnwinding(from:) method, which returns an array of UIViewControllers which are the view controller?s children.
However, we do not want to check the branch that contains the source view controller, since we just came from there. That?s avoided by calling the childContaining(_:) method, which returns the child view controller that contains the source of the unwind segue. This is removed from the array.
If the array returned contains any children, the above process is performed on them too. It comes to an end if the destination is found.
If the array returned is empty, the canPerformUnwindSegueAction(_:from:sender:) method is called, which checks whether the view controller contains the unwind method.
If it does, we reached our destination and the process is finished. If it does not, we go one step up the view controller hierarchy and perform the same steps.
Conclusion
I hope you enjoyed this short tutorial on unwind segues, thank you for taking the time to read it.
If you have any ideas or suggestions feel free to leave them in the comments below.
Resources:
Apple Developer Documentation
Programming iOS 13 by Matt Neuburg

