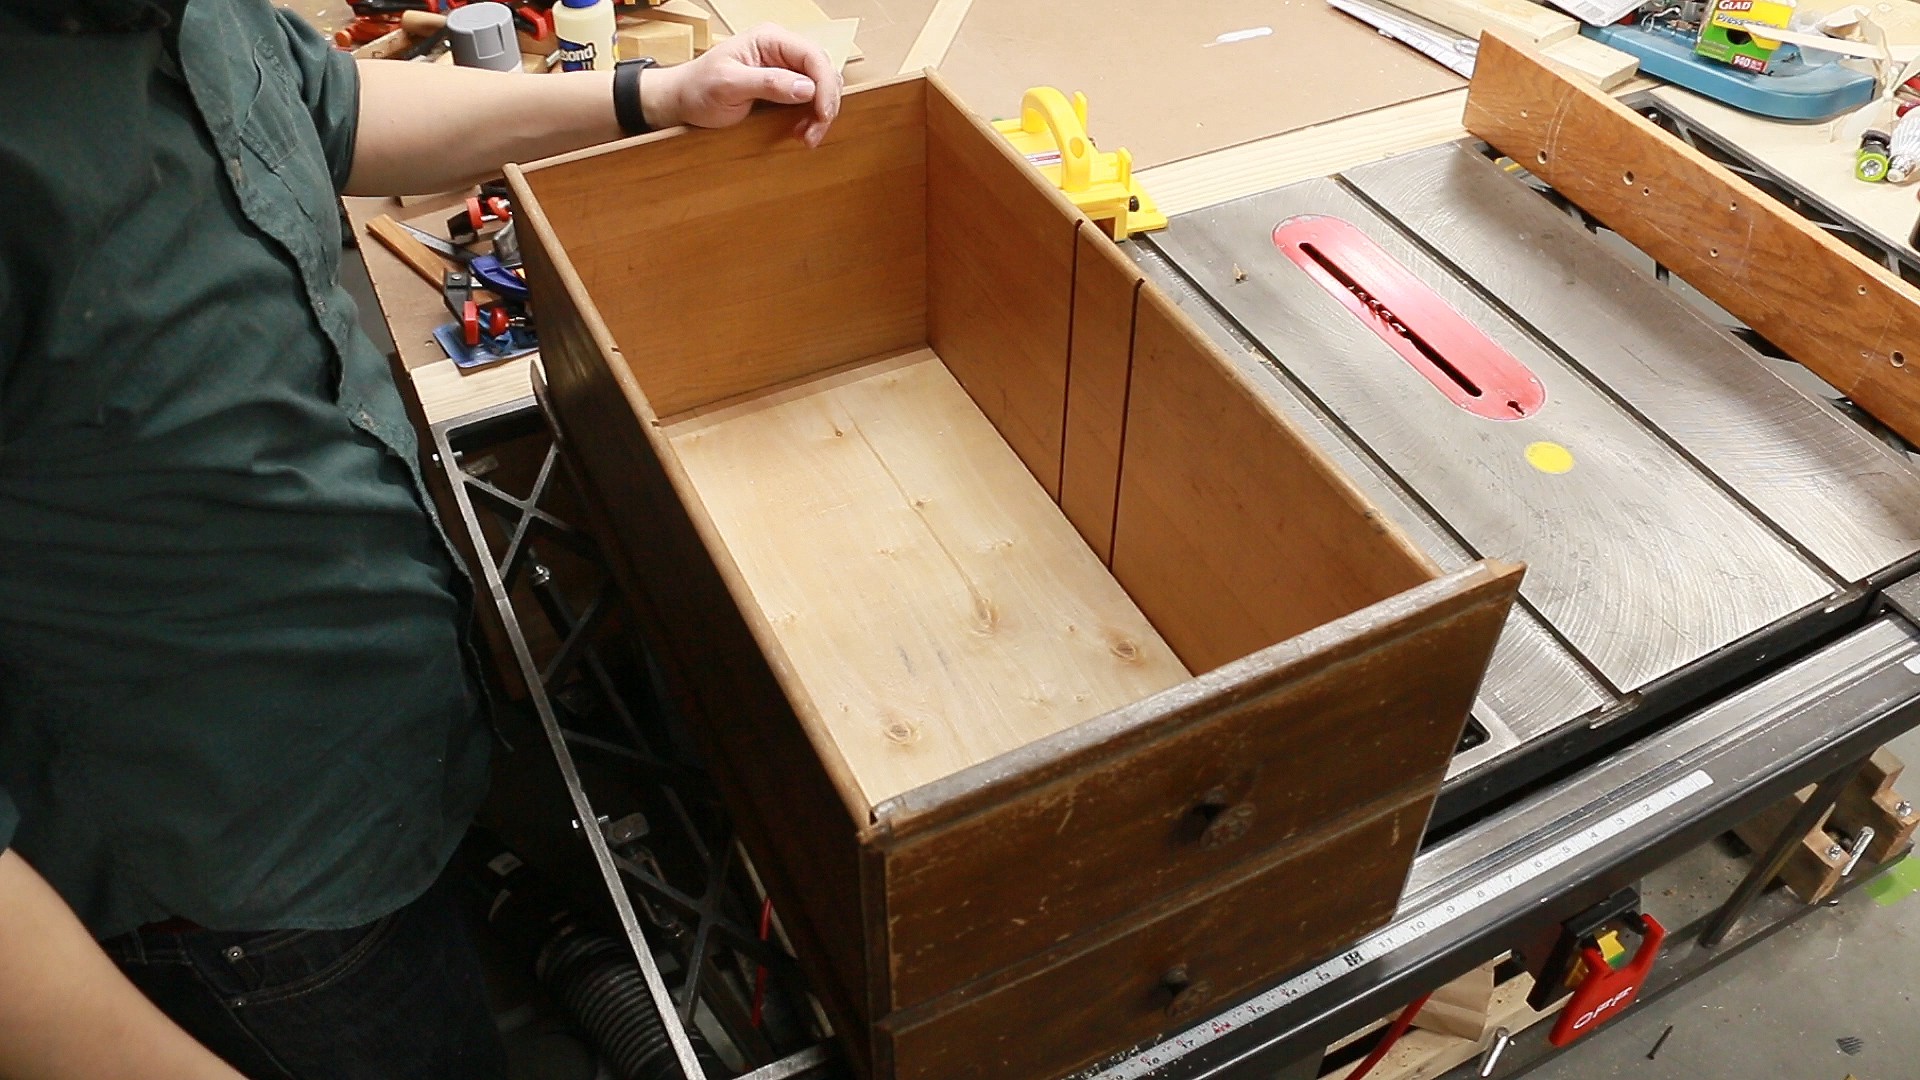
I have no idea when or how the bottom of this drawer broke, but it was missing when I got the desk for free off of Craigslist three years ago.And I?ve been dragging my feet on fixing it ever since.
I have no idea when or how the bottom of this drawer broke, but it was missing when I got the desk for free off of Craigslist three years ago.
And I?ve been dragging my feet on fixing it ever since.
It?s not Abe Lincoln?s old desk or anything. (It might have once belonged to a local music teacher, going by some writing in the center drawer. Today it serves as the foundation for my miter saw station.) But it is still a cool old desk, so I longed to fix the drawer the ?right? way. That meant staying true to the original construction of the desk. I would need to dismantle the original dovetails, slide a new base into the dado at the bottom of the drawer, and then reglue the back in place.
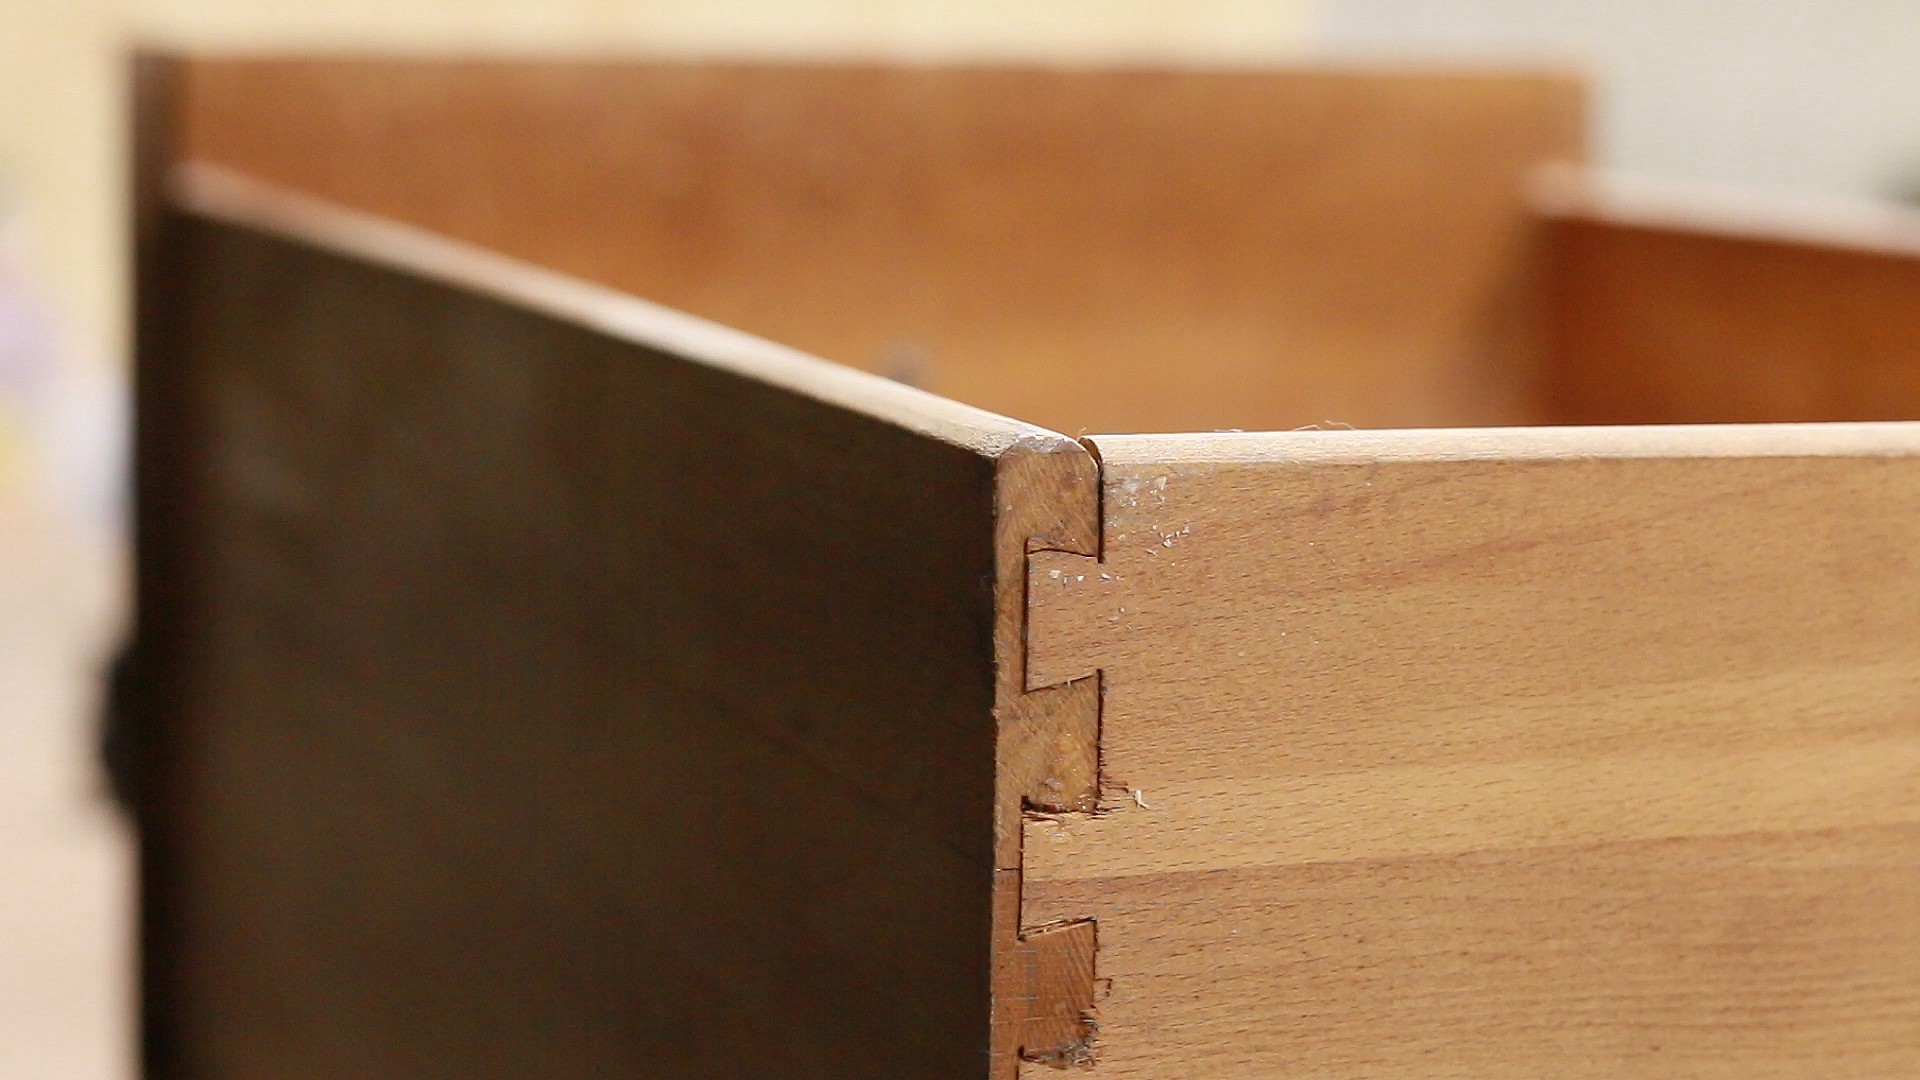 Dovetail joints. These might have been hand carved instead of machine made, going by some of their irregularities.
But doing that is not so easy. Furniture repair experts suggest that taking apart this type of joint is so difficult that you might end up breaking the drawer in the process. This is quite an endorsement for the strength of dovetails, I suppose! (As long as you don?t ever have to fix them.)
Less-period-correct repair methods, involving screws, brackets, and other hardware, do exist. But all of them still seem to require getting that drawer bottom back in the bottom dado. If I could do that, I probably wouldn?t need anything else. And meanwhile, previous repairs have left the bottom face of the drawer cracked and otherwise damaged. So there?s no guarantee that such a fix wouldn?t just fail again anyway.
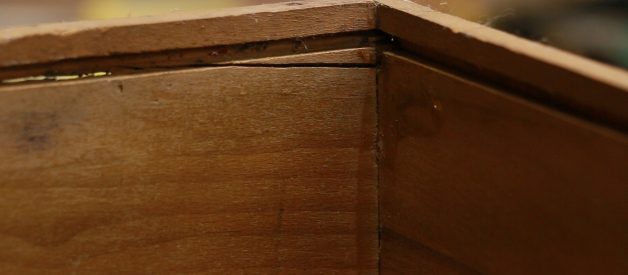
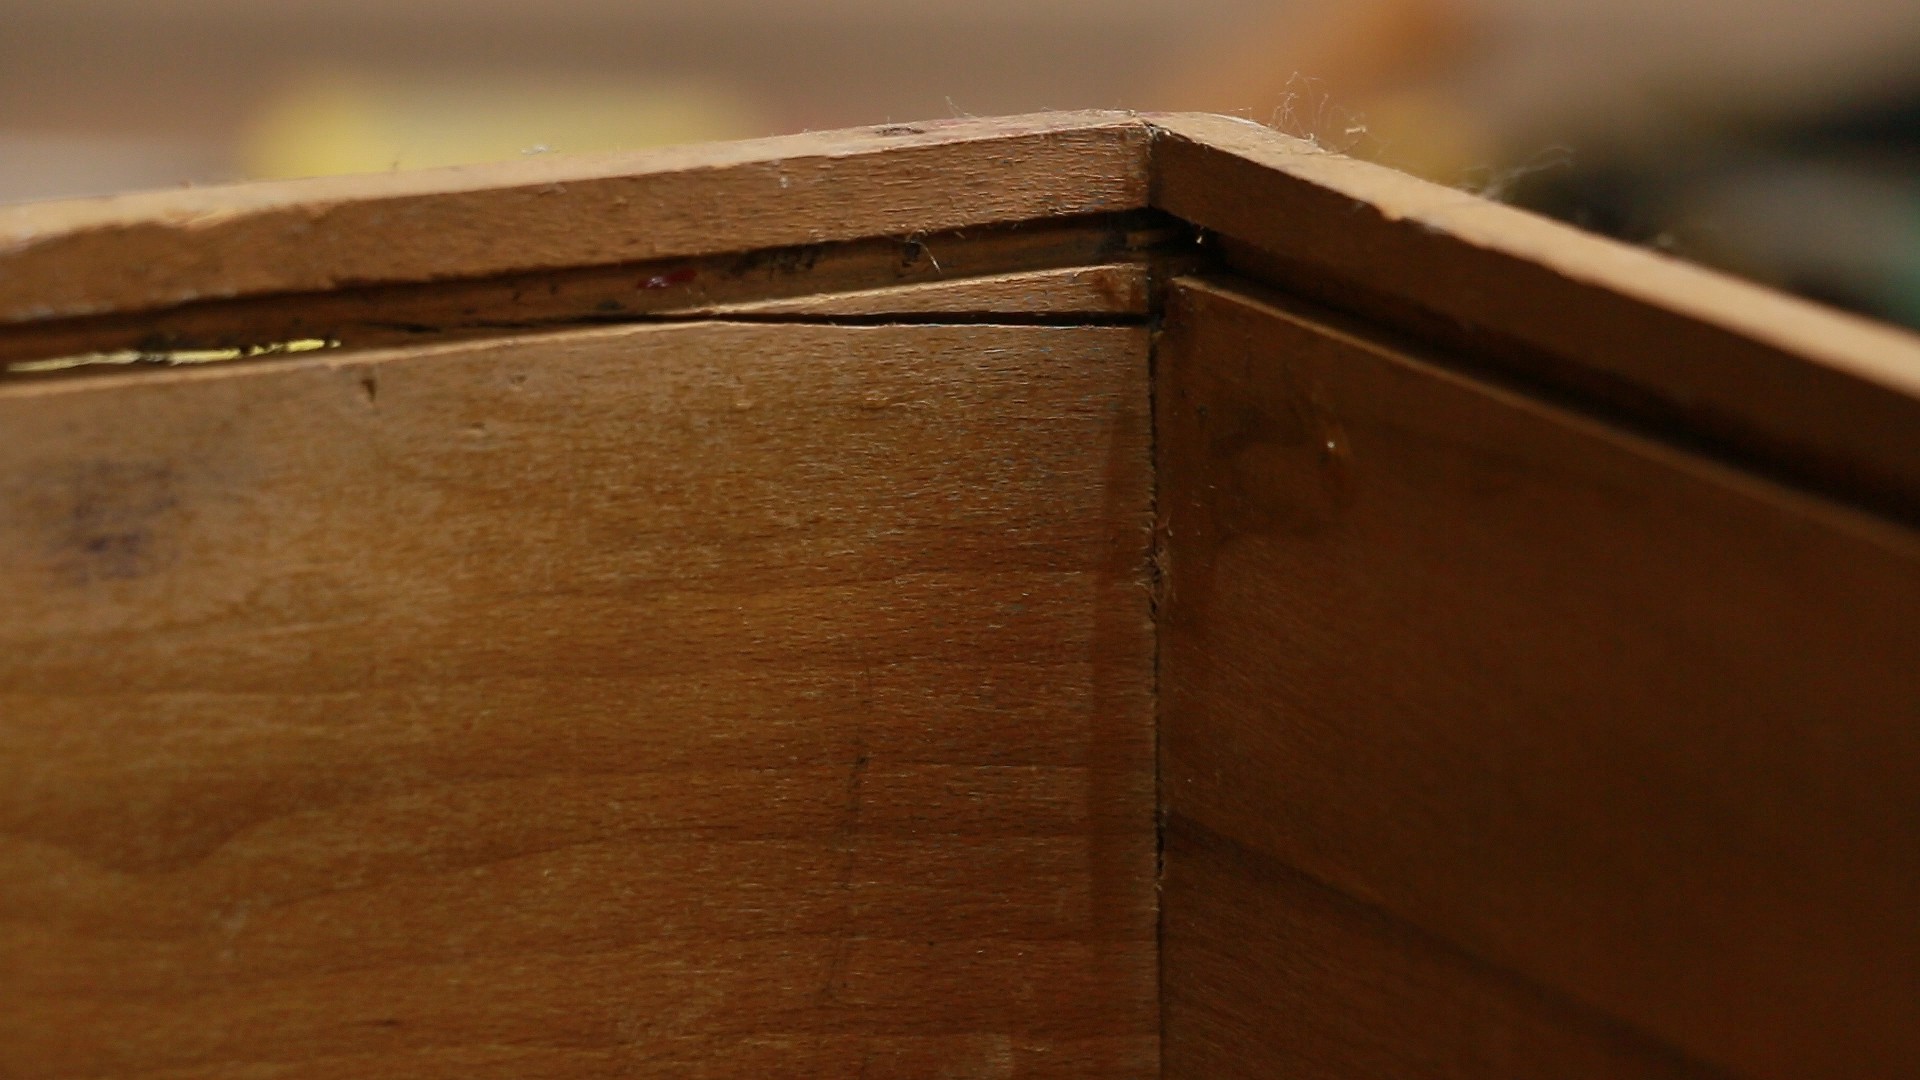 The dado that previously held the drawer bottom has taken some damage over the years.
Naturally, I procrastinated on a repair, a thing I am prone to do, especially when there are 10,000 easier, more important tasks to tackle.
But I?m happy to report that I have finally freed myself from this gumption trap. The solution? A technique I call the ?half-dado method.?
I couldn?t get a new drawer bottom into the existing dado. But I could recreate the bottom face of that dado, which is the most important part.
Here?s how it works:
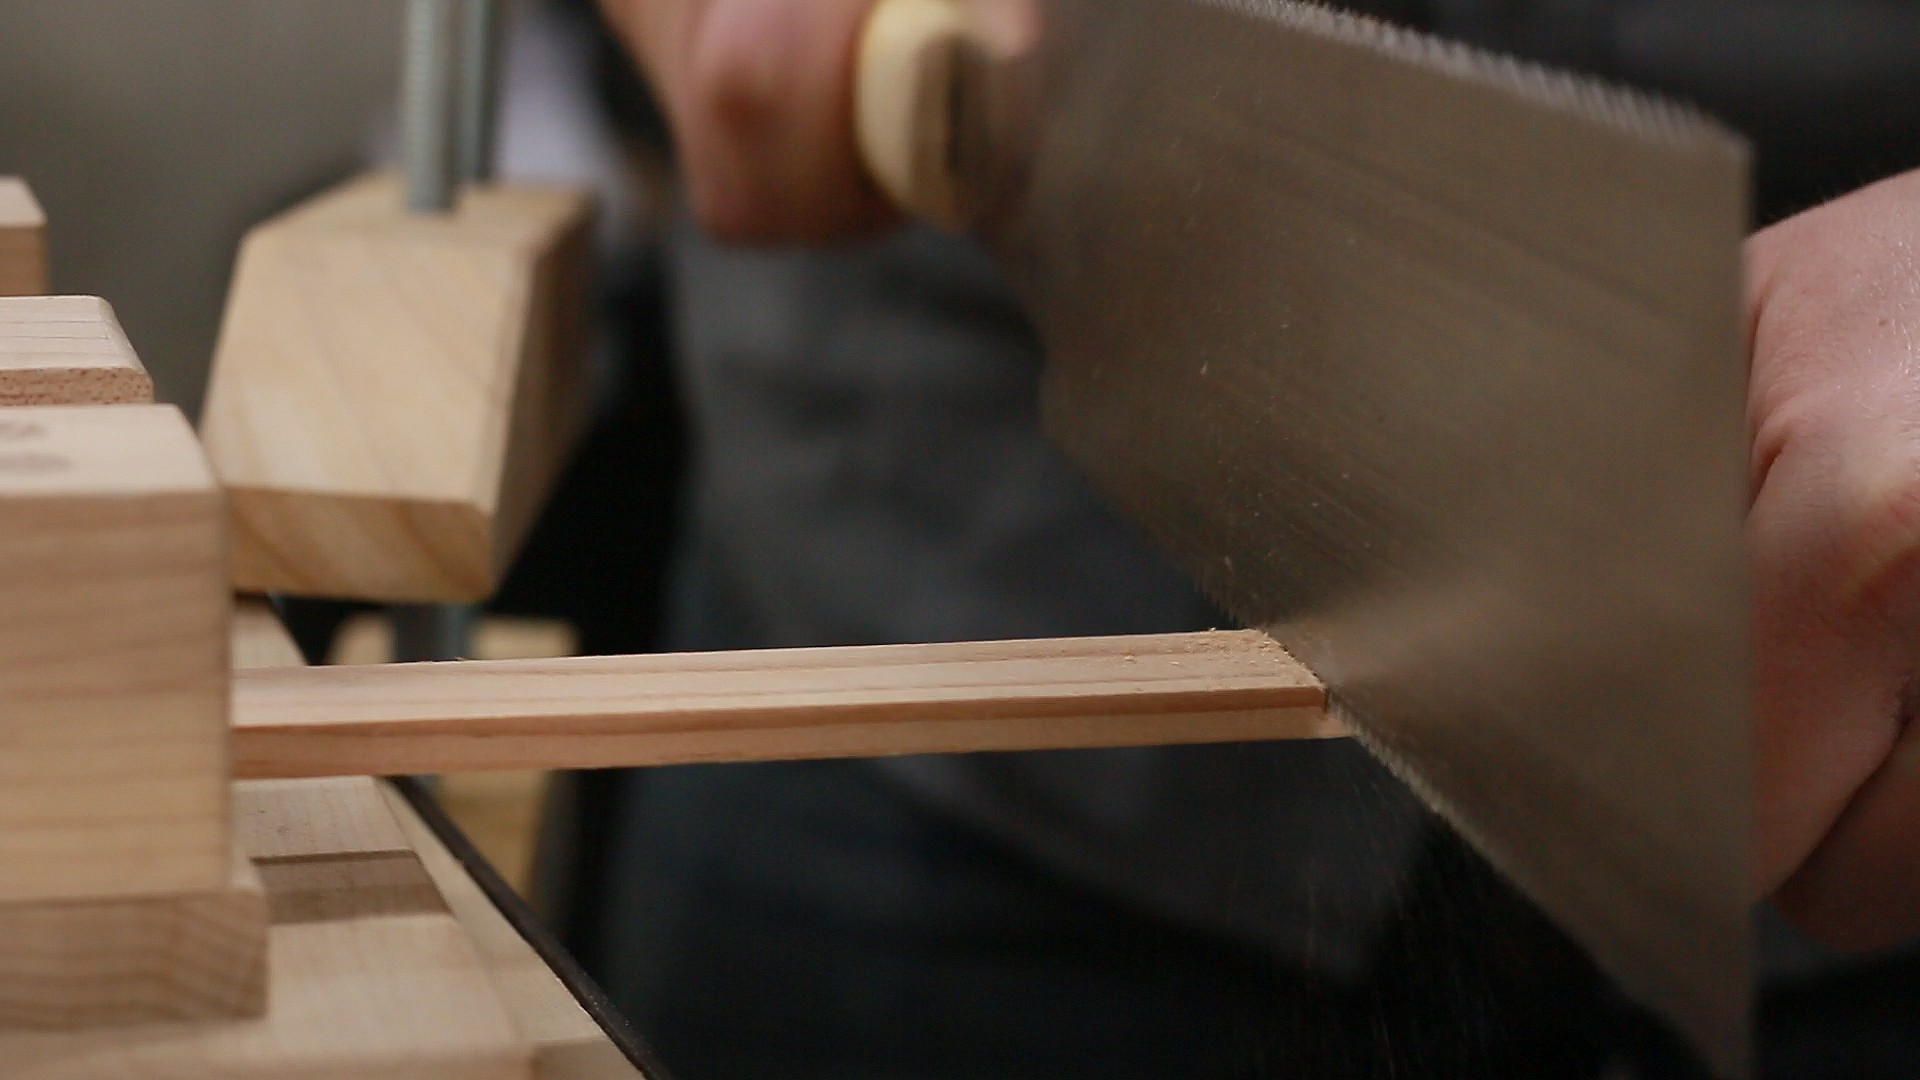
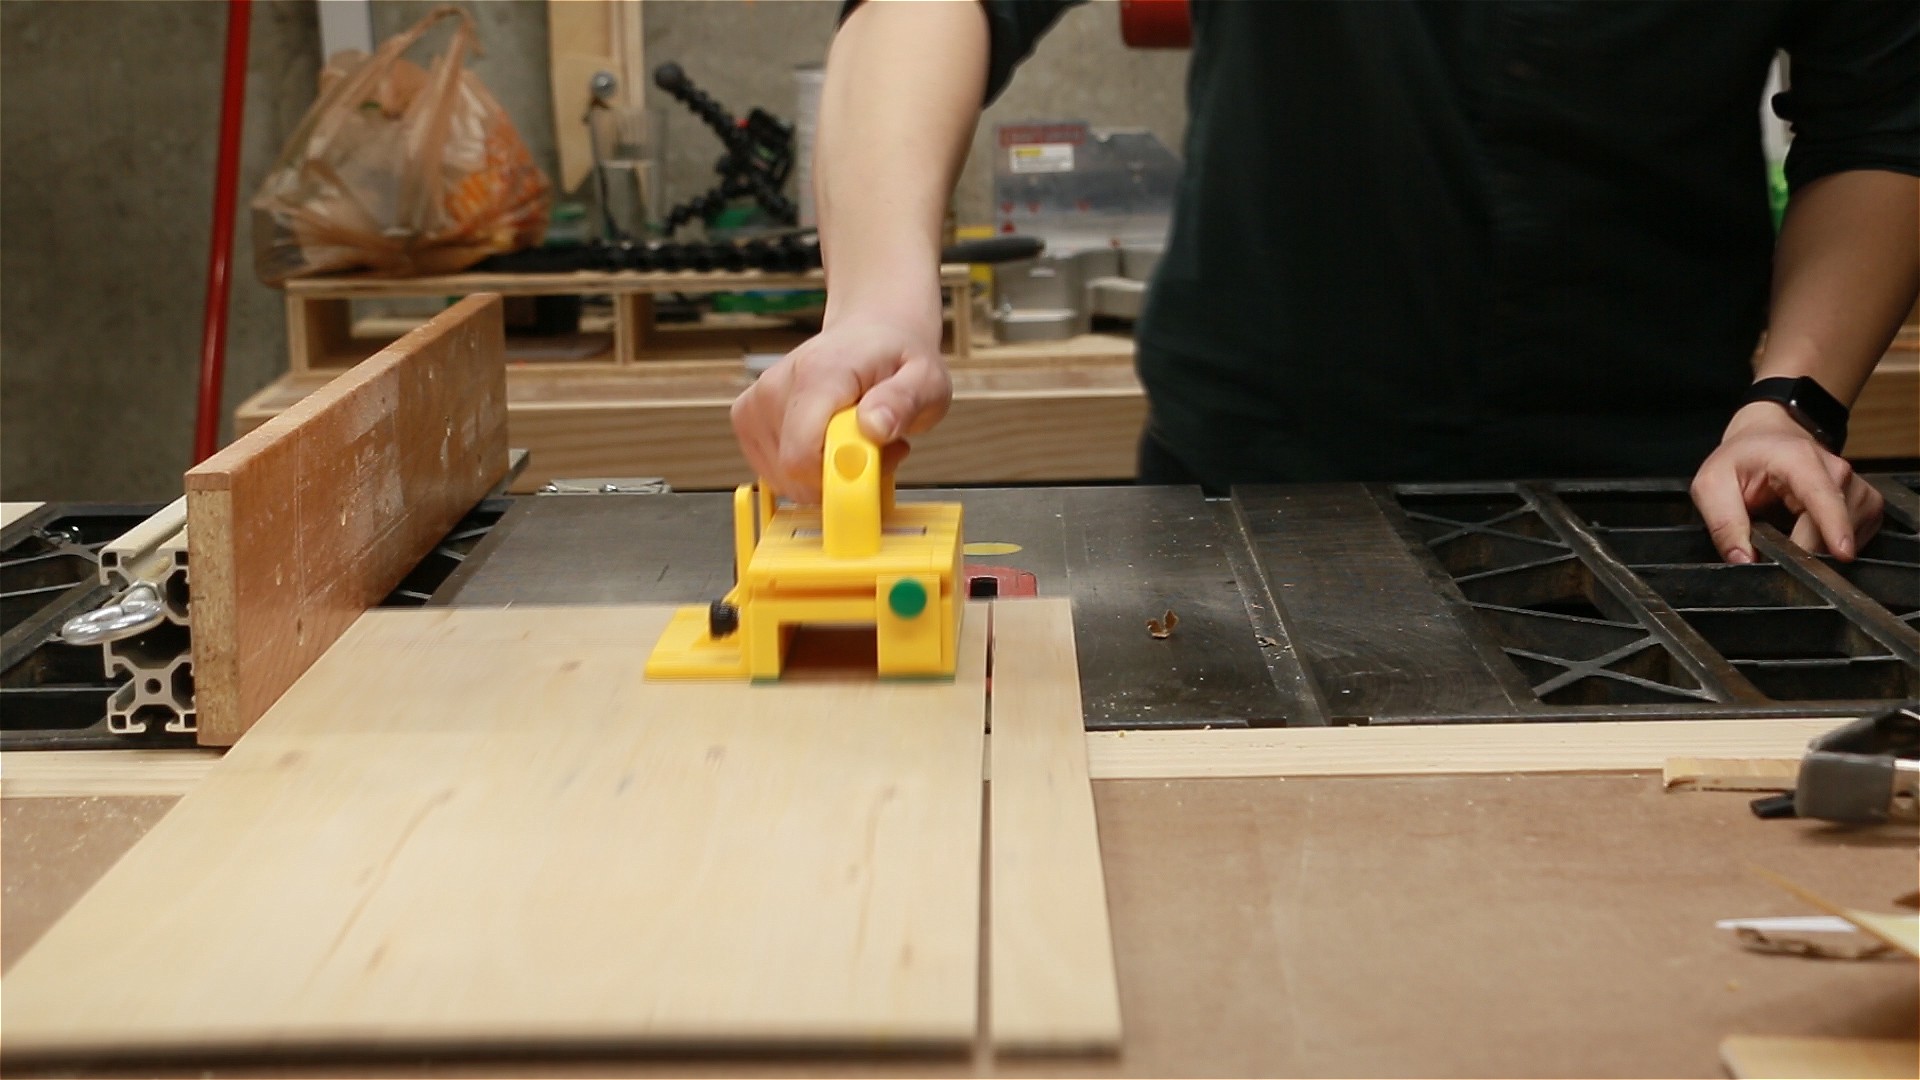
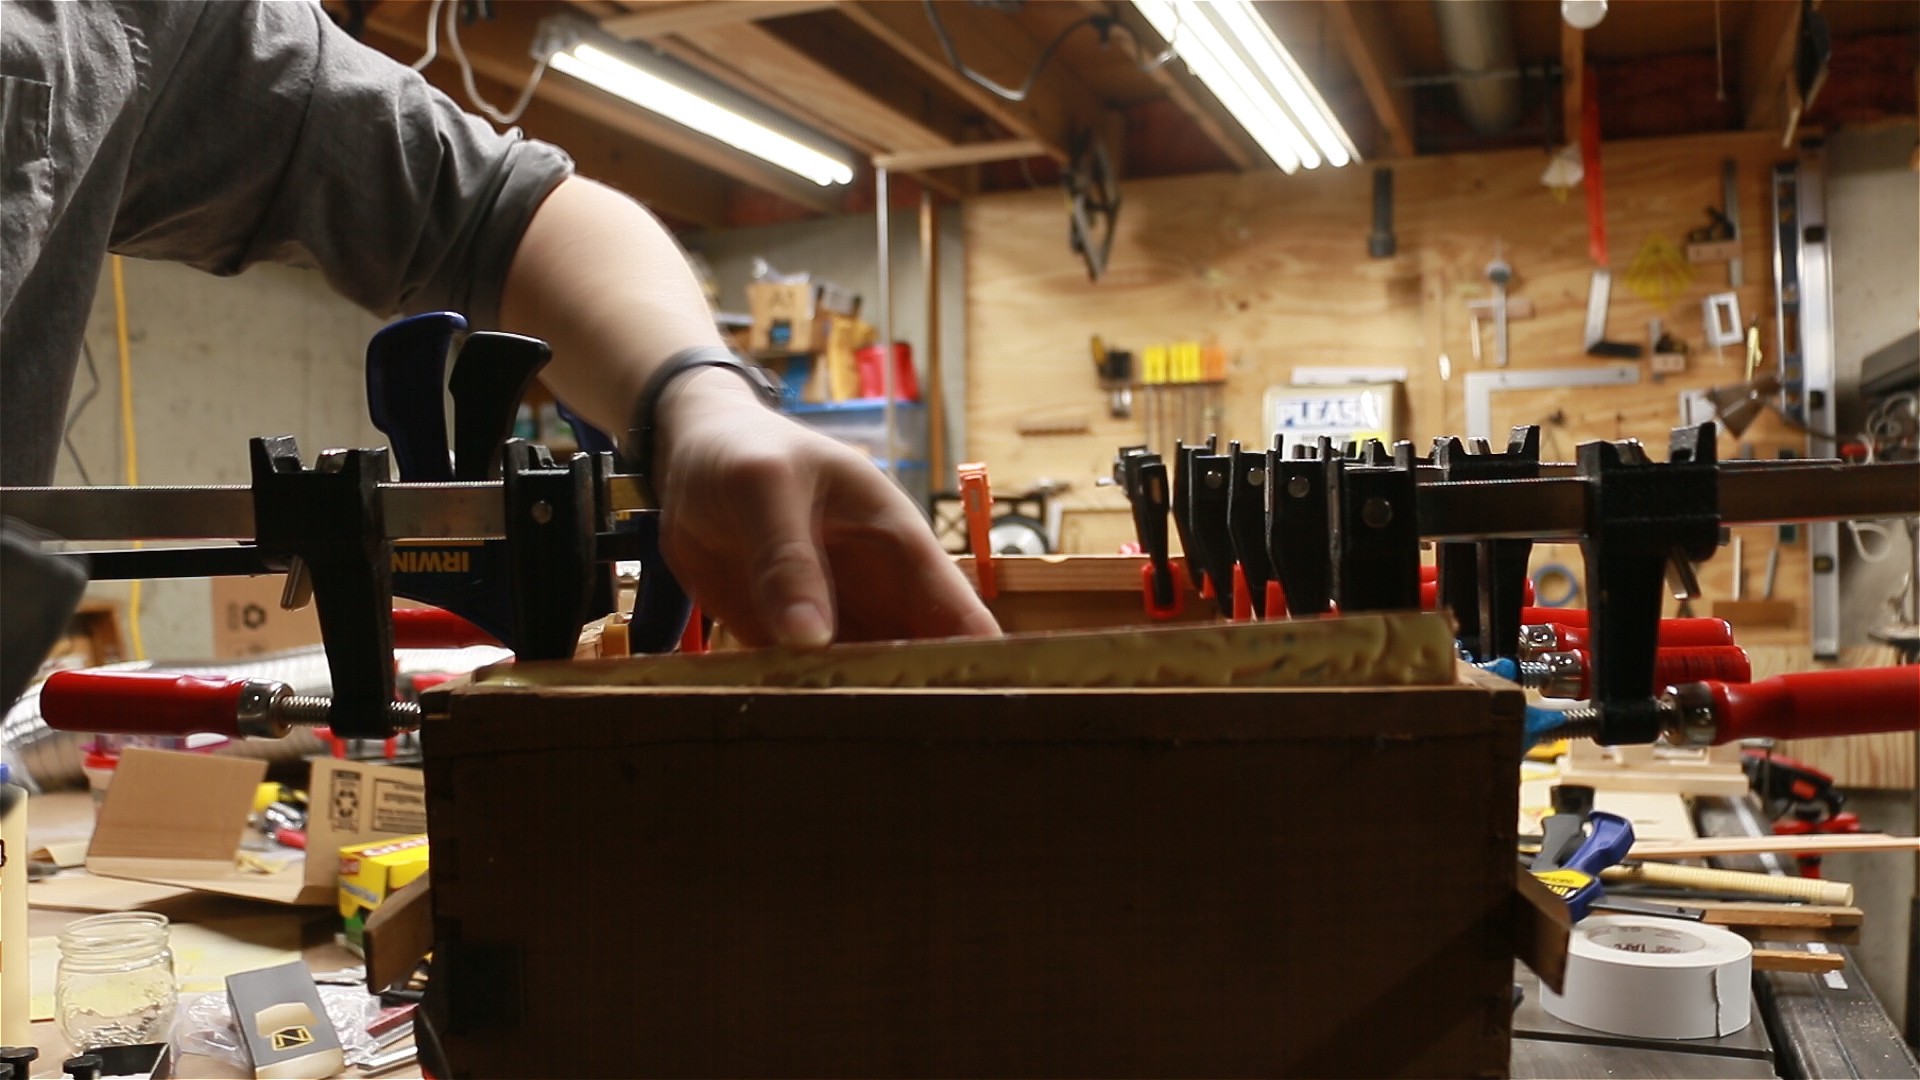 Clockwise from top left: Marking a strip to be cut; cutting with a Japanese hand saw to keep the noise down late at night; gluing strips in place; cutting the new plywood bottom on the table saw.
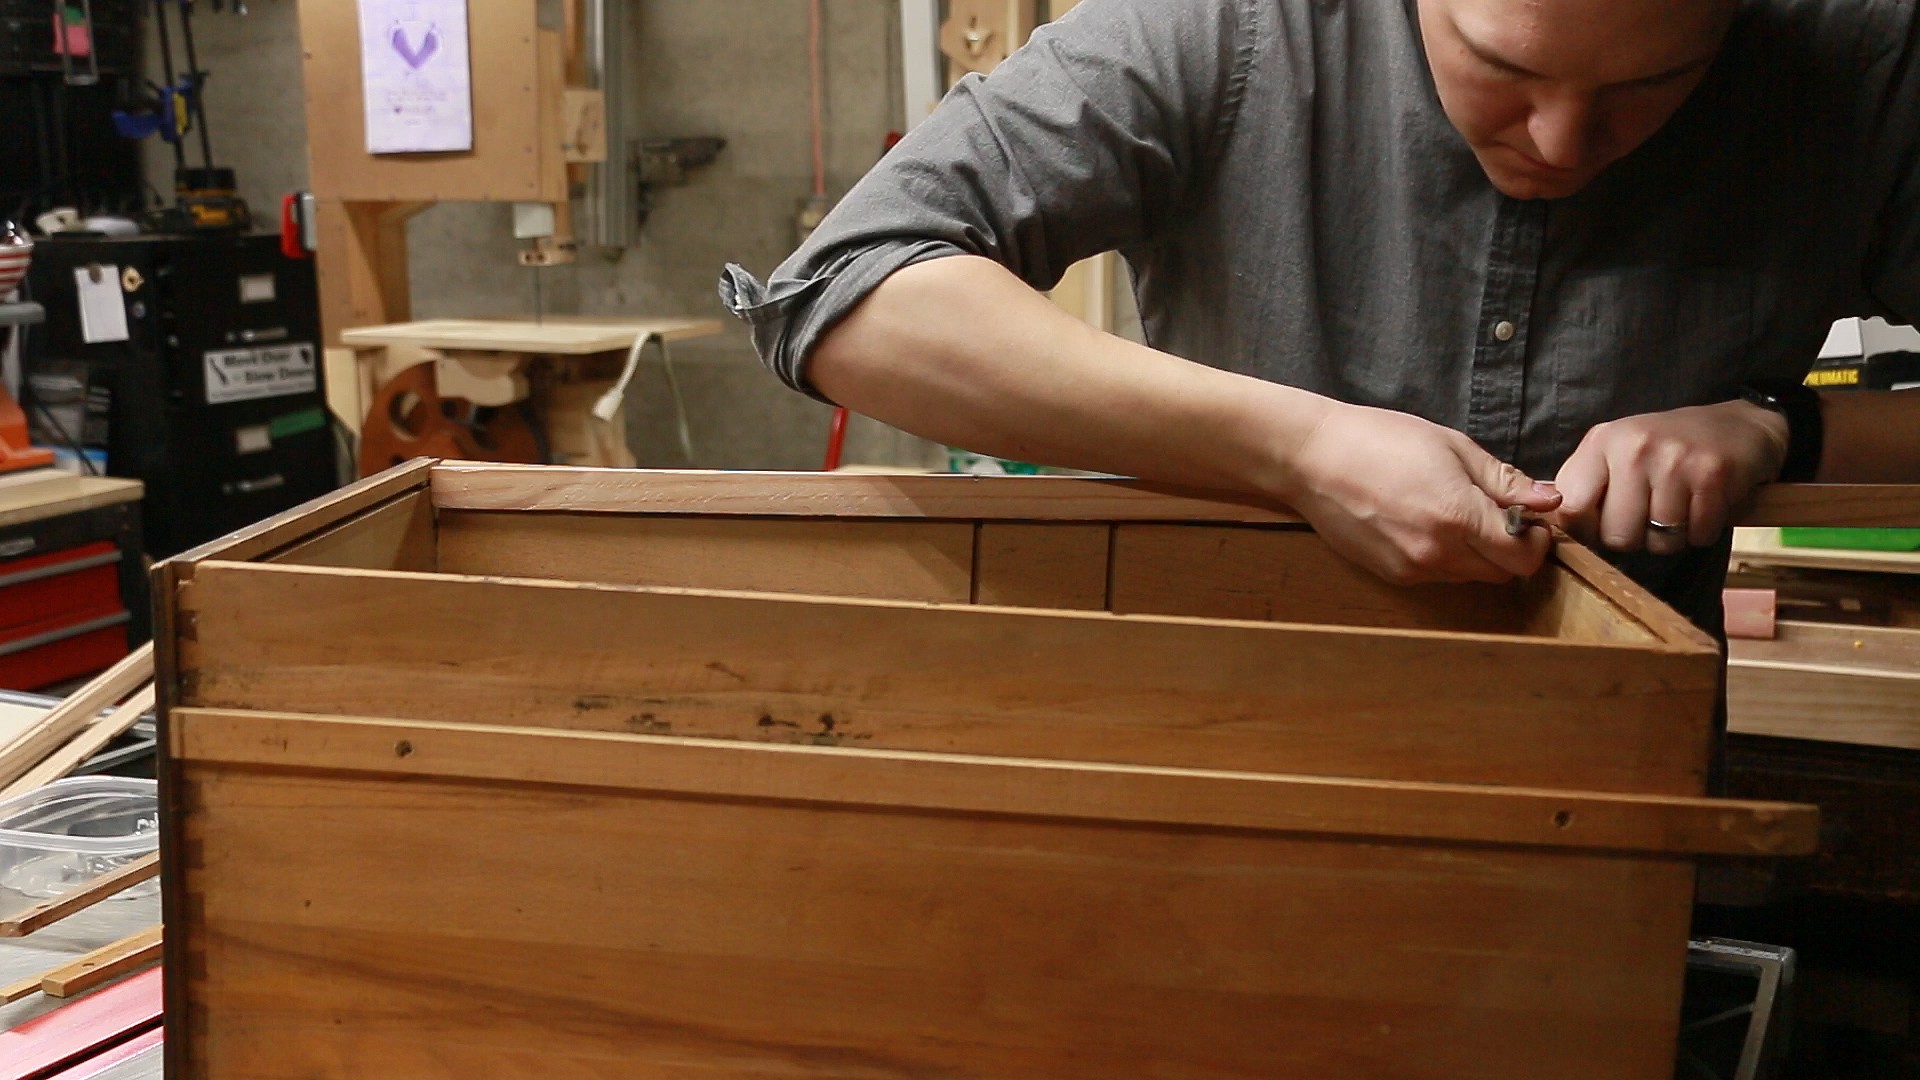
- Grab some wood strips. I picked some -inch-thick scrapwood pieces that had been ripped into -inch-tall strips.
- Cut those strips to fit. Hold them against the bottom edge of the drawer, mark the edge, cut it to size, then glue it into place. Subsequent strips will be affected by previously glued ones, so keep that in mind before batch cutting them all at once.
- Glue the strips in place. Align the the first strip with the bottom face to start, but then prioritized lining up the top edge of the strips for the rest. You can use spring clamps for alignment, then follow up with stronger clamps while the glue dries.
- Cut a new bottom. Take an oversized piece of ?-inch plywood and trace an outline of the inside of the drawer onto it. Cut that plywood to the line. Finally, drop it into the drawer.
That?s it! It just works. Yet I?ve never seen this method mentioned elsewhere. It feels silly suggesting that I have invented some new technique here, so if you can find other documentation on a similar approach, please let me know.
Would I recommend this technique for others? Not if you?re fixing a historical artifact. Otherwise, you bet.
It?s plenty strong. No accident is going to shear off those glued-on strips, with all their glue surface area. The plywood potentially is stronger than the original bottom. And there?s actually support under the front of the drawer bottom now. There?s no dado cut into the back of the front face of the drawer, so that part was previously unsupported.
It looks good. You can?t see the glued-on strips from above. One problem is that the new drawer bottom doesn?t exactly fit the new drawer, so it slides around a bit. I?m sure it will collect some sawdust along the way. But one can always pretend that this space is for ?expansion,? and that ?that gap is a sign of true mastercraft? to any picky onlookers.
Best of all, it was easy. There were no holes to drill, no patented parts to buy, no finicky things to precisely align. This literally took about 20 minutes, minus glue drying time. Works for me.
Now, back to dragging my feet.
Wisconsinite Andy Reuter is kind of like your handy grandpa, if he was born in 1983 and liked making DIY videos. For more, follow him on Instagram, find him on Twitter, or subscribe to his channel on YouTube. Or click here to learn more about converting old office furniture into new workshop furniture.

