Step-by-step instructions for unboxing and repotting your new bb succulents ?
Unboxing + repotting DIY video
UNBOXING
- When you open your Succulent Studios box, use the ?Pull? tabs to carefully remove the top two pieces of cardboard that are securing your succulents in place.
- Pull the succulents from their box by lifting from the now-exposed part of the pot.
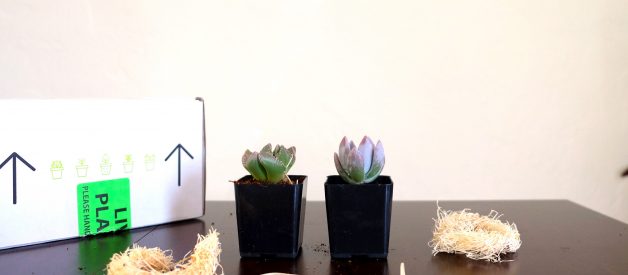
- Remove all rubber bands, wood wool, and any other materials that are securing your succulent and its dirt.
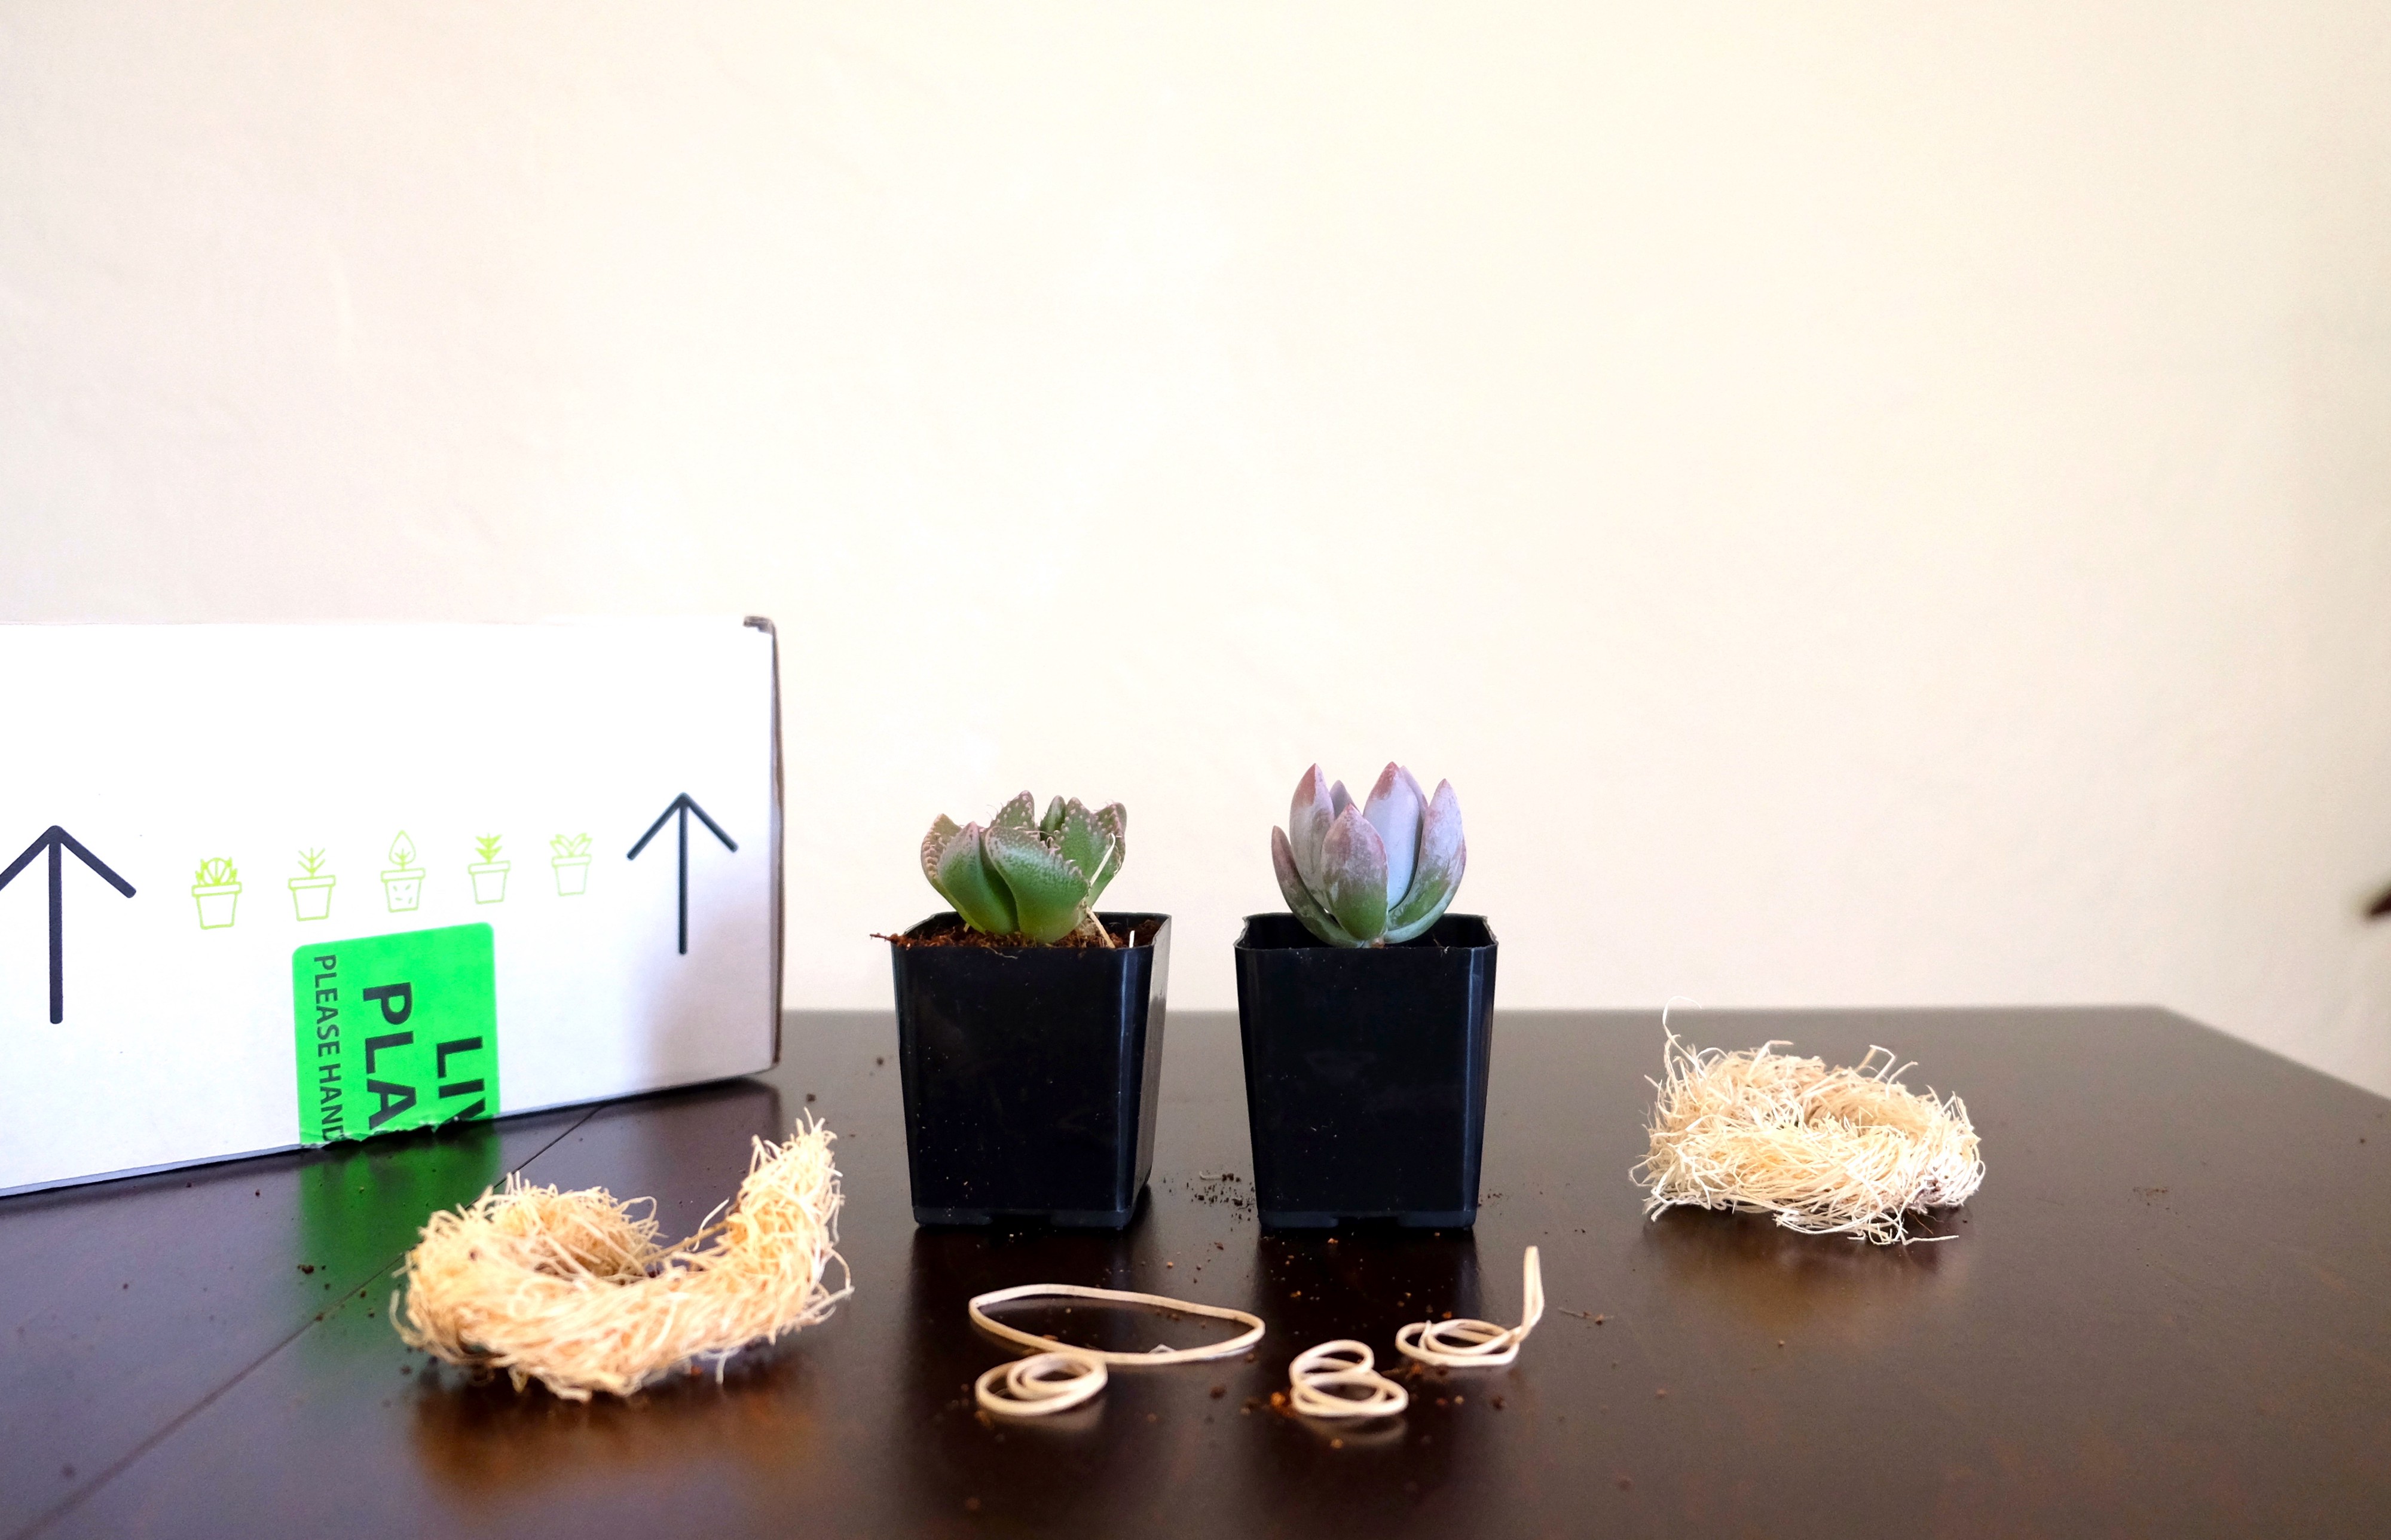 Succulents with rubber bands and wood wool removed
Viola! You have two happy and healthy succulents! They will be happy and healthy in their original pots for up to a few months, at which point many of our subscribers repot them into slightly larger pots so they?ll continue growing.
REPOTTING
- Use a well-draining potting soil to repot your succulents ? anything that says ?cactus? on the bag will work! This is found at any local gardening or hardware store. Here?s one example of cactus soil.
- Choose a pot with a drainage hole in the bottom. If the pot of your dreams does not have drainage holes, add a layer of rock before adding the cactus soil.
- Add cactus soil about 3/4 of the way up in your pot.
- Squeeze the sides of your succulent?s plastic pot to loosen its soil, and gently remove it from the pot.
- Gently crumble away any clinging dirt from your succulent?s roots.
- Place your succulent in its new pot, then add more soil to the top to secure your succulent in place.
- If your succulent hasn?t been watered in a while, now is a good time to water it. If you?re not sure, let your succulent get accustomed to its new home for a week or so before watering, then let the soil completely dry out before watering again (usually about two weeks).
Happy planting!
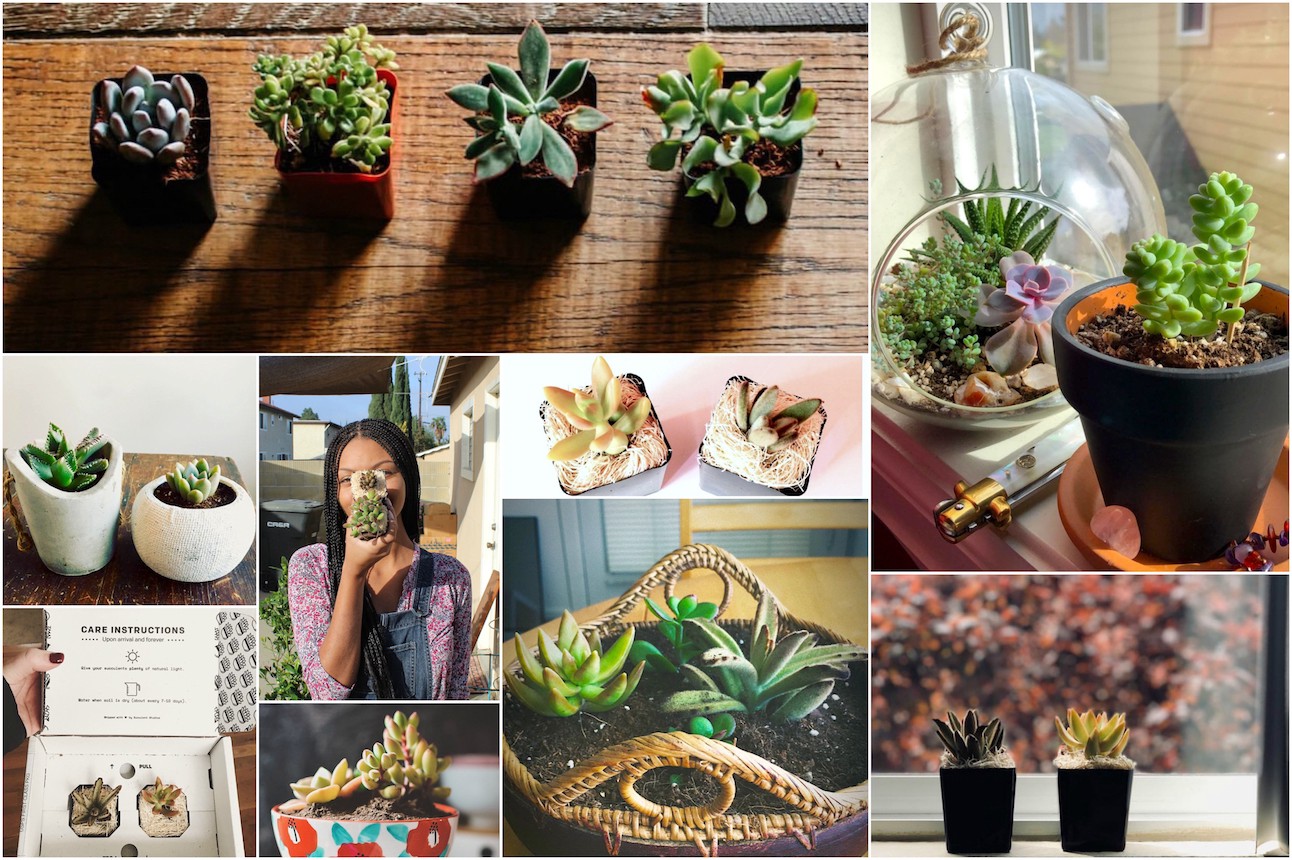 Check out more repotting ideas on our Instagram!

