Note: This process is taken from various sources from the google search. I don?t reserve the right of procedure nor I guarantee that it will work in your system. Also, Mac should only be installed in Apple computer as pointed by Apple Inc and this is not the legal way to use MacOS. I only recommend this to people who want to have taste and feel of Mac before actually purchasing one.
Before we start going for installation, download the following items and save it in a folder.
- Virtualbox
- Virtualbox image file .vmdk
- Text file for CLI
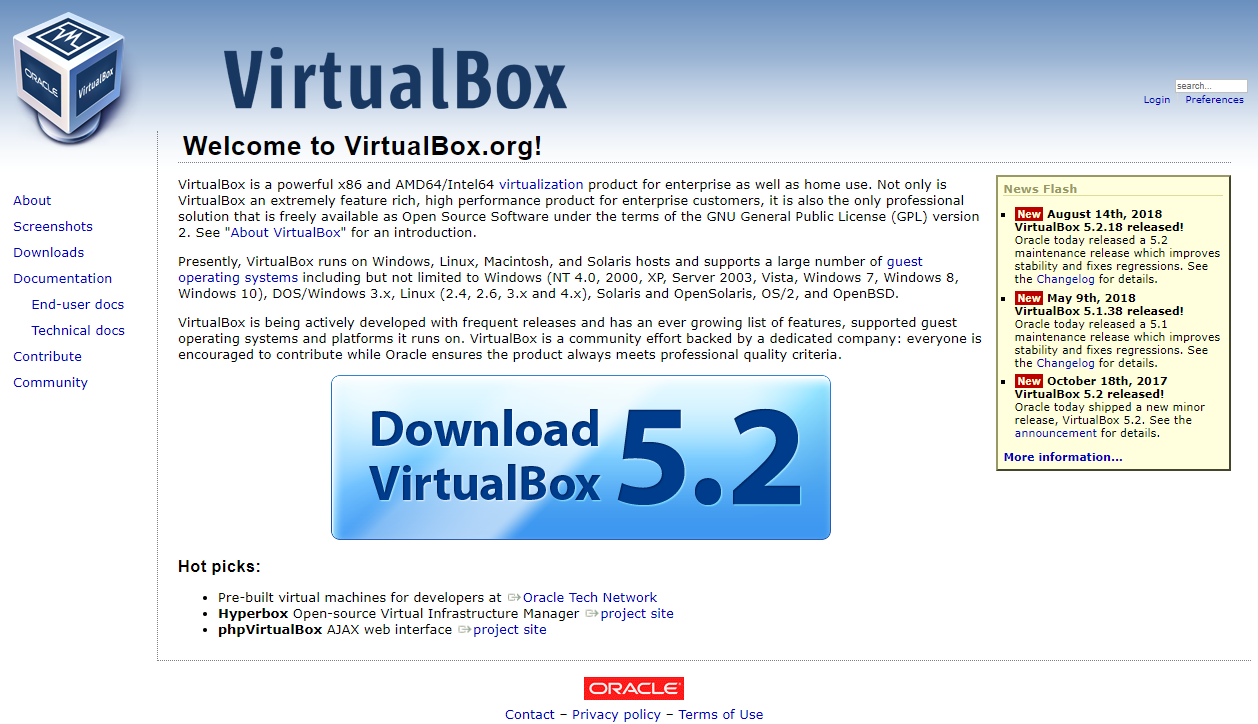
Step 1: Install Virtualbox
Goto virtualbox.com and click on Download button and follow the instructions to download and set up on your PC. Depending on PC you should select either 64 bit or 32-bit version.
Step 2: Download MacOS
There are several websites providing virtual disk image of MacOS but for our purpose, we will download .vmdk of MacOS High Sierra from techsviewer.com
Latest release: 10.13.6 (17G65), July 24, 2018Drive (One Full): Download Link
Extract the Zip file and you will see the .vmdk file as shown below.
 .vmdk file
Step 3: Create a Virtual Machine
Now let?s create a virtual machine in Virtualbox with the settings as shown below
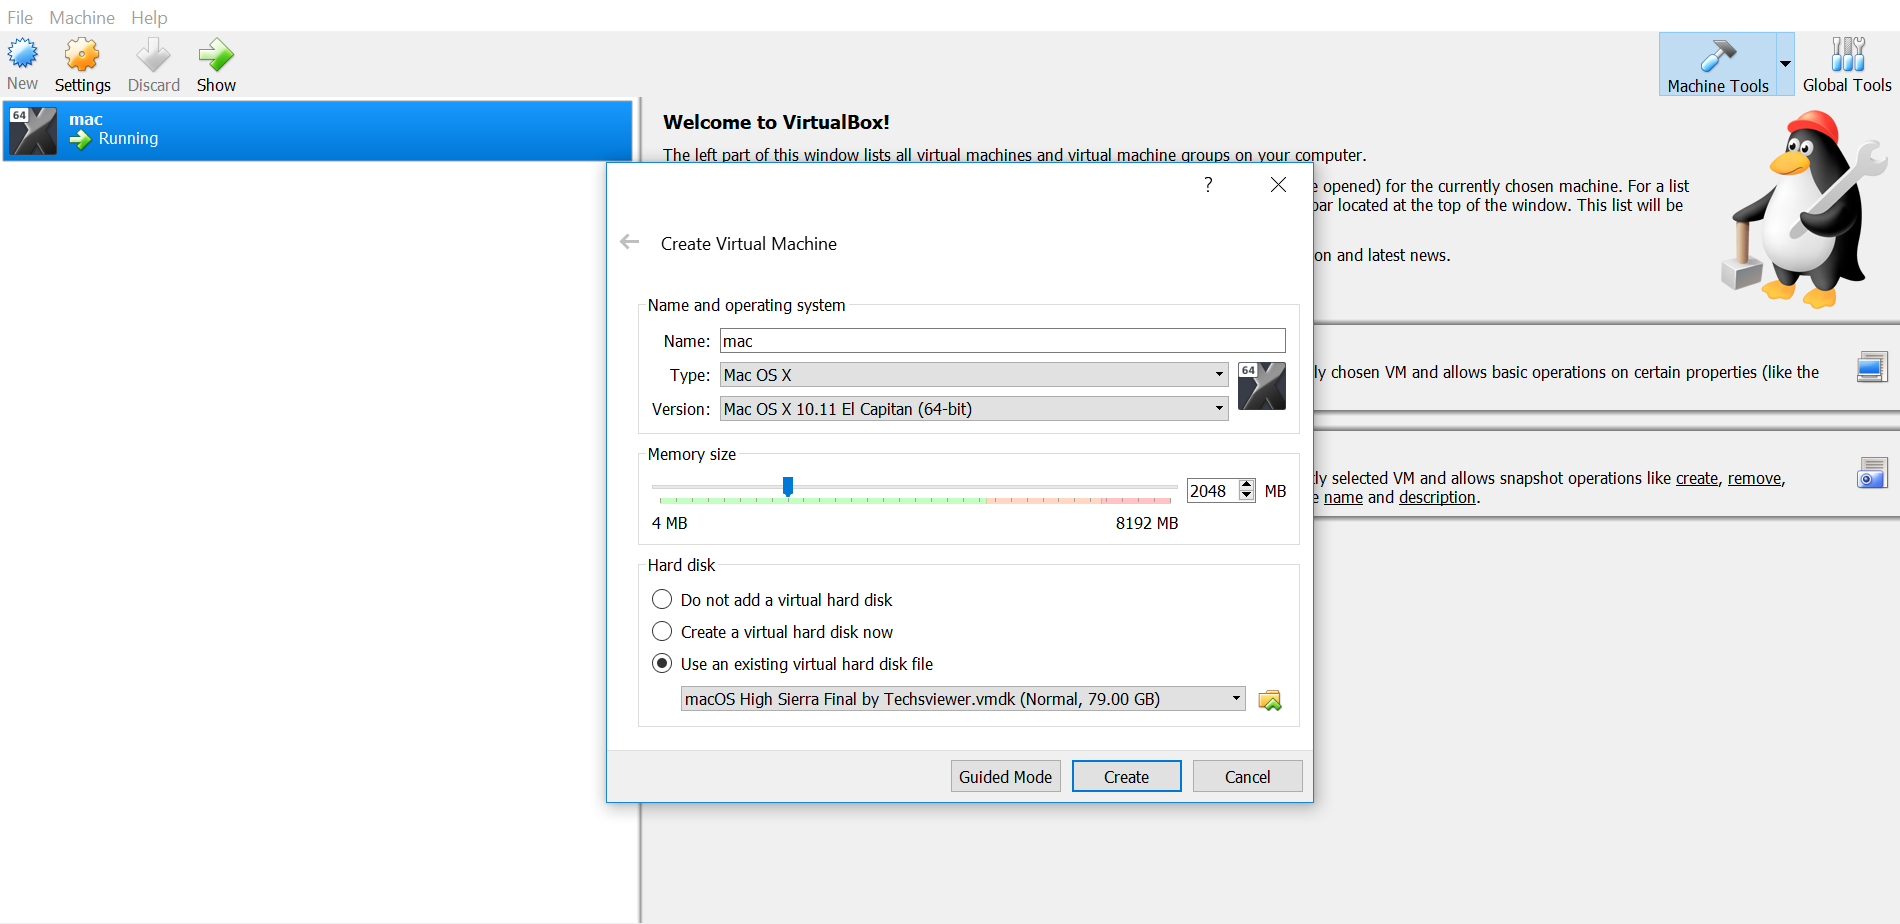
Remember, the name could be anything but short and simple will be easy.
Choose El Capitan(64 it) as version and half of your computer?s RAM as the memory for the OS.
Select the .vmdk that we downloaded earlier in the Hard disk and click create.
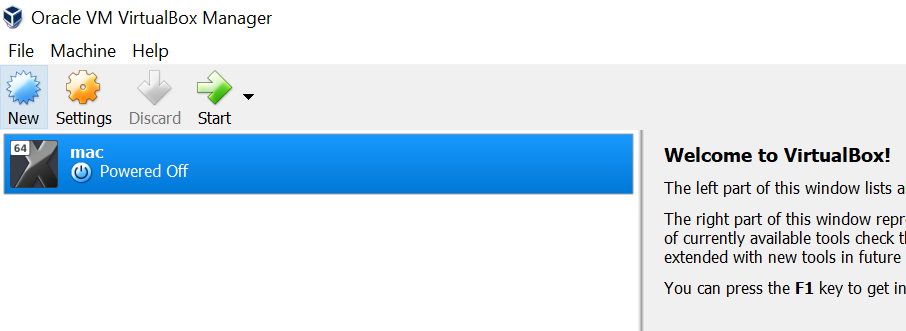
After creating the OS you will see the OS listed in Virtualbox, but wait ..it is not done yet!
Now right click on OS just created and go to settings
change the following fields as shown in the figure.
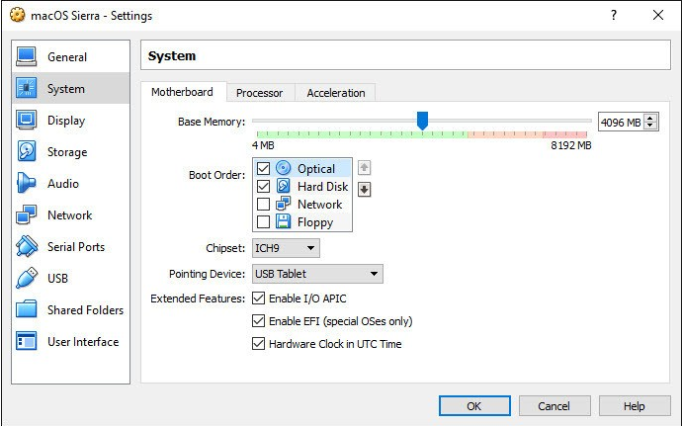
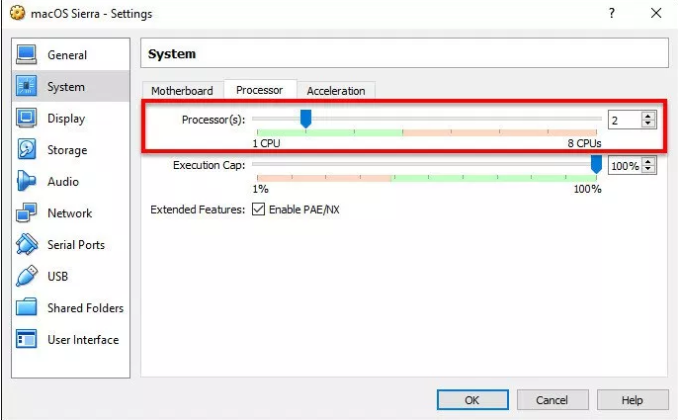
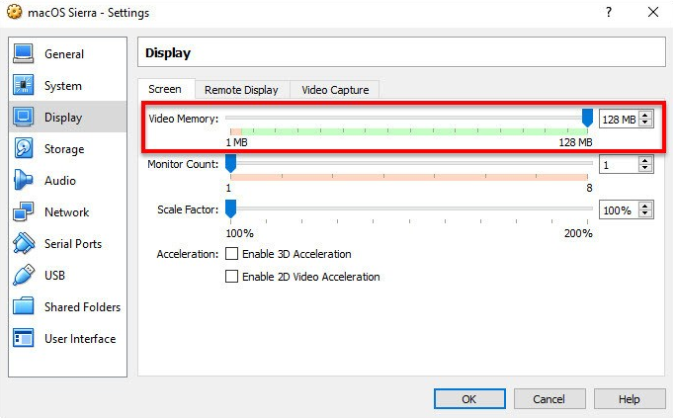
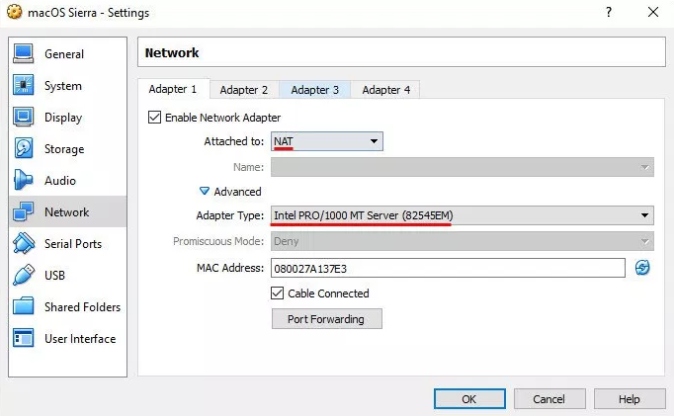
Change the settings, save and close the VirtualBox.
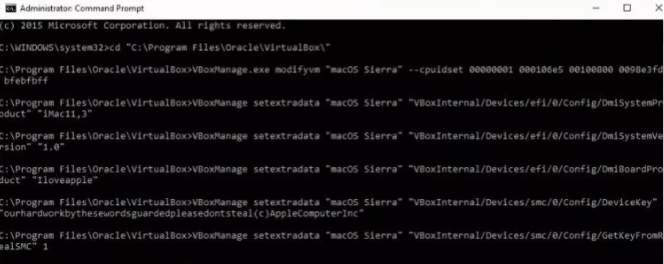
Step 4: Apply CMD
Now, open CMD prompt with admin rights and paste the following commands one by one
Remember to change the name of OS.

Step 5: Fix the Graphics
After Installation, you will probably see the screen size to be small. To prevent this use this command under in same CLI
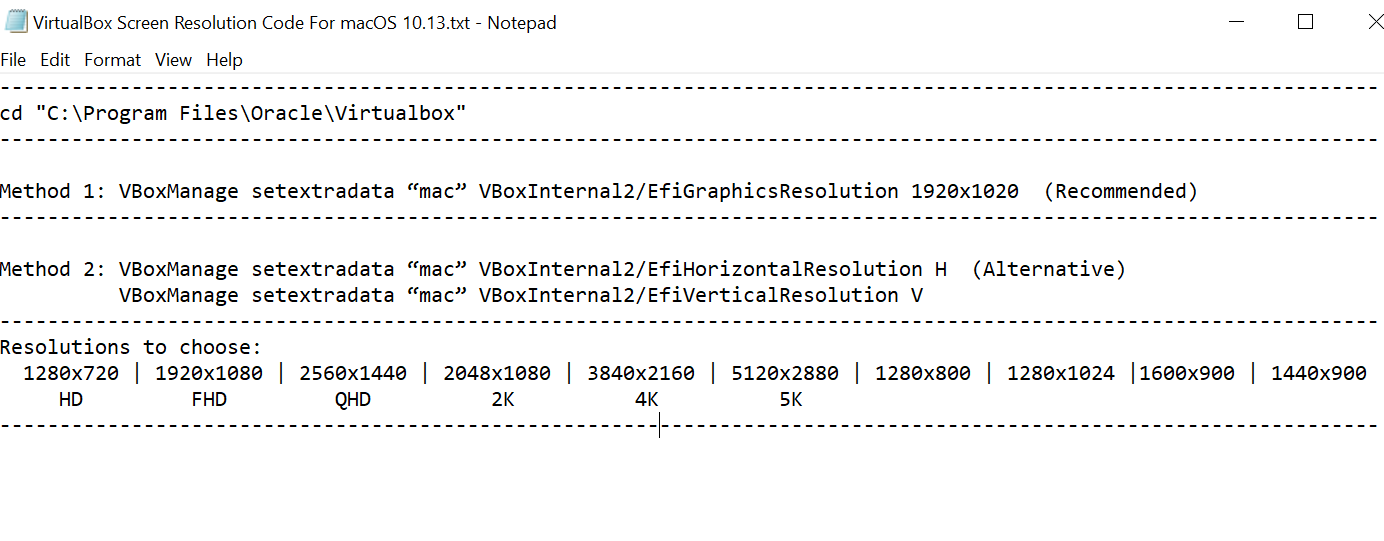
cd ?C:Program FilesOracleVirtualbox? ? ? ? ? ? ? ? ? ? ? ? ? ? ? ? ? ? ? ? ? ? ? ? ? ? ? ? ? ? ? ? ? ? ? ? ? ? ? ? ? ? ? ? ? ? ? ? ? ? ? ? ? ? ? ? ? ? –
Method 1: VBoxManage setextradata ?mac? VBoxInternal2/EfiGraphicsResolution 1920×1020 (Recommended)
You can alter the resolution according to the right resolution of your monitor.
Step 6: Let?s start!
Hit the start button in the VirtualBox
After you start the virtual machine and boot screen starts to load as shown below
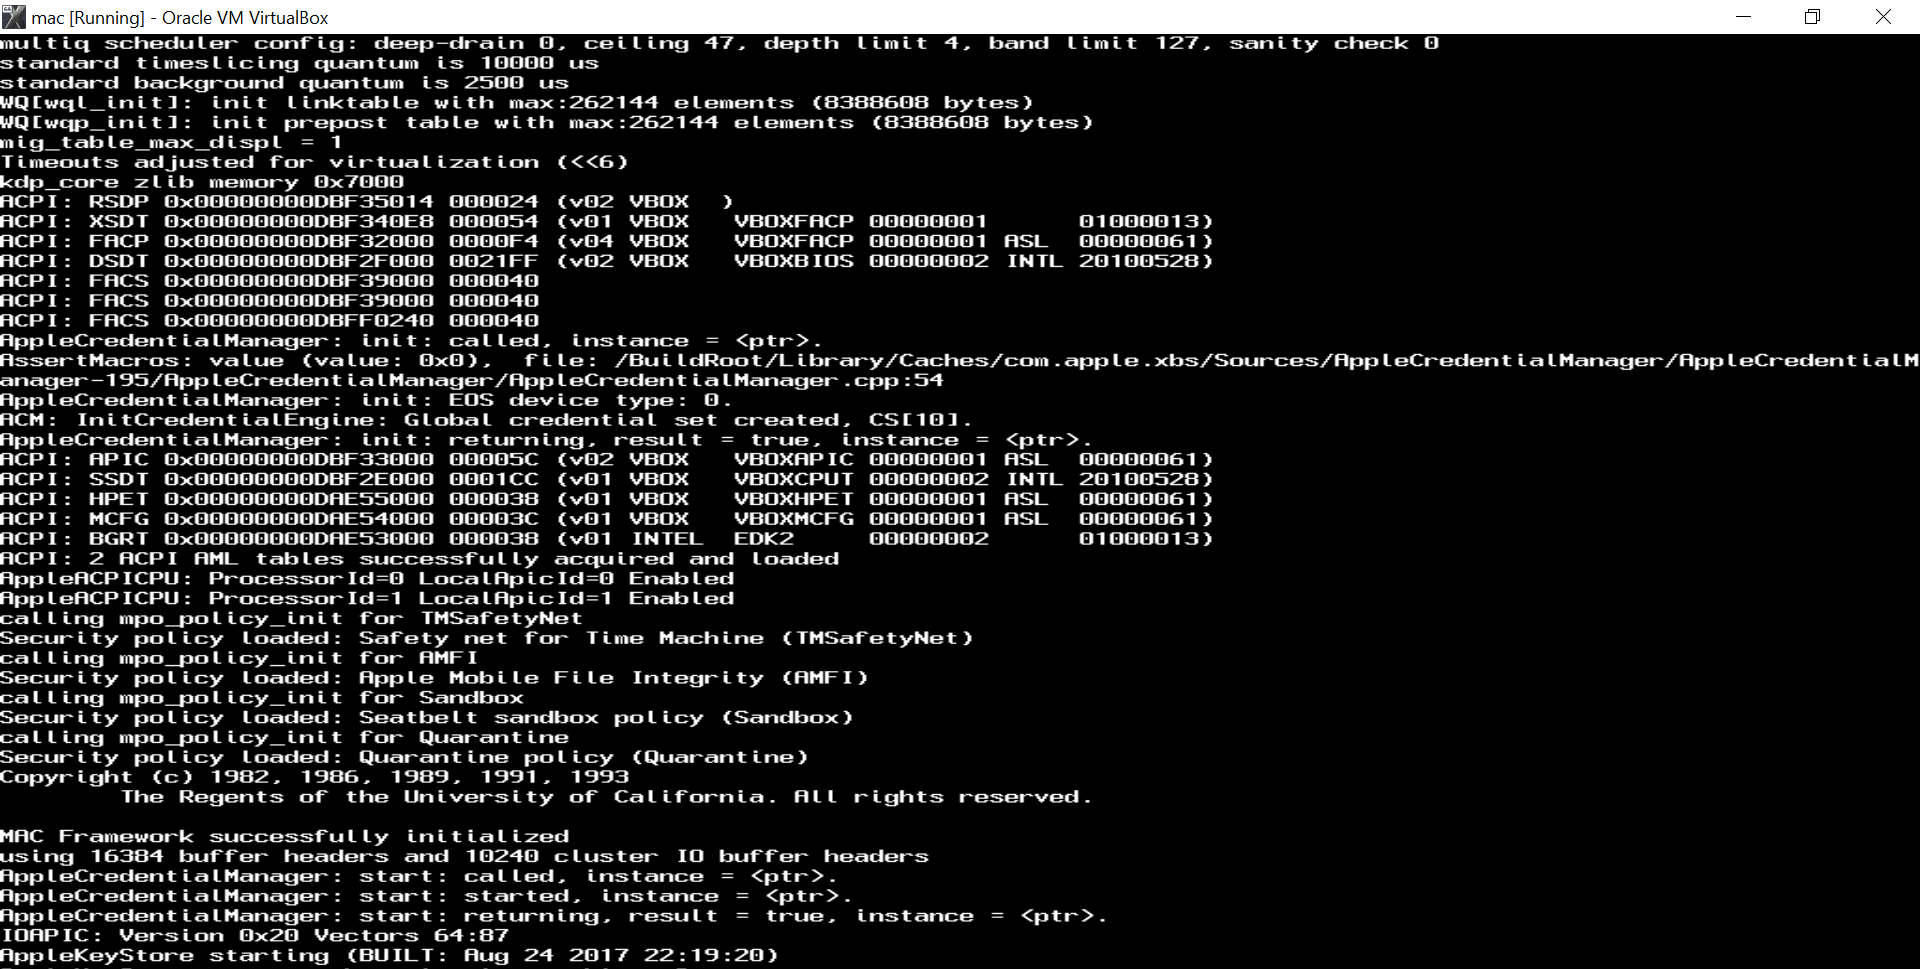
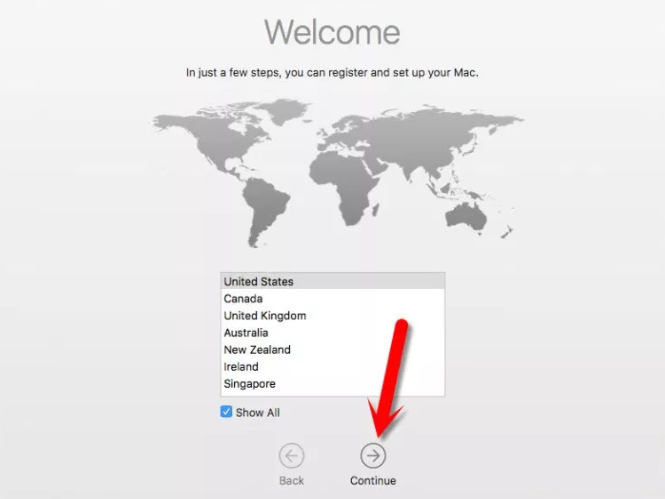
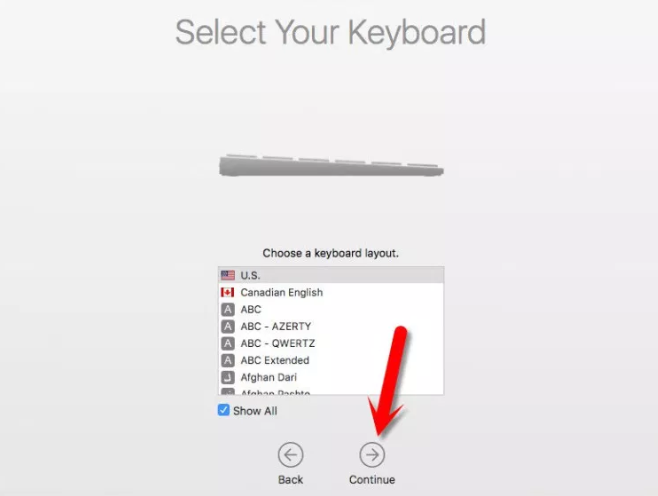
Be patient and wait until you are prompted with choosing your location!
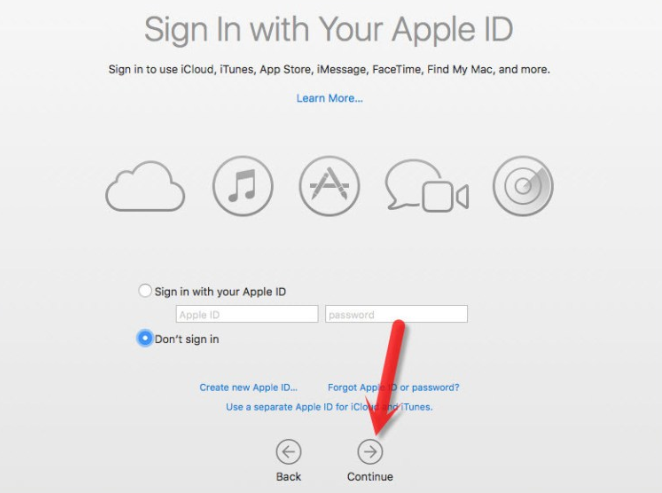
Now, setup will start and you can follow the onscreen instruction to set up your new MacOS.
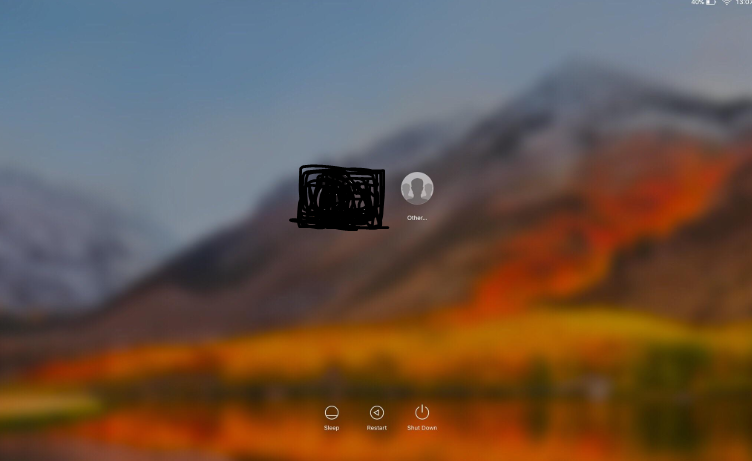
after the installation is finished, you will be presented with this!

After successful login, you will see
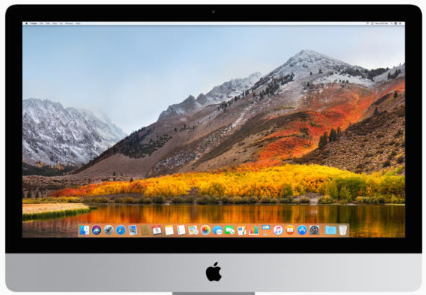
Now you can change the configurations, wallpapers, time and fonts and experience the Mac on Windows.
Happy Macking!

