 hMailServer
Earlier today, I created a PowerShell script to do a number of activities. As the script runs unattended, I needed to know if an error was encountered. So my first thought was to send an email. Sure, no problem, sending an email with PowerShell is a snap.
Wait a minute, I needed an SMTP server. What should I do?
- I could use the SMTP server from my work. As it is my company?s SMTP server, not the best choice for personal needs.
- I could use the SMTP with GMail. The SMTP with GMail is simple but it uses SSL and requires my username and password for GMail. I have no desire to have my password in a PowerShell script.
- I could look into alternatives to GMail. More than likely, the alternatives will be similar to GMail.
I decided to run my own SMTP server. I set out on my search for SMTP server software. After a bit, one product in particular caught my eye. hMailServer is a powerful little tool that is FREE and open-source.
hMailServer – Free open source email server for Microsoft Windows
hMailServer – Free open source email server for Microsoft Windows
hMailServer – Free open source email server for Microsoft Windowswww.hmailserver.com
I started with reading the documentation. It was not overly detailed and I felt it left a lot to the imagination of the reader. I am not the type of person to shy away from a challenge. After a bit of time, I had my very own SMTP server.
Some internet service providers (the people that offer you the internet connection) block outgoing traffic on port 25. Since outgoing traffic on port 25 is required for email to work properly, you either need to convince your ISP to open up port 25 for you (if it?s not open), or you need to configure hMailServer to forward all email through your ISP?s email server.
If you just want to run your own simple SMTP server, I am going to provide some steps. These steps are the exact steps I performed on an old Windows 10 laptop a few hours ago.
Download and Installation of hMailServer
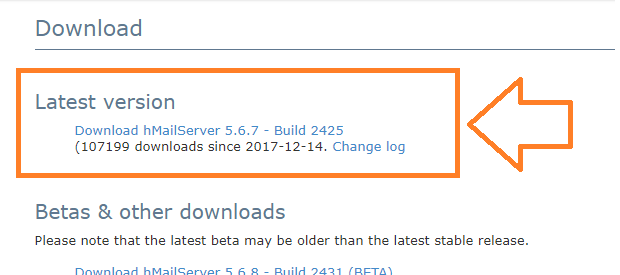
As with all software, a download is required. So open your browser and navigate to https://www.hmailserver.com/download to get the latest and greatest version of hMailServer.
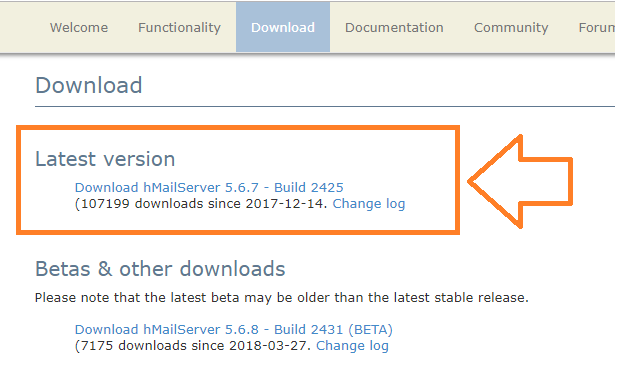 Download hMailServer from hMailServer.com
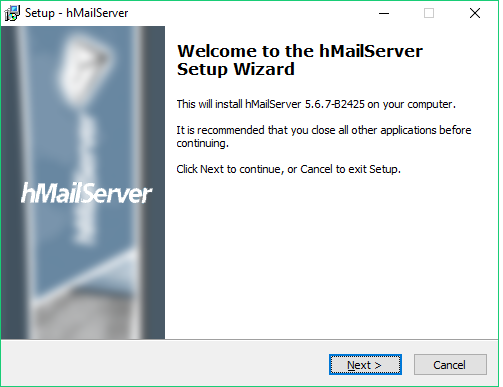
After the download is complete, a quick double-click on the installer to start the installation.
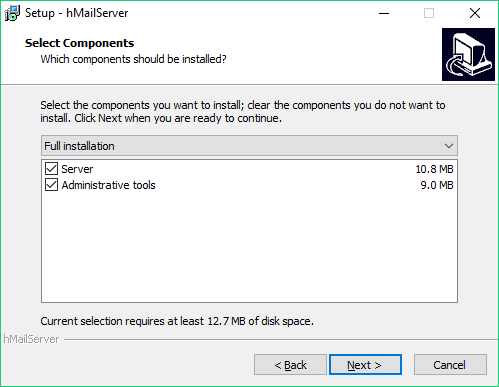
When at the Select Components window, ensure Server and Administrative tools are both checked. These options should be checked by default.
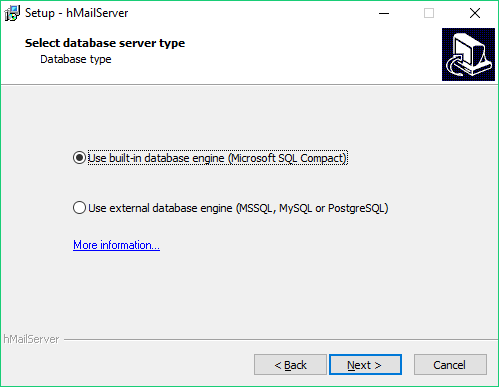
At the next window, you will need to make one of the biggest choices for hMailServer. The software utilizes a database so you will need to select the database to use. If you just want something quick and simple, just use the built-in database, which should be checked by default.
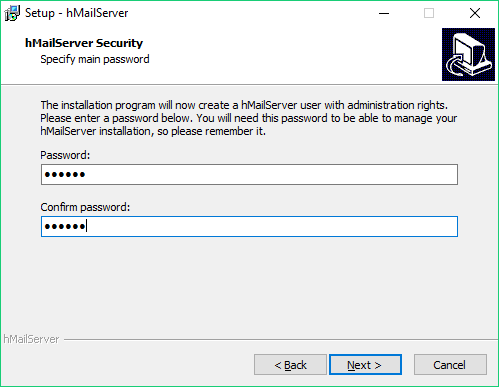
One of the biggest features with hMailServer is security. During the installation, hMailServer will create a default user with administrative rights. You will need to enter the password for the default user.
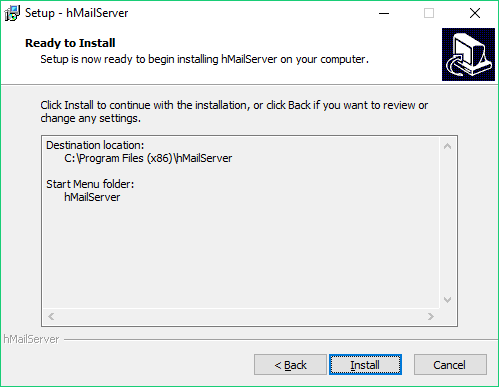
We are at the end of the install wizard. If you are ready, click the Install button.
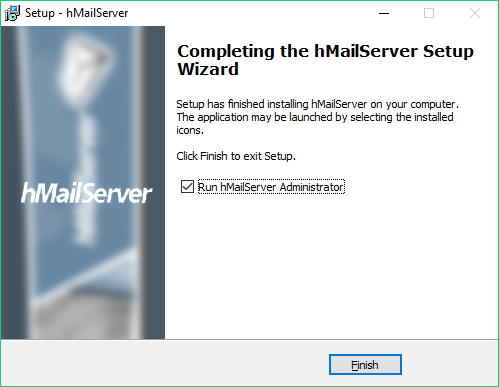
The installation of hMailServer should take no more than a couple of minutes. When the installation is completed, ensure ?Run hMailServer Administrator? is checked and click the Finish button.
Configuration of hMailServer
The hMailServer Administration window should have launched when clicking the Finish button. Remember the notification from the install wizard that a default user would be created. And we were asked to enter a password. Here is where we will use the password.
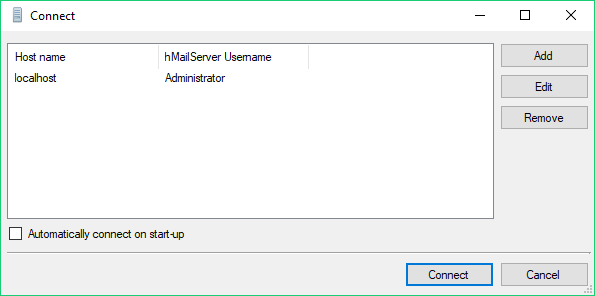 Connect Window for hMailServer
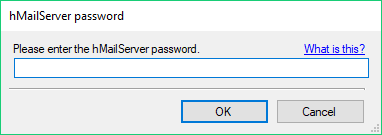 Password Entry for hMailServer
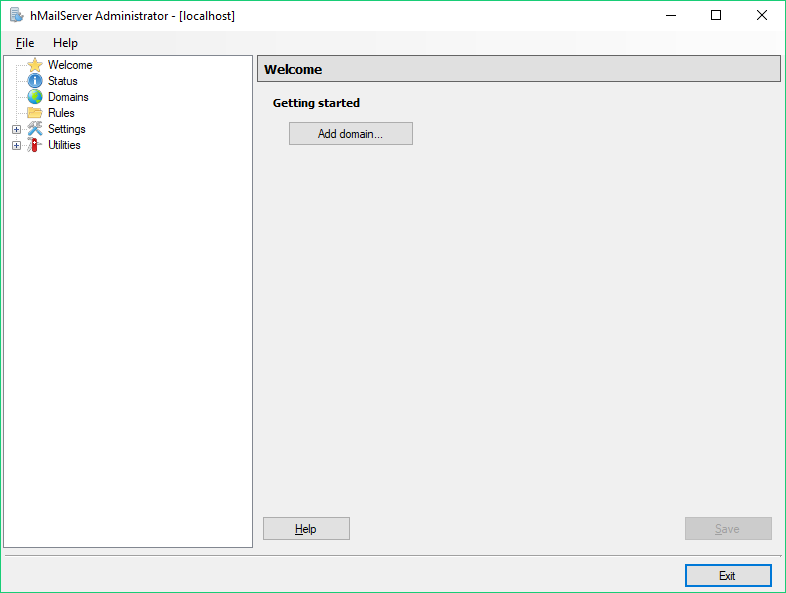
We are ready to start the actual configuration of our SMTP server. The first step should be relatively obvious. Can you guess the firs step?
If you aren?t sure of the next step, just look at the window ? Getting Started. Click the ?Add domain?? button.
Under the General tab, we need to enter our domain name. I do not own a domain so I decided to use a fake domain. An actual domain is not required to send emails. If you use a fake domain, be careful to enter a domain that does NOT exist.
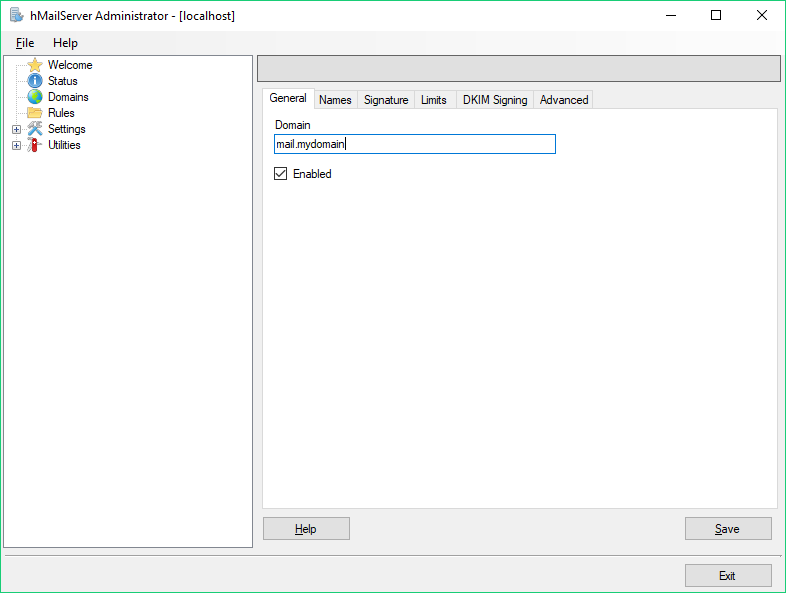
Click the Save button.
Click the + button next to Domains.
Click on Accounts.
Here is where we will configure an account. Enter a name under the Address field. The name can be whatever you want. Additionally, enter a password in the Password field. If the password is weak, hMailServer will prompt if you want to use the password when saving.
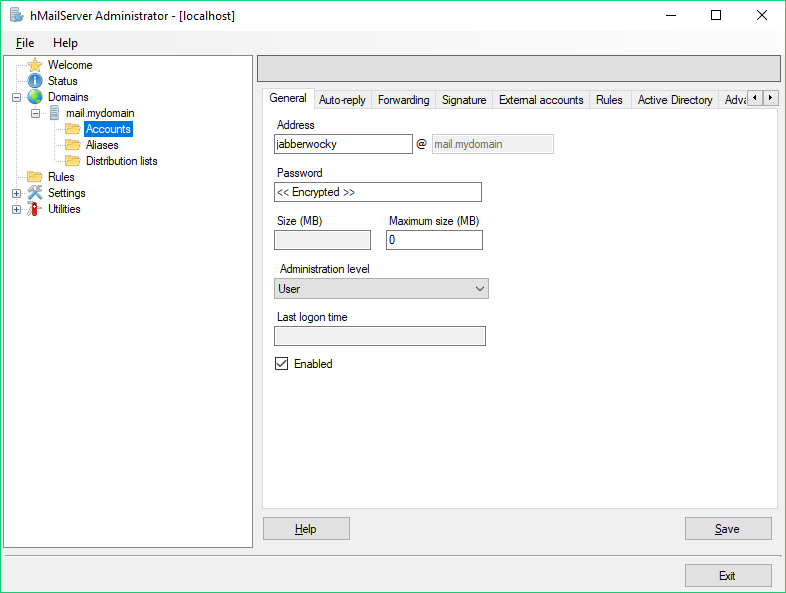
Click the Save button.
Click the + next to Settings.
Click Protocols.
For our needs, we are wanting an SMTP server. So feel free to uncheck POP3 and IMAP.
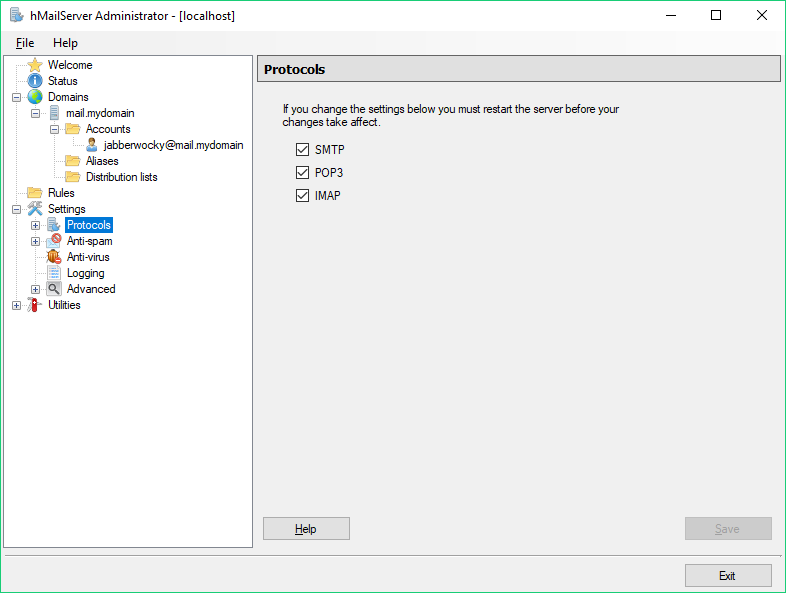
Click the Save button.
Click the + next to Advanced. Go ahead and enter localhost under Default Domain.
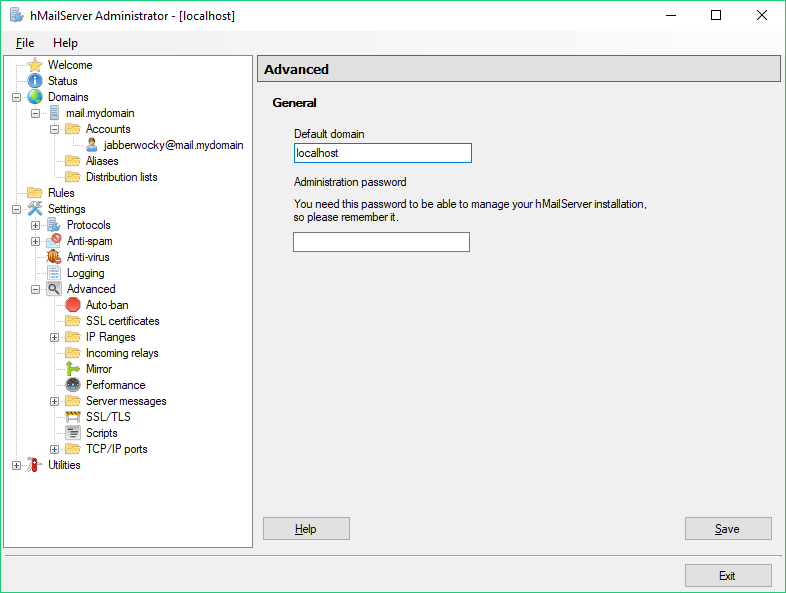
Click the Save button.
Click on Auto-ban.
The Auto-ban feature is designed to block IP addresses after too many failed login attempts. This SMTP server is our personal SMTP server and we will be doing tests. I would recommend unchecking the ?Enabled? box.
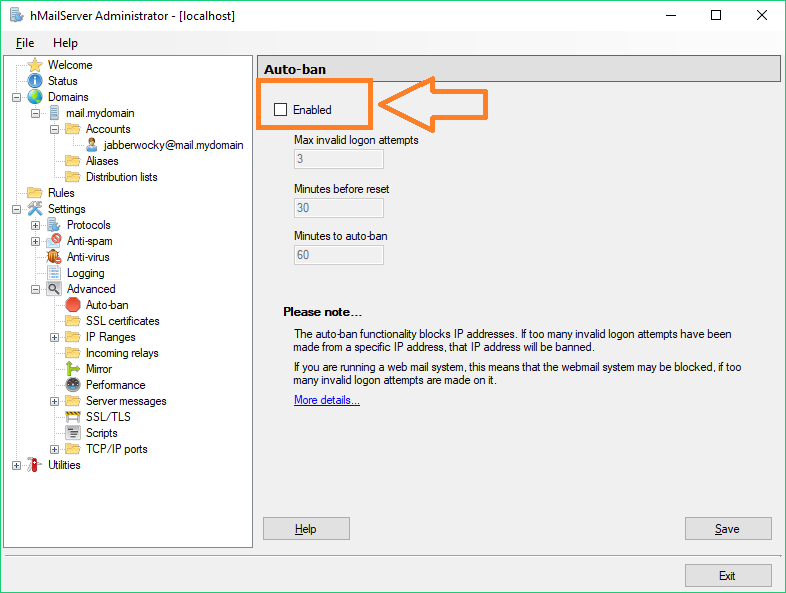
Click the Save button.
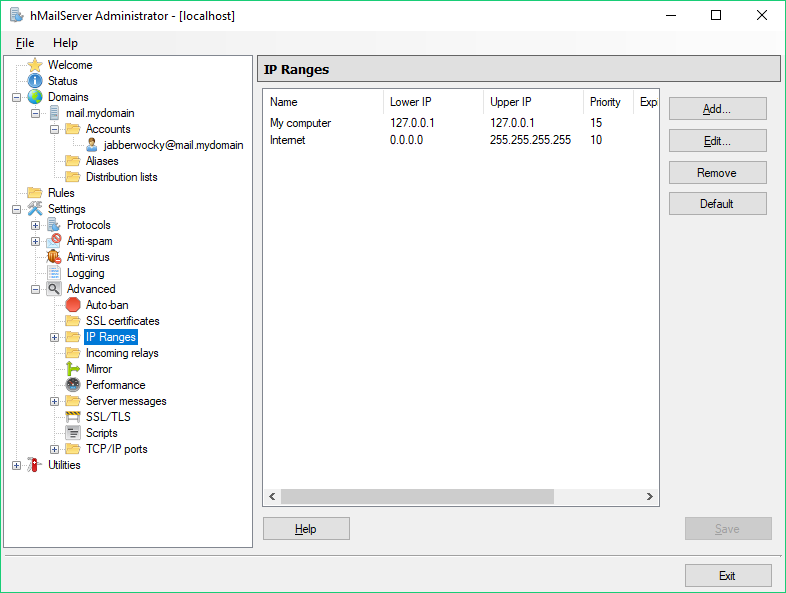
Click on IP Ranges.
The default values will be ?My Computer? and ?Internet? and will look similar to the values below.
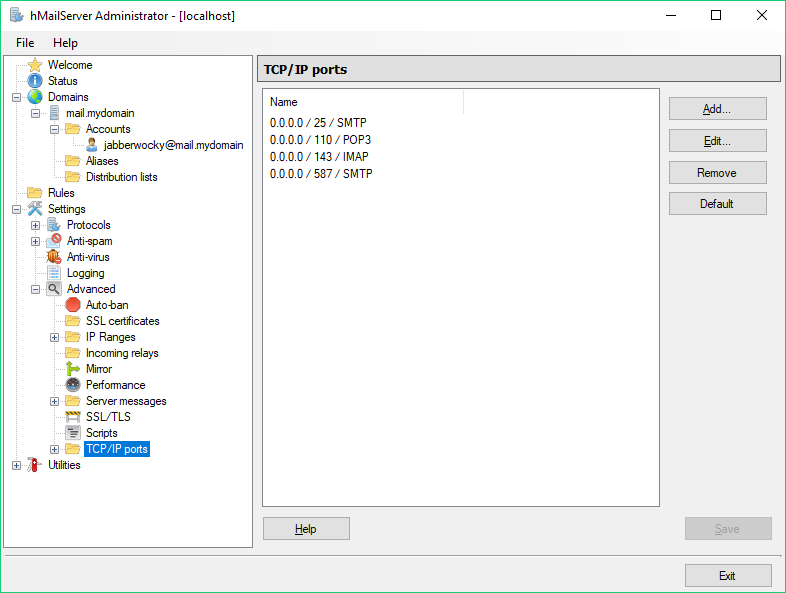
Click on TCP/IP Ports.
This window wil show the ports configured for SMTP, POP3, and IMAP.
That wasn?t so bad, was it? We are nearly complete with our configuration. One last step that is very important.
Click the + next to Utilities,
Click Diagnostics.
Here is where we are going to test our configuration. Under ?Select the domain you want to run tests on?, select the domain we entered earlier. No need to change any other settings. Press the Start button.
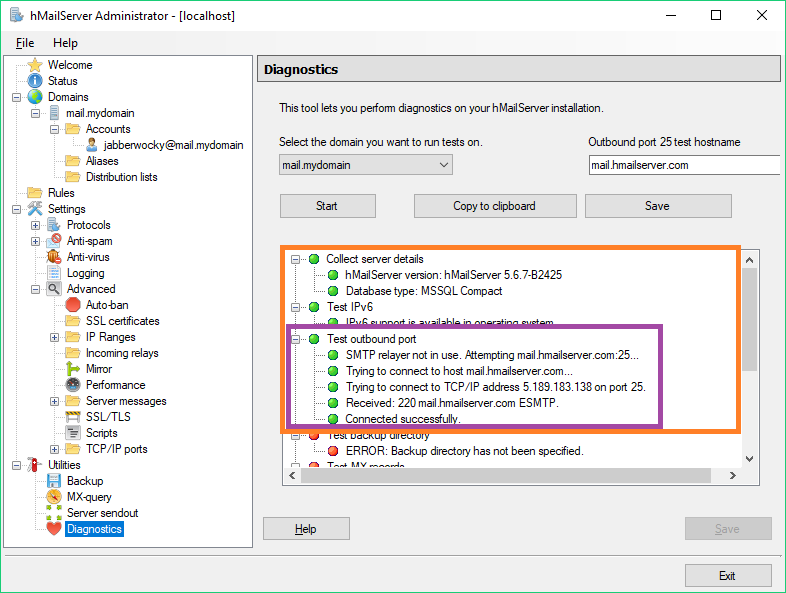
We configured hMailServer with basic options. Do not be surprised to see what errors in the window. For example, ?ERROR: Backup directory has not been specified.? We didn?t create a backup directory so no surprise on the error.
We need to look for two specifics tests:
- Collect server details ? The results of this test are the verison of hMailServer version and type of database
- Test outbound port ? The results of this test are extremely important. The SMTP server needs to be able to communicate. If an error is encountered during this verification, we need to do some troubleshooting.
In Summary
Now you have a simple SMTP server for your own needs. Feel free to use as you wish.
At the start of the article, I mentioned a PowerShell script that would use the SMTP server to send emails. If you are interested in the actual PowerShell code that I used, here it is.
$ServerAddress = ?mail.local?$From = [email protected]?$To = [email protected]?$SMTPServer = ?127.0.0.1?$SMTPPort = ?25?$Username = [email protected]?$Password = ?mypassword?
$SMTPMessage = New-Object System.Net.Mail.MailMessage$SMTPMessage.From = $From$SMTPMessage.To.Add($To)$SMTPMessage.Subject = ?Here is the email?$SMTPMessage.IsBodyHtml = $true$SMTPMessage.Body = $EmailMessage
$SMTPClient = New-Object System.Net.Mail.SmtpClient($SMTPServer, $SMTPPort);$SMTPClient.EnableSSL = $false$SMTPClient.Credentials = New-Object System.Net.NetworkCredential($Username, $Password);$SMTPClient.Send($SMTPMessage)
Troubleshooting
If you have any problems, hMailServer has documentation and forums which can be of a great help.
hMailServer documentation – hMailServer – Free open source email server for Microsoft Windows
hMailServer – Free open source email server for Microsoft Windows
hMailServer – Free open source email server for Microsoft Windowswww.hmailserver.com
hMailServer forum – Index page
General discussions Use this forum if you have installed hMailServer and want to ask a question related to a production?
www.hmailserver.com
