A servlet is a java class that is extended to handle the capabilities of a server. Servlets can be used to handle the requests and responses of a server.
In this tutorial, I?ll be explaining how to create a simple Liquor Store web application that will intake the client requests of liquor types and responds with a list of available brands. I will be using Intellij Idea Community Edition as the IDE. Since the community edition does not provide the capability to deploy the tomcat server within the IDE, we have to manually deploy the war file into the tomcat server. To make this process easier, we can use tomcat maven plugin to deploy the war file. Please follow this tutorial if you are not familiar with the tomcat maven plugin.
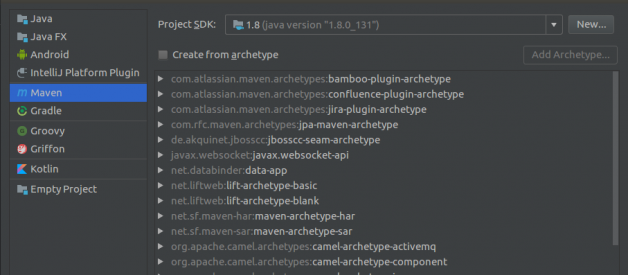
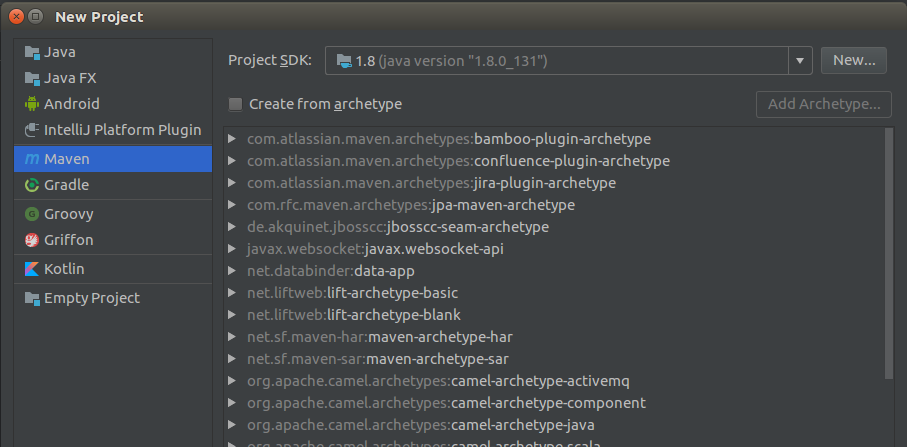
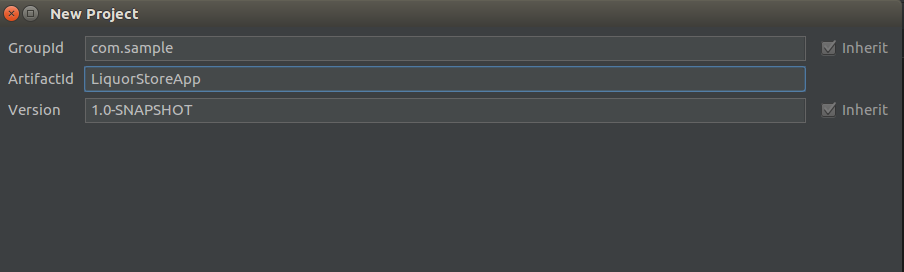
Step 1: Create a maven project in intellij idea.
Step 2: Insert the tomcat maven plugin (Optional for Intellij Idea Ultimate users)
Add the following tomcat plugin under the plugins tag in the pom.xml.
Step 3: Creating the web app
3.1 Creating the first web page
Let’s create the entry HTML page for our Liquor Shop app. This will be the first page that the users will see when they visit.
Create a directory named webapp under the src/main/ and insert the following index.html file inside the webapp directory.
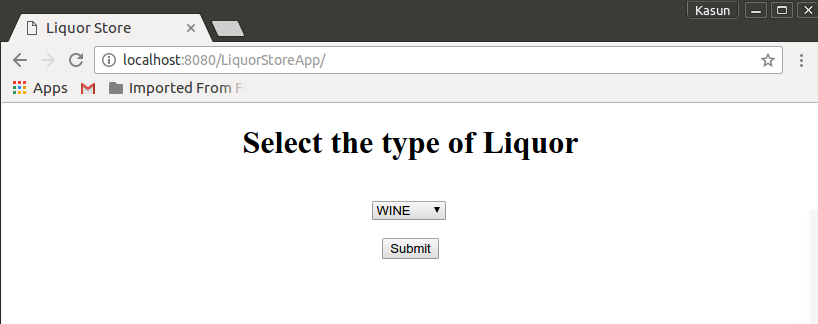
This page will prompt the user to select the type of liquor and submit the selection. After pressing the submit button the application will send a POST request containing the user selected type of liquor to the SelectLiquor servlet.
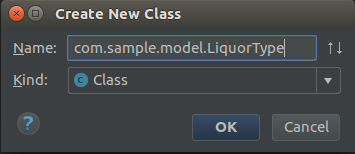
3.2. Creating the LiquorType enum class
We?ll use an enum class to hold the liquor types of our app. Create a LiquorType.java class inside the src/main/java/ with a package name com.sample.model.
3.3. Implementing the business logic
Then we?ll have to create a service class to hold the business logic of the app. This is a simple java class that has the required methods defined.
Create a LiquorService.java class inside the src/main/java/ with a package name com.sample
This class has the getAvailableBrands() method which will return a list of brands for the given liquor type.
3.4. Creating the Servlet Class
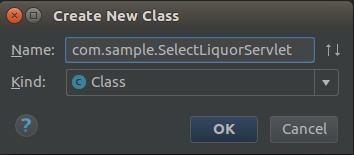
Next, let’s create the SelectLiquorSevlet.java class that handles the user request from the HTML page.
Create a SelectLiquorServlet.java class inside the src/main/java with a package name com.sample
The SelectLiquorServlet class will accept the POST request from the form submission and invoke the doPost() method. I have overridden the doPost() method to get the ?Type? of liquor sent from the form submission done by the index.html and get the available list of brands from the getAvailableBrands() method. There is also a similar method called doGet() that can be overridden to handle the GET requests.
In the javax servlet api version 3.0.1 we can use the @WebSevlet annotation to insert the servlet name and the servlet URL into the servlet without using a deployment descriptor. Here we publish our SelectLiquorServlet class under the name selectliquorservlet and map it into the URL pattern ?/SelectLiqour?.
The servlet will forward the request and response to a JSP view. The getRequestDispatcher() method in the servlet class takes the path of the JSP file as the argument.
3.5. Creating the results page
Finally, we?ll create the JSP page to display the result.
Create a result.jsp file in the src/main/webapp/ directory and add the following lines.
This JSP page will receive the ?brands? attribute set by the servlet and parse it into a List object. The iterator object will iterate through the list and print the available brands on the web page.
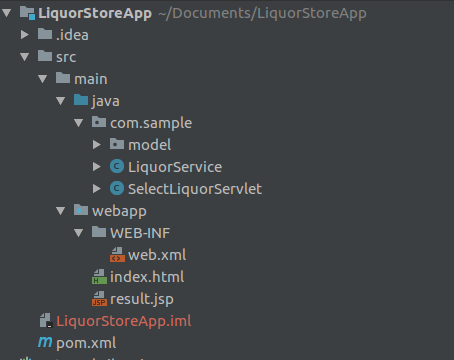
After all this, your project directory structure should be similar to this
and your final pom.xml should be similar to this.
Step 4 : Deploying the web app
Execute the following command in the terminal
mvn tomcat7:run
After successful deployment go into the browser and type http://localhost:8080/LiquorStoreApp
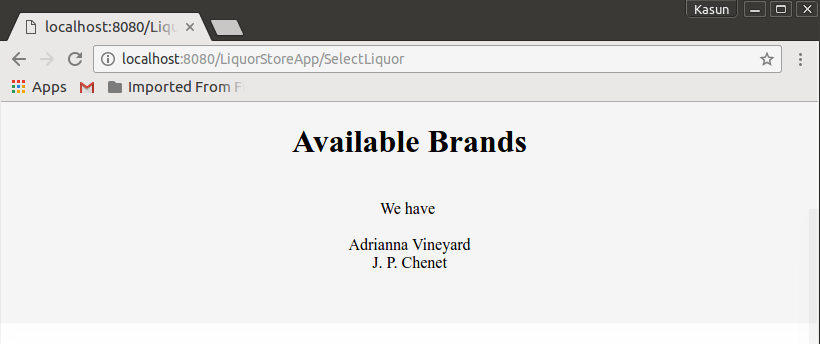
After pressing the submit button browser will render the result.jsp page.
In this tutorial, I have used the Model View Controller (MVC) design pattern to design this web application. Model is the LiquorSelect class. This class holds all the business logic of the application. The controller is the SelectLiquorSevlet that receives the client request and forwards the response to the View (The JSP page).
The source code for this sample web app can be found here.
Sources
- Head First Servlets and JSP By Bert Bates, Kathy Sierra, Bryan Basham ISBN: 0596005407
- https://www.mkyong.com/maven/how-to-deploy-maven-based-war-file-to-tomcat/

