OpenCV is a popular library for Image processing and Computer Vision. Using python with OpenCV combines the simplicity of python with the capabilities of the versatile OpenCV library.
Using the Windows platform to foray into data science and computer vision is a popular choice especially among beginners. Anaconda is the first choice distribution for scientific python particularly on Windows. If a more portable setup is required to say run on a pendrive then I recommend using the WinPython distribution. Both setups allow for installing OpenCV in a straightforward way although it could be misleading for an absolute beginner. The first part explains the step-by-step process of installing OpenCV on Anaconda, the second part explains installing OpenCV on WinPython.
Step 1: Installing Anaconda
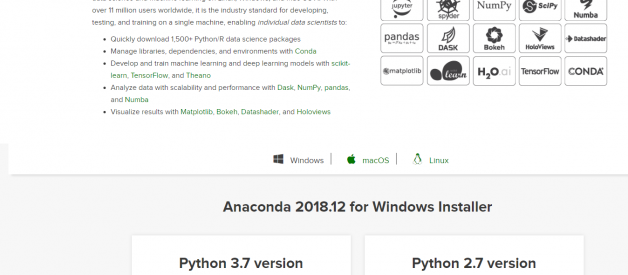
Download the latest Anaconda graphical installer for Windows from https://www.anaconda.com/distribution/ and check for the Windows architecture on your computer. If its 64-bit then choose the 64 bit graphical installer or else choose the 32-bit installer. Choose Python 3.7 for working with Python 3. This is the preferred option as python 2.7 is reaching its End-Of-Life by 2020.
 https://www.anaconda.com/distribution/
By default the website prompts us to download the macOS installer so click Windows before clicking Download.
Launch the graphical installer and we will be prompted to choose for which user to install.
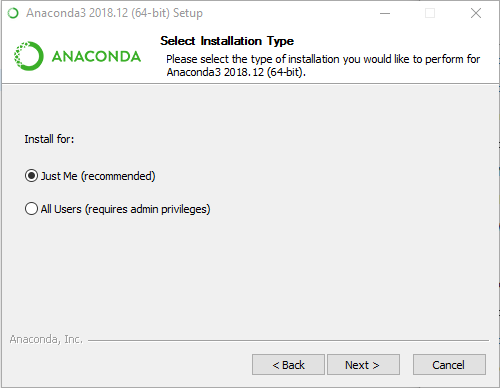 choosing the user under whom to install.
Choosing ?Just Me? is recommended as choosing All Users would require administrator privileges whenever we are modifying Anaconda(as will be illustrated later).
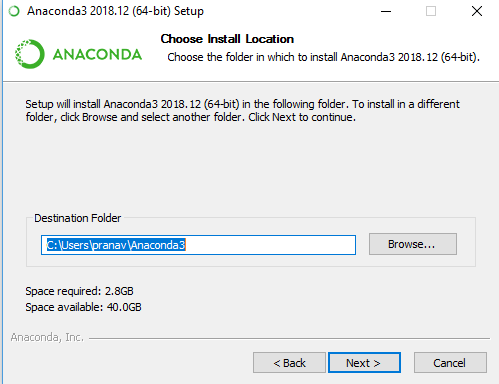 choosing the destination folder.
If we chose ?Just Me? then the above dialog will be displayed with the default location being ?C:Users<username>Anaconda3? whereas choosing ?All Users? would display the following dialog:
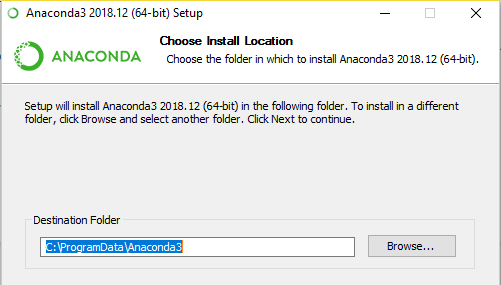 default location for ?All users? would be ProgramData.
The key is to use a path without spaces between folder names as this can create conflicts for Anaconda later( as it will prompt us when we try to choose such a name).
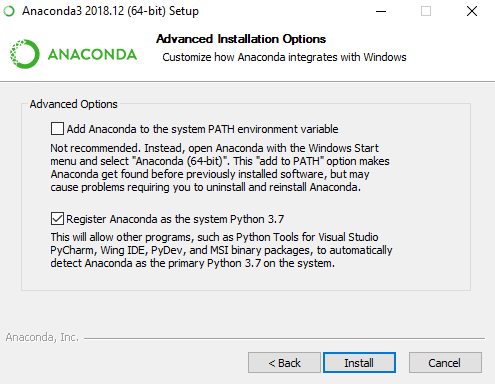 Anaconda installation options
Continue to install with the default option of ?Register Anaconda as the system Python 3.7? if we don?t have other versions of python or other distributions installed.
It takes a few minutes for installation to complete. Once completed we may be prompted to optionally install VSCode as an IDE. We may skip this option if we wish to do so.
Step 2: Installing OpenCV
Right. Lets now come to the actual goal of installing OpenCV for python.
Launch the Anaconda prompt from the start menu:
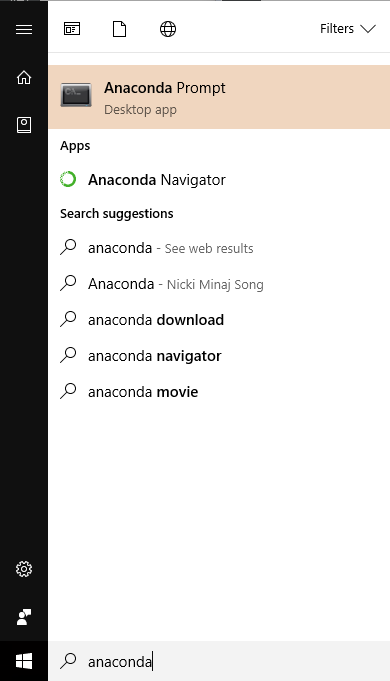 launching Anaconda prompt
We should see a similar prompt if we went according to instructions.
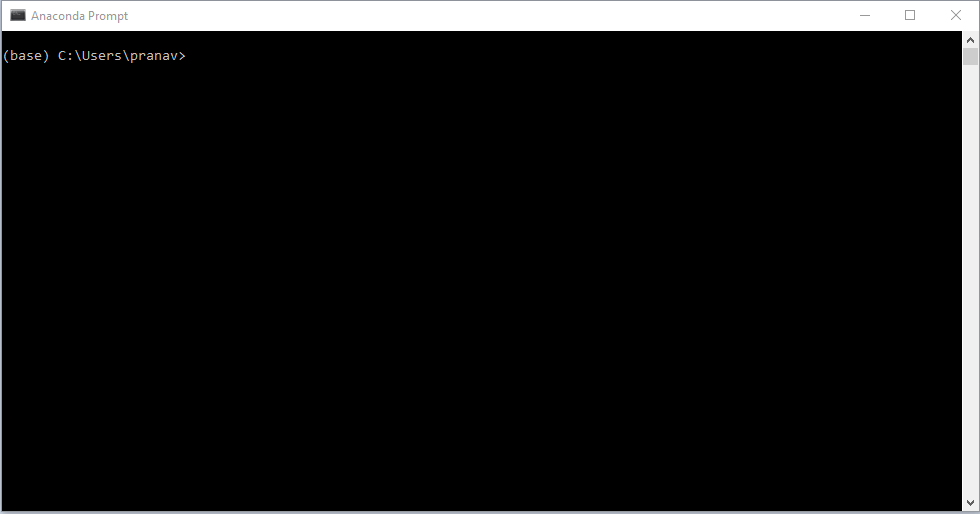 prompt for normal user.
if you chose ?All users? while installing then you have to launch the prompt by Right-clicking and choosing ?Run as Administrator? to execute with administrator privileges. This is critical.
If we wish to install OpenCV in a separate environment, we need to create an new environment( replace opencv with any name in the command below, note the symbol ? ? ? is a double hyphen, best to copy-paste followed by editing ?opencv? to a name you prefer):
conda create ? name opencv
activate opencv
To install the OpenCV we need to type the following command at the prompt:
conda install -c conda-forge opencv
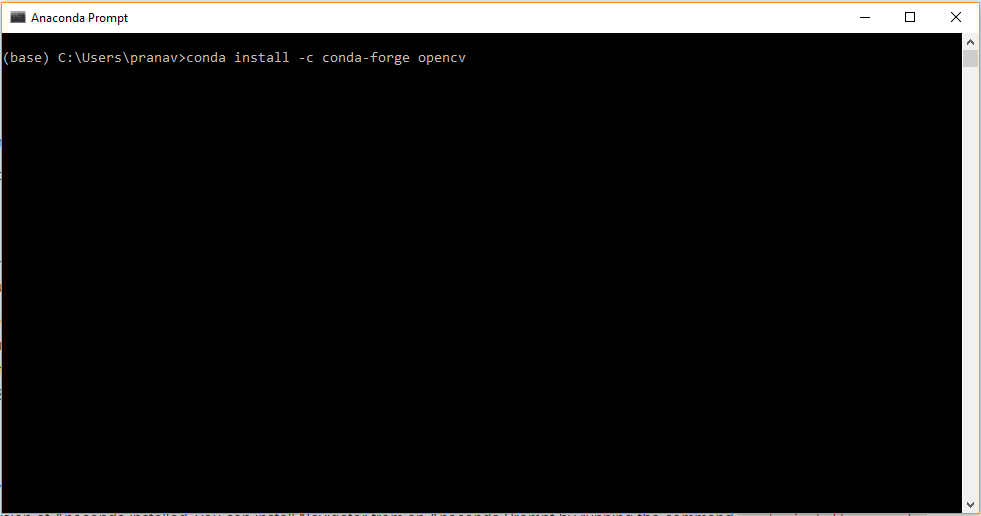 installing OpenCV through anaconda prompt.
We can alternatively choose to install through anaconda navigator graphical interface. type in ?opencv? in search packages search bar. choose to install all the listed packages.
The prompt will show that it is ?solving environment?. It takes quite a bit of time if you are on slower Internet connection.
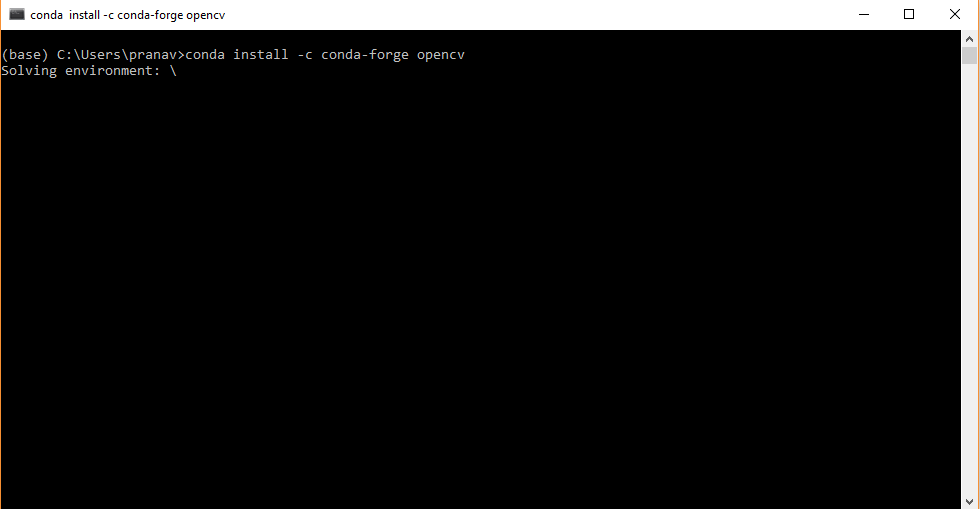 solving environment
Try to use faster Internet, preferably a wired connection for uninterrupted and best results. if you are in a work or institution based Internet connection then it is likely that an HTTP timeout will occur and we need to enter the command once again and restart the procedure.
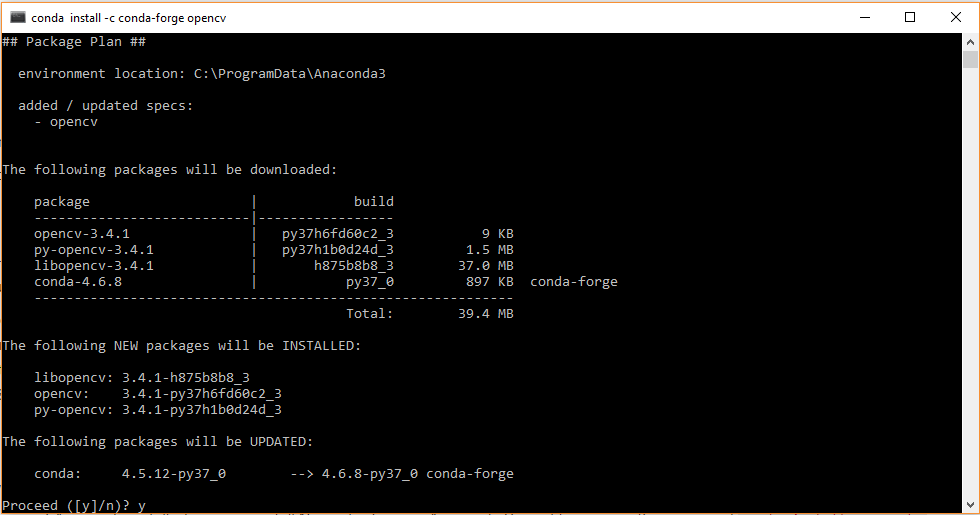 proceed to install by entering y when prompted as shown.
Once the environment is resolved by conda it will list the packages that will be installed, namely: opencv, libopencv, py-opencv.
Enter y to proceed with the installation.
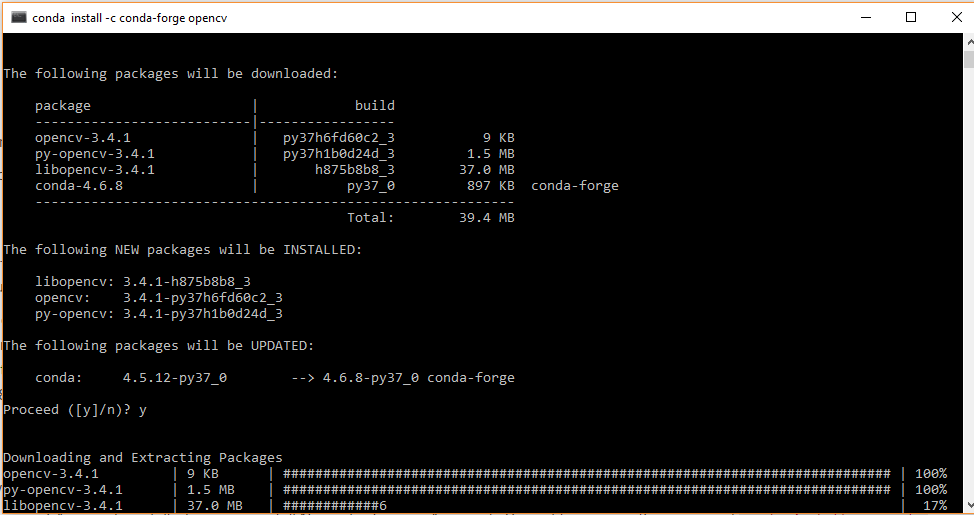
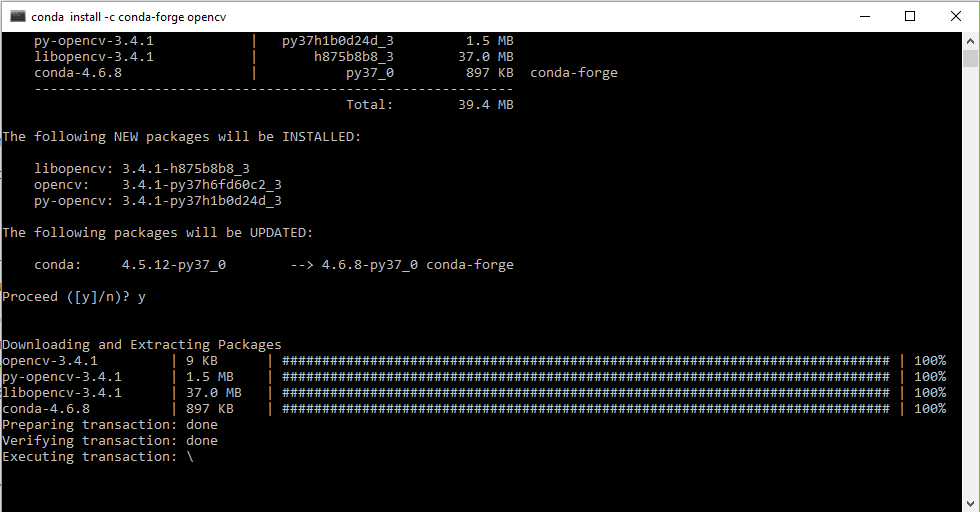 conda downloads and installs all required packages.
If you chose ?All Users? then ?executing transaction? will fail with the message ?PermissionError(13,?Access is denied?)?
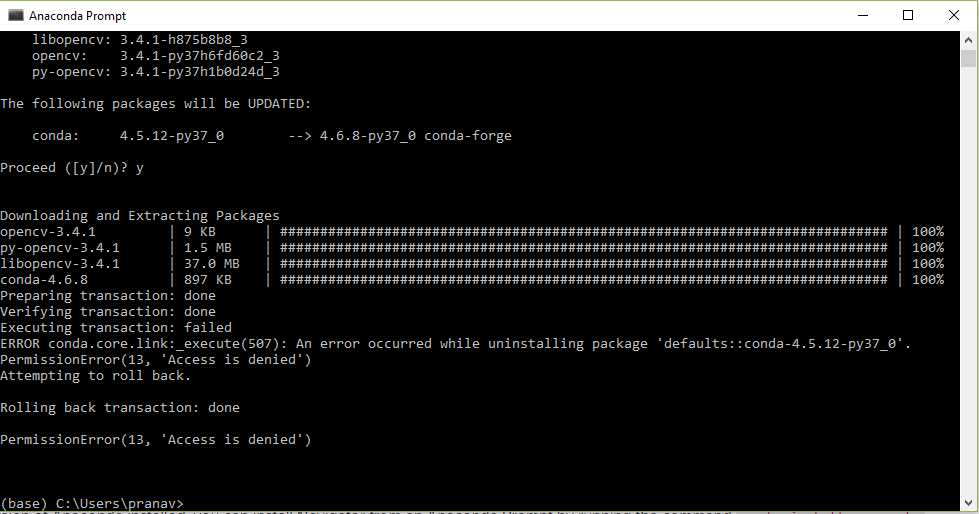 access denied error is generated if the prompt is not run with administrator privileges.
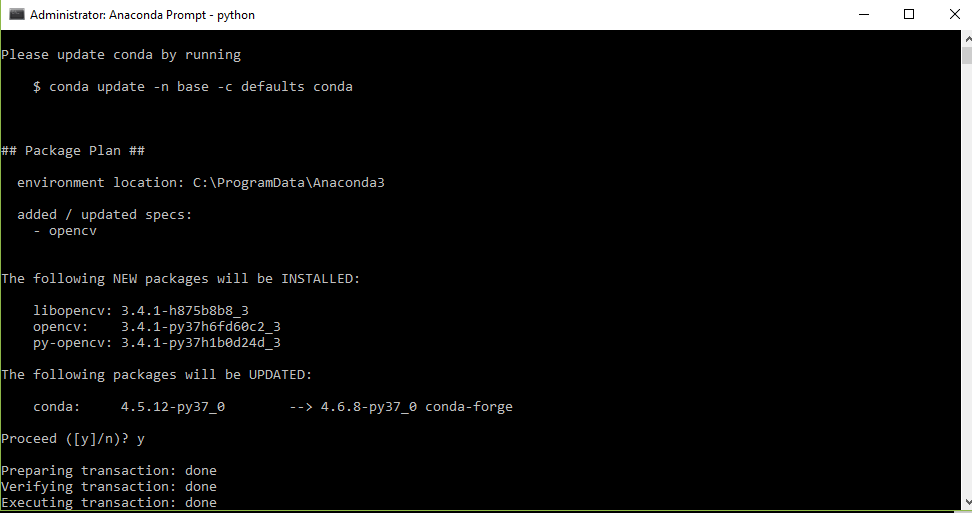 installation is successful.
We can verify if the installation was successful by launching the python interpreter. opencv is referred to as cv2 in python. Type at the prompt:
import cv2
if the prompt is displayed then opencv then python has successfully imported the opencv library. But we should also verify the version of opencv so we need to type:
print(cv2.__version__)
as of March 2019 the version displayed is 3.4.1 which is the officially supported version of opencv by anaconda environment. If we want to work with a different version then while installing we can specify the version as ?opencv=3.4.1″ as shown below
conda install -c conda-forge opencv=3.4.1
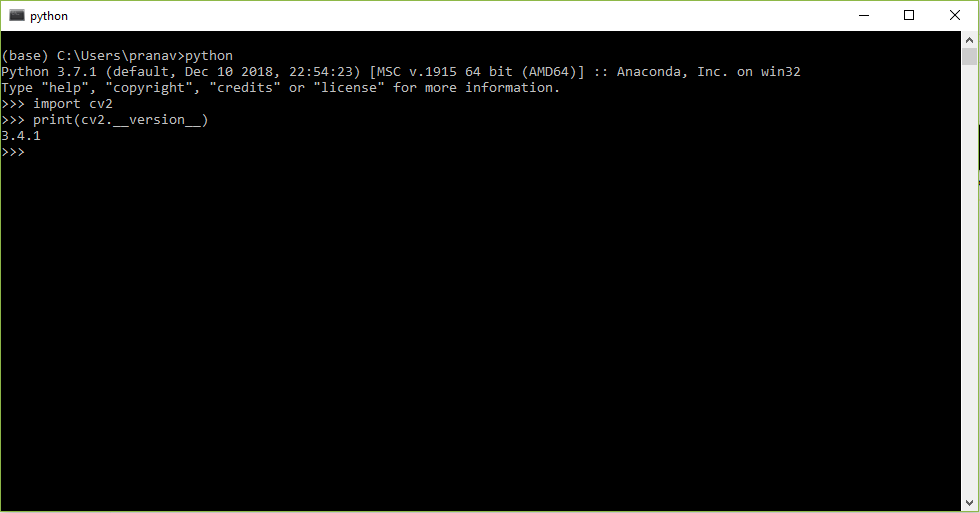 verify the version of opencv.
Similar steps can be followed to install OpenCV on anaconda for MacOS.
Installing through WinPython
Step 1: Install WinPython
Winpython is a more portable way to work with python projects on windows. We can visit the homepage at http://winpython.github.io. We can download the latest release for up to date packages.
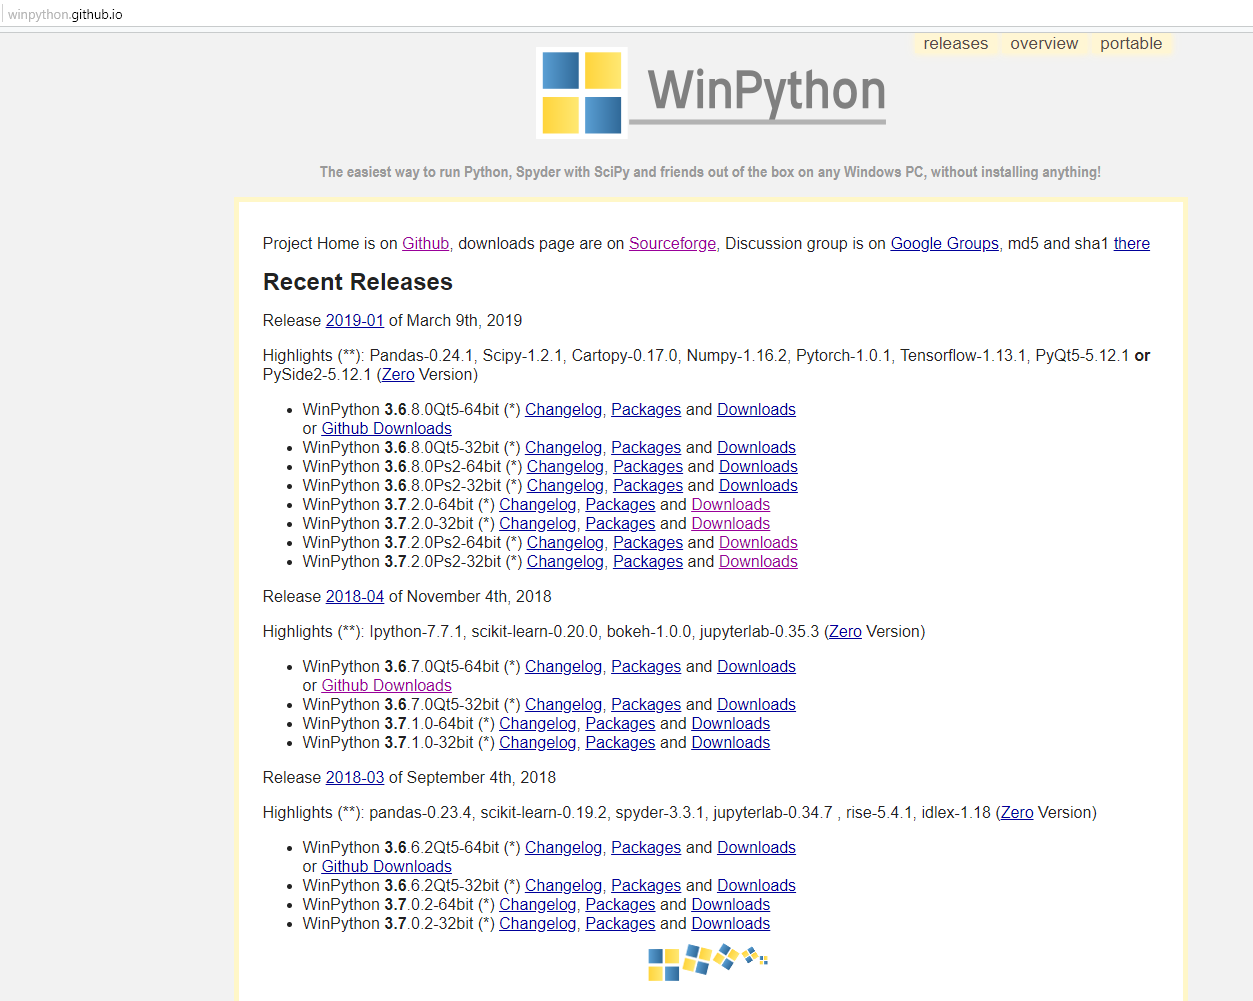 WinPython homepage.
It is preferable to download from the github Releases page of WinPython: https://github.com/winpython/winpython/releases. The reason being the default link from the homepage redirects to sourceforge.net which restricts the download speed quite considerably(around 200KBps). like in Anaconda choose the correct version for the target architecture(64 bit vs 32 bit). The Zero version is the minimalistic version with pretty much bare python without most of the other extra packages( no Spyder, Jupyter etc.)
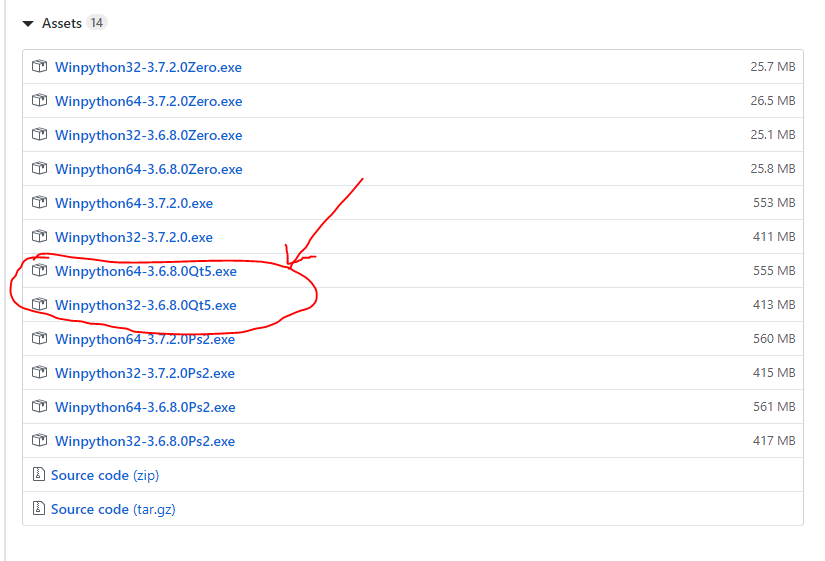 Github release page offers many options to download.
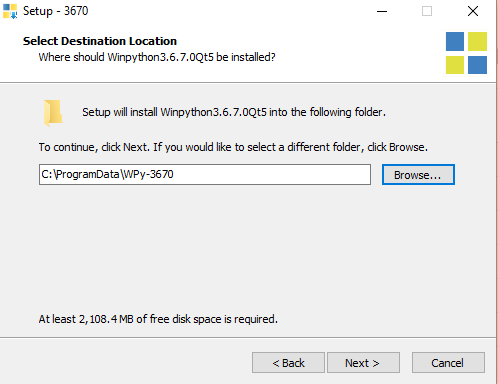 Install to desired folder.
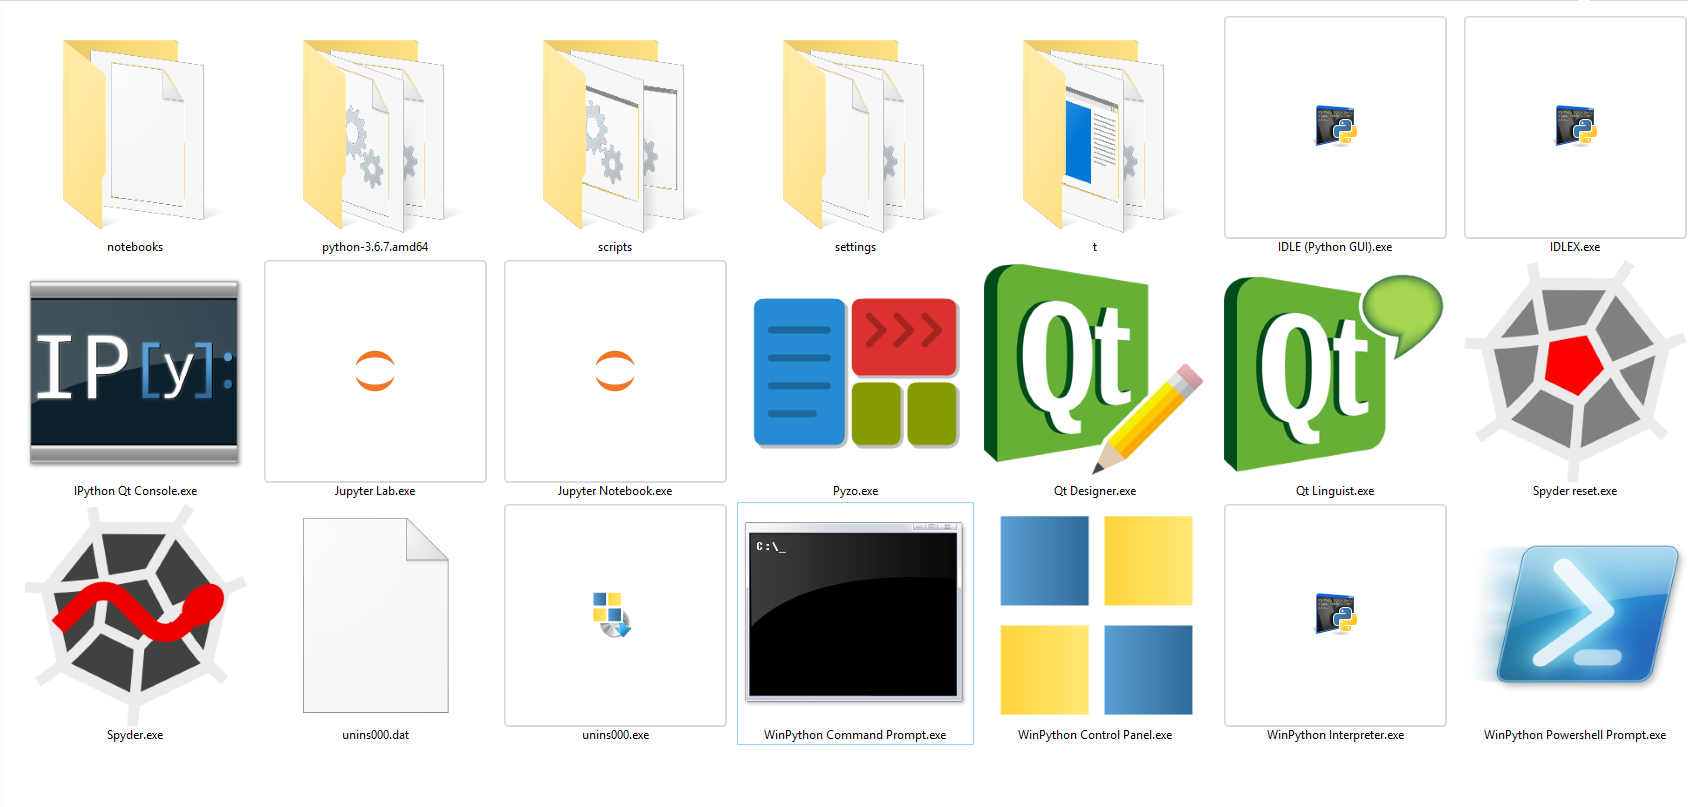 the different apps available in WinPython folder.
Step 2: Installing OpenCV
Installing OpenCV in WinPython is quite easy. launch the WinPython Command Prompt.exe to get the prompt. Enter the command.
pip install opencv-python
verify the installation like in anaconda with
import cv2
print(cv2.__version__)
Thats it! We have successfully installed openCV for python on Windows using Anaconda as well as WinPython.
Hoping this helps you to explore different computer vision algorithms available in OpenCV!
To install Tensorflow especially for GPU I found an article by Harveen Singh which was helpful for me :
https://towardsdatascience.com/tensorflow-gpu-installation-made-easy-use-conda-instead-of-pip-52e5249374bc

