Installing PyCharm and Anaconda Youtube Video
This tutorial is split into three sections. The first part is installing PyCharm. The second part is testing your installation (making a project, creating and running python files). Finally, the last part of the tutorial goes over installing packages, environment management, and java issues. As always, feel free to ask questions either here or on the youtube video page.
Installation
- Install Anaconda (Python) on your operating system. You can either download anaconda from the official site and install on your own or you can follow these anaconda installation tutorials below.
Install Anaconda on Windows: Link
Install Anaconda on Mac: Link
Install Anaconda on Ubuntu (Linux): Link
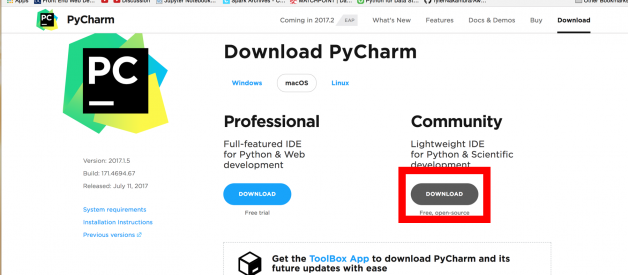
2. Download the community edition of Pycharm for your operating system: Link
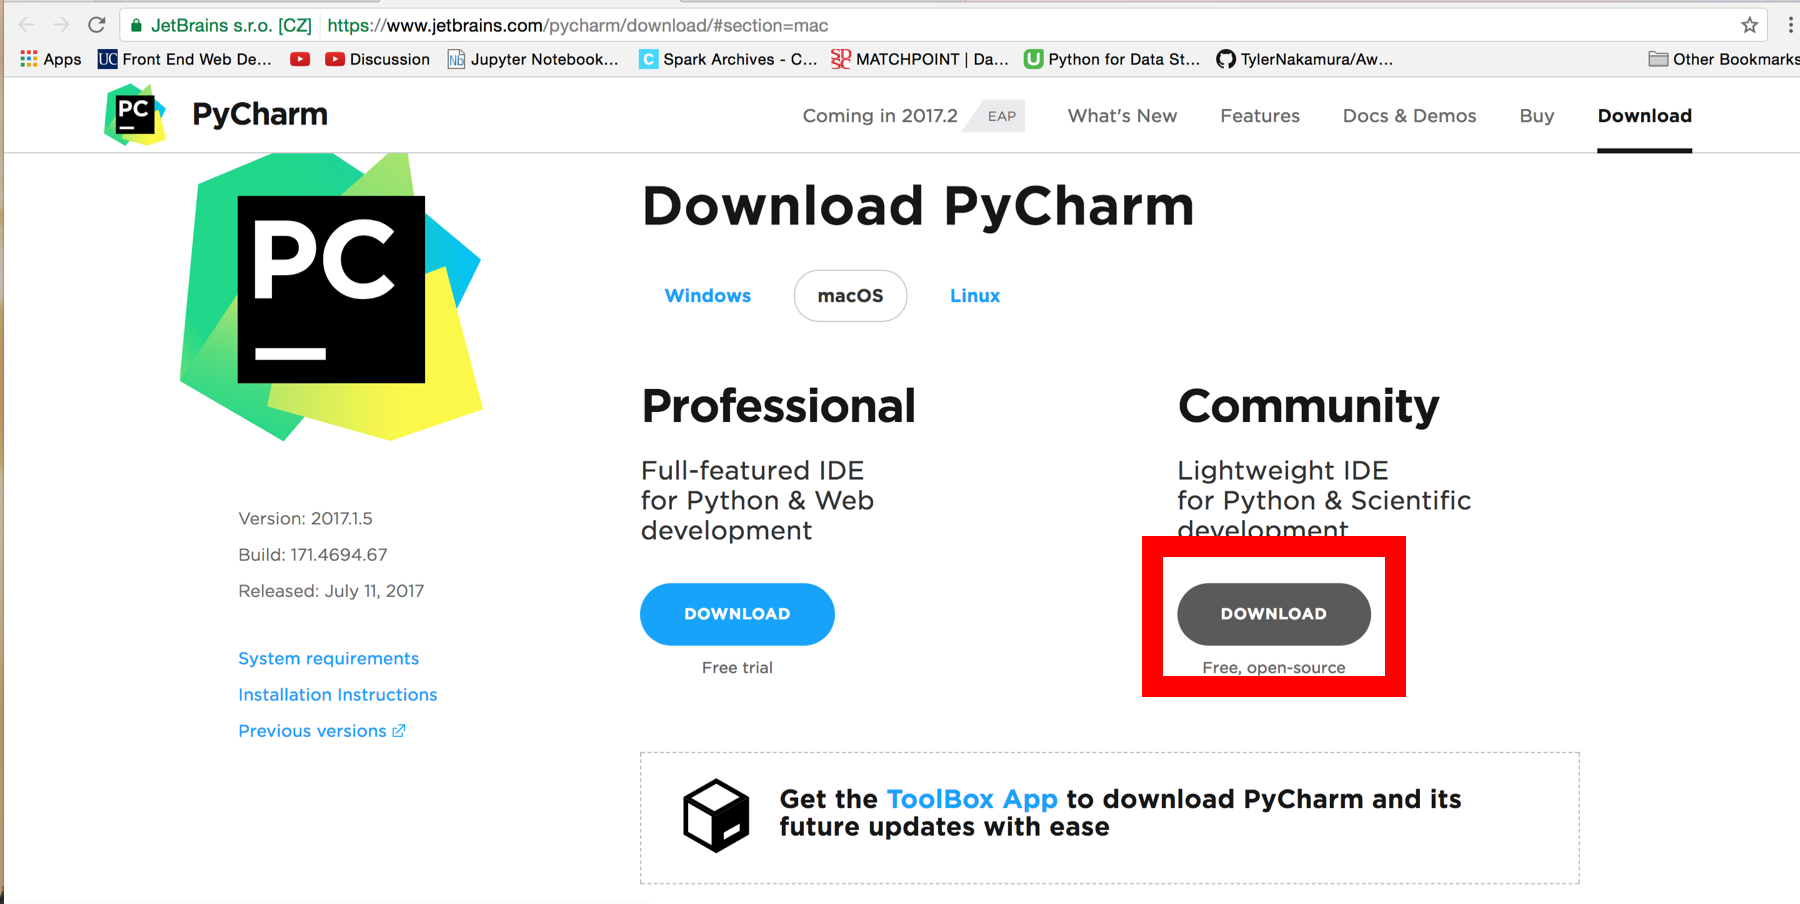 Download Pycharm
3. Click on the file you downloaded
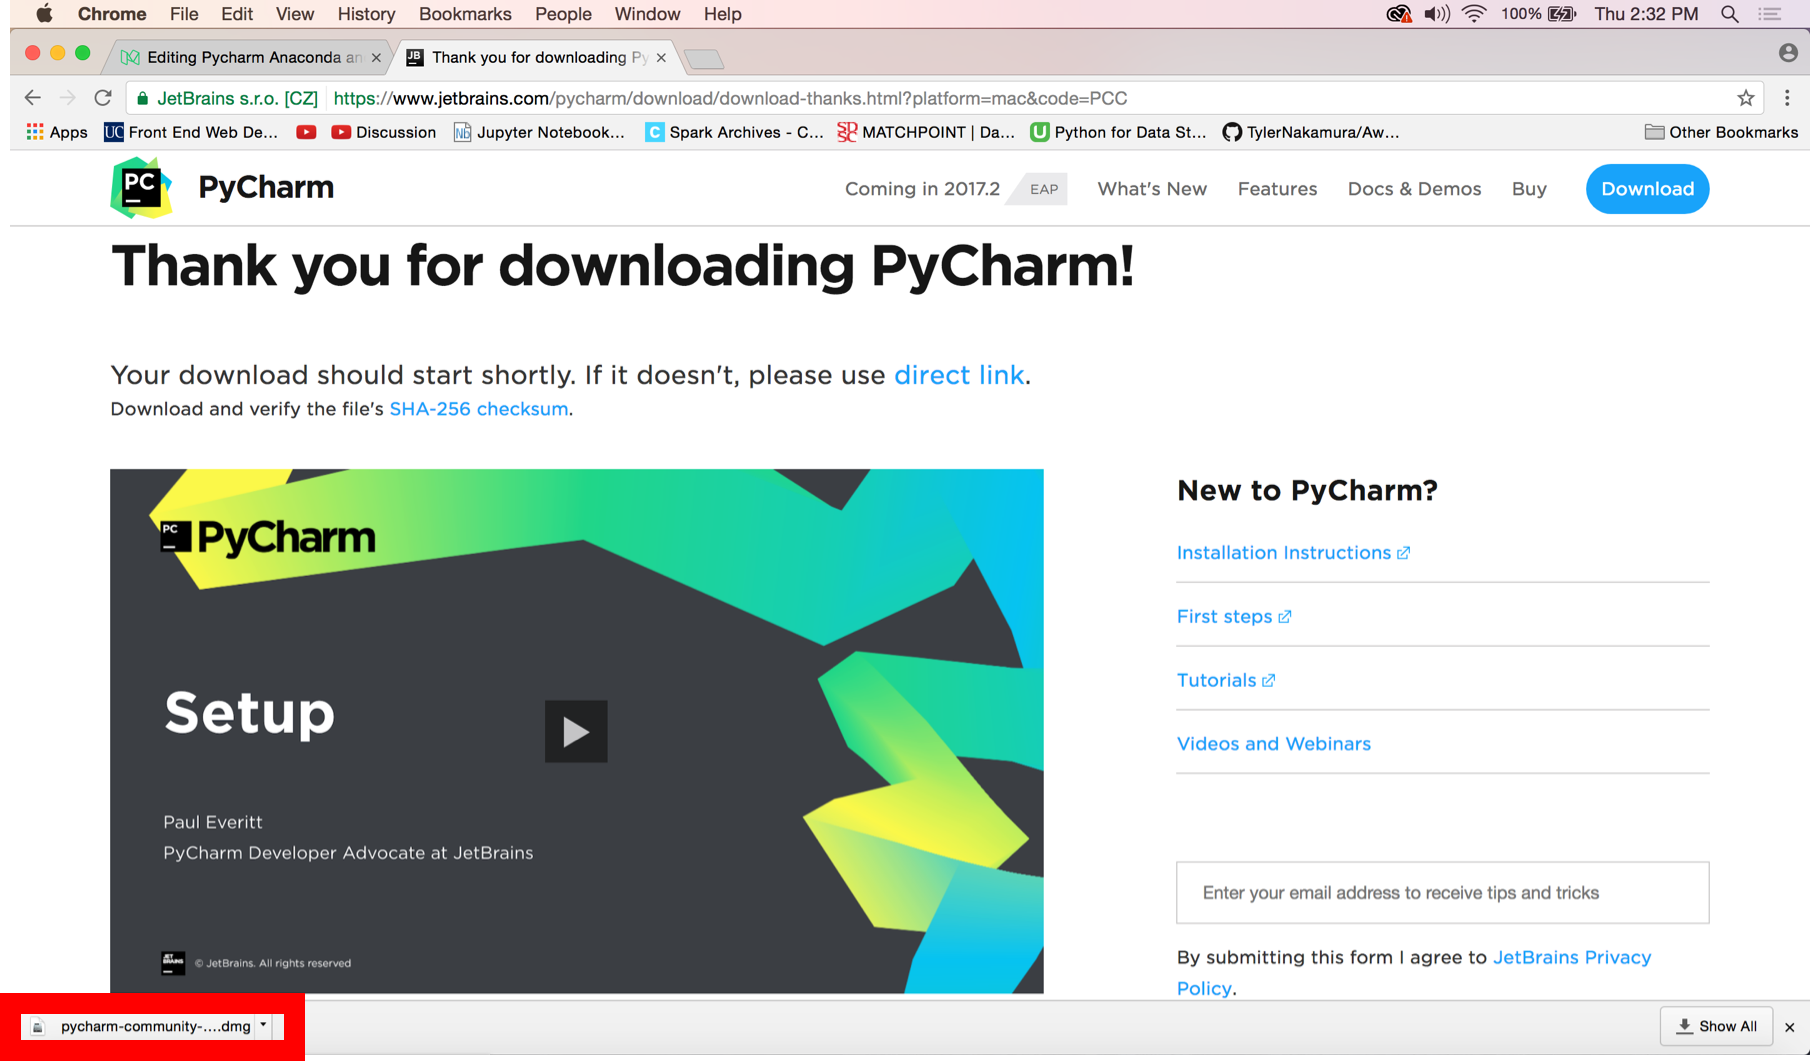 Click on the file you downloaded
4. Click on program you downloaded. This part varies a little for Windows and Mac
Mac: Drag PyCharm to the applications folder
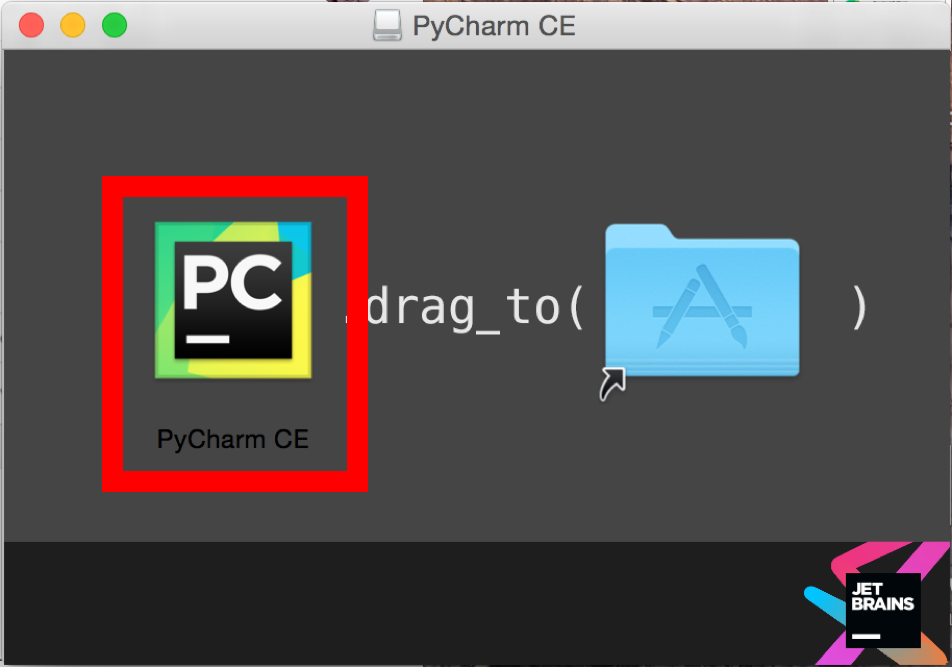 Drag PyCharm into your Applications Folder
Go to your applications folder and double click PyCharm. The installation will be all the default settings. If you are unsure, see the youtube video.
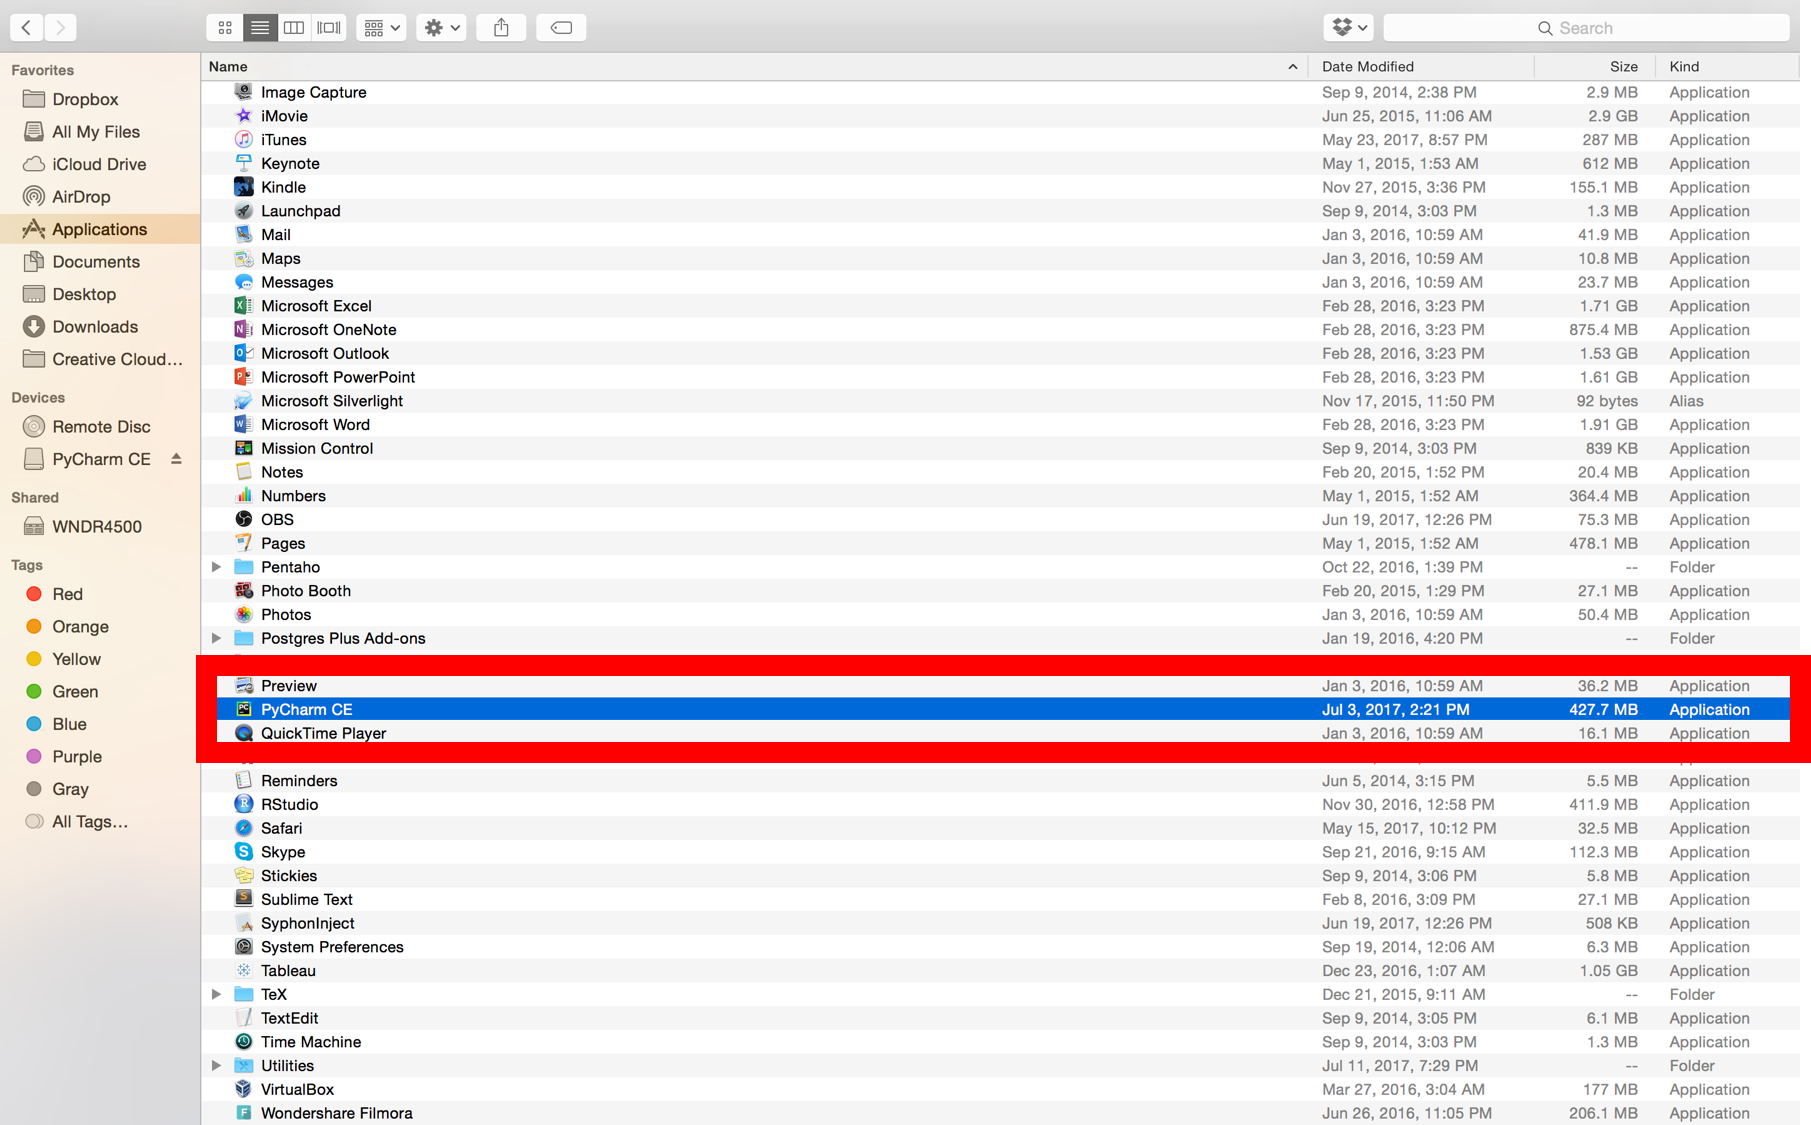 Double Click on PyCharm in your Applications Folder
Windows: Go through the default installation process until you get to the following screen. It may seem silly, but downloading whichever JRE JetBrains recommends can make life easier.
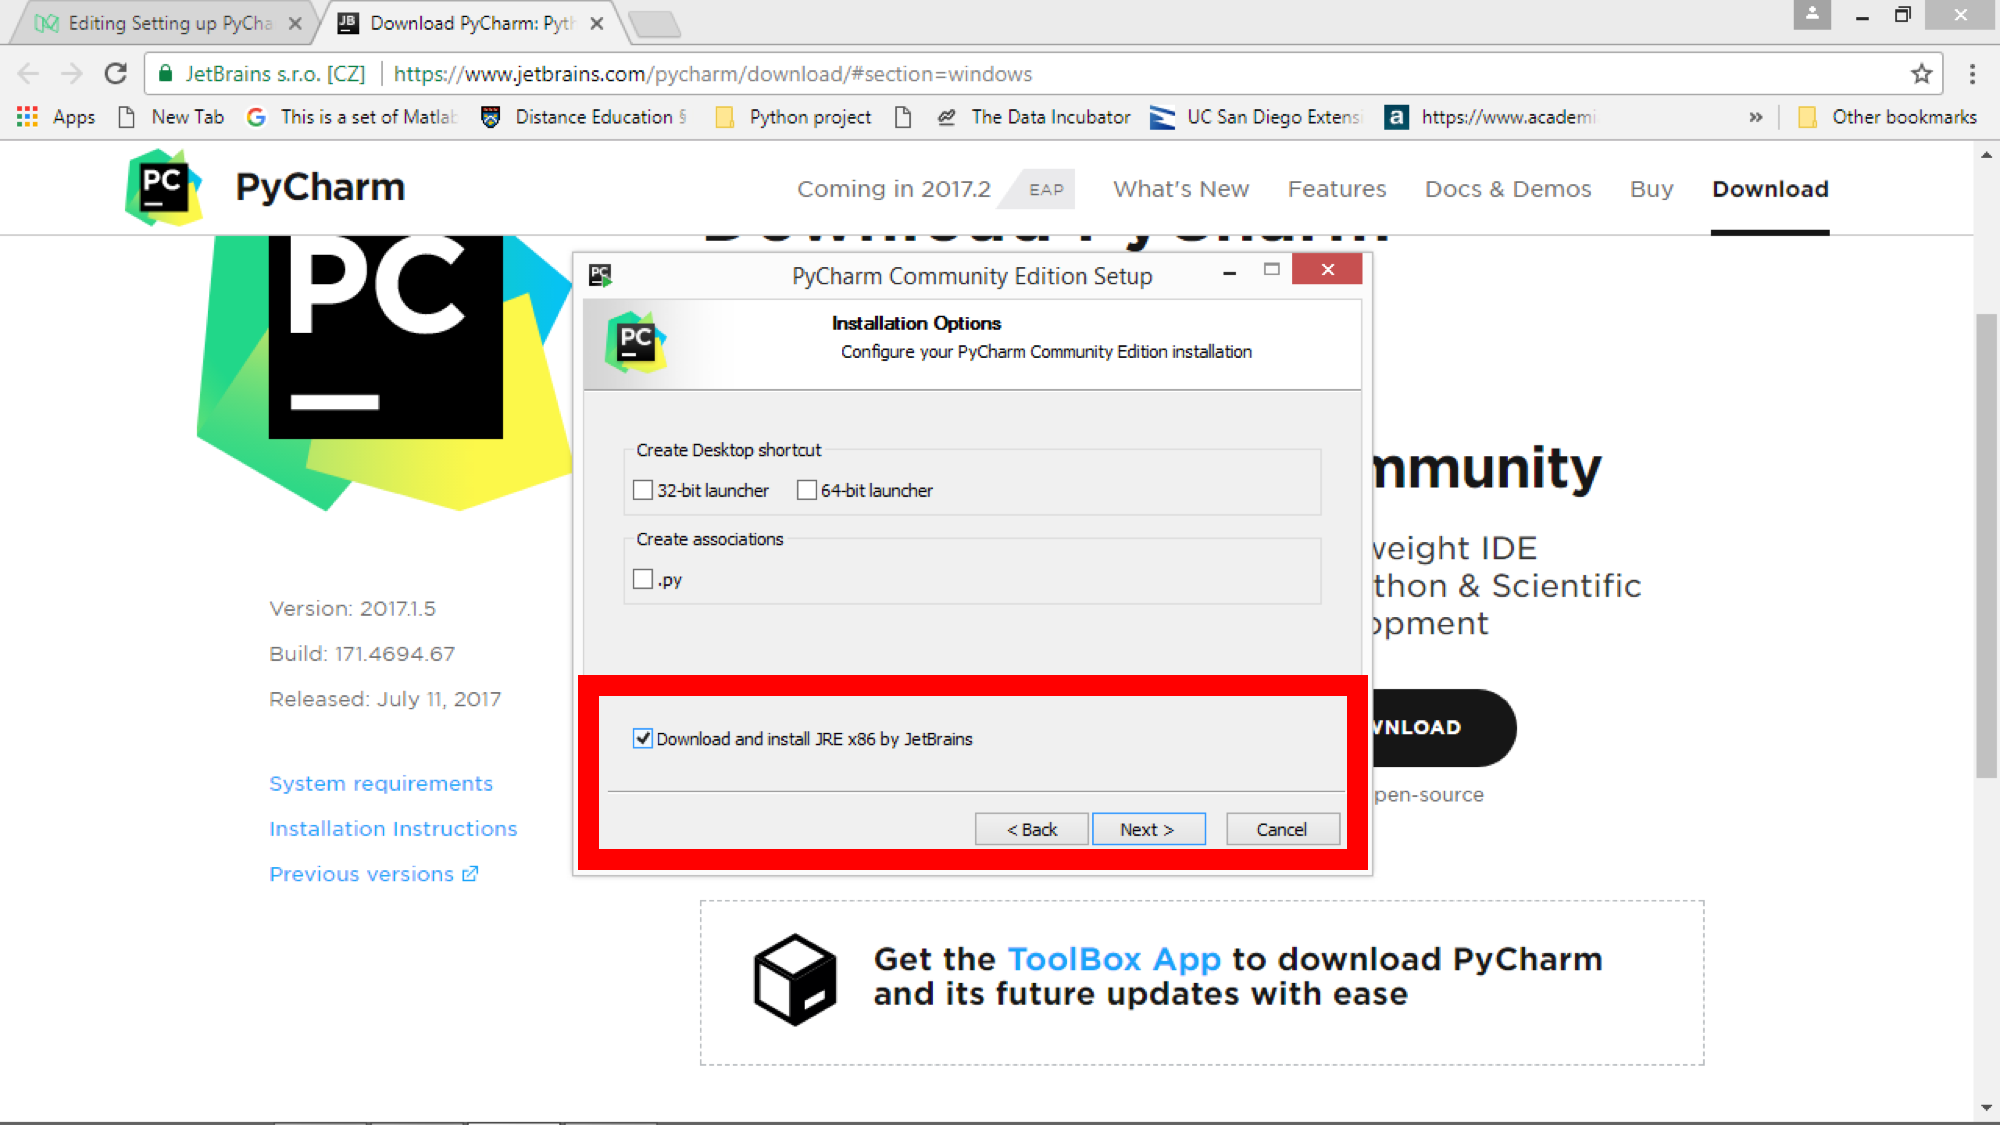 Download and Install JRE by JetBrains
Starting with PyCharm
One of the first things one should do after installing PyCharm is to use it. The first thing we shall do is create a project, choose an interpreter (in this case, choose anaconda)
5. Create a New Project
 Create New Project
6. Select Interpreter. Since this is a Anaconda based tutorial, choose your anaconda path (you can do which conda in the terminal to see where anaconda is) and click create
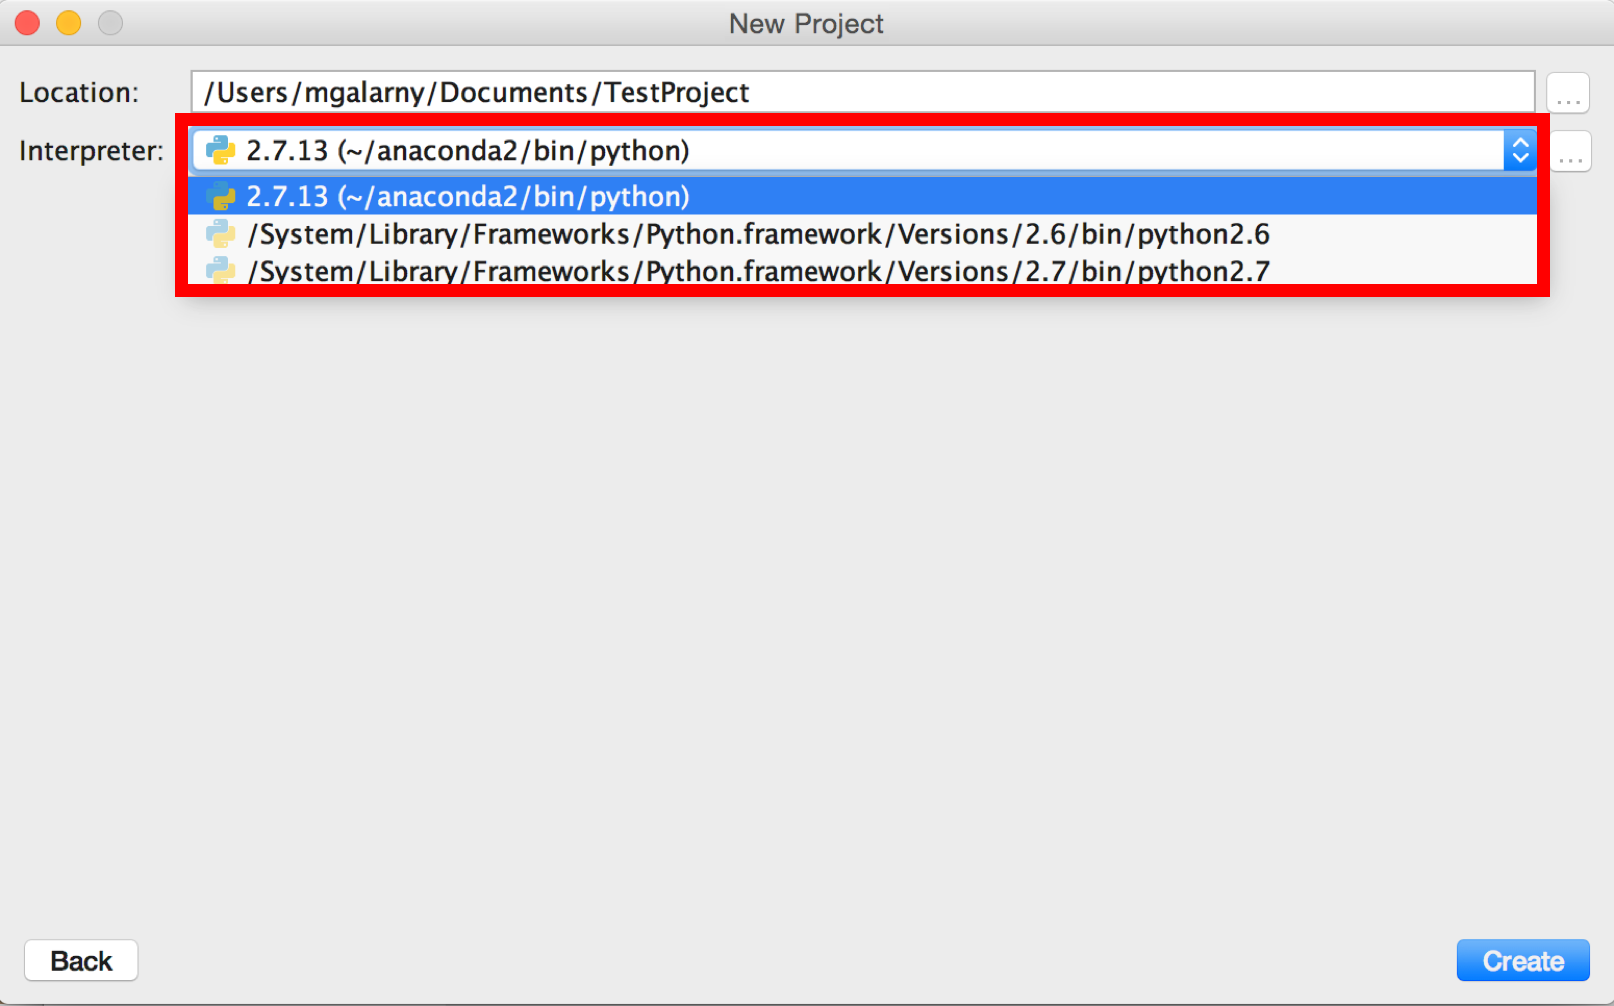 Python Interpreter
7. You can make a new python file by right clicking on your project > New > Python File. Name the file FizzBuzz.py. If you don?t know what FizzBuzz is, please see this blog post.
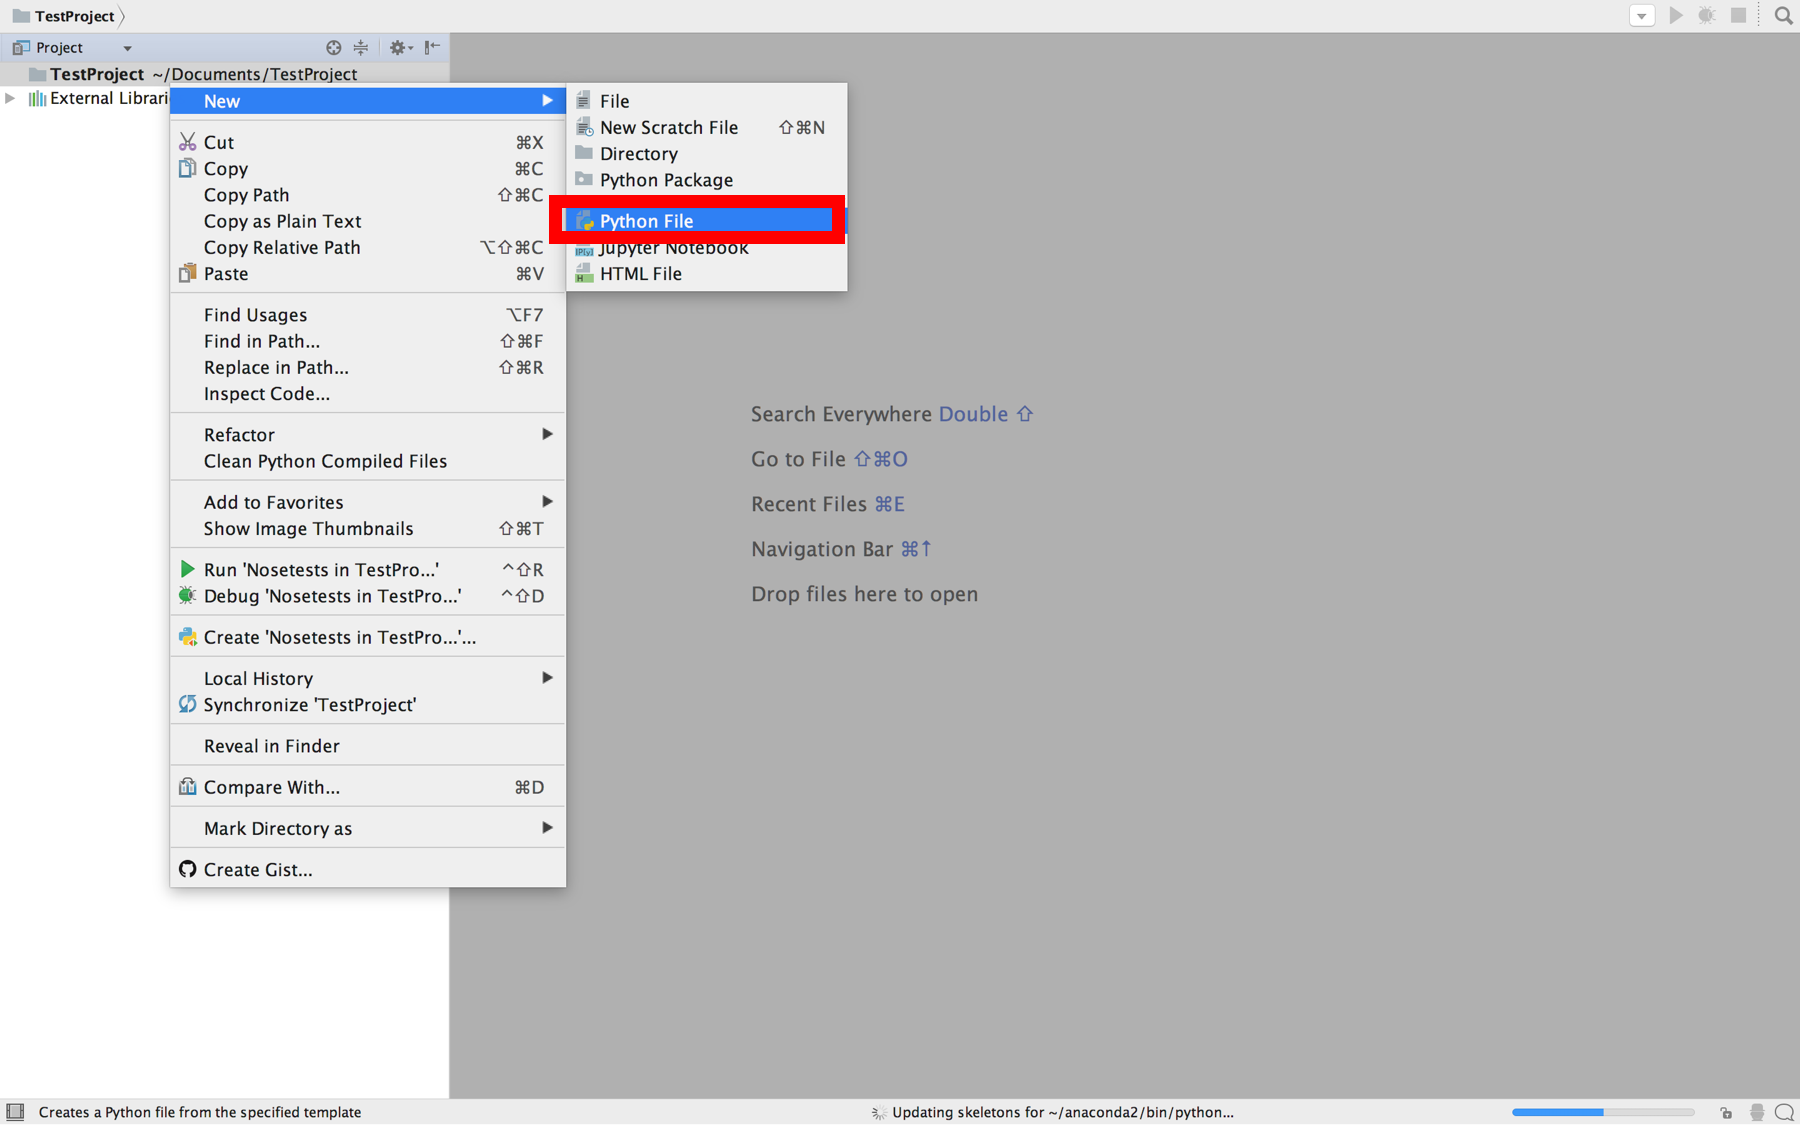 Making a new python file
8. Copy the code and paste it into your new python file
FizzBuzz.py
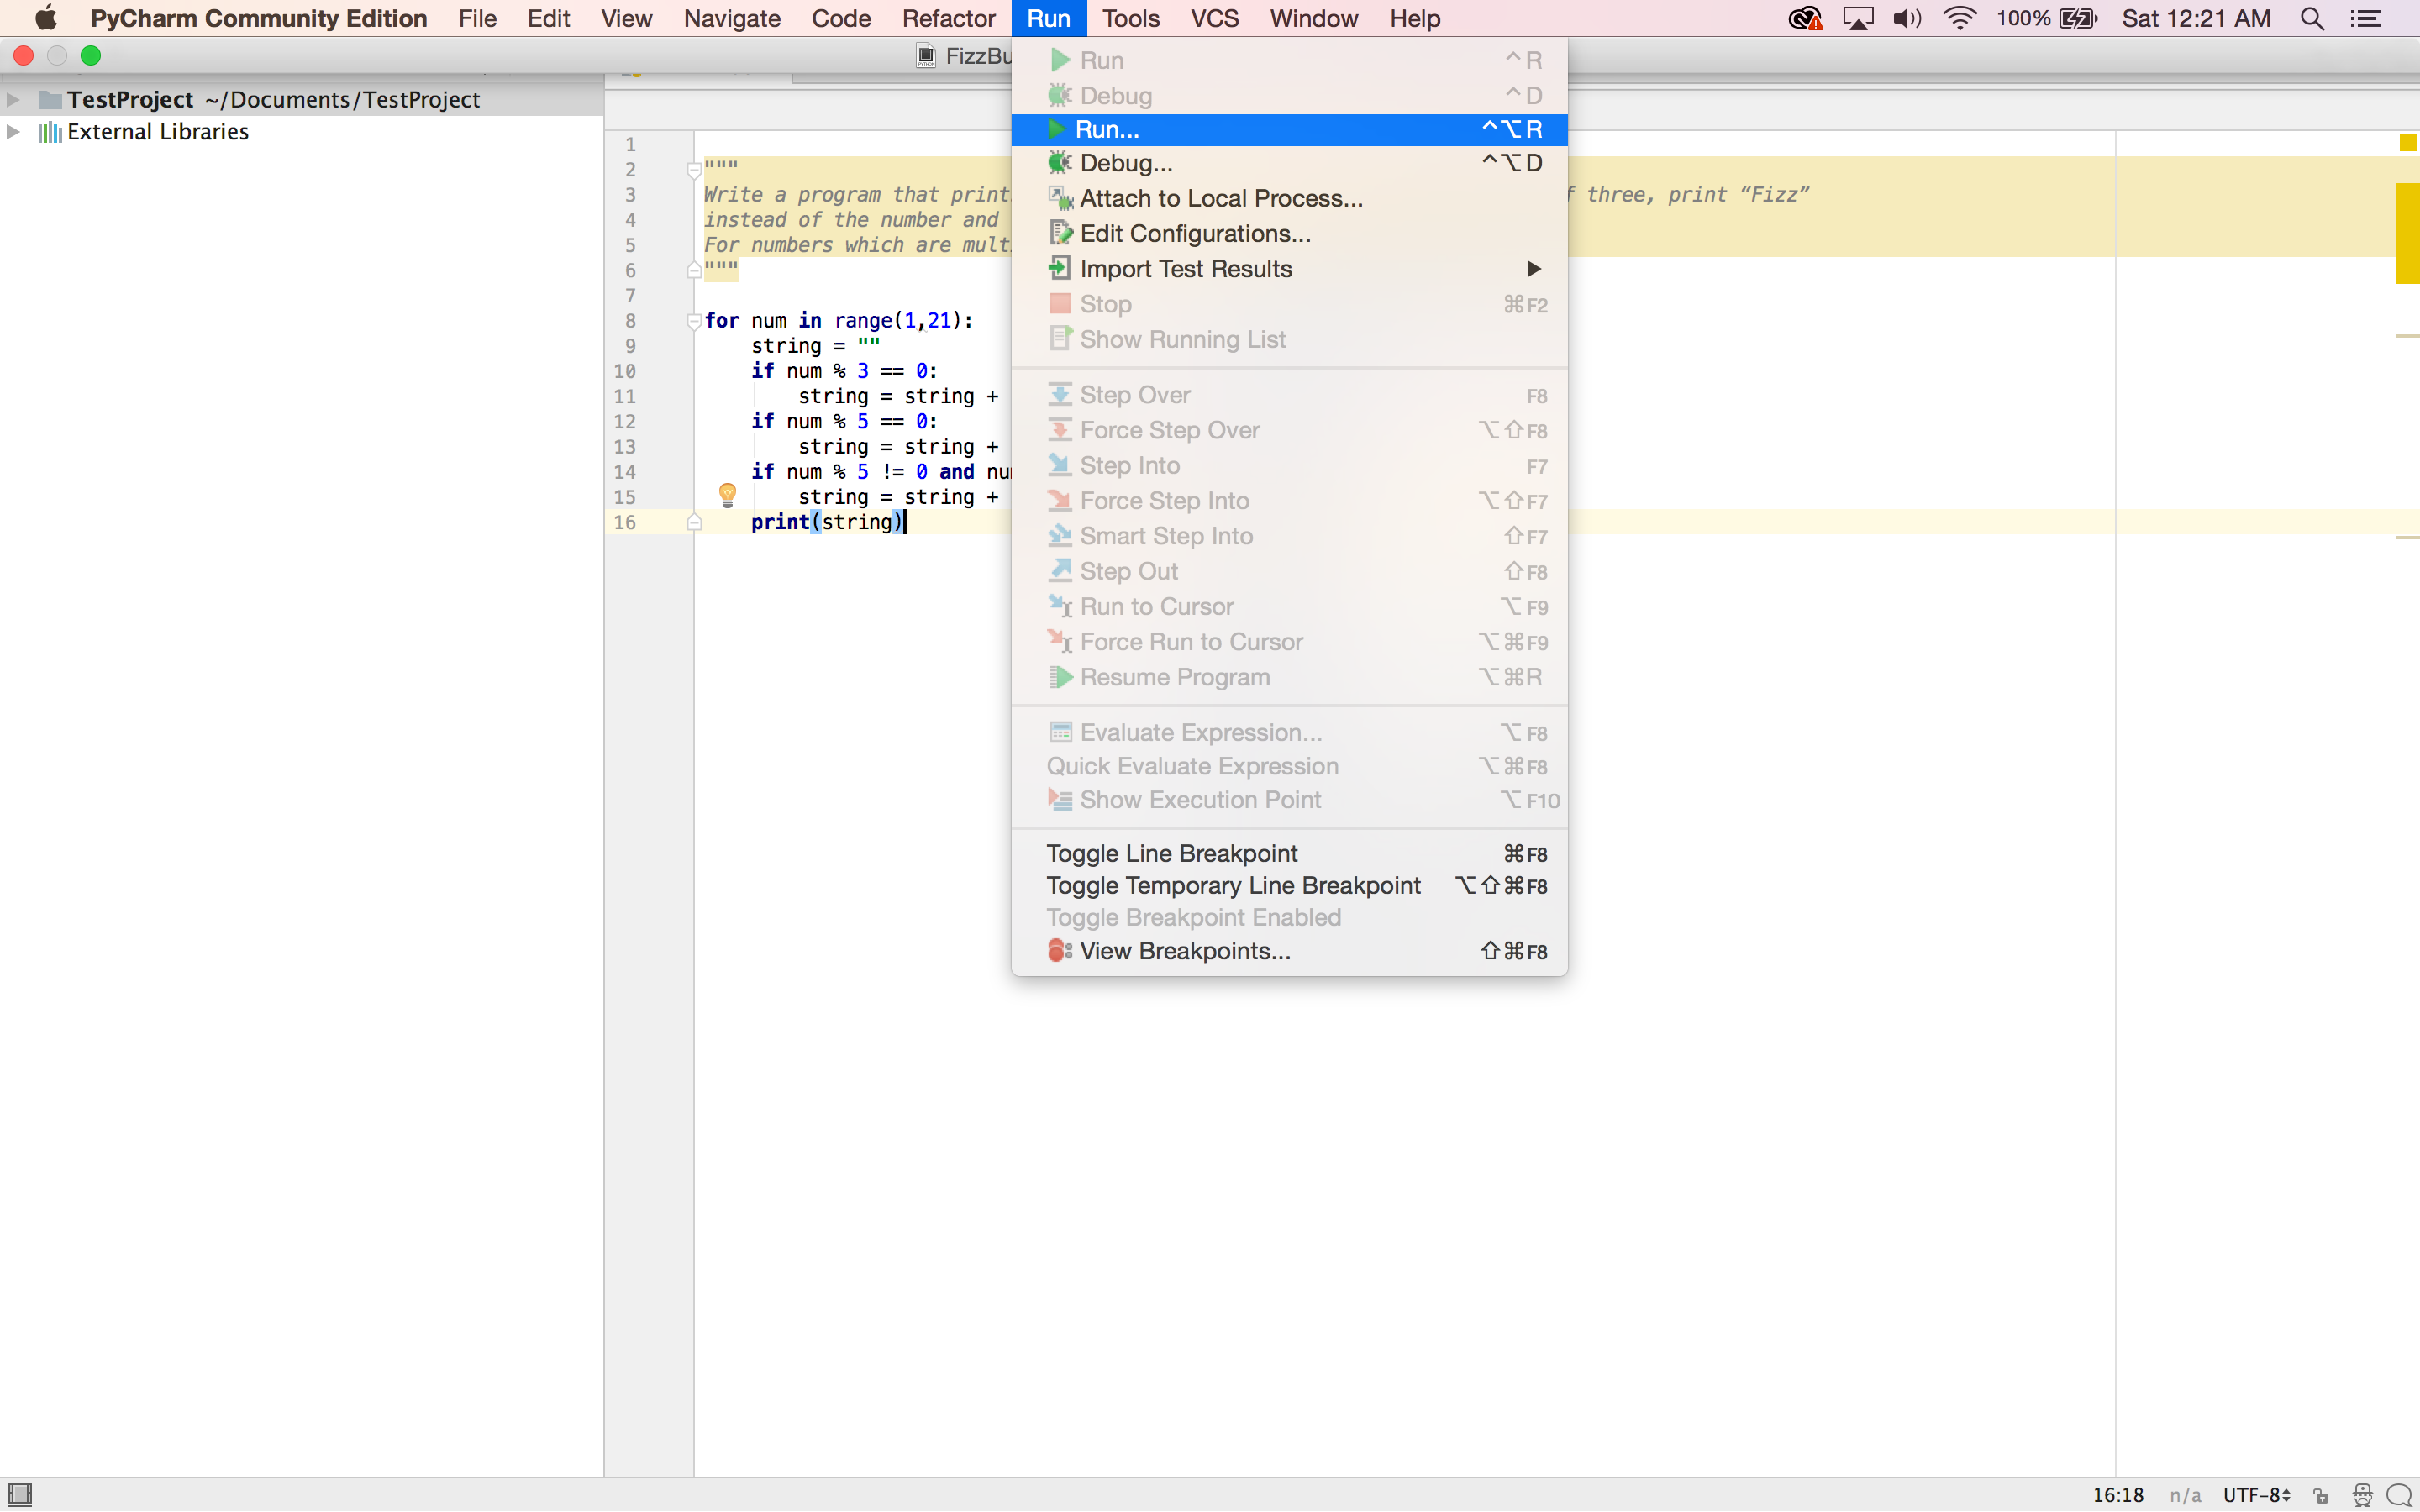
9. Run the code. Congrats! Your installation works. The remaining optional parts of the tutorial go over installing packages (either through pycharm or via command line), conda environments, and common installation issues.
Part 3: Installing Packages, Environment Management, Java Issues
- Now we are going to go over installing additional packages.
Method 1: I would recommend installing packages via the command line (it is far more reliable). You can do either a conda install or a pip install
 Conda install
Method 2: You can also install modules from pycharm itself. I don?t recommend it, but here is a link to pycharms website where they go over the process
2. Environment Management this is the time where you can use different virtual or conda environments (if you want to learn more about conda environments, these commands below, switching between python 2 and 3 etc, click here).
If you want a python 3 environment, you can type
![]() SuperCoolProjectEnvironment is the name of the environment. It uses Python 3.6
SuperCoolProjectEnvironment is the name of the environment. It uses Python 3.6
If you want a python 2 environment, you can type
![]() MyPython2Project is the name of the environment. It uses Python 2.7
MyPython2Project is the name of the environment. It uses Python 2.7
3. Open up pycharm, click on create new project. Now, click on ?Add Local? and we can navigate to one of the conda environments you created.
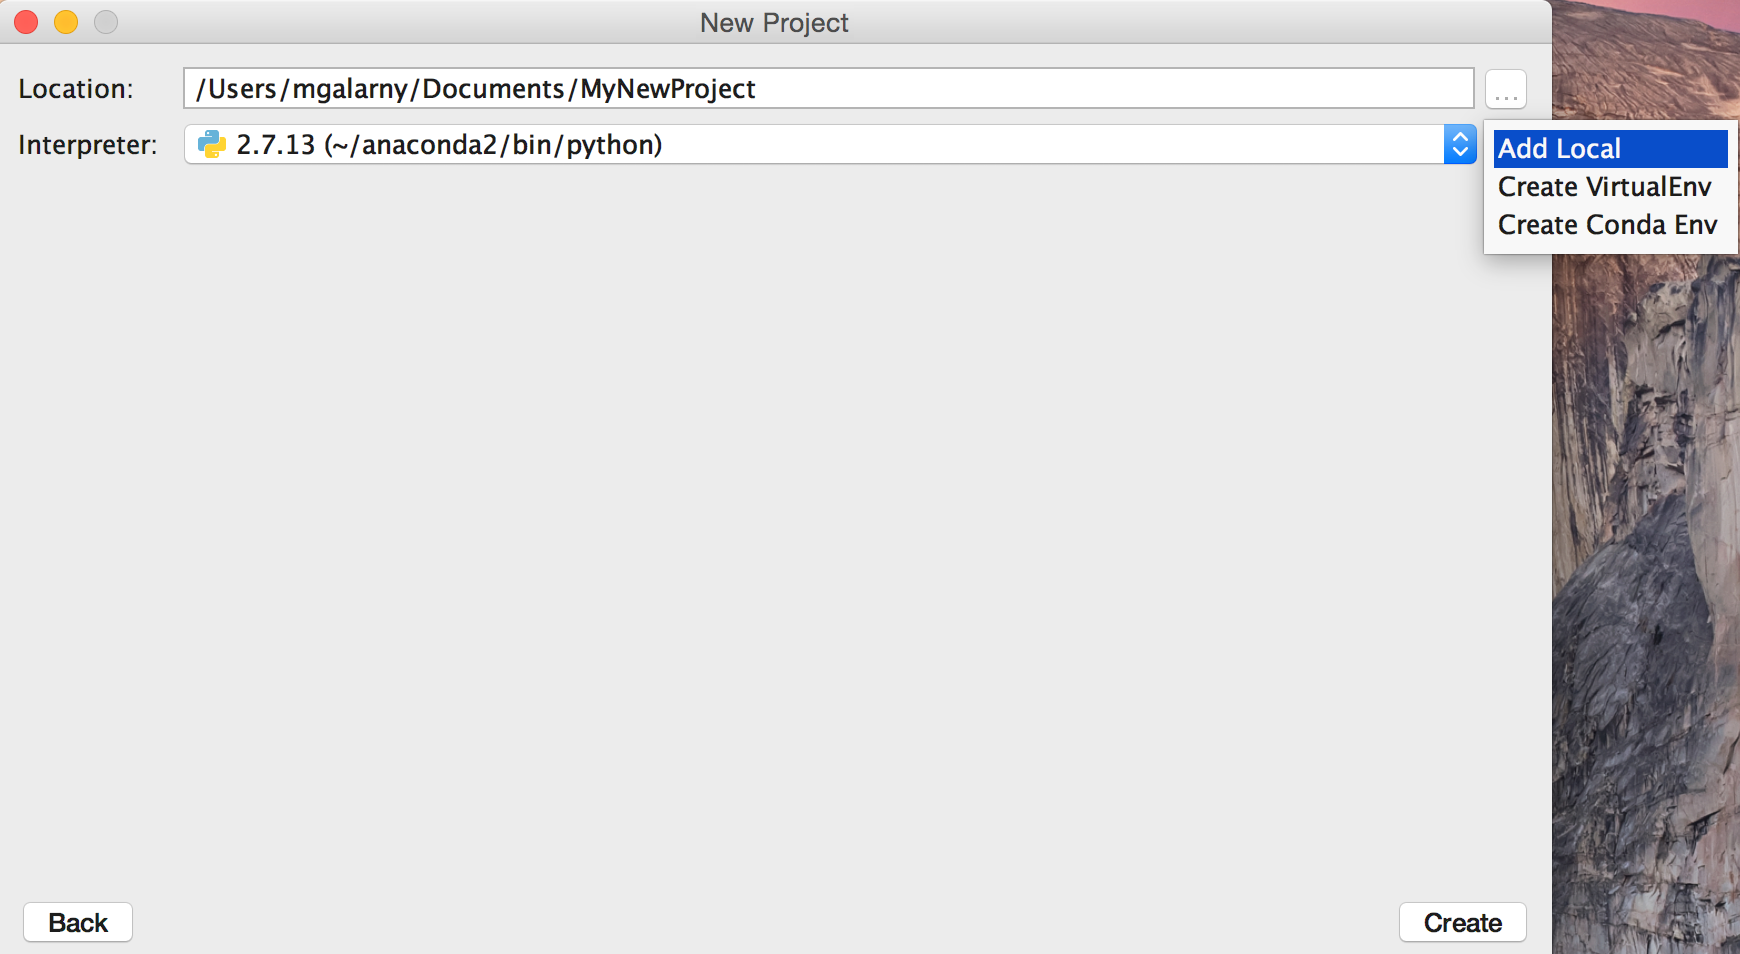
Now you select the python.exe file and click OK. Now you should be able to use your new environment.

4. Finally, it is important to note that PyCharm is an IDE written in Java. This means that Java 8 is required to run IntelliJ IDEA starting from version 2016 on all the supported platforms. Luckily, PyCharm comes bundled with a JRE on Windows and Mac. If you don?t have Java 8, please see this link to download Java 8. Please let me know if you run into Java issues.
Thanks for following along this tutorial. As always, feel free to ask questions either below this blog post, on the youtube video page or through Twitter. If you want to learn how to utilize the Pandas, Matplotlib, or Seaborn libraries, please consider taking my Python for Data Visualization LinkedIn Learning course.


)
)