 Showing Currently Installed Node Versions Using NVM
So yesterday I was in the process of installing dependencies for a Gatsby tutorial project when I hit some build errors while installing NPM packages.
After pouring over Github issues, I found a work around that was rather wonky. An alternative to this I saw was to npm install on Node version 11.
A friend?s suggestion to try NVM to easily switch between Node environments popped into my head. I?ll admit I was hesitant that I would fall into a serious rabbit hole and divert too much time away from my task at hand, but it turned out to be really simple so I thought I?d share it with you all.
If you already have node installed, uninstall it. I had Node installed via Homebrew and found that I needed to first uninstall node.
brew uninstall –ignore-dependencies nodebrew uninstall –force node
If you don?t have Homebrew installed, install it now.
After installing it, update the Homebrew package list and install NVM.
brew updatebrew install nvm
Next, create a directory for NVM.
mkdir ~/.nvm
Now add these lines to ~/.bash_profile ( or ~/.zshrc for macOS Catalina or later)
export NVM_DIR=~/.nvmsource $(brew –prefix nvm)/nvm.sh
Echoing $NVM_DIR should now return your NVM directory
jamesauble@James-MacBook-Air:$ echo $NVM_DIR/Users/jamesauble/.nvm
Now running nvm -v should return nvm?s options.
To see what Node versions are available to install run:
nvm ls-remote
For me, I just needed the latest point release of Node version 11 so I ran
nvm install 11
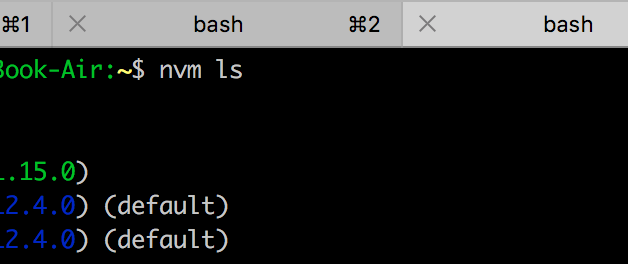
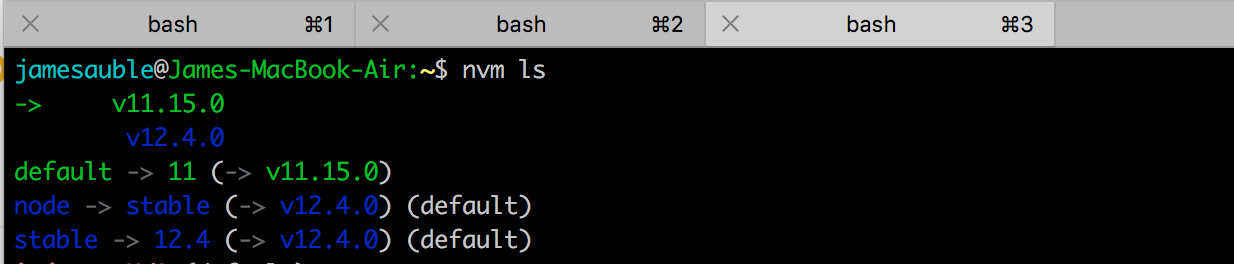
After installing you can verify what is installed with
nvm ls
If you have multiple versions and you want to specify which version you would like to use, simply use:
nvm use 11
to use Node version 11.
Switching back to, let?s say, version 12 would be as easy as nvm use 12.
After switching to node version 11, all my packages installed properly and all was right in the universe!
