How We Smoothed Pebbles with JavaScript and Some Stuff We Had Lying Around
The story began when my life partner Ariella Eliassaf decided to create her own Concrete Fire Bowl:
Making this bowl required casting concrete into a mold and waiting for two days:
 The concrete inside the mold. The stones on top press the bowl into the concrete
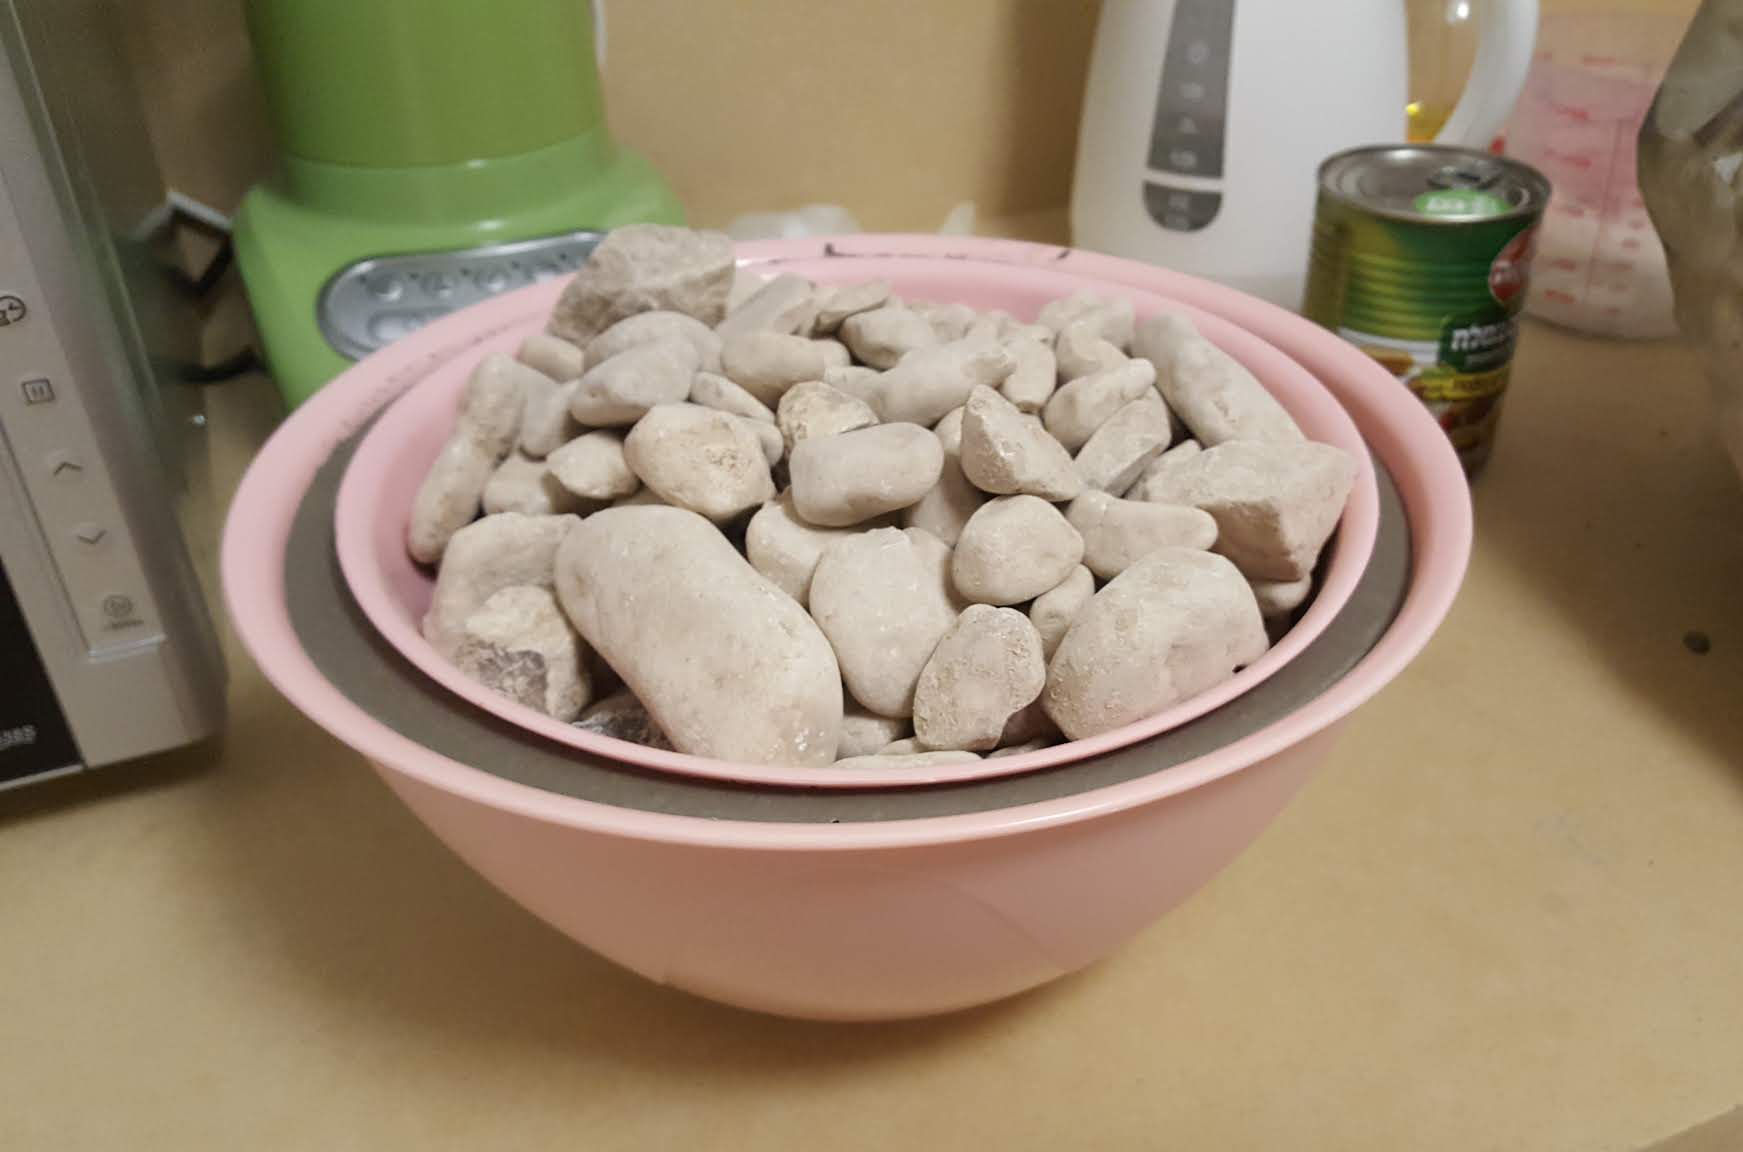
While waiting for the concrete to harden, we went to the plant nursery to get some pebbles to put inside the bowl. The pebbles were rough and had sharp edges, while we wanted smooth edges.
This gave me an excuse to build something I wanted to make anyway: a Rotary Tumbler.
What is a Rotary Tumbler?
A rotary tumbler is simply a device with a barrel that rotates in a constant, low speed. It is used by rock collectors to smooth and polish rocks, and also by 3d-printing enthusiasts to give a nice polish to parts printed with metallic materials.
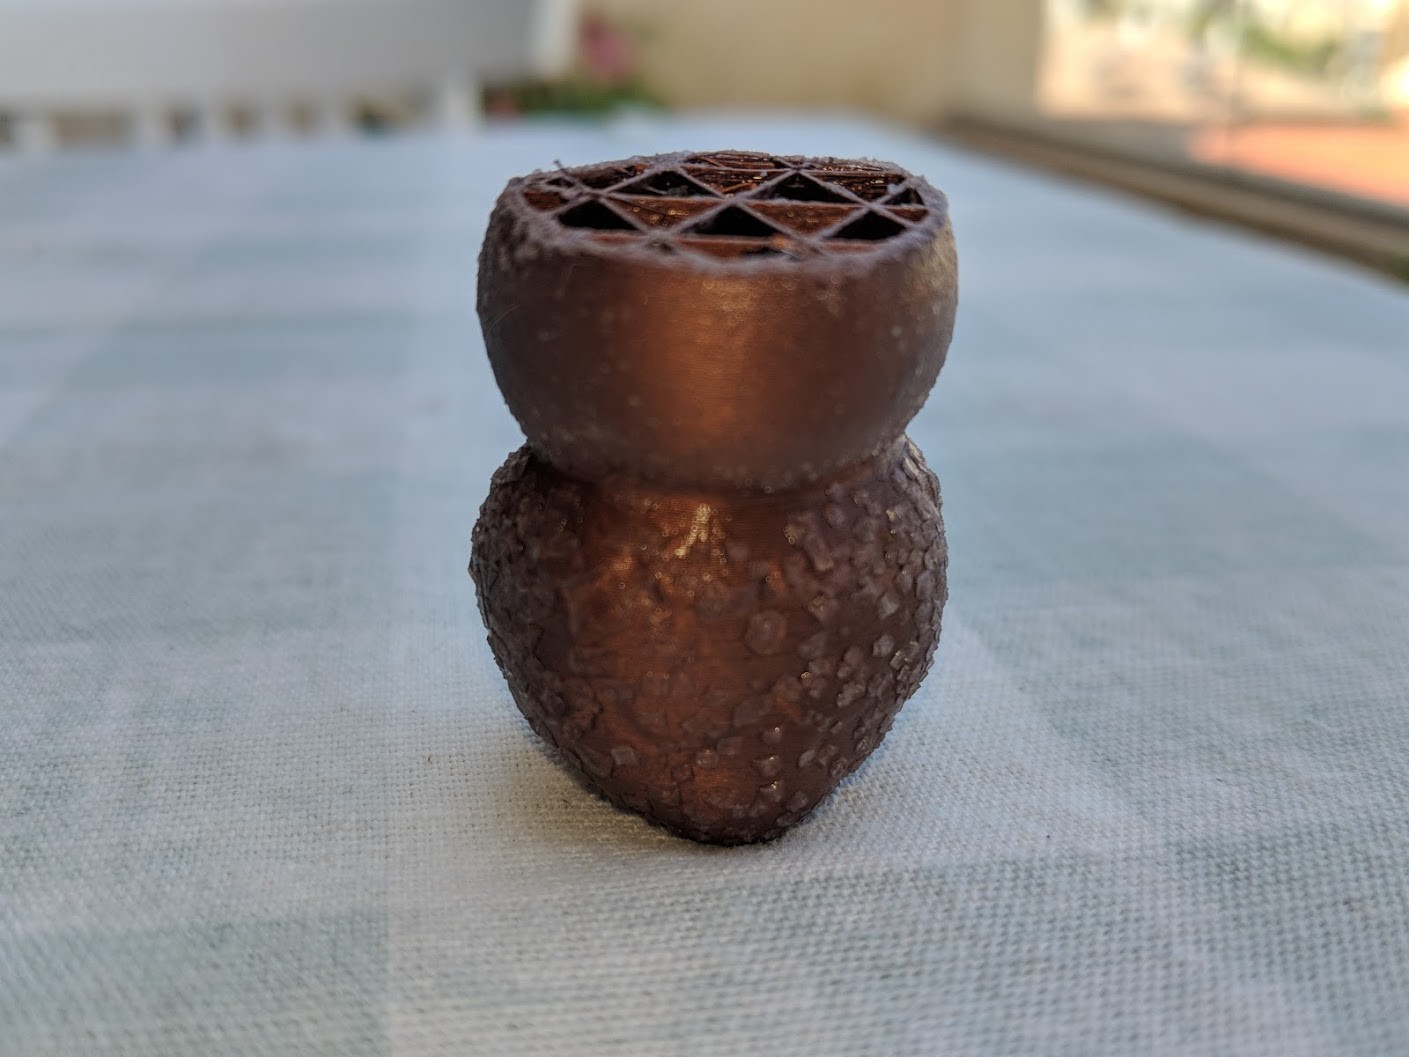
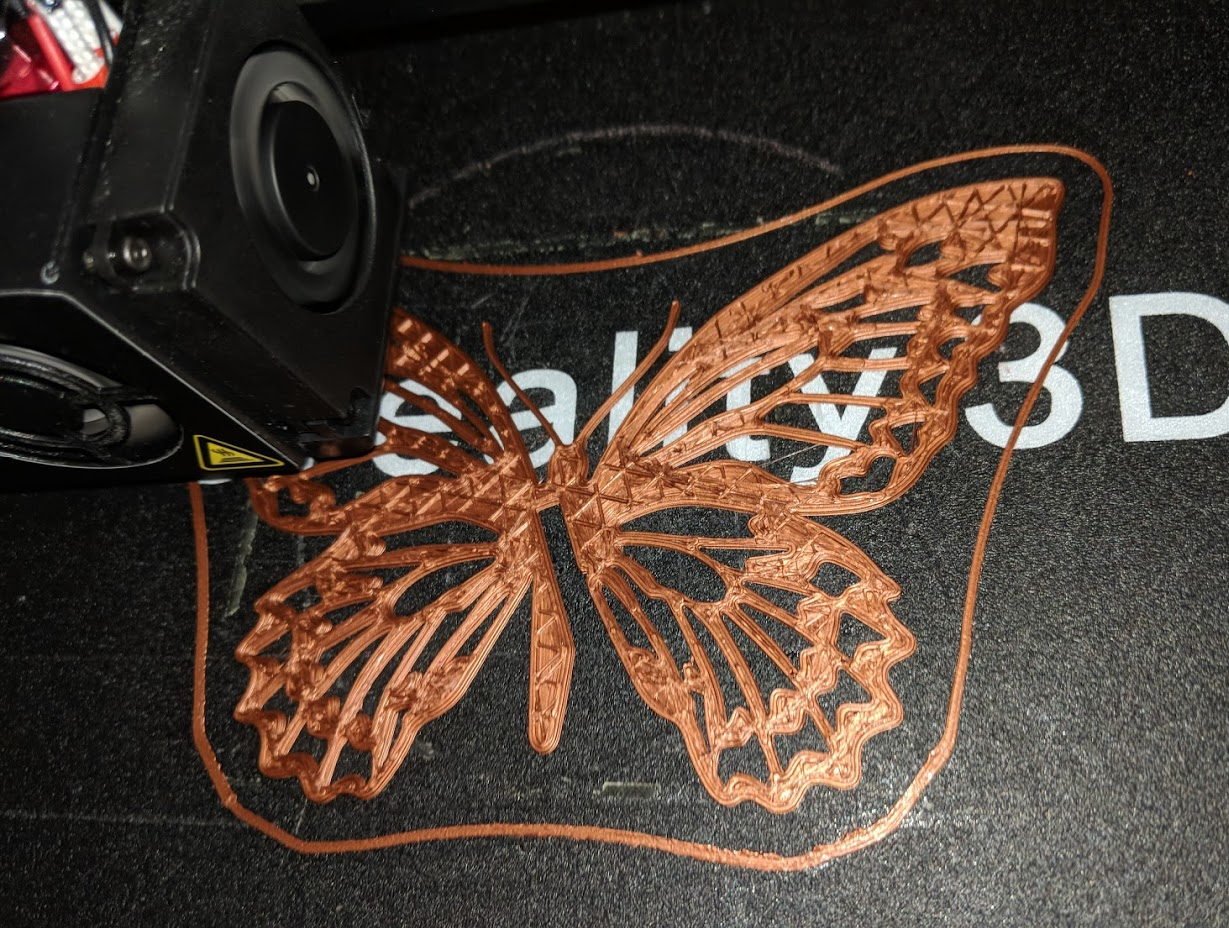 My first print with copper material (plastic filled with copper particles)
You put the part you want to polish inside the tumbler, along with some abrasive material, and run the tumbler for some time ? usually several hours to several days. The choice of abrasive material depends on what you want to polish ? for rocks, you will usually use silicon carbide grit, sand, glass or harder rocks.
So polishing rocks was the excuse for building the tumbler, but the actual reason was that I wanted to try this technique on 3d printed parts.
Building the Tumbler
I started working on the tumbler on evening, and my plan was to finish it the same day, utilizing parts I already had at home. I needed a motor, a barrel, and some way to put attach them and control the motor.
I had a spare NEMA-17 stepper motor and driver, and an empty plastic jar I used for the barrel. I attached the shaft of the motor to the cap of to plastic jar using a 3d-printed part and a couple of M3 screws:
 The screw in the middle would lock against the motor shaft and attach the barrel to it
I constructed a simple frame using two M4 threaded rods and two pieces of steel boards that I found, and mounted to it eight 624ZZ bearings that would hold the rotating barrel. Then, I used a piece of plywood (that was our old door sign) to hold the motor to the frame, and finally 3d-printed a nice hub to mount the barrel onto the shaft of the stepper motor:
Building this took about 3 hours (drilling the large motor hole in the plywood was the most challenging part for me), and then I hooked it a Pixl.js board a had lying around (which I also accidentally fried, a few days after), and quickly hacked some JavaScript code that would allow me to control the speed and the direction of the stepper motor:
 The GUI of my simple tumbler controller code. There are four buttons on the sides of the screen
With both the hardware and the software in place, I was finally ready to take it for a test run! I didn?t have any special abrasive material for the purpose, so I just tried to put a bunch of rocks with some coarse salt and run it for the night. This is what the first run of my DiY tumbler looked like:
As you can imagine, it was quite noisy, but it did the job ? we left it running for the night, closed the door (otherwise we wouldn?t be able to sleep with the noise), and came back tomorrow to see it was still working!
First Batch Results
The next day, we removed the barrel from the tumbler and opened it. It seems like the coarse salt has been turned to fine salt, and the stones were indeed smoother:
 I also put a 3d-Benchy inside to see what would happen!
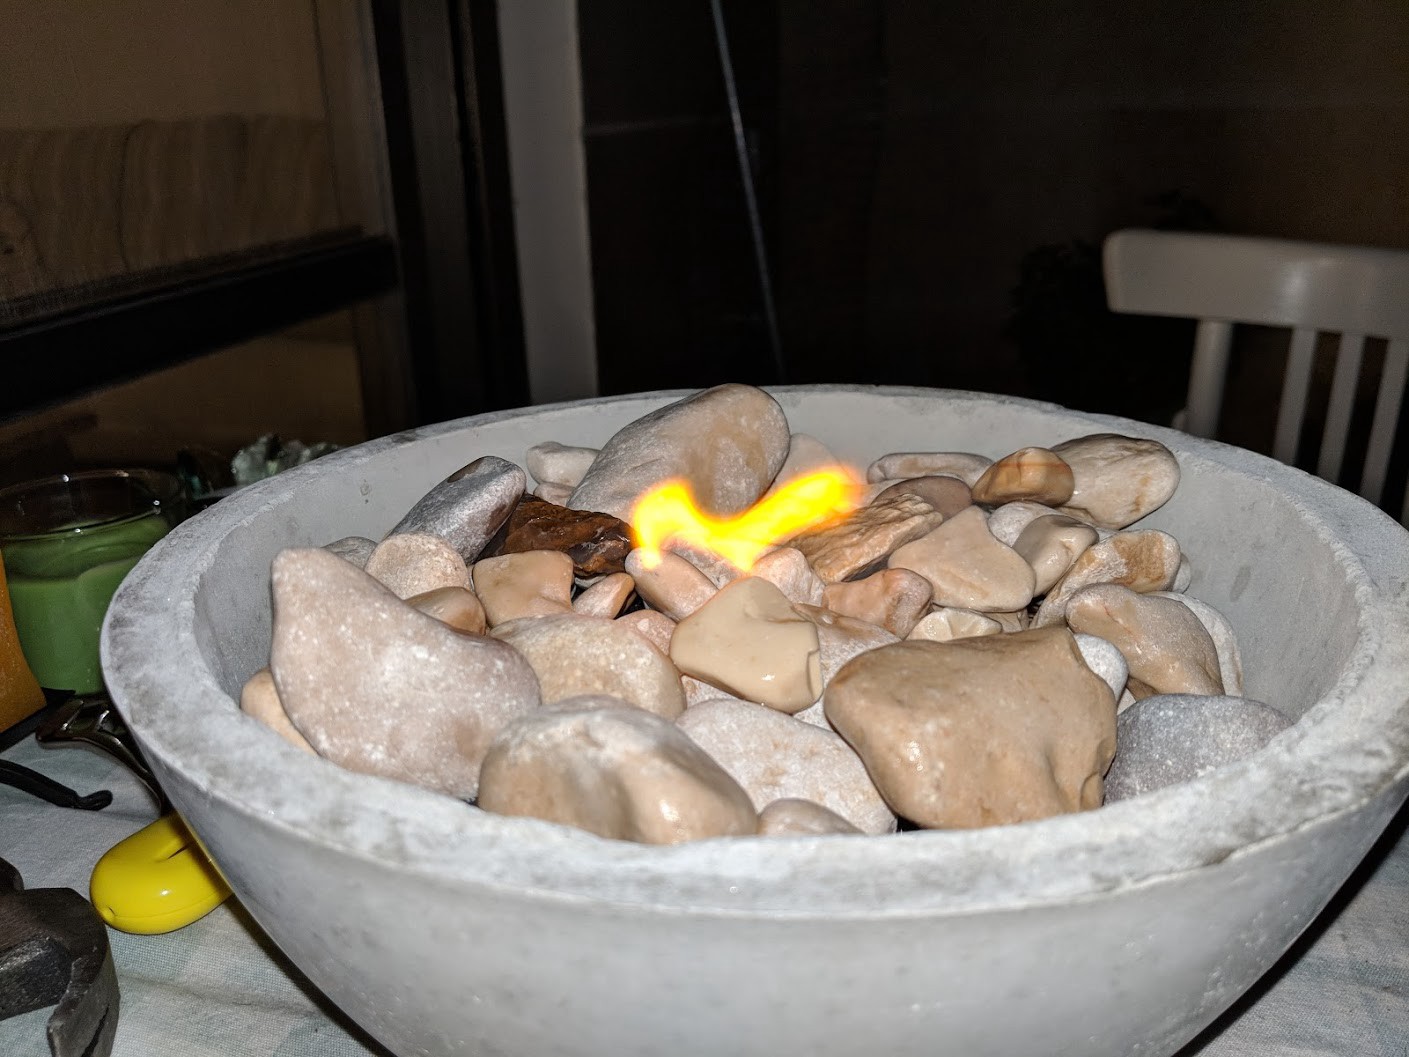 Some smooth, some not so much?
In addition to rocks, I also put some failed 3d-prints to see what would happen. Initially, it seemed like the 3d-prints weren?t affected by the process, but a day later, I suddenly noticed that shiny salt crystals have formed on one of the prints:
That was a totally unexpected result!
Rotary Tumbler Reloaded
I tried to run another batch of rocks, this time with water, soap and some shattered glass pieces, but it seemed like the motor would get very hot after an hour or so and start failing. Adding a small fan on top of the motor has really helped, and now the motor no longer gets hot.
Later I also figured out that the motor driver would get extremely hot, and at some point it even melted the breadboard that I used for the project:
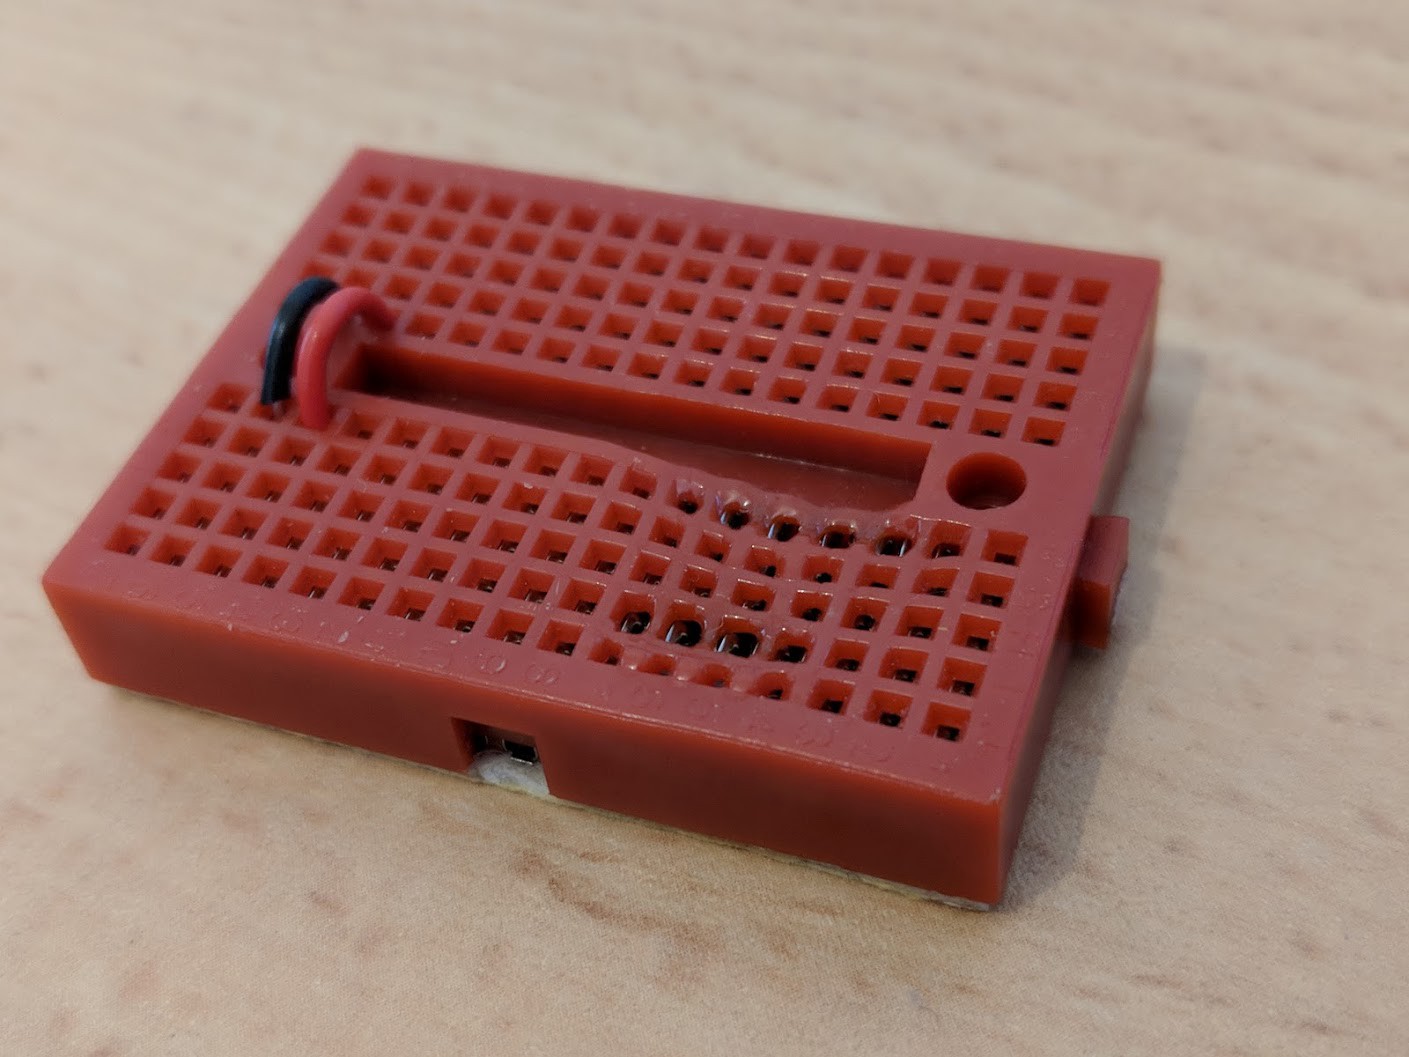 Miserable breadboard
I suspect that it had to do with the high amount of current flowing through these pins, and the fact the the connection to the breadboard had some resistance which caused things to heat up. So I relocated the project to a prototyping board, soldering everything, and also added a fan for the electronics:
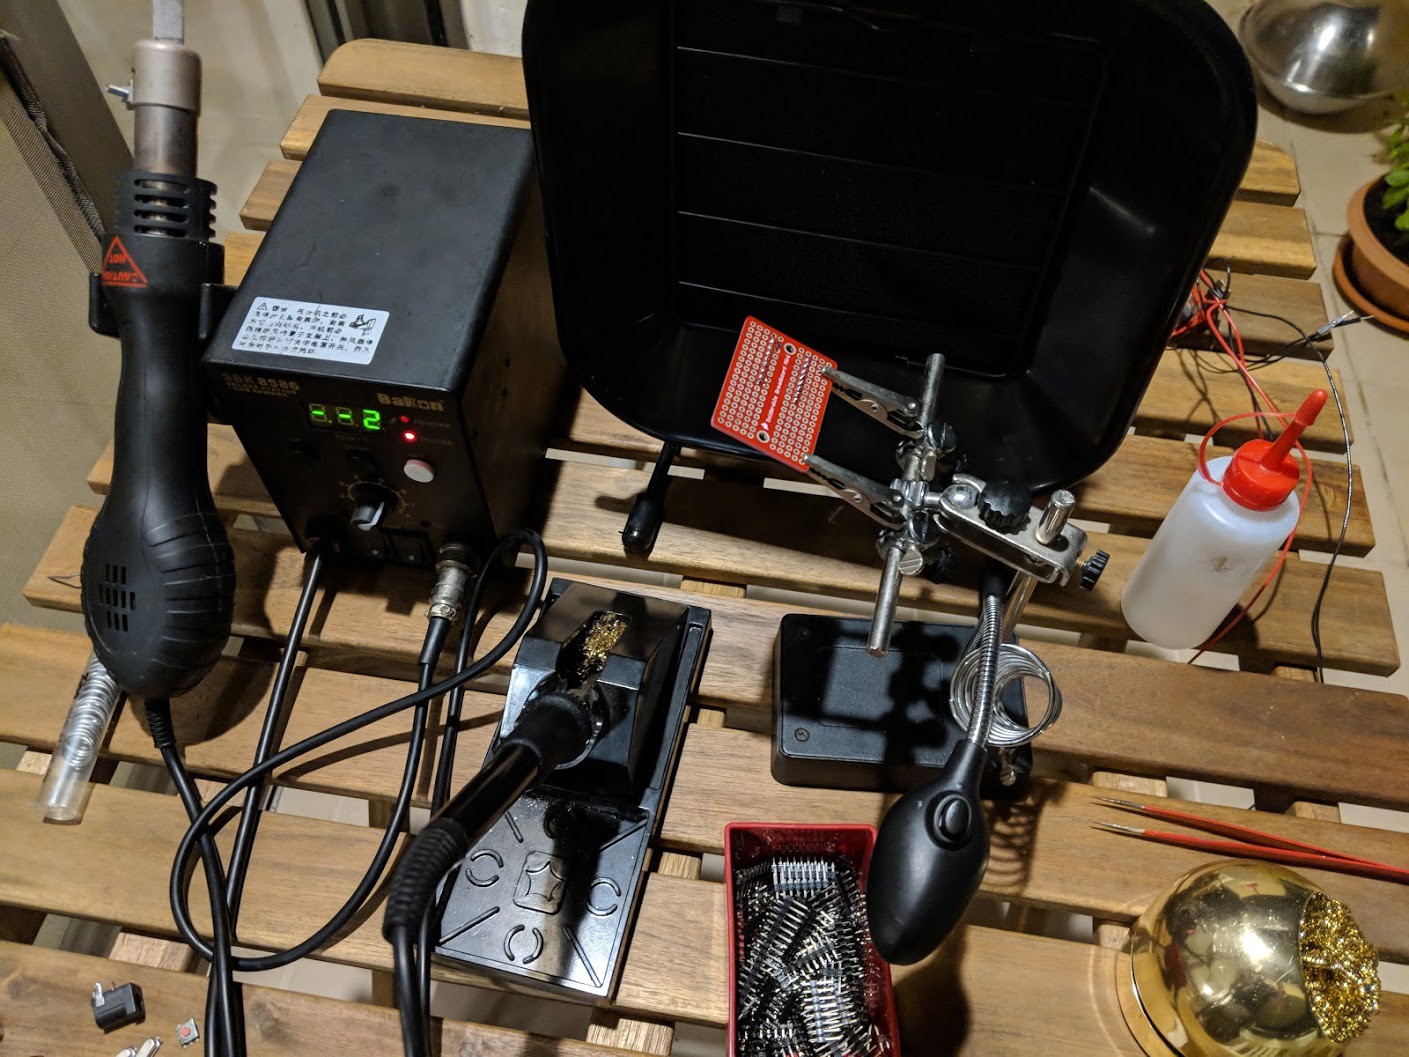 Relocating the project to a prototype board
Can We Go Even Faster?
Another issue arose when I tried to go a higher with the speed: the motor would sometimes get stuck and introduce vibrations into the system, which would unleash the screw that held the cap of the plastic jar into the motor?s shaft.
I solved this problem by mounting a small magnet to the cap of the barrel and adding a KY-003 Hall-Effect sensor to the system. The Hall-Effect sensor senses the change in the magnetic field when the magnet passes next to it, indicating it to the microcontroller.
 The small LED in the sensor lights up whenever the magnet passes next to it
I used a similar mechanism for detecting the cacti in my In-Real-Life Chrome T-Rex game, so I had a bunch of small magnets and a spare sensor.
Then I wrote a small piece of code that would detect if the motor stopped spinning and would slow down, accelerating the motor again:
The algorithm is pretty simple ? the checkSensor function is called repeatedly (every 100 milliseconds), and calculates how much time has passed since the last time we?ve got a signal from the magnetic sensor (line 5).
Then, we have 3 stages of recovery: If we haven?t seen the magnet for more than 5 seconds, we halve the speed. If that hasn?t helped, and we haven?t seen the magnet for total of 15 seconds, then we set the speed to 10 RPM. After 30 seconds without seeing the magnet, the speed goes down to 5 RPM (line 14). When we call setSpeed(), that would slow down the motor and cause it to accelerate again to its original speed that was set by the user in the UI.
So if, for instance, the tumbler is rotating in 60 RPM and we haven?t received any indication from the magnetic sensor for 5 seconds, we would slow down to 30 RPM and slowly accelerate back to 60 RPM. This mechanism works amazingly ? after adding it, the tumbler easily recovered from these stuck motor situations.
Finally, if we couldn?t recover for 60 seconds, it probably means that there is some mechanical failure (the shaft disconnected from the barrel? or perhaps the magnetic sensor is too far from the cap of the barrel?). In this case, we simply stop the motor. Just to make sure we don?t keep running if something went wrong.
As a nice bonus feature, I also added a revolution counter ? so now I can know how many turns my tumbler did.
This is what the final project looked like:
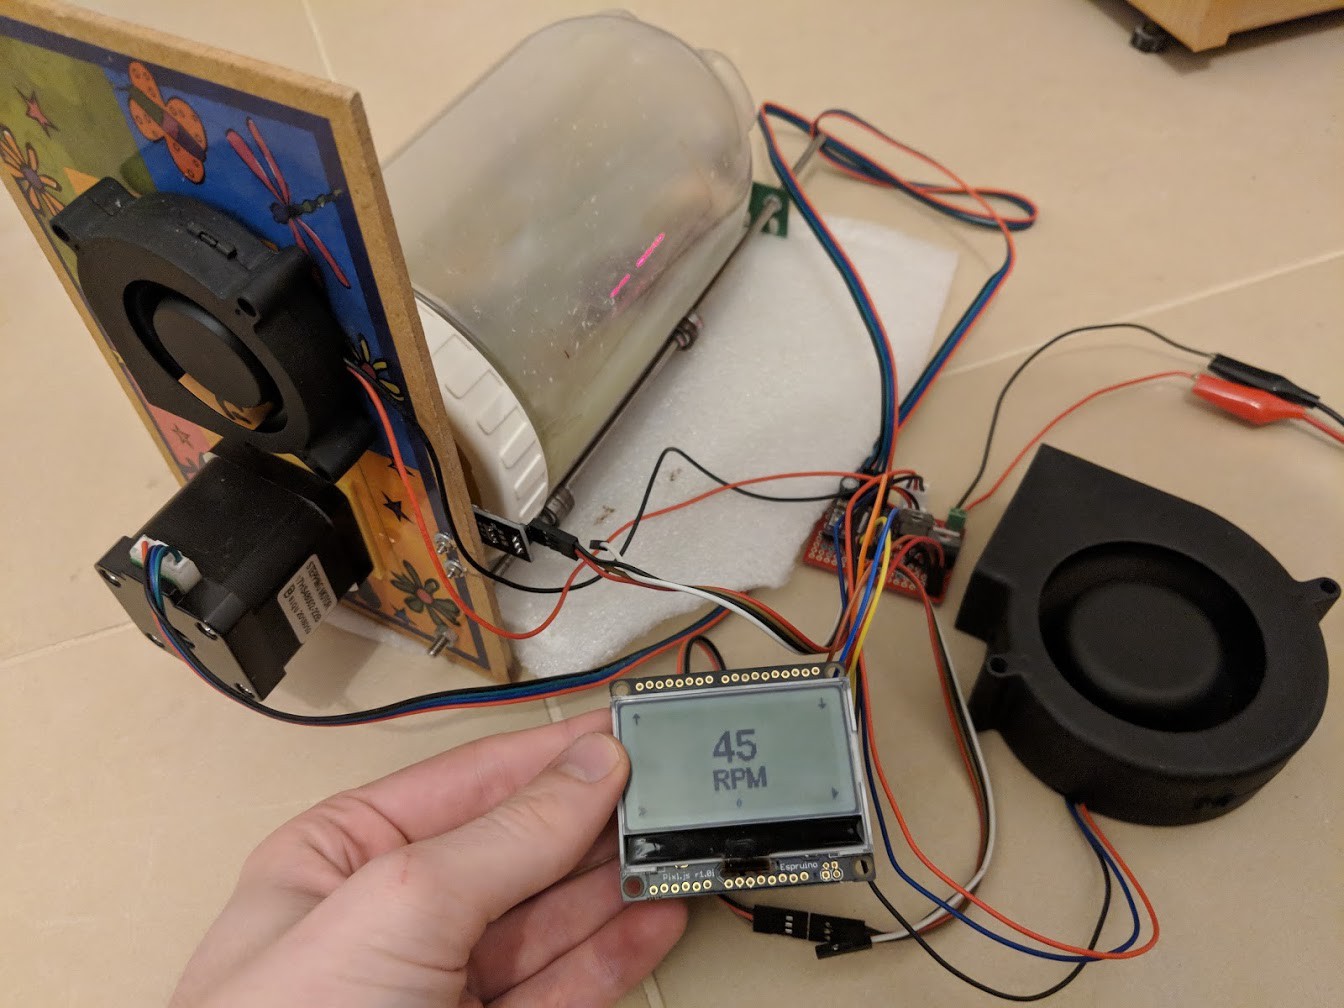 One barrel, two fans, magnetic sensor and a Pixl.js board running JavaScript to control everything!
The End Result
I am very happy with the end result. It proved pretty reliable, and thanks to the motor failure recovery mechanism, it can go up to around 80?85 RPM when the barrel is filled with rocks, abrasive media and water.
I still have a lot of experimentation to do with the actual tumbling, especially with the 3d-printed parts. But I got the hardware working pretty reliably, and the revolution counter is really fun to watch. You can see the current version of the project in action below, as well as the motion recovery mechanism which kicks in second 40, after I went too far with the speed and caused the motor to get stuck:
There is a tiny revolution counter at the bottom of the display
What Did I Learn From Building This Project?
I am really happy I went with this project, and also that I had a goal to finish a working prototype in just one evening. This forced me to use materials and parts I had lying around, like the plywood board and the steel plates, and not to rely just on 3d-printed parts like I usually do.
I learned how to implement a closed feedback loop for stepper motors using a magnet and a hall effect sensor. This is the first time I have such feedback loop in my project, and it works like a charm.
This is also the first project where I used fans (or active cooling in general). I am surely going to use them more going forward!
Finally, I learned that a fastened nut can be watertight ? though, water will severely corrode the nuts and screws.
I shared all the source code and the 3d printed parts on GitHub, you are invited to have a look.
Ariella and I still have a lot of experimentation to do with the actual tumbling process. But first, we want to give the trumpet playing robot another chance. Wish us luck! ?
This is the 16th post in my Postober Challenge ? writing something new every single day throughout October.
I will tweet whenever I publish a new post, promise! ?
