
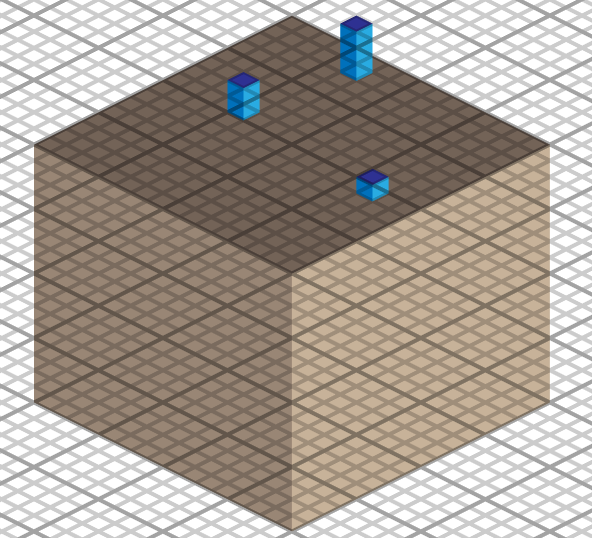
In this tutorial I will explain how I set up an isometric grid in illustrator to work on illustrations like this one :

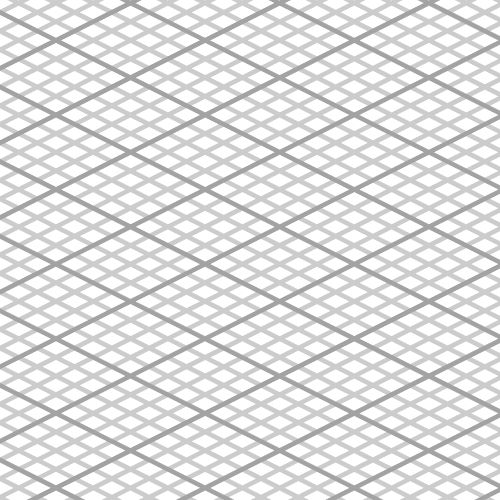
The final grid
The final grid is 400×400, there?s another 100×100 grid on top. The 100×100 grid is useful for bigger elements, the 400×400 grid is great to work on details. Here?s a closeup :
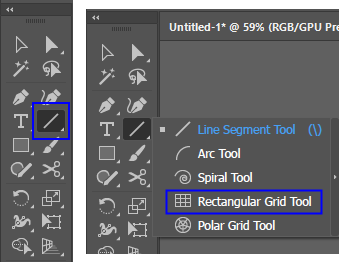
The grid tool
You can find the grid tool on the tool panel under the line tool. Long-click the line tool to select the ?rectangular grid tool?.
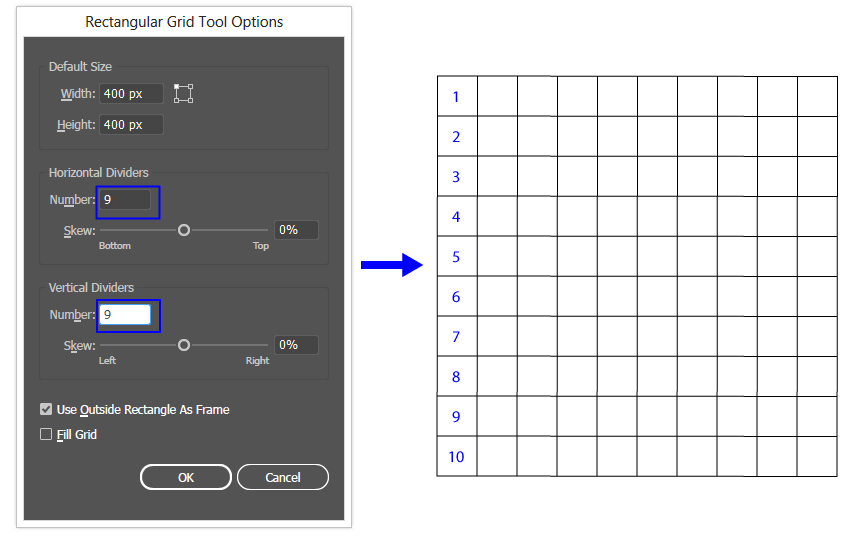
Then click anywhere on the document to open a dialog that will allow you to enter the values you want for your grid. You don?t choose the number of column but the number of dividers. So for a 10 columns by 10 rows grid you need to enter 9 and 9. This is important to understand if you want the grids to line up.
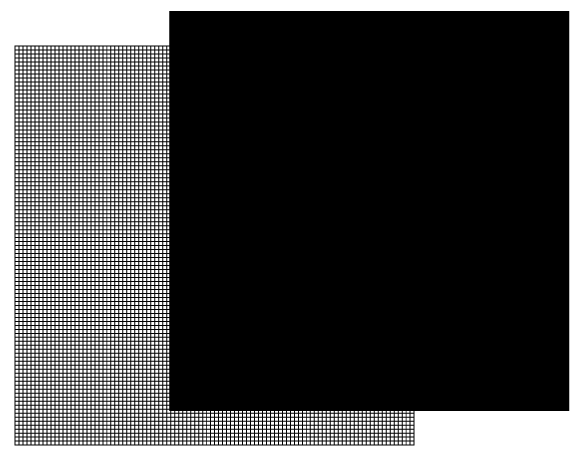
Now let?s draw a 400×400 and a 100×100 grid of the same size. So the first one has 399 dividers, the second one 99 dividers. I use black stroke of 1 px for my grids. It looks something like this :
Then with the align panel, align both grids to the center of the artwork. Now holding shift rotate the objects 45. Then select the scale tool and hit enter, scale it horizontally by 100% and vertically by 50%. The vertical value depends of the kind of perspective you want. You should see this :
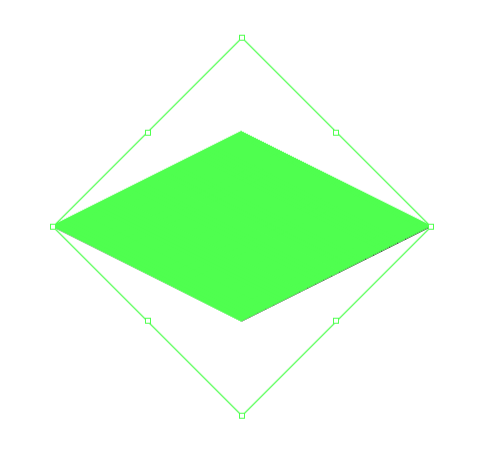
For a true isometric grid (where a cube is a perfect hexagone) you need to scale 60% vertically to make the 45 degrees diagonal lines 30.
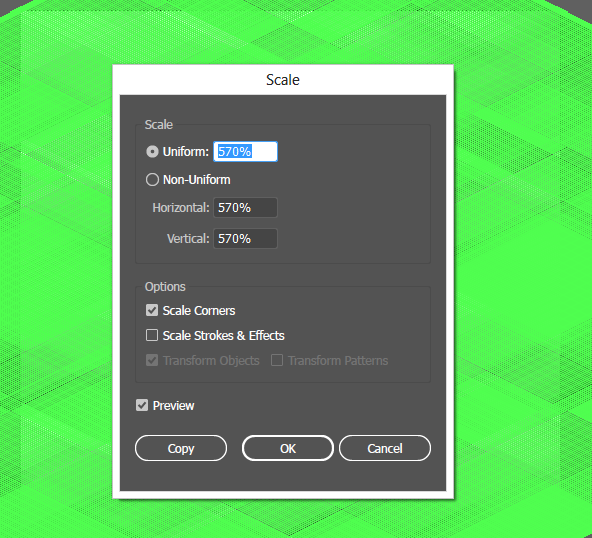
Then scale the grid so that it goes beyond the bounds of the artboard, the value depends on how big you drew the grids earlier :
And now for the final touch : set the opacity at 20%. That?s it, your grid is ready, now you can create a layer under it and start drawing.
Hope this helps, you can find my work on dribbble and instagram.

