It?s December and recently I noticed the top floor of our house was uncomfortably warmer than the middle or lower levels despite our thermostats operating properly. As an exercise I turned off floors 1?3 then switched on floor 2, but upon further investigation I noticed there was little to no air coming through the ducts on floor 2 while the majority of air was flowing on floor 3.
Why? Answer ? the damper actuator on floor 3 was dysfunctional.
So what?s a damper and why is this important? It?s helpful to visualize a damper as being a circular metal wafer that?s attached by a swiveling rod inside your air ducts. (Note: there are various models and types but this one is relatively common). The purpose is to help regulate the flow of air once your HVAC system turns on/off across zones as controlled by your thermostats. Usually there?s a rubber ring inside the vent to help create a seal once the swiveling wafer is closed preventing the flow of air through your ducts. The metal top rod protruding below in the diagram is attached to a motor and it?s this motor that helps open/close the valve.
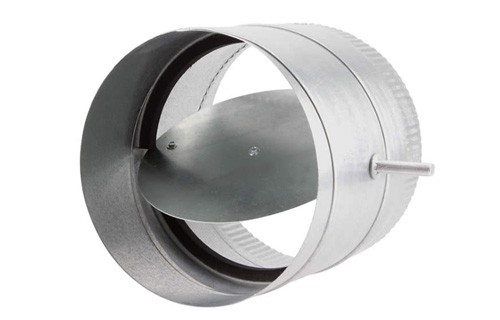 Damper HVAC
A working exampleTake for instance 3 floors with each having its own separate zone and thermostat, ie floor 1 = zone 1 and so on. We establish all dampers are wide open (parallel to the flow of air) and turn the heat on. Air flows from the furnace and through the ducts resulting in each floor having a steady stream. Now if we turn off floors 1 and 3, an electrical signal is sent from the thermostat to a zoning control panel. The control panel interprets this signal and determines zones 1 and 3 should be turned OFF but zone 2 remain ON. It?s the responsibility of the control panel to relay appropriate signals to each damper actuator (the motor) for open/close operations. Think of your logic board as the conductor of your HVAC system as it helps coordinate which valves to open/close while receiving signals from all connected thermostats.
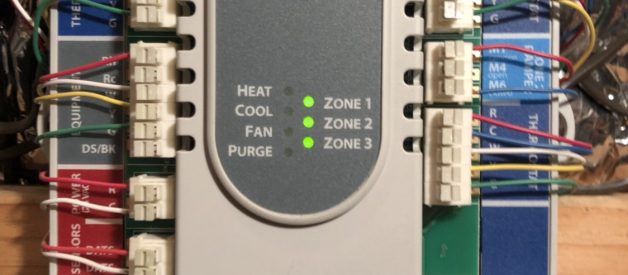
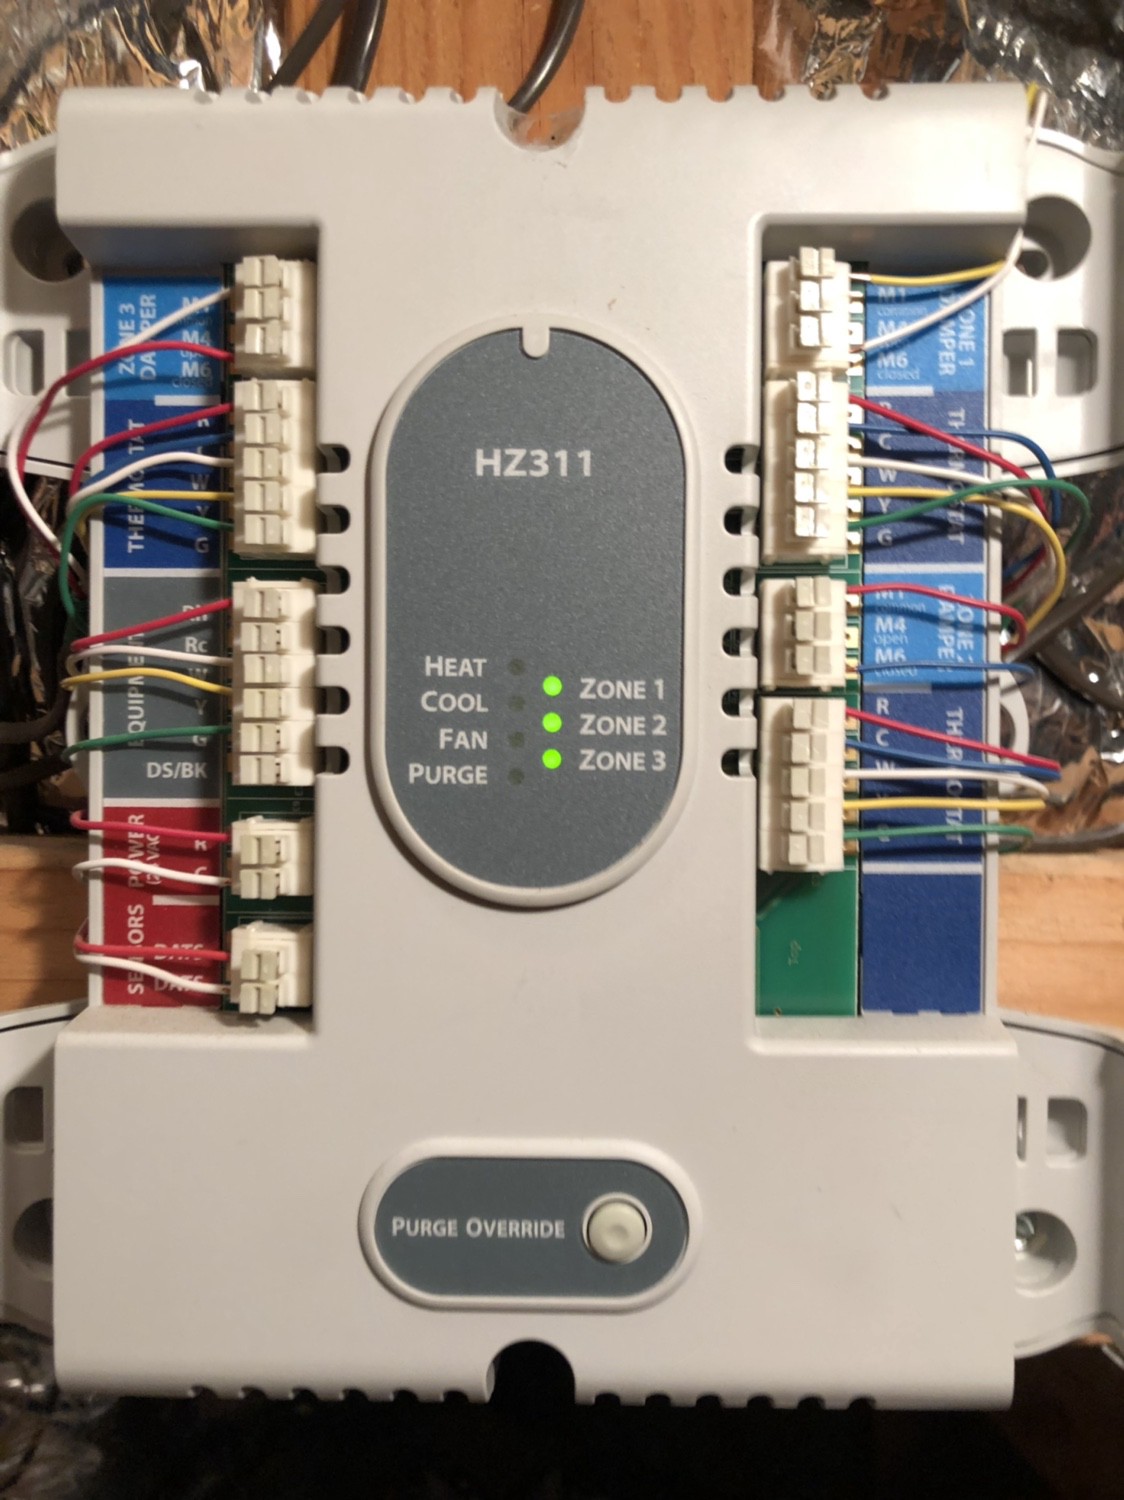 Zoning control panel. Notice in the upper top left corner it says ?ZONE 3 Damper? (blue background). I had to ensure these lead wires for COMMON and CLOSED were connected to the damper actuator on ZONE 3.
In our house the motor controlling the damper on floor 3 was broken so the swiveling wafer in the duct remained wide open even though the control panel sent the signal to close. This is the reason why even though floors 1 and 3 showed OFF on the thermostat, we still were receiving air on floor 3 when floor 2 was turned ON.
Switching out your damper actuator
For your own sake, make sure to switch off the power in your circuit breaker while working with the zoning panel.
There are 2 wires/inputs of importance? COM (common) and CLOSED (24V). You want to insert the COM and CLOSED wires from the zone control panel into the new damper actuator ports. Removing the old actuator and inserting the new one should take about 10?15 min.
Tips:
- Make sure your damper is wide open and parallel to the flow of air before inserting the new damper into the duct.
- Tighten the screw on the damper actuator hard enough so it doesn?t loosen over the lifetime of repeatedly opening/closing the valve.
- As of this post the damper actuator on Amazon is $88 and the install took all of 15min.
The following is a YouTube video I found most helpful.
Great guide for how to swap out your damper actuator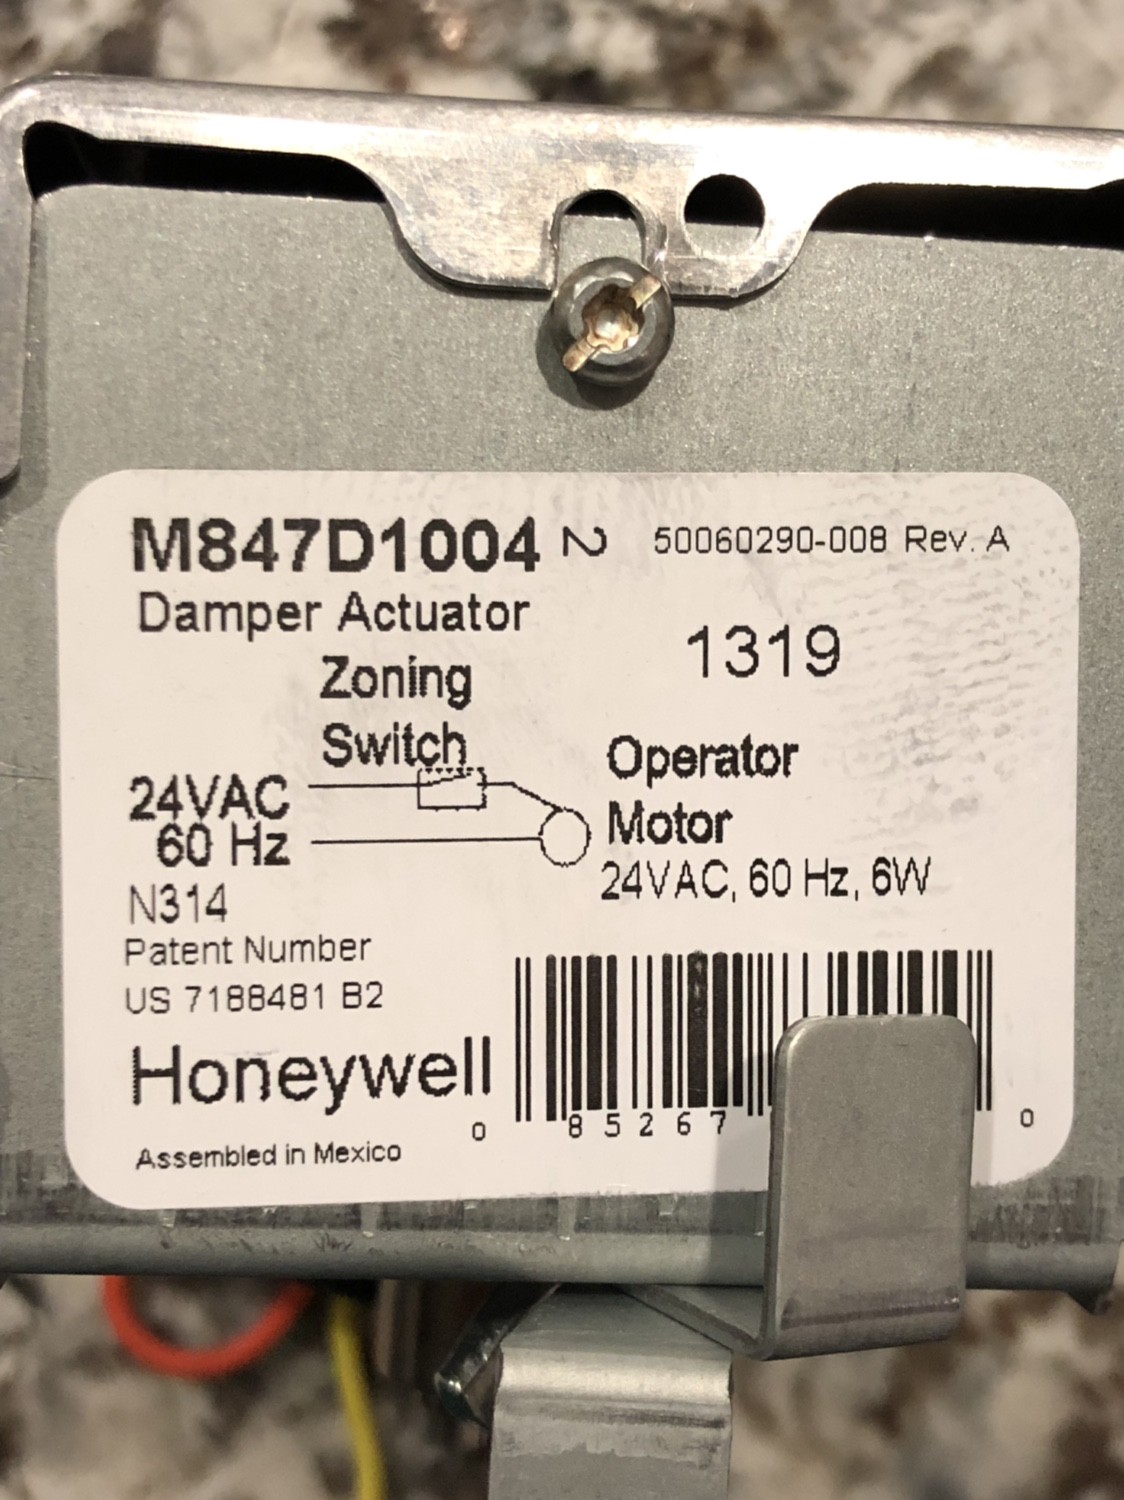
 Old damper actuator ? Honeywell M847D1004 (left), new damper ? Honeywell M847D-ZONE (right)

