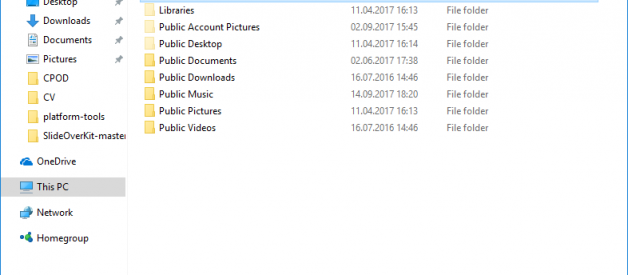
It is just easy as 1, 2, 3:1) Go to folder, where you want to initialize server. Give it a name without spaces (or you will need to use quotes everywhere later to access this folder!)
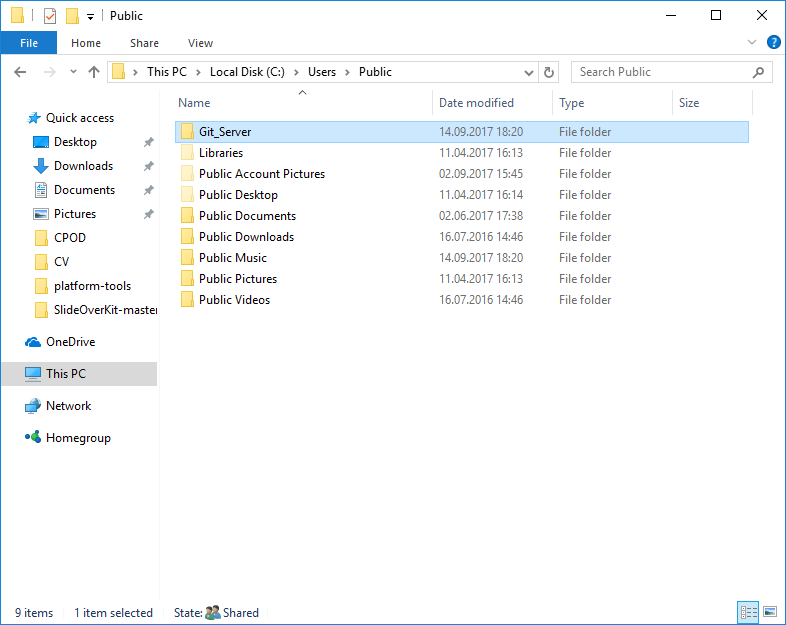
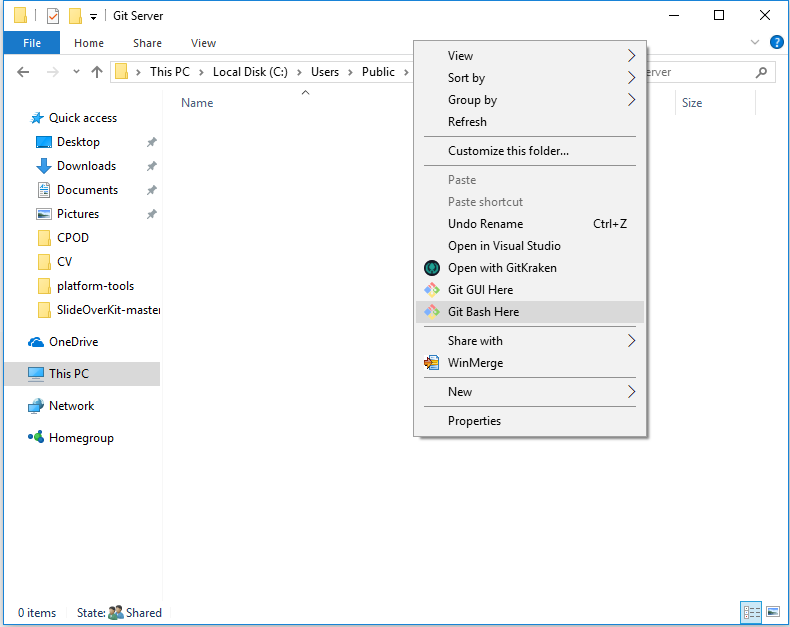
2) Open git bash in this folder
3) Type
git init yourpreferredname.git –bare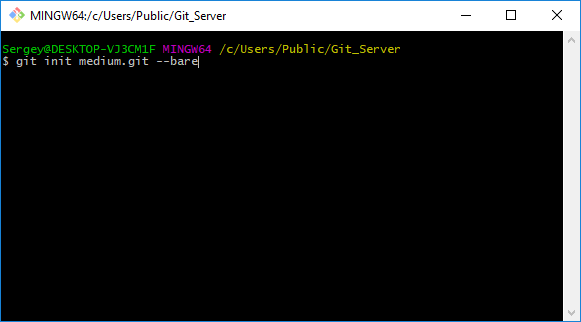
(Note: you can try to name your folder without ?.git? at the end but in some cases it led to troubles later)
Congrats! You?ve just set up your server! Let?s find out how to connect to it
4) Choose where you want to initialize client repository and open git bash there. Type:
git clone <path_to_your_server>
IMPORTANT! DO NOT FORGET TO CHANGE BACKSLASH (??) IN THE PATH TO DIRECT SLASH(?/?)
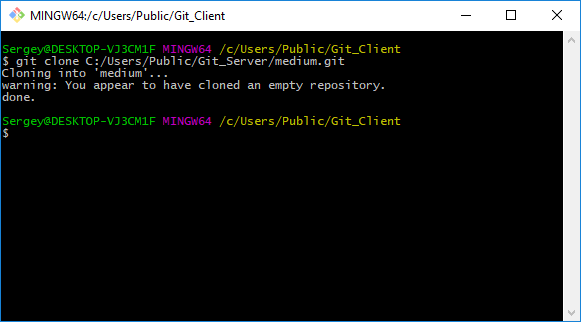
Congrats! You can use this repository as usual and open it with your favorite git client. Ok, but how to connect to this server from another computer in local network? Easy!
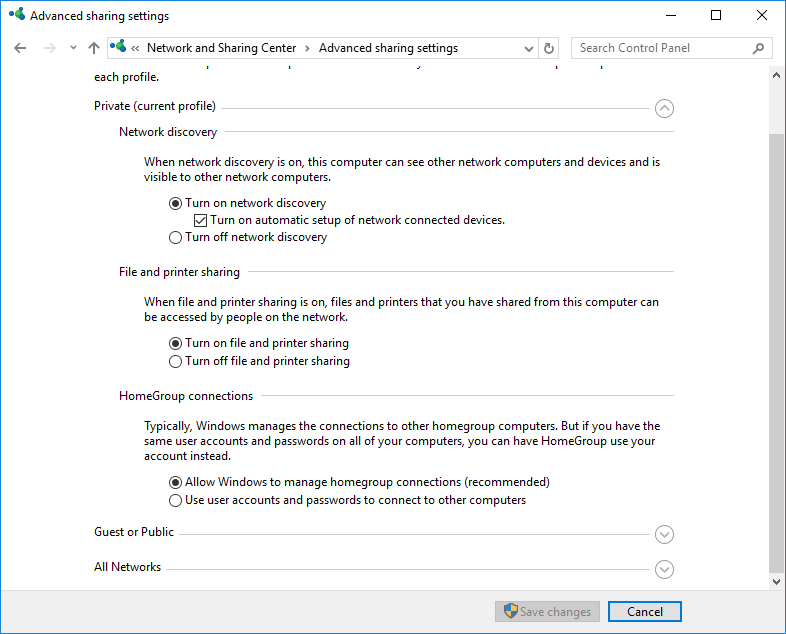
5) Firstly go to Control Panel > Network And Sharing Center > Change advanced sharing settingsTick turn on network discovery:
Then go to folder where you have set up server and share it with users that you want to give permission for accessing it.
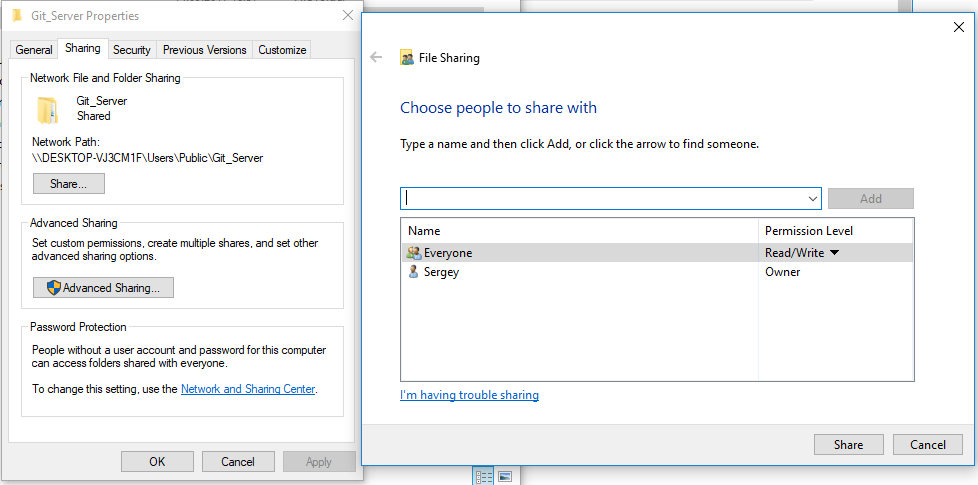
6) Send network path to clients. For them nothing changes: they do the same thing to connect to server:
(Tip: Do not forget about slashes)
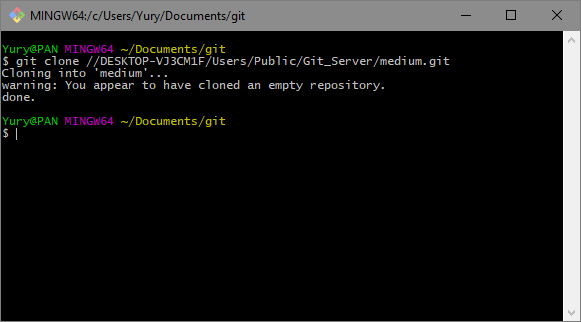
That?s all! If you have any troubles with accessing server from other computers ? try to play with security settings for sharing folders.
