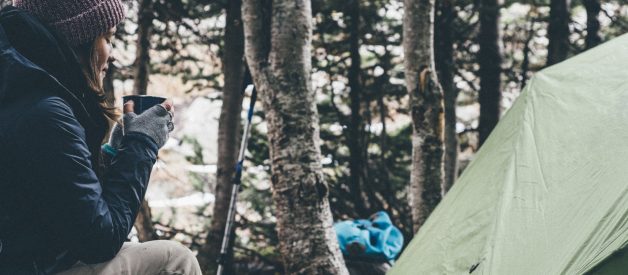
Coffee and camping go hand-in-hand. For me, coffee is a daily ritual, and camping without a hand-warming, steaming cup of java doesn?t seem right. If you want the bold smell of perfectly roasted coffee to waft over your camp site first thing in the morning, use these tips to make your perfectly brewed cup with a camping percolator.
Start with the right percolator.
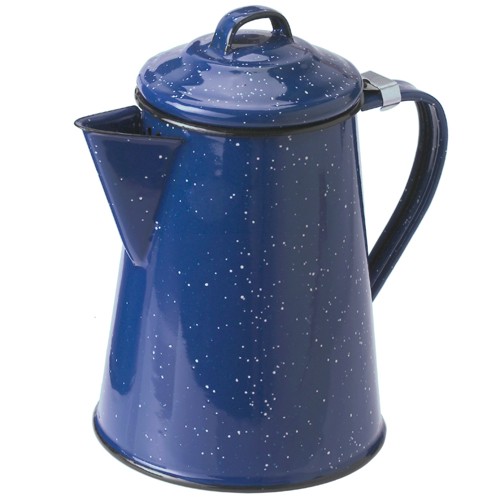 COFFEE POT 8 CUP- BLUE from GSI Outdoors
You may not know it but you?ve seen a camping percolator before. Like the image, these old school but useful tools have been part of American iconography since 1880. Often seen brewing over a fire while a cowboy plays his harmonica, new styles and sizes are available due to camping and coffee tech advancements. Since space and weight are a concern when camping or backpacking, keep those criteria in mind when making your selection.
Learn about the benefits and draw backs to percolators.
What are all these parts?
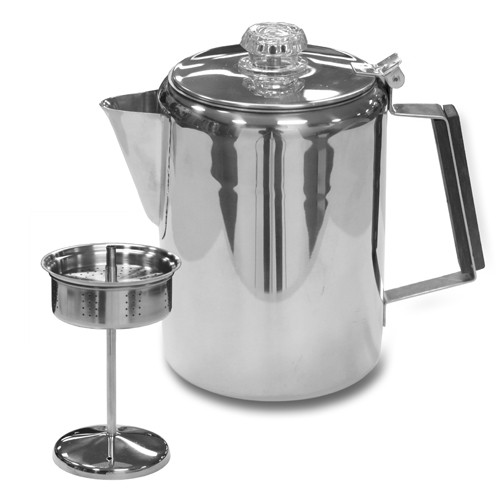 Stainless Steel Percolator Coffee Pot from Wayfair
When you first use the percolator, all the parts may be a little confusing. Unlike electronics, these babies don?t come with confusing instructions in Taiwanese, or any instructions for that matter. Here is a quick run down of the parts. The percolator consists of a pot and a vertical tube (with stand) that leads from the bottom to the top of the percolator. The basket sitting on the tube is a perforated chamber with lid. The tube and basket rest inside the pot. When putting together, make sure that the top of the tube and the clear ?bubble spot? line up. The ?bubble spot?, as I call it, is where the boiling fluid will rise through the tube, splashing against the inside. This is how you can tell if the pot is brewing.
1?2?3?4 Camping Coffee!
Once you?ve got the parts down, the actual brewing is quite easy. Follow the step-by-step instructions below or watch the video. Either will get you to that bold smell of perfectly roasted coffee wafting over your camp site first thing in the morning.
1) Fill the pot
This may be a couple cups or the whole thing. Don?t over fill or you?ll have a hot mess on your hands. My percolator has a ?fill line? on the inside which is a handy guide.
2) Add coffee
If you are using regular ground coffee, you?ll need to buy filters that fit your basket. However, if you use fresh coarsely ground coffee, you many not need a filter. This is where testing out your percolator will be needed. It took me a couple times to figure out the tricks specific to my percolator.
Once you?ve figured out the basket needs, add your desired amount. I usually go with one tablespoon per two cups of coffee and then add an extra tablespoon for the pot. Next, put the basket lid on and place the whole tube and basket assembly into the pot.
3) A watched pot does boil
Place the pot on a stove or grate over a fire and watch it boil. It may take a little while if you do it over a fire, but it is important to monitor the process. If you are using a camping stove, keep the flame at medium strength. You can?t walk away like drip coffee makers.
After a little while it will start to boil. You?ll know because the water will begin to percolate to the top and you?ll see it through the ?bubble spot?. When that starts to happen, adjust the flame down on the stove or move it off the center of the fire. Let it continue to percolate for 10?15 minutes. As it does this, the color of the water in the ?bubble spot? will continue to darken.
4) Pour and enjoy
Finally, pour yourself a cup and enjoy. Take in the beauty of nature with a cup in your hand to fend off the chill of those amazing mountain mornings.
