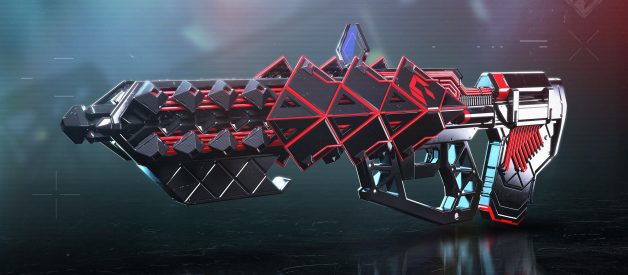
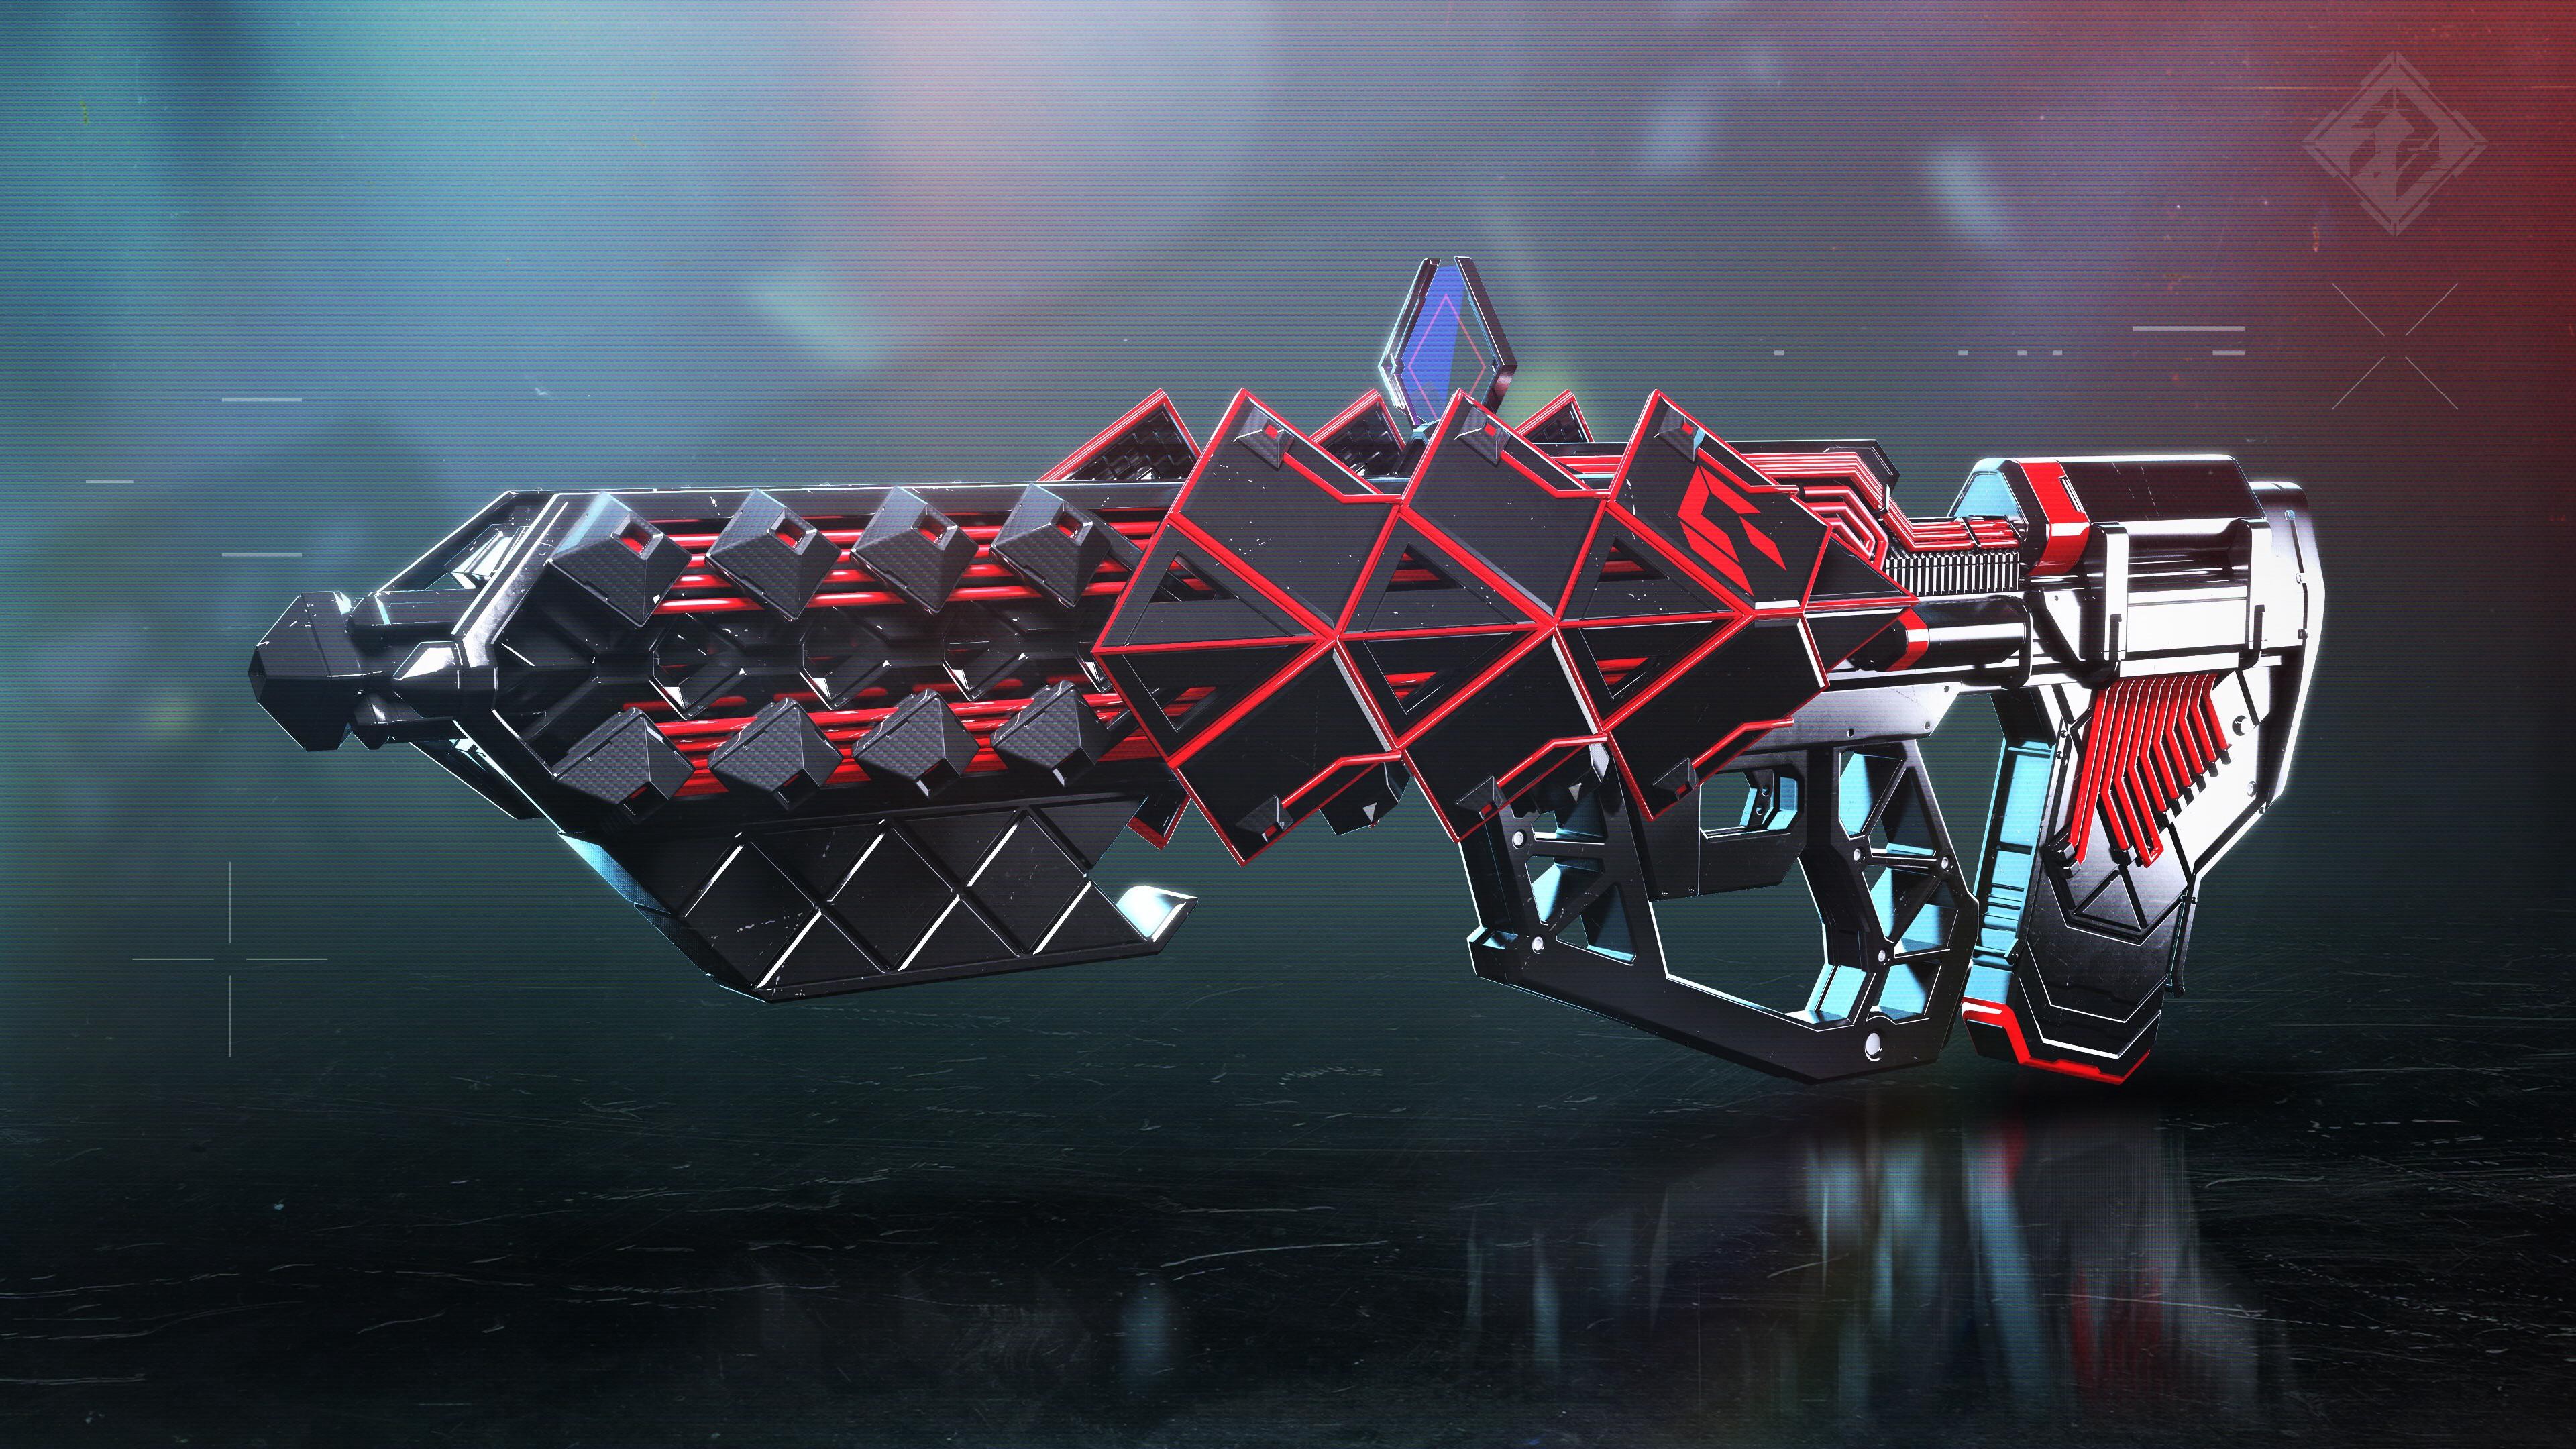
 The Outbreak Prime is back for Destiny 2 and it comes with a time-based quest!
The Revelry is officially over and with the end of a new event comes the beginning of obtaining an old exotic from Destiny 1 days! If you grinded out exotics in Destiny 1, then you may recognize this familiar pulse rifle and be wondering what you need to do to obtain it this time around.
The entire quest and final mission took me a total of six hours to complete, so make sure you have friends who are able to do the final step with you, as it is a light level 690 quest and is timed like Whisper of the Worm. I was lucky enough to have a fireteam who was patient with me as a triple-jump hunter is not super fun during the parkour section of Zero Hour.
Prior Requirements: Mission Enemy of my Enemy on Titan completed to start the quest. The final quest step is a mission called Zero Hour with a Light requirement of 690 Light.
 The Details section of the Fallen Transponder that shows the Nodes and Riddles
The first task you need to complete to start this quest is acquiring a Fallen Transponder. You do so in the heroic adventure ?Bad Neighbors? on Titan. Upon accepting the mission, grab your six fallen kills and continue through the mission as usual until you encounter your first Shrieker. The Shrieker is in the area past the giant window observation deck, so don?t be fooled by the shrieker that shows up on your radar as it is on the level below. When you reach the room with the shrieker and take it out, just past him is an orange-lit room with a lot of Hive gunk in the corners. To the left is a vault looking door that will give you the prompt to unlock it. Some of you may remember me being confused at the door being unlocked randomly two weeks ago. It appears it was for this mission. When inside, descend the stairs on the right and you will see a strange tarp or a data pad on the ground next to the consoles with an ?Examine Fallen Device? prompt.
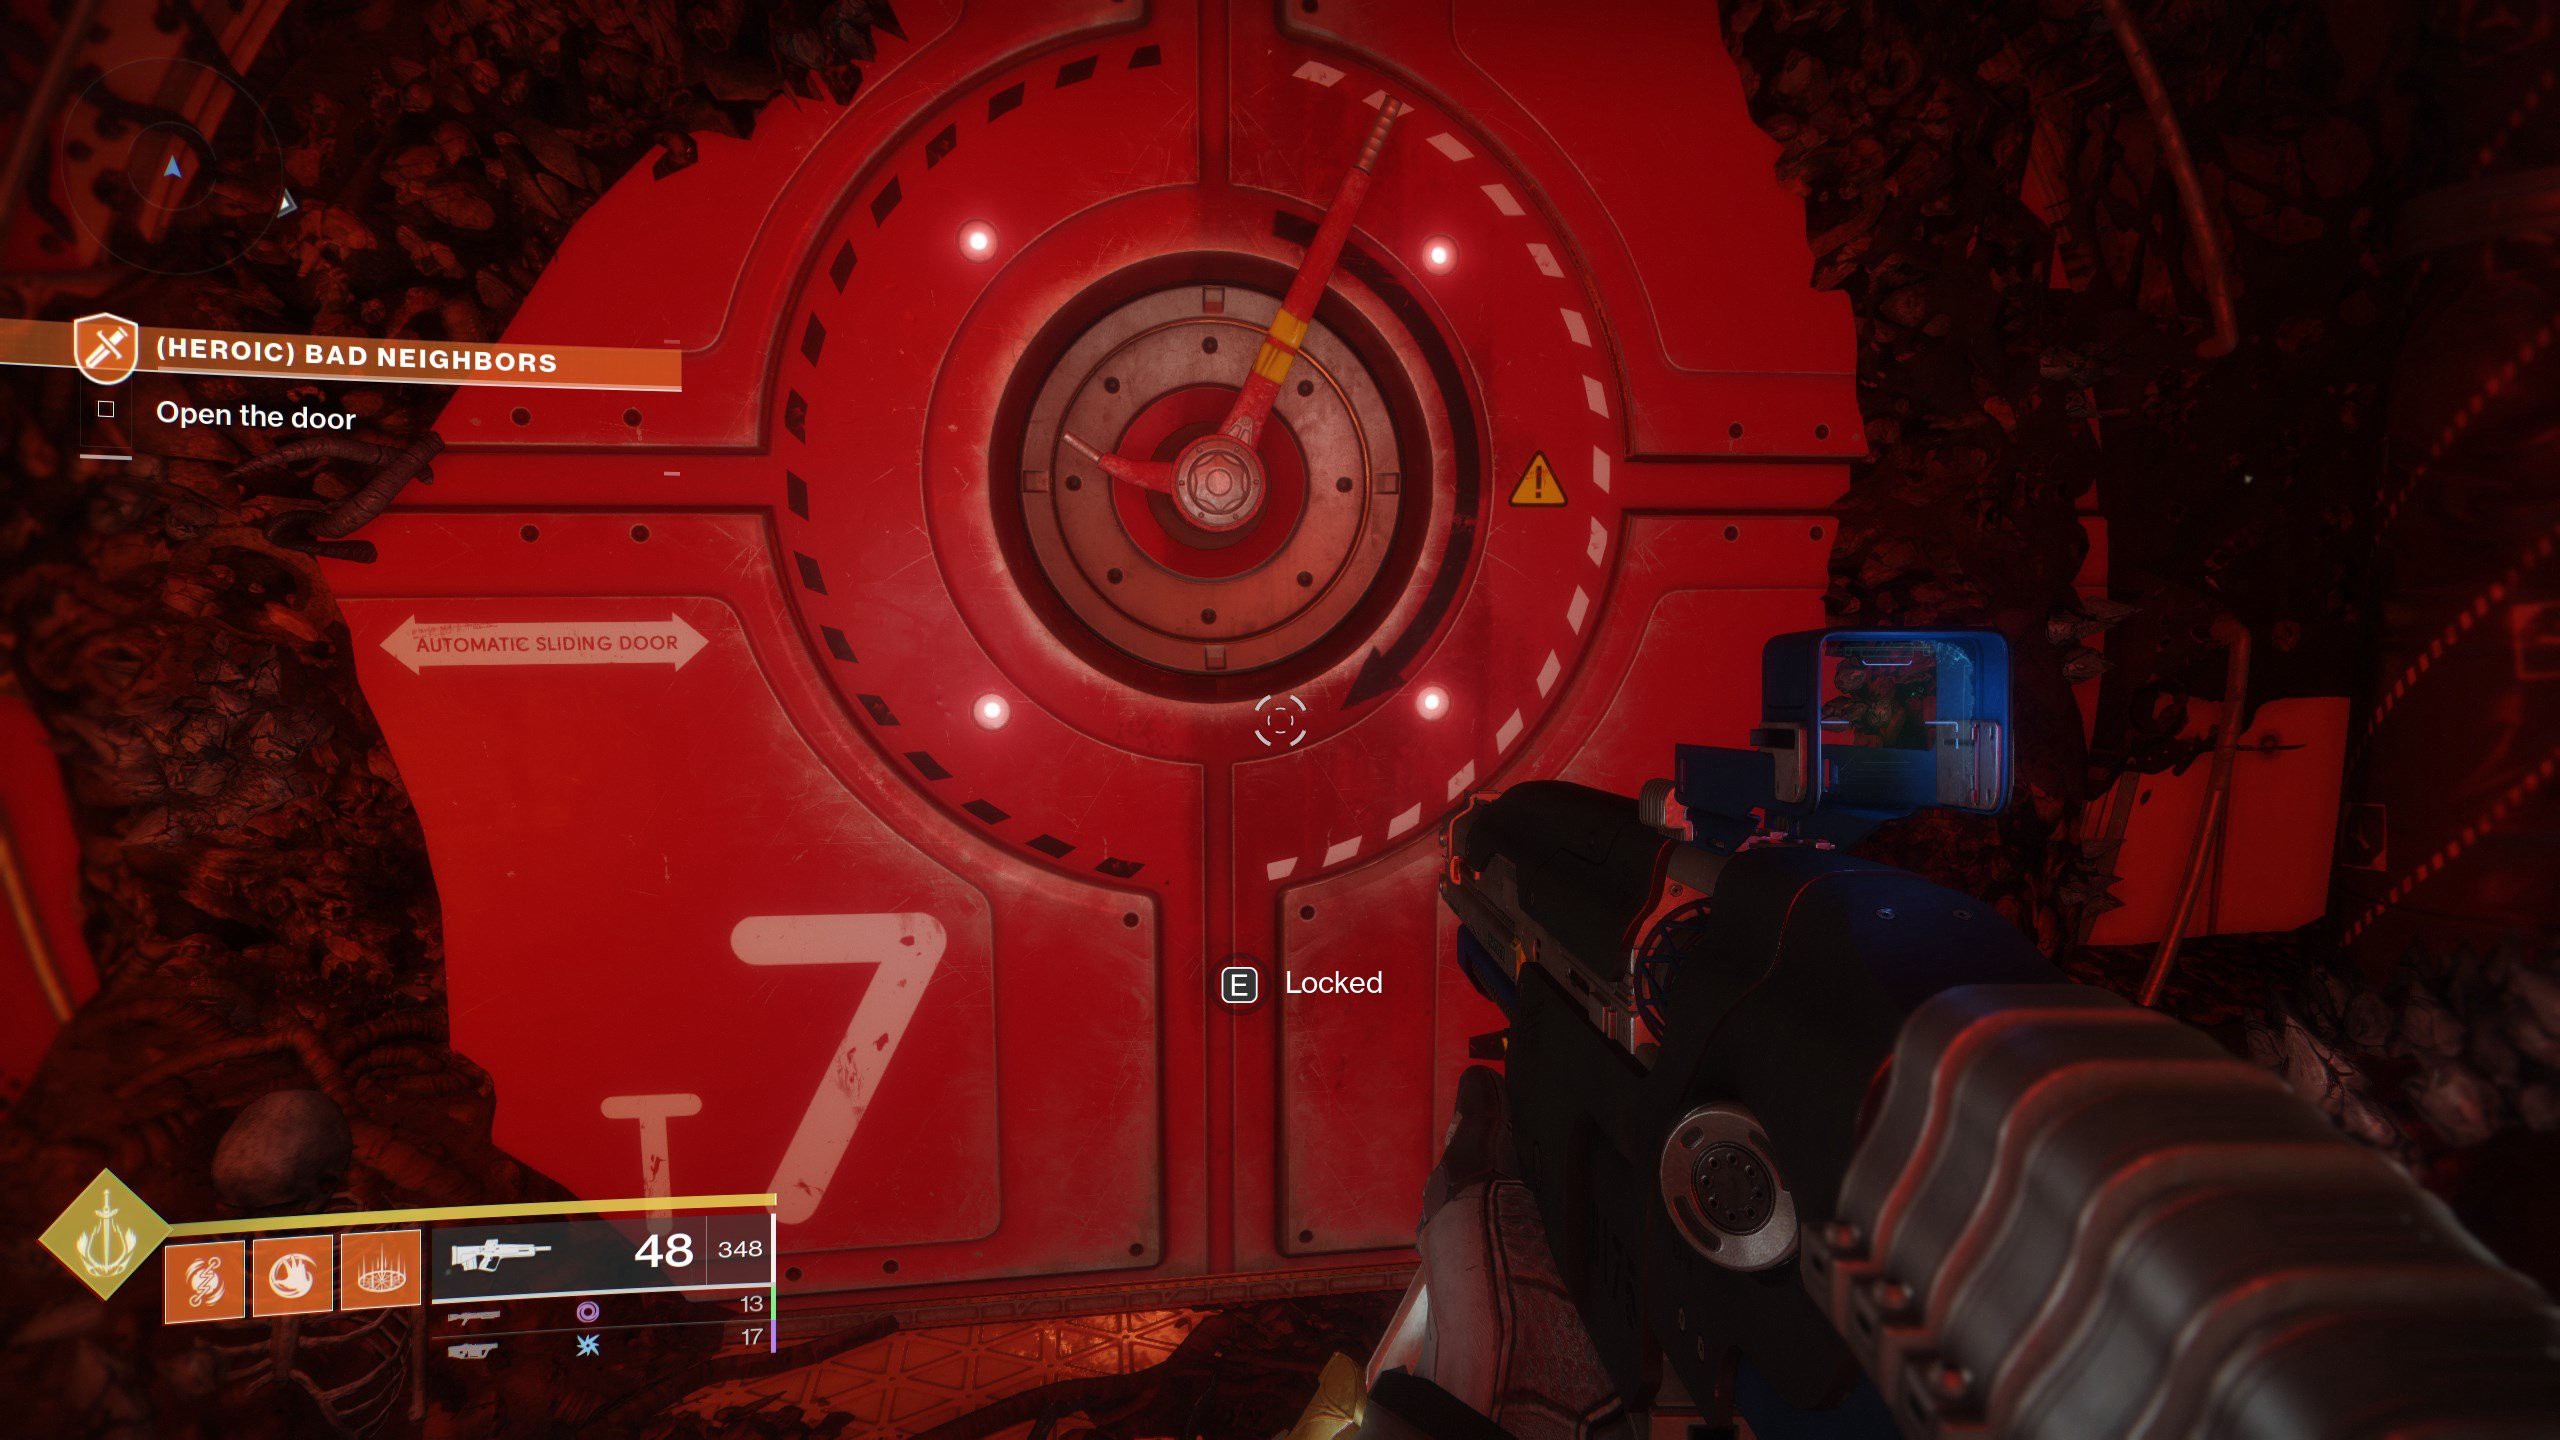 The locked door you need to open after the Shrieker that has the Fallen Transponder inside
Step Two is obtaining all six of the nodes. If you don?t like decrypting riddles, the locations are four lost sectors on the EDZ and two lost sectors on Nessus. All of them contain Fallen enemies. I?ve listed them below for convenience. Twitch Clips are from my personal playthrough and belong to me.
NODE #1: The Drain Lost Sector on the EDZ
Where to locate Node 1 for your Fallen Transponder (Twitch Clip from Grimmfinity?s Playthrough)
The first Node is located in The Drain lost sector located in the Outskirts of the EDZ. There are two ways to get to it depending on whether or not you finish out the Lost Sector before grabbing it. If you haven?t reached the boss and cache yet, instead of continuing straight in the corridor with the Wanted enemy in the second room to your left, go into the first room on your left which is two stories and contains a couple Dregs and Vandals. Make your way out the door to the watered-down area and approach the edge of the cliff. Over the side you should see an area below with a terminal and some purple tarp covered crates. Go off the edge to the bottom and make your way to the back left where there is a platform with two purple tarps. The node is located between them. If you already finished the lost sector and opened the cache, continue out the door to the left, across the hall and into the area with the low water level that I mentioned before. Continue with the directions above. Congratulations! You?ve obtained your first Fallen Transponder Node!
NODE #2: Whispered Falls Lost Sector on the EDZ
Where to locate Node 2 for your Fallen Transponder (Twitch Clip from Grimmfinity?s Playthrough)
The second Node is located Northwest in the Whispered Falls Lost Sector in the Outskirts of the EDZ. This one is pretty simple. Upon entering, you walk down a short corridor with your ghost-light, which opens up into a bigger cavern room. Simply drop down to the bottom floor (off the cliff) and look for a green glow behind a rock to the right. There are a bunch of skulls on a stick and beneath it is your Node #2! Two down, four to go!
NODE #3: Atrium Lost Sector on the EDZ
Where to locate Node 3 for your Fallen Transponder (Twitch Clip from Grimmfinity?s Playthrough)
For the third Node, head over to the Trostland waypoint and set your eyes on the Atrium Lost Sector in the EDZ. You remember this one? This is the first Lost Sector you complete beneath the Chapel. To enter it, simply take the stairs to the basement inside the chapel. After your first room of enemies, you drop down to a small room with what looks like the remains of a bathroom on the left side. In the back left corner you?ll find Node #3! You?re halfway there!
NODE #4: Widow?s Walk Lost Sector on the EDZ
Where to locate Node 4 for your Fallen Transponder (Twitch Clip from Grimmfinity?s Playthrough)
The fourth Node is located in the Widow?s Walk Lost Sector in Trostland on the EDZ. This is the Lost sector that is Northwest of Atrium in the building on the left-hand side. In the final area of this Lost Sector, after killing the Wanted enemy and opening the cache, the is a ledge directly behind and above it that you can get to using the rock or by simply jumping. There?s Node #4! Only two left, and for these we will have to travel to Nessus and leave the EDZ behind.
NODE #5: The Carrion Pit Lost Sector on Nessus
Where to locate Node 5 for your Fallen Transponder (Twitch Clip from Grimmfinity?s Playthrough)
The fifth Node is over in the Glade of Echoes on Nessus in The Carrion Pit Lost Sector. This is the Lost Sector located directly in the middle of Glade of Echoes and can be accessed through the inside of a crate. The Lost Sector consists of two rooms, an initial room with Fallen, and a final boss room with multiple stories of metal scaffolding and the Wanted Servitor. I personally reccomend you take out all the enemies before going for Node #5. From the loot cache where you finished off the Wanted enemy, turn to your right. There should be a metal container on the scaffolding. This is not the one that acts as a ramp downwards. From the corner of the crate, you should be able to see the glowing red from the Node inside it. To get to it, simply jump around the crate wall to the inside of the crate, or in my case, jump to the ground and then back up again. Only one more Node to go!
NODE #6: The Void Lost Sector on Nessus
Where to locate Node 6 for your Fallen Transponder (Twitch Clip from Grimmfinity?s Playthrough)
The sixth and final Node is located in The Void Lost Sector in the Exodus Black area of Nessus. After clearing the lost sector, continue down the overhang to the left of the cache. You?re goal is the second crate down. After passing the first crate on the left, you?ll see the second crate with it?s opening facing the chasm. Jump into this crate and grab Node #6! Congratulations! Your transponder is now complete and will give you a series of random code jargon in the middle. Don?t worry though, it points to a location that can be identified by the center symbol: The Farm!
Obtaining your Exotic Outbreak Perfection and the Zero Hour Mission
So not only did I predict that room on Titan, but a month ago while exploring I talked on Stream about how the cellar in the Farm was also opened up and how it looked like a spot for a Vendor was there. Who knew I?d override all the code by stumbling into a possibility!
Now that your Fallen Transponder is complete, you?re going to want to head over to The Farm. If you haven?t been there since opening up the Tower, you can access the farm through the top right corner of the Destinations tab for the EDZ. From the landing point, head right along the outside of the hangar facing you. You?ll notice some open cellar doors. Head down the stairs and make your way back to the back left corner and you?ll see a familiar Fallen face crouched down with the prompt ?Rendezvous?.
Rendezvous location at The Farm for Zero Hour Mission in Destiny 2 (Twitch Clip from Grimmfinity)
Please note that this mission is time-based and requires a minimum Light Level of 690! I also HIGHLY recommend you bring a Fireteam (3-guardian mission) who are on the same quest step and have a light level over 690. There are class-based shields on the enemies in here, so make sure between your subclass, energy, and power slots that all damage types are covered. The enemy?s shield color matches the type of damage that it is weak to (Purple-Void, Orange-Solar, Blue-Arc).
Below I have outlined the basic runthrough of the Mission areas. The mission is timed (20 minutes) and each area requires you to clear out all enemies before continuing. Make sure your team is briefed on the layout and how to get through it before going in or do a couple test runs. In order to get the Triumph, you need to finish the Mission with over 5 minutes left on the clock. It awards a nice emblem. I have divided the Mission into sections below. Solo I got up to Zone 5, and finished the full mission with a Fireteam on my fourth attempt.
Zone 1: Open area you can run through with lower grate in back right as exit point. After vent you are in Tower North with 2 Captains, Shanks, Marauders, and Dregs. (Finish with 19 minutes)
Zone 2: Open area with 3 Heavy Shanks (Solar), some Vandals, sniper shanks, as well as shanks (Arc). Exit in back right. (Finish with 17 minutes)
Zone 3: Tower Hangar with Shanks, Marauders, Vandals, Servitors, and a Spider Tank at the end. Focus on taking out the Servitors while a teammate focuses on the snipers upon entry. I recommend using Whisper on the Spider Tank. Path in the Lower portion behind the Spider Tank. Continue through the halls killing all enemies in your path.
Zone 4: Tower Watch will be a large outdoor section after the hallways. This is the first corner you can hop over. Slide under the roller door and drop down the elevator shaft. There is a vent immediately on your right to slide through. Upon reaching the opening, immediately jump down, hugging the wall to your left, and aim for the nose of the closest plane on the lower portion. There is a tunnel beneath it with an open vent you need to crawl through.
Zone 5: In the first room, there is another vent in the back right behind a blue covered crate. Shoot the grate off, and continue into it and take your first right, shoot that grate, drop down and enter the vent below you. This walkway will take you to the outer wall and you?ll some some hanging scaffolding. If you are a hunter, wait for your teammate to do this next part. If you can blink far distances, you can save time here by jumping at the wall from the hanging scaffolding and jump towards the catwalk just past the lip. Activate the lever to extend it out for your fellow Guardians. Fellow Gaurdians: Look for the blinking red lights as you jump in the same direction to land on the catwalk. If you prefer the safer method, continue down the wall until you reach the catwalk and lever. Hunters are safer jumping towards the catwalk after it has been activated. However, the shortcut could make or break your run. From the catwalk, continue up the stairs, jump on the red boxes, jump up to the next level, go straight and at the end on your left jump on the red boxes, then up into a grate. This vent leads to your second elevator shaft.
Zone 6: Follow the vent until it opens to a room with scaffolding on either side. You have to jump your way up to the top and shoot the grate on the left side to continue forward. If you shot out the correct grate, the vent will hook left instead of being a deadend. The next area has fans rotating at high speeds as you make your way down. You are going to want to look for the narrow red glowing strip that will let you pass to the side of the fan safely. If you don?t trust yourself to make the jumps (the bottom of the narrow shaft isn?t flat, but curved and can push you into the fan), then land in the center of the fan before moving on to the next shaft. At the bottom there will be a grated platform and a vent to shoot to go into the next area: Ventilation.
Zone 7: Head through the monitor room to the back, where there will be a vent to crawl through behind a pipe. The maze below can get tricky, so make sure you keep your ears peeled for a slice and dice machine known as TR3-VR. The maze consists of narrow corridors with electrical barriers and a killing machine roaming the halls. When you hear the sound of it coming for you and the corridor turns red, your best bet is to crouch down into one of the many ventilation shafts on the walls of the corridor and wait for it to pass. You do not want to have to start from scratch as it can cost you important seconds.In order to open the exit, you will have to activate four levers throughout the maze. Two are on the left, and two are on the right, along the side alleyways off of the main corridor. Your best bet is to split your fireteam up to take each side?s levers. Each lever activates electrical fields that flicker on and off. You have to wait for each one to go down before continuing through the corridor. When all four levers are activated, simply follow the signs to the exit. This will lead you to a room with four platforms that raise. Activate them, and wait as they stop-and-go their way up to the top. When they reach the top, jump off as they do immediately drop down to the bottom. At the top, shoot the grate off and head through the vent, then through a door, then through a vent on the right side at the top of the last downward flight of stairs.
Zone 8: Drop into the vault and head to the back. To the middle left you will see a green Cryptarch symbol. Simple run into it and it will open a secret passageway out. Run through the vault to the back right and enter the whole in the floor. Continue forward until you reach the next hole, and head down. Welcome to the final boss fight! (Hopefully with 9 minutes remaining, but I?ve seen this done with 3 minutes left and a good Fireteam in my run.)
Zone 9 (Siriks, Loyal to Eramis Boss Fight): Your best approach to this battle is to split the workload. While fighting Siriks, three areas will spawn Servitors and a dozen shielded shanks. On top of this, there will be Vandals and Dregs. Ideally, you will want one Guardian in the back with Whisper dropping snipes onto Siriks while you work on the aggros. As Siriks loses more and more health, the Servitors will spawn as well as a Spider Tank on either side of the front area. The Spider Tanks spawn when the second Servitor is killed. You?ll want to make quick work of these, which really helps if you have Whisper or your Light charged up. Killing Siriks does not end the mission. The mission ends and timer stops when all enemies and Siriks have been killed. Your Outbreak Perfected will then drop into your inventory, and an emblem/triumph will be obtained if you complete it with five minutes on the clock. Congratulations, Guardian!
Obtaining your Exotic Outbreak Perfection Catalyst and Pulse Rifle Perks
Now that you have completed your first Zero Hour Mission and obtained the Outbreak Perfection, the next step is getting the Catalyst! After completing the mission, it is now available in the Upper Right hand corner of your EDZ Destinations tab! Clicking on it gives you the option to change it over to the Heroic version. Simply complete the Heroic Version of the Mission and the Catalyst will be yours. It?s a Light Level 700 mission and there are, as always, some differences in the Heroic versions such as the fire ceilings and a parkour section around the side of the tower. Good luck, Guardians! I?ve listed the Catalyst steps and perks below:
Catalyst Steps: ?Land precision final blows using Outbreak Perfected and obtain SIVA Particulate (100 per Completion or 20% per Completion, locked to once a week for entire account, or 33% with the key card puzzle complete) from activity Zero Hour to unlock this upgrade.?
Catalyst Perk: ?Increases nanite damage. Enemies that die with nanites attached to them generate additional nanites.?
Perks on the gun:
- The Corruption Spreads: This weapon creates SIVA nanite swarms on rapid hits and precision kills.
- Extended Barrel
- Accurized Rounds
- Outlaw
- Parasitism: This weapon does more damage to enemies based on the SIVA nanites that attach to them. (This perk only works with your own swarms and doesn?t stack)
 ABOUT THE AUTHOR
Grimmfinity is a variety streamer on Twitch and writes Video Game guides when he?s not running a Media Design Company. He enjoys all kinds of games and loves diving into lore and the stories ingrained in their fantasy worlds. You can check him out and follow him live on Twitch six days a week.


)
)