

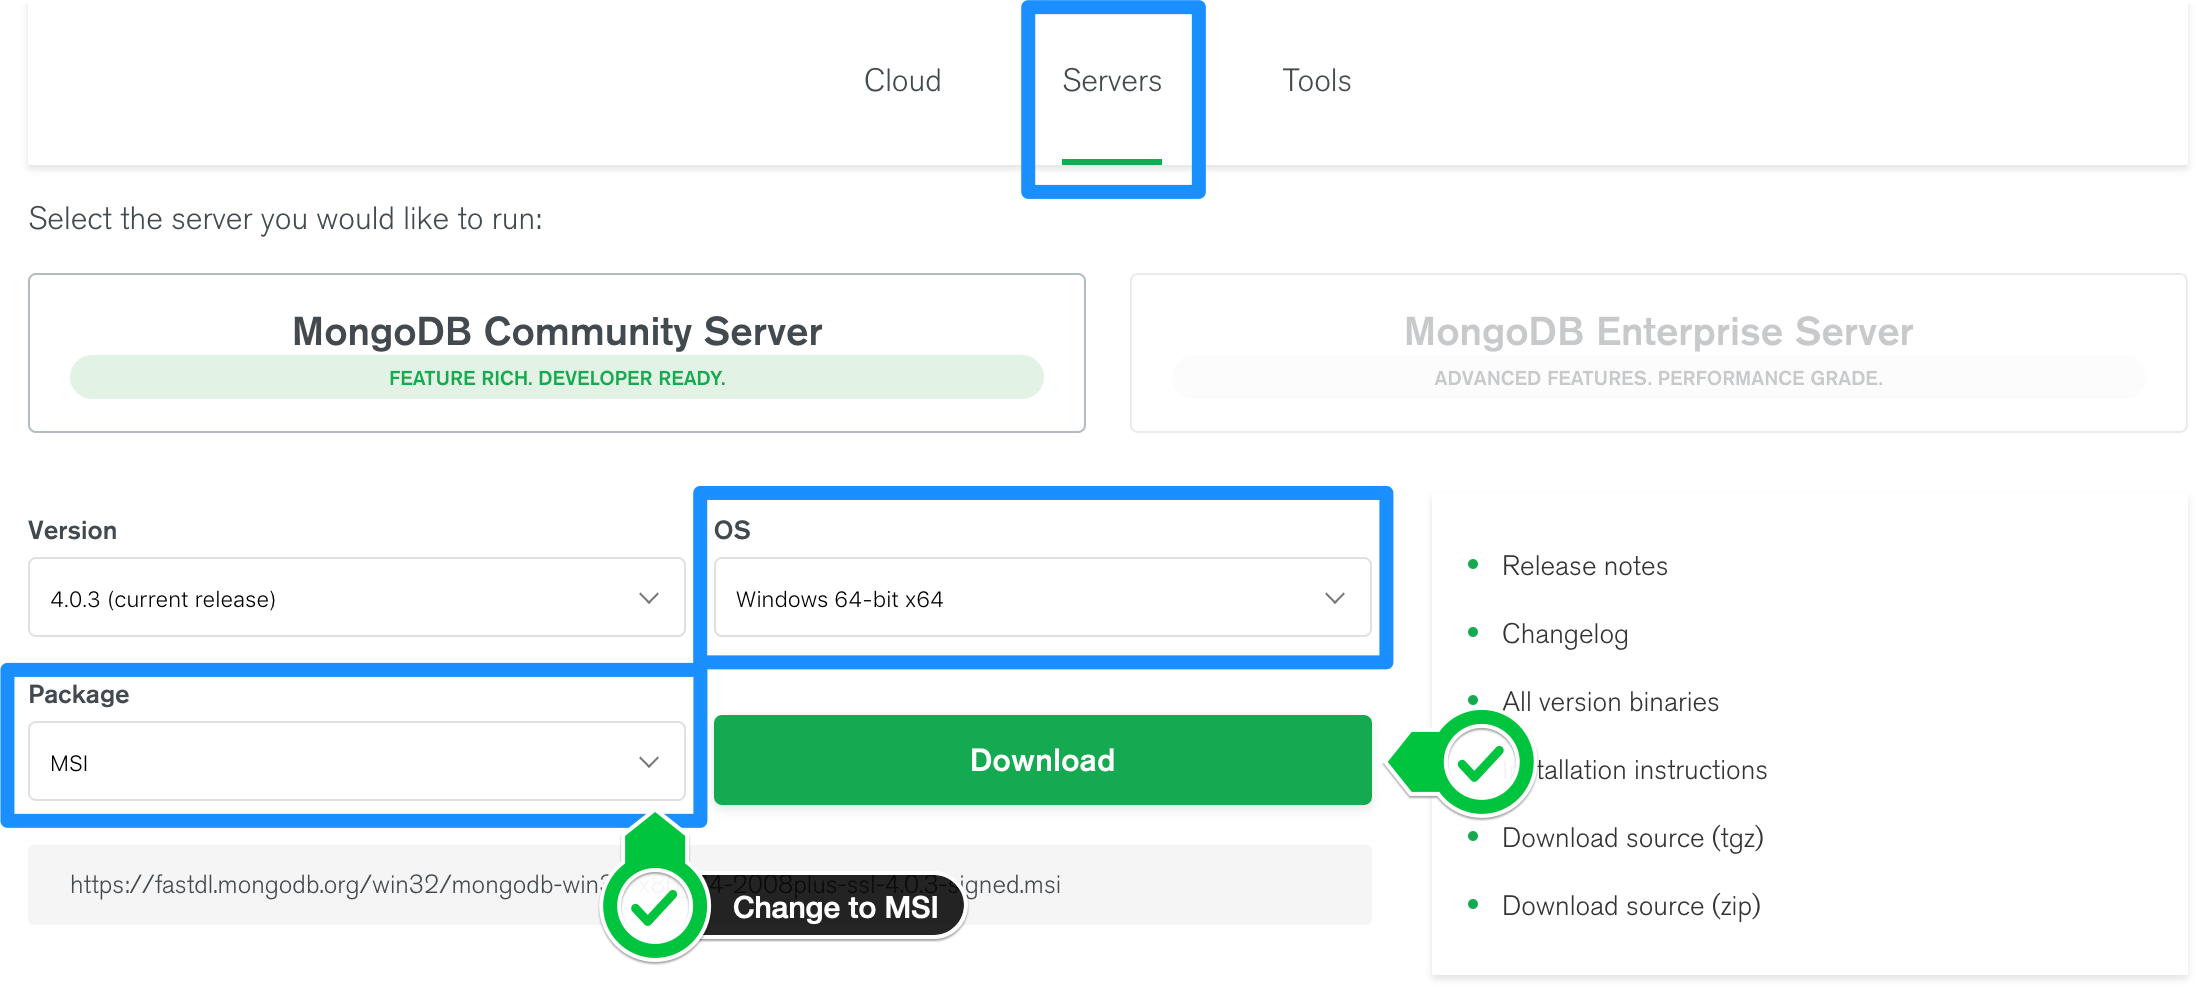
Step 1 ? Download the MongoDB MSI Installer Package
Head over here and download the current version of MongoDB. Make sure you select MSI as the package you want to download.
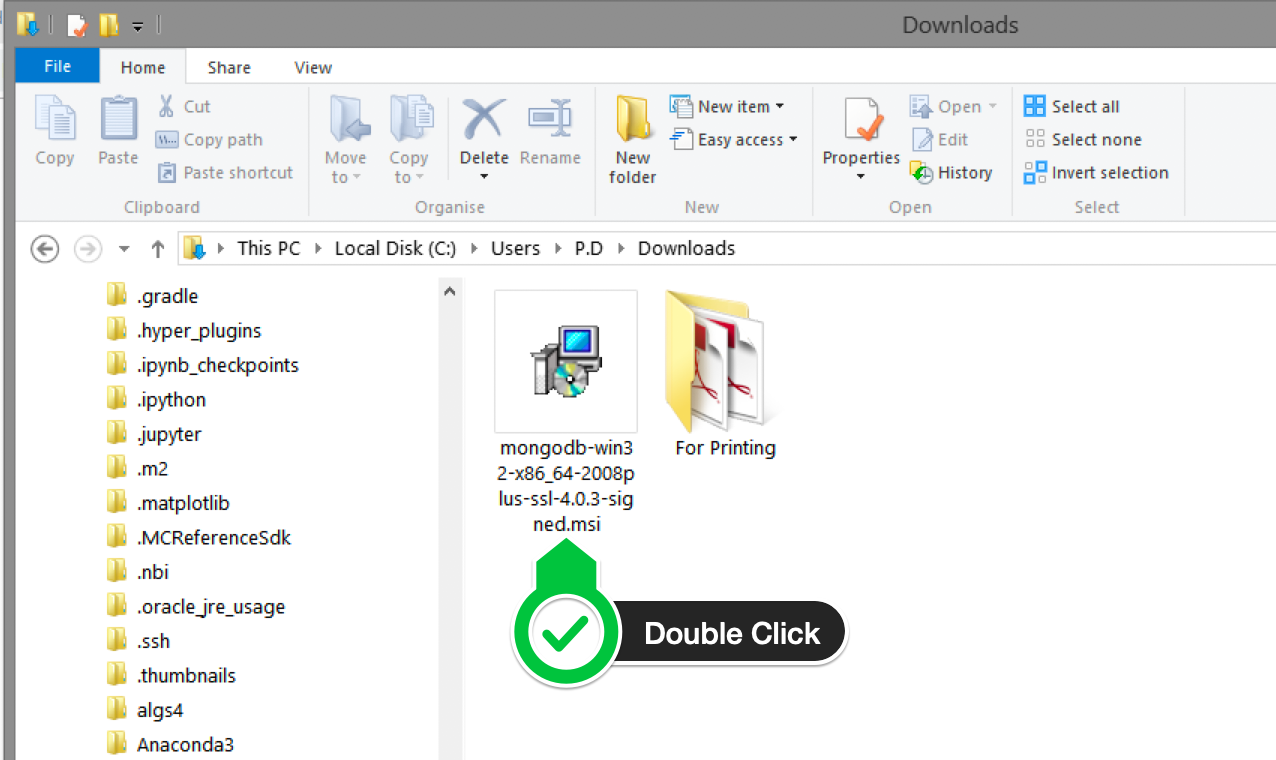
Step 2 ? Install MongoDB with the Installation Wizard
A. Make sure you are logged in as a user with Admin privileges. Then navigate to your downloads folder and double click on the .msi package you just downloaded. This will launch the installation wizard.
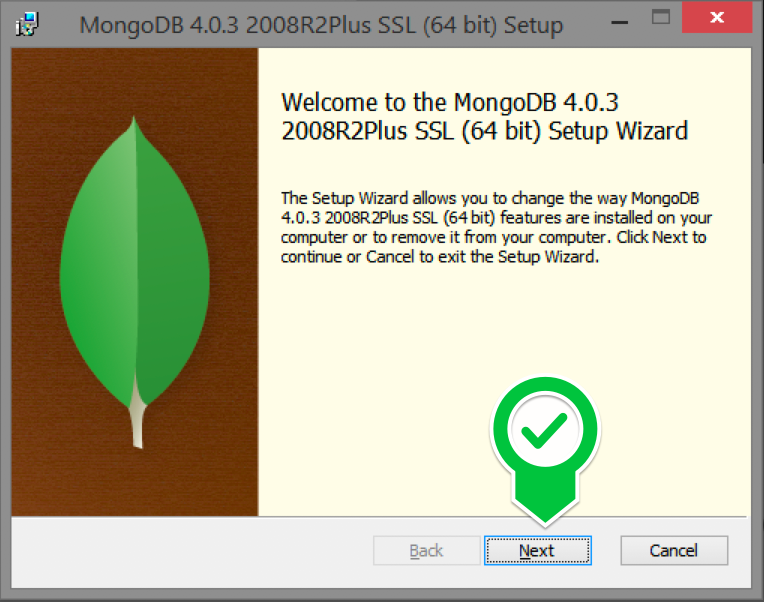
B. Click Next to start installation.
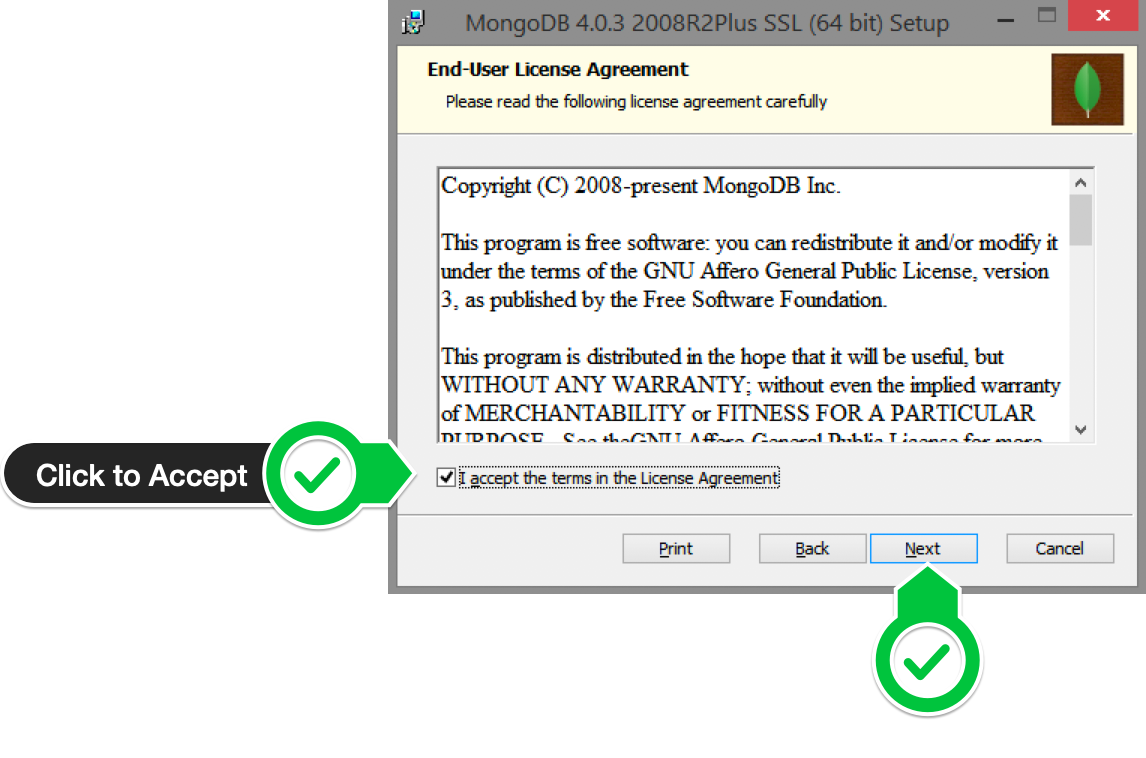
C. Accept the licence agreement then click Next.
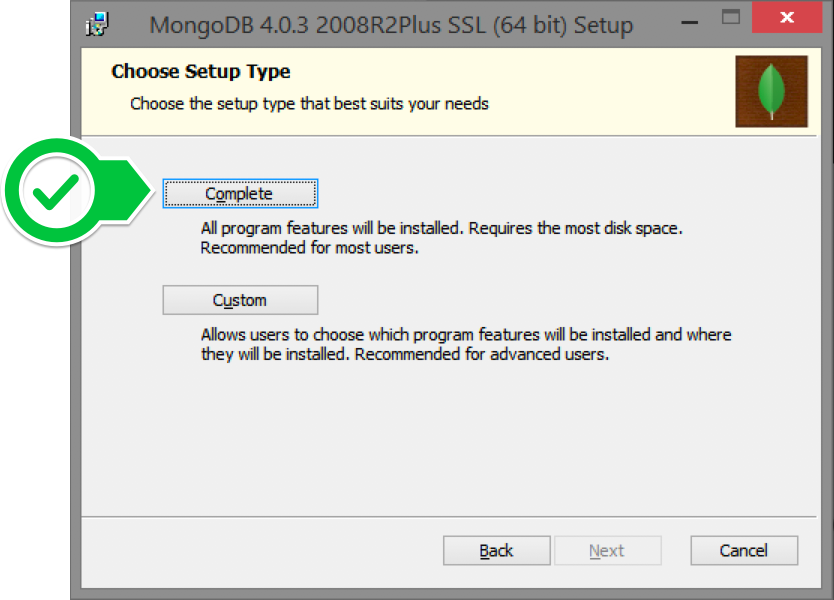
D. Select the Complete setup.
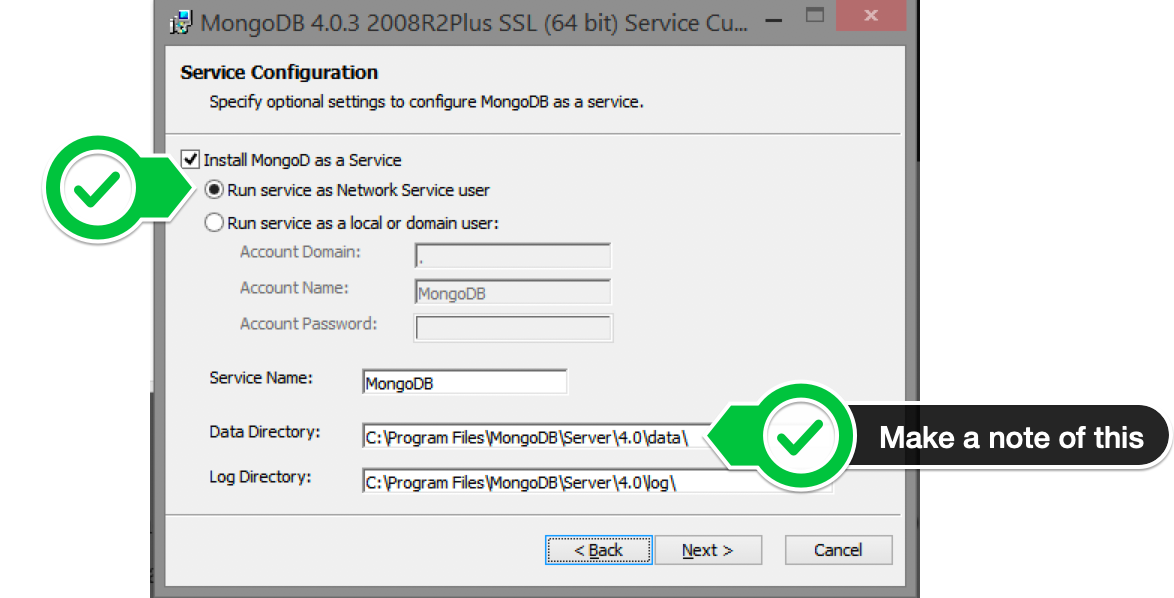
E. Select ?Run service as Network Service user? and make a note of the data directory, we?ll need this later.
F. We won?t need Mongo Compass, so deselect it and click Next.

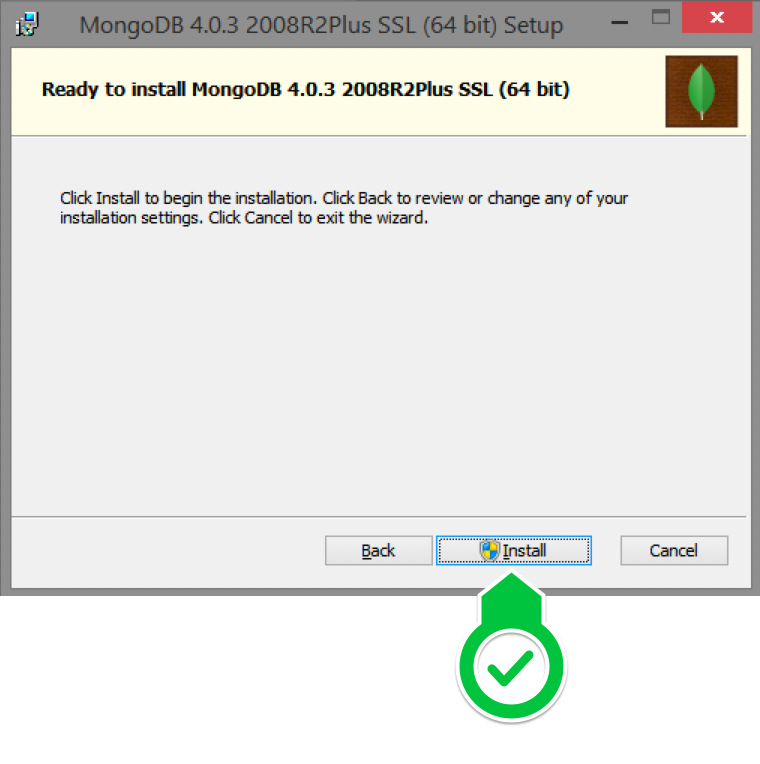
G. Click Install to begin installation.
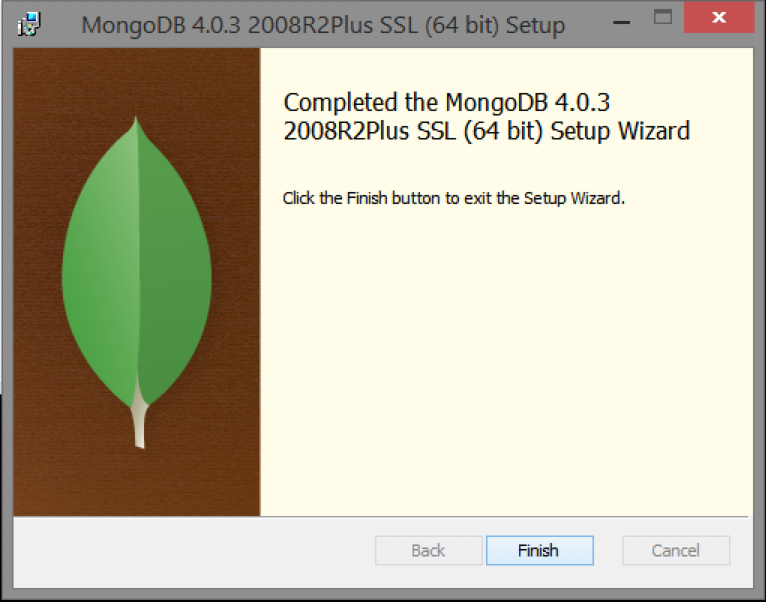
F. Hit Finish to complete installation.
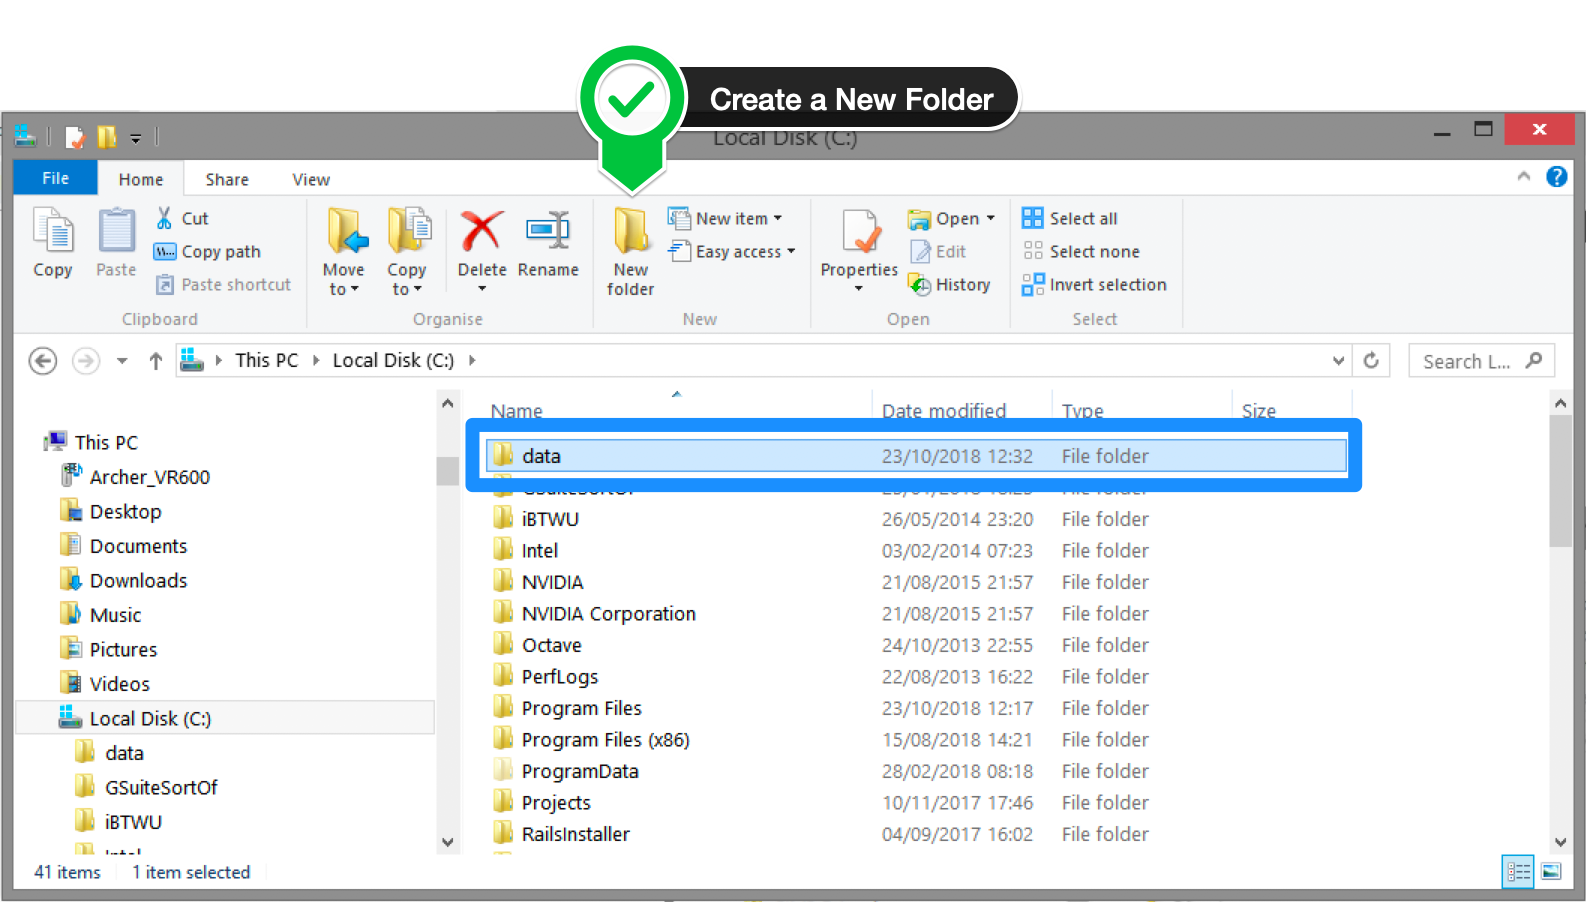
Step 3? Create the Data Folders to Store our Databases
A. Navigate to the C Drive on your computer using Explorer and create a new folder called data here.
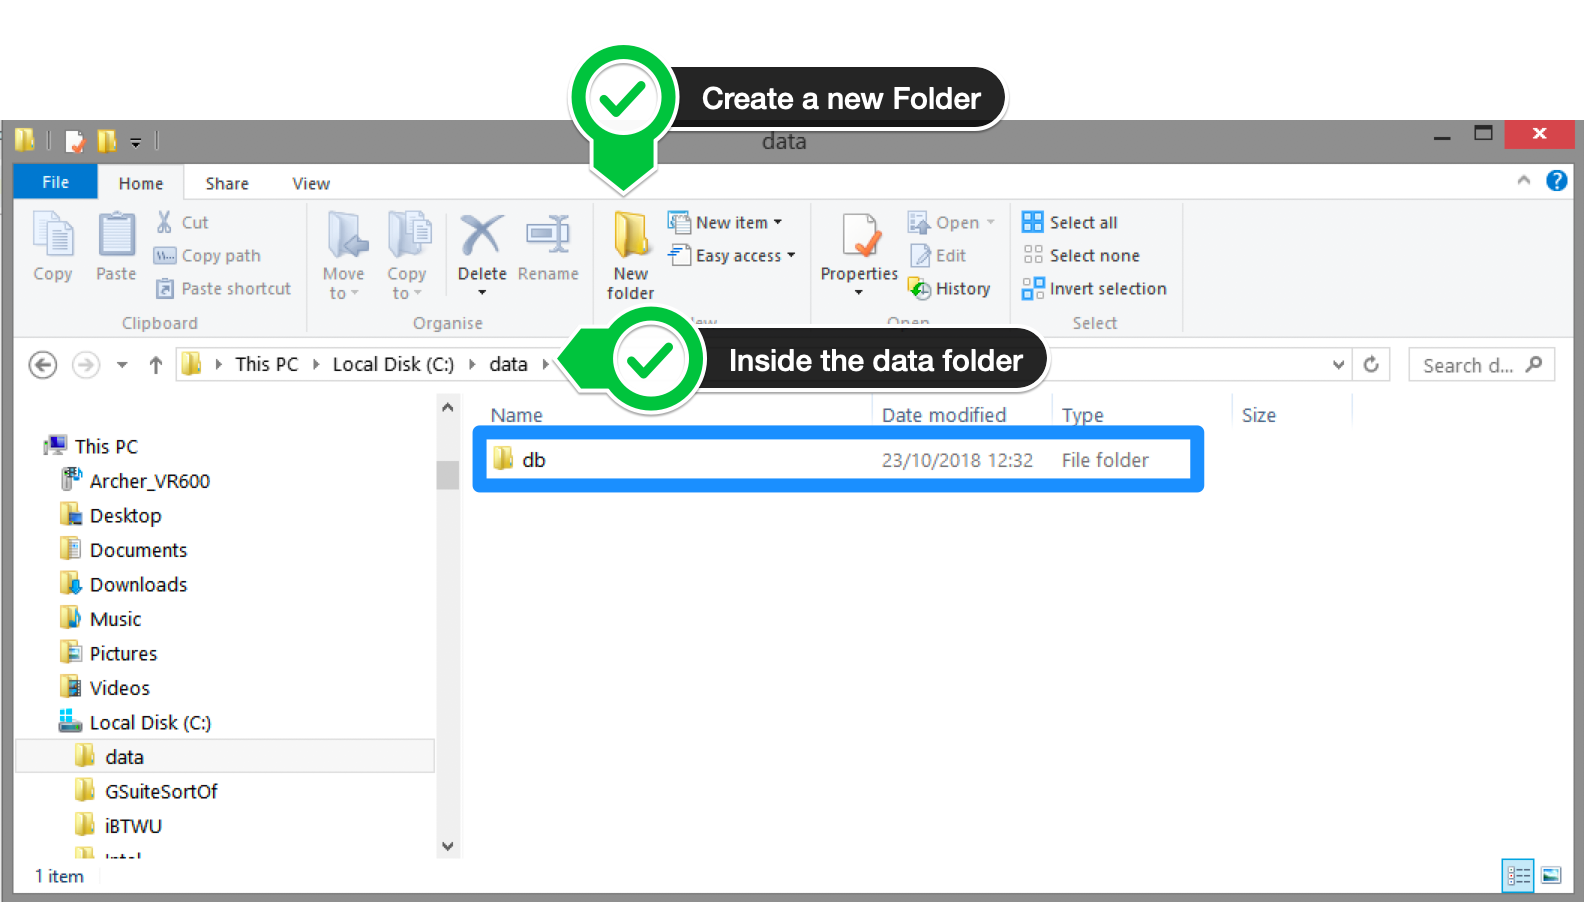
B. Inside the data folder you just created, create another folder called db.
Step 4 ? Setup Alias Shortcuts for Mongo and Mongod
Once installation is complete, we?ll need to set up MongoDB on the local system.
A. Open up your Hyper terminal running Git Bash.
B. Change directory to your home directory with the following command:
cd ~
C. Here, we?re going to create a file called .bash_profile using the following command:
touch .bash_profile
D. Open the newly created .bash_profile with vim using the following command:
vim .bash_profile
E. In vim, hit the I key on the keyboard to enter insert mode.
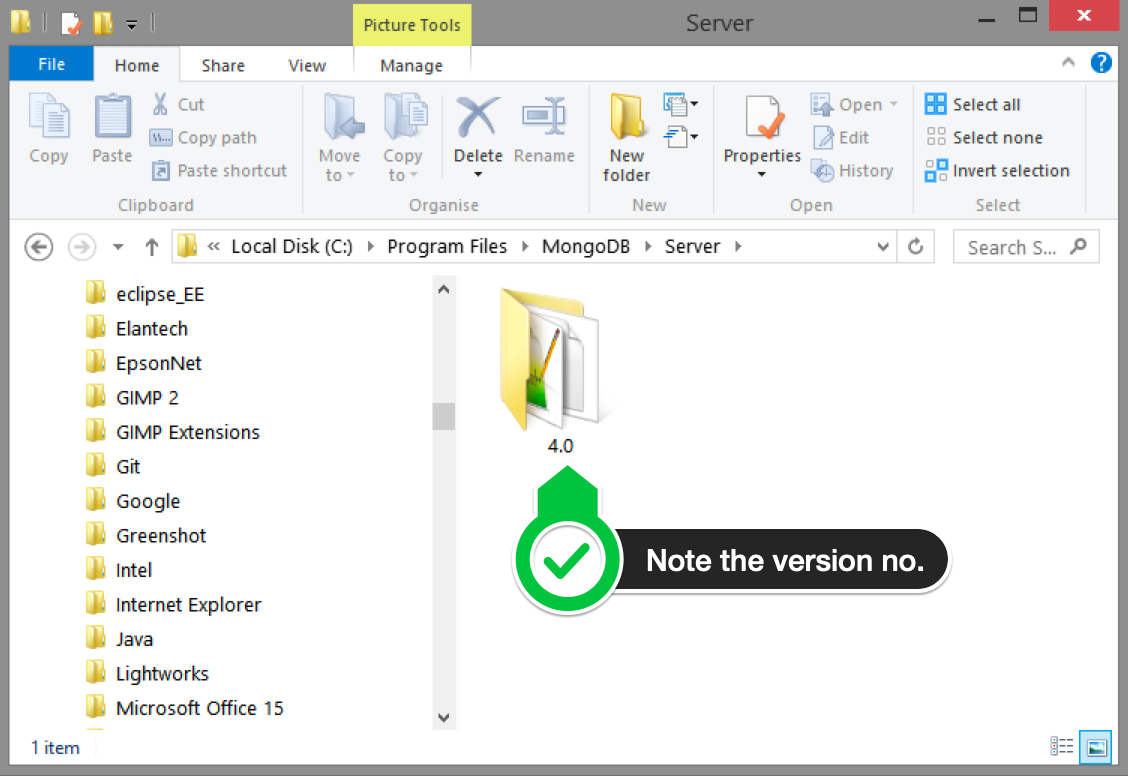
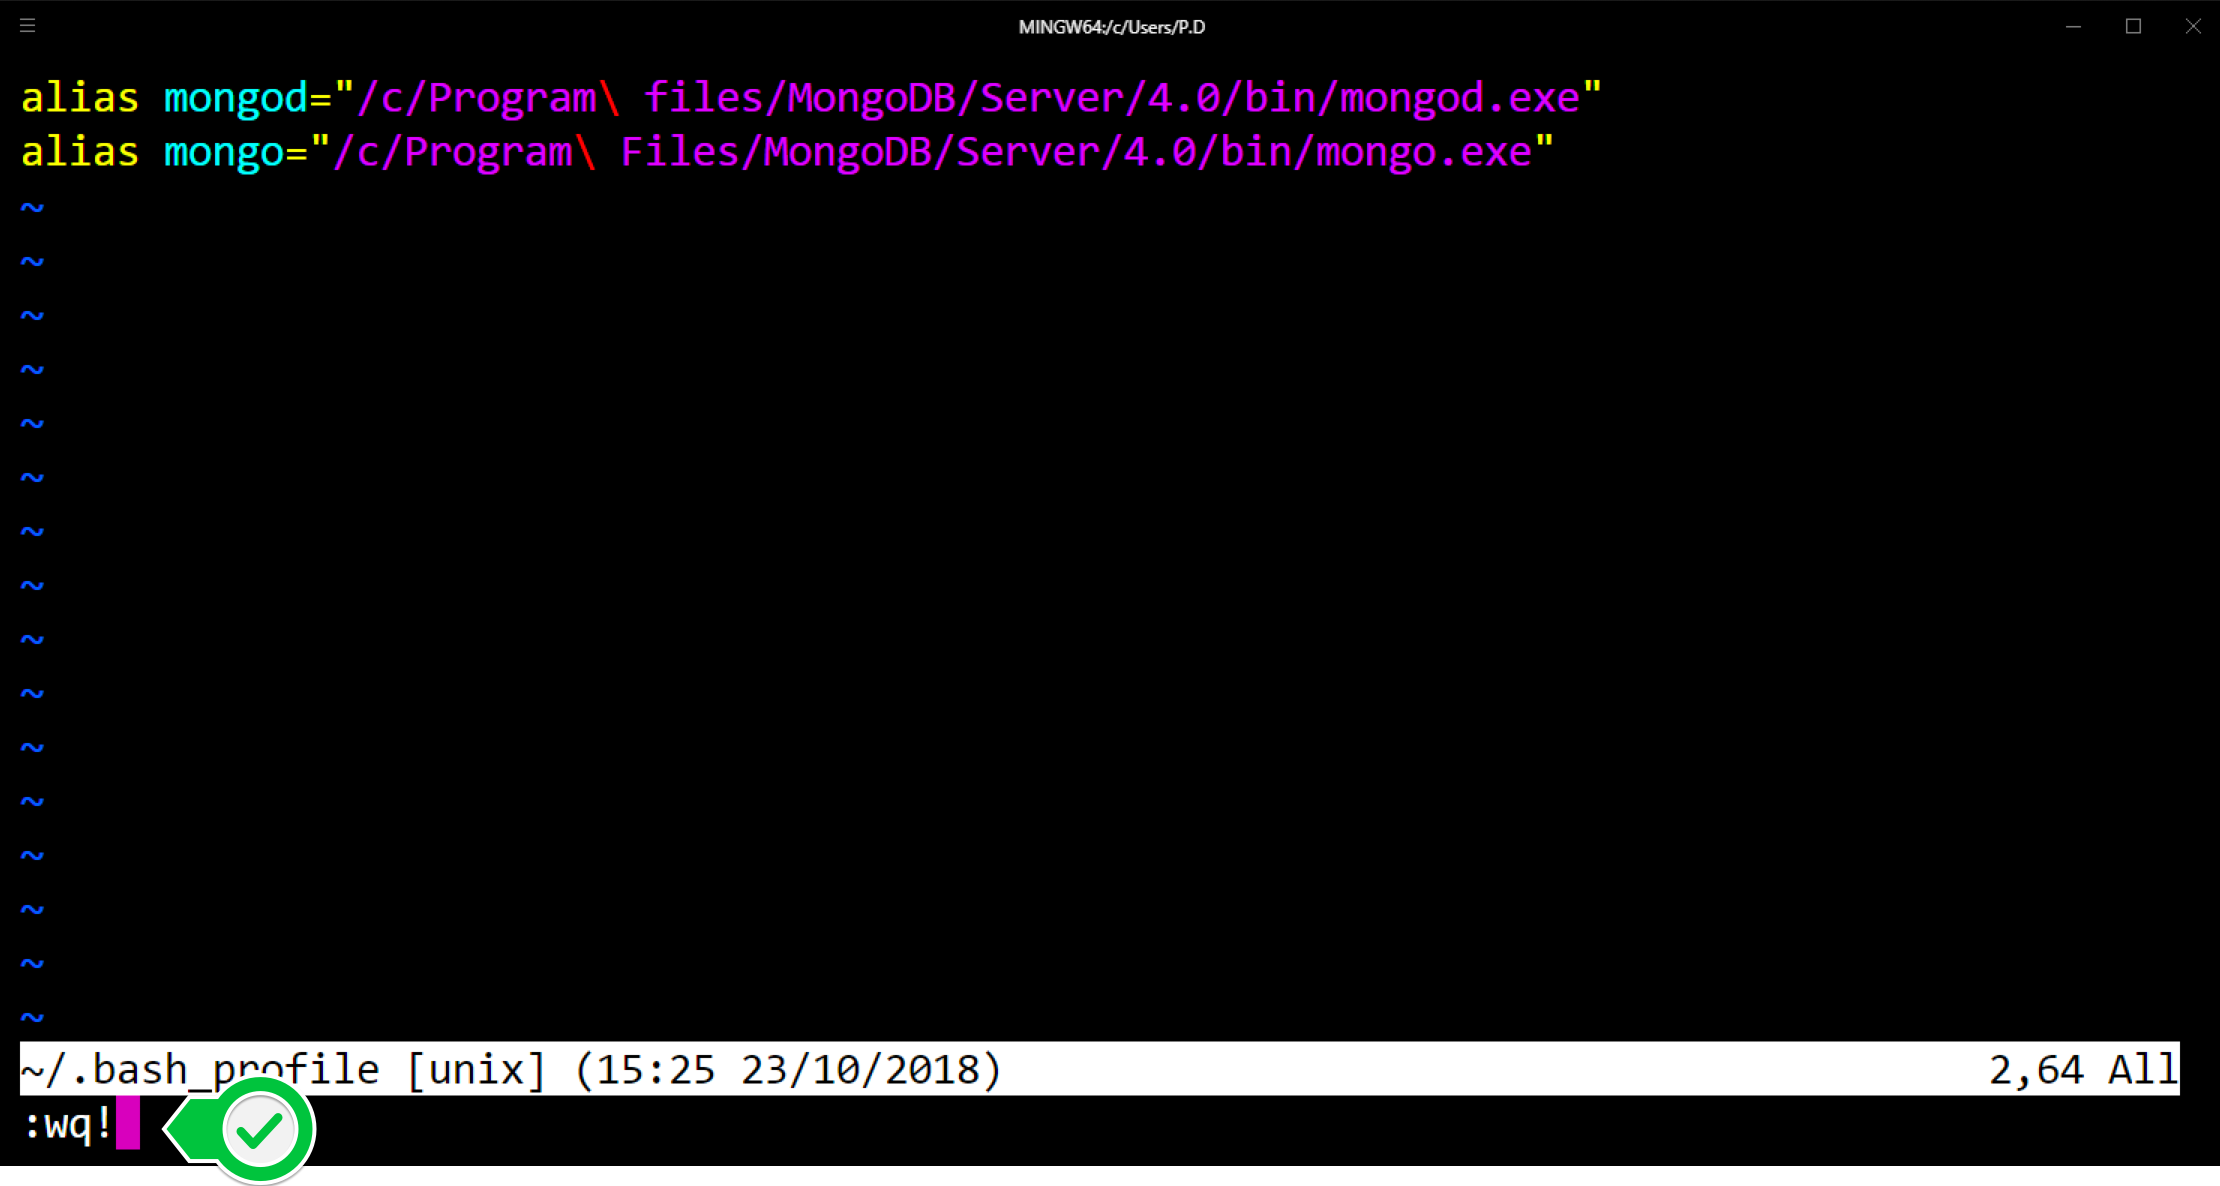
G. Paste in the following code into vim, make sure your replace the 4.0 with your version that you see in explorer
alias mongod=”/c/Program files/MongoDB/Server/4.0/bin/mongod.exe”alias mongo=”/c/Program Files/MongoDB/Server/4.0/bin/mongo.exe”
F. Hit the Escape key on your keyboard to exit the insert mode. Then type
:wq!
to save and exit Vim.
Step 5 ? Verify That Setup was Successful
A. Close down the current Hyper terminal and quit the application.
B. Re-launch Hyper.
C. Type the following commands into the Hyper terminal:
mongo –version
Once you?ve hit enter, you should see something like this:
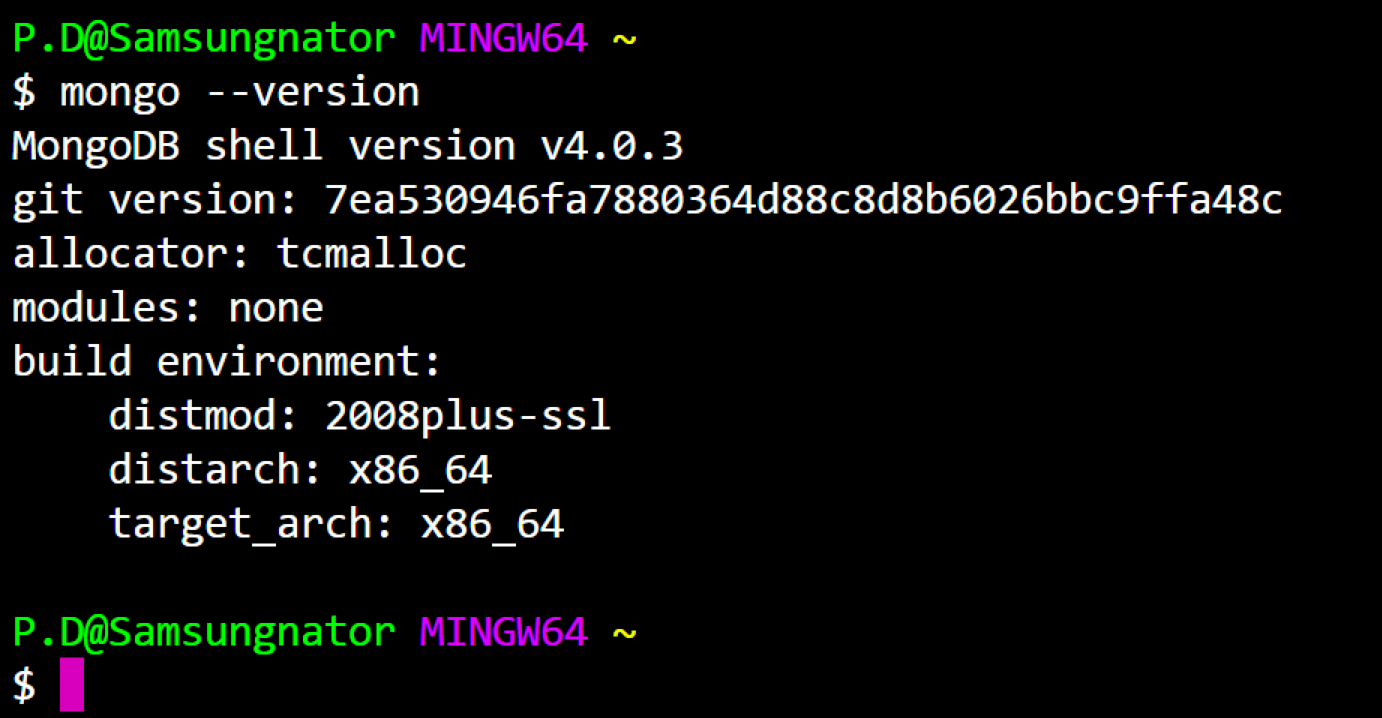
This means that you have successfully installed and setup MongoDB on your local system!
If you see something that looks like bash mongo command not found, then make sure you check back at all the steps above and follow it step-by-step making sure there are no typos and you haven?t missed any of the steps.

