
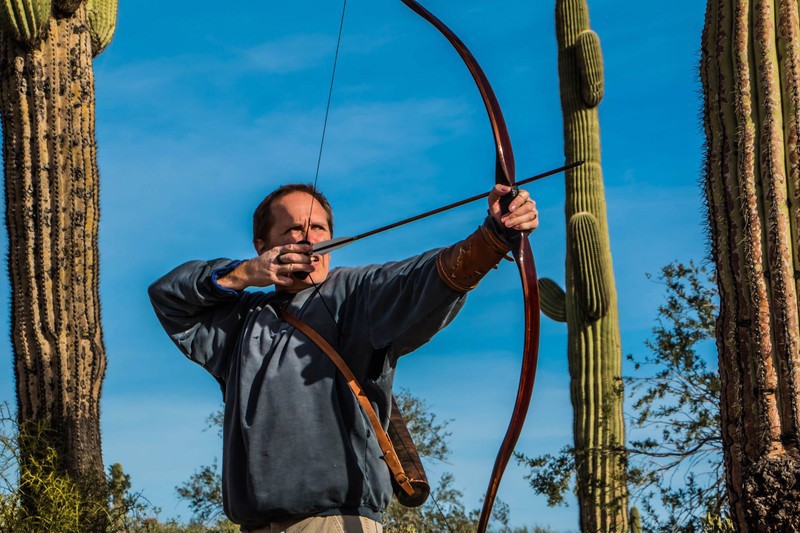
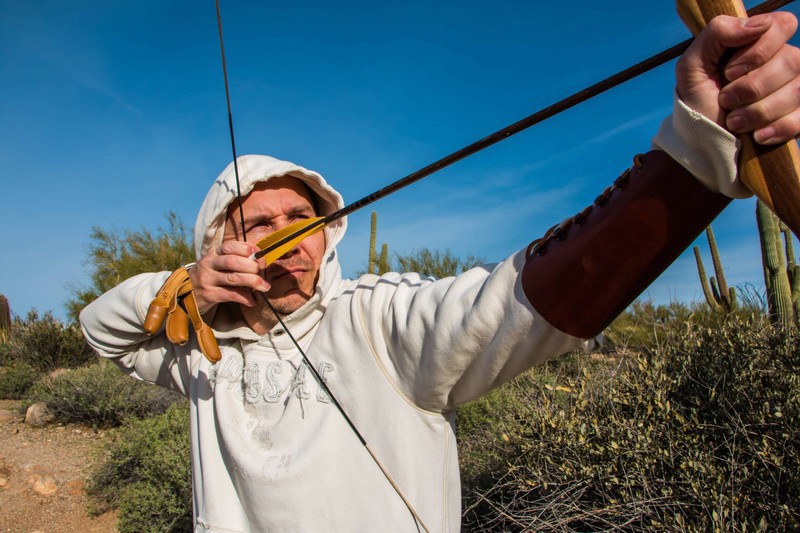
 A Picture of me using one of my bows.
I LOVE archery, I love the primitive nature of it, and how it brings me back to the Medieval times, Robin Hood anyone? Ever since I was 8 or so I owned a bow. We had a hay bail in our backyard that we could shoot arrows into. I may or may not have shot arrows straight up into the air, then heard them thud as they came down on the neighbors wooden shingled roof. Let?s keep that between us.
 A picture of my brother Jared (the Master Boyer) using one of his bows.
Several years ago, my older brother Jared, called me up on the phone and said, ?Hey Matt, guess what, I am making bows.? ?You mean like for presents?? ?No! Archery!? ?Hahaha that is awesome!? A few months later he gave me a fully functioning homemade bow, often referred to as a Self-bow or board bow. It was incredible. I have always heard of people in history making bows and arrows and going hunting with them, but kind of thought is was a lost art. I mean can?t you just go to the store and buy one? Well sure you can, but where is the fun in that? First before I move on, I am not a hunter, and have no desire to hunt animals, with that said, self bows, when made properly are capable of taking down most animals, just like a normal store bought bow can. I told my brother I wanted to make a bow, and of course he was excited to teach me how. I have made two bows in his shop; he has made many of them. It was fun being the Bowyer?s apprentice. Have I peaked your interest yet?
Let?s make a bow.
 (image above came from Pixabay)
No, not that kind of bow, although that is a useful skill to have around Christmas time.
The process for making your own bow is actually quite in depth and takes a bit of time. Growing up my Dad was a wood shop teacher; so working with wood comes naturally to us kids. It is just something we grew up being around. I have fond memories of my dad taking us to his shop during the summer and making cool things. With that said, you only need basic woodworking skills and some patience to make your own bow.
Step 1: All about the wood.
 Red Oak Great Bow wood. (Source)
Selecting the right piece of wood is important. A good hard wood works great for homemade bows. Red Oak, Maple, Black Walnut, Hickory, Osage Orange, Ipe, Ash, Yew, etc. all work well for bows. Some of those listed are more exotic and harder to find. But you can actually find a great piece of red oak or maple at your local hardware store. Okay so you are standing in front of some wood at Home Depot (example), what do you look for? Well when looking at the boards, you want to find boards that have a very straight grain to them. No curves, and no knots! While you could still make a bow that had those in it, the strength of the bow would be severely weakened and it is liable to break on you. All right, you found a perfect piece of Red Oak. The grains are straight, the 6 foot long by 8 inch wide board winds up costing less then you thought. Looking at the board and the grain you notice the left 6 inches are perfectly straight up the whole board, but the right two inches have knots and wavy grain, no worries. We will use the left 6 inches, which will give us 3 bows potentially. Can you find a tree limb out in the forest and create a bow from that? Absolutely, same principle applies, straight grain, and no knots.
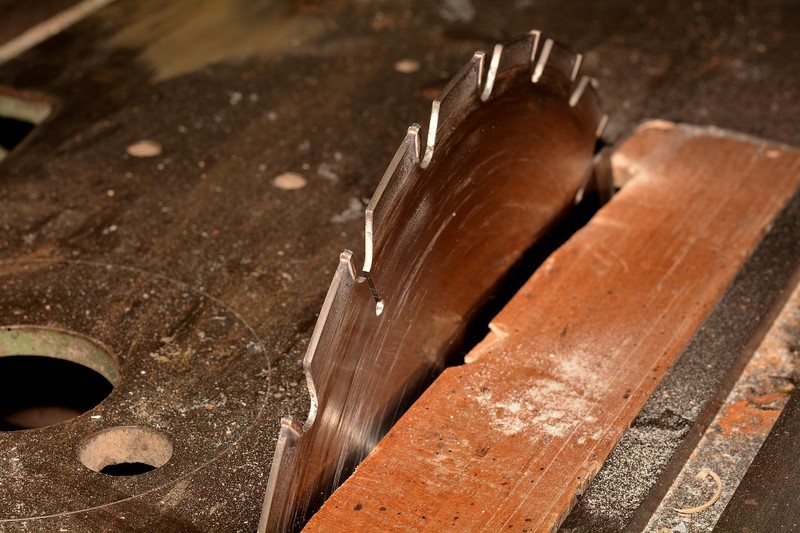
Step 2: Cutting the board.
 Picture from Pixabay
Now this is where a table saw will come in handy. If not, a band saw will work, or even a jig saw. We start by cutting off the 2 inch wide part that has the knots and wavy grain on it. Leaving us with a 6 inch wide by 6 ft. long board. Next we cut that board vertically giving us roughly 3, 1.75 inch by 6 ft. long pieces. I say roughly because the width of the saw blade takes away part of it. You will have a little scrap left as well.
Step 3: Backing or No Backing
Sometimes it is wise to add a backing to your bow. There is immense tension that is placed on the bow, and a backing will help strengthen it and lengthen its life. Usually the process involves gluing on a thin strip of another wood, cloth, hide, etc. For this basic bow tutorial we will leave the backing off. Just know that it is usually a good idea to add one.
Step 4. The Bow Shape
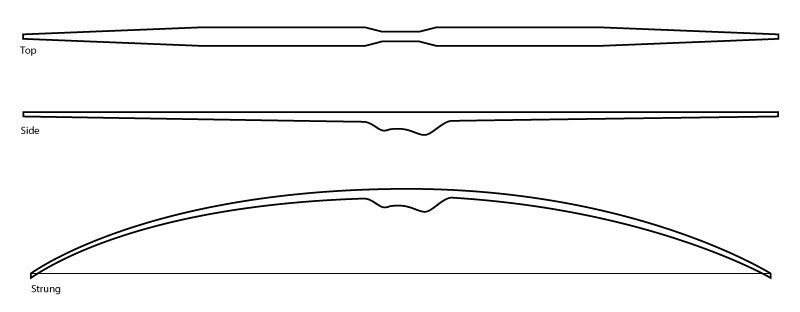 Image Source
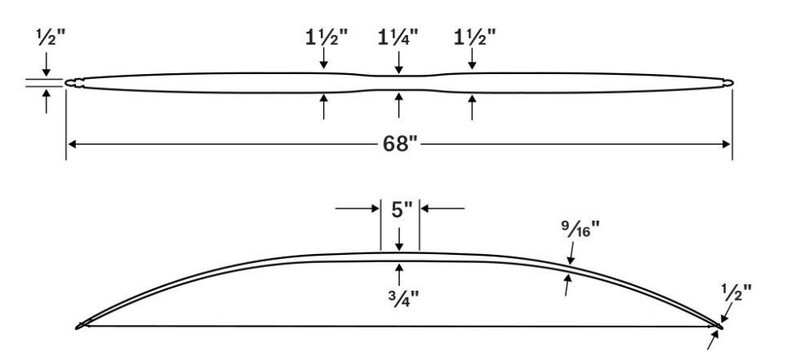
Now we need to decide what shape of bow we want to make. My favorite is a classic longbow shape. So let?s use that. For this shape we will keep the over all length at 6 ft. (72 inches). The width we want to be 1.5 inches. So we have a nice rectangle board, now we need to taper it. But first we need to find the exact center of the board. Then using a chalk line we snap it, so we have a nice long line that runs through the exact center of our board. This is important; all of our measurements will begin at the center point and measure outwards, if that makes sense. So at the top and bottom we want to make our general shape where the bowstring grooves will be, and this will be the tips of the bow, or where our taper will begin. Measure a little over inch and make a mark on each side of the line. This will give us a width of a little over 1 half inch. Do that with the other tip. Then you will make a mark 1 and one half feet down on each edge of the bow from the top. Then connect the dots from the tip down. You should see a nice taper. Repeat on the other end of the board. Now cut out the taper, leaving a rough bow shape.
 Another Sample (Source)
Step 5. The Handle
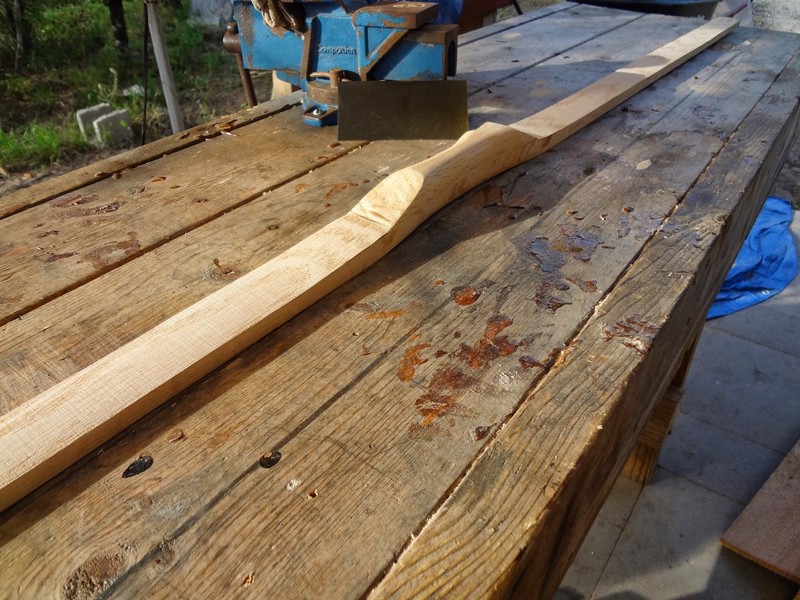 Image Source
Let?s add a handle. The board itself is only about an inch thick, and we need it to be thicker in the middle for our hand to grip. At this point glue on an 8-inch piece of wood in the exact middle of the board. We will need that to dry before we proceed. Once dried we want to sketch out the rough handle shape, so at the top and bottom of the handle it will be roughly the full width of the bow 1.5 inches, then it will taper somewhat abruptly to about 1.1 inches. Draw that out and then cut off the parts we don?t want. Now we have the basic shape of our bow, it is starting to come together. Now we need to cut out some of the belly of the bow. The belly of the bow is the part that faces towards you if you are holding it. If you look at the board it will be about an inch thick, that is much too thick. Start by cutting out about inch away. But it will taper to a full inch at the top of both sides of the handle. This is where a band saw works nicely. Once this is done we have a nice basic bow shape.
Step 6. Tillering the Bow
 Like this, but do only one set of grooves. (source)
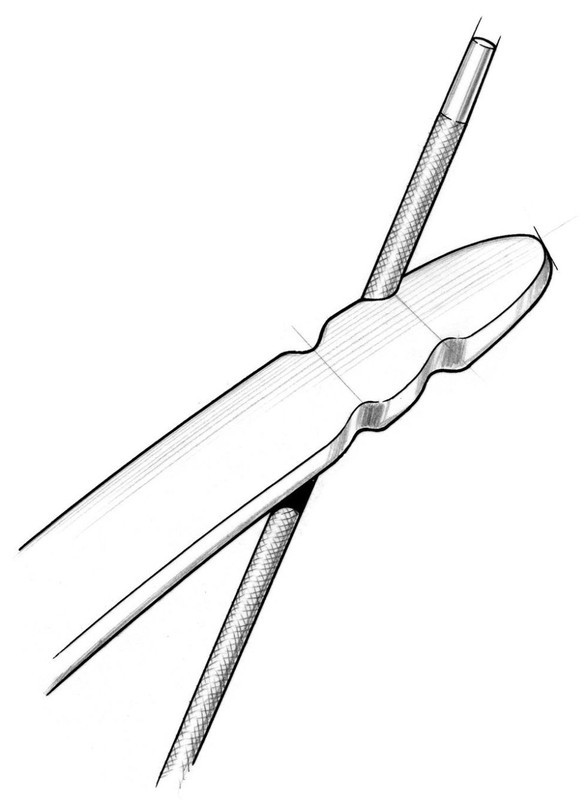
Now it is time to tiller the bow, this is how the bow gets its bend, and how we make it so it bends correctly on both sides of the handle. First we need to cut out the string grooves for our bowstring. On the outside of both tips take a round file, sometimes referred to as a chainsaw file and cut in groves on the sides of the board. Come in about an inch for the very tip. Then use sand paper and make them all smooth.
 Can be mounted on the wall or a stand at the bottom (source)
Next we need to make a tool called a ?Tiller Tree?. It is basically a 2×4 mounted to a block for a stand and then has grooves in it, starting at 5 inches from the top of the board that go down to 30 inches. Each groove is 1 inch apart. Now we place a cord, like a parachute cord on our bow (a makeshift bow string). We place the bow on the top of the tiller board and pull the string down to the first groove. We now look at how the bow is bending. One side or the other might bend more and that is how you know which side of the belly of the bow needs to be sanded more. We will be doing lots of sanding from this point on. I mean lots. So first we will take it off the tiller and then place it on the ground. Put your foot on the handle and grab the bowstring, pull it up towards you to about the 5-inch high mark from the bow, don?t let go. Keep holding onto the string then let the bow go back flat, and then pull again, etc. Do this 20 times. This is called exercising the bow. We will be doing this a lot as well. Now we will place the bow on its back, belly facing up, and sand each belly. Try and remember how many sand strokes with your hand you did. For example, 30 sanding strokes on one side do the same on the other. Once we do that, we place the bow back on the tiller tree and pull the string down to the next notch or one after that. We analyze the bend of the bow. I notice it isn?t bending evenly, the right side bends down more then the left. It means I need to sand more off the left side. So we repeat the steps, take the bow off, exercise it, this time pulling up to about the 6 inch mark or 7 inch mark, etc. Then sand more on each belly of the bow. Eventually you will get to the point where you can pull the bow back to about 28 inches. My bow is a 52 lb bow at 28-inch draw. My actual draw is only 26 inches. Once the bow has been tillered and exercised, you need to do the finishing sanding. Go over the whole bow and make sure everything is nice and smooth.
Step 7. Polyurethane
Now let?s complete the bow by adding several layers of wipe-on poly. Wipe it on the whole bow and then let it dry. Next use some steel wool to sand it, and then repeat, 5 to 8 coats works nicely.
Step 8. Create your bowstring
 source
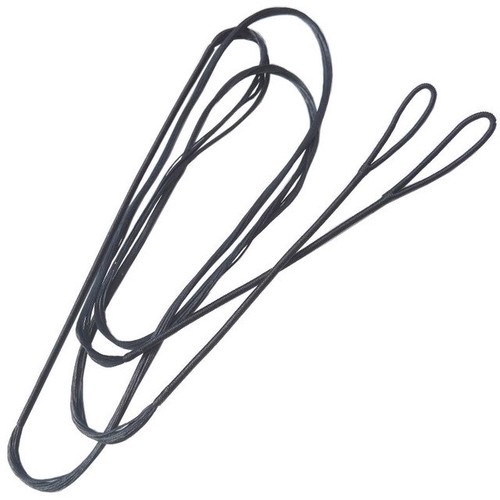
Now you can buy a bowstring or create your own with B-50 bowstring material. When you string your bow you want it to be about 6 to 7 inches from the middle of the string to your handle.
 Me again. 🙂
So there is a long-winded post about making your own fully functioning bow. There is a little bit more to it than that, but that is the basics. It is very satisfying to make your own bow and then take it to the archery range. My brother and I usually get a few stares from other archers with their compound bows, and the self-bows always seem to be a great conversation starter.
I hope you enjoyed this post as much as I enjoyed writing it. 🙂 If you did, please show some support by hitting the claps! 🙂

