These are simple steps to get an Access Key ID and Secret Access Key for AWS account which gives you access to your AWS services. Even though you have a detailed documentation on AWS, this is just direct instruction for creating an S3 bucket.
The first thing you would need is an AWS account, if you dont have one create a new one going to https://aws.amazon.com. You will have to give your credit card details and it will charge you 1$ to verify your account.
Creating an S3 Bucket
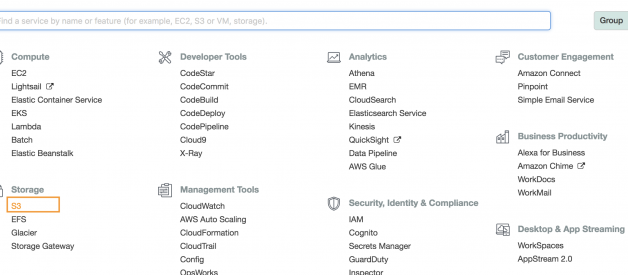
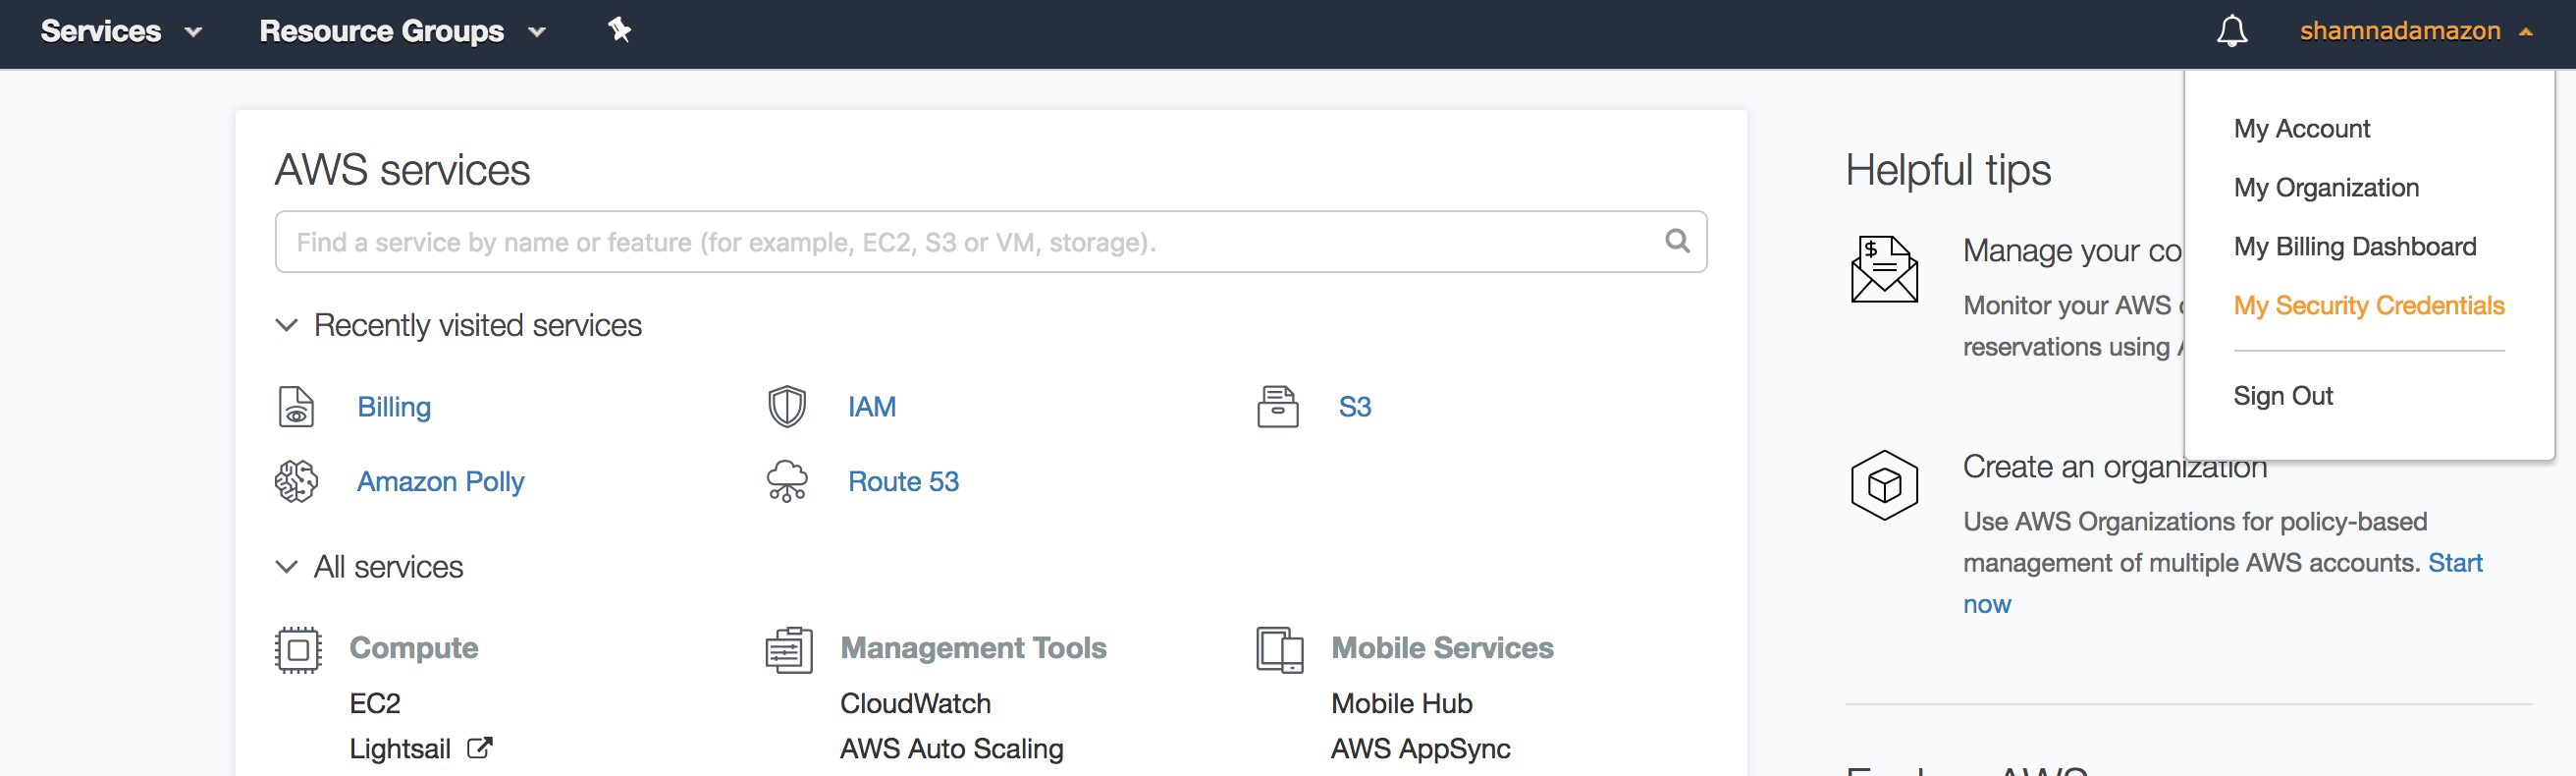
Once your account is setup login to your aws console https://console.aws.amazon.com and select S3 from services menu.
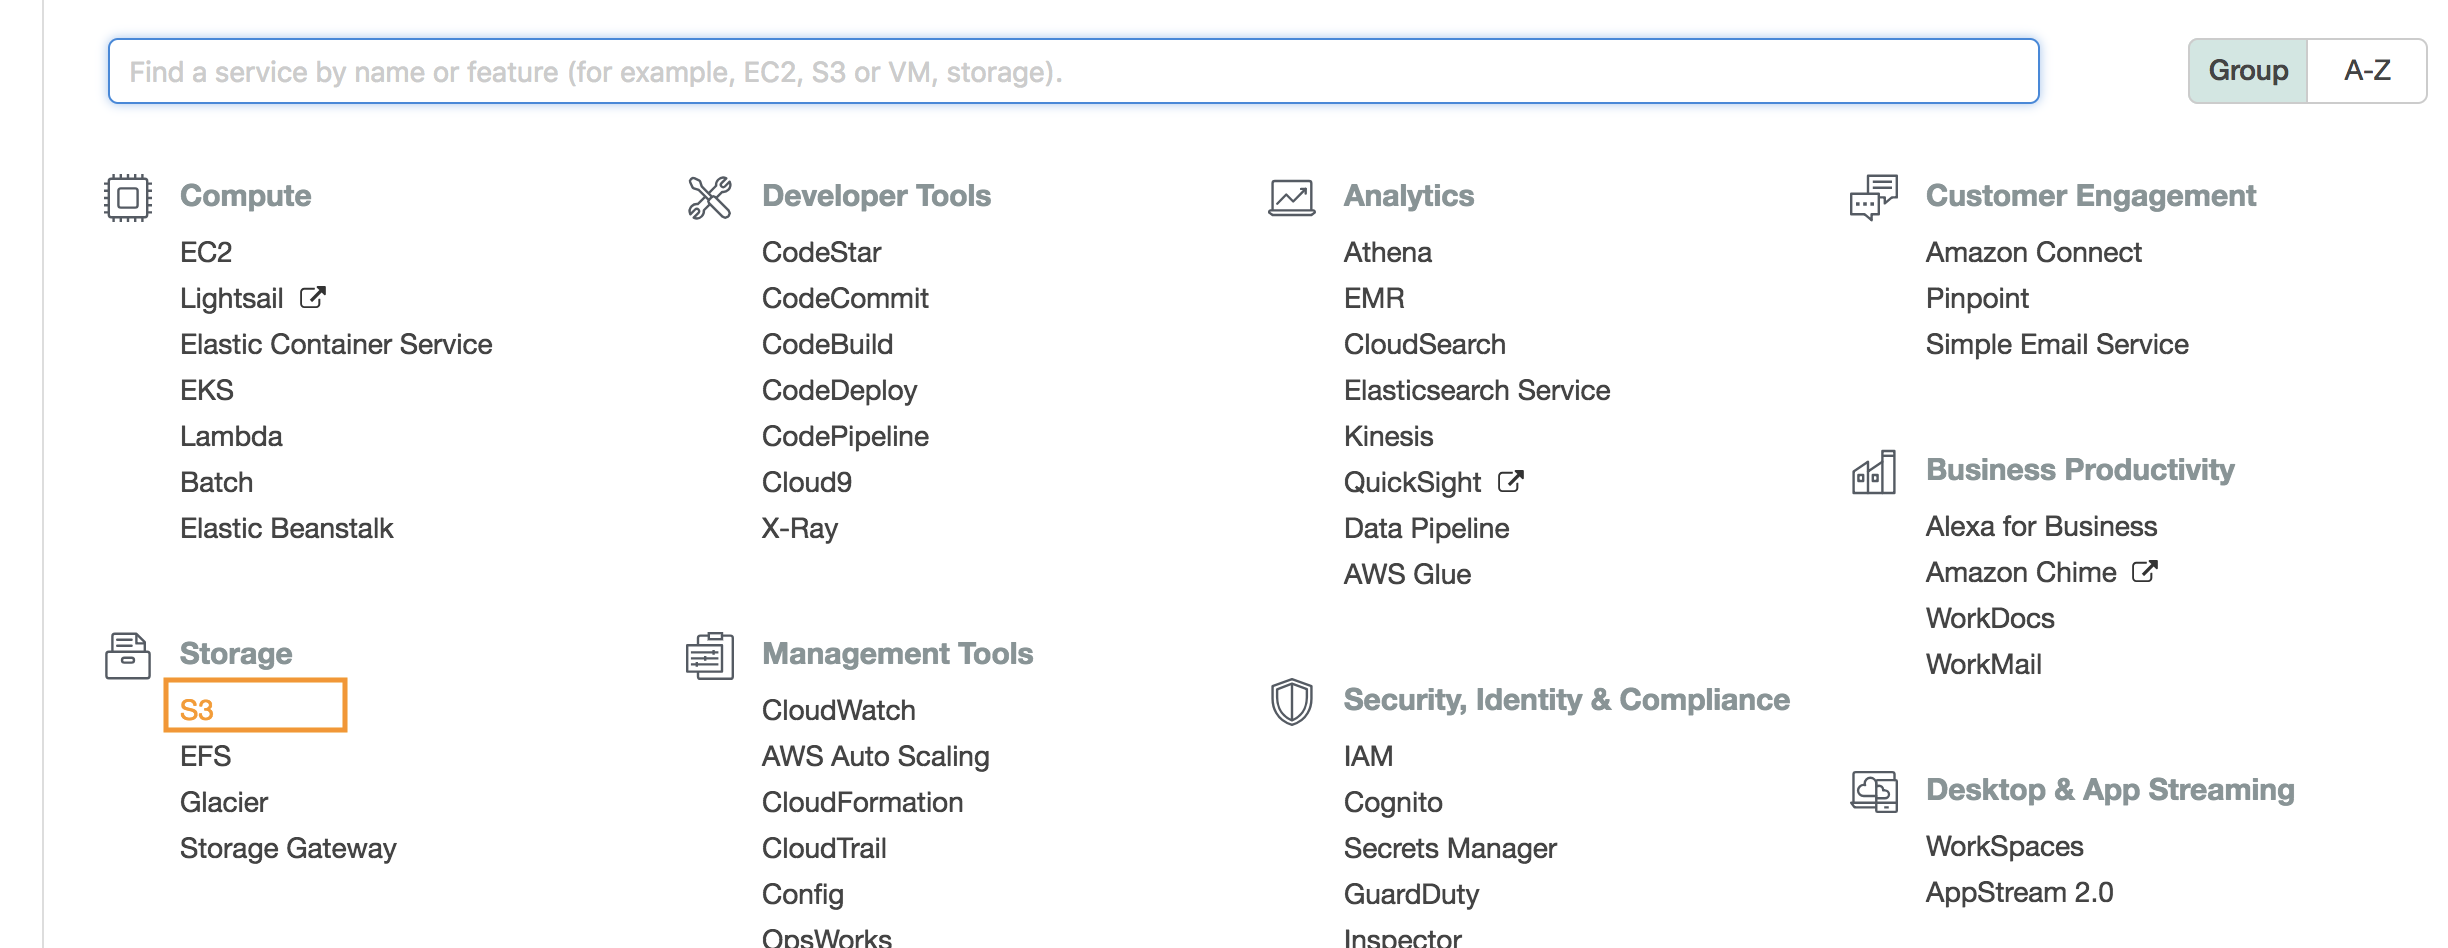
You can select S3 from the Storage section.
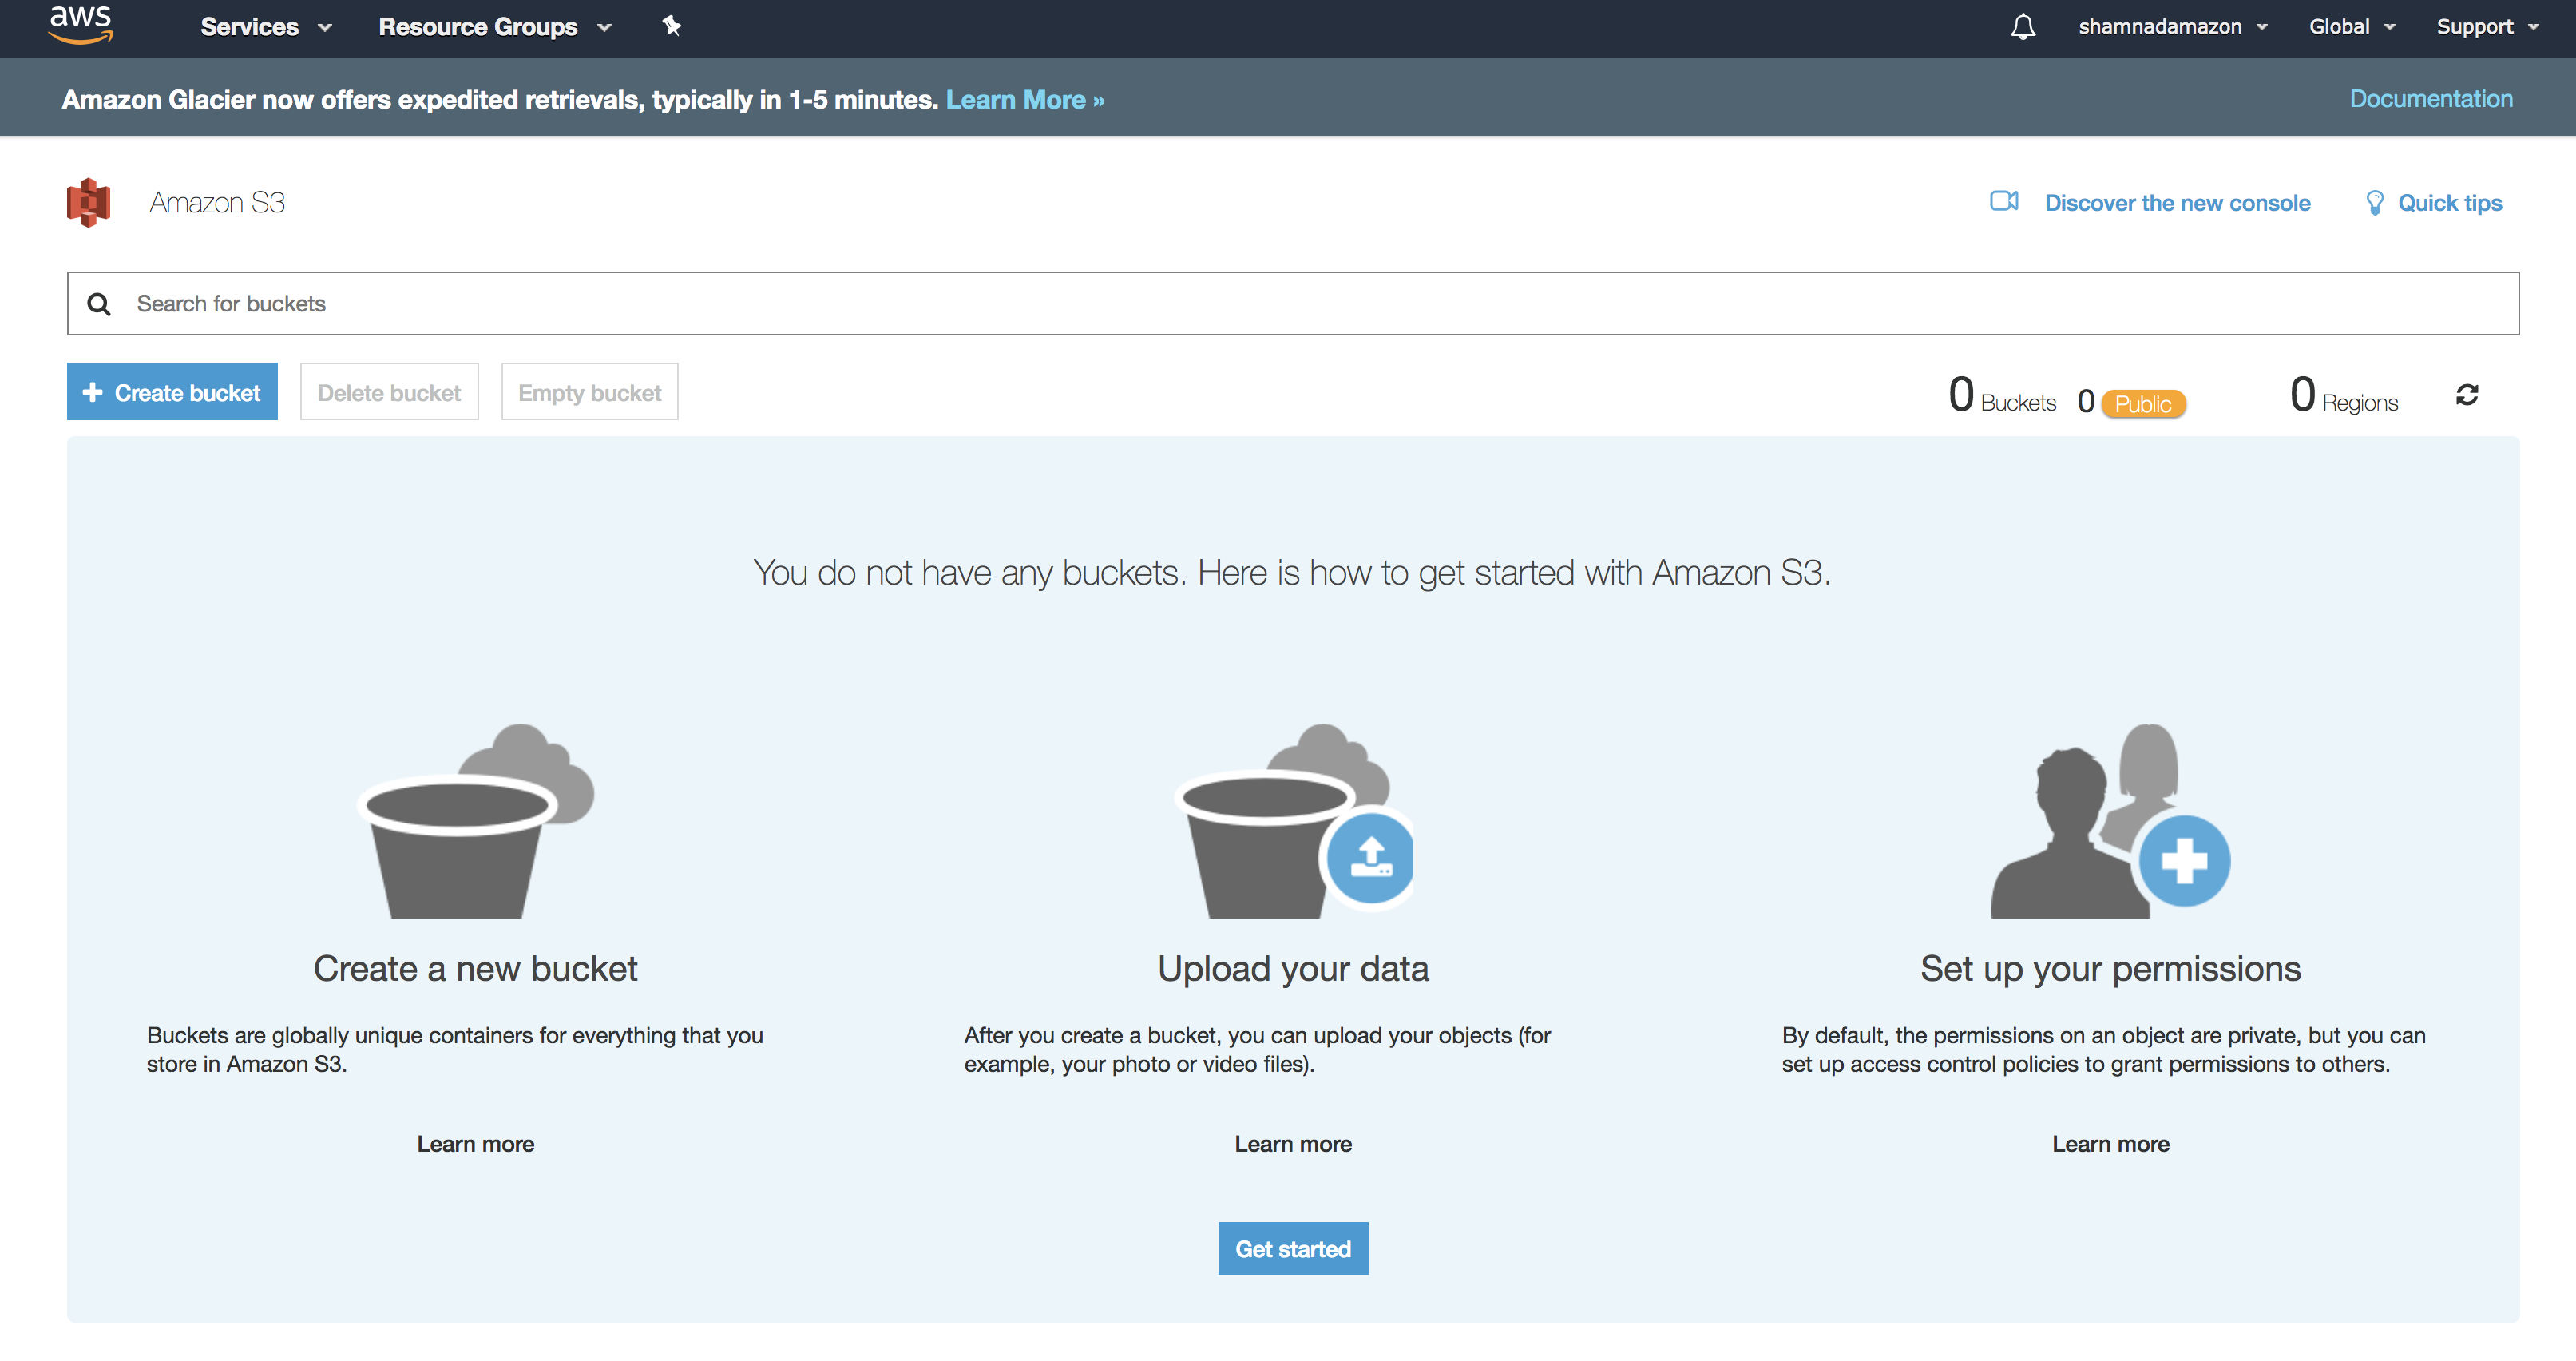
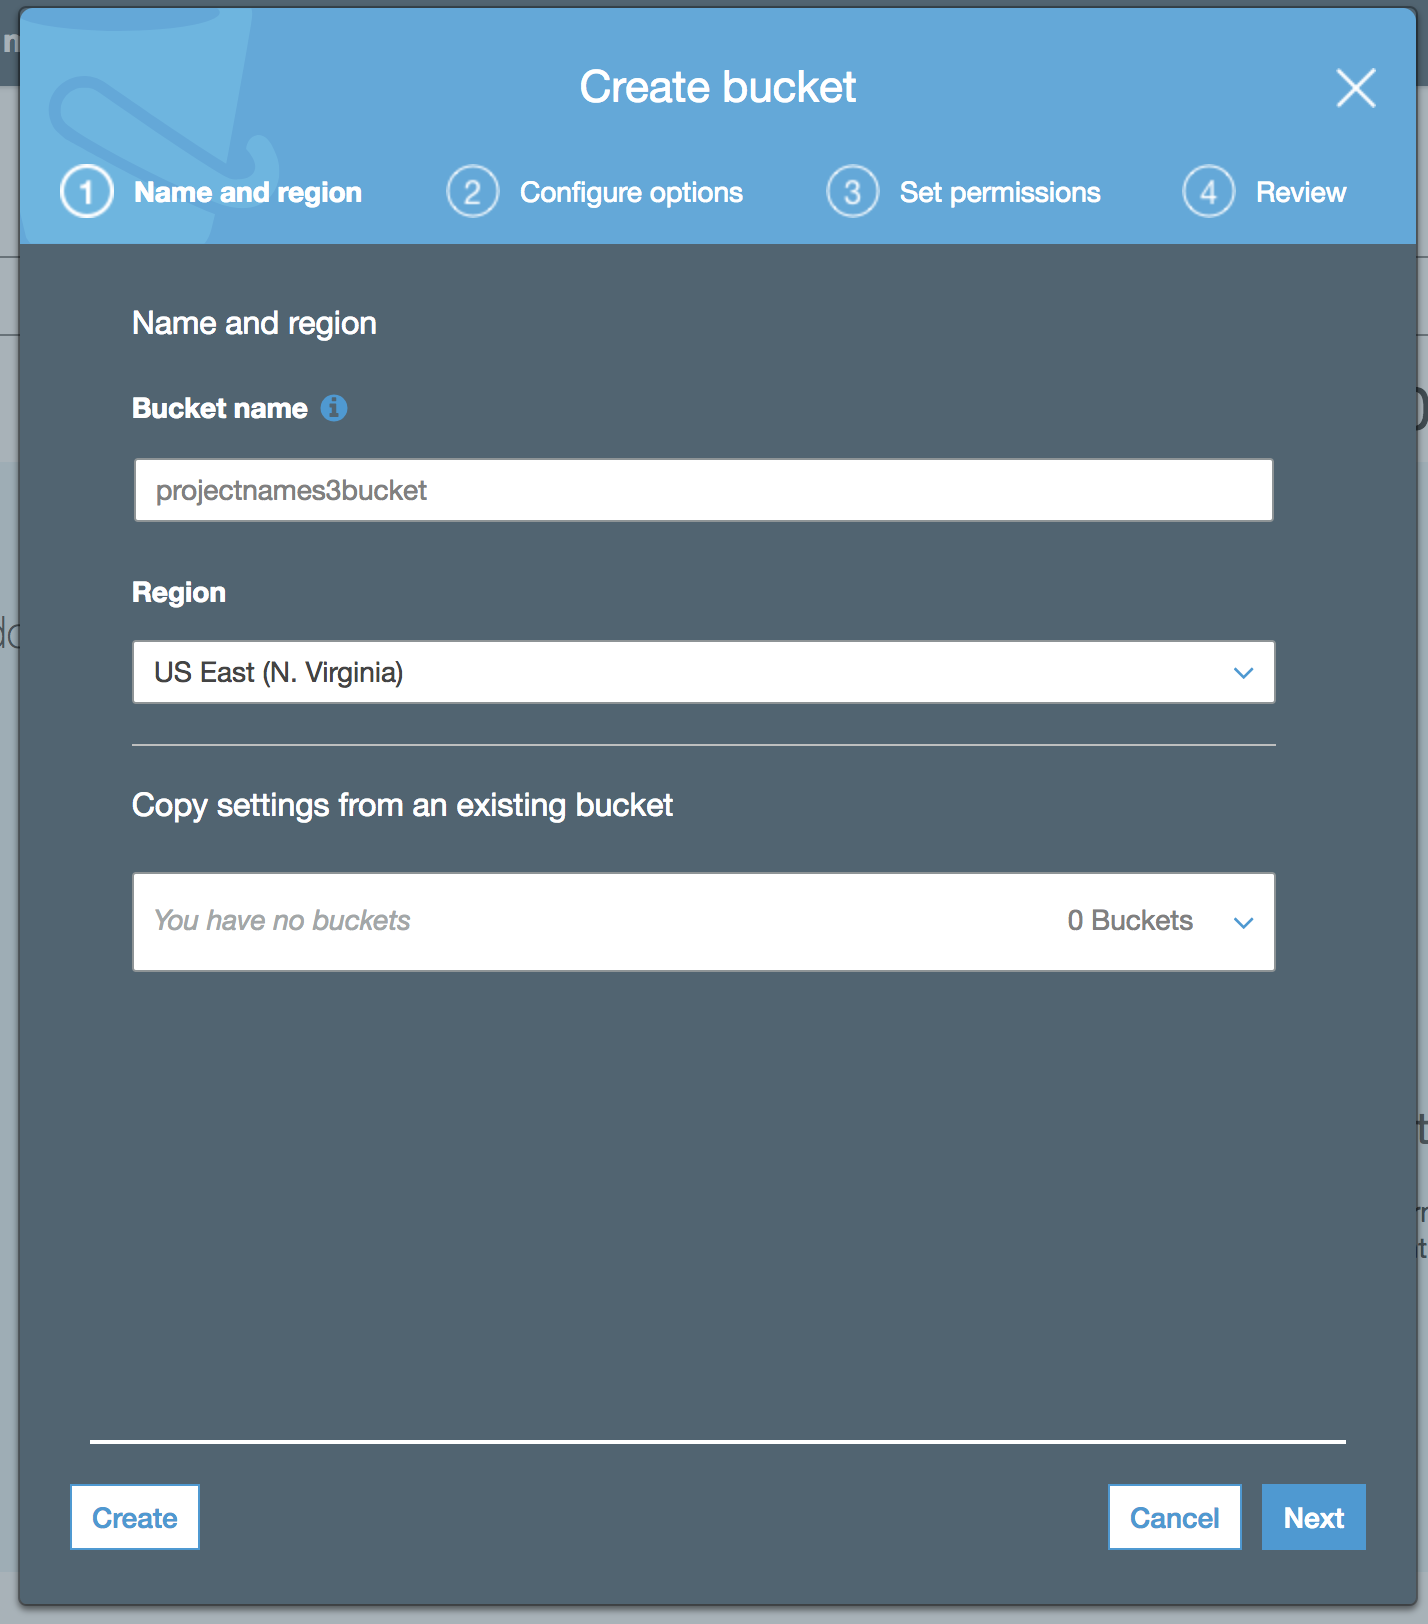
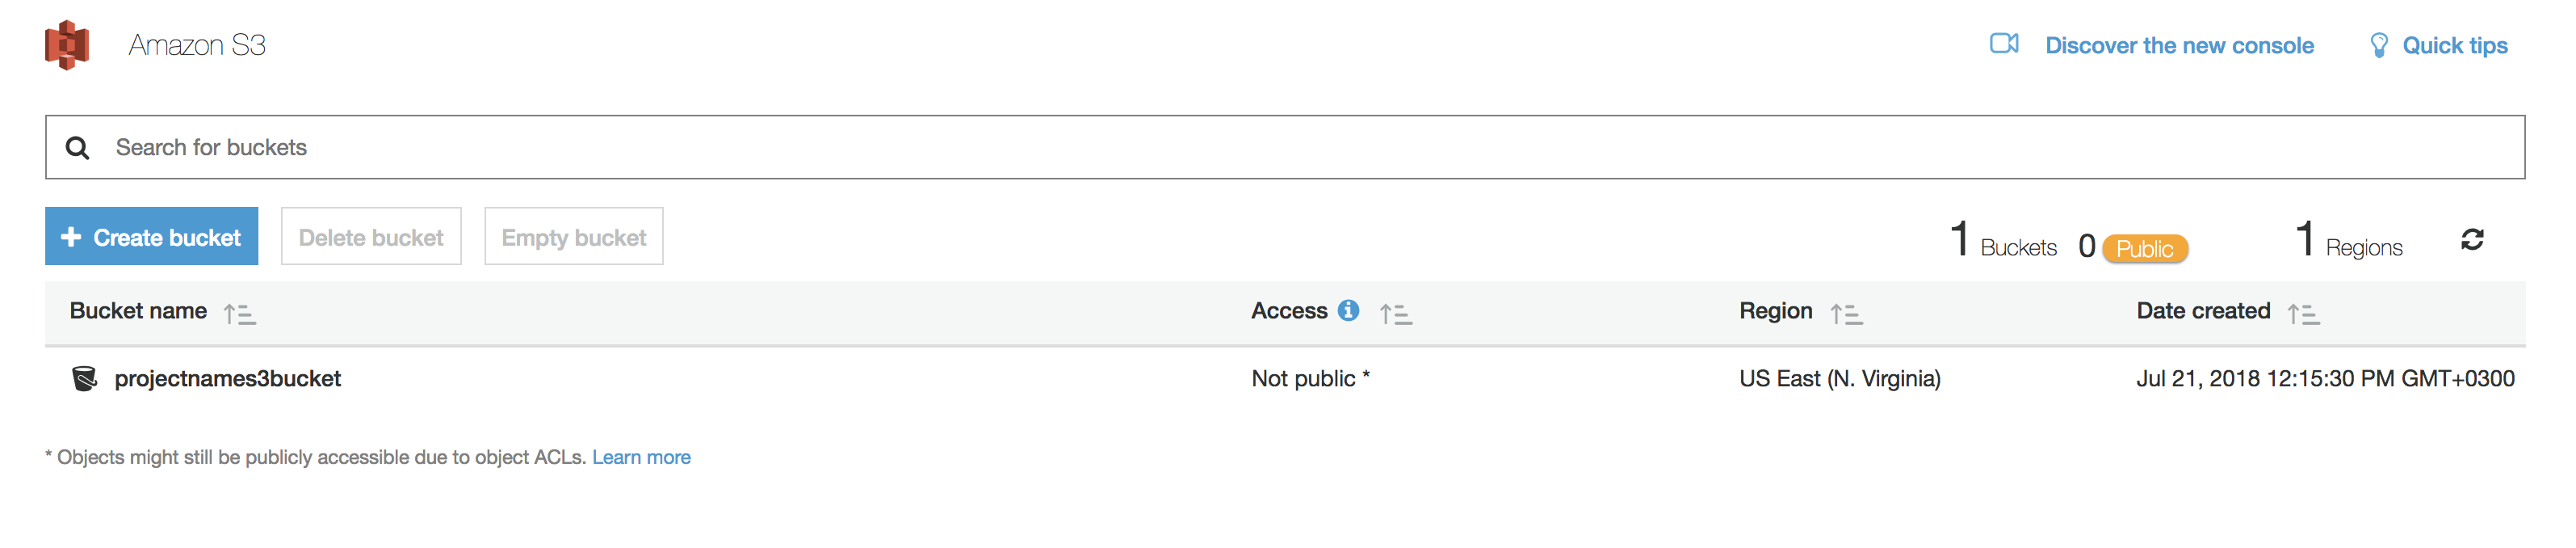
And then create a bucket in your S3. You can give any names thats available. S3 names are global and you cannot use a name which has been used by anyone else. You could for example create one with your project name similar to . projectnameS3bucket.
Select a region near to you and the click create.
You will have an S3 bucket created under your Amazon S3 section.
Generating AWS Access Key ID and Secret Access Key
Now you can easily access this account using your Access key and Secret Access key of your AWS account. If you dont have one already then go to your account and click on My Security Credentials
And then select Access keys (access key ID and secret access key) section.
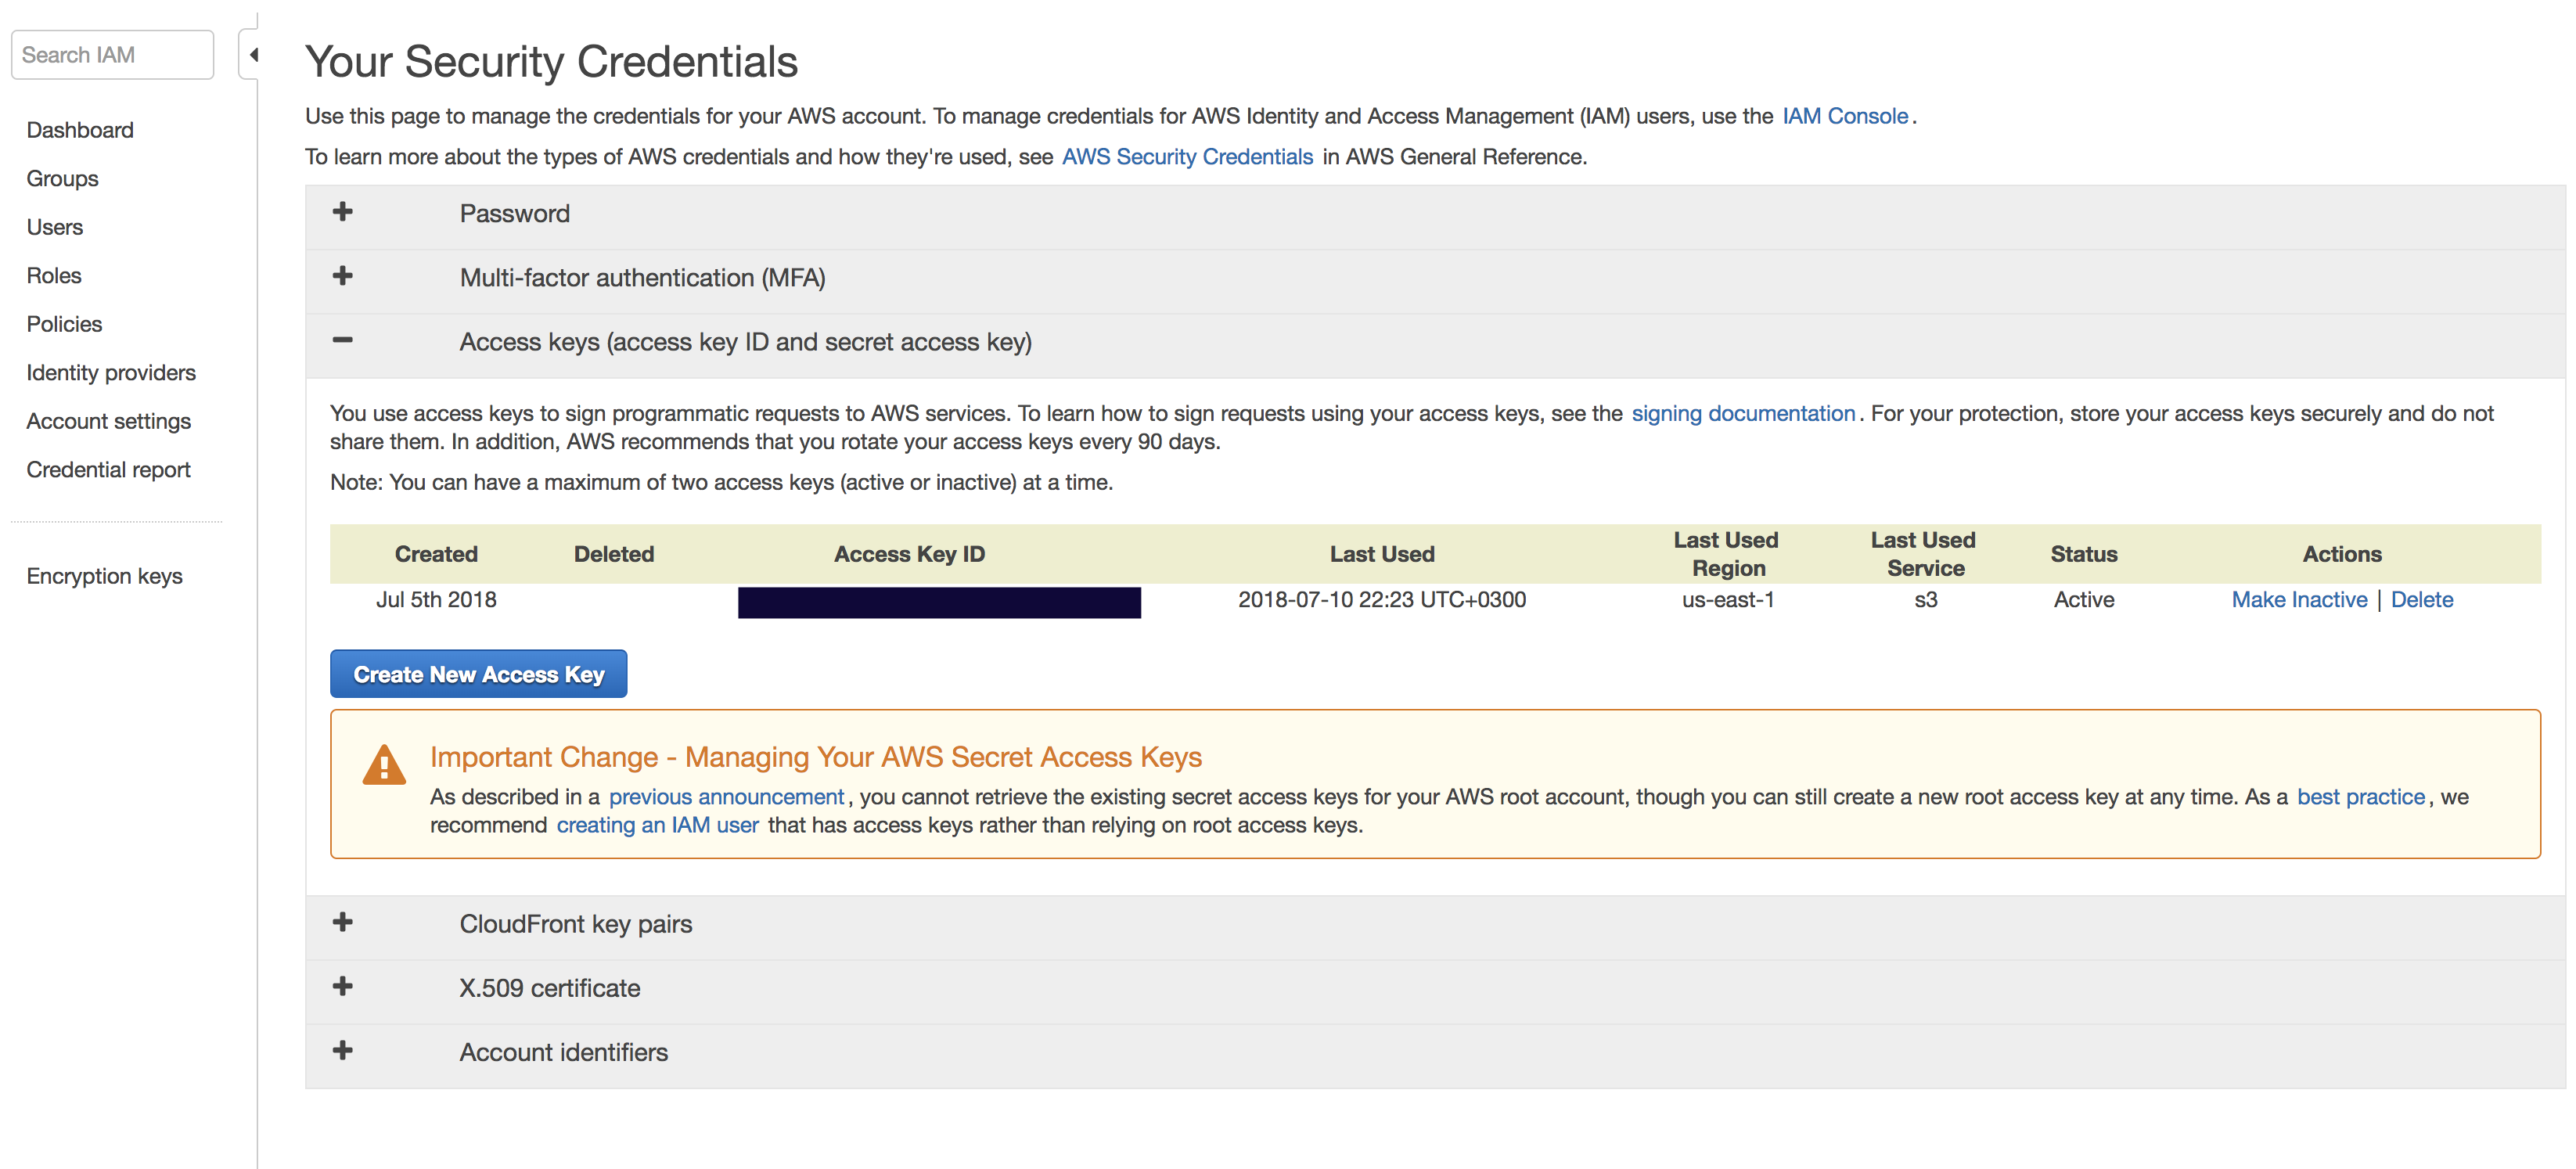
There is an important notification on the section, which recommends you to create an IAM Role instead of creating root access keys.
Click on Create New Access Key

Download the Key pairs to your system for future use.
Click on Show Access key and you will get your Access Key ID and Secret Access Key.
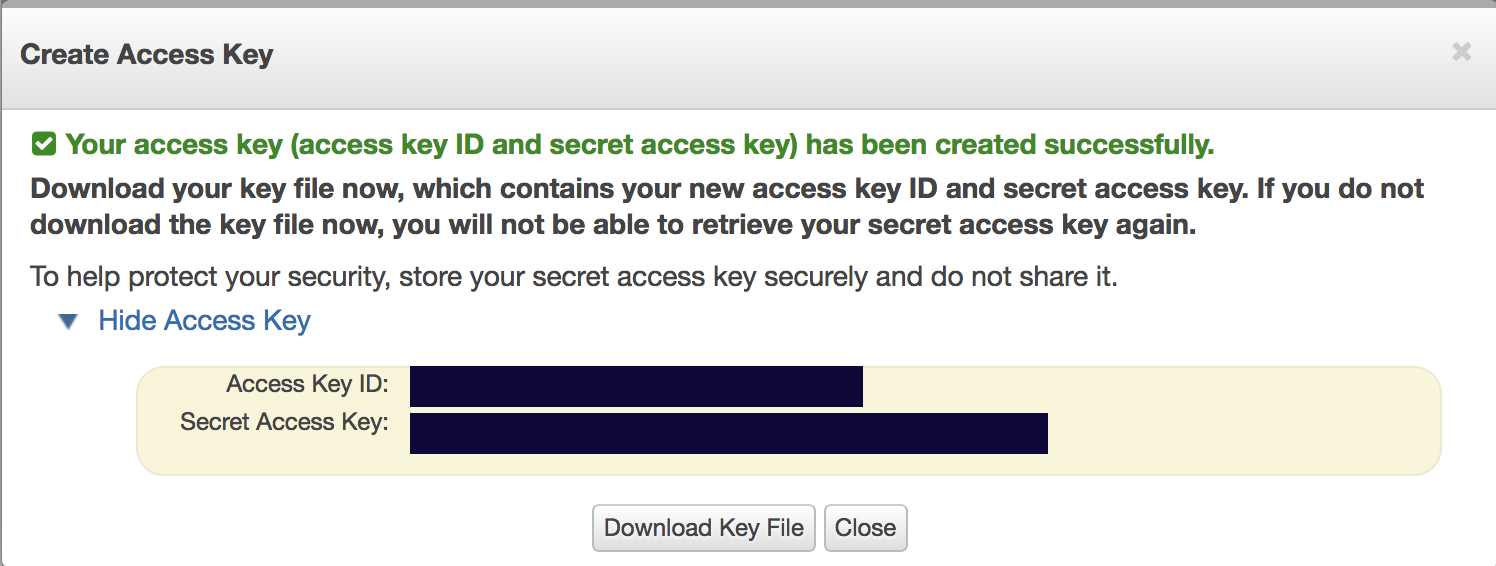
You need to use this Access Key ID and Secret Access Key to connect to your AWS connect and acesss the S3 bucket.
Installing AWS CLI
Now you need to install awscli to your account.
Using npm
npm install awscli
Using home-brew in MacOS
brew install awscli
Check the aws version is installed or not by the following command
aws –version
Now set your AWS account credentials using the below command and enter your Access key ID and Secret Access Key which you generated earlier. You can use default for region and output format
aws configureAWS Access Key ID [****************]:AWS Secret Access Key [****************]:Default region name [eu-west-1]:Default output format [None]:
Now you can access your S3 and see the bucket you created by running the below command.
aws s3 ls
All the buckets under your account will be listed here.
Hope this have helped someone!. Feel free to correct me or comment on anything that is incorrect or can be improved!.
Thank you for reading!.
