Subscribe to Skillthrive on Youtube
I just took some images for a blog post, but I forget to set my camera to shoot JPEG. Luckily, converting several RAW files to JPEG is simple with Photoshop.
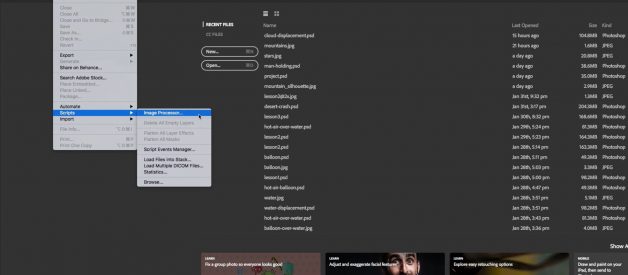
 Use Image Processor to batch export RAW files as JPEG
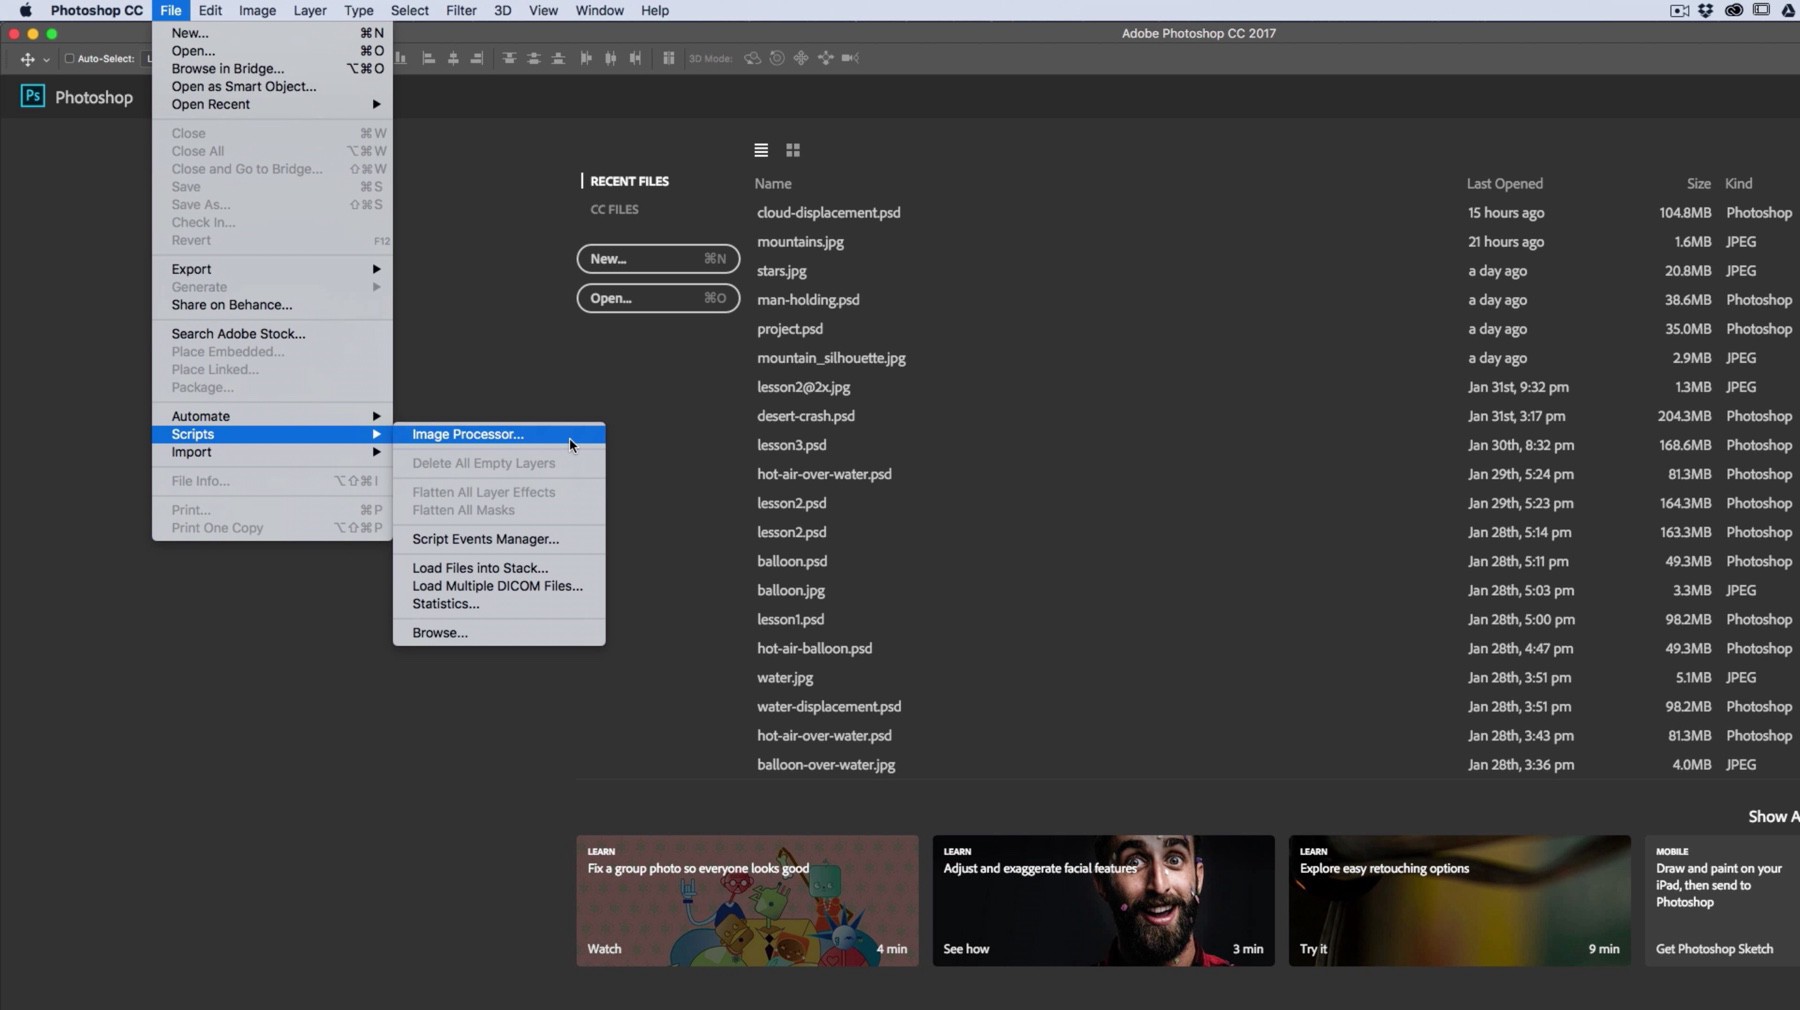
With Photoshop open, navigate to Edit ? Scripts ? Image Processor. In the first panel, click on ?Select Folder? to navigate to the folder that has the RAW images.
If you haven?t put the RAW images in their own folder, go ahead and do that here.
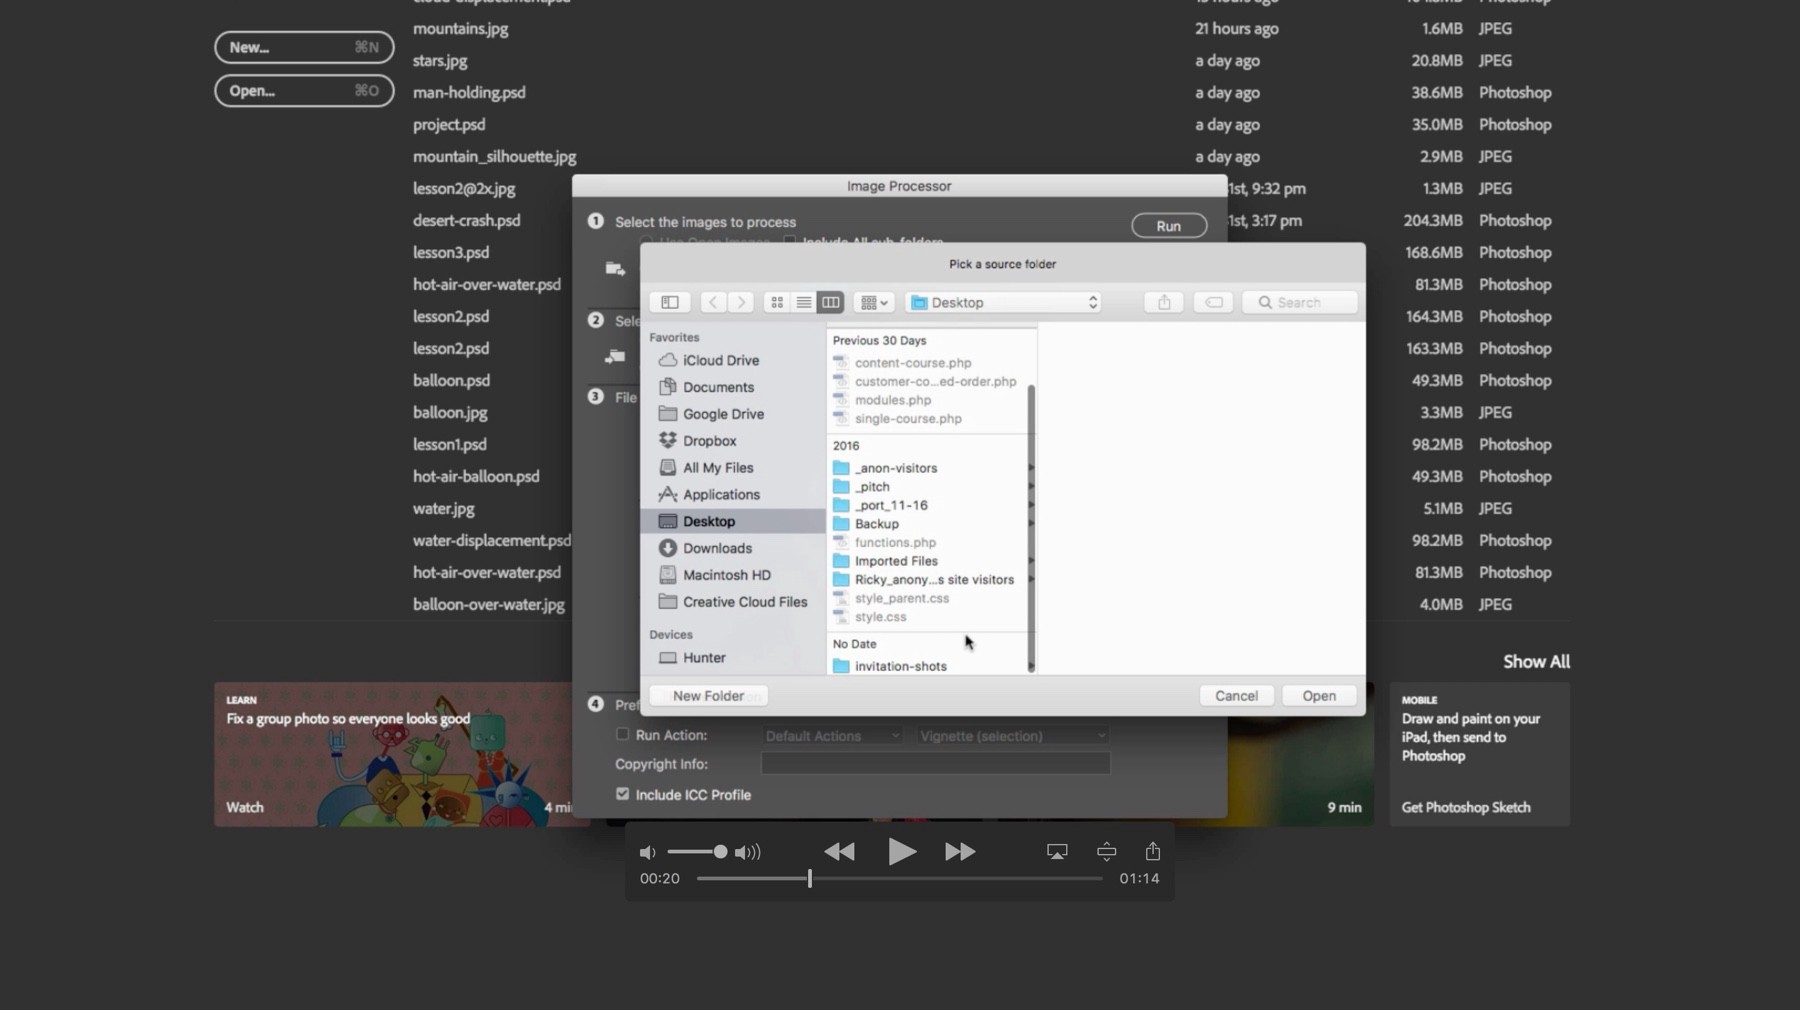 Locate the folder with the RAW files
Now, move to the second panel and click on ?Select Folder? and pick where you want to save the converted images. Keep in mind that Photoshop will automatically create a new folder for the JPEG images when I run the script, so I?m just going to select the same folder from panel 1.
Next, I?ll make sure that ?Save as JPEG? is selected in the third panel.
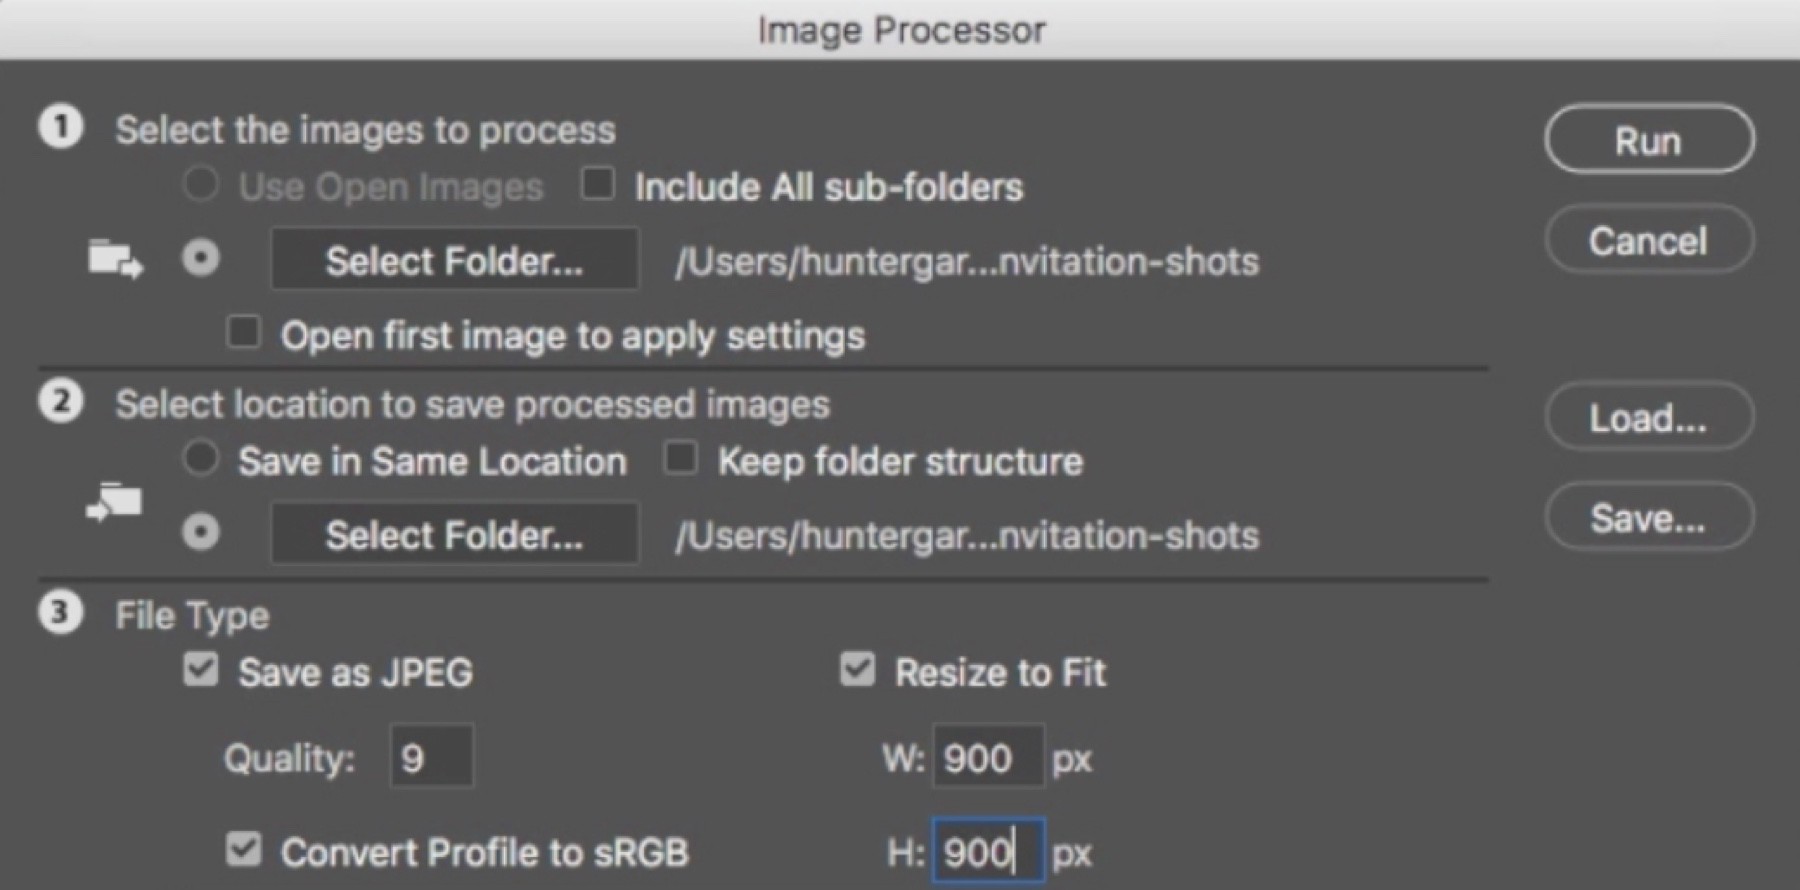 Set the quality and size of your images
Because this is for my blog, I?ll go ahead and drop the quality to 9 and click Resize to fit, setting both my width and height to 900px.
Be sure ?Convert Profile to sRGB? and ?Include ICC profile? are checked.
Now, just click ?Run? and Photoshop will do all the hard work for you!
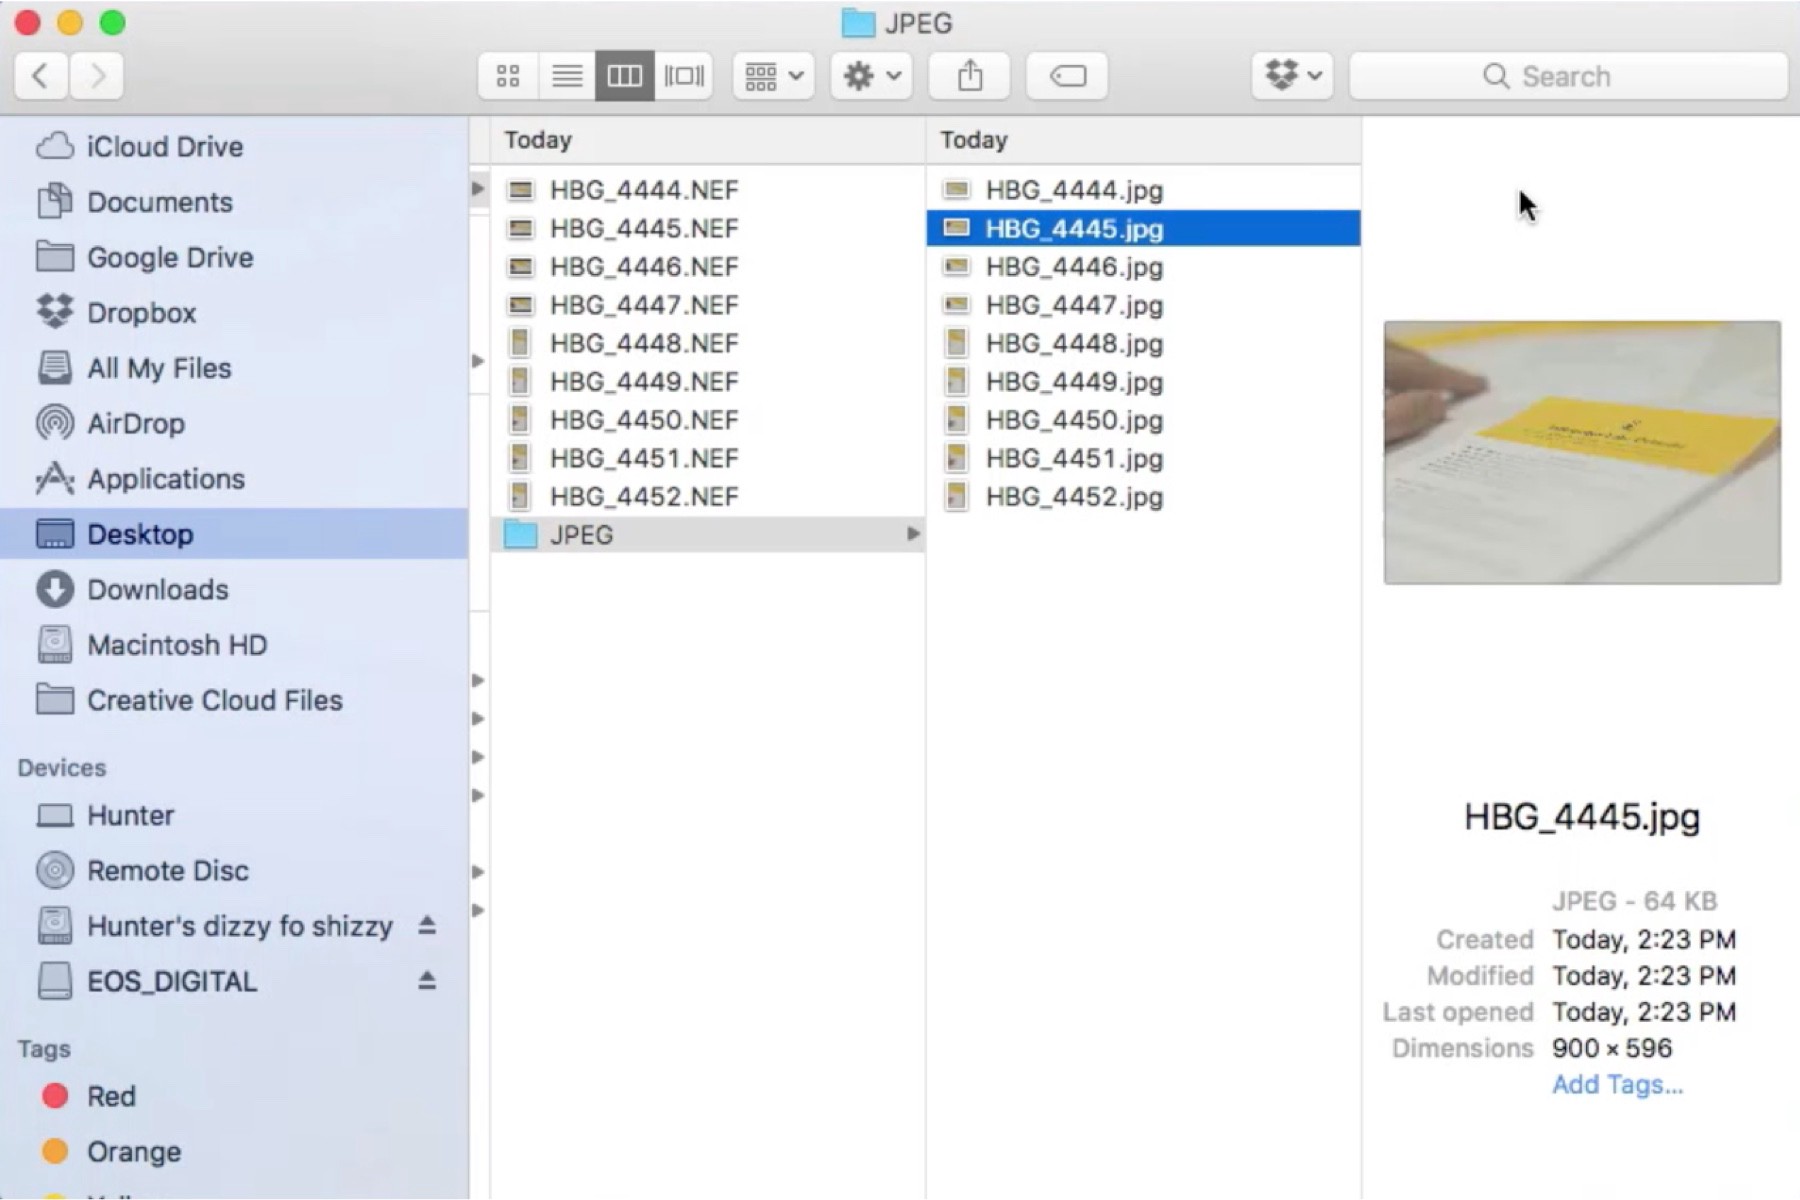 Photoshop automatically creates a new folder with the converted images
You can see here that Photoshop has created a new folder named ?JPEG? where I can find the converted images.
