Debugger
You might even have some fun while you?re at it
 Photos courtesy of the author
What you need to get started
UniFi devices work a little differently than traditional home networks. Each device in the network is a distinct piece that operates independently.
Here are the pieces you?ll need to get started:
Controller
This is the software that acts as the network?s centralized brain and allows you to control and set up multiple individual network devices from a single interface. In a UniFi network, the controller is responsible for the settings of each device, which aren?t able to do much independently.
UniFi gateway
This is the device your internet connection comes into ? likely from a router provided by your ISP. It provides firewall protection and insights into your network, like which websites are being used the most and the quality of the Wi-Fi signal for each computer on your network.
The benefits of a gateway can be hard to wrap your head around at first, but it?s an important piece of the setup that I recommend for getting the most out of UniFi. Generally speaking, you plug your ISP?s modem into one port on this device and your internal network on the other side, separating the two entirely.
Switches
You?ll plug hardwired devices into these ports to extend your network.
Access points
These hubs beam the actual wireless network to devices like your laptop or phone.
Recommendations
Controller + gateway: UniFi Dream Machine
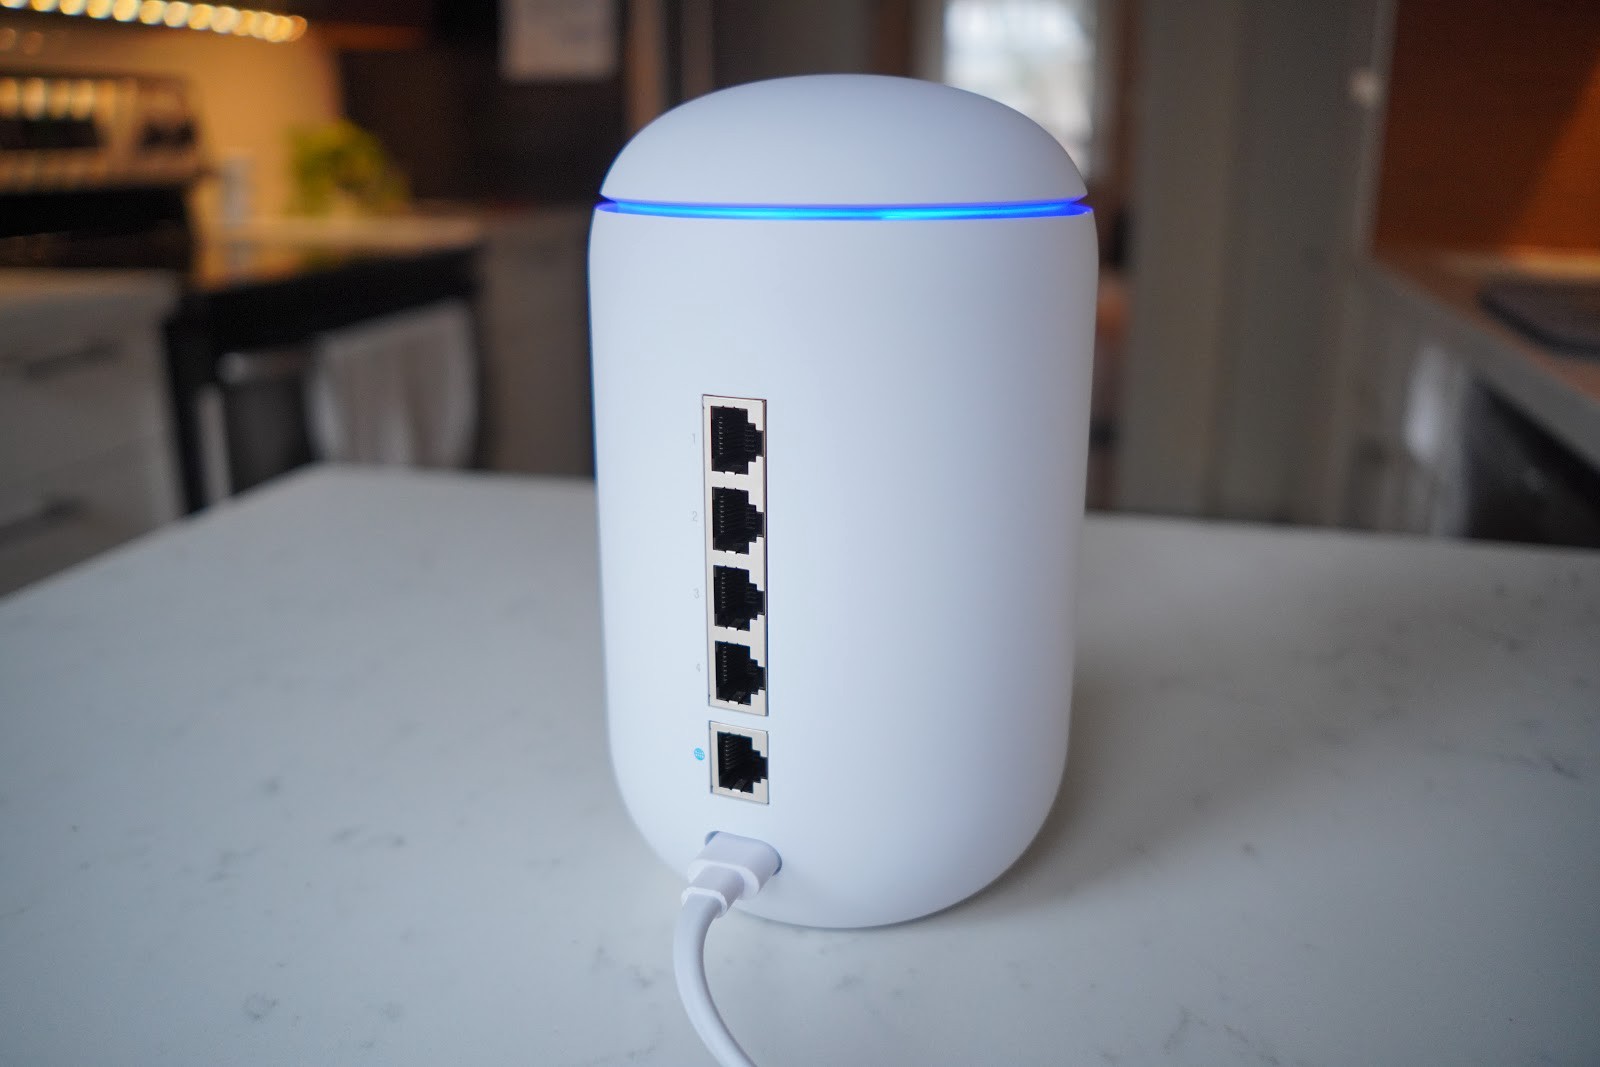
You have two options when it comes to choosing a controller for your custom Wi-Fi network. A standalone controller, called the Cloud Key ($179), hosts the UniFi software and controls your other devices. A newer option, introduced in 2019, is an all-in-one device called the Dream Machine ($299), which combines the controller, gateway, and access point.
If you?re new to building complex networks, I highly recommend the Dream Machine. It is much easier to set up and run.
If you have a UniFi Dream Machine, it already includes a gateway. If you?ve gone the traditional controller route, you must buy a gateway separately, adding to the total cost. You have a few options: the UniFi Security Gateway ($139), the UniFi Security Gateway Pro ($344), or the high-end all-in-one UniFi Dream Machine Pro ($379), a supercharged version of the Dream Machine focused on raw speed and doesn?t include an access point like the base model.
The easiest way to make this decision is to look at your internet speed. If it?s under 750Mbps, the UniFi Security Gateway won?t cap out your speeds with its limited processing power. If you?re on 1Gbps, the Security Gateway Pro is a better choice. Anything higher makes the Dream Machine Pro the only good option.
The backbone: PoE+ (Power over Ethernet switch)

To allow all of your devices to communicate with one another, you?ll need a piece of hardware with a bunch of ports, called a switch. Your Wi-Fi hubs, or access points, will plug into this device in order to connect to the network. Because the hubs include a technology called Power over Ethernet (PoE), which sends enough electricity over the network cable to power up the device on the other end, they don?t need to be plugged into a power socket.
UniFi network switches come with varying numbers of ports. For a small home network with only a few wired devices, the UniFi Switch PoE 8 ($199) is more than adequate. For larger networks or to future-proof your setup, there are 16-port ($299) and 24-port options ($399).
The access points

If you chose the Dream Machine controller route, you already have one access point, but the entire reason to invest in a system like this is to cover your home with Wi-Fi, and you?ll need two or more access points to get the most out of UniFi. You can connect these either via an Ethernet cable or wirelessly (called Wireless Uplink in UniFi?s software), but at the cost of some speed and reliability.
Here are some popular options:
If you?d like to mount on a wall or roof: UniFi nanoHD ($179). The nanoHD is a tiny round access point that includes a kit for mounting it directly on a roof or wall.
If you have in-wall Ethernet already available: UniFi In-Wall HD ($179). For homes that already have ethernet ports in the walls, the UniFi In-Wall options are fantastic, as they can be installed right on top of the existing Ethernet faceplate. If you have ports available, this is the best choice.
For everything else: UniFi FlexHD ($179). For renters like me or for those who don?t want to mount their devices, the FlexHD is a cute access point that?s about the size of a Coke can. It can stand up on its own and be tucked away out of sight or mounted on all sorts of things, including poles. It?s even waterproofed for outdoor use.
Other options: If you head to the Ubiquiti store, you?ll notice there are a ton of options available. That?s because UniFi works for everything from elaborate home Wi-Fi to stadium-sized venues, and the company provides different products for each use case. The UniFi HD ($349), for example, supports a theoretical 1,000 users connected at once.
My Home Network

Here is what my own home network looks like:

The UniFi Dream Machine simplified getting started. Once I plugged it in and typed in a URL, I found myself on an easy-to-use setup wizard. From there, I added the other hardware, piece by piece. I put a UniFi Switch 24 PoE hidden in the basement to act as the core of the network. I chose UniFi FlexHD and nanoHD access points?one for the first floor and one for the basement.
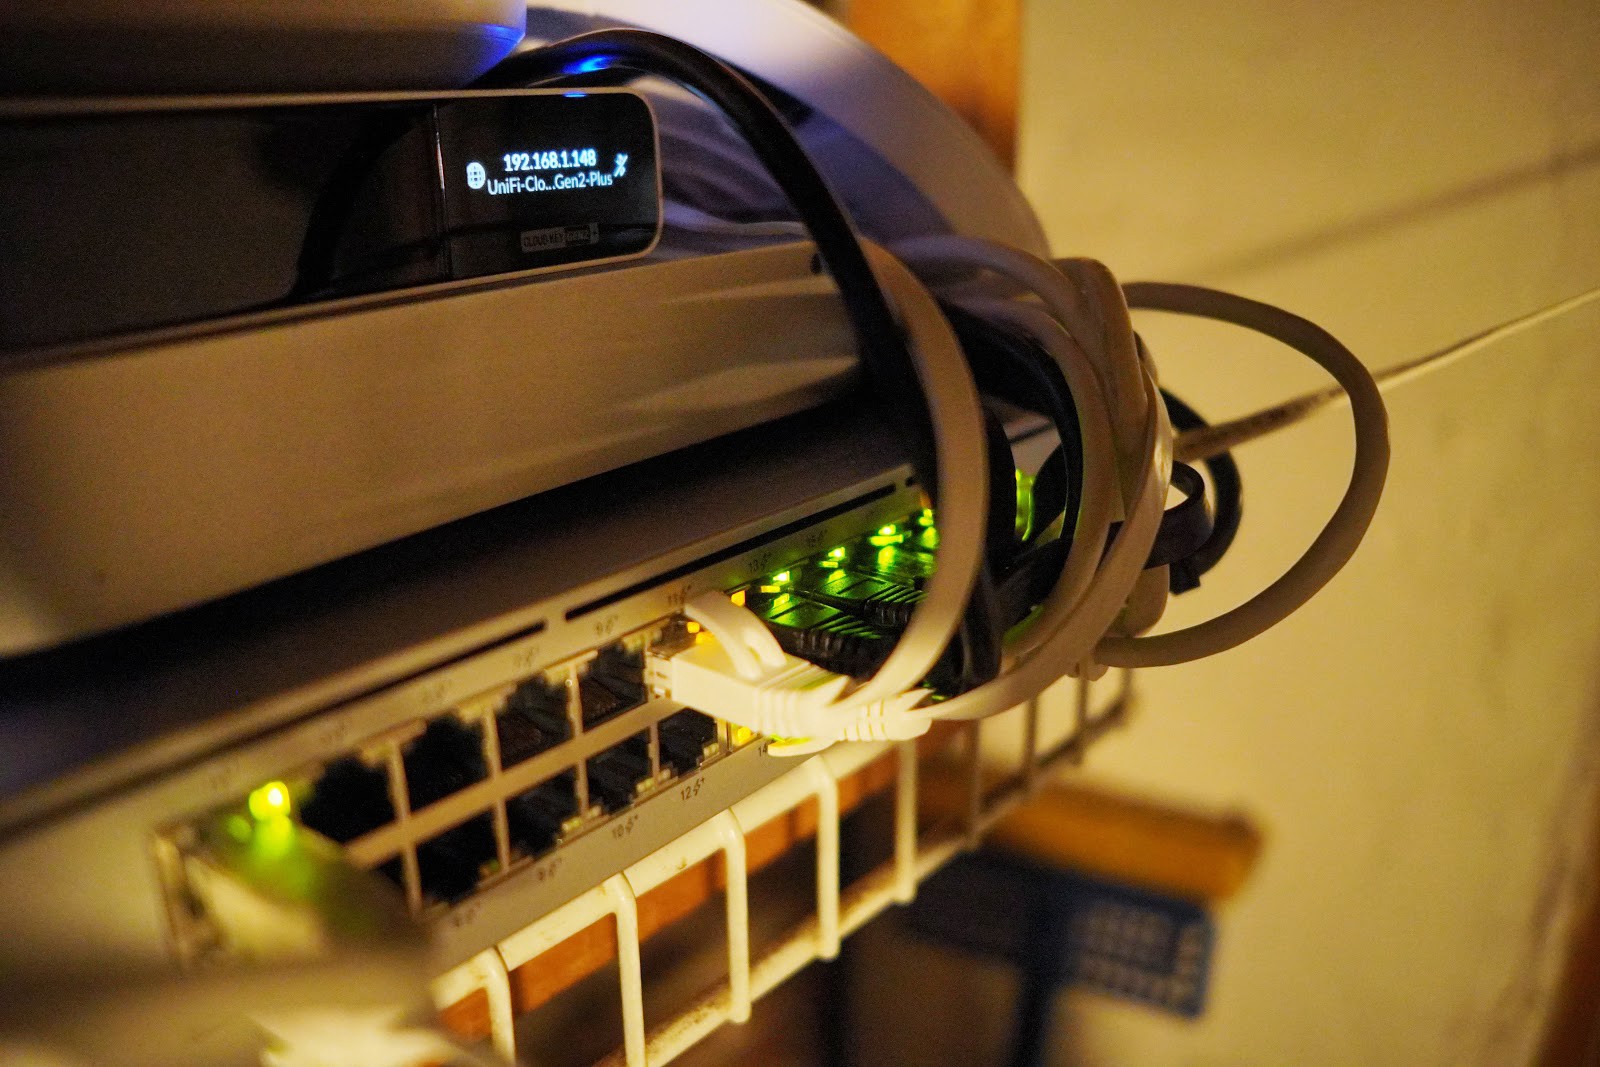
Because our home is rented and isn?t wired for network cables, it was a little challenging to get physical wires to the places I needed.
My solution, likely to the dismay of any advanced readers, was rather crude: massive, cheap rolls of flat Ethernet cables that I jammed in windows and ran on the outside of the house, which works well enough but isn?t something I?d recommend if you can avoid it.
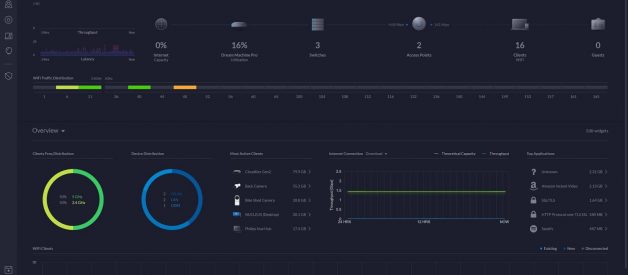
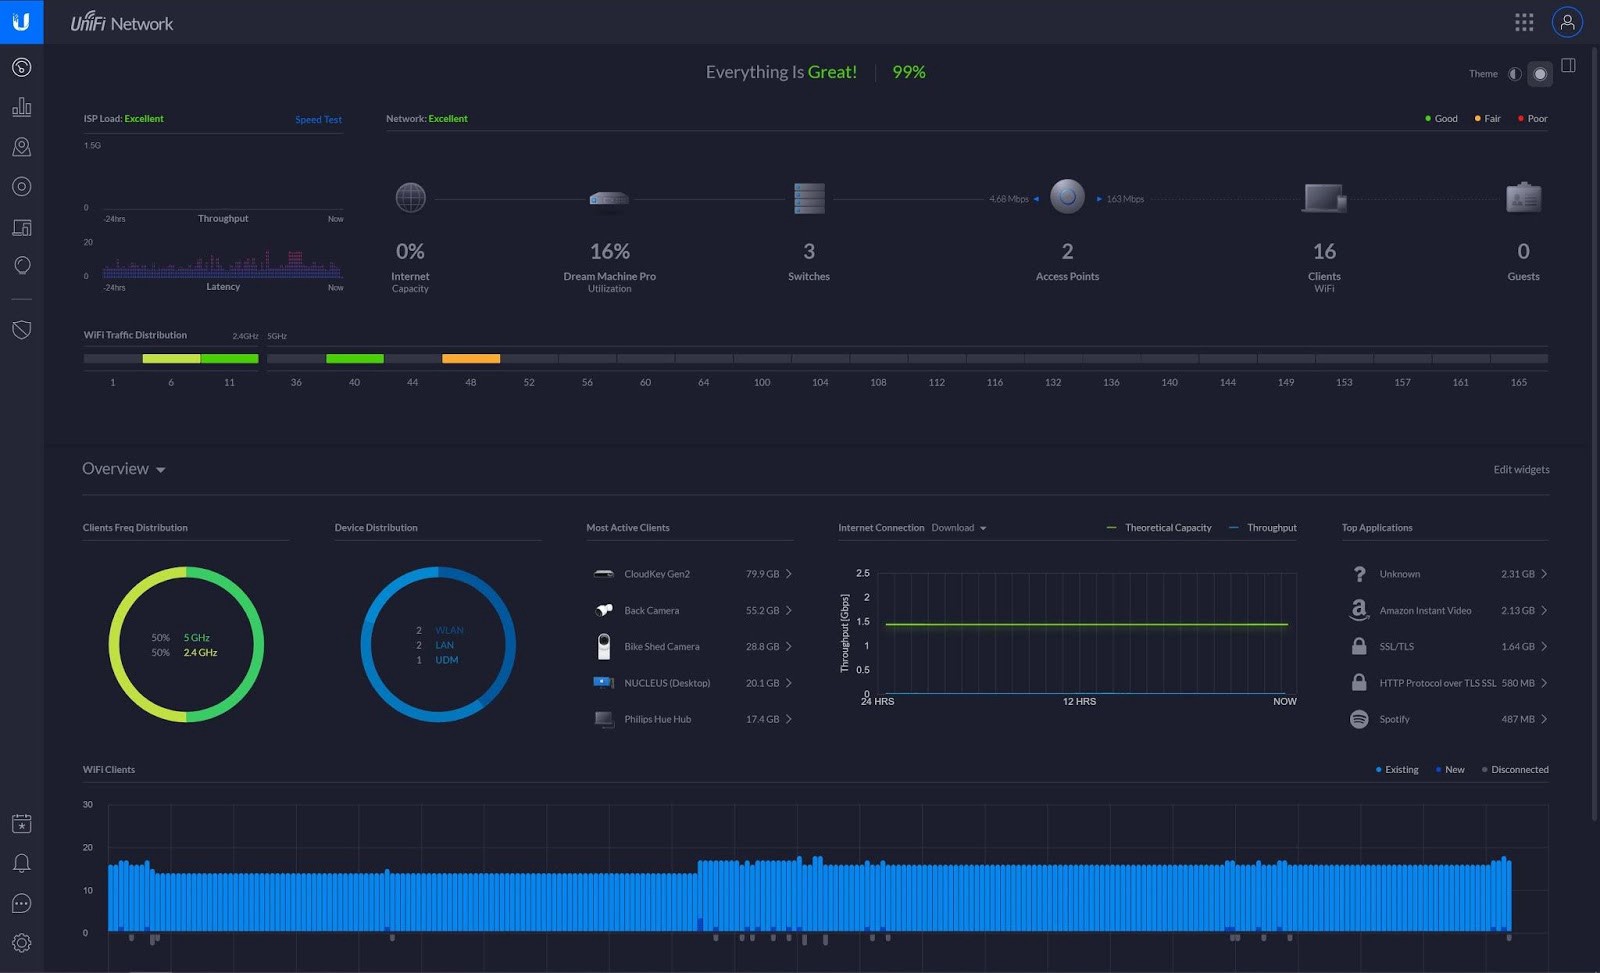
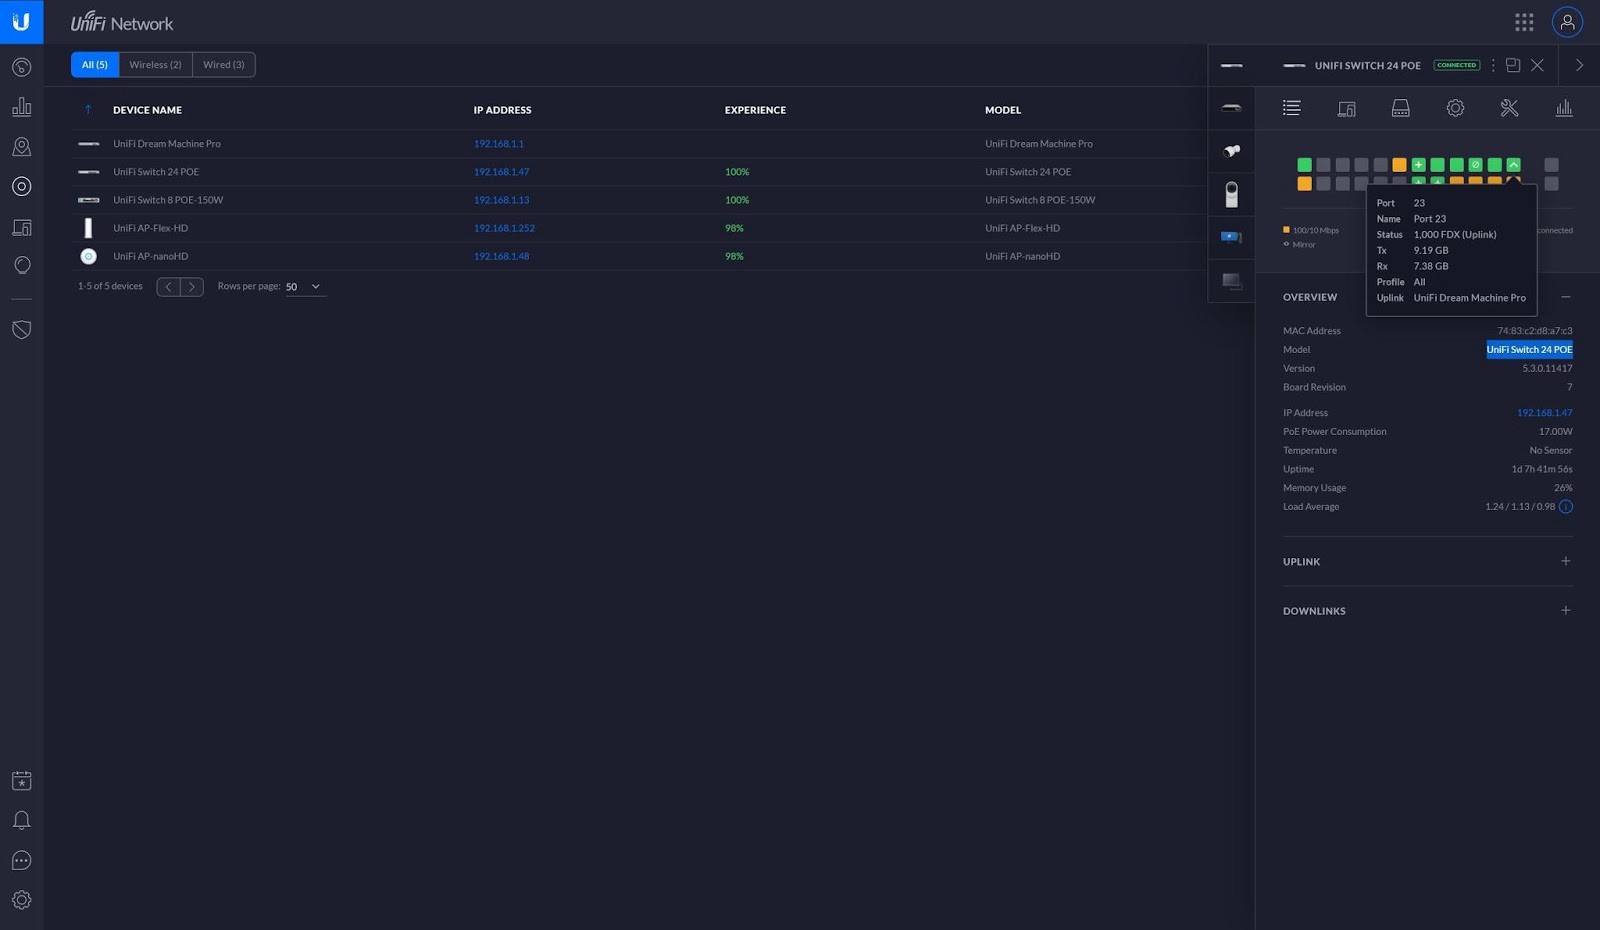 UniFi allows total control over every detail, down to the settings for each port.
Now I have control over every minute detail of my home network. A ?Wi-Fi experience? score, for example, shows how a device is experiencing connectivity, with lower scores indicating a dead patch or difficulty connecting. I can create infinite separate Wi-Fi networks, which I?ve done to create a guest network and to separate internet of things devices from those on my main network to ensure smart appliances aren?t able to snoop into my other devices without my knowledge.

The best feature by far is the ability to control multiple UniFi networks remotely. This is useful for quickly fixing something at home while I?m traveling, for example.
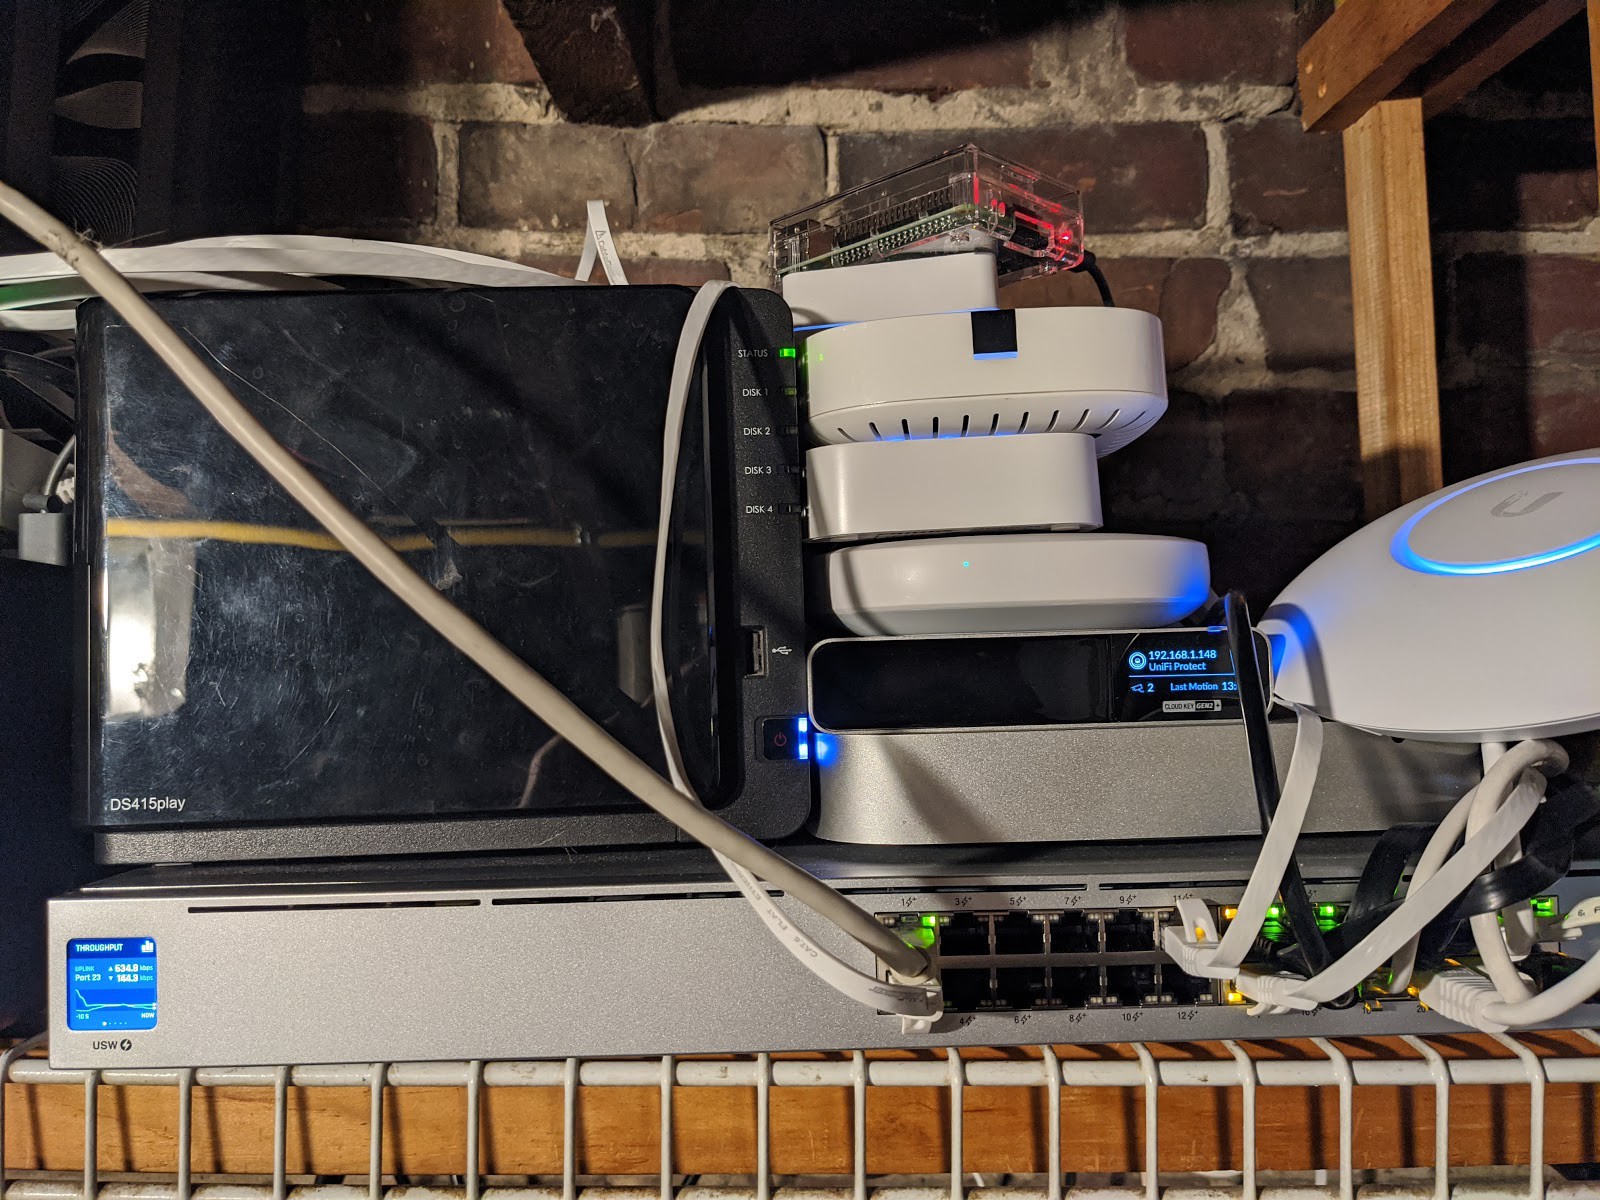 My setup is cobbled together. Don?t judge me.
By the standards of the UniFi geeks on Reddit, my system is not very complex, but it?s simple to grow if I move into a larger home in the future, and it allows total control. Unlike a modern consumer-focused meshing product like Google?s Nest Wifi, which requires logging in with a Google account to use it, I?m in control of my data and responsible for it.
And if nothing else, learning about networking and building out a future-proof setup is a fun hobby.