Out of the box Django comes with sqlite database embedded within the project. Minimum amount of configurations and the ease of data storage and retrieval from sqlite is suitable for web apps on small scale, however for large scale web apps sqlite is going to cause performance issues. In order to avoid performance issues the first step is to select a suitable database able to cater hundreds or even thousands of simultaneous hits. MySQL database can be used for this purpose.
In this article i?ll follow you though all the necessary configurations required to connect Django with MySQL database.
Setting up MySQL Database
Step 1: Create new schema
Open the MySQL Workbench and create a new schema by clicking the create new schema in the connected server option.
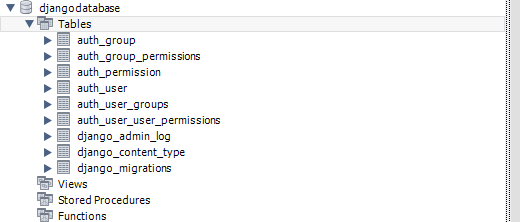
Select a suitable schema/database name and press apply. This will create the schema and it will appear in the SCHEMAS section of the MySQL workbench.
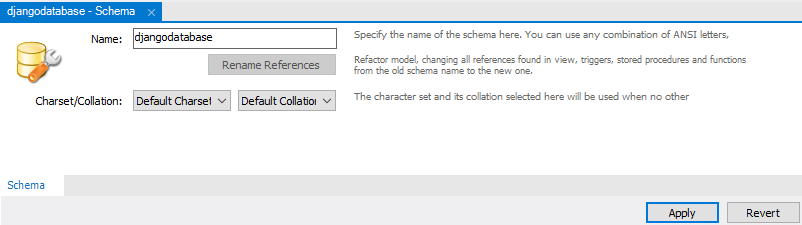
In our case the schema name is djangodatabase.
Step 2: Create authentication user for the schema
Once the schema is ready create an authentication user and grant privileges to this user.
Create the user by running the following query
create user dbadmin identified by ?12345?;
Here dbadmin is the username and 12345 is the password.
Grant the privileges by running the following query
grant all on djangodatabase.* to ?dbadmin?@?%?;
Here djangodatabase is the schema/database name. ?.*? represents that all privileges are being granted and dbadmin is the user to whom the privileges are being granted.
In order to load the newly granted privileges to the user run the following query
flush privileges;
This is all for the MySQL configuration part. Now lets move towards the Django project.
Setting up Django Project
Step 1: Installing MySQL Client
You can install MySQL client directly through pip using the command
pip install mysqlclient
If MySQL client gets installed that?s great, however this command gives an error on most systems. I?m going to show you an alternative method of installing MySQL client.
Depending on the python version download the suitable mysqlclient wheel file from the following website.
Python Extension Packages for Windows – Christoph Gohlke
The binaries are compatible with the most recent official CPython distributions on Windows >=6.0. Chances are they do?
www.lfd.uci.edu
Place the file in the root directory of the project.
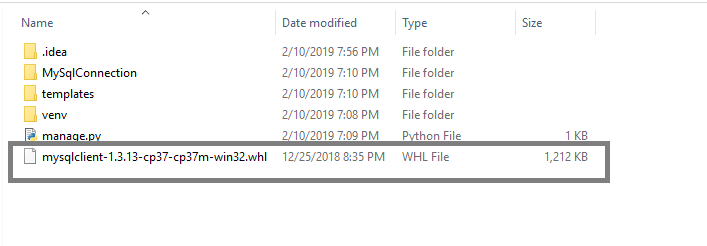
In the same directory open the command prompt and run the following command.
pip install mysqlclient-1.3.13-cp37-cp37m-win32.whl
Here the name of the wheel file will change depending on your version of Python. After the command executes MySQL client will be installed on your system.
Step 2: Updating the Connect String
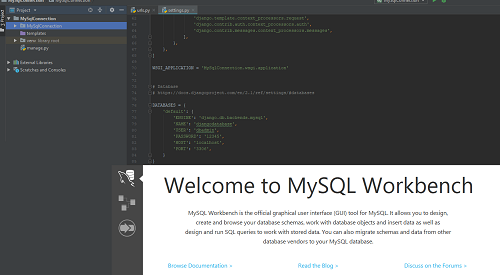
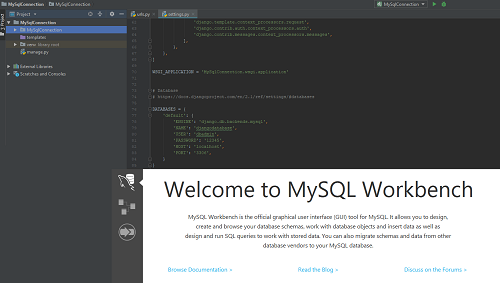
Open the settings.py file of the Django project. There will be database connection string in the file which will look something like
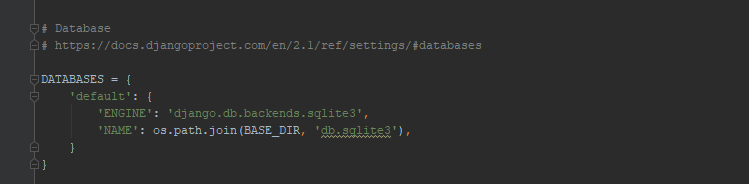
Update the connection string.
DATABASES = { ‘default’: { ‘ENGINE’: ‘django.db.backends.mysql’, ‘NAME’: ‘djangodatabase’, ‘USER’: ‘dbadmin’, ‘PASSWORD’: ‘12345’, ‘HOST’: ‘localhost’, ‘PORT’: ‘3306’, }}
Here the name is the scheme/database name, USER is the auth user and PASSWORD is the password for the auth user. ENGINE, HOST and PORT can be left at default settings.
Step 3: Make Migrations
Now run the command
python manage.py migrate
This will migrate all the default Django tables to your MySQL schema.
Now any changes made to the model files will be reflected in the MySQL schema upon migration.
This is how you can connect Django web app with MySQL database is just a few simple steps.
If the article was helpful leave a like. Stay tuned for more articles on Django.

