My articles are for beginners who don?t know much about programming, I?m trying to explain things as simple as I can without using a lot of technical words.
Putting your project on Github will save you a lot of time/trouble by storing your source code online. Not only you can share and collaborate with a team of people, but you can also go back in time and see the code as it was at any given moment.
In this article, I will show you how to add a local repository to Github.
These steps work for macOS, Windows and Linux.

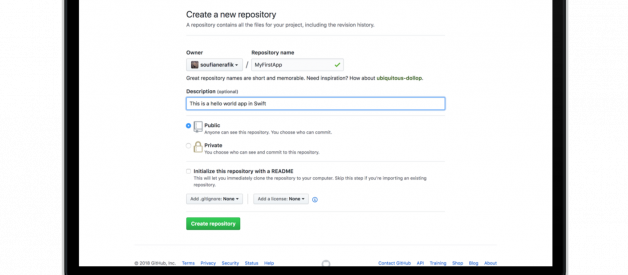
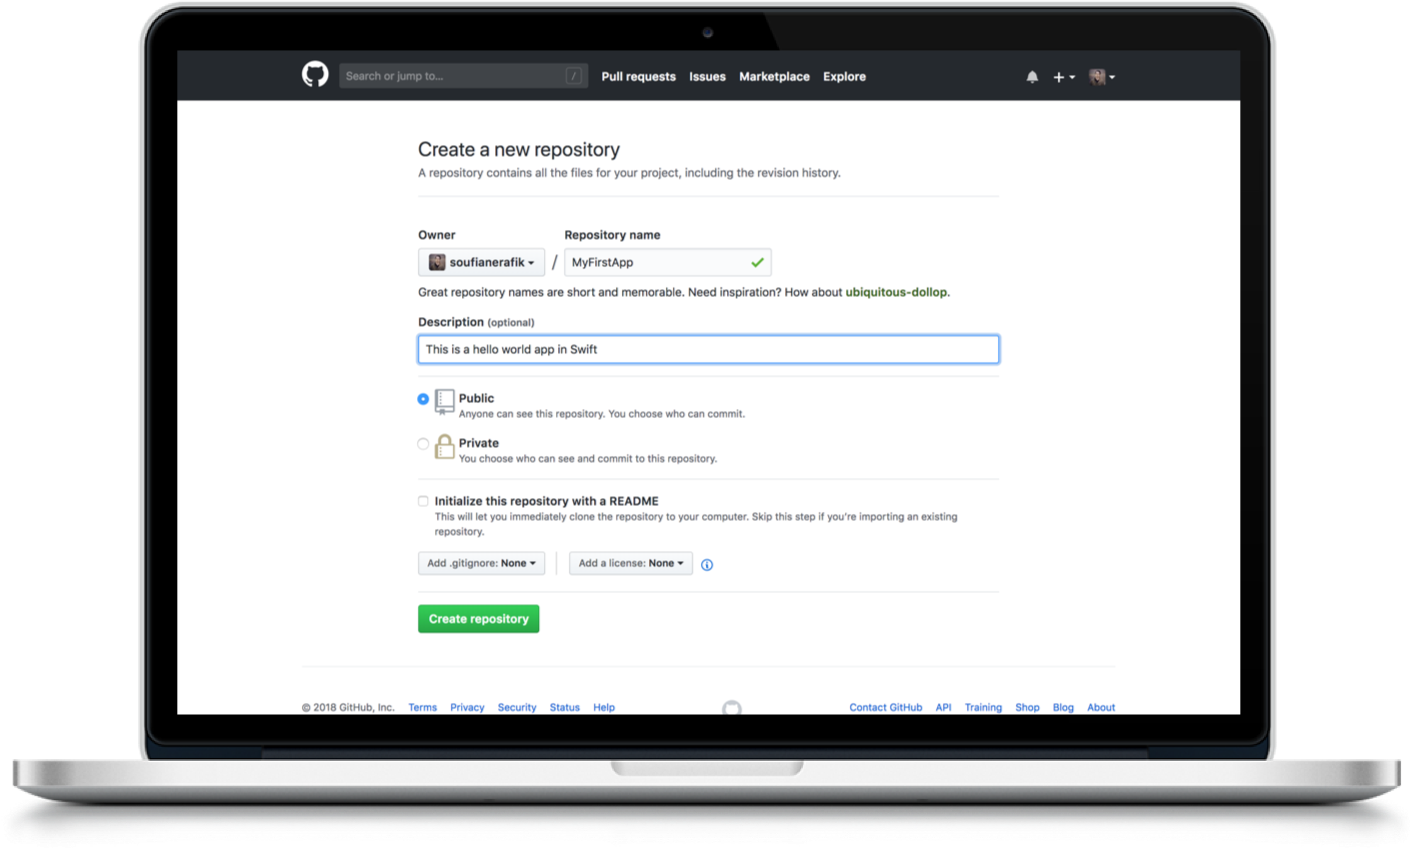
1. Log in to your Github account and create a new repository
Do not initialize your new repository with README or other files. You can add those files later.
2. Go to Terminal and switch to your local project that you want to push by typing the following command:
cd PATH_TO_YOUR_PROJECT_FOLDER
3. Once you are inside the folder, type the command below to initialize your folder as a git repository
git init
4. Then add all the files to the staging area as known as index, to prepare them for the next git commit.
git add .
5. Now, you need to commit the files that you previously staged by running:
git commit -m “Initial commit”
(This will only commit to your local branch)
6. Go to the GitHub repository that you?ve just created and copy the remote repository URL.
Example: https://github.com/soufianerafik/MyFirstApp.git
 Remote Repository URL
7. In Terminal, type the command below followed by your remote repository?s URL where your local repository will be pushed.
git remote add origin YOUR_REMOTE_REPOSITORY_URL
8. Verify the new Remote URL
git remote -v
9. Finally, Push your local project up to the remote repository you specified in the step 7
git push -u origin master
At some point, It is highly recommended that you branch your project into two branches ?master? and ?development?. The ?development? branch is where everything goes until you test and feel ready to release that code.
Thank you for reading my tutorial! Comment down below if you have any questions.

