So there I was, it was an extremely crucial moment. I was standing right next to the system but couldn?t do anything because there were other people in the room. Gaining access to this machine could change literally everything for me, wish I could just plug in a usb device or something that could do the work in like 10 seconds and then I can remove it without leaving a trace.
Ever had a feeling like the one I just described above, when you had access to a system for a short amount of time and want to carry out a certain set of commands but don?t just can?t do it under the circumstances. Well then this article is a must read for you.
What is a BadUSB?
BadUSB is nothing more than a chipset that is configured to act as a keyboard with a set of pre-programmed key strokes that activates as soon as they are plugged into a system. This is one of the easiest definitions can be given regarding the BadUSB. The reality can be a bit more complicated than that.
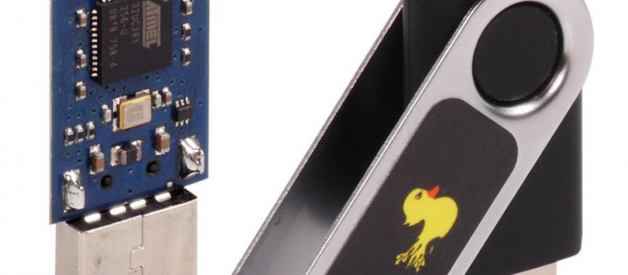
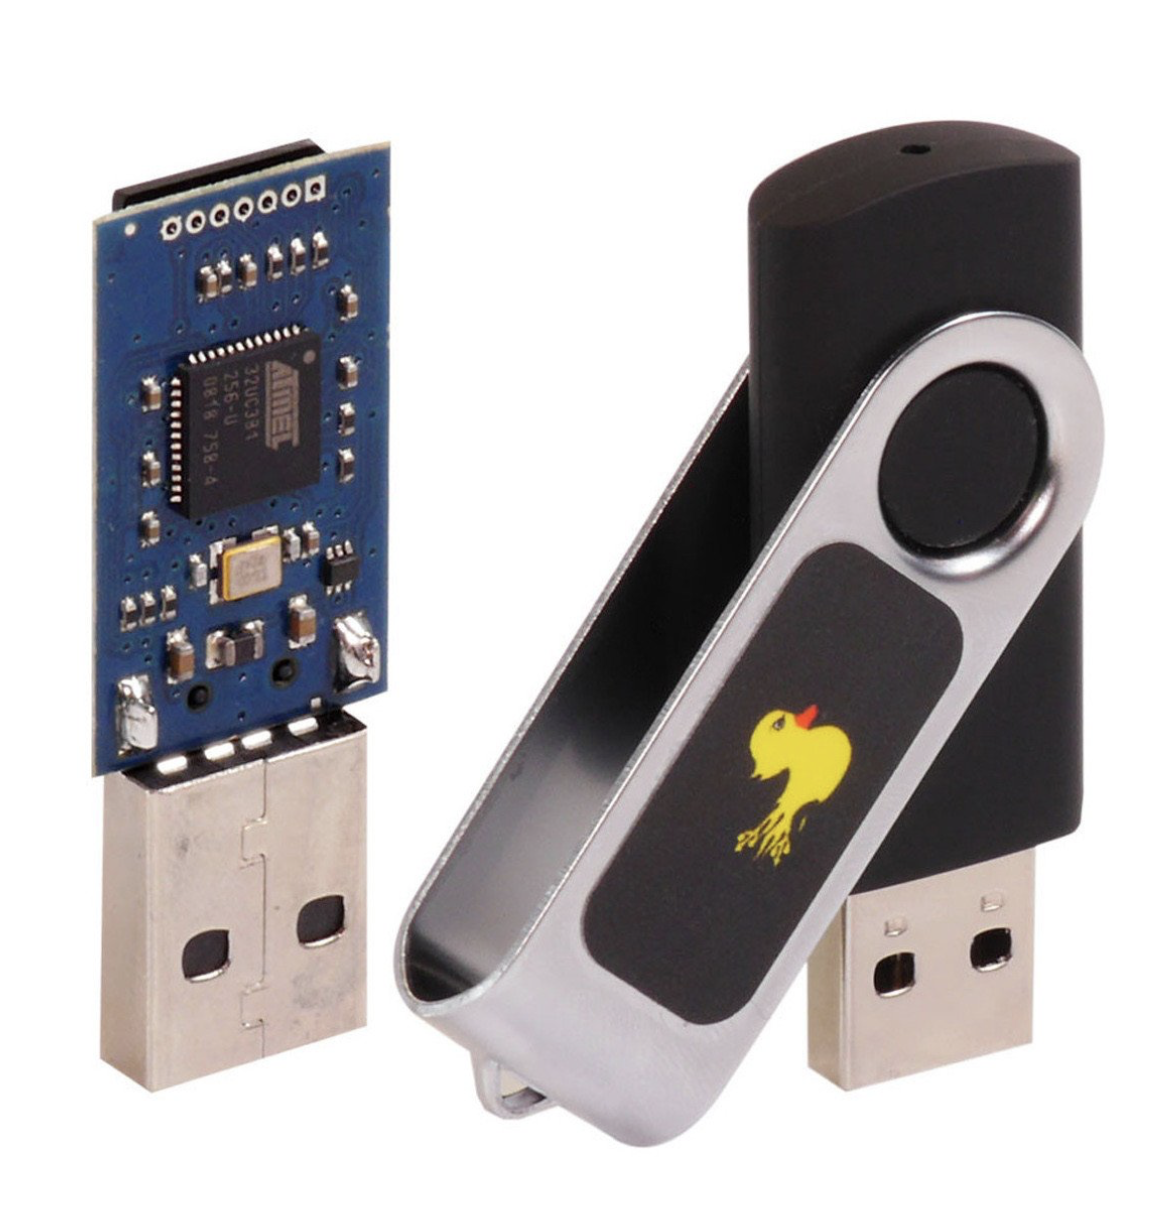 Rubber Ducky
Rubber Ducky that is present on the website of HAK5 is one of the most famous BadUSB example out there that is high in demand. These have been designed to act as a keyboard, so the system right away recognises it and then it runs the pre-programmed keystroke that can exceed the typing speed of 1000 words/minute.
But, anyone who has been following my articles know that as broke as I am didn?t buy this. So, I tried to figure out a way to create something like this, not that effective but close-enough.
Let?s dive in!
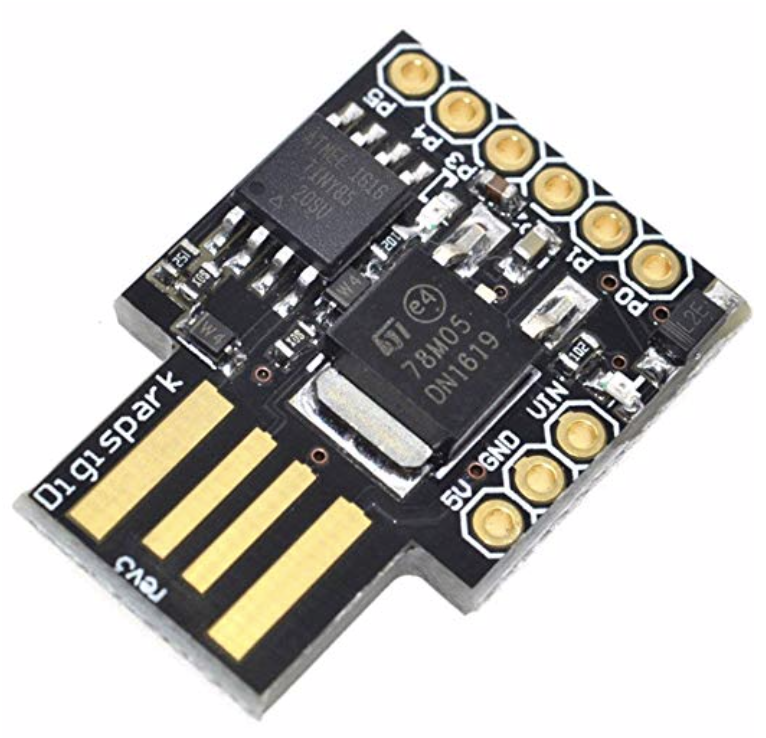
So, to understand what is going on the background I read a few articles realising that the chipset Digispark ATTINY85 can be used to replicate the act that the Rubber Ducky carries out and can be fooled as a keyboard to carry out certain commands.
This chipset can be programmed using the Arduino IDE and those commands can then be executed when it inserted in the PC.
Step 1:
We will have to download and install the drivers that are required for the Digispark ATTINY85 chipset. Click on this link and go ahead and download the 32bit or 64bit version of the file that you require.
 Digispark ATTINY85
Step 2:
Download the latest version of the Arduino IDE where you will be writing the codes to program the chipset, visit this link. Download the IDE depending on the OS you are using.
Step 3:
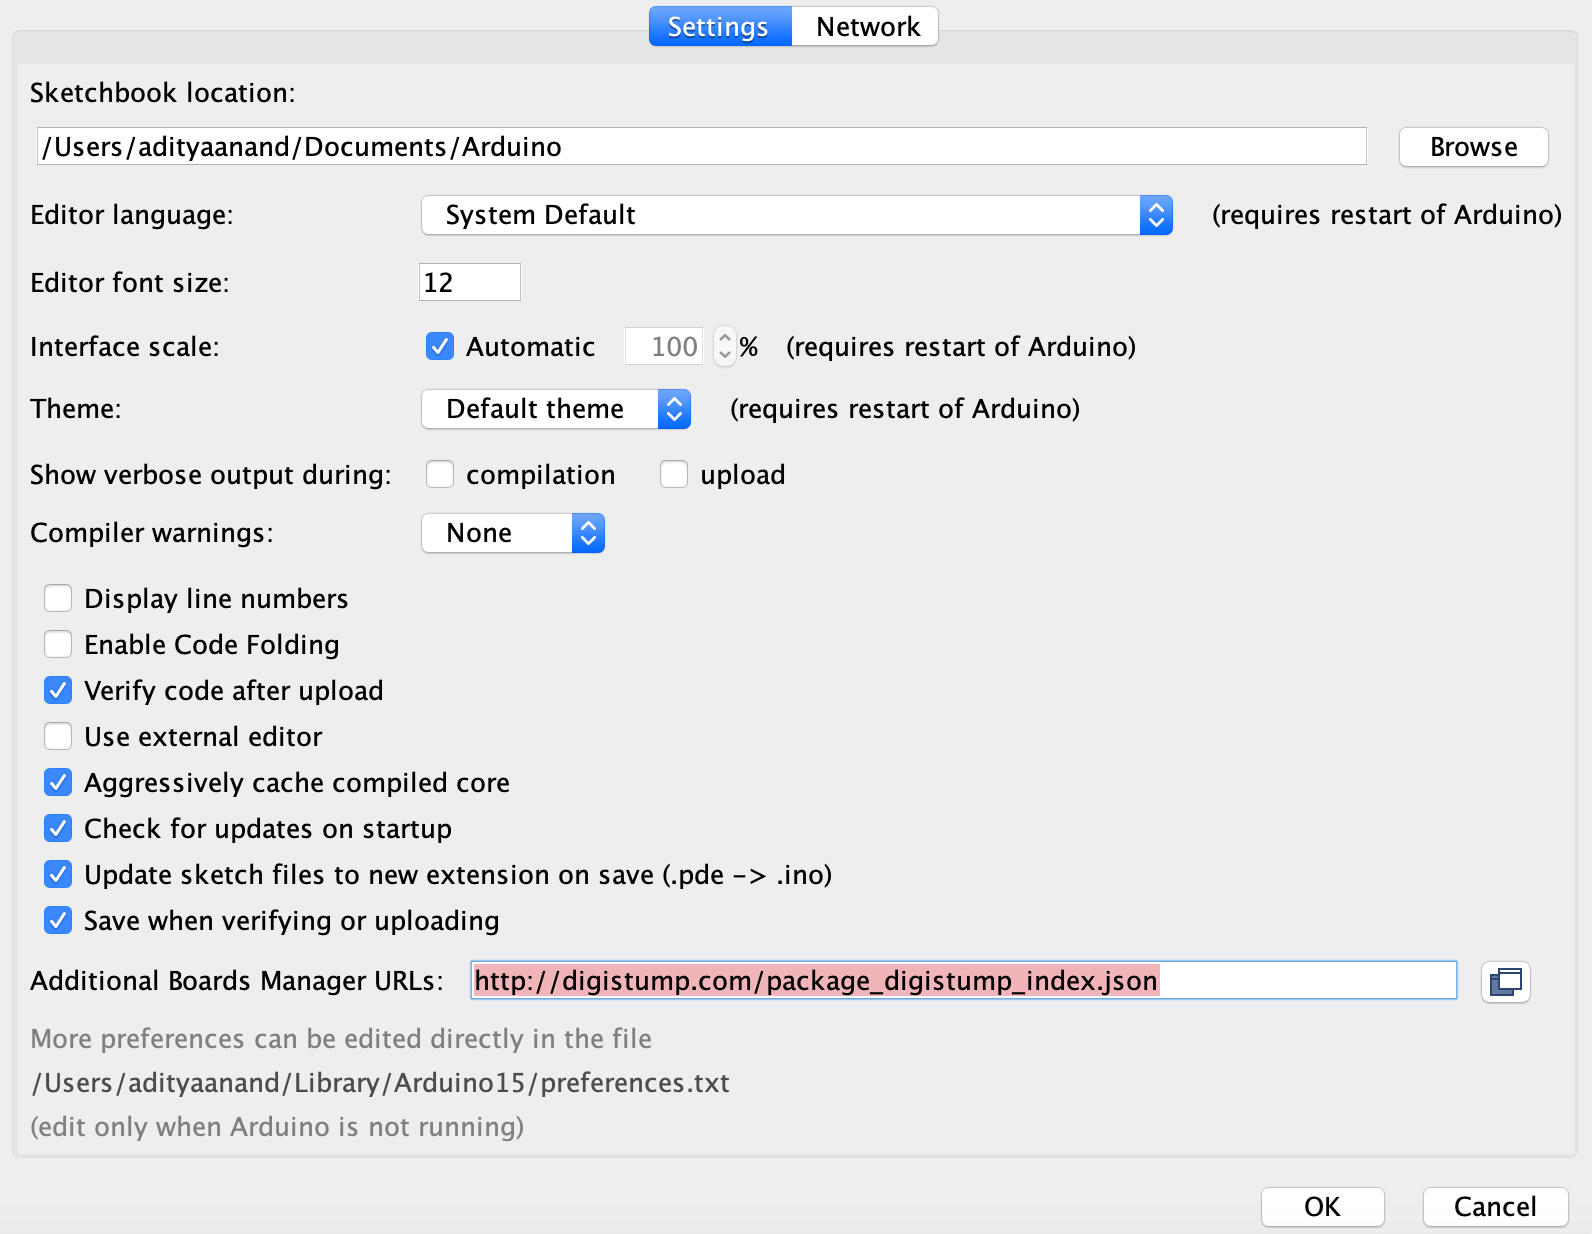
Once the Arduino IDE is downloaded then open it up and then, go to File -> Preferences. In the input field named ?Additional Boards Manager URLs? enter the following URL.
http://digistump.com/package_digistump_index.json
Step 4:
Once, done with the following then, go to Tools -> Board -> Boards Manager. Here click on the Search Filter and type in Digistump AVR Boards the package will appear below and then click on install in the right corner.
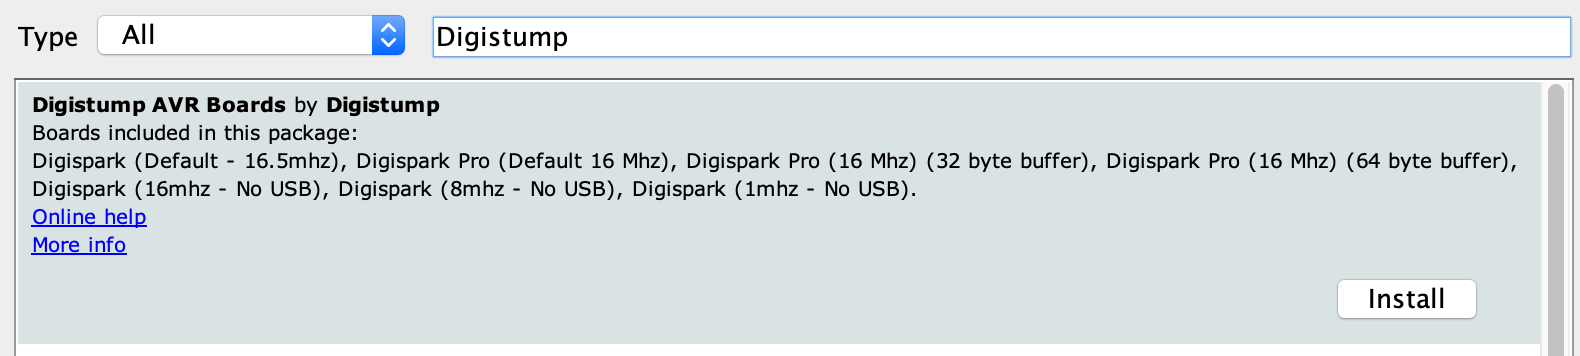
Installing this might take a bit of time depending on your internet speed.
Step 5:
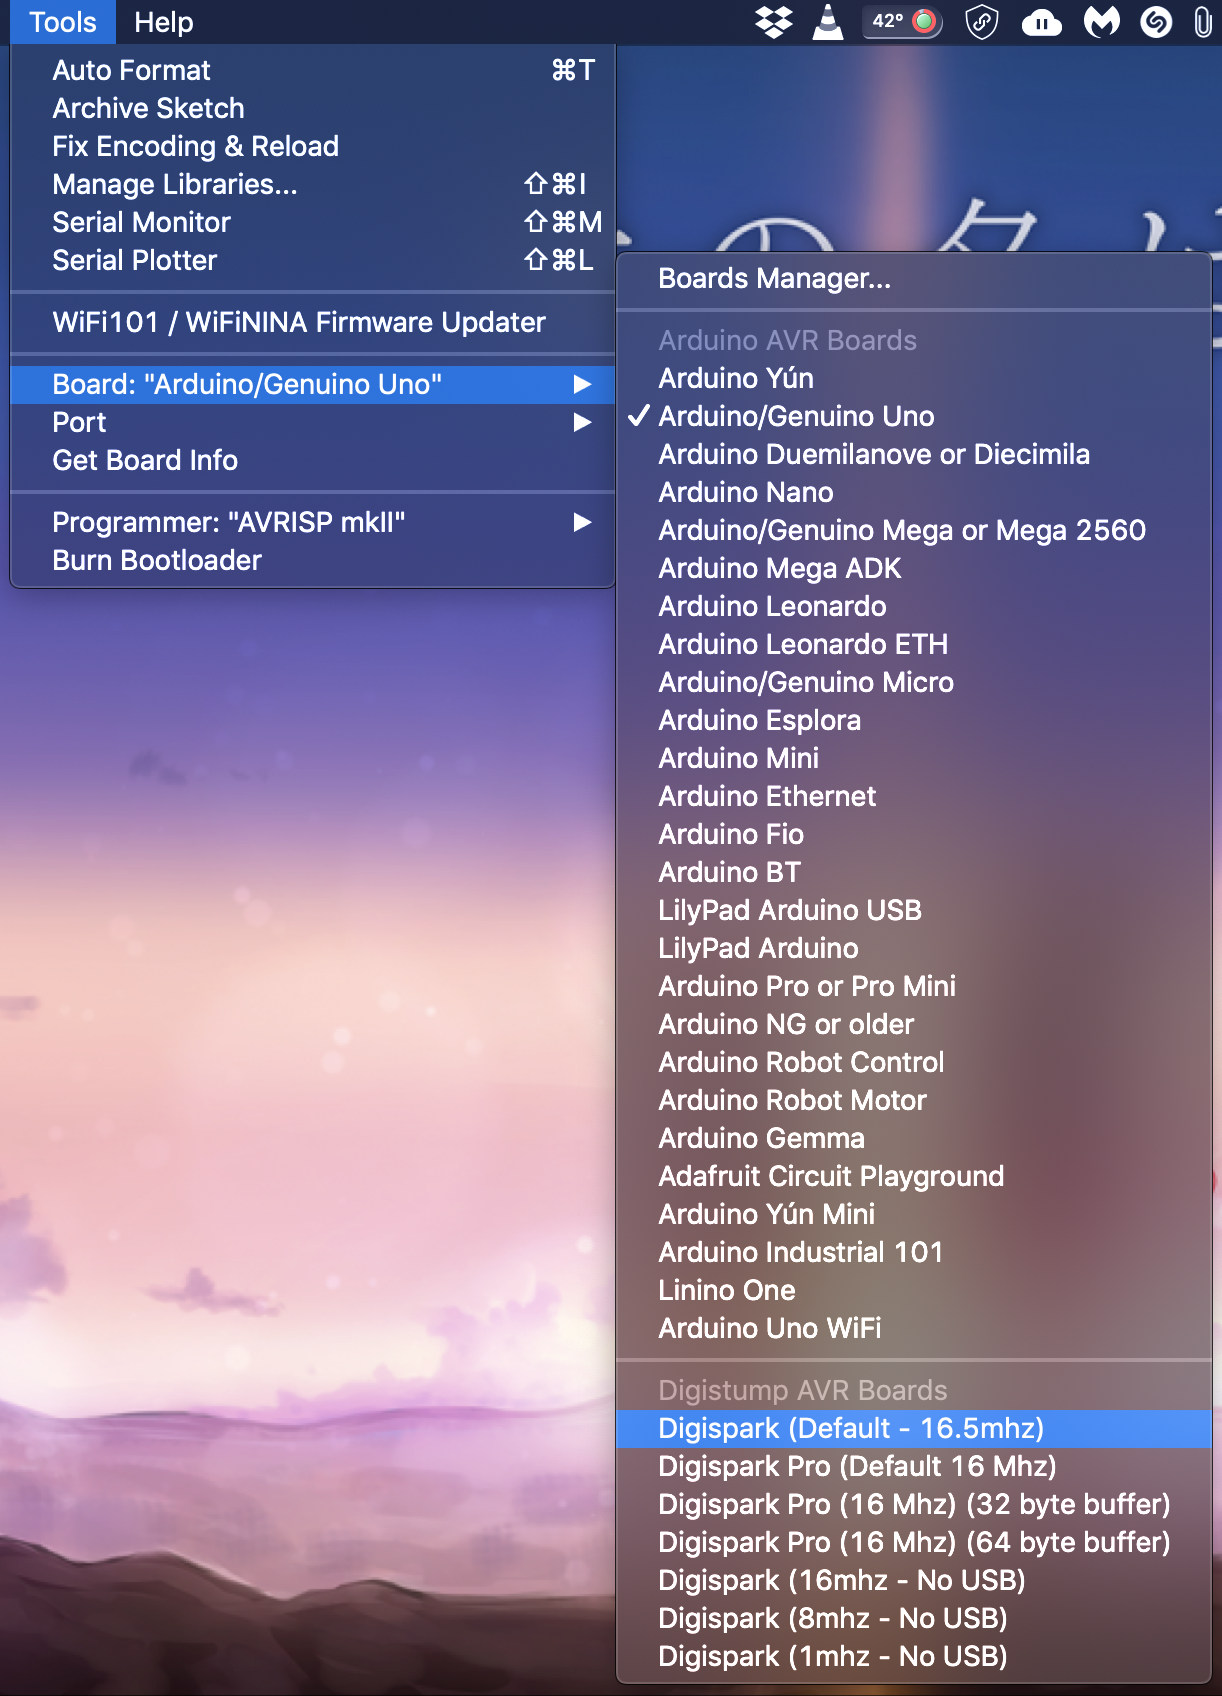
This is the last step that you need to carry out before you begin to program, go to Tools -> Board. Scroll down till you see the option of Digispark (Default ? 16.5mhz) and then click on it to select it.
This is the steps you need to carry out to properly set up your system to work accordingly as you code on the Arduino IDE. This setup might take a bit of time but it can be used to automate a lot of settings in an incredibly small amount of time saving a lot of precious time that you might not want to lose during a pen-test or something of that nature.
Step 6: ( Programming )
Now, that all the steps have been followed properly, then go ahead and open the Arduino IDE and type in the program you want the chip to execute. The programs for ATTINY85 chipset are a bit different than the ones for the Rubber Ducky.
Here is a script, that helps you to open cmd with admin privileges on the current windows 10.
#include “DigiKeyboard.h”void setup() { // leave it empty}void loop(){ DigiKeyboard.delay(5000); // time is measured in milliseconds DigiKeyboard.sendKeyStroke(0, MOD_GUI_LEFT); // open windows menu DigiKeyboard.delay(1000); DigiKeyboard.print(?cmd?); // to search for command prompt DigiKeyboard.delay(1000); DigiKeyboard.sendKeyStroke(KEY_ENTER, MOD_CONTROL_LEFT | MOD_SHIFT_LEFT); DigiKeyboard.delay(1000); DigiKeyboard.sendKeyStroke(KEY_ARROW_LEFT); DigiKeyboard.sendKeyStroke(KEY_ENTER); for(;;) { } // to stop executing the loop}
Once the above code has been put in the Arduino IDE then compile it, do not insert the chipset until it prompts a message which should take several seconds the first time you run the script. As soon as it prompts the message to insert the chipset go ahead and insert it. And let the magic begin!
Moral
To prevent attack like the ones above follow these rules:
a) Keep a close watch on your devices and prohibit untrusted people from having physical access to your machine.
b) You can use these port blockers to stop someone just walking by to be able to insert the usb devices in your system, to buy click this link.
c) You can use duckhunt, based on the speed at which the automated script types in commands it detects it and then stop it entirely.
There are other tips and tricks as well to stop such attacks on your device, check them out here.
If you didn?t understand the above explanation and want a video tutorial to guide you through visit here.
If you enjoyed it please do clap & let?s collaborate. Get, Set, Hack!
Website : aditya12anand.com | Donate : paypal.me/aditya12anand
Telegram : https://t.me/aditya12anand
Twitter : twitter.com/aditya12anand
LinkedIn : linkedin.com/in/aditya12anand/
E-mail : [email protected]

