After years of hesitation, I finally caved and bought myself some woodworking tools. One of the best decisions I?ve ever made.
Building a longboard deck is surprisingly simple and extremely rewarding, so I figured it?d be a great journey to share. You can get by with the basics (tools and skills alike), making it a perfect beginner project. I was fortunate to have the help and guidance of our talented Prototyping Engineer, Jose Balderas. Check out his work here.

The tools and supplies you?ll need for this project
Just a heads up, any links below are associated with my Amazon affiliate program. I encourage you to shop around and pick the best components and tools for your budget and needs!
- 1/8th inch sheets of baltic birch plywood. You can pick some up at your local wood store.
- Wood glue
- Foam brushes
- Jigsaw, Bandsaw or hand saw. If you?re pressed for space/funds, pick up an affordable jigsaw on amazon or your local hardware store.
- Orbital sander and pads, or just plain sandpaper (60, 120, 240 grit)
- Clamps
- Urethane/water based Top Coat
- X-acto knife/box knife/some sort of blade
- File
Longboard Supplies
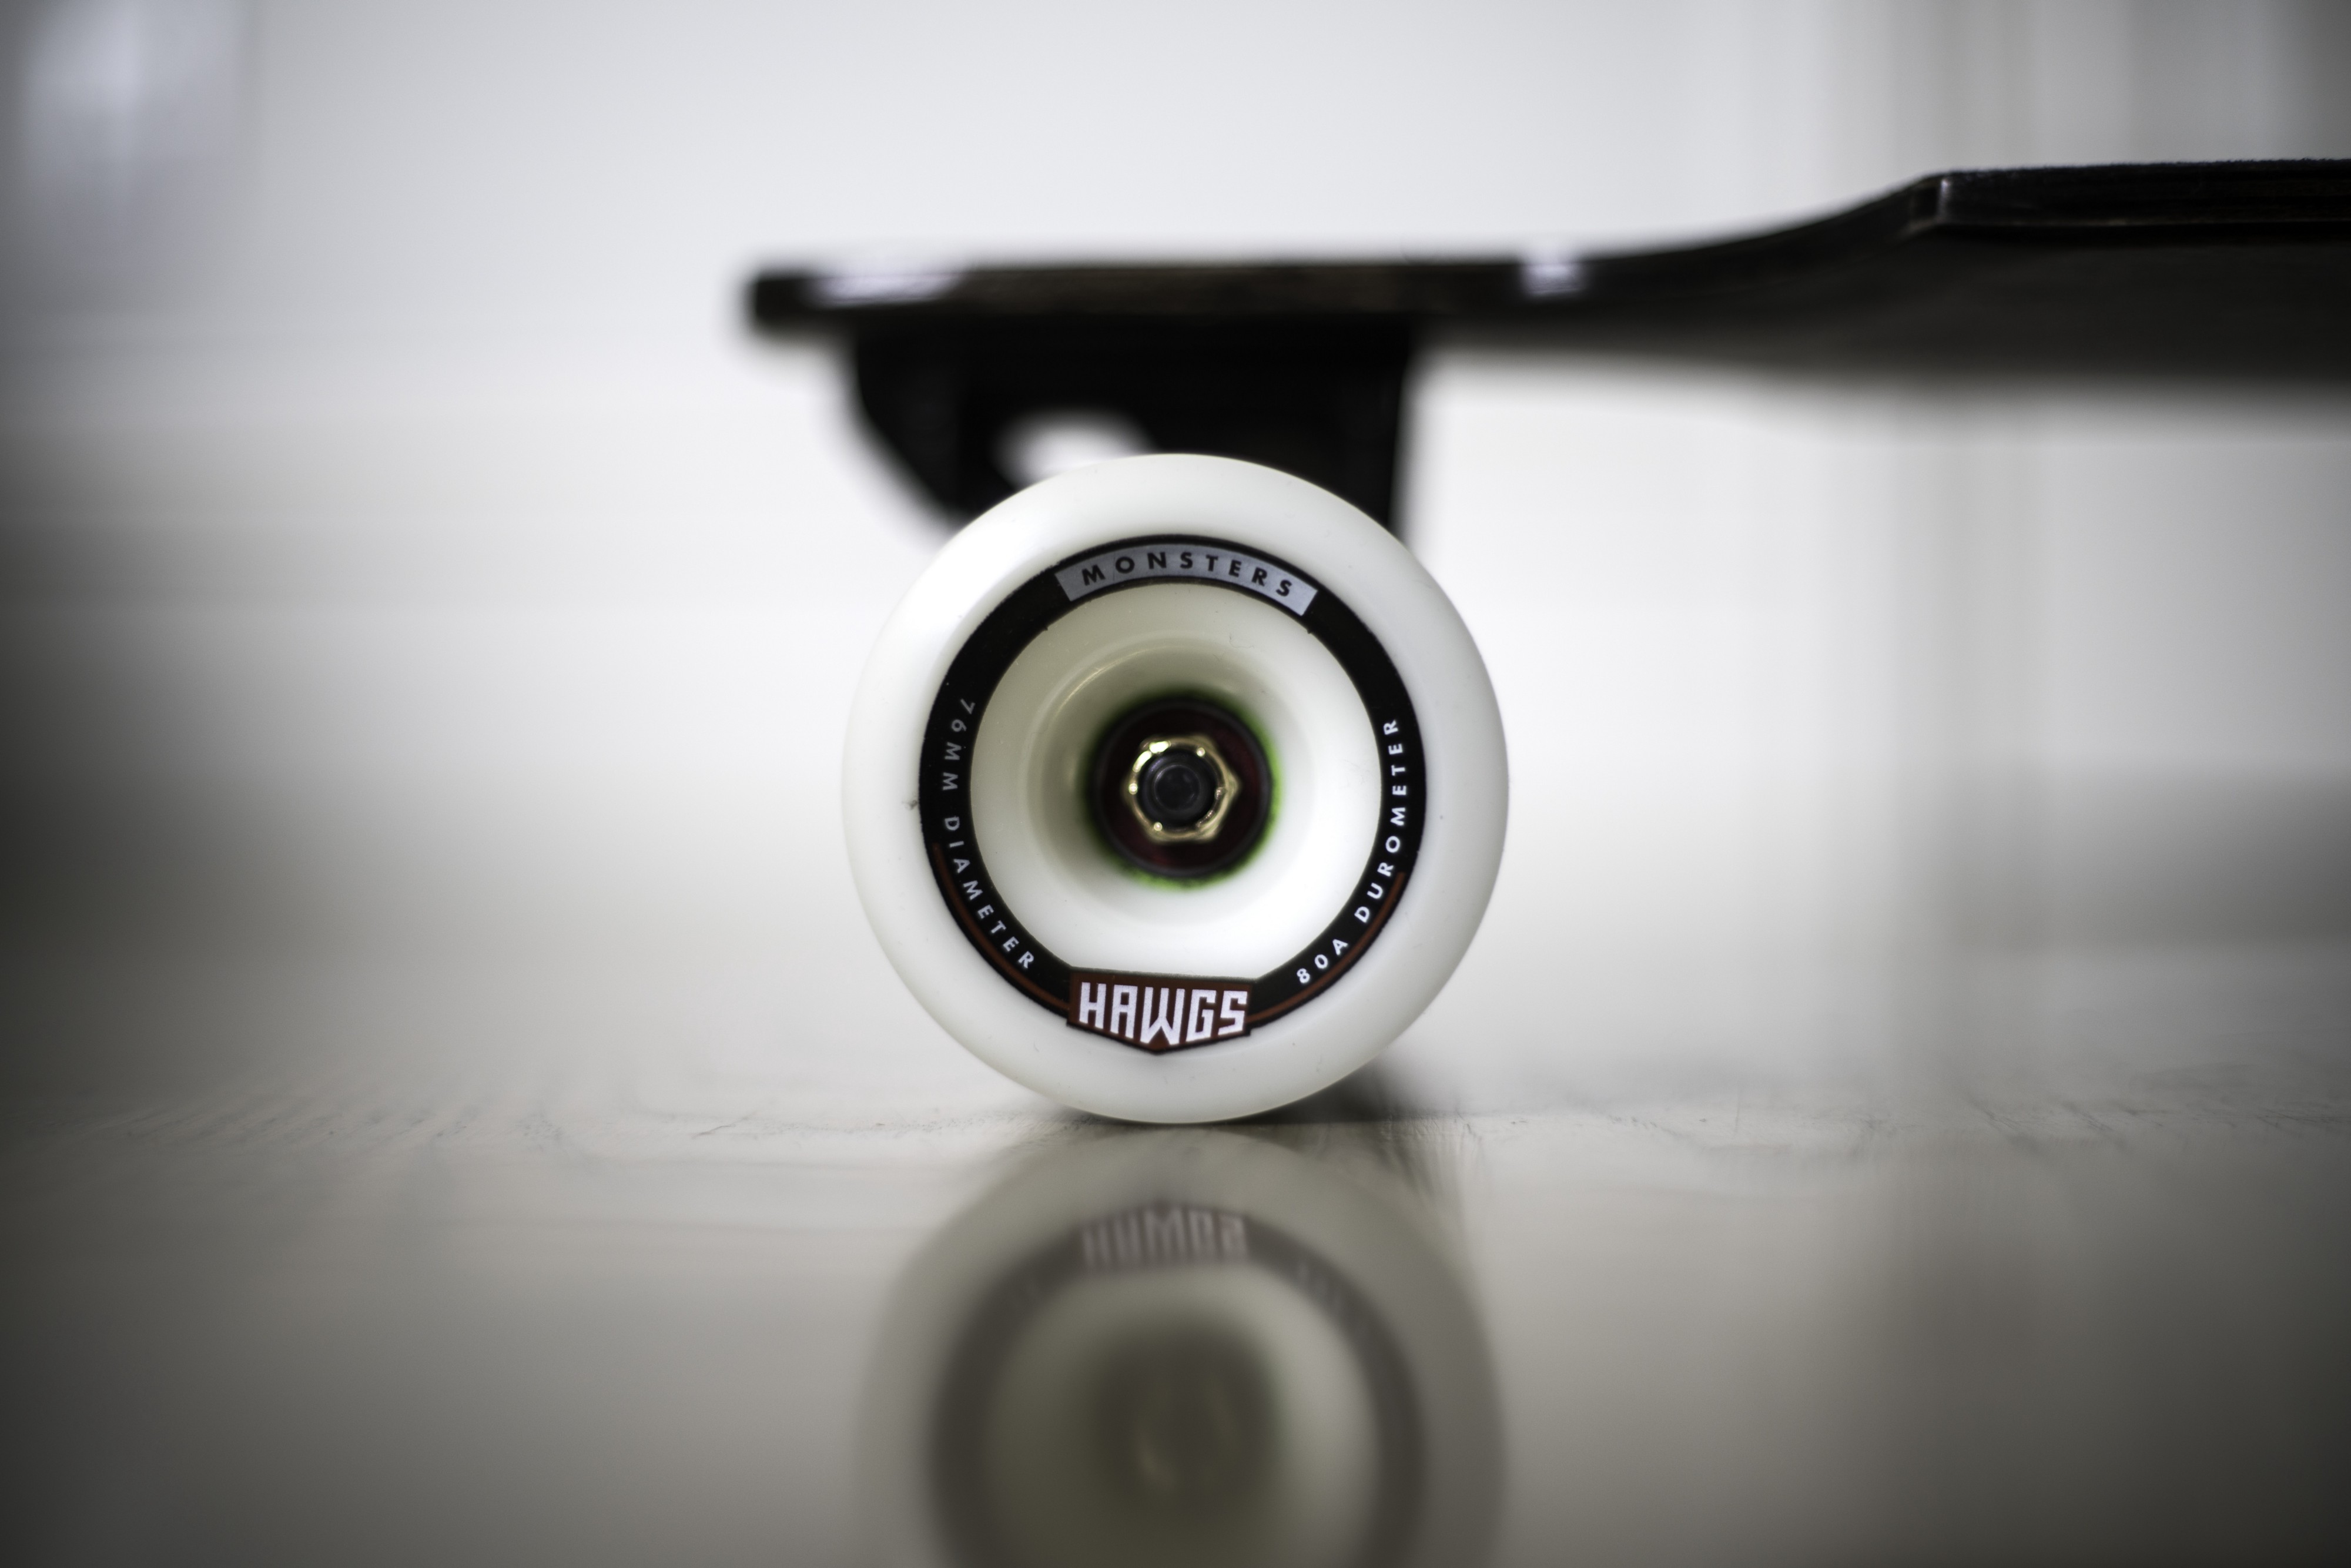
I won?t cover component details and specs but there are plenty of great resources on the web! Do your research to find the wheel sizes, durometers to fit your riding style.
- Grip Tape
- Wheels
- Bearings
- Trucks
- Screws and bolts
Optional items
- Wood stain
- Pattern paper
Step 1: Design
My favorite part. What?s your board going to look like? The world is your oyster. Browse Pinterest for inspiration, ride some boards around and figure out what profile best suits your style of riding. Here?s an excellent guide. If you?ve already got that down, grab some paper and start sketching out the shapes you?re interested in. If you?re interested in improving your sketching skills I?ll shamelessly link my tutorials here. Once you?re set, you can transfer your profile at scale to a large piece of paper (preferably pattern paper, or something with grids), or straight onto your sheet of wood.
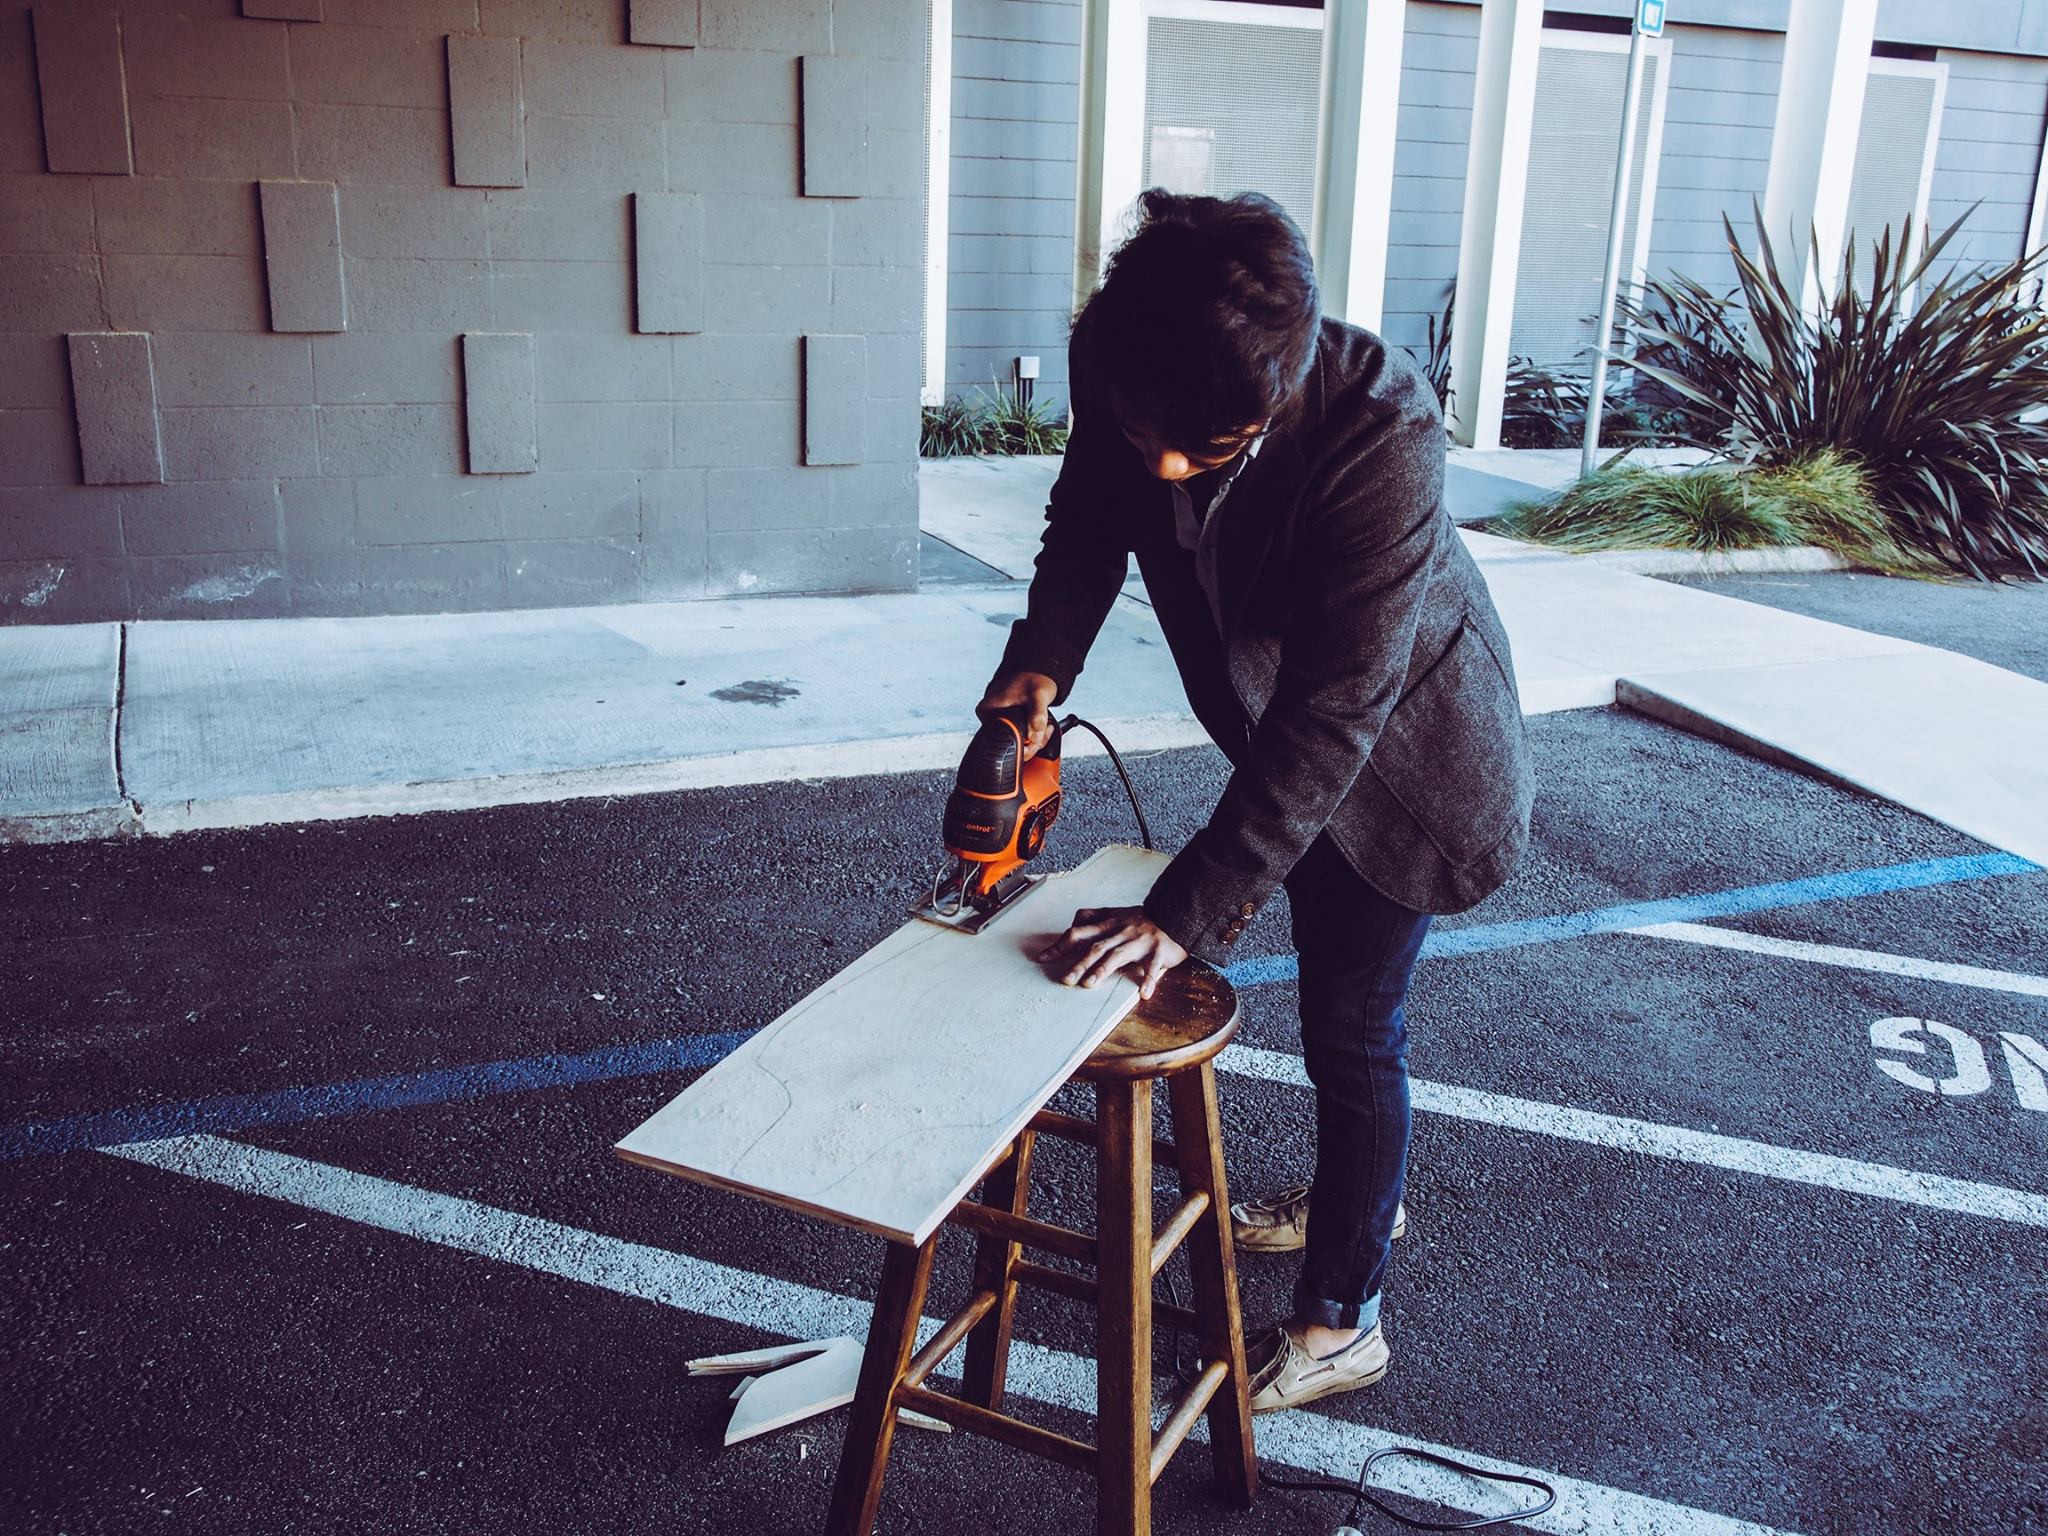
Step 2: Rough Cuts
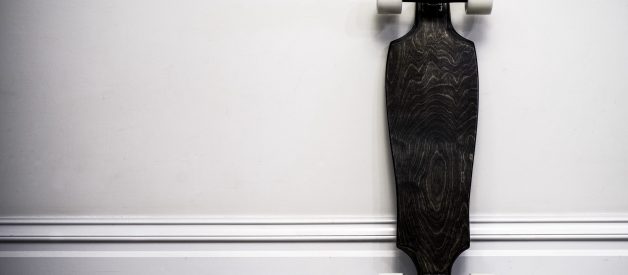
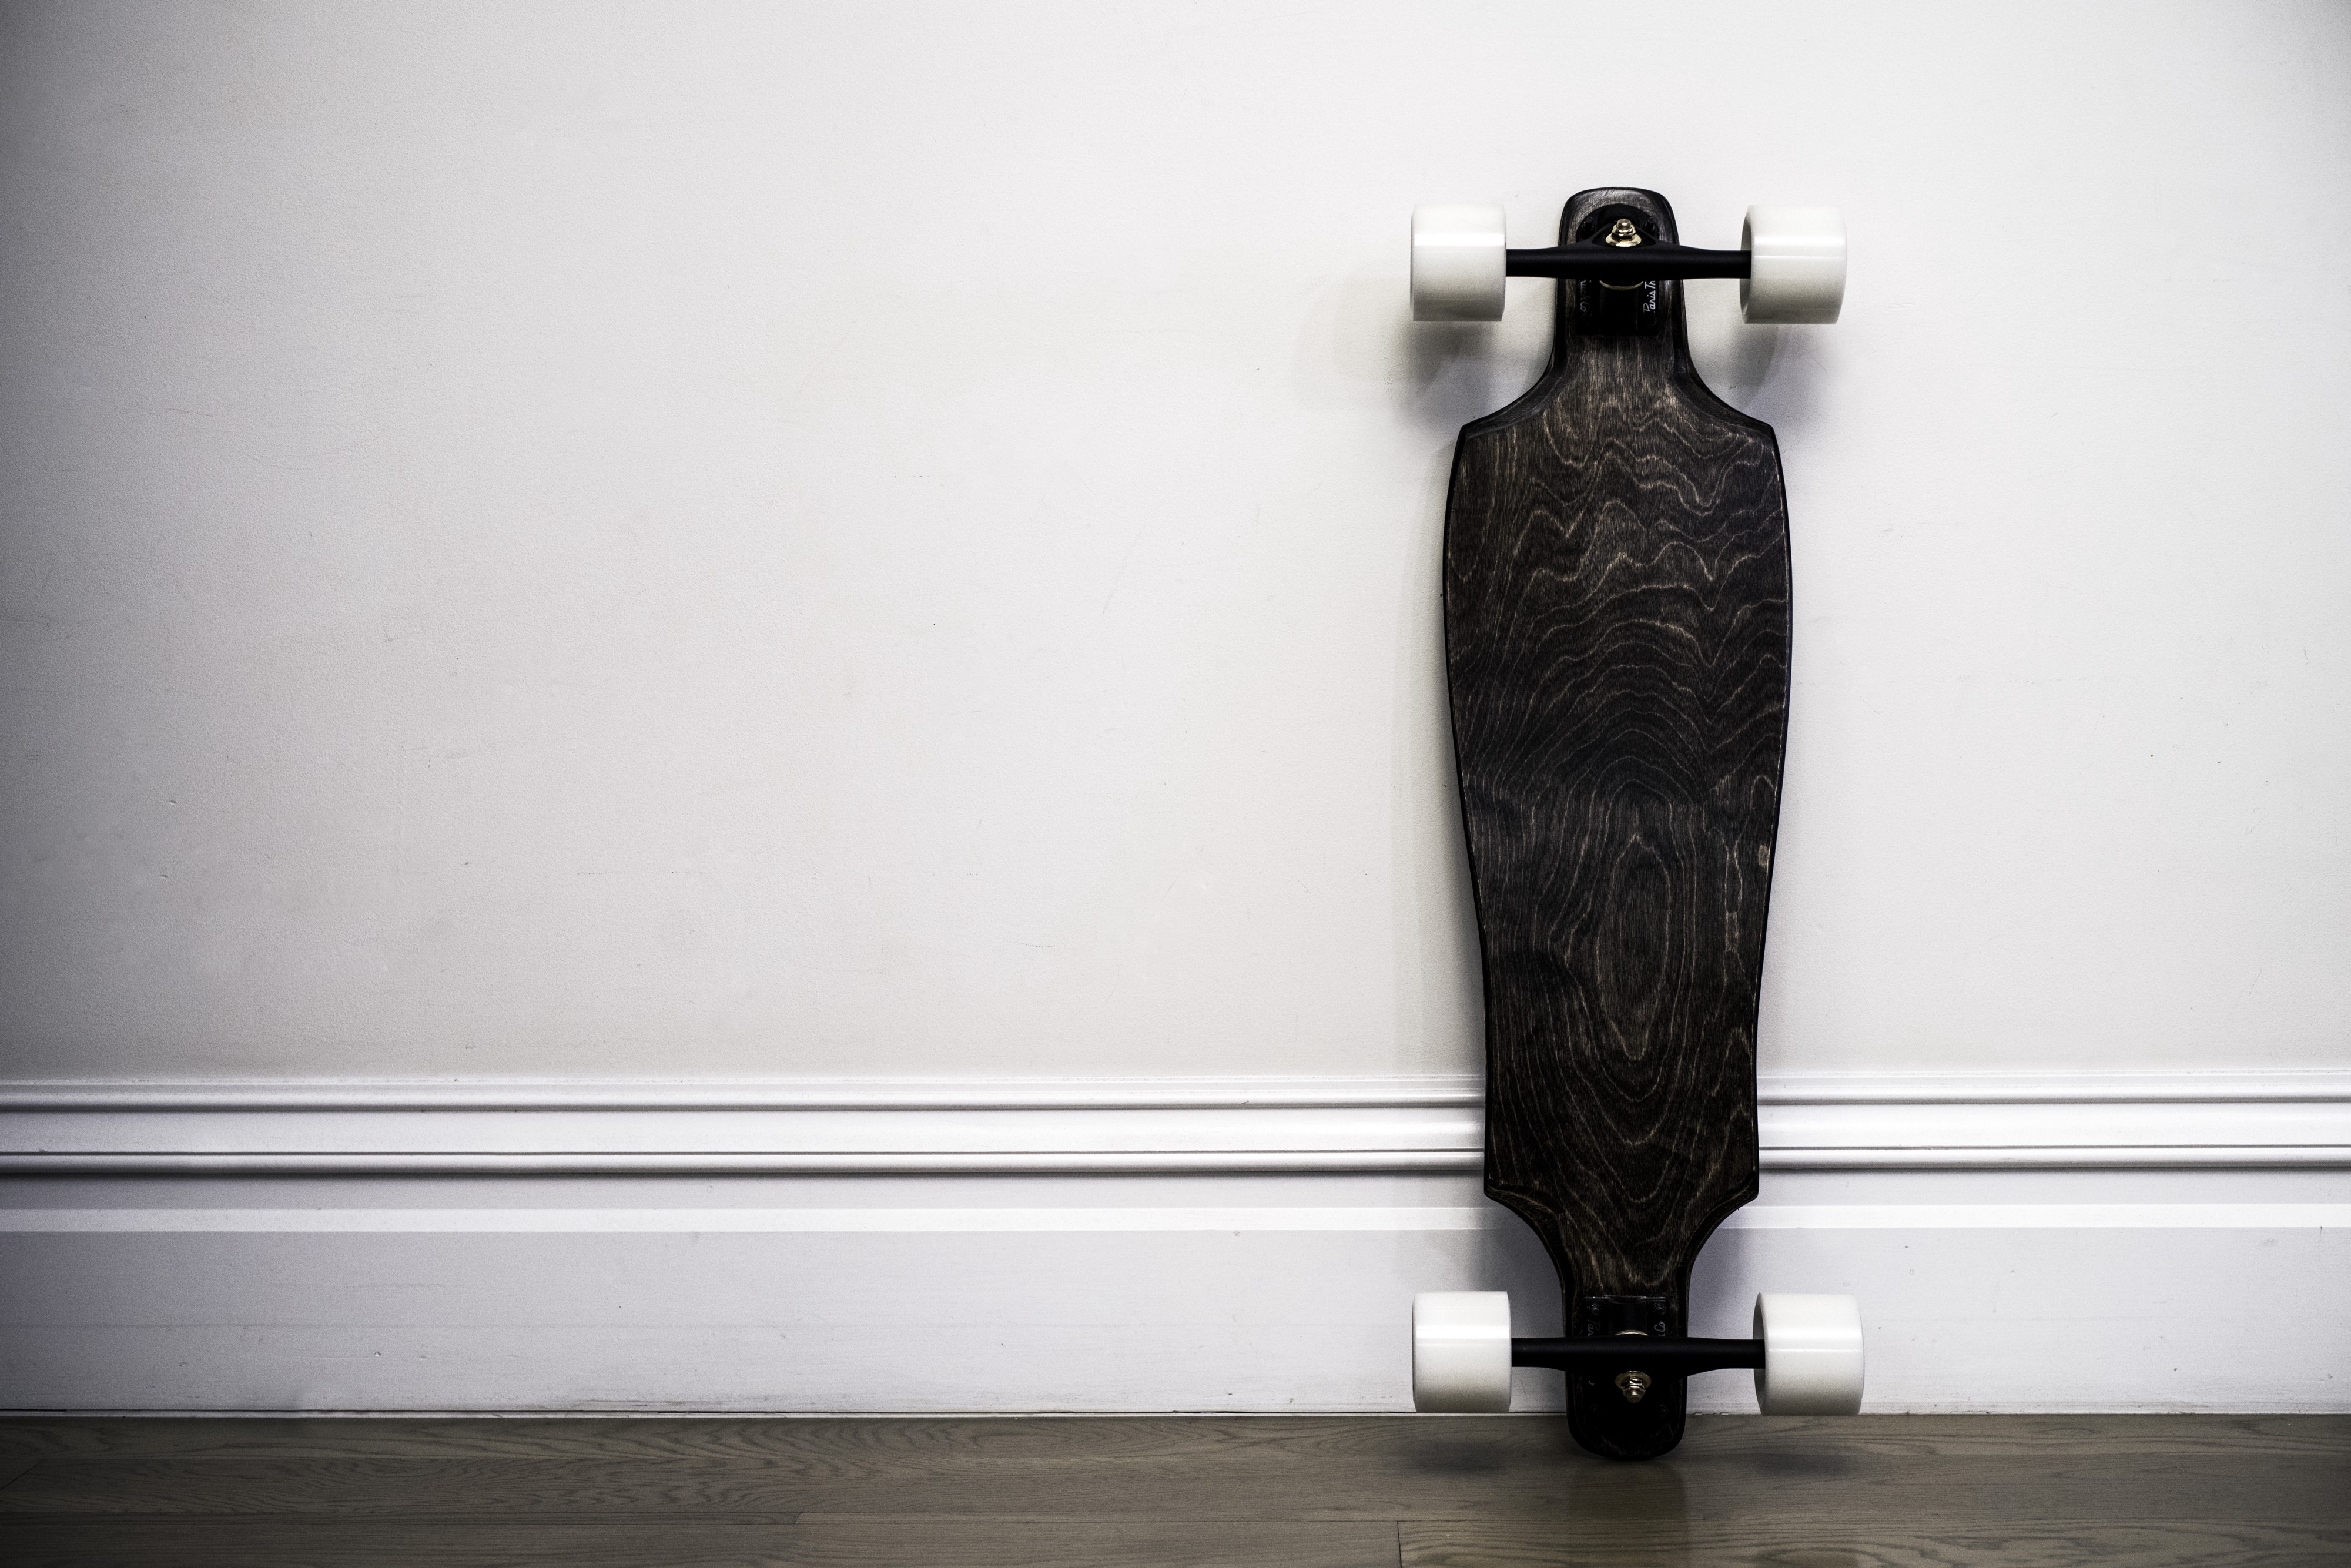
You?ll determine the flexibility of your board. Length and thickness are your two variables. The longer the more flexible, the shorter the more stiff it is. My board was designed at a length of 38″ and a variable width from 7″ to 9″. Three layers were comfortably flexible for my weight.
First, cut the board to the length you desire, stack the layers over some blocks where you trucks will be, and carefully stand on it. Give it a bounce. Then add or subtract a layer as needed.
To give the board the thickness, bend, and flexibility needed, we?ll stack several layers of birch plywood board. To do this, cut the board into however many rectangular sheets you need, at a little more than the final width of your board. I cut these on a table saw, but you can also use a circular saw, hand saw, jigsaw, or anything that cuts really. For my board, I cut three layers with an excess of 1 inch in each direction. Always leave excess which we will cut and sand away later!
Step 3: The Glue Up
Once you?ve got your layers, the glue and clamp up will lock in your desired curvature. The curved profile I added to my board was a bit more complex so here?s a link which explains the mold and clamping process in more detail. You can even choose to leave it perfectly flat and skip the addition of a curvature altogether.
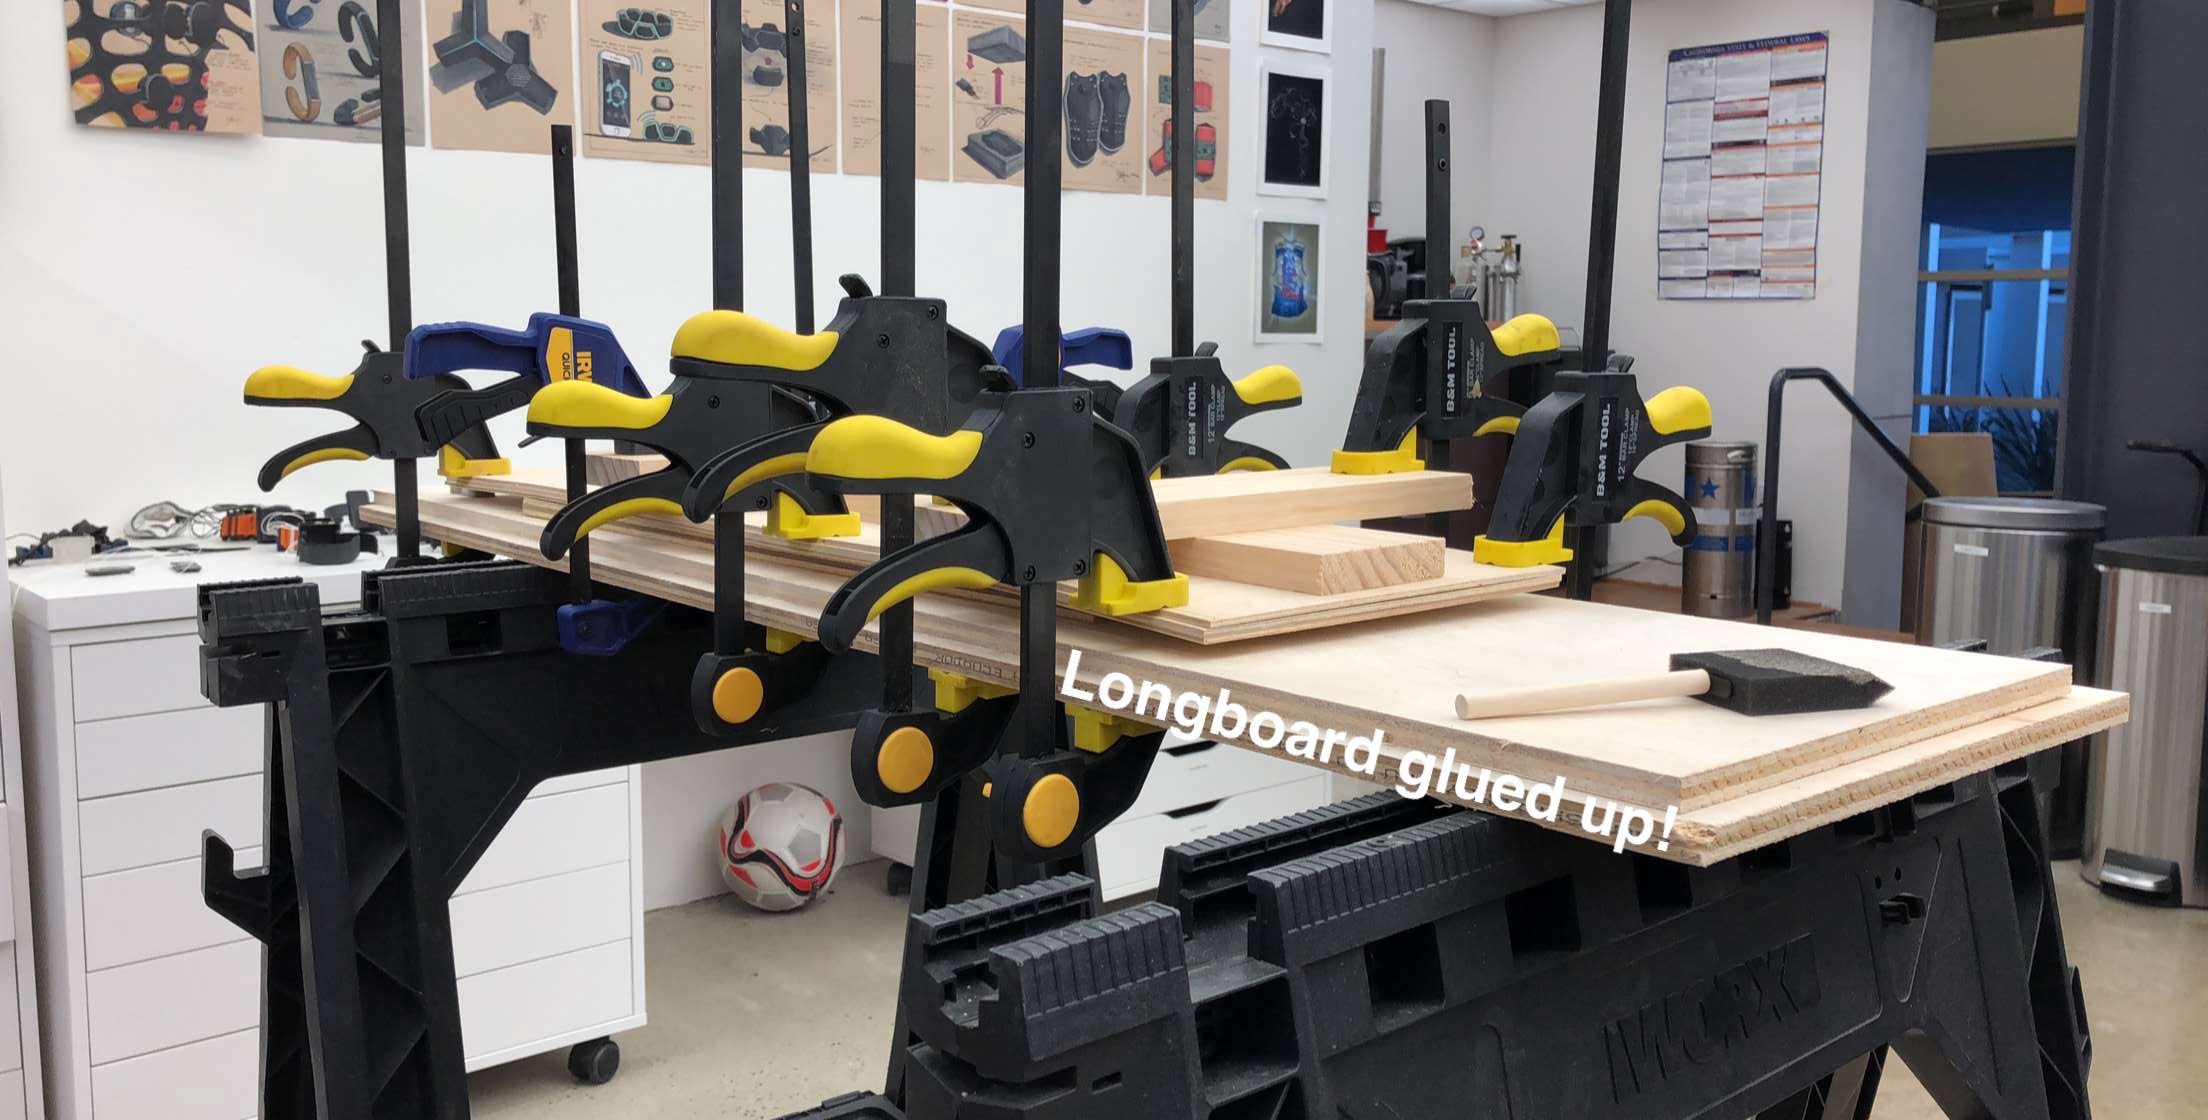
Pick your outer layers of wood with care. Look for the sheet with your favorite wood grain and place it on the outside of your stack. This layer will be exposed at the end (unless you choose to paint over it).
Add a full layer of wood glue between each sheet, then clamp the boards evenly in the desired curvature and let it dry. Move fast and have your clamp set up ready because that glue sets quickly! It can help to have a second pair of hands.
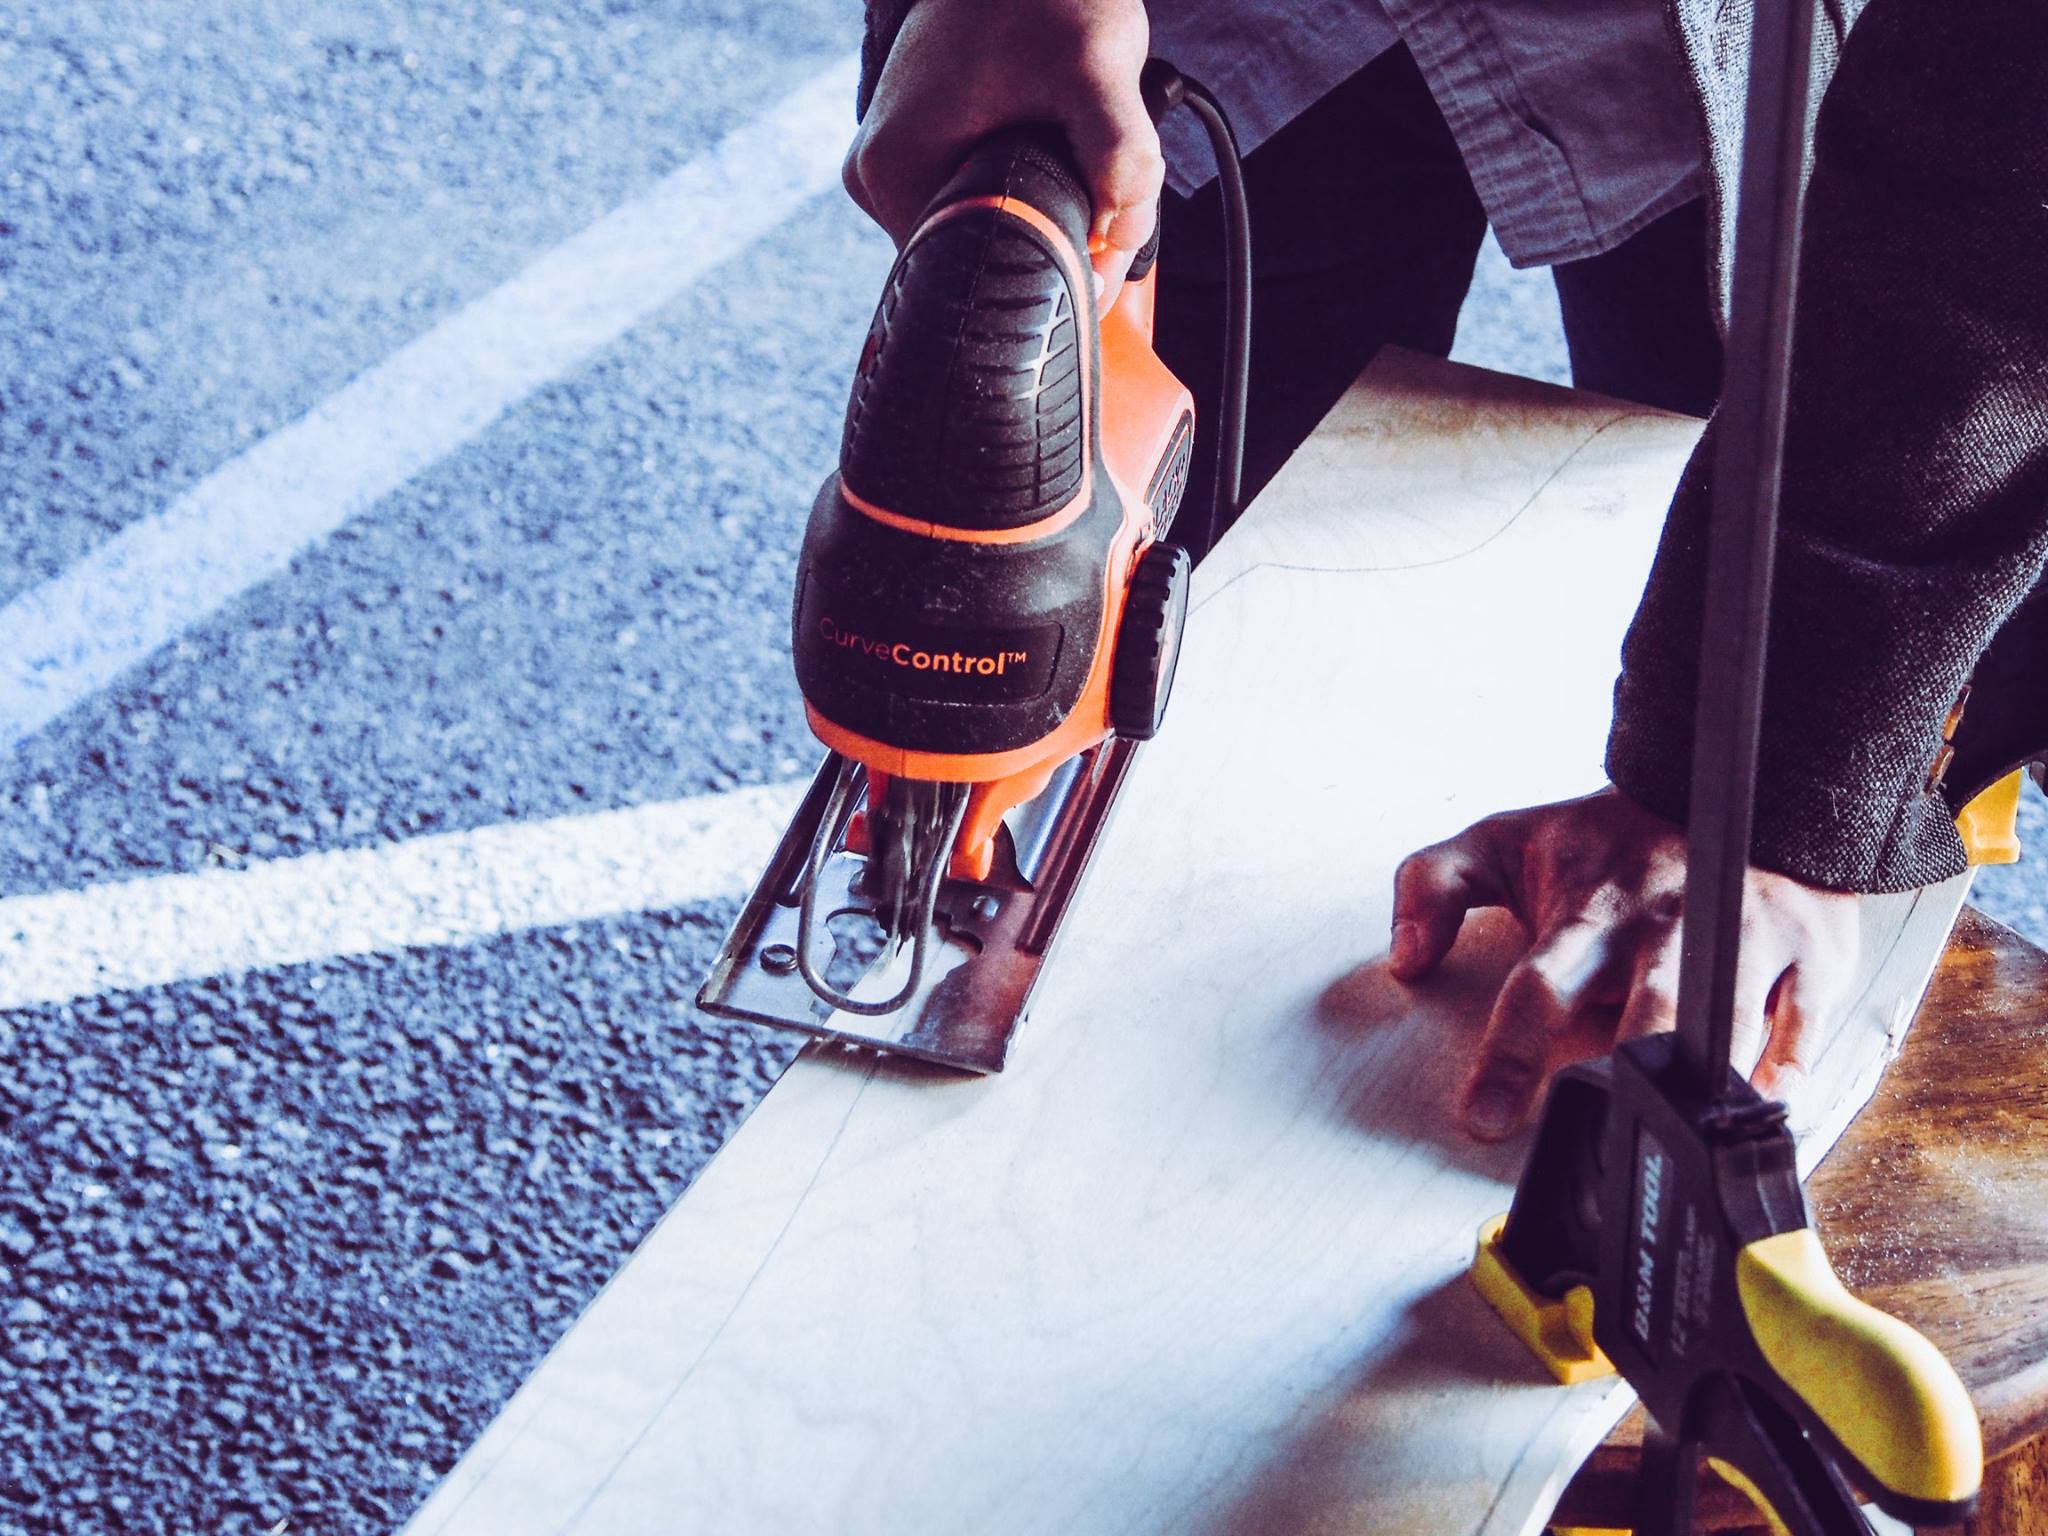
Step 4: Shaping Your Board
Next we cut the board closer to its final shape. If you sketched the profile at scale on paper, cut it out and transfer it to the wood. While cutting, leave a bit of excess wood (around .5cm or less) since it?s hard to cut precisely. You don?t want to mess at this point – we?re so close! If you have access to a bandsaw, use it. If not, use a jig saw. If not, grab a trusty old hand saw and put some blood and sweat into your hard work (just kidding, please be careful).
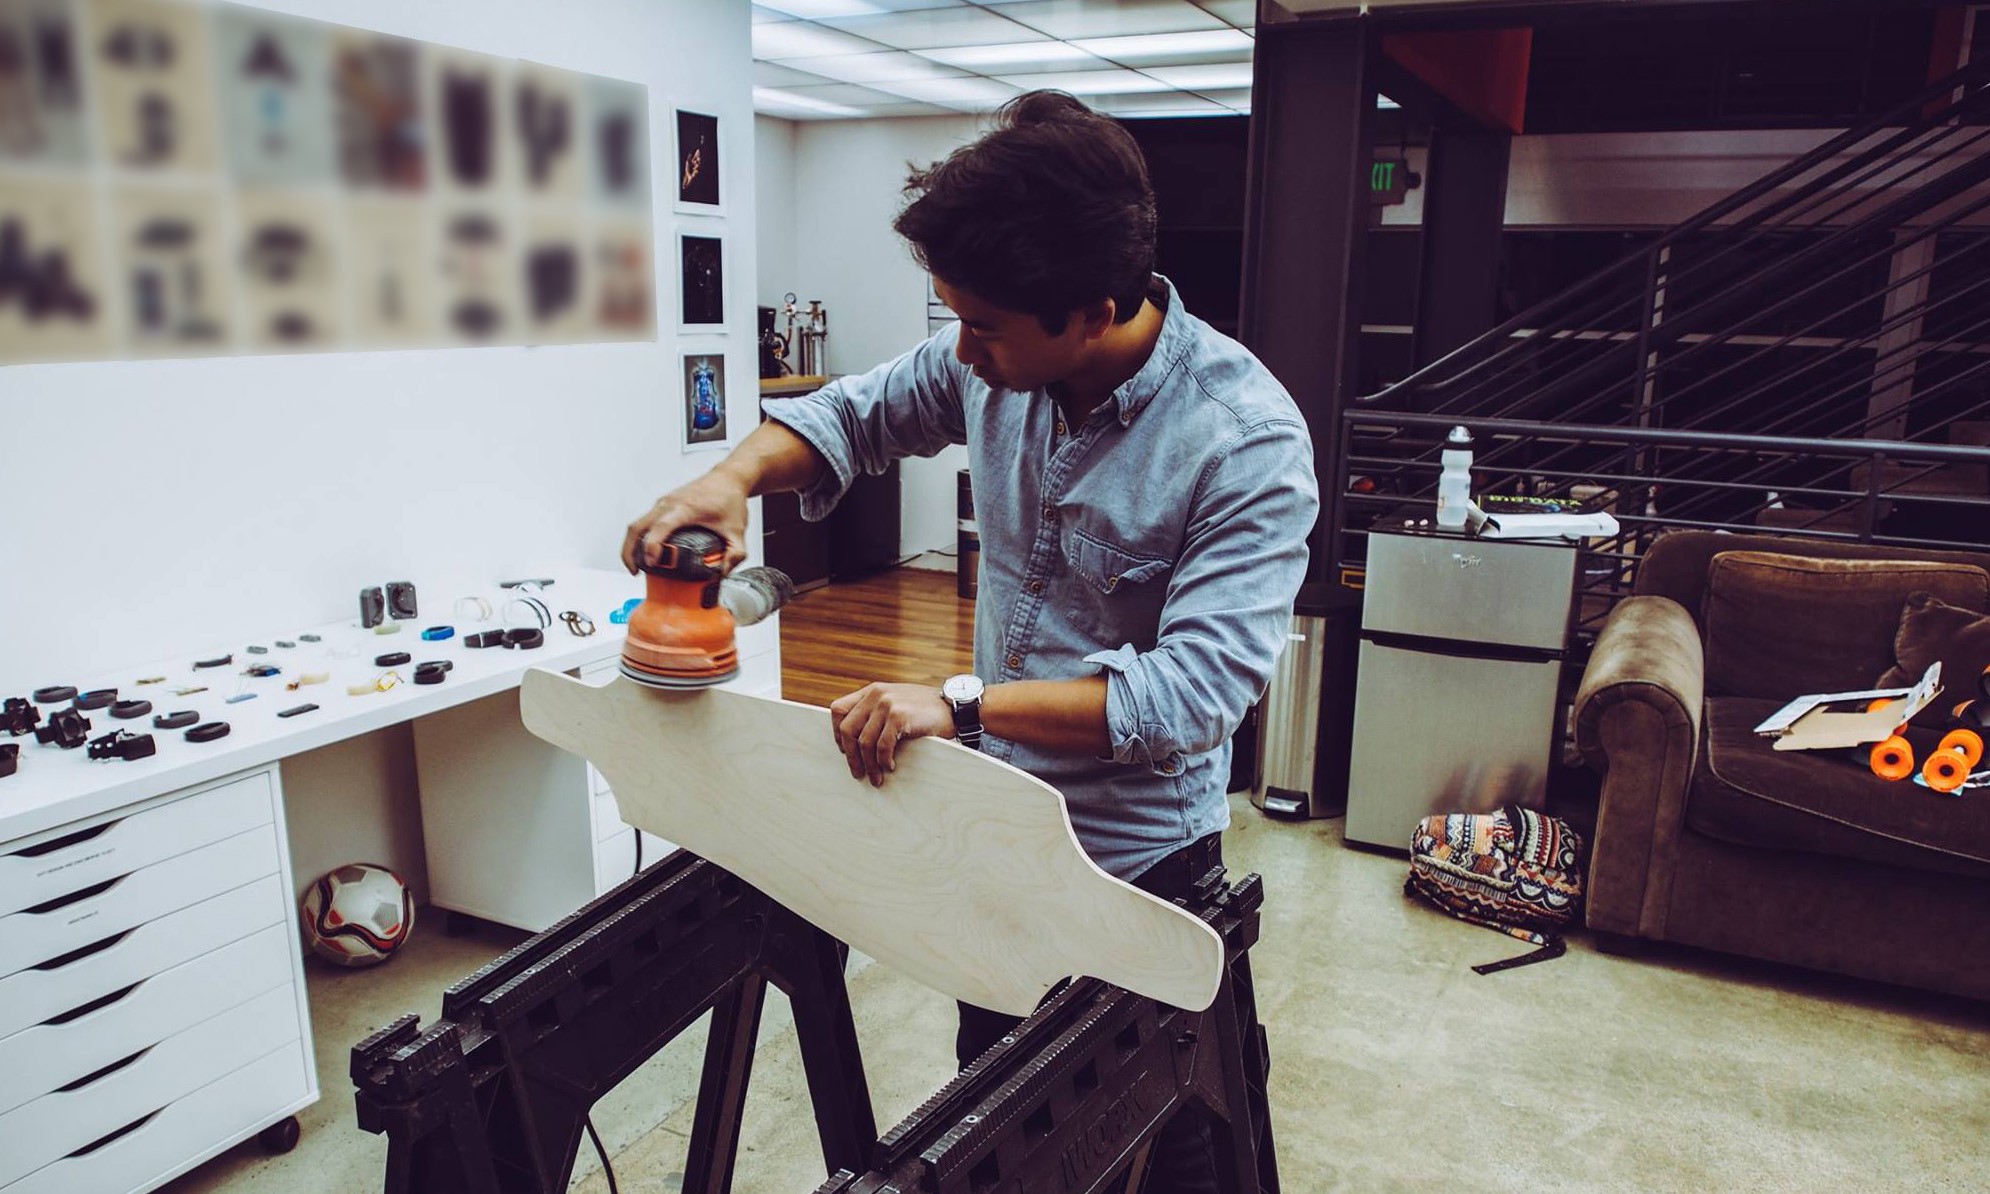
Step 5: Sanding to Perfection
Now you can carefully remove that excess wood and carve down to your final shape. Be careful with belt sanders because you?ll remove material surprisingly fast. Sand first with a lower grit of around 60?100. This quickly removes the bulk of excess material. Once you have the final shape, get out that 120 grit sand paper and make it buttery smooth. Finish up with 240 grit and you?ll want to eat off that board. Mmmmmm.
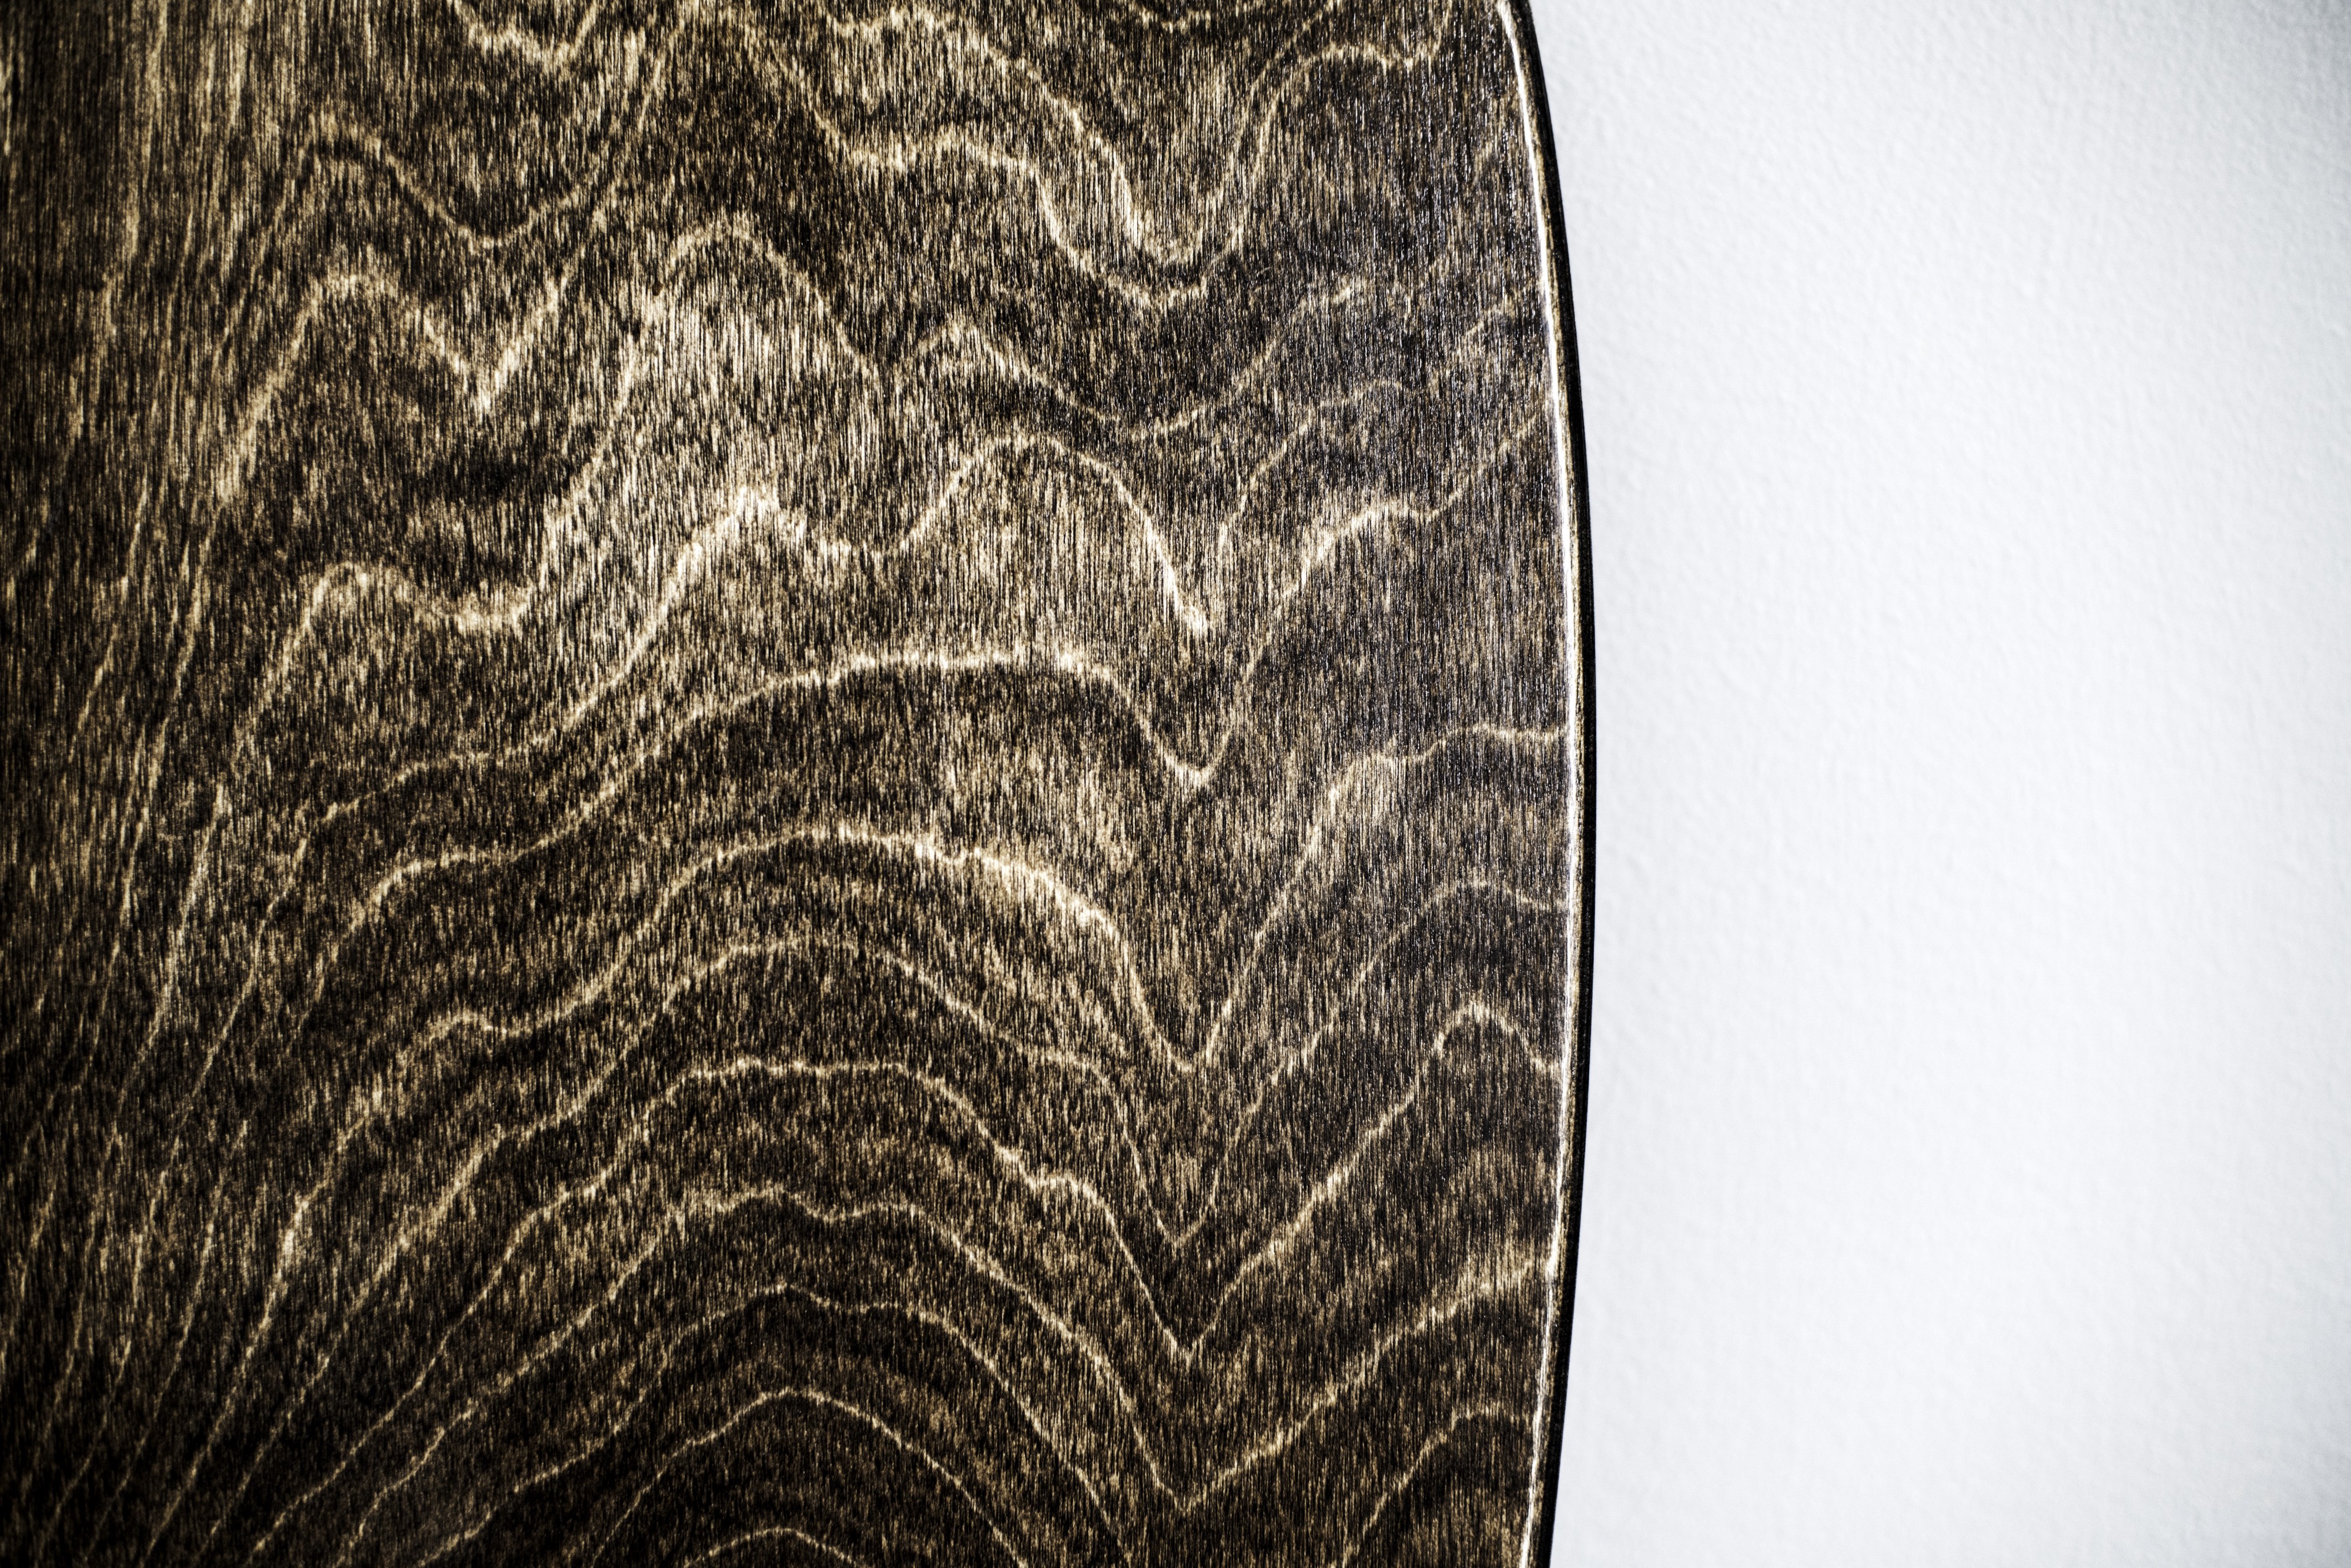
Step 6: Staining
If you love that natural birch look, skip this step. I wanted a darker finish so I picked up some Minwax Walnut stain. Use cheesecloth or a clean rag to make sure your board is clear of all sawdust and debris. Apply a coat or two or three and follow the instructions on the can.
Step 7: Top coats
The worst part. You?re so close. You could be soaring down some hills on your beautiful longboard with the wind in your hair. But no, you?ve got to be patient. Apply at least 3 or 4 top coats to protect all that hard work. Your board will probably experience all sorts of abuse from rain to mud, rock chips and dirt. This step literally takes the entire second day. So technically? you built that whole board in a day 😉
Step 8: Final Assembly
I won?t go into details with the final component assembly since there are plenty of resources online. But in summary:
Drill holes for your trucks, as far apart as reasonable. Countersink those holes so the screws lay flush. Screw your trucks into place. Make sure both trucks point outwards, otherwise your board won?t turn!
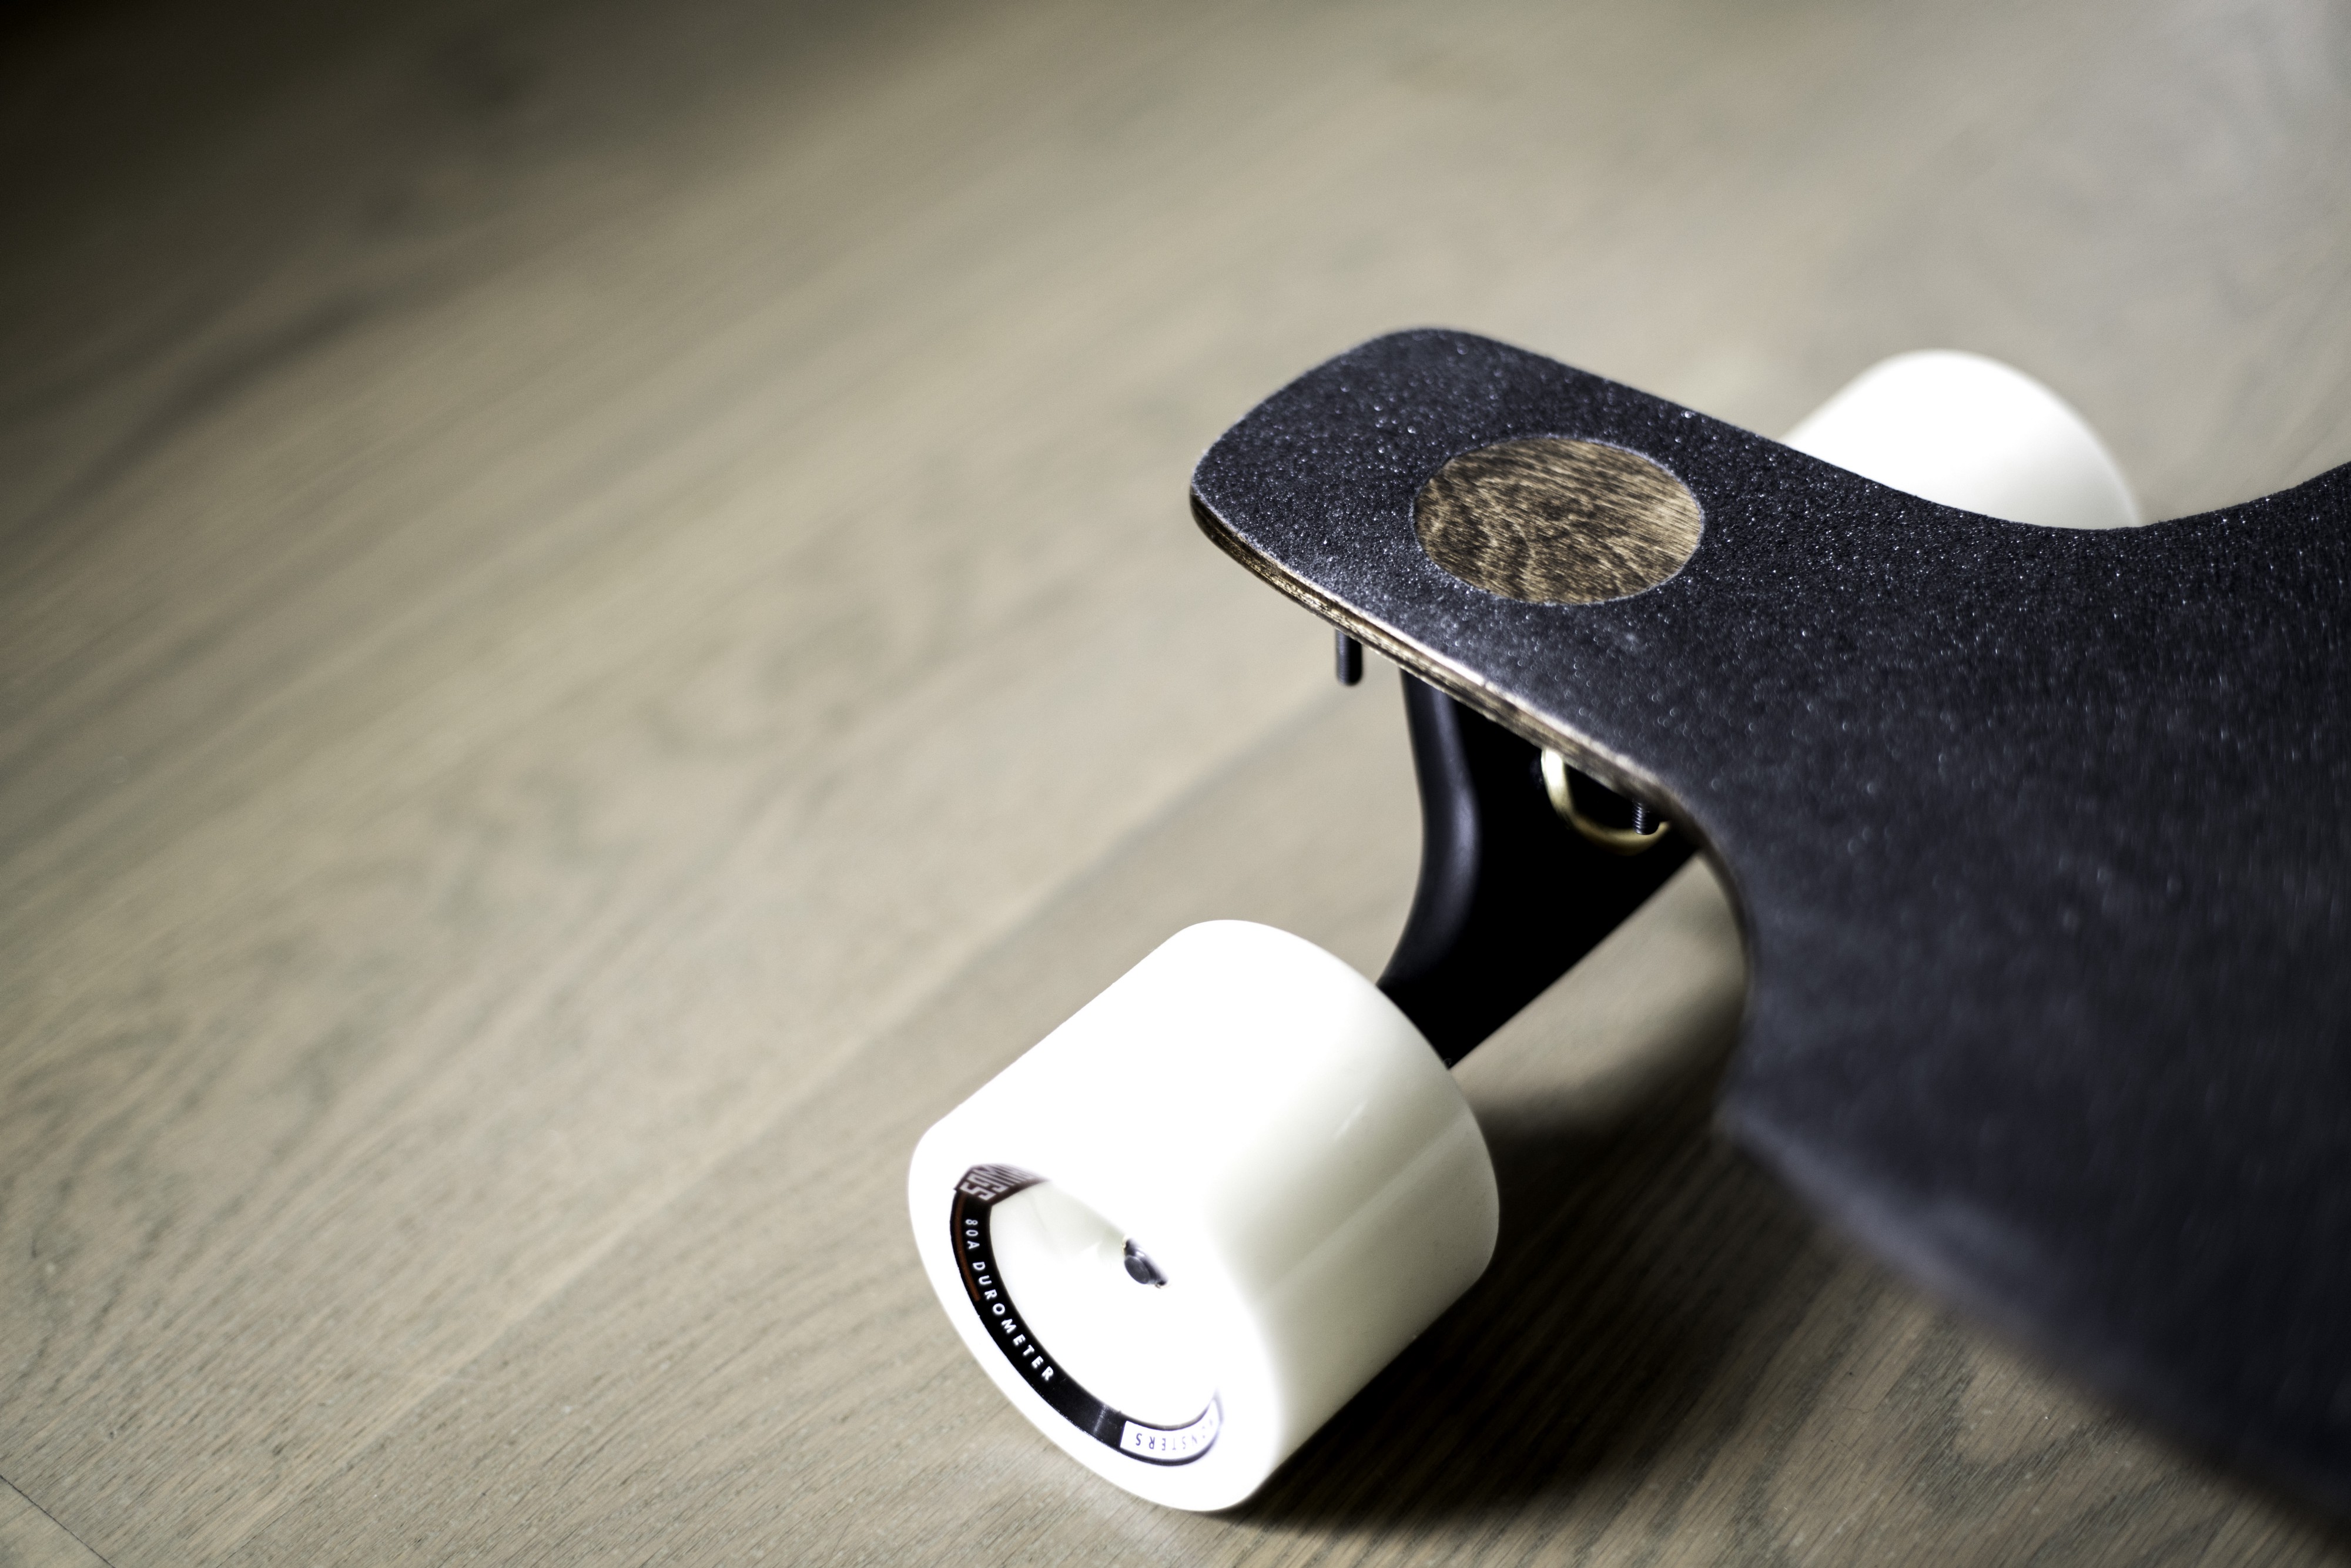
Install your wheels and bearings.
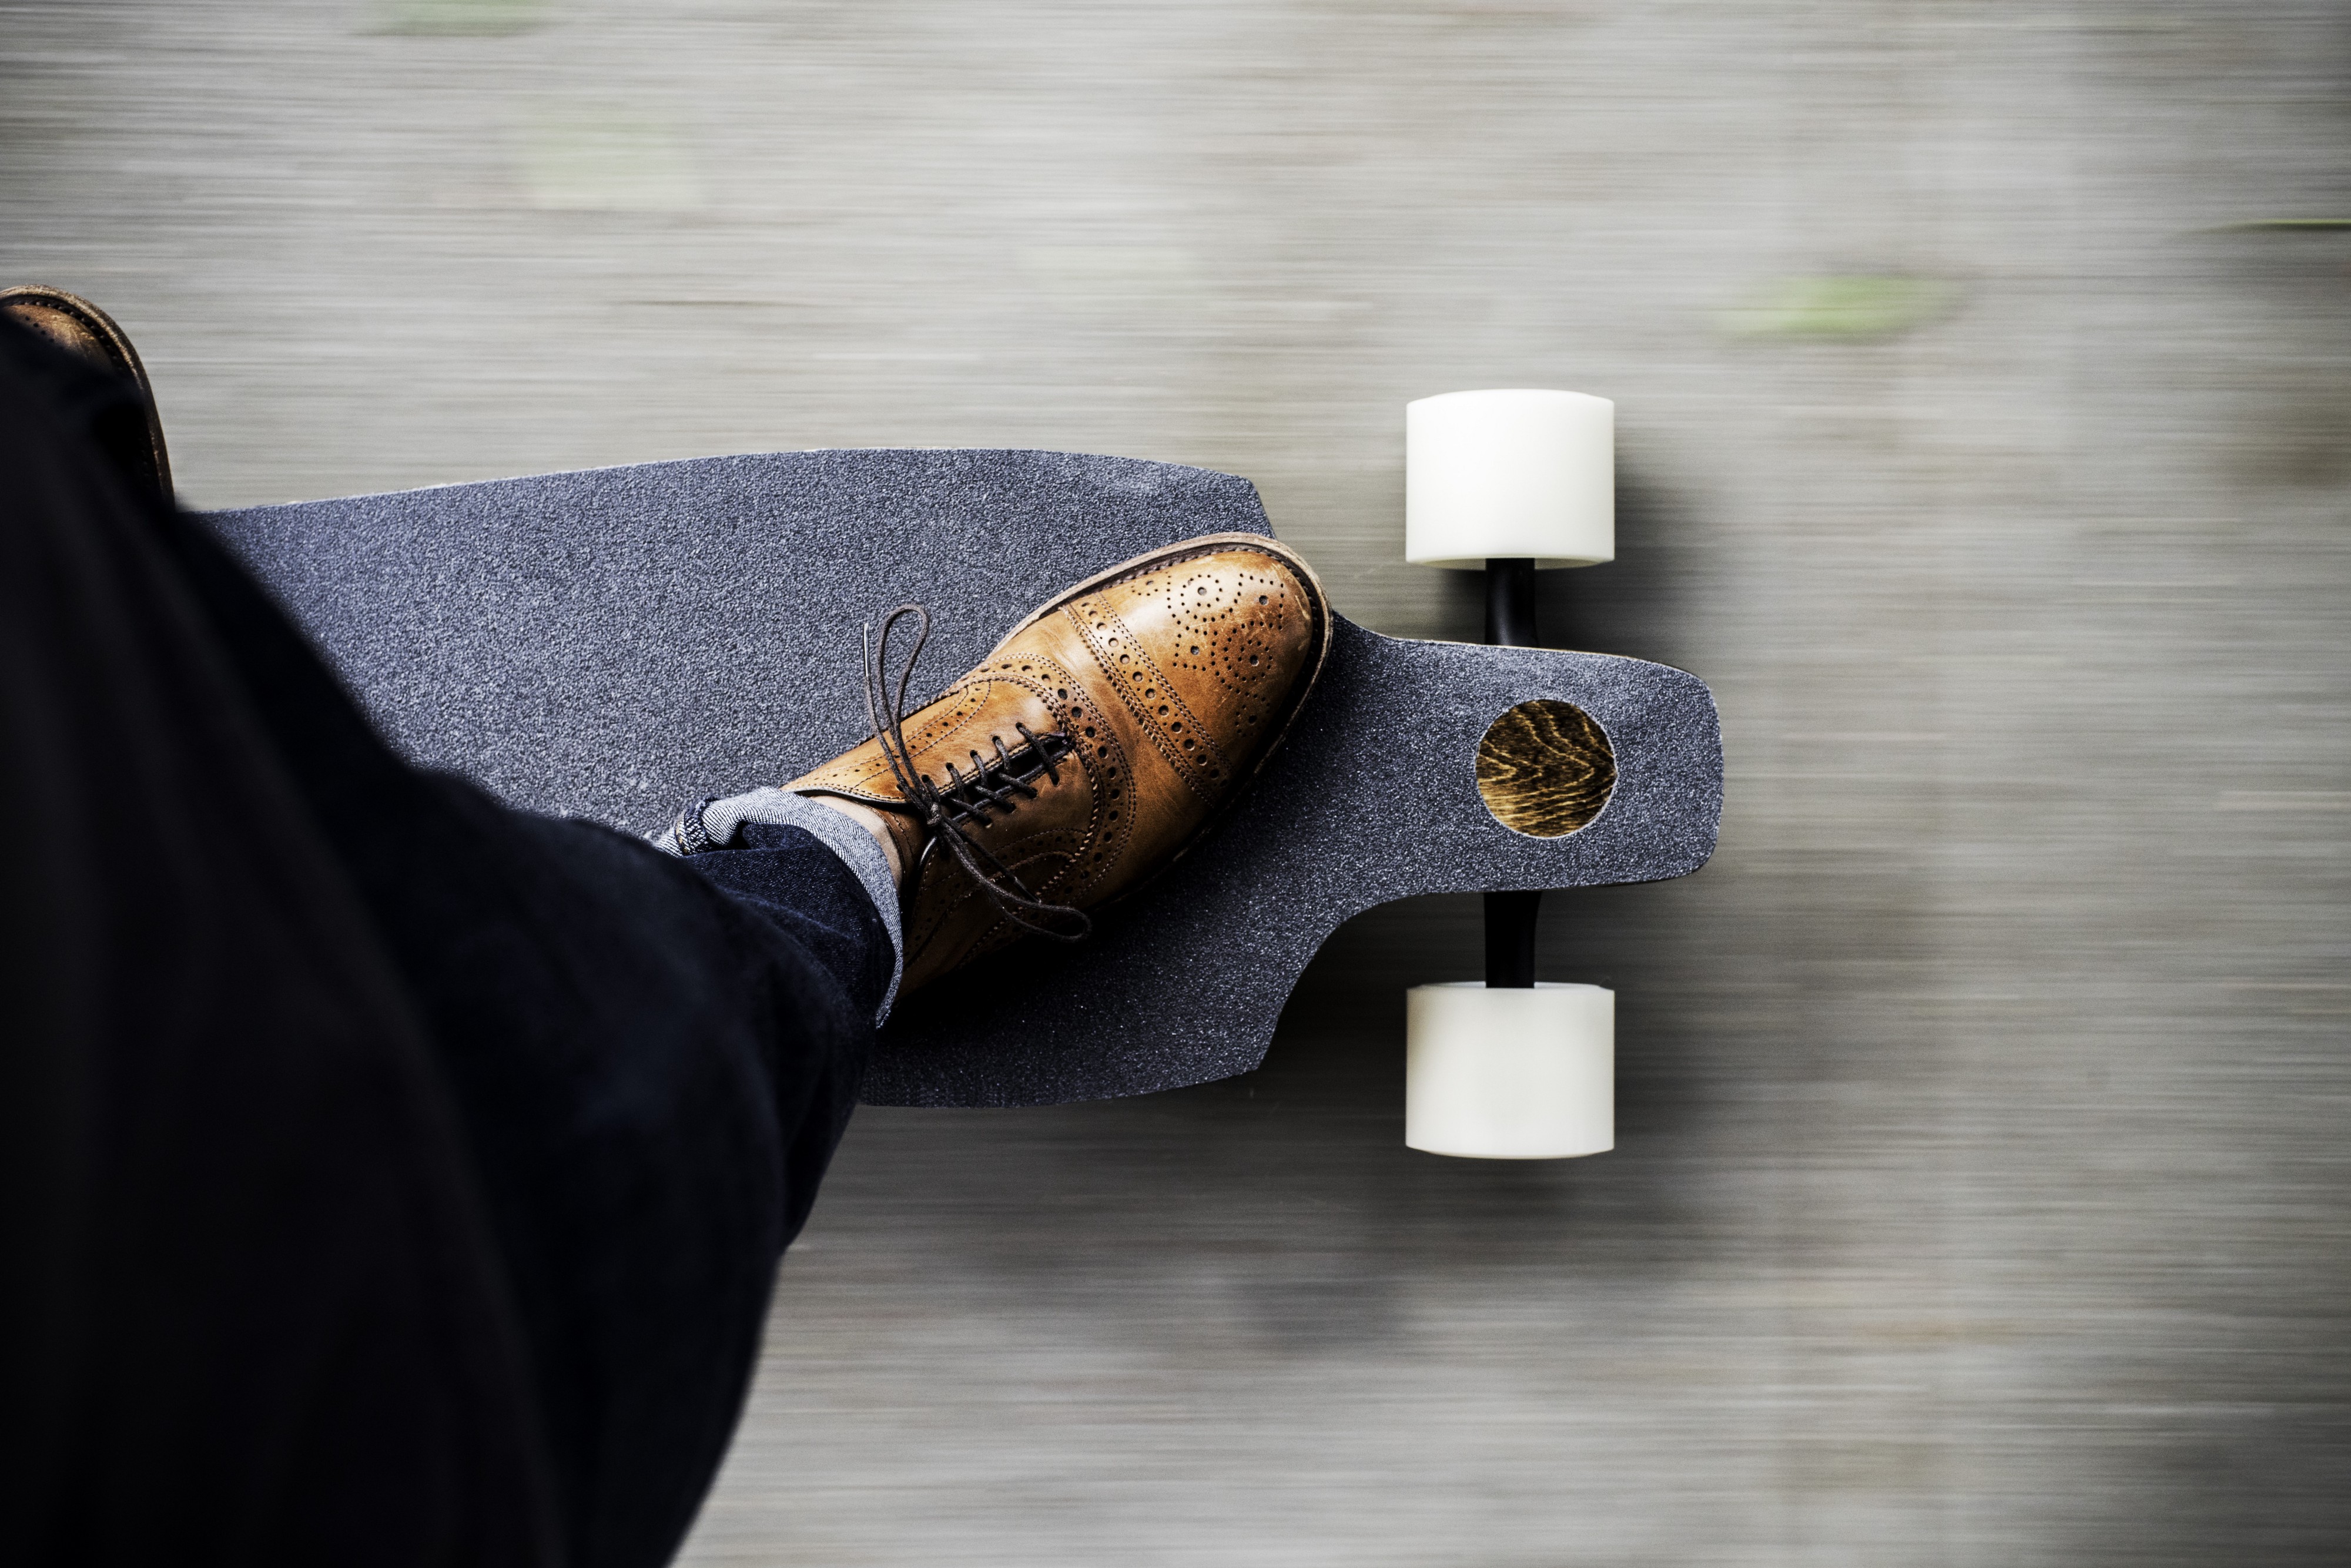
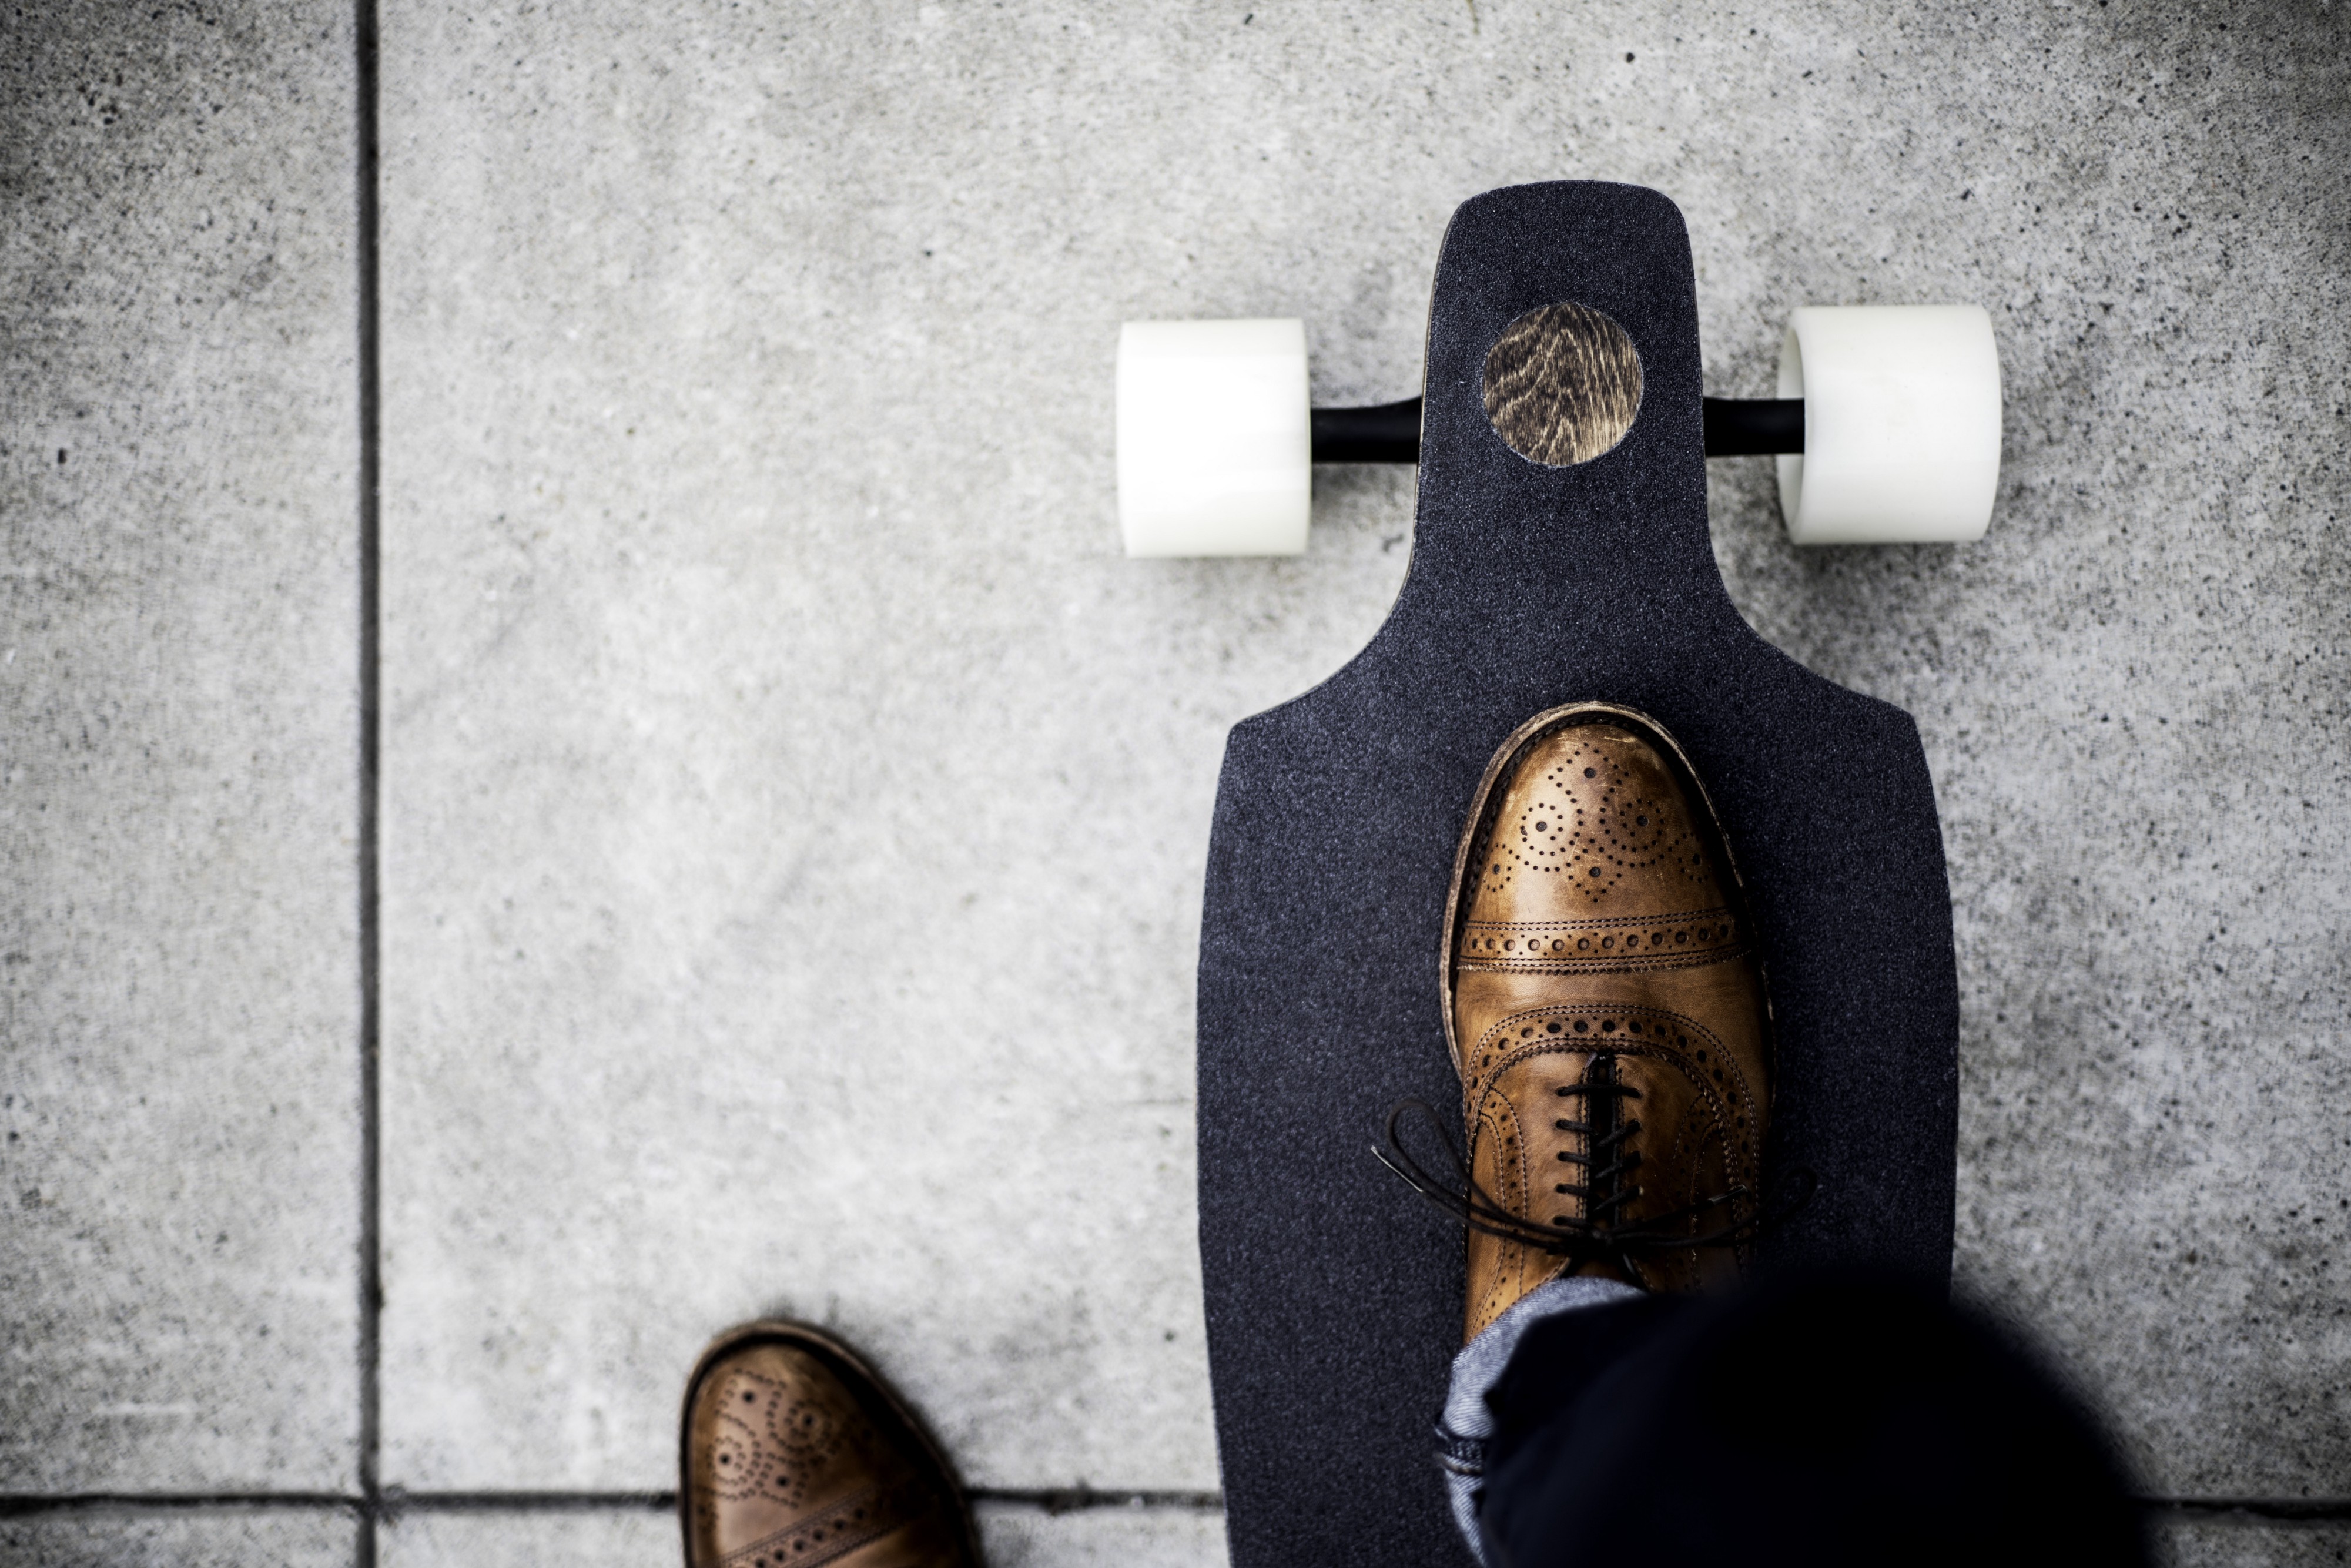
Lay the grip tape over the top and use a file to crease the edges, making it easy to tear off. Follow up with a blade and cut off the excess. I went to the length of adding a minimal circular cutout to give my board some character and tease the beautiful wood grain hiding below. If you desire, cut some interesting patterns of your own into the grip tape.
Tighten your trucks so they yield a comfortable turning radius. They tend to be very loose out of the box.
Get outside and fly. Be proud. You just made something that is equal parts beautiful and functional. There?s no other board like it. It?s special. It?s yours. And now you can put that woodworking experience behind your belt. If you?re in San Francisco hit me up. Let?s go bomb some hills on our beautiful new boards.
Find me on instagram, twitter, youtube, and www.shapingelements.com
