
 How to fixing Discord Audio Issue on Mac OS X with Unable to Stream Game Sound
Coronavirus pandemic makes all Americans to stay at home, and I feel appreciated and lucky enough not to lose my job now and to work remotely. Now, my coworkers and I recently tried to play the JackBox game, which is a series of mostly trivia games where one can share the screen while others can participate using own mobile device.
 JackBox Game 5. It contains the number of games that people can play together [Source: https://www.jackboxgames.com/]
To play together, we decided to use Discord app as a solution to participate. The idea is that few people can purchase distinct JackBox Party Packs and create the multiple channels where any participant can hop in and join. I also decided to host, and my purchased game version was the Jack Party Pack 5. But when I gave it a trial run with others by doing Go Live, one problem became obvious: the game sound streaming through Discord sounded choppy on the other sides. We tried a number of tests to troubleshoot the issue such as changing to Push to Talk option on Voice & Video option under Preferences instead of the default Voice Activity, switching to a headset, and trying out different input/output devices. But none seems to work.
There seems to be a known problem with Mac OS X streaming sound through multiple channels, as this article indicates:
Go Live Support for macOS
I think this is pretty straightforward, I’ve recently seen news about the new Go Live feature, I was eager to try it?
support.discordapp.com
After updating my Mac OS X (mid 2015) to Mac OS Catalina version 10.15.1, I seemed to have encountered a number of others issues including this one, though they are mostly related to the features that make the operating system more secure.
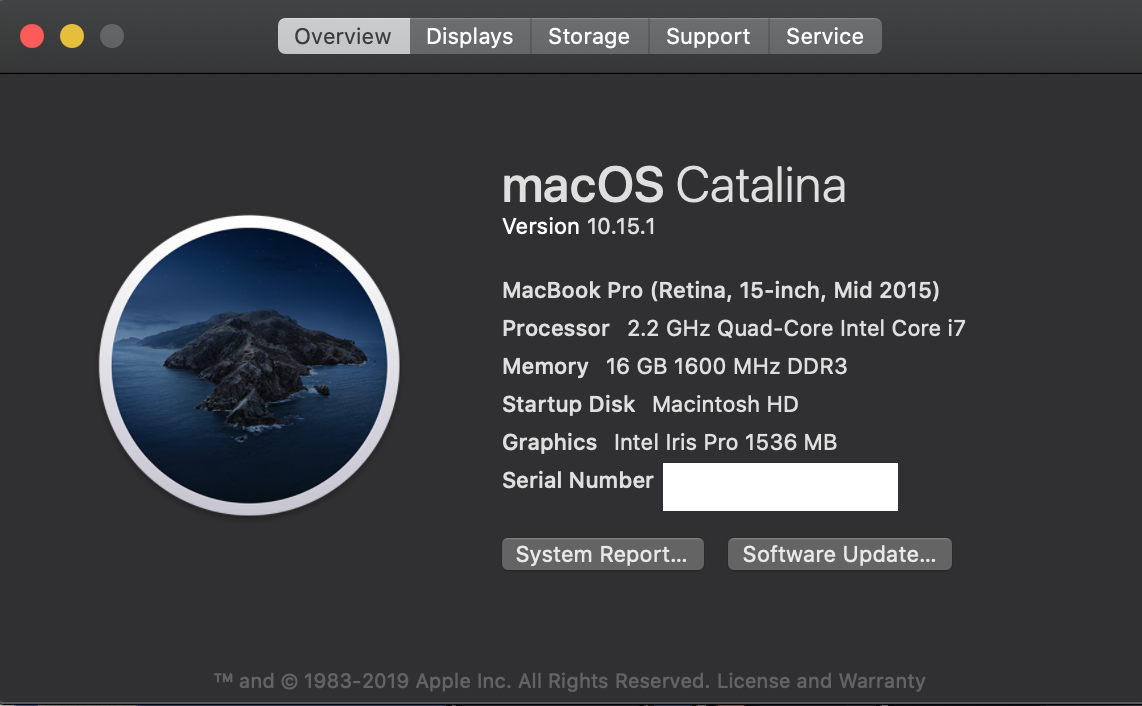 Mac OS X Catalina introduced a number of security related features, which can be also a blocker
After further digging on my own to resolve this issue, I realized that the problem is really related to the sound driver issue, where Mac OS X default driver cannot support multiple sound streaming channels. One suggestion came from a Reddit post, where it suggests SoundFlower option to resolve the issue. But since you will still encounter few issues on installing SoundFlower on Mac OS X without few tips, I will give a step-by-step tutorial on how you can install SoundFlower on the latest Mac OS X so you can stream multiple sound channels when you do Go Live on Discord.
So, here is the step-by-step guide on how to install SoundFlower on Mac OS X and enable the multiple audio channels on Discord.
STEP #1: Download the SoundFlower and Install
There are two ways to download and to install SoundFlower on MacOS X. One way is through the automated binary installation through its DMG file while another way is to download the through zip file containing the source codes and then moving the required files to a designated folder. Either way, the steps will be pretty much similar.
First, visit the SoundFlower download page.
mattingalls/Soundflower
Beta version of a signed, 128-channel version of Soundflower. (as required by Apple, this version of Soundflower.kext?
github.com
On the bottom, when you expand Assets, you will see number of different files.
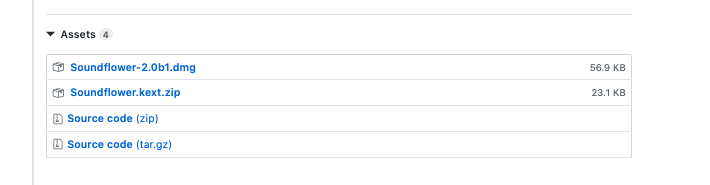 Different Sound Flower files to download
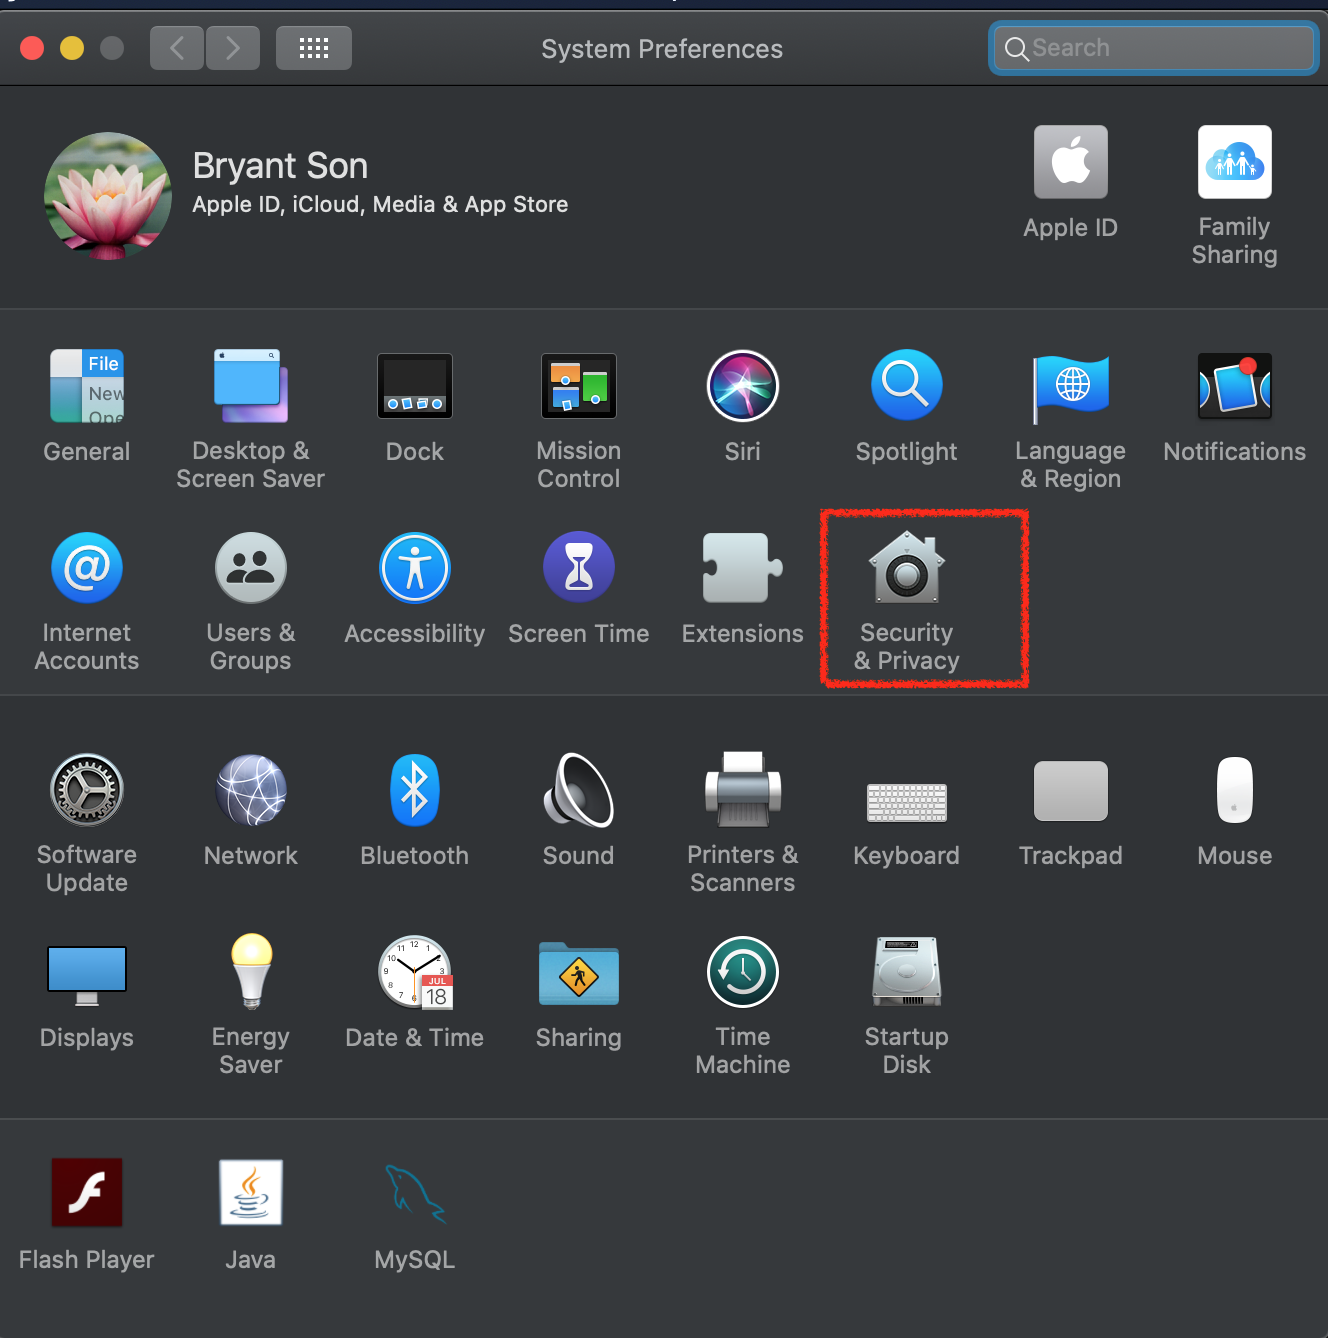
Suppose you decided to use DMG file. But you will get blocked at the last step due to a security issue. To resolve that, go to Preferences by clicking top left corner on your Mac OS.
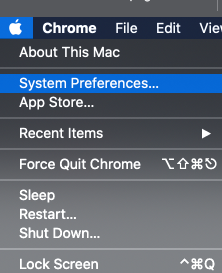 Go to System Preferences
Then, go to Security & Privacy.
From there, although it is not shown on the screen below, you will see a message like ?Matt INS? blocked. To allow this, click the lock icon and enter your password to allow this once.
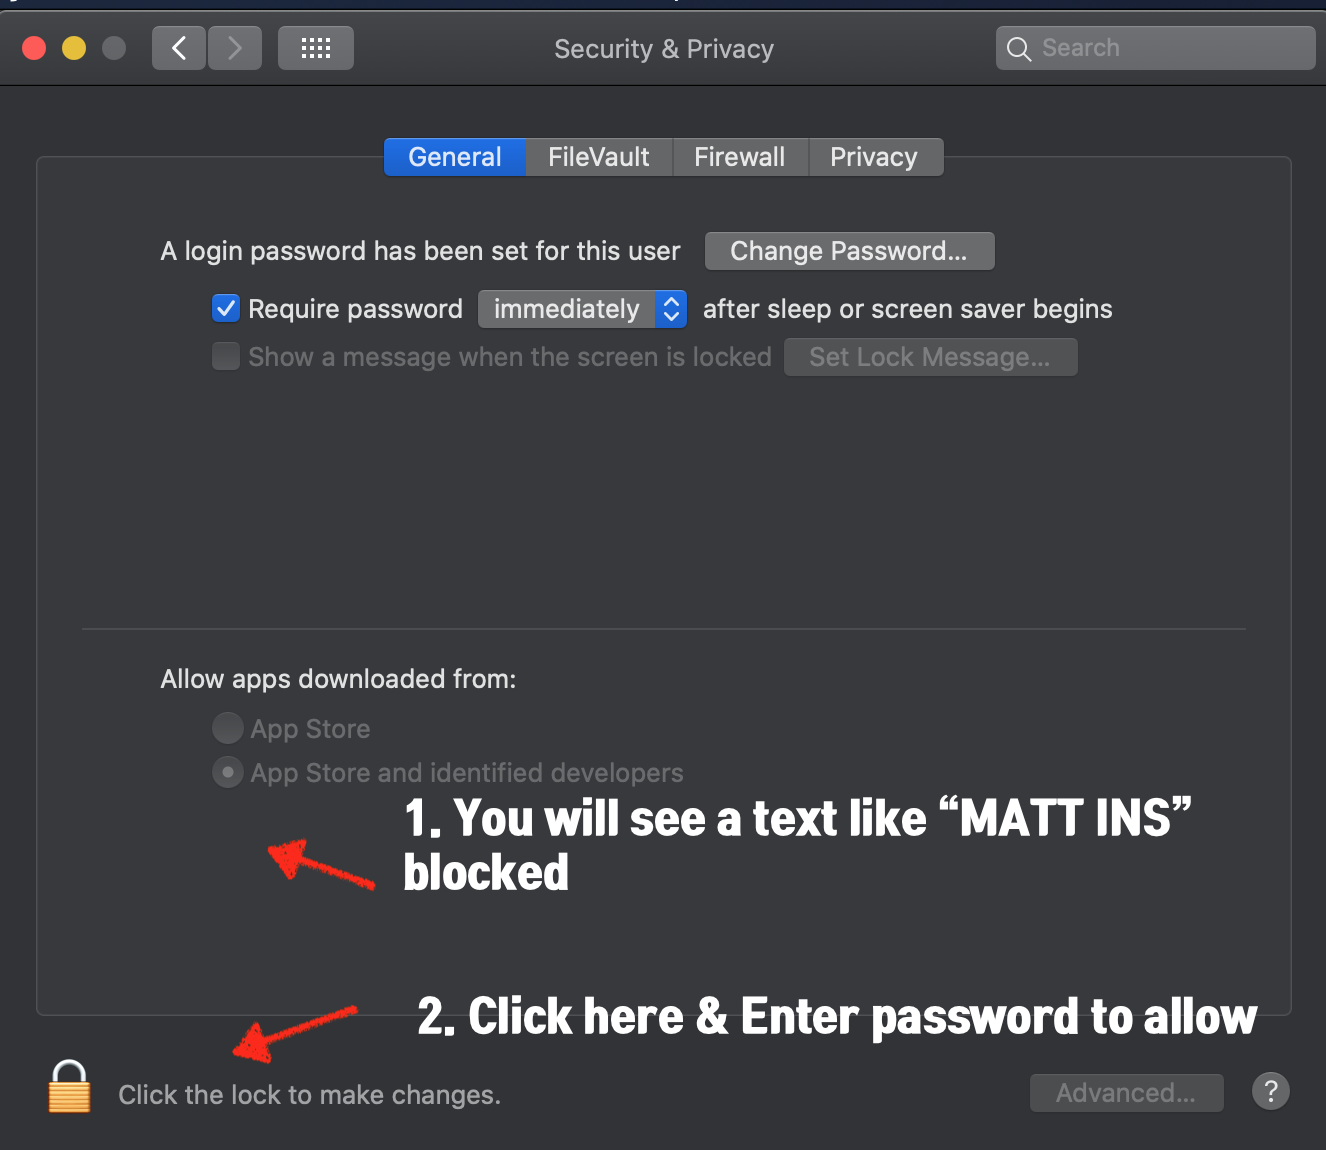 Allow the blocked by clicking lock icon & entering password
If you used an automated installer, you would not be able to proceed further before. But now, if you try again, you should be able to successfully install SoundFlower.
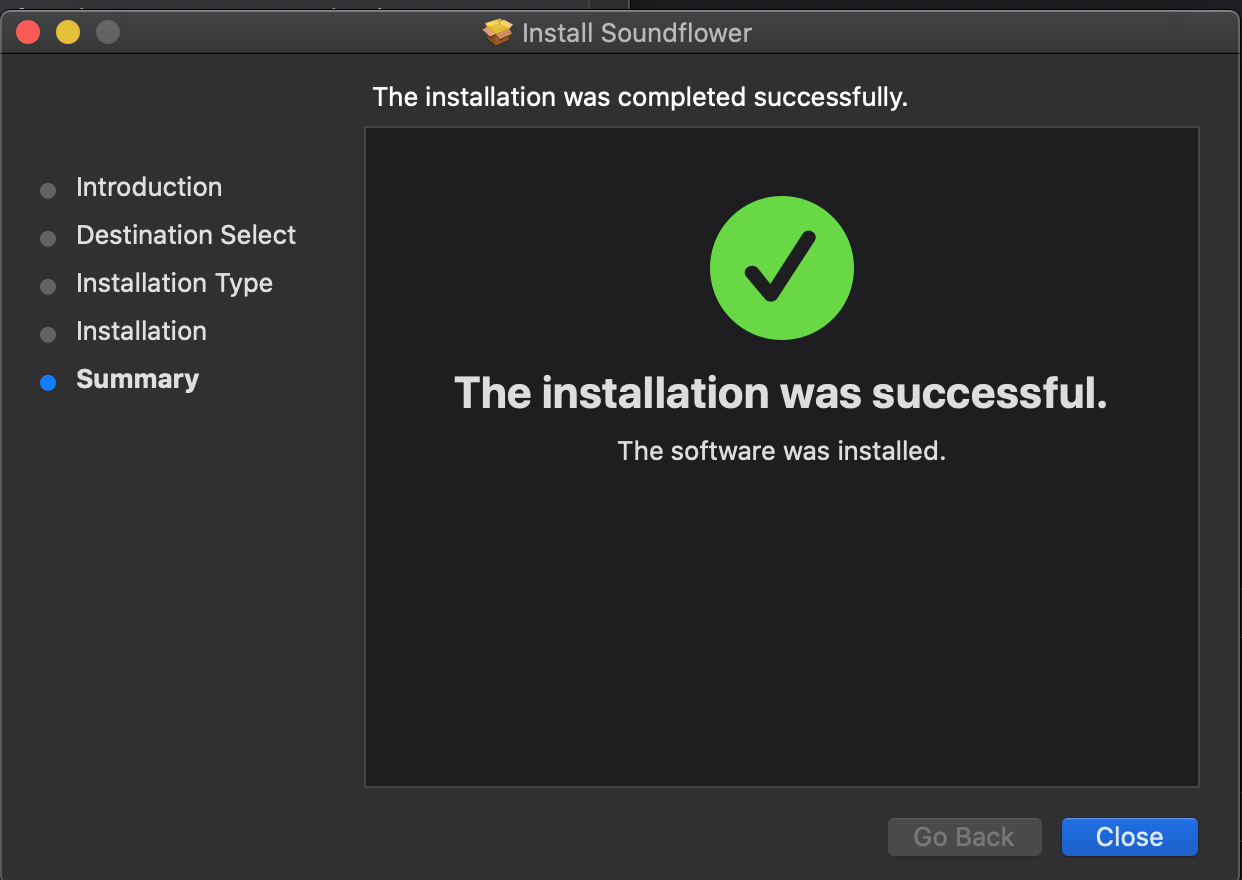 Successful installation of SoundFlower through automated DMG installer
But let?s say you want to use a manual installation way. Then, download Soundflower.kext.zip instead.
The instruction is in SoundFlower?s GitHub page, but basically here is the copy-and-paste of the instructions on how to do it.
sudo mv ~/Downloads/Soundflower.kext /Library/Extensionssudo chown -R root:wheel /Library/Extensions/Soundflower.kextsudo kextload /Library/Extensions/Soundflower.kext
Again, you will see an error in your terminal window if you don?t address the Security block issue through Security & Privacy window. So, make sure to visit Mac OS X Preferences ? Security & Privacy ? then click lock icon to allow the installation and then try again.

STEP #2: Verify that the SoundFlower is installed in Mac OS
Before jumping onto Discord to check, let?s quickly check that our Mac can recognize that SoundFlower as one of device options in Mac OS X.
Let?s go to System Preferences in Mac OS option again.
Let?s go to System Preferences in Mac OS X again
But in this time, instead of going to Security & Privacy, we will go to Sound
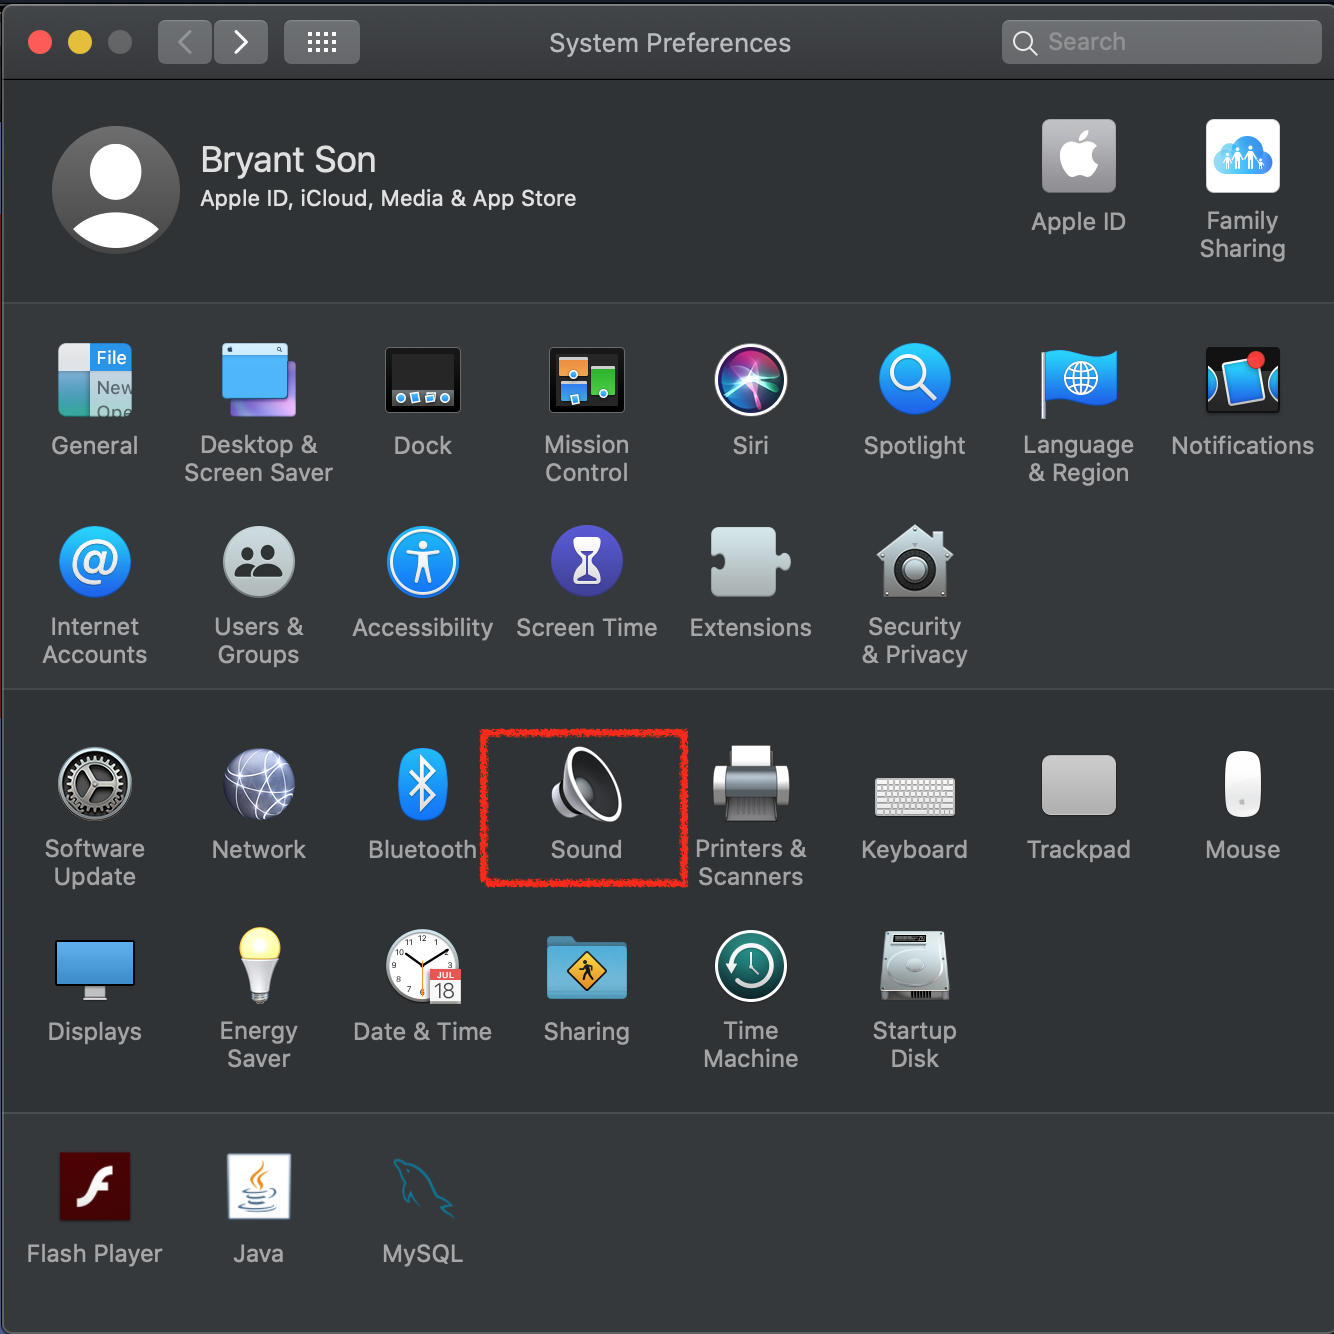 Click Sound
In the Sound window, when you click the select the dropdown menu where it says Selected sound output device, you should see Soundflower (2ch) and Soundflower (64ch) as new options.
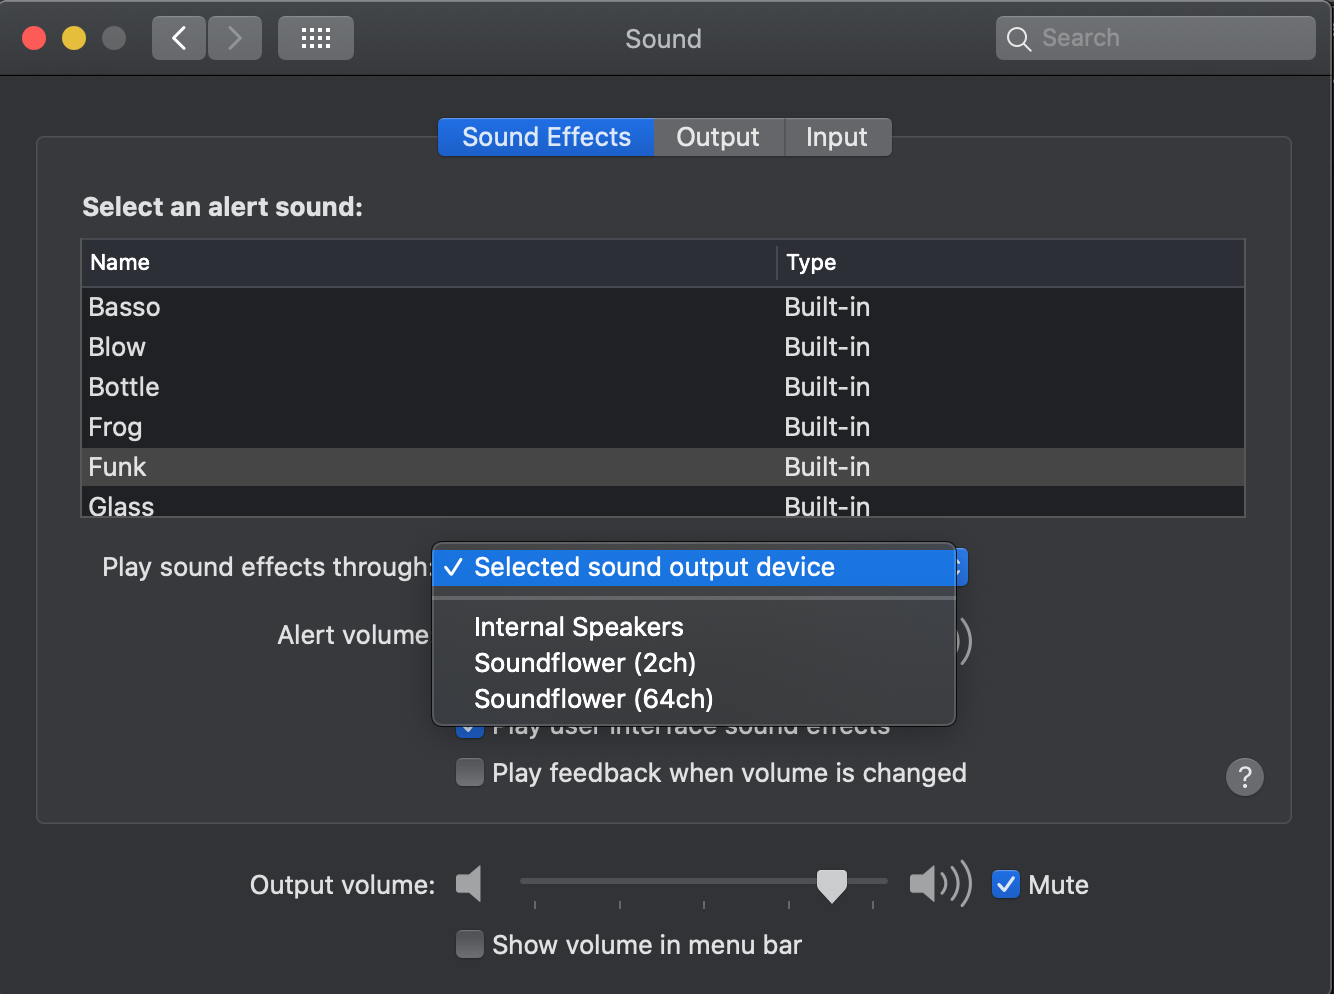 Soundflower audio devices are now options
Similarly, when you select Output tab, you should see Soundflower drivers shown up there as well.
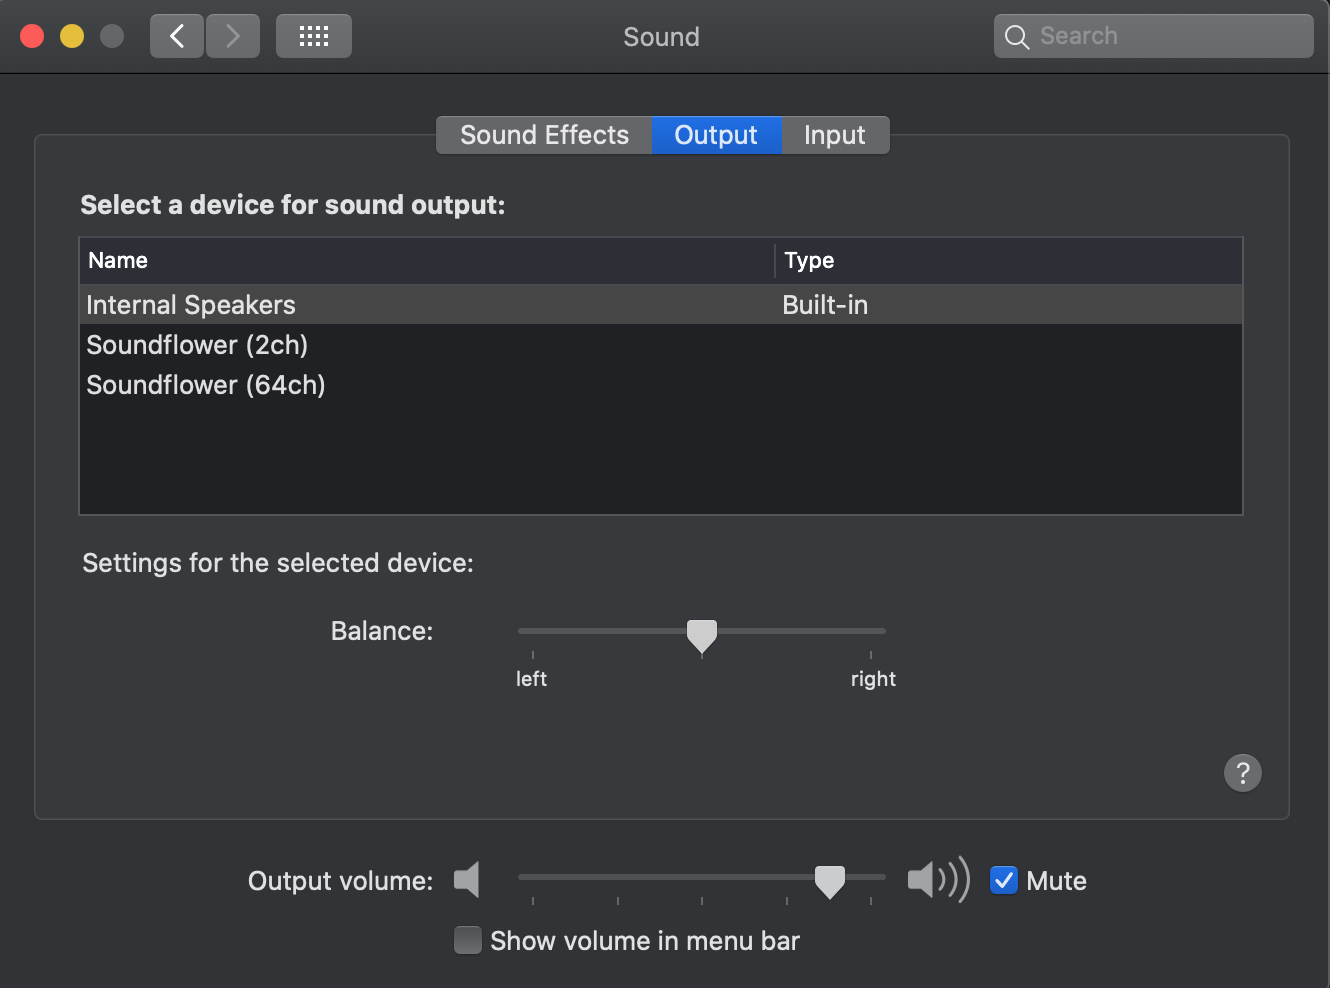 Soundflower options shown up in Ouput in Audio
STEP #3: Verify that the SoundFlower is available in Discord app
Finally, let?s visit our Discord app. After we opened our Discord app, we will click the top menu where it says Discord and then go to Preferences:
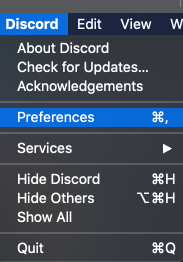 Go to Preferences in Discord
A new window will open up. We will select Voice & Video.
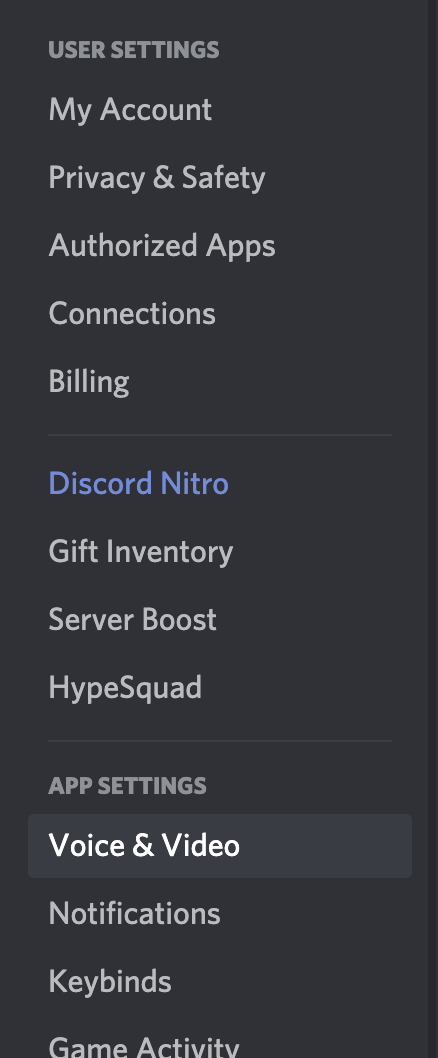 Select Voice & Video
In Voice & Audio option, you will now see that Built-in-Output now shows Multi-Output device, so you will use this as the default option to stream your game audio.
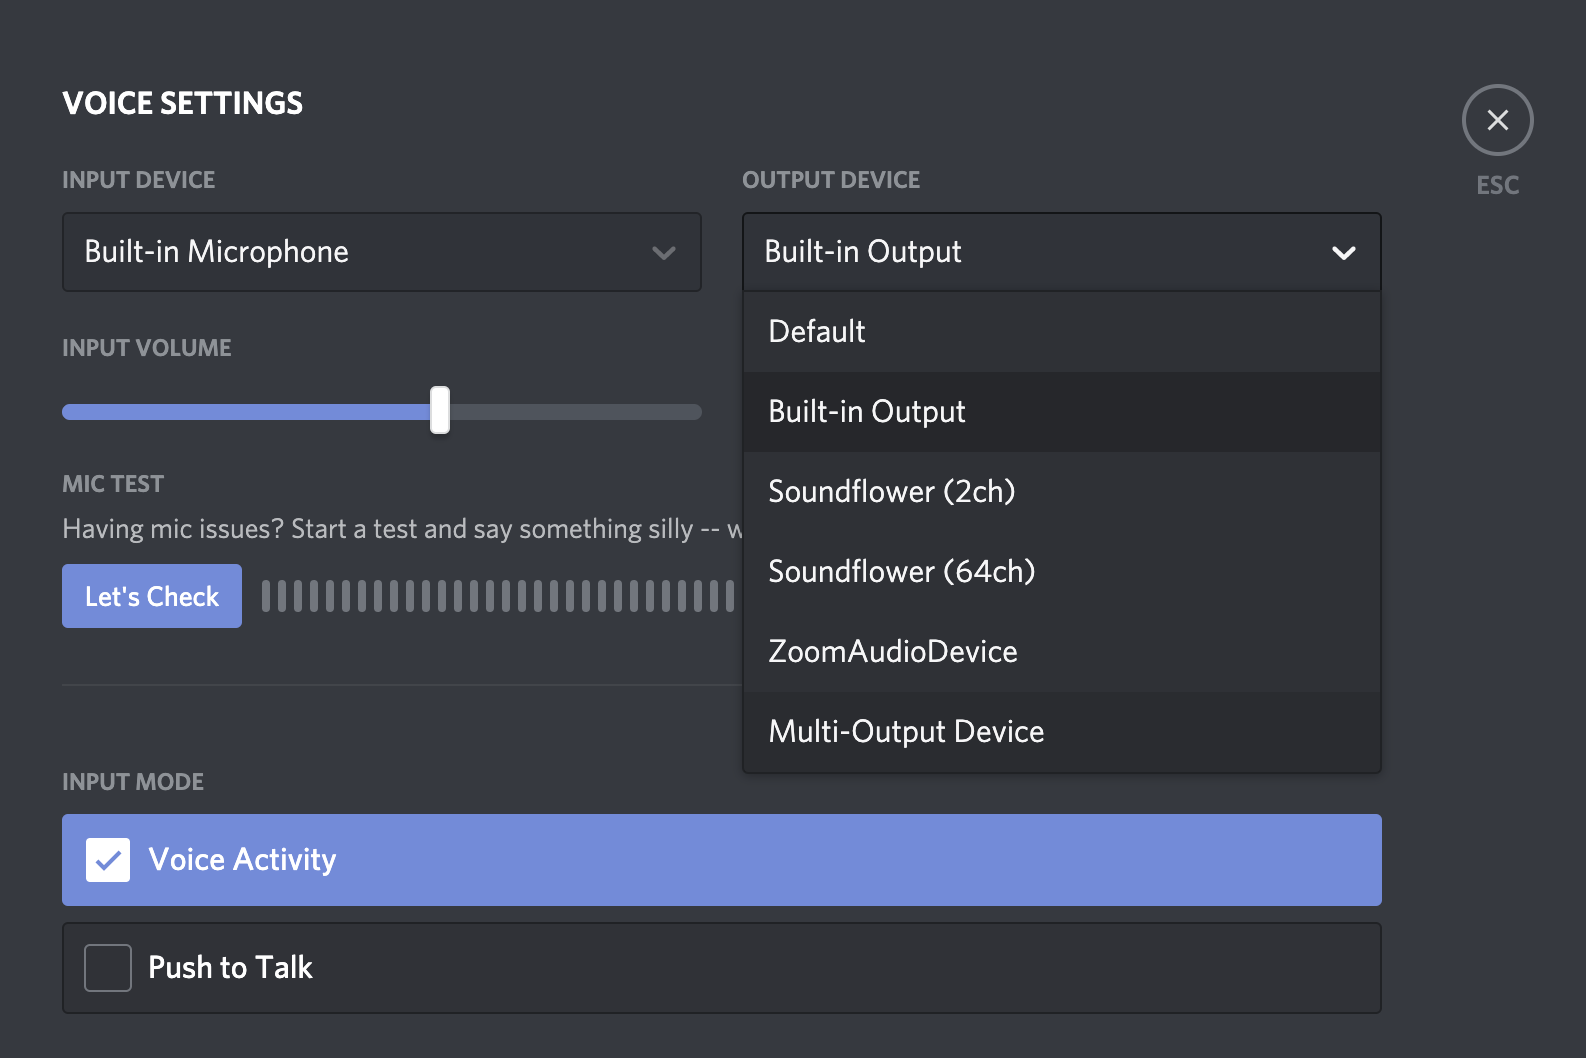 Change Built-in-Output to Multi-Output Device
After you made the change, Your final configuration should look like below. You can play with Input Device as well, but that should not be an issue.
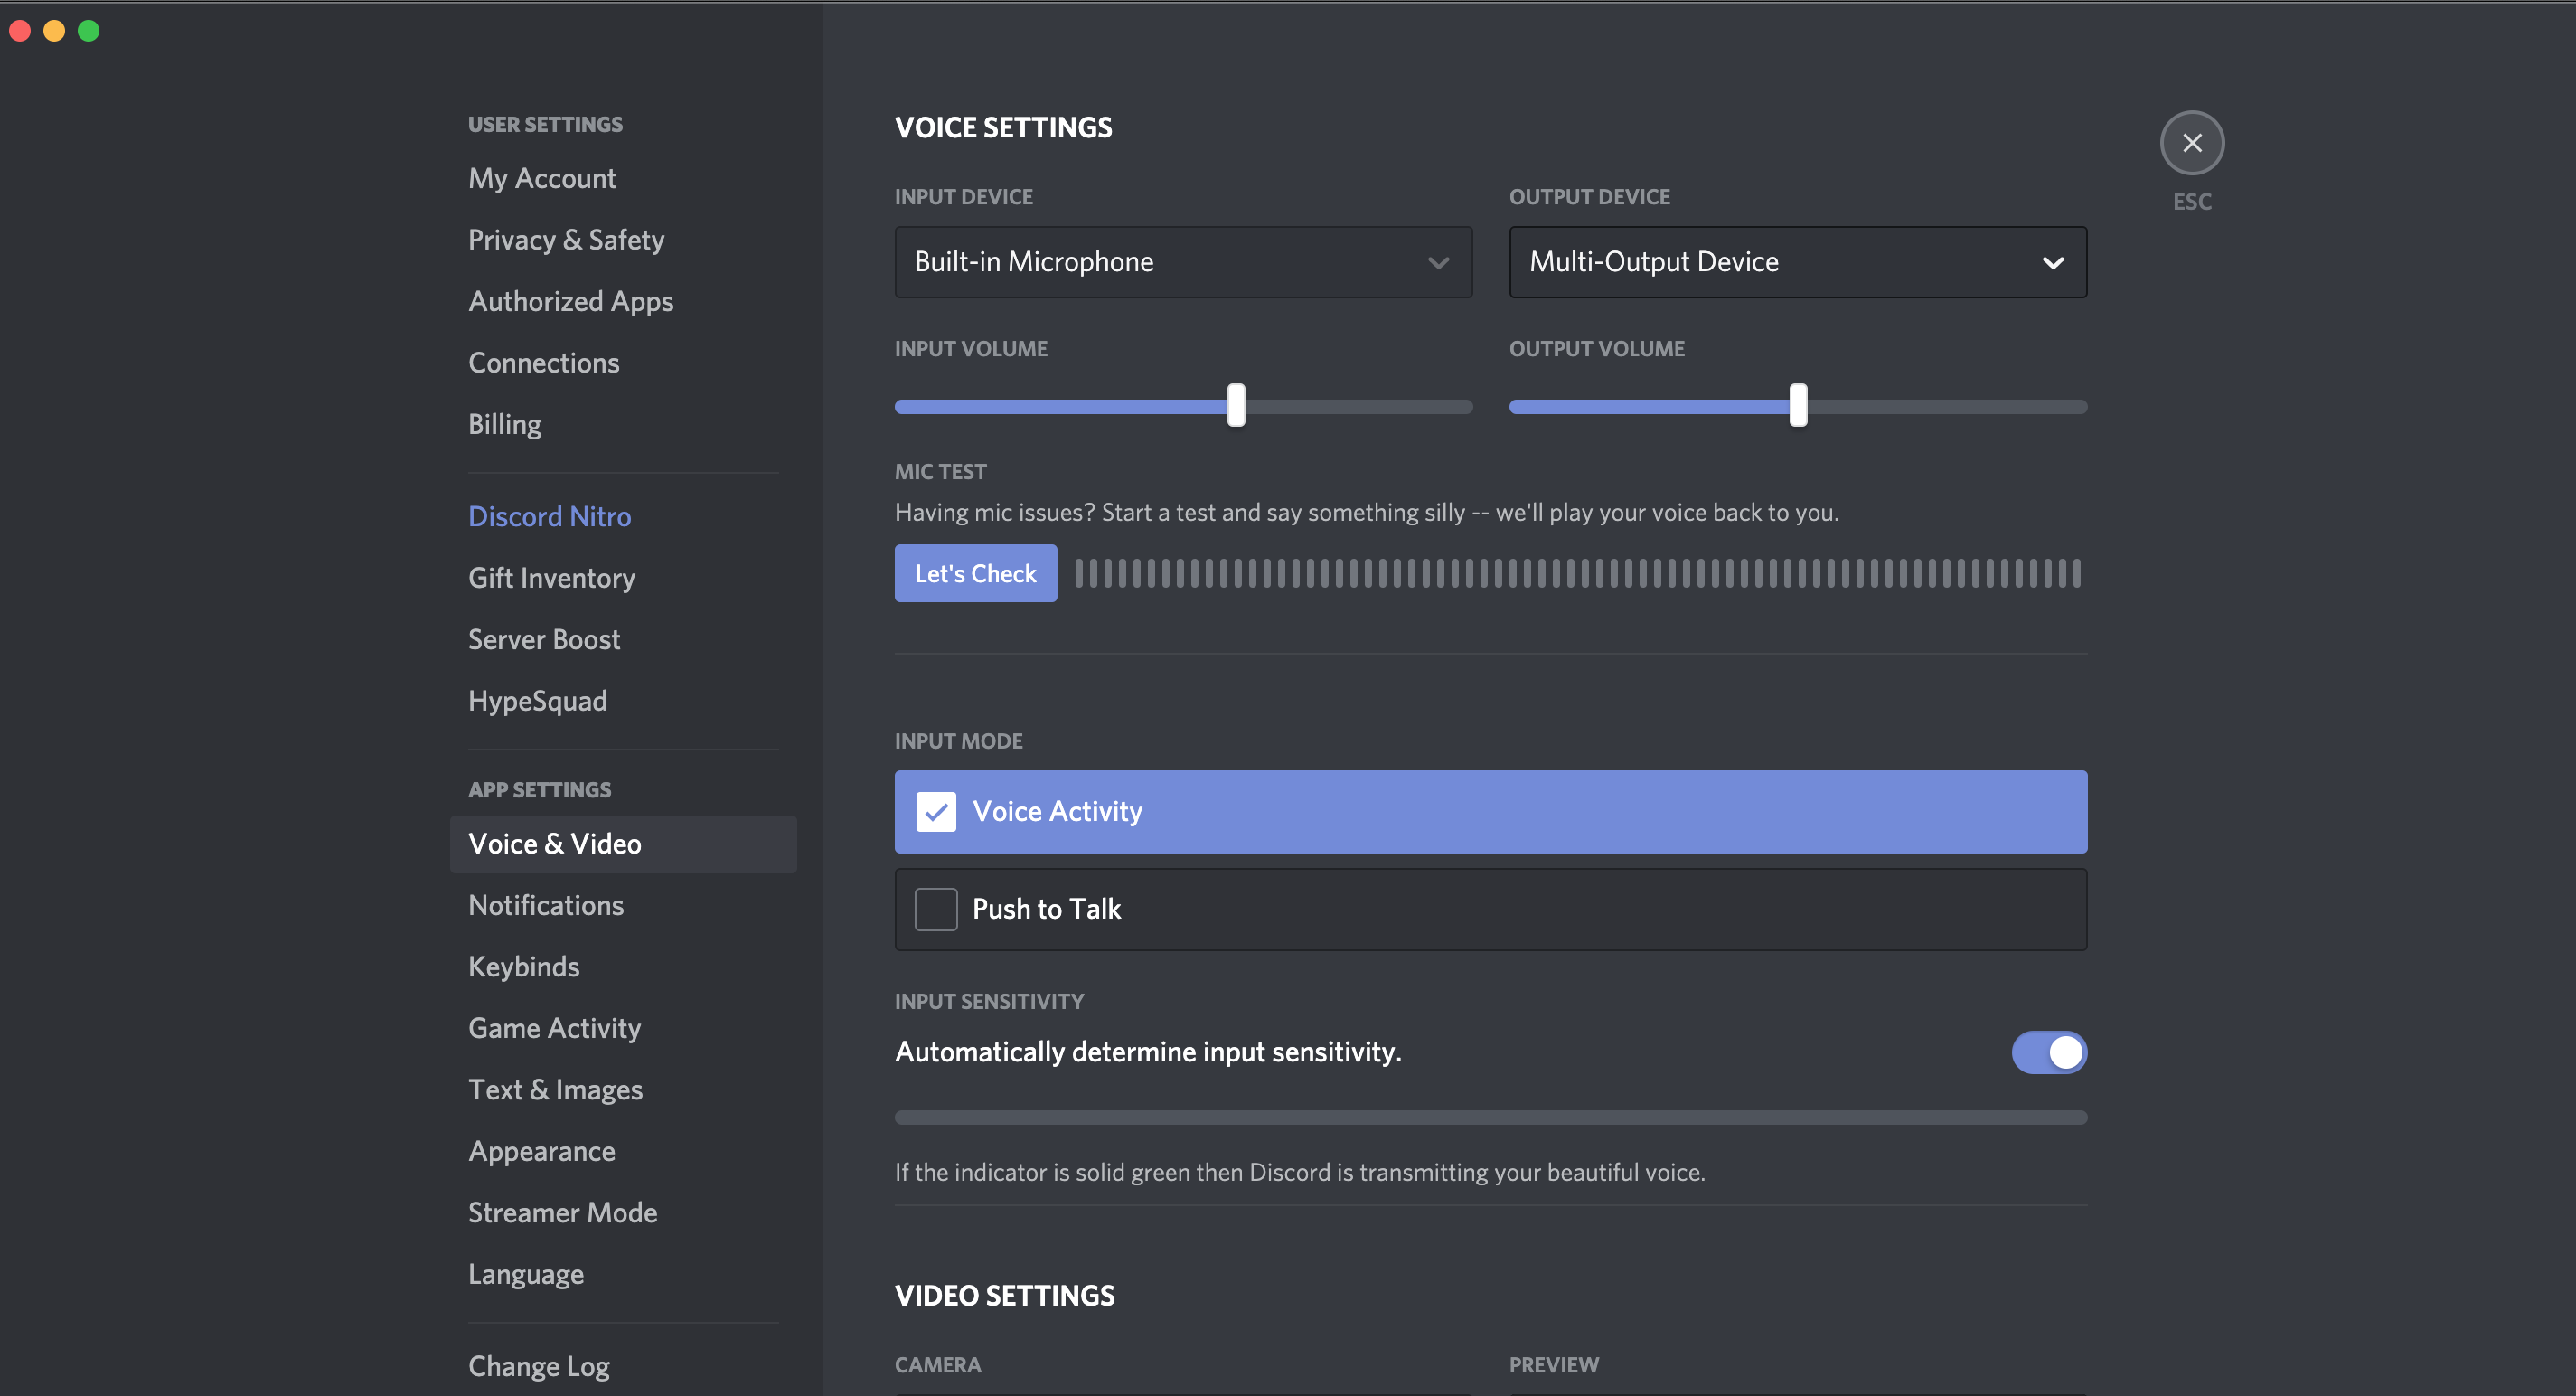 Your final Voice & Video option
Now, when you return to your Discord, you should now able to stream the game audio while talking at the same time. That should be it! Thank you.
