
 Mt Grampians, Vic, Australia
As a frontend developer, being a full-stack dev is always my end point (at this stage at least). I have learned a very basic about Django previously through Udemy. I was thinking that I would jump touching the backend side later whenever I feel super comfortable with my front end skill. However, after speaking to some people, they suggester there is no harm to actually start doing so. Therefore, after hours of researching tutorial, I will demonstrate the super basic front-end and backend application.
Setting up environment (Backend)
At this stage, make sure you have django installed ? with pipenv
$ cd Project$ mkdir todo $ cd todo$ cd ..$ cd mkdir backend$ cd backend$ sudo -H pip install -U pipenv //installing pipenv to avoid “pipenv: command not found”$ pipenv install django$ pipenv shell$ cd todo_api/$ django-admin startproject todo_api$ python manage.py startapp todos$ python manage.py migrate
Then, at todos app at the INSTALLED_APPS settings in our settings.py file.
# todo_api/settings.pyINSTALLED_APPS = [ ‘django.contrib.admin’, ‘django.contrib.auth’, ‘django.contrib.contenttypes’, ‘django.contrib.sessions’, ‘django.contrib.messages’, ‘django.contrib.staticfiles’, ‘todos’, # new line]
When you run it:
$ python manage.py migrate runserver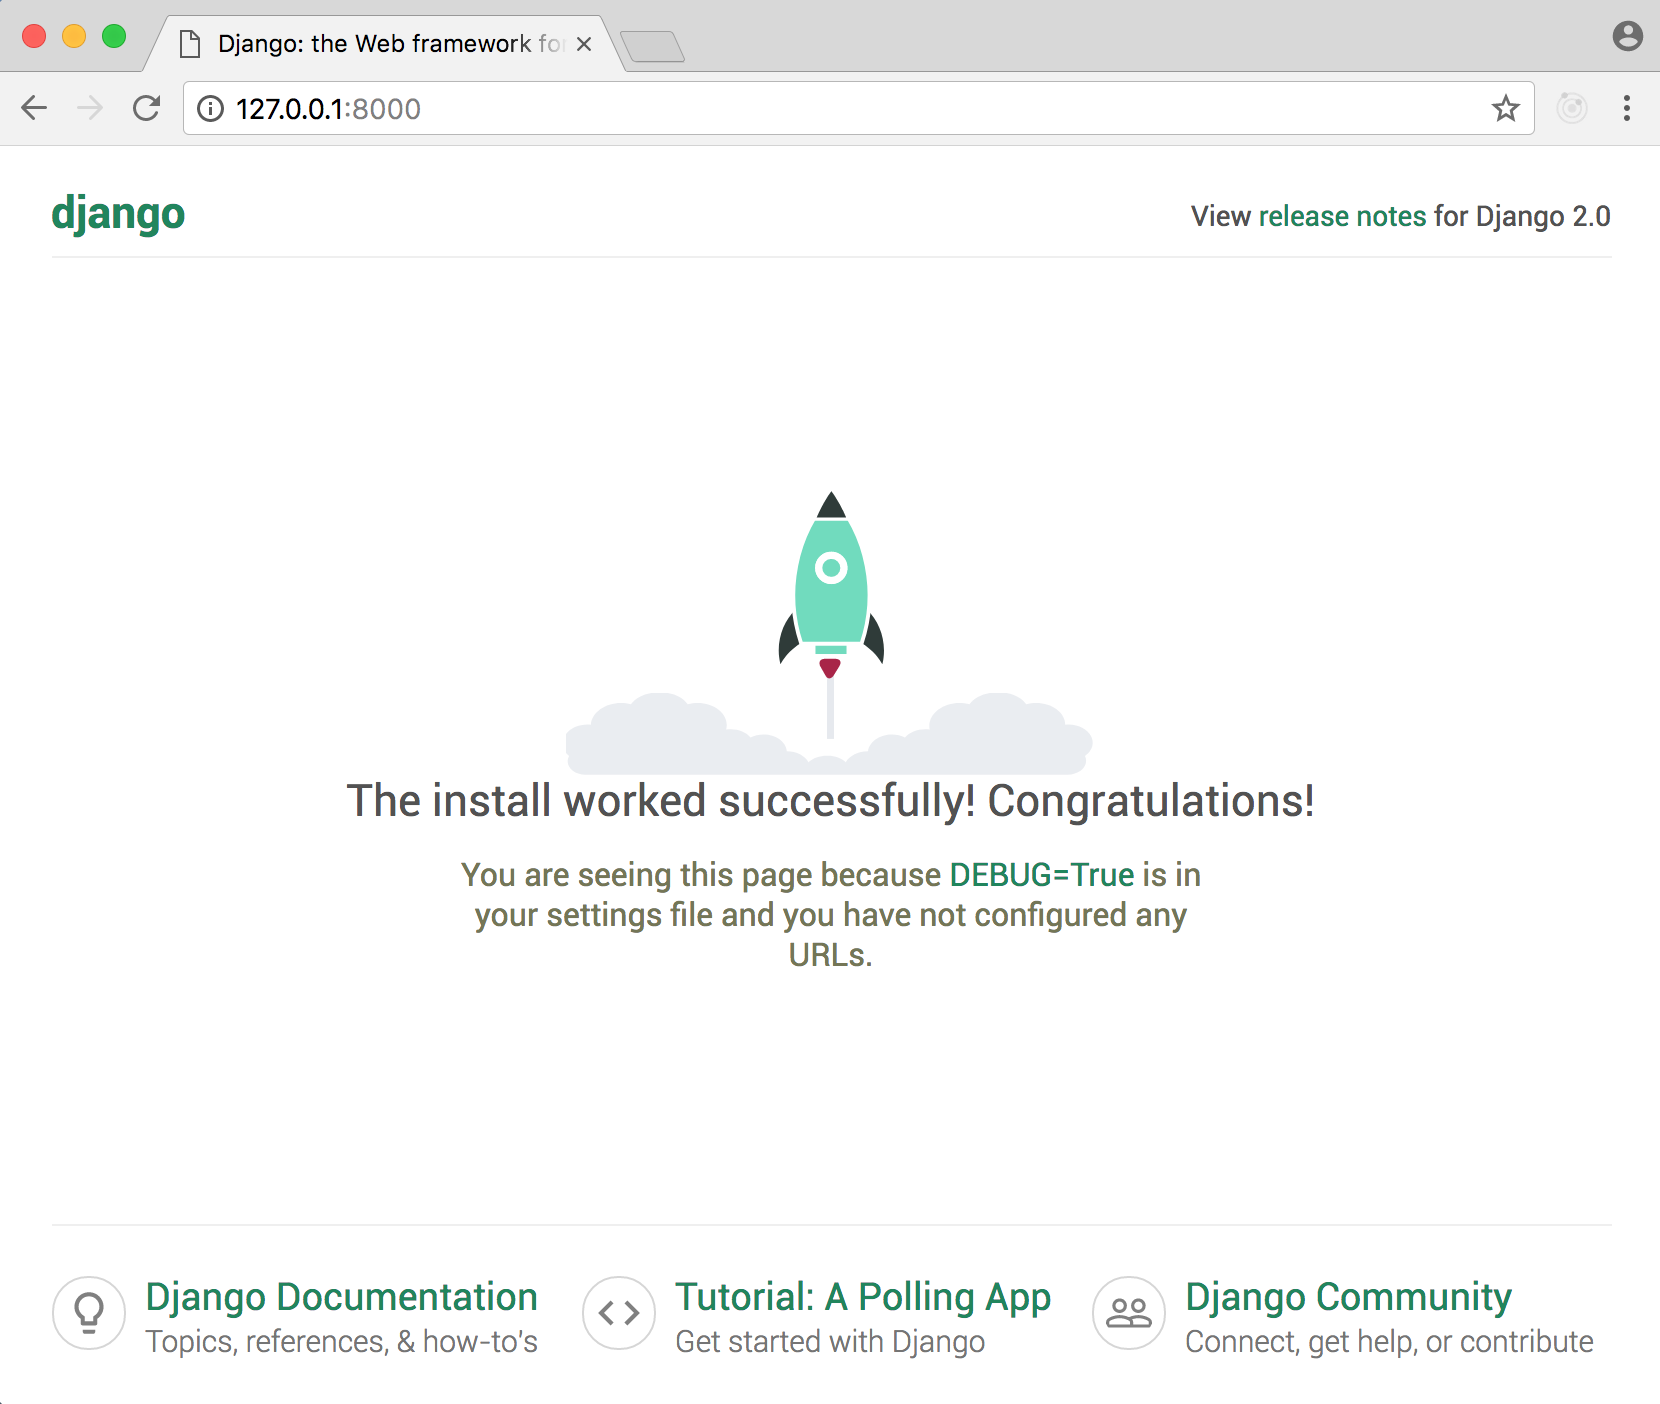 reference: https://wsvincent.com/django-rest-framework-react-tutorial/
Create Models
After that, we create todo list database model as we wish (at this example, I would just use two fields/based on the tutorial I referred):
# Codes from https://wsvincent.com/django-rest-framework-react-tutorial/# todos/models.pyfrom django.db import modelsclass Todo(models.Model): title = models.CharField(max_length=200) description = models.TextField() def __str__(self): “””A string representation of the model.””” return self.title
As we have update our backend model, it?s time for Django two-step dance of making new migrations file, then execute migrating it. Follow the step below.
$ (type control – c)// control + c(backend) $ python manage.py makemigrations todos(backend) $ python manage.py migrate todos
We should now add Todo model to the admin site. Then, lets access the Django admin to play around with the data.
# todos/admin.pyfrom django.contrib import adminfrom .models import Todoadmin.site.register(Todo)
The next would be, adding superuser:
(backend) $ python manage.py createsuperuser
You will be asking username + password + email regarding to createsuper for admin. Make sure you remember that, as you might need to re-create super user if issue arises.
Now, we run the server again
(backend) $ python manage.py runserver
Open on your browser the localhost page with the route of /admin:
http://127.0.0.1:8000/admin/
Then, use your username + password
 reference: https://wsvincent.com/django-rest-framework-react-tutorial/
Now you can add manually datas to the api through the admin site.
Tests.py
Now lets create some test before we touch the frontend side. This is the simple testing procedure from the tutorial I referred:
# todos/tests.pyfrom django.test import TestCasefrom .models import Todoclass TodoModelTest(TestCase): @classmethod def setUpTestData(cls): Todo.objects.create(title=’first todo’) Todo.objects.create(description=’a description here’) def test_title_content(self): todo = Todo.objects.get(id=1) expected_object_name = f'{todo.title}’ self.assertEquals(expected_object_name, ‘first todo’) def test_description_content(self): todo = Todo.objects.get(id=2) expected_object_name = f'{todo.description}’ self.assertEquals(expected_object_name, ‘a description here’)
Stop the server, and re run
(backend) $ python manage.py test
Django REST Framework
First step would be to install Django REST Framework with pipenv
(backend) $ pipenv install djangorestframework
Update settings.py
# todo_api/settings.pyINSTALLED_APPS = [ ‘django.contrib.admin’, ‘django.contrib.auth’, ‘django.contrib.contenttypes’, ‘django.contrib.sessions’, ‘django.contrib.messages’, ‘django.contrib.staticfiles’, ‘rest_framework’, // new ‘todos’,]# newREST_FRAMEWORK = { ‘DEFAULT_PERMISSION_CLASSES’: [ ‘rest_framework.permissions.AllowAny’, ]}
Lets make /api as our endpoint (routing address) with the extension of <id> as a primary key. Basically the object would be at api/<id>.
We started by update urls.py at project level, refer it at todos app at the subdomain api/.
# todo_api/urls.pyfrom django.contrib import adminfrom django.urls import include, pathurlpatterns = [ path(‘admin/’, admin.site.urls), path(‘api/’, include(‘todos.urls’)),]
Then followed by app-level urls.py file.
(backend) $ touch todos/urls.py
Update the urls.py
# todos/urls.pyfrom django.urls import pathfrom . import viewsurlpatterns = [ path(”, views.ListTodo.as_view()), path(‘<int:pk>/’, views.DetailTodo.as_view()),]
Serializers
So far, we have a project and app, database model, and url scheme. We want the URL endpoints to return data in JSON format, which requires a serializers.
I am pretty new to APIs, I found that this part was quite confusing the first time I did the tutorial.
In short, Serializer translates our data into a JSON format, that can efficiently be passed around the internet and then used by other parties, such as front end.
Lets make our first serializer, create a new serializers.py file in our todos app.
(backend) $ touch todos/serializers.py
Then update it with the following code.
# todos/serializers.pyfrom rest_framework import serializersfrom .models import Todoclass TodoSerializer(serializers.ModelSerializer): class Meta: fields = ( ‘id’, ‘title’, ‘description’, ) model = Todo
Views
In Django, views are optimised by selecting what data to send to the templates.
# todos/views.pyfrom rest_framework import genericsfrom .models import Todofrom .serializers import TodoSerializerclass ListTodo(generics.ListCreateAPIView): queryset = Todo.objects.all() serializer_class = TodoSerializerclass DetailTodo(generics.RetrieveUpdateDestroyAPIView): queryset = Todo.objects.all() serializer_class = TodoSerializer
Here it is. The API is ready to be passed around front end.
Browsable API
$ python manage.py runserver
Access this address: http://127.0.0.1:8000/api/
 API. Reference: https://wsvincent.com/django-rest-framework-react-tutorial/
 JSON. Reference: https://wsvincent.com/django-rest-framework-react-tutorial/
CROSS-ORIGIN RESOURCE SHARING (CORS)
Last step is configuring CORS.
CORS requires the server to include specific HTTP headers that allow the browser to determine if and when cross-domain requests should be allowed.
The first step would be quit the server, and install cors-header.
(backend) $ pipenv install django-cors-headers
Then update the settings.py
Add corsheaders to the INSTALLED_APPS
# todo_api/settings.pyINSTALLED_APPS = [ ‘django.contrib.admin’, ‘django.contrib.auth’, ‘django.contrib.contenttypes’, ‘django.contrib.sessions’, ‘django.contrib.messages’, ‘django.contrib.staticfiles’, ‘rest_framework’, ‘corsheaders’, # new ‘todos’,]
Add two new middleware
# the first twos middleware are the new additional. Order mattersMIDDLEWARE = [ ‘corsheaders.middleware.CorsMiddleware’, # new ‘django.middleware.common.CommonMiddleware’, # new ‘django.middleware.security.SecurityMiddleware’, ‘django.contrib.sessions.middleware.SessionMiddleware’, ‘django.middleware.common.CommonMiddleware’, ‘django.middleware.csrf.CsrfViewMiddleware’, ‘django.contrib.auth.middleware.AuthenticationMiddleware’, ‘django.contrib.messages.middleware.MessageMiddleware’, ‘django.middleware.clickjacking.XFrameOptionsMiddleware’,]
Create CORS_ORIGIN_WHITELIST
CORS_ORIGIN_WHITELIST = ( ‘localhost:3000/’)
Now we re-run the server
(backend) $ python manage.py runserver
Front End ? React Js
Now, we come to the most interesting part. Fetching the data from API to the Front end.
As we use React, I was so tempted to make the UI looks good for this tutorial purpose. However, as the tutorial focusing on the integration, I would do styling purpose at the very end (not in this tutorial scope). Lets start with create-react app
$ npm install -g create-react-app
Make sure about the file structure of the front end app
$ cd Project$ create-react-app frontend$ cd frontend$ npm start
You may face an issue when run the npm start command, normally, you will be required to add .env file inside frontend file, inside .env file, just write single line of
SKIP_PREFLIGHT_CHECK=true
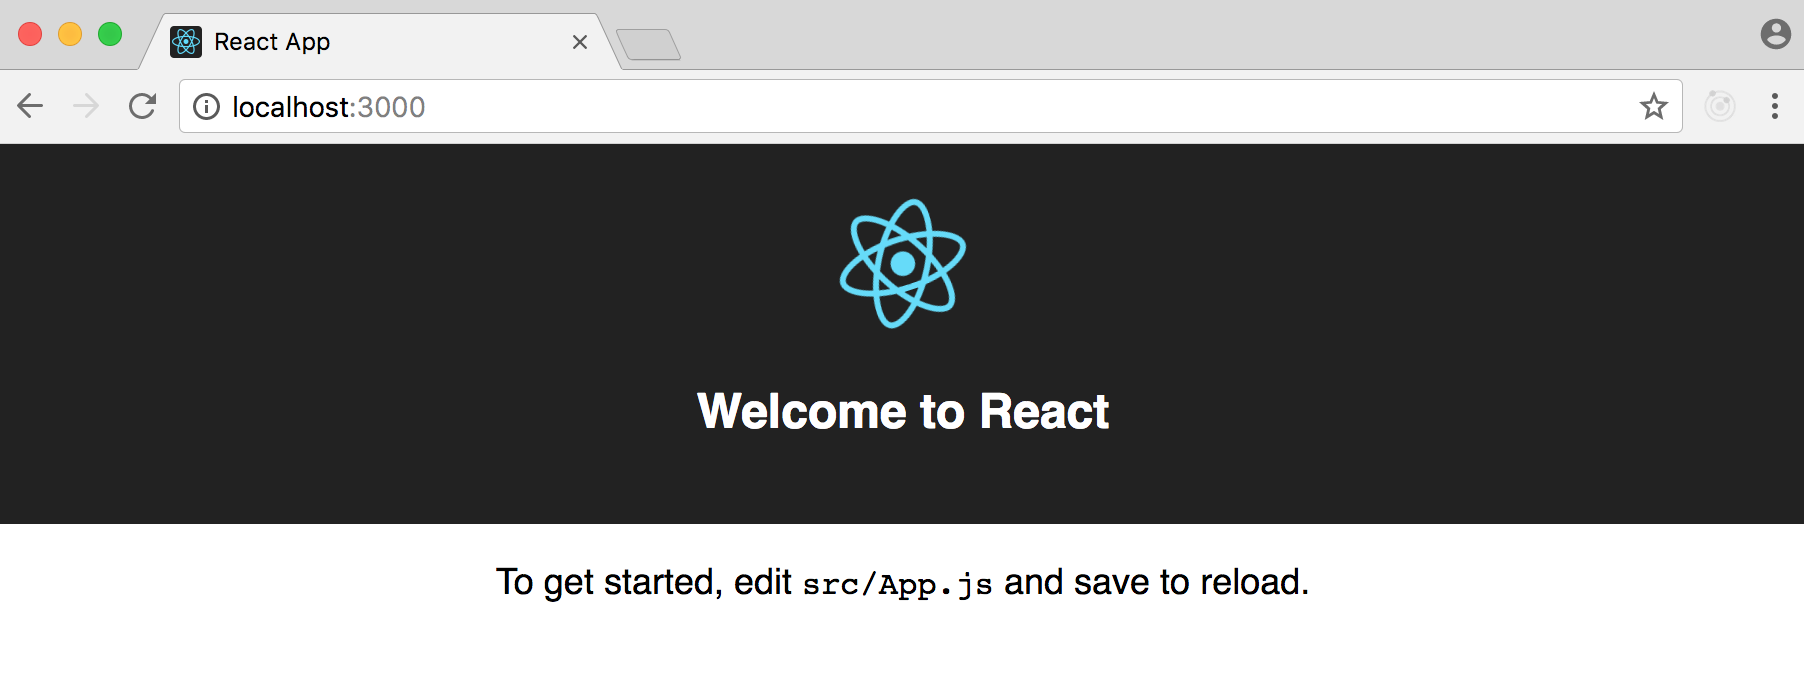
After you run npm start, this web page will show up at localhost:3000
 Front end. reference: https://wsvincent.com/django-rest-framework-react-tutorial/// App.jsimport React, { Component } from ‘react’;class App extends Component { state = { todos: };/* This is where the magic happens/* async componentDidMount() { try { const res = await fetch(‘http://127.0.0.1:8000/api/’); // fetching the data from api, before the page loaded const todos = await res.json(); this.setState({ todos }); } catch (e) { console.log(e); } } render() { return ( <div> {this.state.todos.map(item => ( <div key={item.id}> <h2>{item.title}</h2> <span>{item.description}</span> </div> ))} </div> ); }}export default App;
And?. your webpage would look like this:
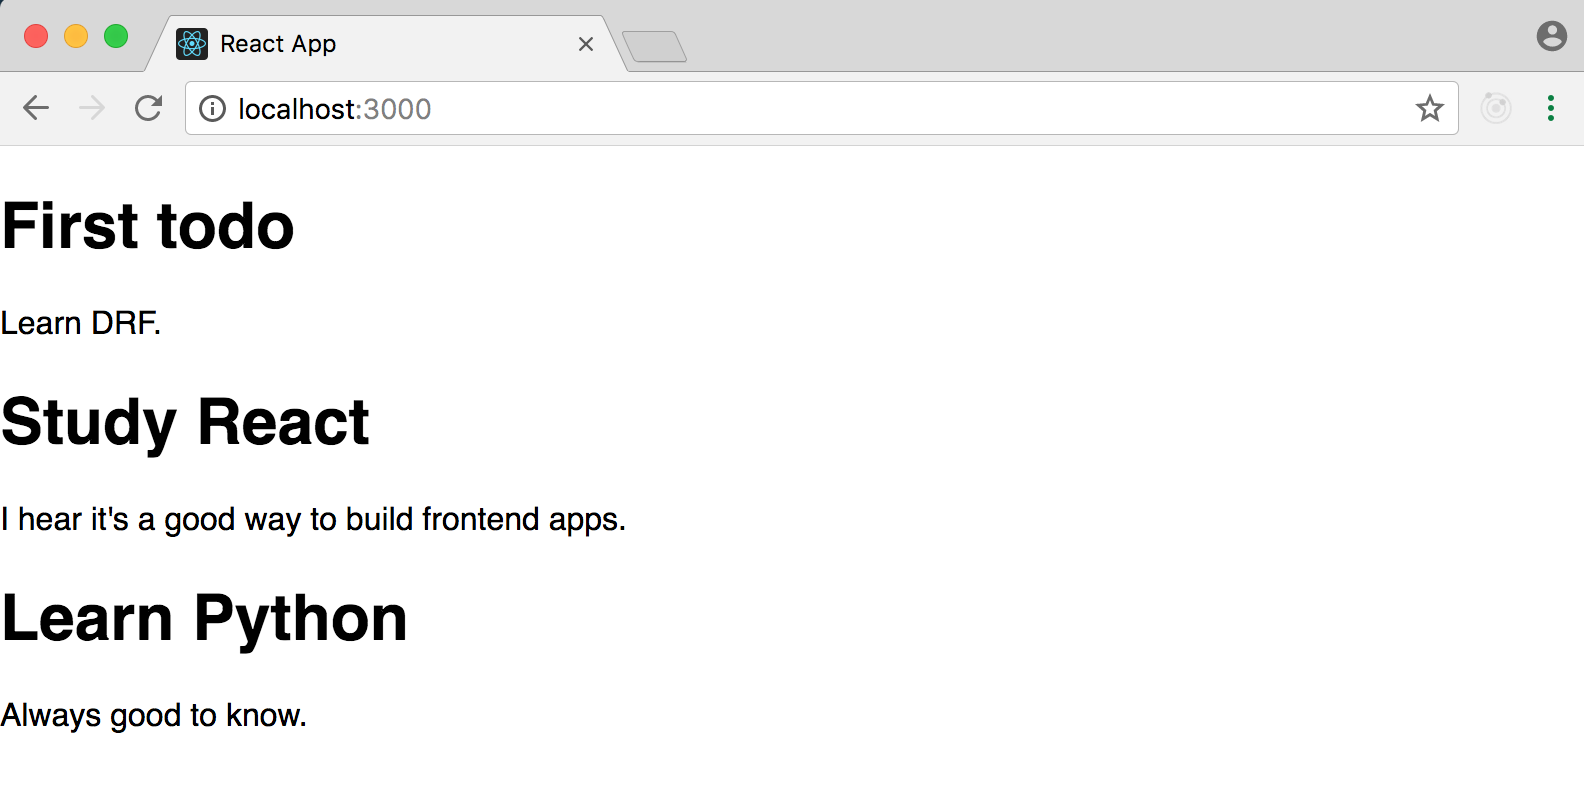 Final output. reference: https://wsvincent.com/django-rest-framework-react-tutorial/
That?s it. I would like to thank William S. Vincent for the super straightforward tutorial, very few adjustment to my environment to touch the very basic integration of react front end + backend. If you want to have a look at the codes, please see this on github.
Reference:
https://wsvincent.com/django-rest-framework-react-tutorial/


 + React (Frontend) Basic Tutorial)
 + React (Frontend) Basic Tutorial)