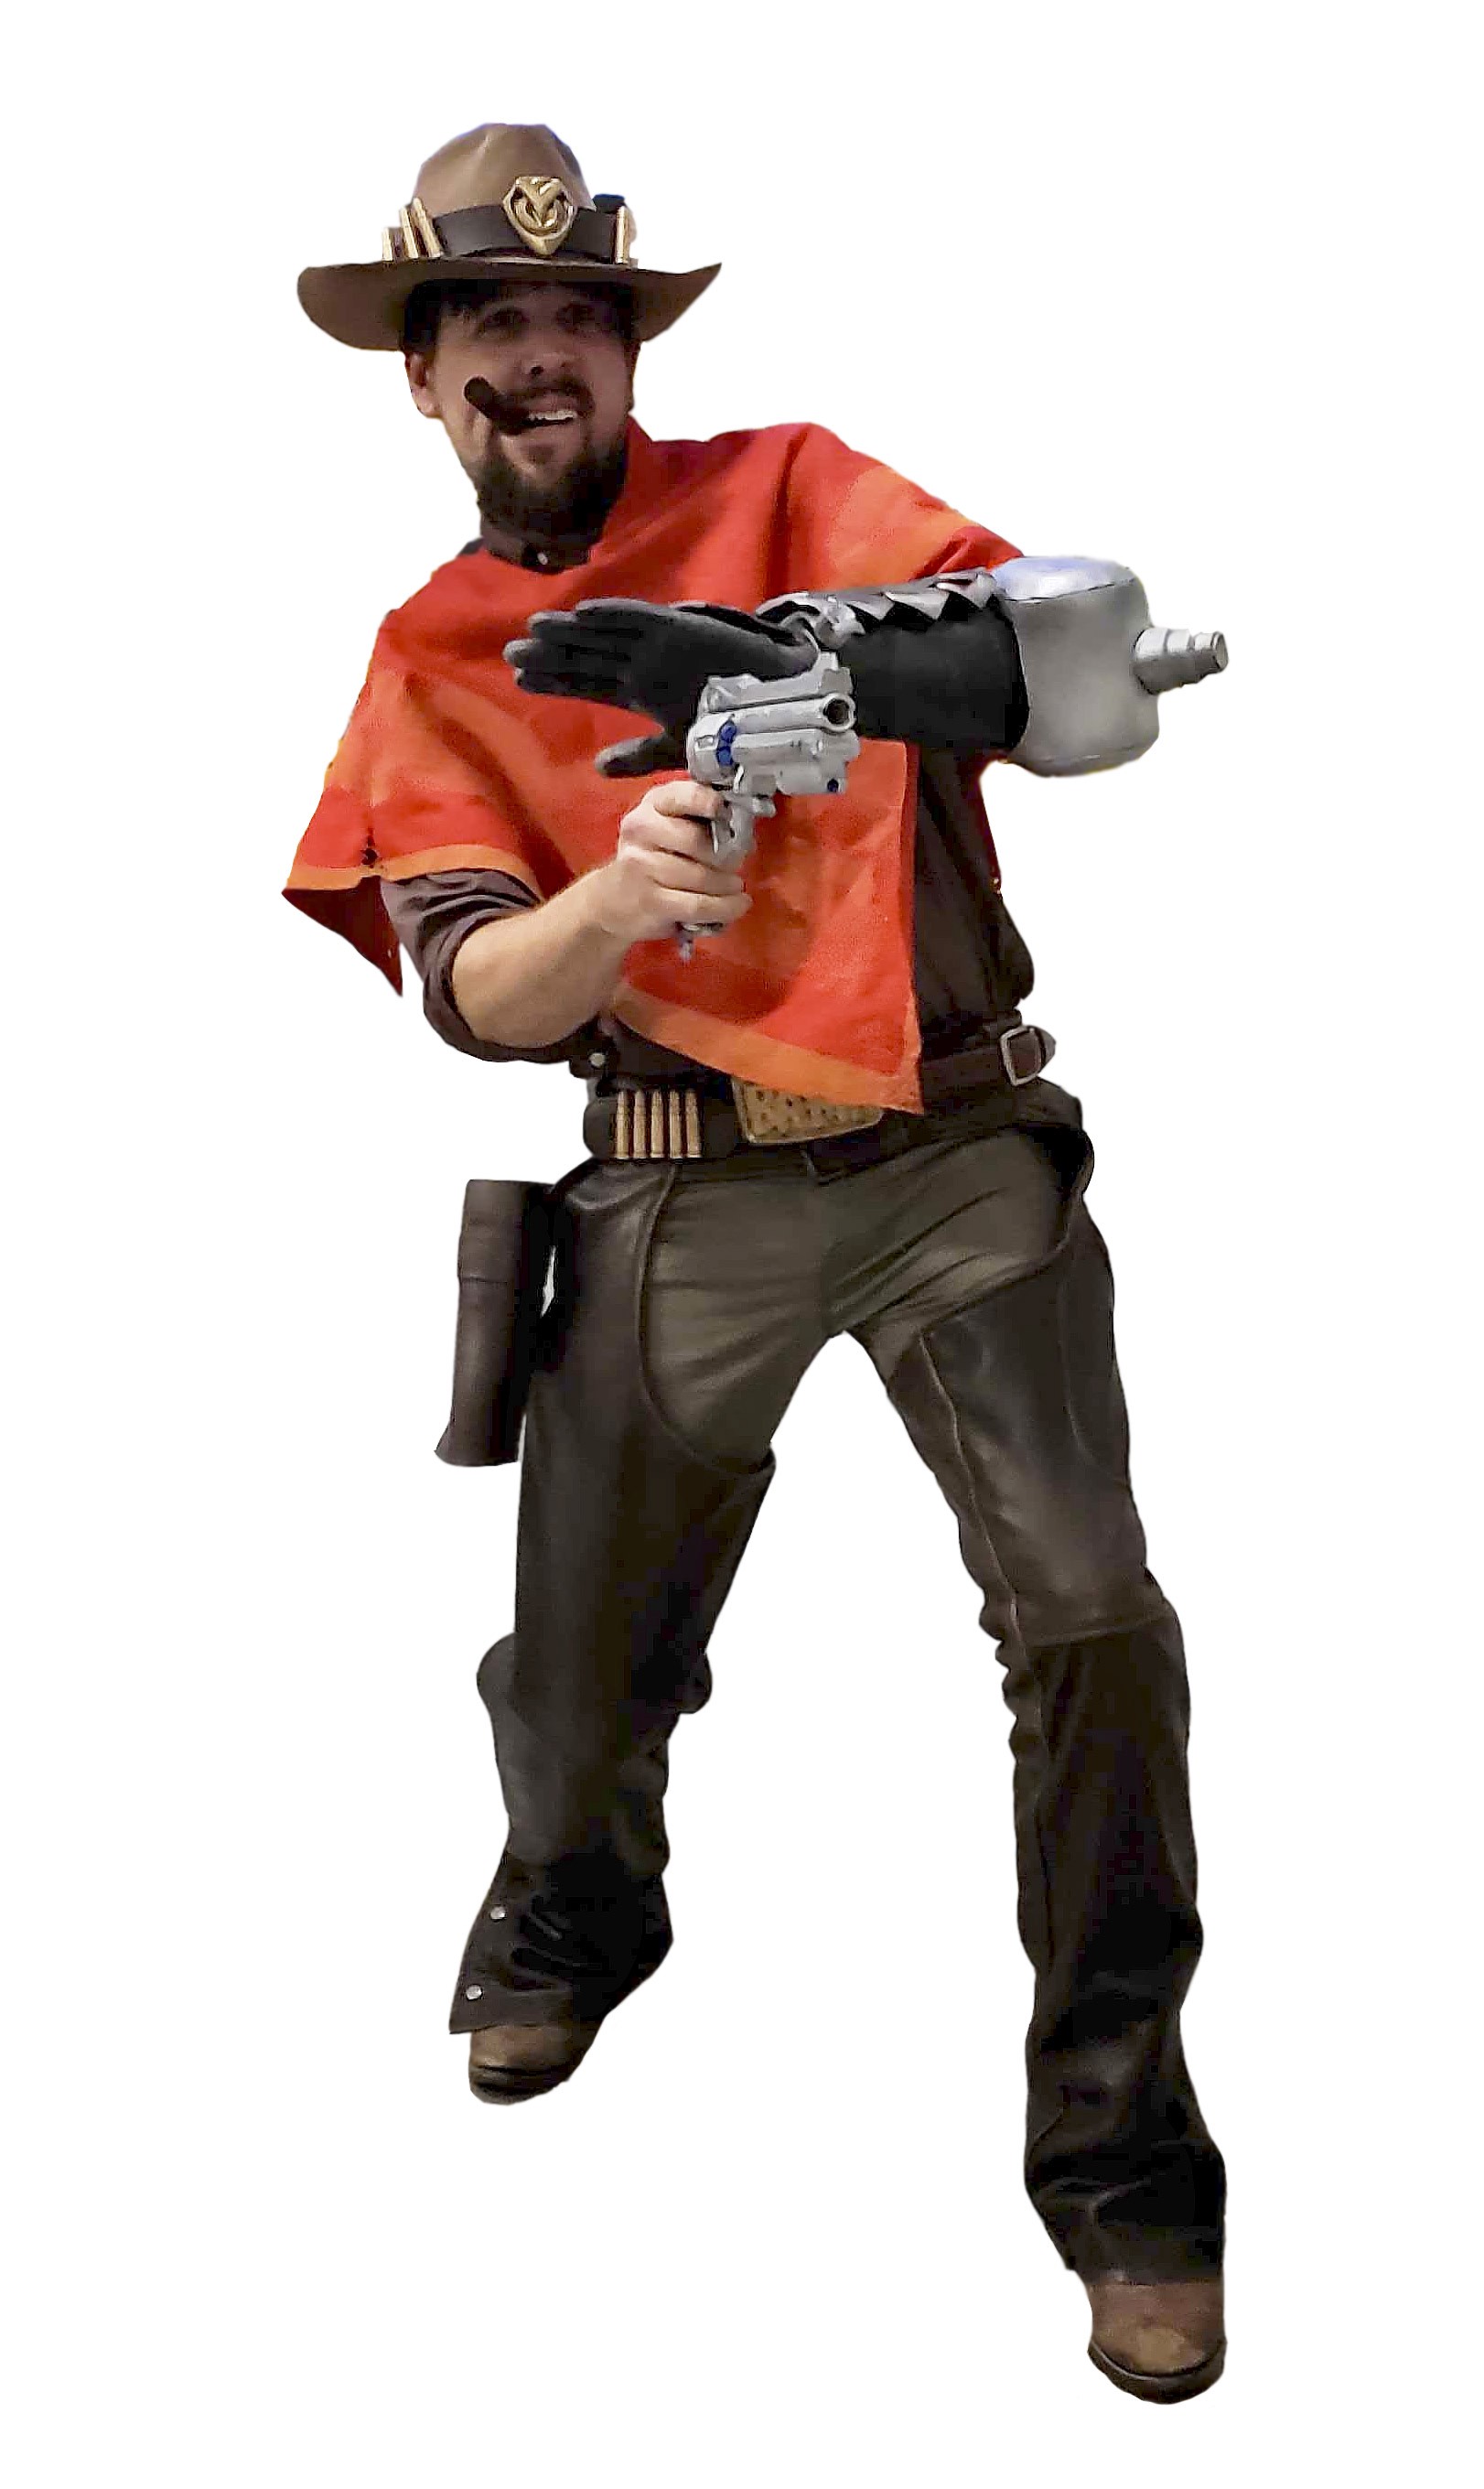
This is the definitive guide to Jesse McCree cosplay. Roll up your sleeves and prepare to create the best cosplay for your next event.
Often perceived as impractical and somewhat a frivolous use of resources cosplay has become an art form. Like any other art, the art of compiling an accurate and convincing recreation of a digital character can be time-consuming and difficult, this is my personal journey of becoming Jesse McCree; aka McCree.
NOTE: This is not a ?click to buy from Amazon post? ? real work and research will need to be done to create the best cosplay reproduction of your McCree.
NOTE 2: This article is a work in progress, please subscribe to my blog for update notifications. Also if you like what you see please follow me on medium and ?applaud? this guide to encourage and support what I am writing. I encourage and respond to discussions as well!
Researching McCree
Blizzard?s Cosplay Reference guide is THE place to start when reviewing the needs for faithfully recreating any overwatch character. To find the reference guide for your cosplay ?audit? jump on over to the Blizzard media site and click on the ?Misc? tab.
 McCree Reference Guide Cover Image
McCree Reference Guide ? Mirror 1
Additionally knowing McCree?s background and history can really enlighten the choices for your cosplay construction decisions.
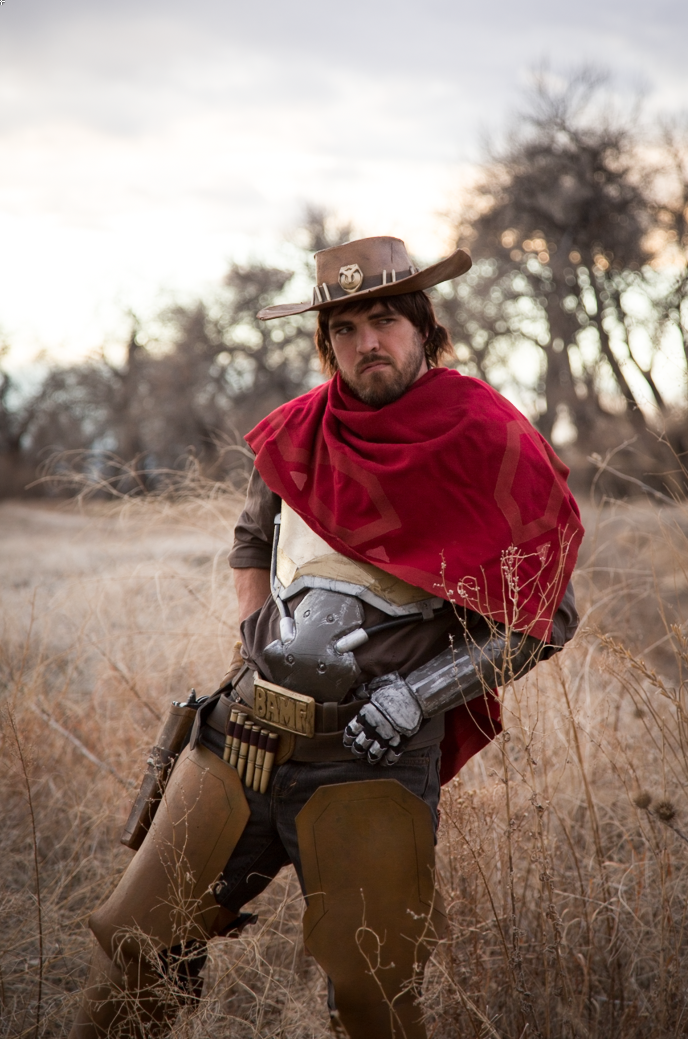
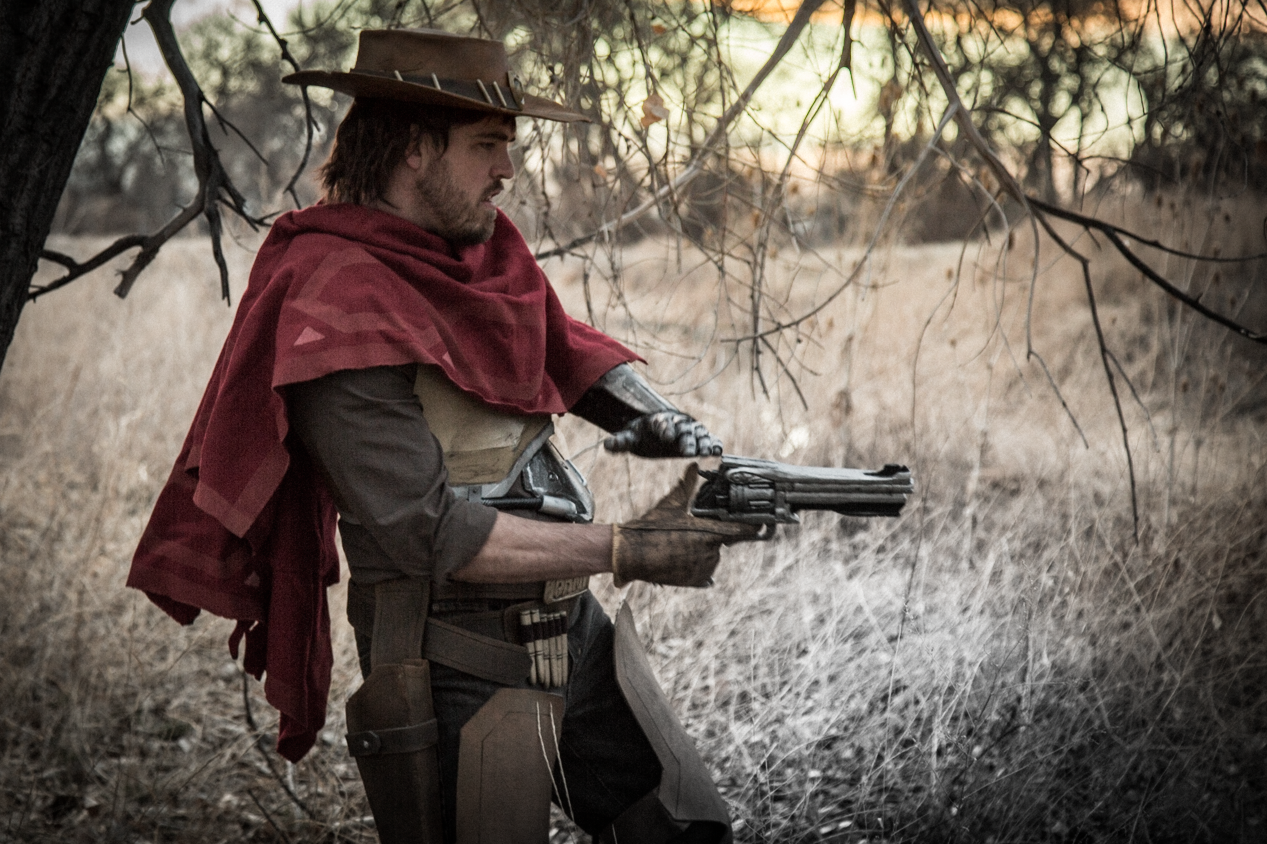
Researching Other Cosplayers
Almost every artist uses techniques and ideas adopted by other artists who inspire them. This can be an incredible springboard into refining and improving the process and final presentation of your cosplay.
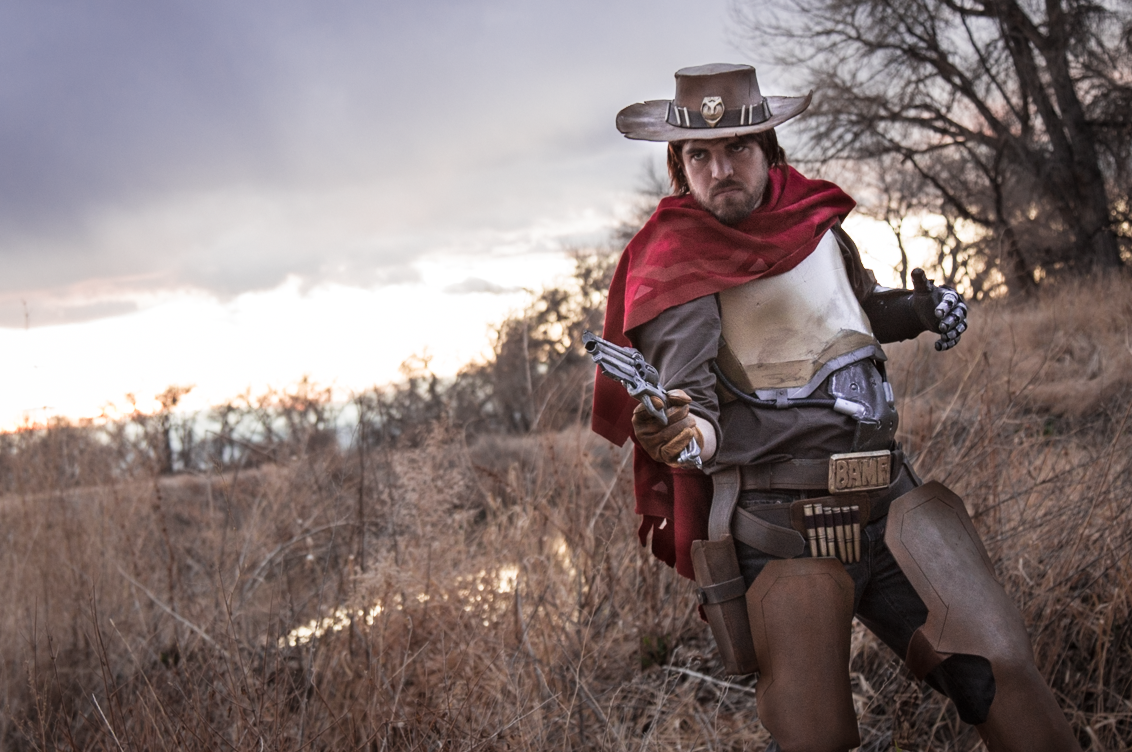
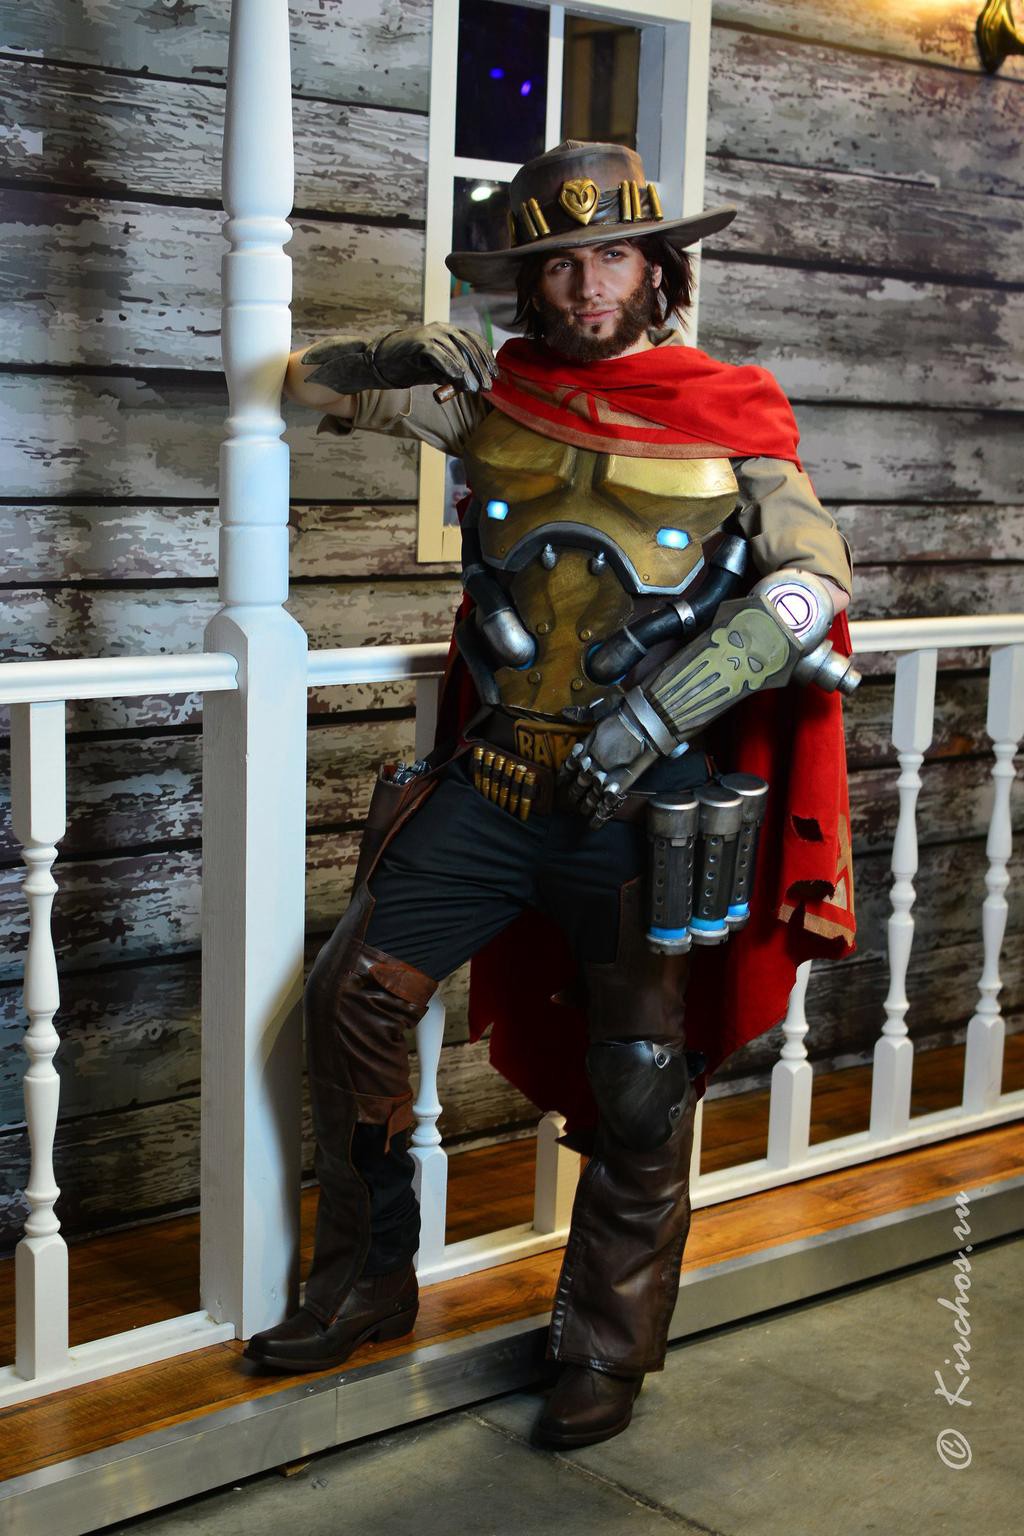
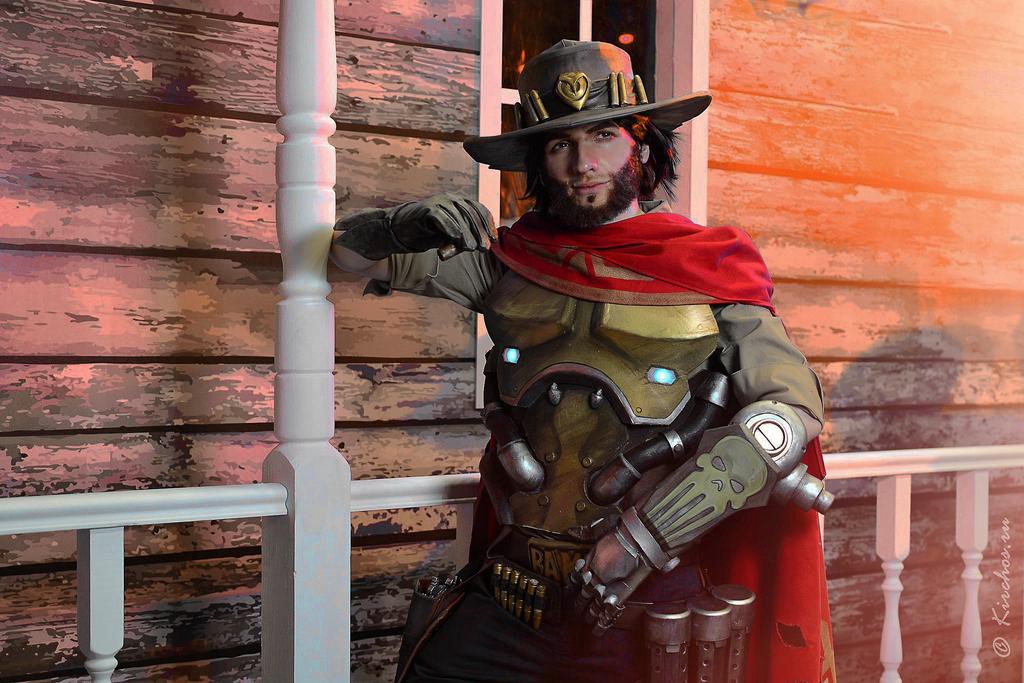
Searching the internet there are dozens of different cosplays for McCree, from the budget, sexy, extravagant, and the just amazing recreations of this digital character.
?geekswoodshop?
This cosplayer was an early example, back in 2016 ?geekswoodshop? recreated this cosplay with surprisingly great results given the limited amount of information about McCree in 2016.
More information, including additional build photos, can be found on this build thread

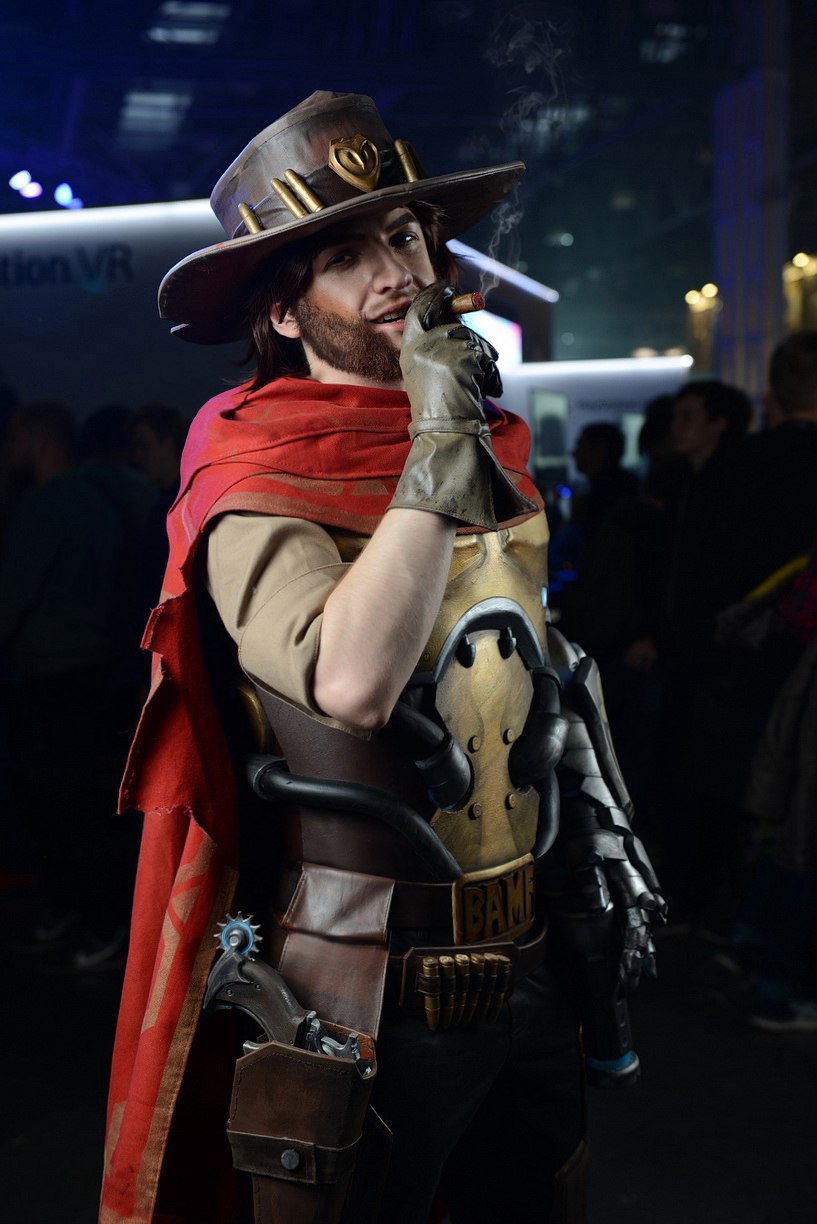
?Squiby?
?Shimyrk?
Featured on Deviant art ? I love how this cosplayer had the opportunity to include photoshopped compositions that really make the cosplay come to life.
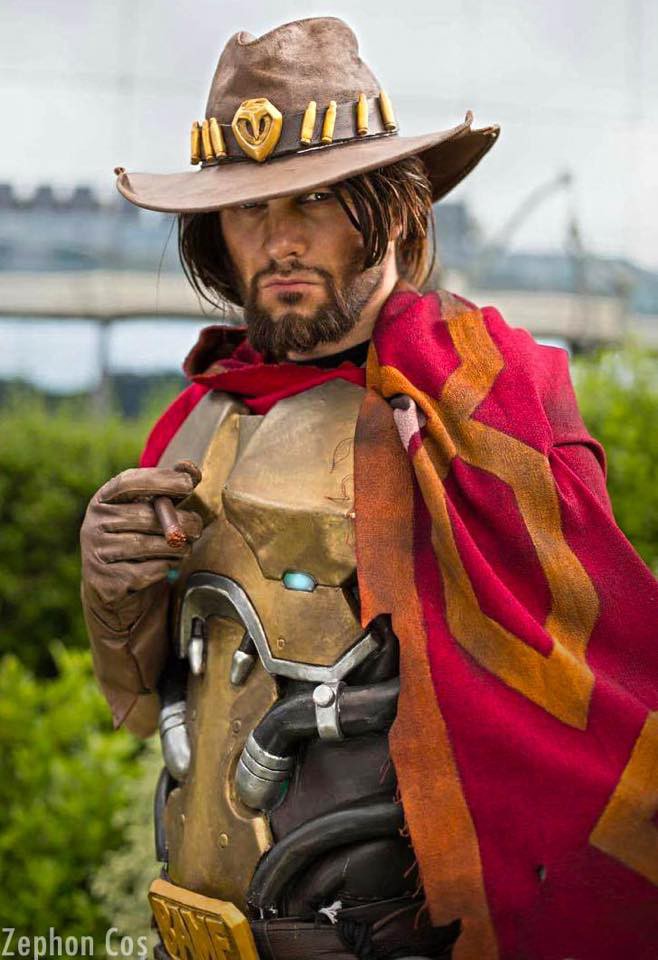
?Zephon?
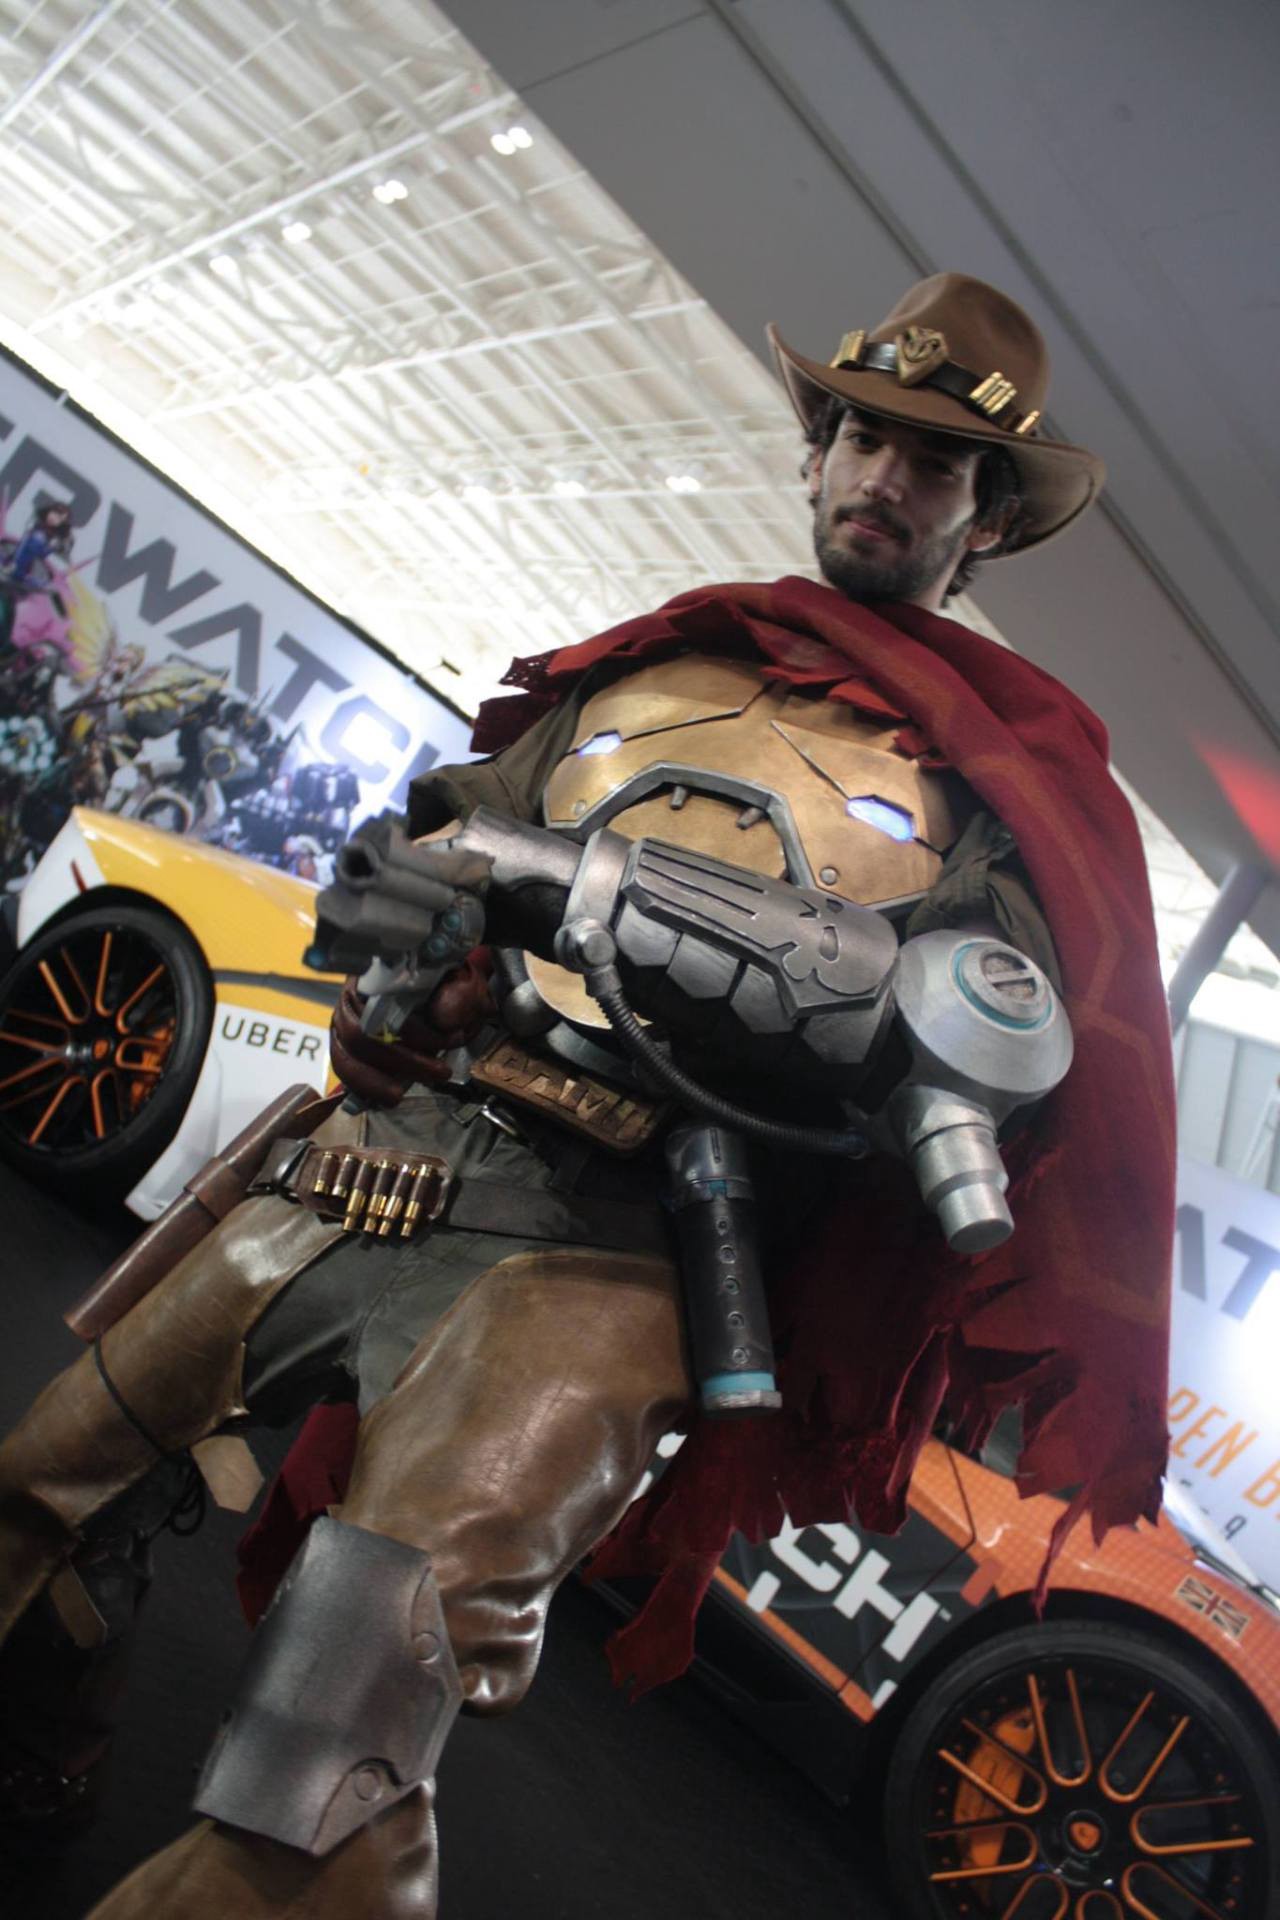
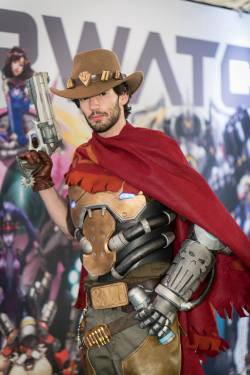
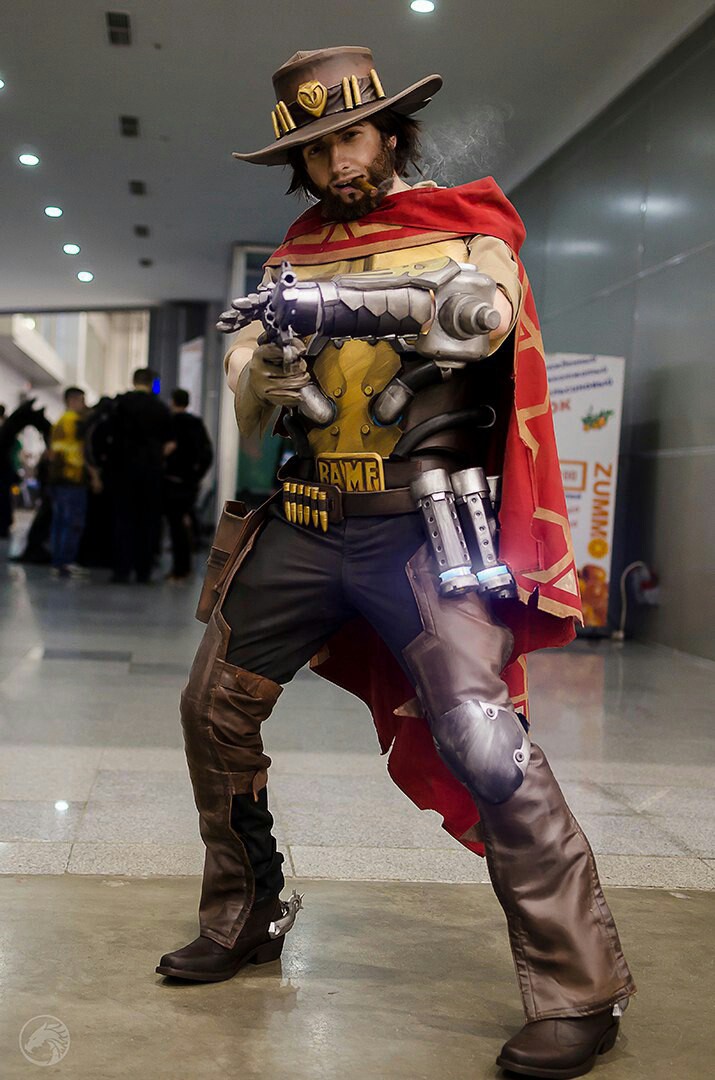
ZephonCos is a ?professional? cosplayer and has participated dozen of cosplay competitions. This is a great example of a really well-implemented cosplay, featuring details that many others miss, specifically tattered hat and holes in the serape.
View more of ZephonCos on his facebook page.

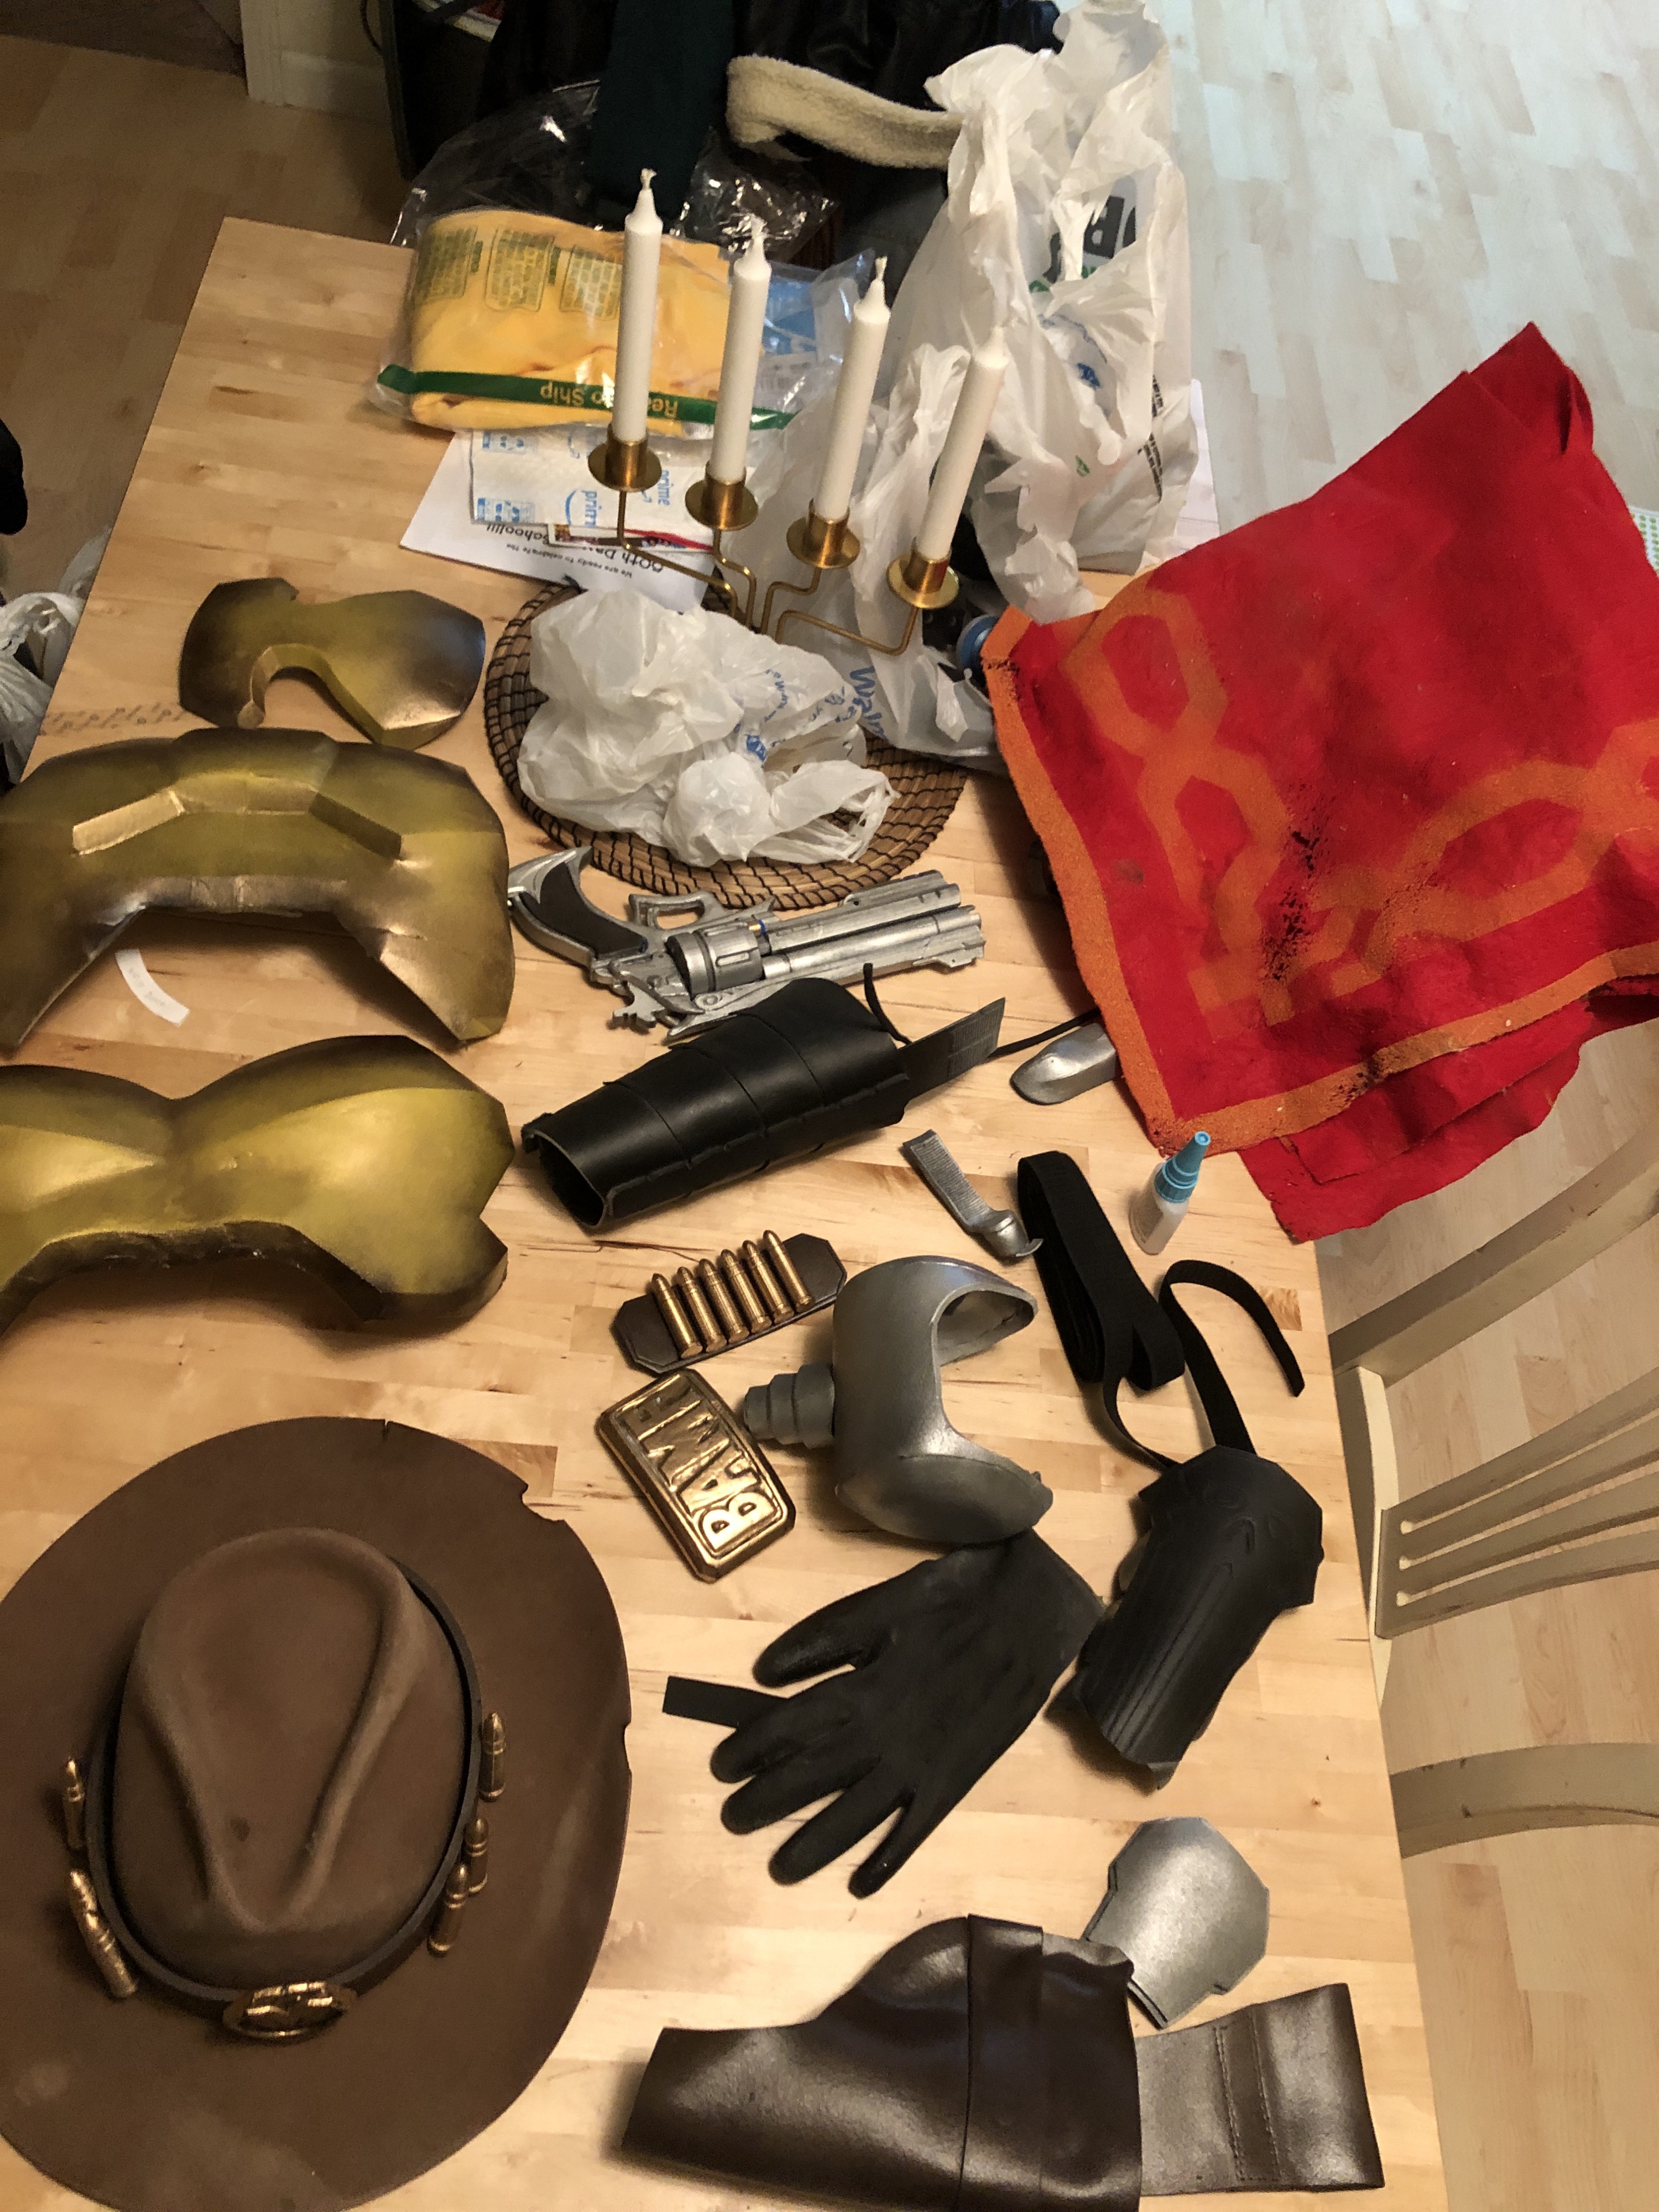
Breaking Down the Components
McCree has a few items that I have broken down into different phases or steps to consider when acquiring the items need to complete the full cosplay effect.
The Clothing
Probably the easiest portion of the cosplay is acquiring each of the needed pieces of the actual clothing portion, this includes?
- the hat
- the pants
- the undershirt
- the button-up shirt
- the ?leather? chaps
- the serape
- belts
- boots
The Armor
- chest plate armor
- back armor
- shoulder straps
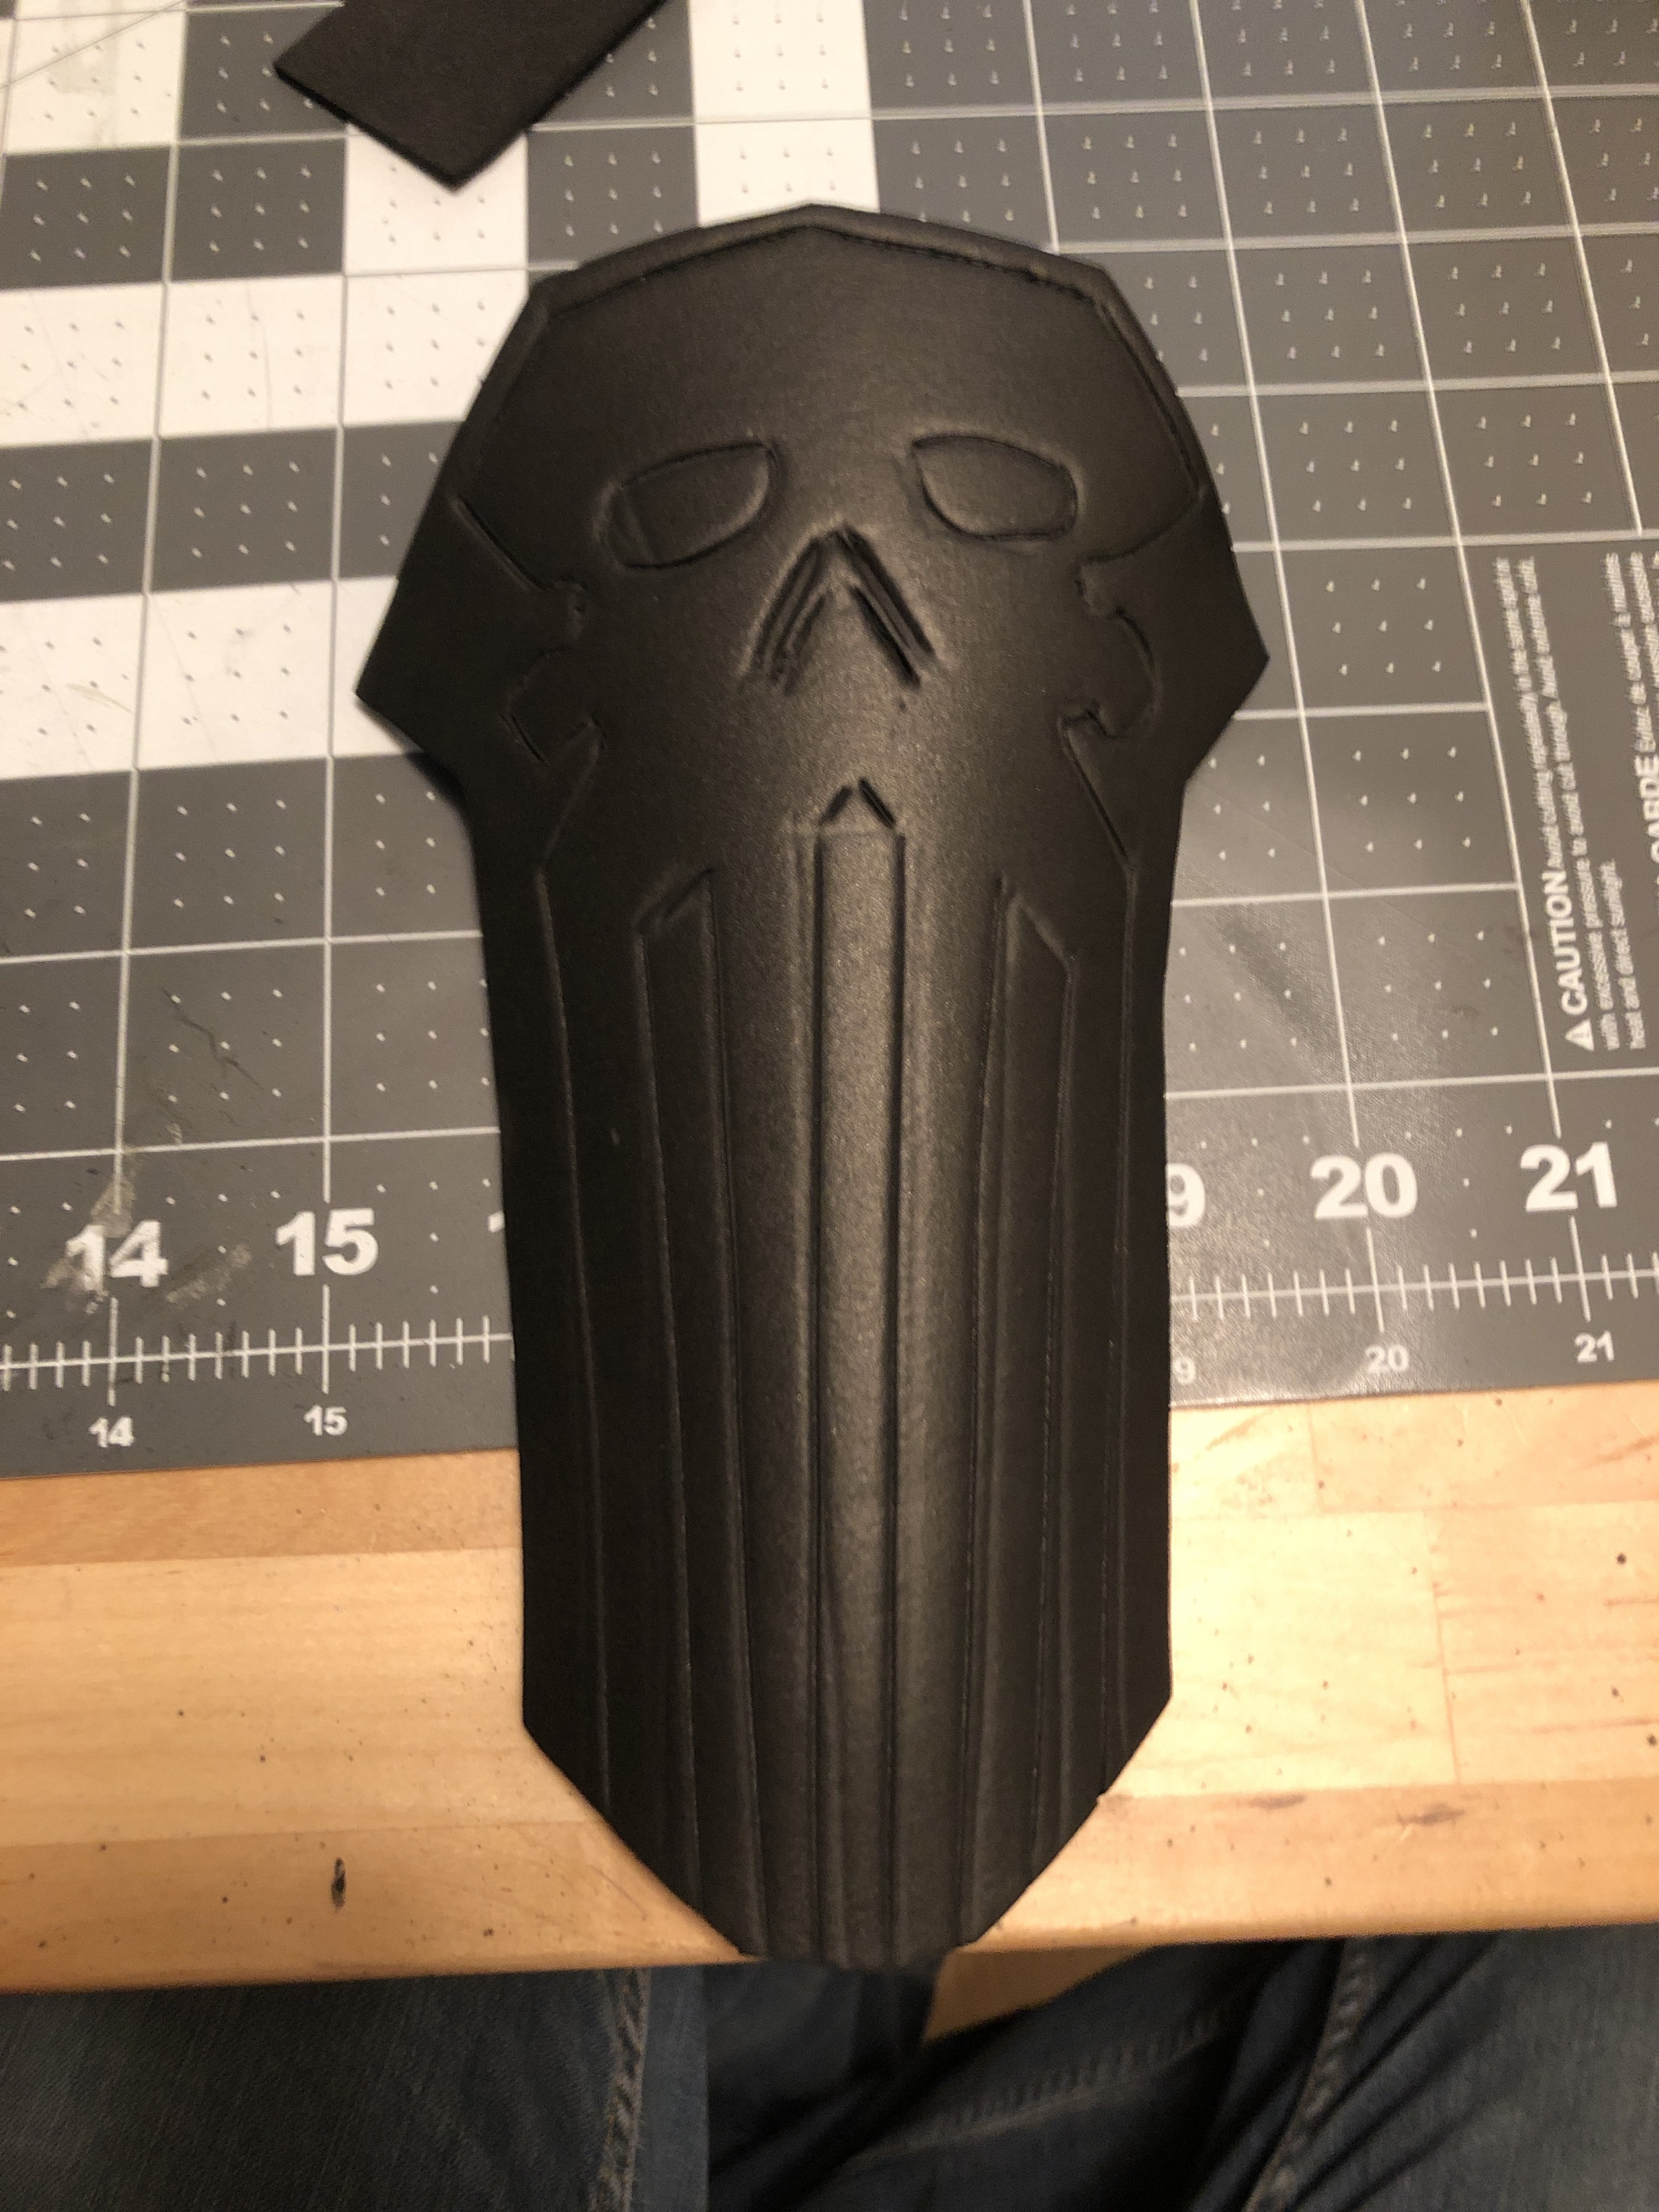
- mechanical (robot) hand
- knee pad
The Accessories
- the ?PeaceKeeper? pistol
- ?BAMF? belt buckle
- stun grenades
- hat emblem
- hat bullets
- belt bullets/holder
- gun holster
- cigar
- right-hand glove
- spurs
- hair and facial hair
Details, Details, Details
The believability and recognition of your costume entirely depend on the details. Below I will review each of the components listed above, and how you can get similar, or BETTER results, by using the data and information in compiled below.
One of the most convincing things you can do for an authentic feeling McCree is to make sure your items are worn, and dusty in appearance. Many of the overwatch characters are very clean, modern robot characters that demand clean lines, McCree ? is the polar opposite. Spend time studying the areas that are worn, have tears or holes, and you will create a much more authentic cosplay.
The Clothing
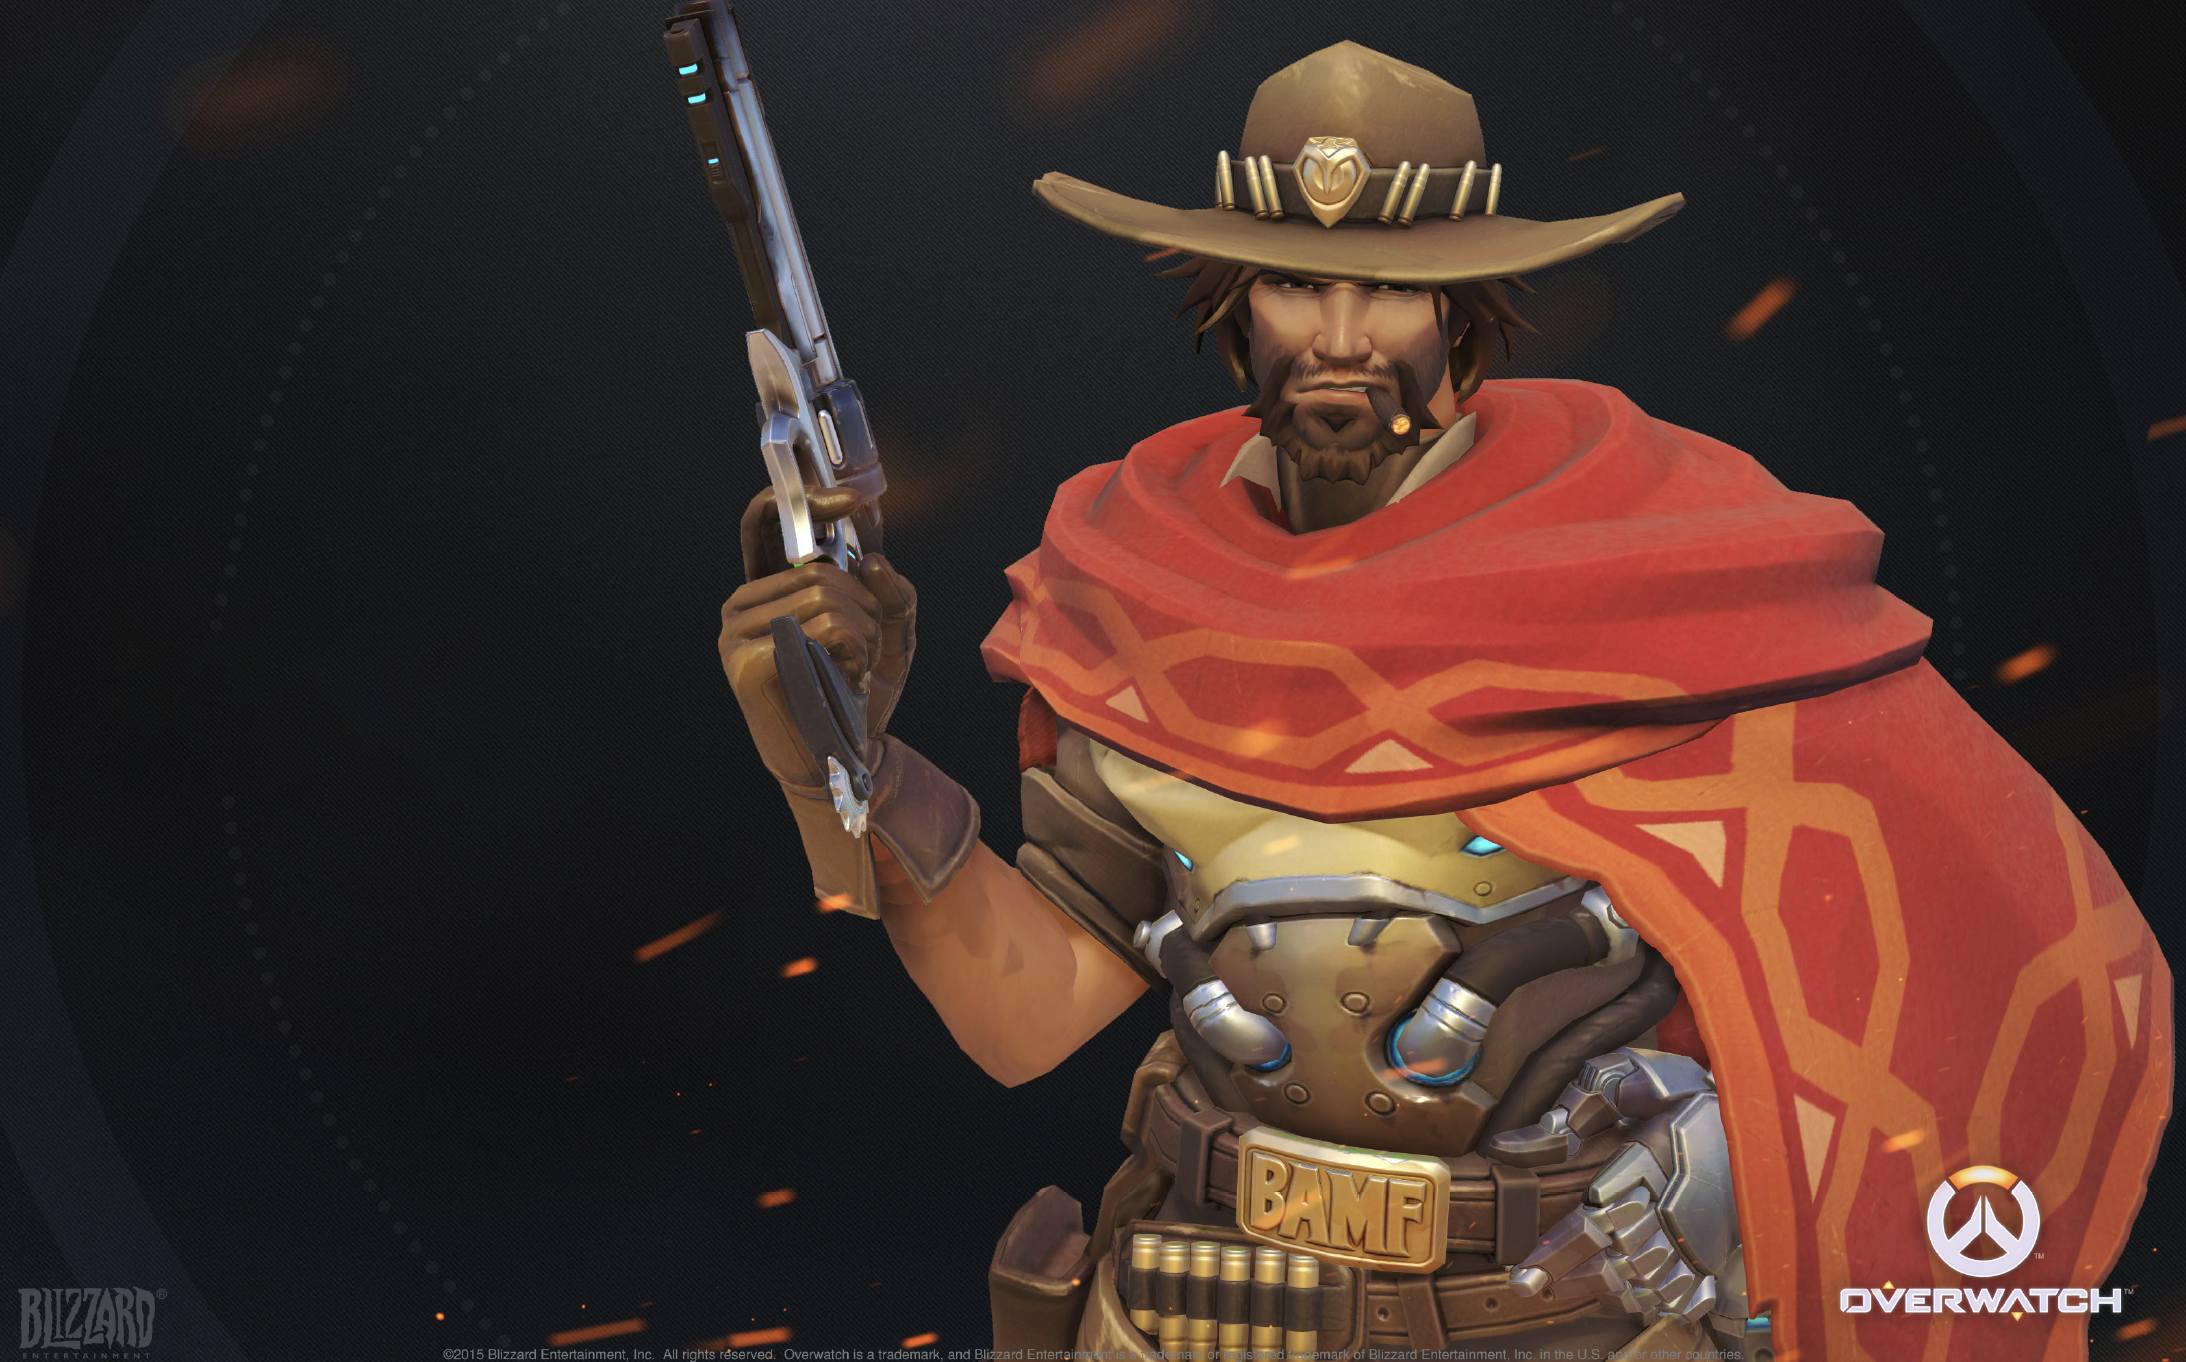
The Hat
Any cowboy is nothing without a hat. It identifies a unique sense of style and tells a story about the character, just like shoes, you can tell a lot about a person by their hat! McCree?s hat is no different and it has some important features you will not want to miss.
McCree?s cowboy hat is well worn and contains several notches, and is scuffed up, especially on the crown of the hat.
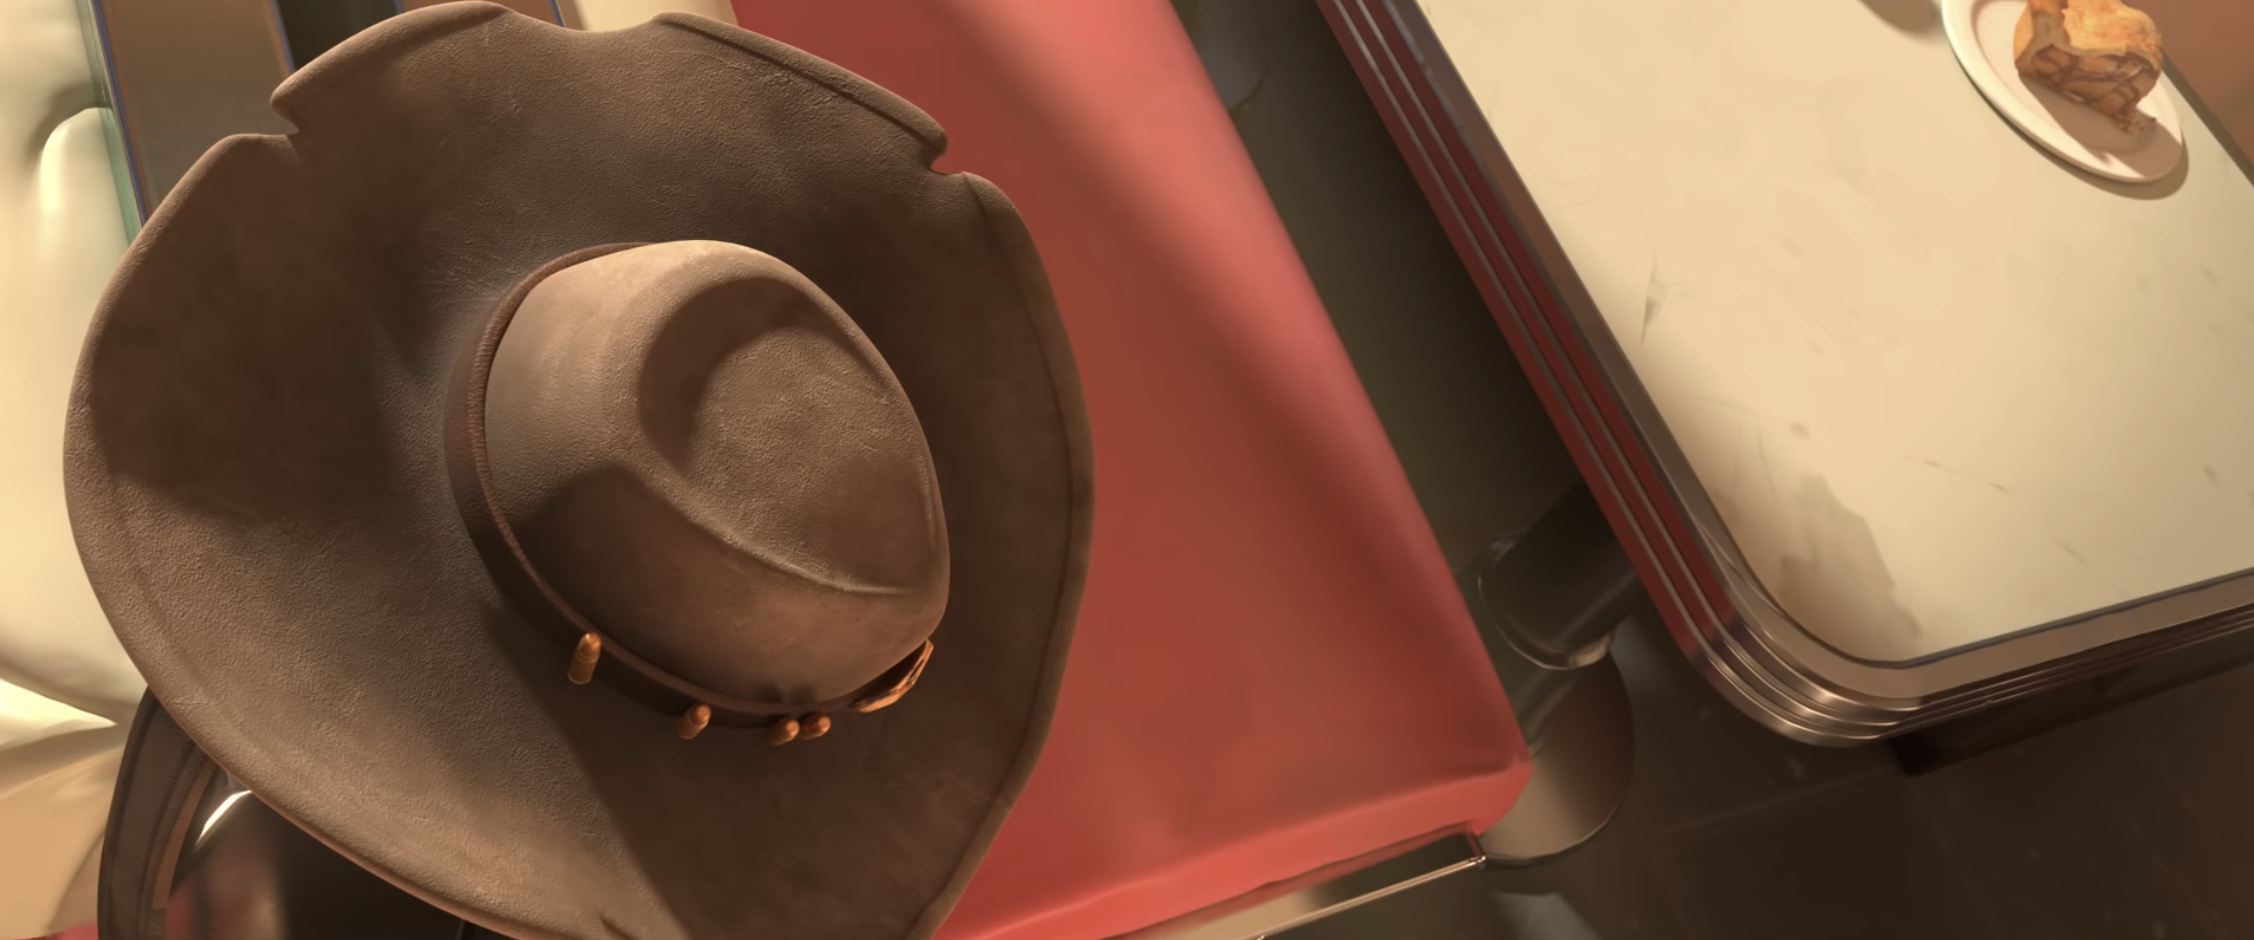 Notice the rim notches and ?wear?, along with the bullets and emblem. The strap is a solid thick leather strip.
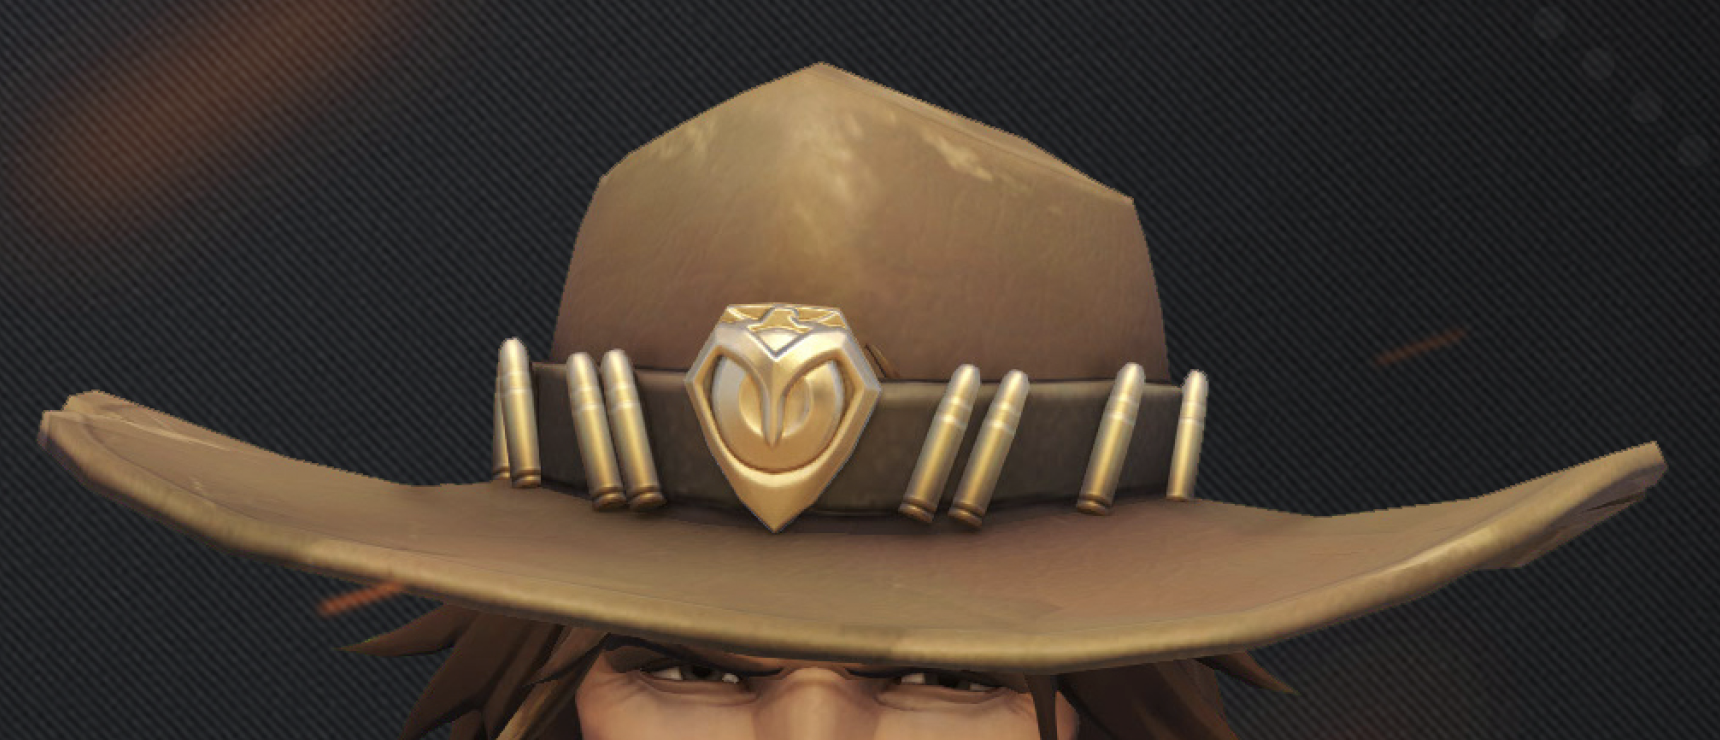 Front view of McCree?s cowboy hat and emblem.
Consider the following items when looking to find a cowboy hat that suits your McCree cosplay.
- eBay / Facebook Marketplace can be a great place to purchase hats, if you’re going all out on re-creating all the features, you will placing notches in the brim of the hat as well as replacing the band or attaching items to the existing band. Additionally scuffing the top of the hat will give it character and help match the ?worn? feel of McCree?s character.
- A used hat can be stretched fairly easily about 1cm, or a half hat size, with hat stretching tools. You can purchase a hat stretcher (aka; hat -jack) or construct your own for a few bucks.
- If you have no other choice, you can purchase an inexpensive hat an Amazon or eBay. Look for a crushable stetson style hat.
Undershirt, Button-Up Shirt, Pants
This is possibly the simplest part of your cosplay. and there are only a few points to remember; these are three distinct parts, the colors can vary but to ensure the most realistic reproduction look for browns.
- The undershirt is a short turtleneck and can be often overlooked. Typically called a mock turtleneck, this feature can be left out if you are unable to locate the garment.
- The button-up shirt should be a brown colored, solid button-up shirt. The sleeves should be loose enough that you can easily roll to just above your elbow.
- The Pants will be mostly covered by chaps if done correctly. most cosplayers go for a brown khaki or pocketless tactical type pant. In my research, I have also seen cosplayers user a dark green or black as an alternative.
The single best place I have found to acquire these pieces is your local Goodwill or Salvation Army thrift shop. Remember that you will be looking for worn, well-loved pieces to increase authenticity!
The Leather Chaps
The chaps are brown leather chaps, attached with buckles. My suggestion is to scour eBay for leather chaps.
The Serape
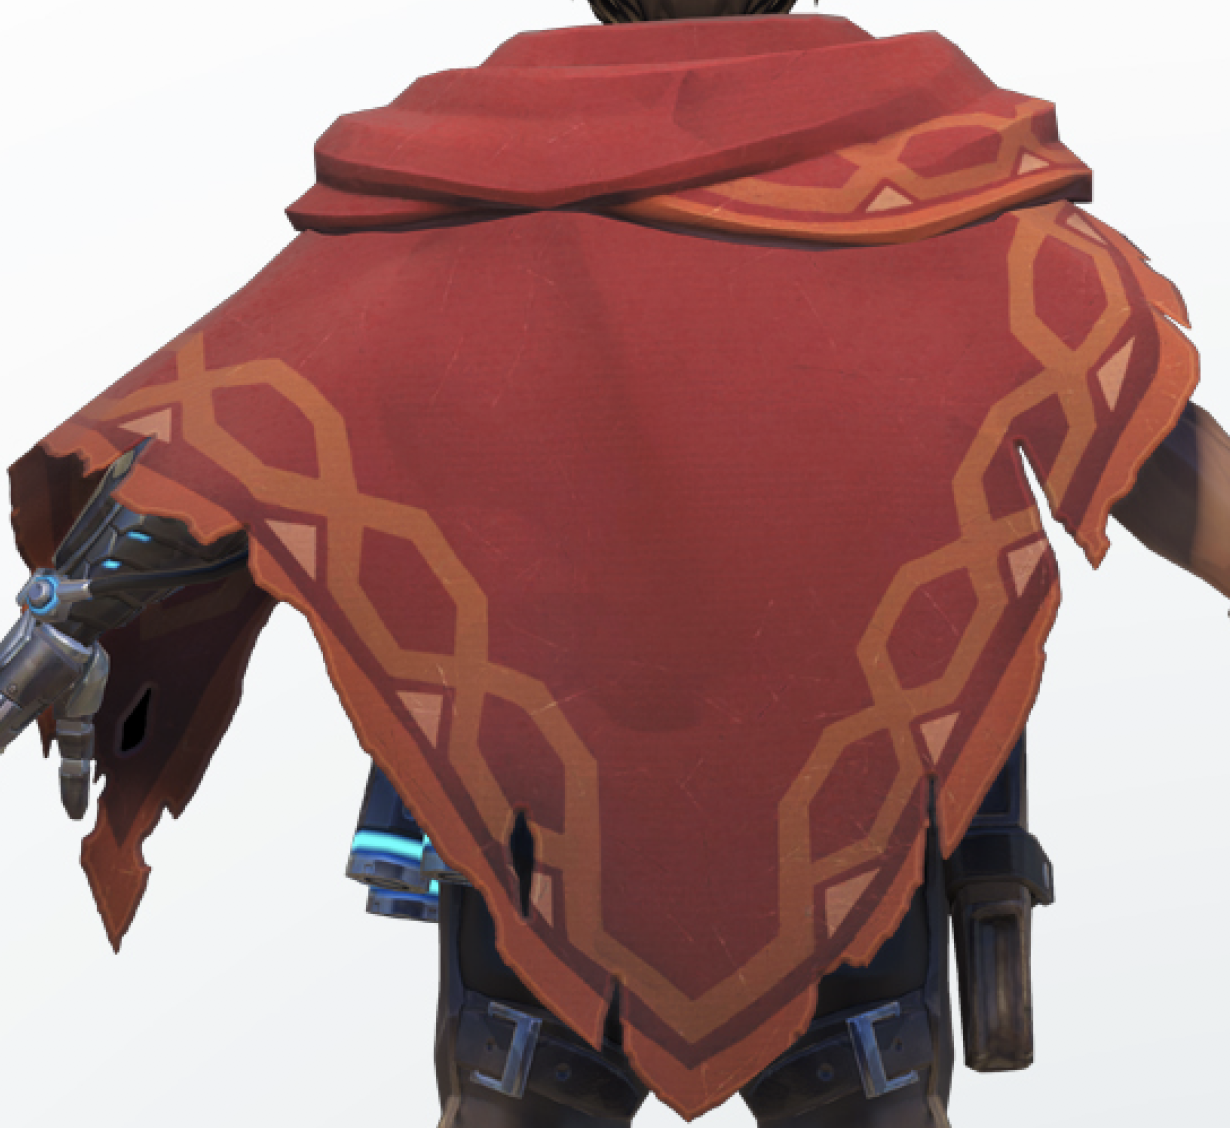
The serape is really an eye catching portion of the costume, it important to have the correct color and pattern. I have found several online post discussing how to create the serape. After some contemplation, this is route I ended up taking.
I purchased the following items;
- A ?red? felt like material from Walmart that measured approximately 37″ by 72″.
- Yellow Matte spray paint.
- Roll of 1.5″ painters tape.
- paint brush to work the paint in.
To out-line the serape pattern I laid the piece of fabric on the floor and began the process of using the tape to mask the outline. This was a pretty time intensive process, so leave an hour or two to get it done right! The quickest way I found to accomplish this was to create a pattern for the 6 sided polygons that you do not want to paint, then I eye-balled the remaining pattern. finishing with the border.
Pre-wet the area to be spray painted with the pater bottle, this allows the paint to soak in and it will become slightly more pliable in the end result.
Belts and Boots
I suggest looking at you local Salvation army for belts, any brown leather belts will work and it is really inexpensive, typically 1?2 bucks each for belts. If you can find a women’s belt for the secondary belt, they tend to run quite a bit thinner.
Once again eBay your friend for used boots. Remember, your goal is to get a well worn in version to better emulate Blizzards design reference. If your able to find boot that have real character and wear pre-built in that is a huge plus!
The Armor
The Chest Piece / Back Plate / Shoulder Straps
The armor ended up being for tricky to complete, mostly due to the size of my printer. In hindsight after working with EVA foam, I probably would have made it out of foam instead of 3D printing it.
It took much a bunch of time to find the best model to complete, I ended slicing a model and uploaded it to Thingiverse.
McCree Armor by mikeamcbrien
McCree’s chest and back armor split into 10 pieces for printing on smaller sized printers. This is intended to be glued?
www.thingiverse.com
I chose to finish and adhere my parts with fiberglas cloth and resin, this allowed me to get a smooth finish that I could easily sand, and made the entire piece MUCH stronger.
Warning: Fiberglass epoxy is some nasty stuff, please wear necessary protective equipment, including safety glasses, gloves and a respirator. Also apply fiberglass epoxy in a well ventilated space, preferably outdoors.
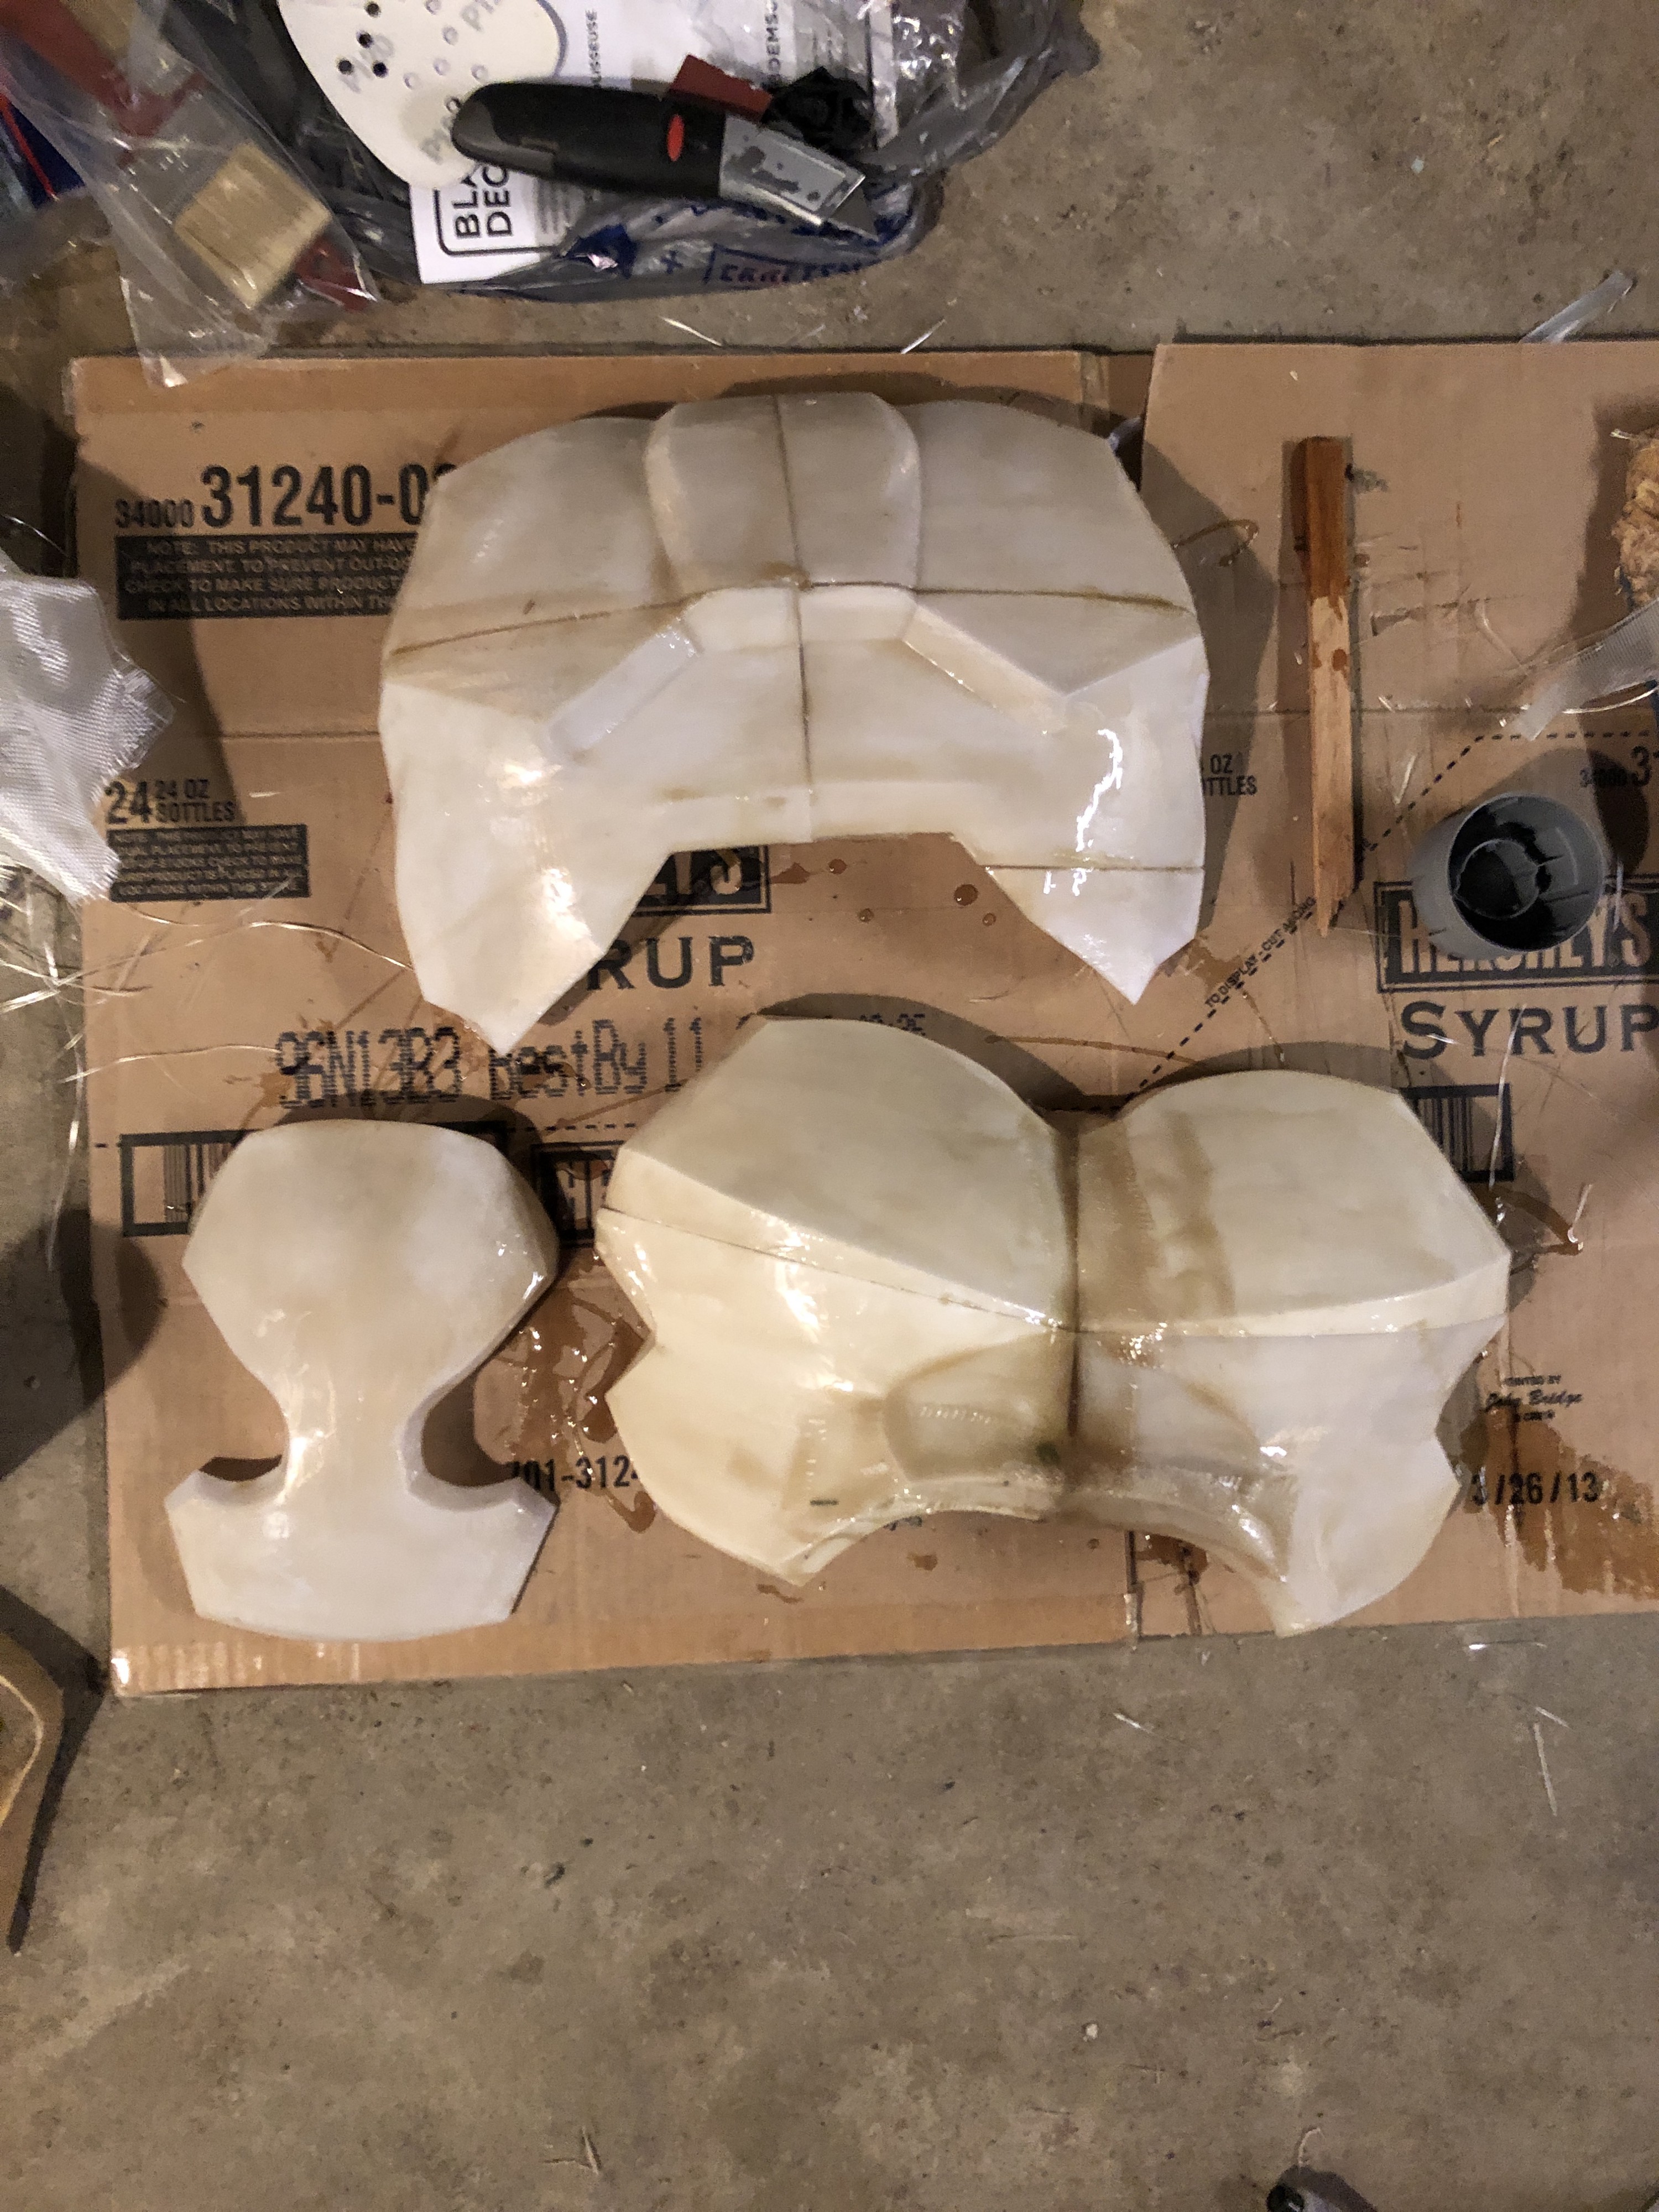

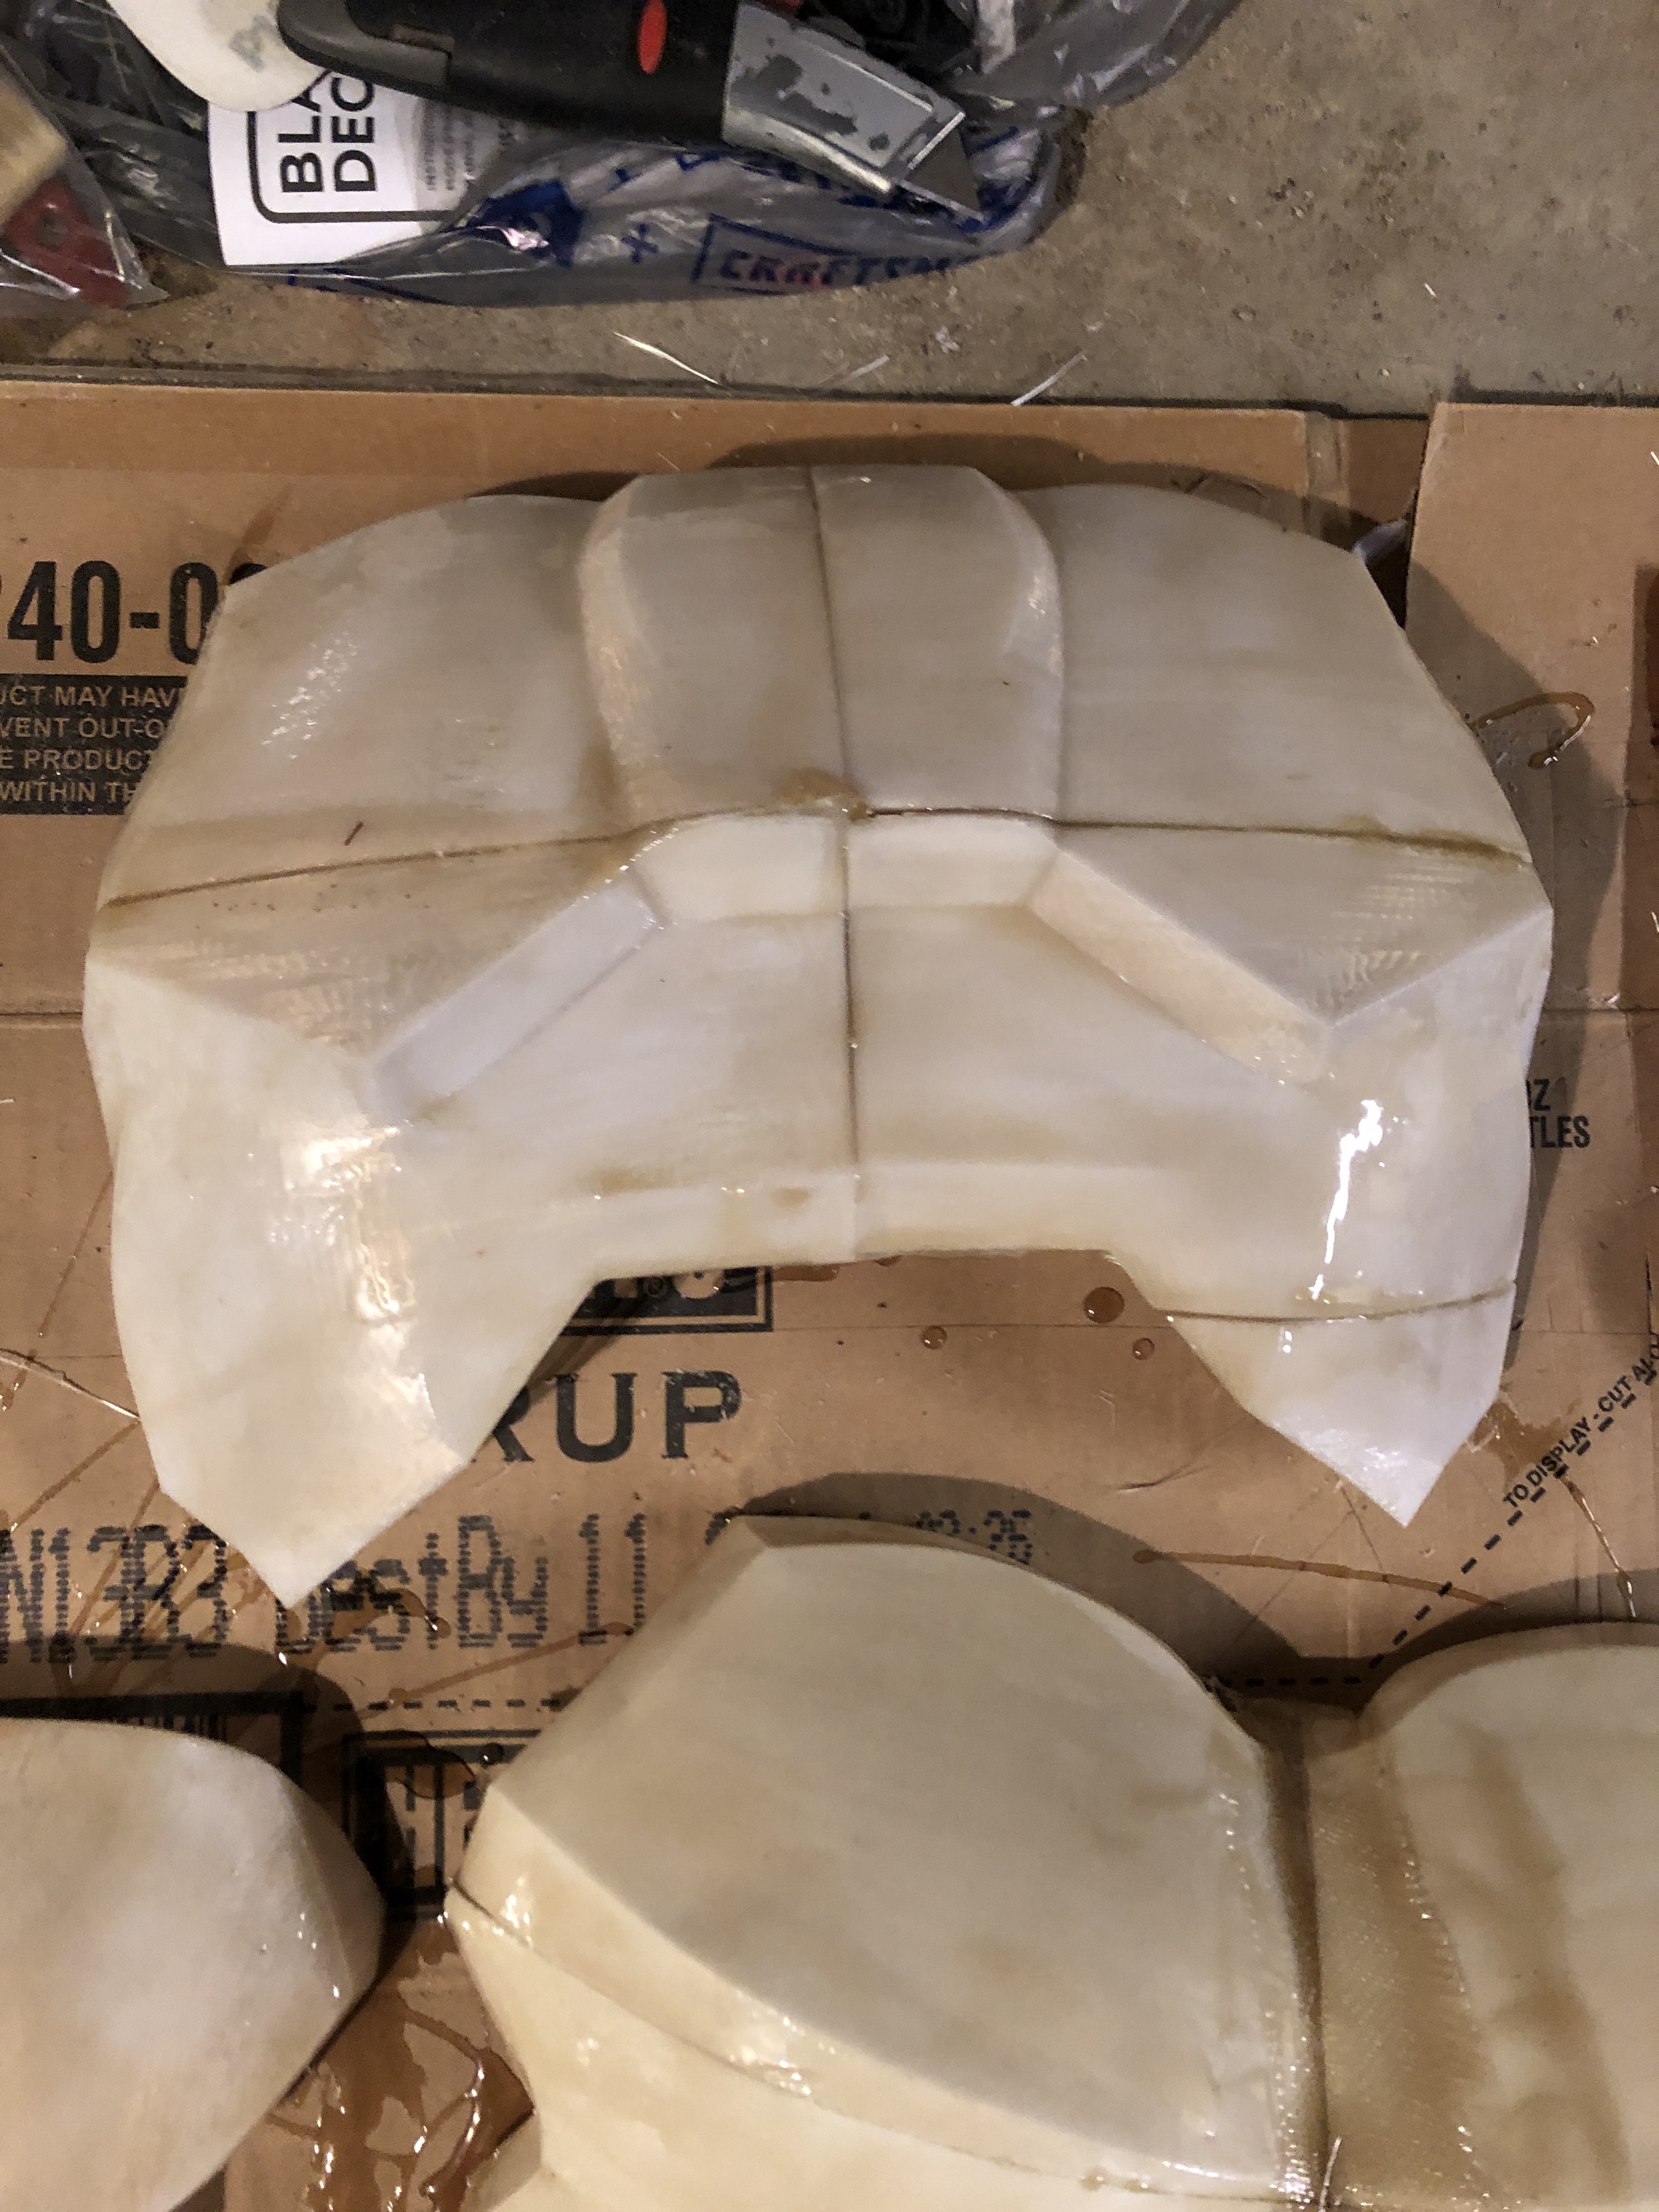 Pre-finished fiberglass epoxied armor pieces.
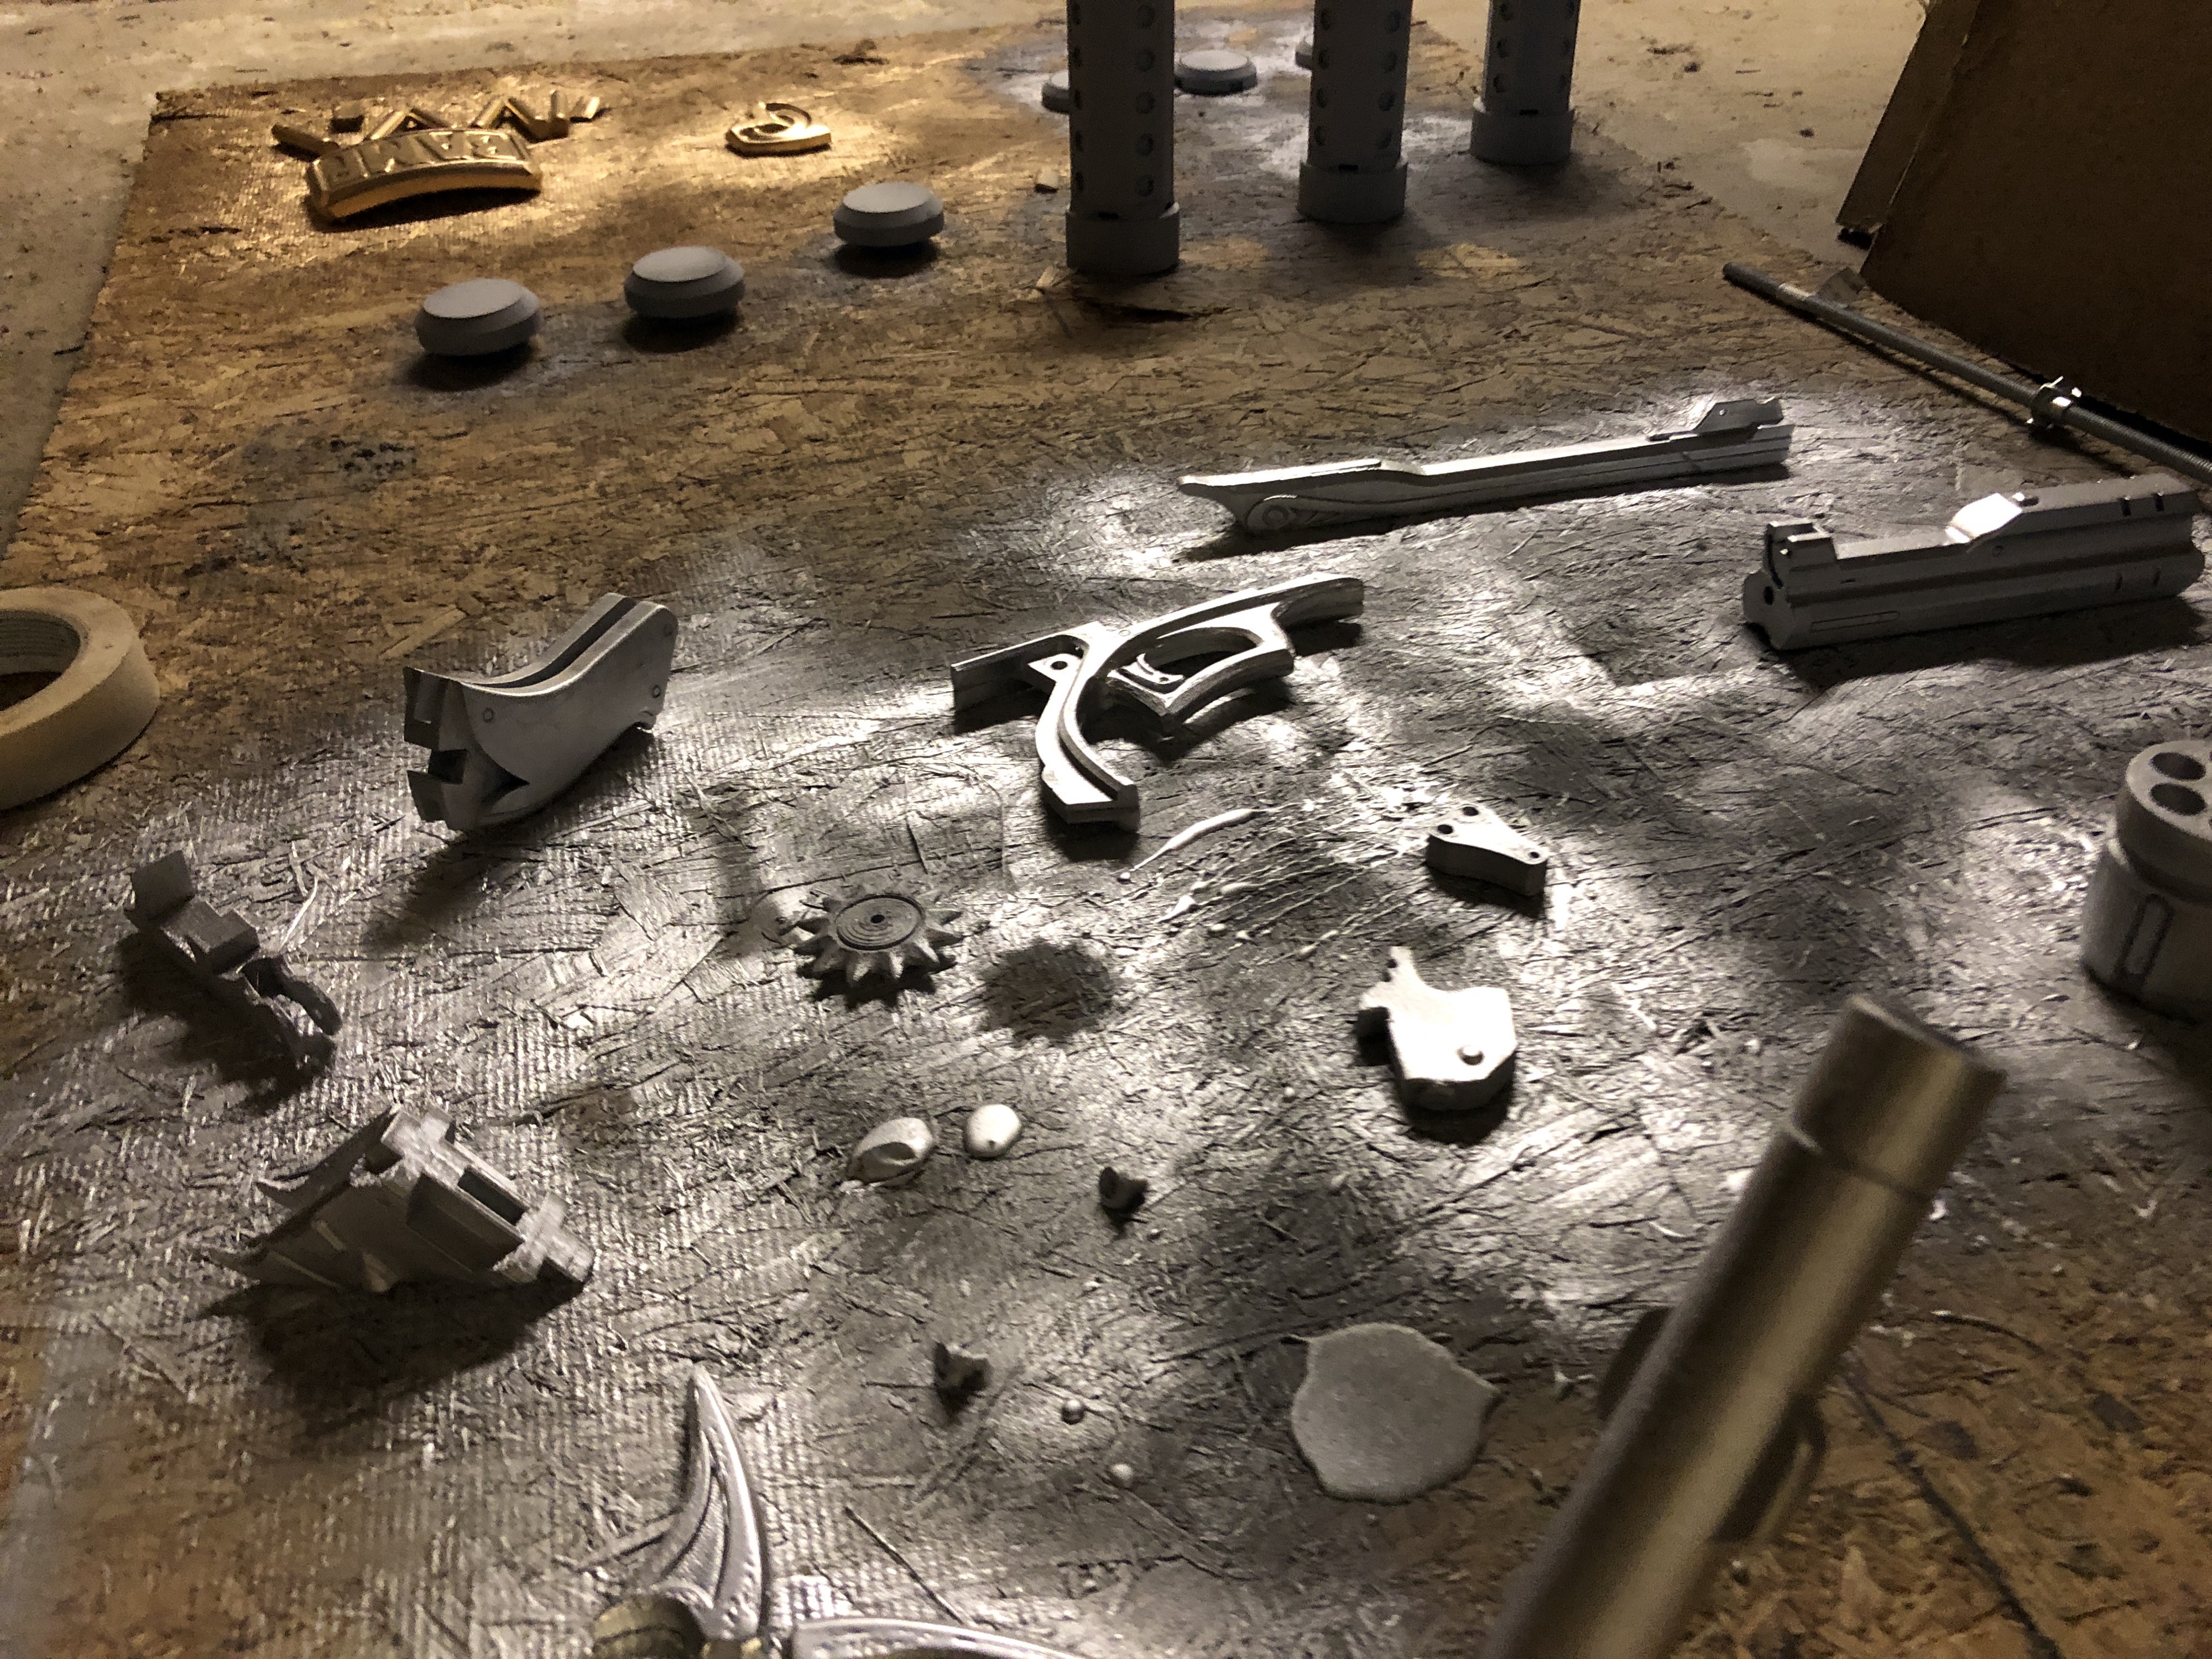
A Few more build photos?.

 Poor quality image of the Semi-Finished product, this is a cropped version from our company costume content, the fiberglassed armor pieces did not make it in time.
MORE COMING SOON! Please subscribe to my blog for notification updates, and follow here on Medium.