An updated solution for 2020 on how to add Google Maps to your website using JavaScript and tweaking it with customer markers
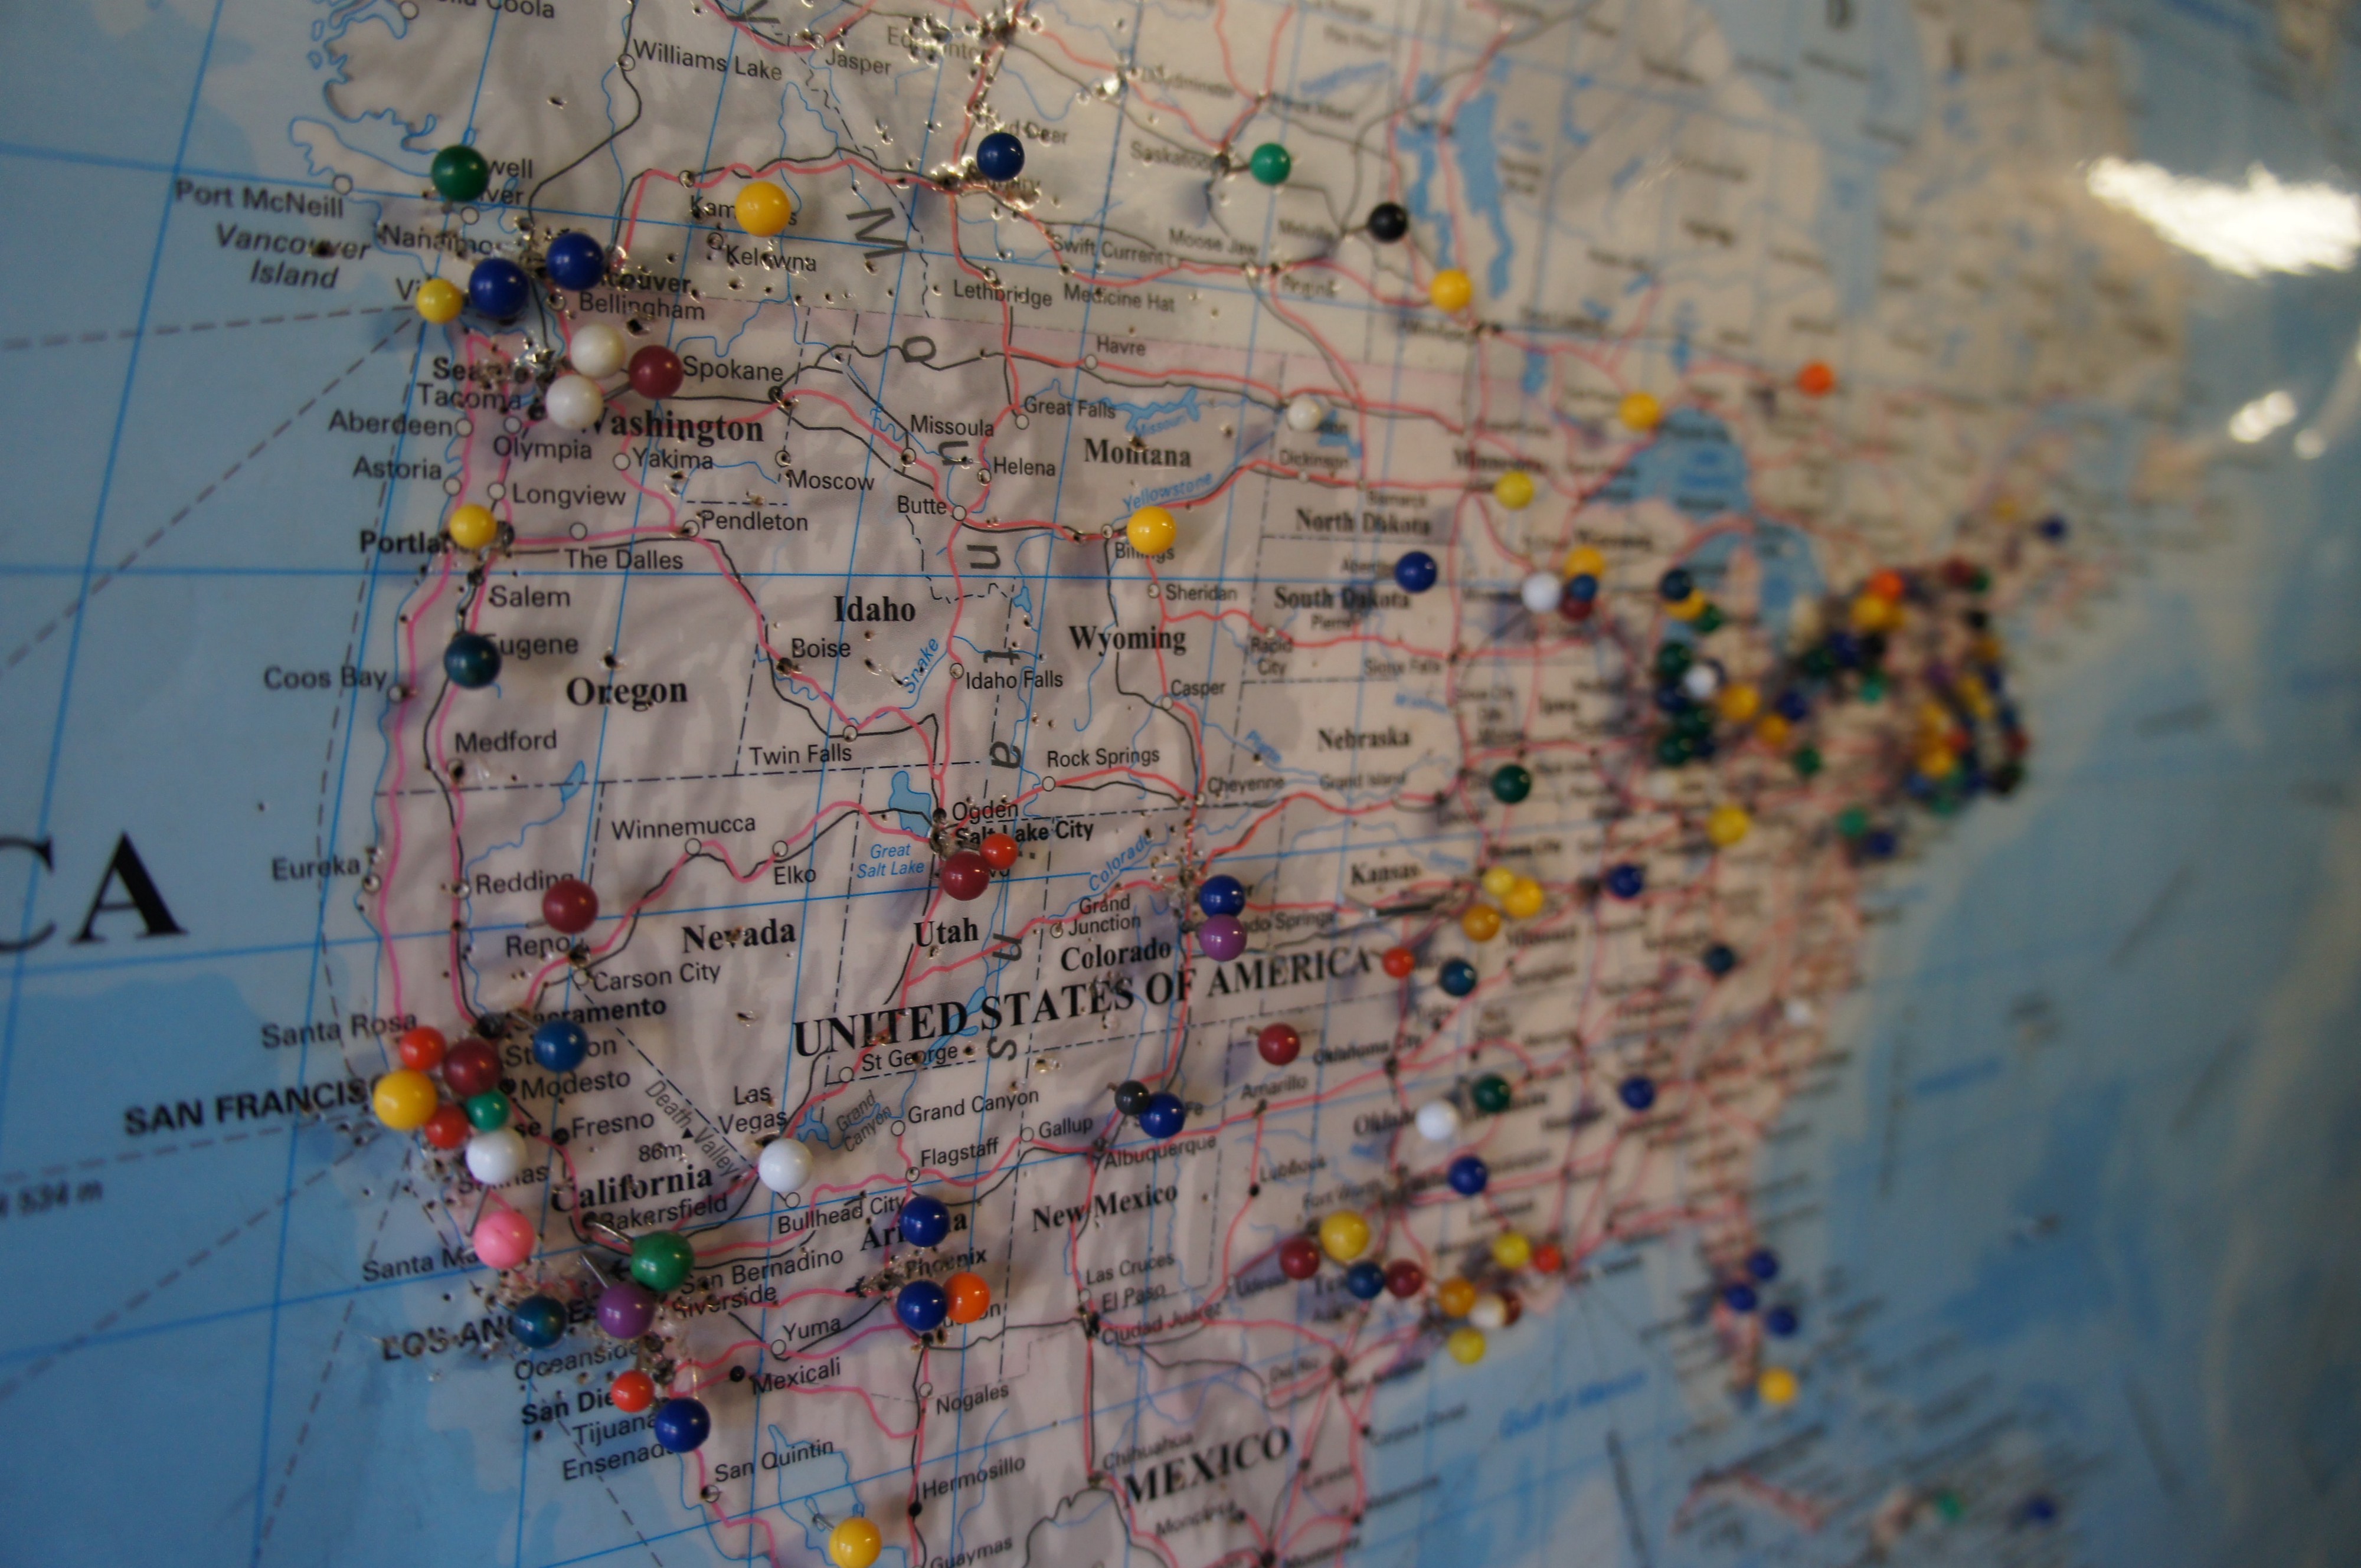 Photo by Mackenzie Weber on Unsplash
There are a lot of tutorials out there about how to implement a map to your website using Google Maps API but most of them are old and not very well put together. In this article, I will go through how to create a map, adding markers, how to add customize icons for markers, and how to add pop-up overlays.
Before we get started you need to have a Google API key, So to do that we have to go to Google API Console and create a project (This project you create isn’t just for Google Maps. It supports a lot of APIs). After creating a project you need to go to Maps JavaScript and enable it. From the credentials tab, you can create an API key.
Now everything is set. let’s dive into it…?
Setting the Map
First, create an HTML file and copy the script from Google Maps Documentation
<div id=”map”></div><script src=”https://maps.googleapis.com/maps/api/js?key=YOUR_API_KEY&callback=initMap” async defer></script>
Now notice that it has a parameter called callback that’s set to an initMap . So it’s going to load a function called initMap . What we?ll have to do is put function initMap in our JavaScript file. Inside initMap we have to set a variable called map and set to a new Google Map object.
For development purpose, you can add the map without an API key by adding js?v=3.exp
function initMap() { var options = { zoom:10, center: { lat:40.730610, lng:-73.935242} //Coordinates of New York }var map = new google.maps.Map(document.getElementById(‘map’), options);}
Now if you save it and reload, you won?t see anything on the website. That?s because we haven?t set a height and a width for our map. So you have to add these few lines to your CSS file
#map { height: 400px; width: 100%;}
Now we have a map that is centered on New York City.
Adding Custom Markers
To add custom markers you need to create a variable and set it togoogle.maps.Markers() and give the position as an object to put the marker
var marker = new google.maps.Marker({ position:{lat: 40.6782, lng: -73.9442}, // Brooklyn Coordinates map:map //Map that we need to add icon:’https://img.icons8.com/fluent/48/000000/marker-storm.png’, // adding custom icons (Here I used a Flash logo marker) draggarble: false// If set to true you can drag the marker});
Let’s move on add a pop-up with some information or some content, So for that what we are going to do is go under the marker and create a variable called infomation and set that to google.maps.InfoWindow which going to take in an object with the content we want.
var information = new google.maps.InfoWindow({ content: ‘<h4>The marker is at Brooklyn</h4>’});
This itself isn?t going to do anything, so we need to add an event listener to listen to that information window
marker.addListener(‘click’, function() { information.open(map, marker);});
Now let us see how all the coding that we have gone through up to now looks,
https://jsfiddle.net/c6shrnbw/6/
That?s how you can add a single marker with a custom icon and information window.
Adding Multiple Markers
When you need to add multiple markers, It efficient to have a function without hardcoding the coordinates. Let?s see how we can do that,
function addMarker(coordinates) { var marker = new google.maps.Marker({ position: coordinates, // Passing the coordinates map:map, //Map that we need to add draggarble: false// If set to true you can drag the marker });}addMarker({lat: 40.6782, lng: -73.9442}); // Brooklyn CoordinatesaddMarker({lat: 40.7831, lng: -73.9712}); // Manhattan Coordinates
You can change the passing properties and have different custom icons for each marker as well. But when you add custom icons for some markers it is not optimal to left the default marker icons as it is. It is the same for passing the content information for these markers.
function addMarker(prop) { var marker = new google.maps.Marker({ position: prop.coordinates, // Passing the coordinates map:map, //Map that we need to add draggarble: false// If set to true you can drag the marker }); if(prop.iconImage) { marker.setIcon(prop.iconImage); } if(prop.content) { var information = new google.maps.InfoWindow({ content: prop.content }); marker.addListener(‘click’, function() { information.open(map, marker); }); }}addMarker({ coordinates:{lat: 40.6782, lng: -73.9442}, iconImage:’https://img.icons8.com/fluent/48/000000/marker-storm.png’, content:'<h4>Brooklyn Marker</h4>’});addMarker({ coordinates:{lat: 40.7831, lng: -73.9712} // Manhattan Marker});
Let?s see the result using JSFiddle,
JSFiddle
You can further optimize this by adding all the marker properties to an array.
Conclusion
These are some of the things you can do with the Google Maps JavaScript API. That?s it for the article. Thank you and stay safe!
A note In Plain English
Did you know that we have four publications and a YouTube channel? You can find all of this from our homepage at plainenglish.io ? show some love by giving our publications a follow and subscribing to our YouTube channel!
Resources
- Google Map Documentation
- JSFiddle

