An easel is a stand to hold a canvas while you paint. Before today it was a pain for me to make art at home. I would use my desk and end up with paint everywhere. There has to be a better way! With that in mind, here is a quick tutorial to create an easel to use for your artistic needs.
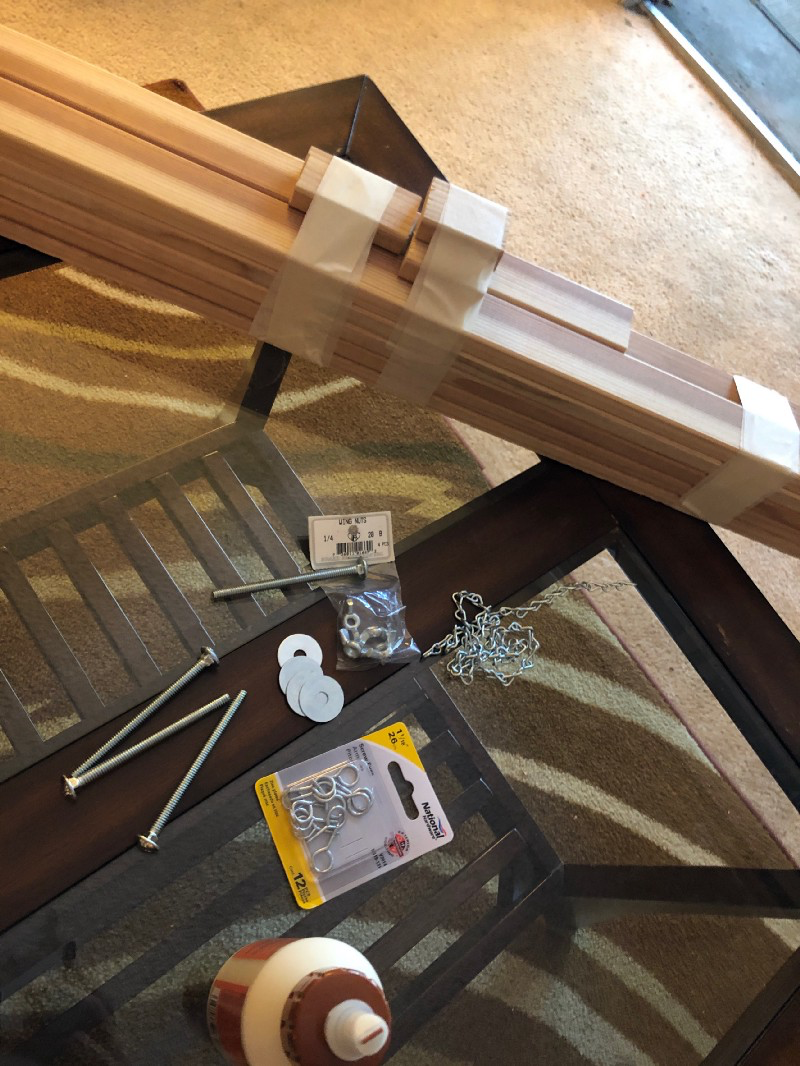
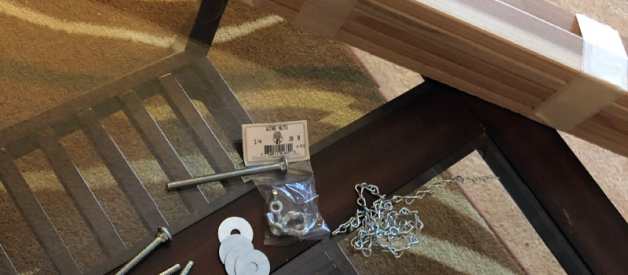
Materials List
- (4) 1/4 ? 20 X 3 carriage bolt
- (4) flat washers
- (4) 1/4 ? 20 wing nut screws
- (10) 1?1/4 wood screws
- (2) small eye bolt
- 22″ chain link
- wood glue
Wood Cut List
- (2) 1 X 2 X 6′ (front legs)
- (1) 1 X 2 X 63″ (back leg)
- (1) 1 X 2 X 50″ (middle vertical support)
- (4) 1 X 2 X 36″ (canvas plate)
- (1) 1 X 2 X 27?1/2″ (lower horizontal brace)
- (1) 1 X 2 X 12?1/2″ (upper horizontal brace)
- (2) 1 X 2 X 2″ (front legs and back leg connector pieces)
Tools Needed
- (2) Clamps
- Power drill & 1/4 drill bit
- Tape measure
Part 1: Assembling The Frame
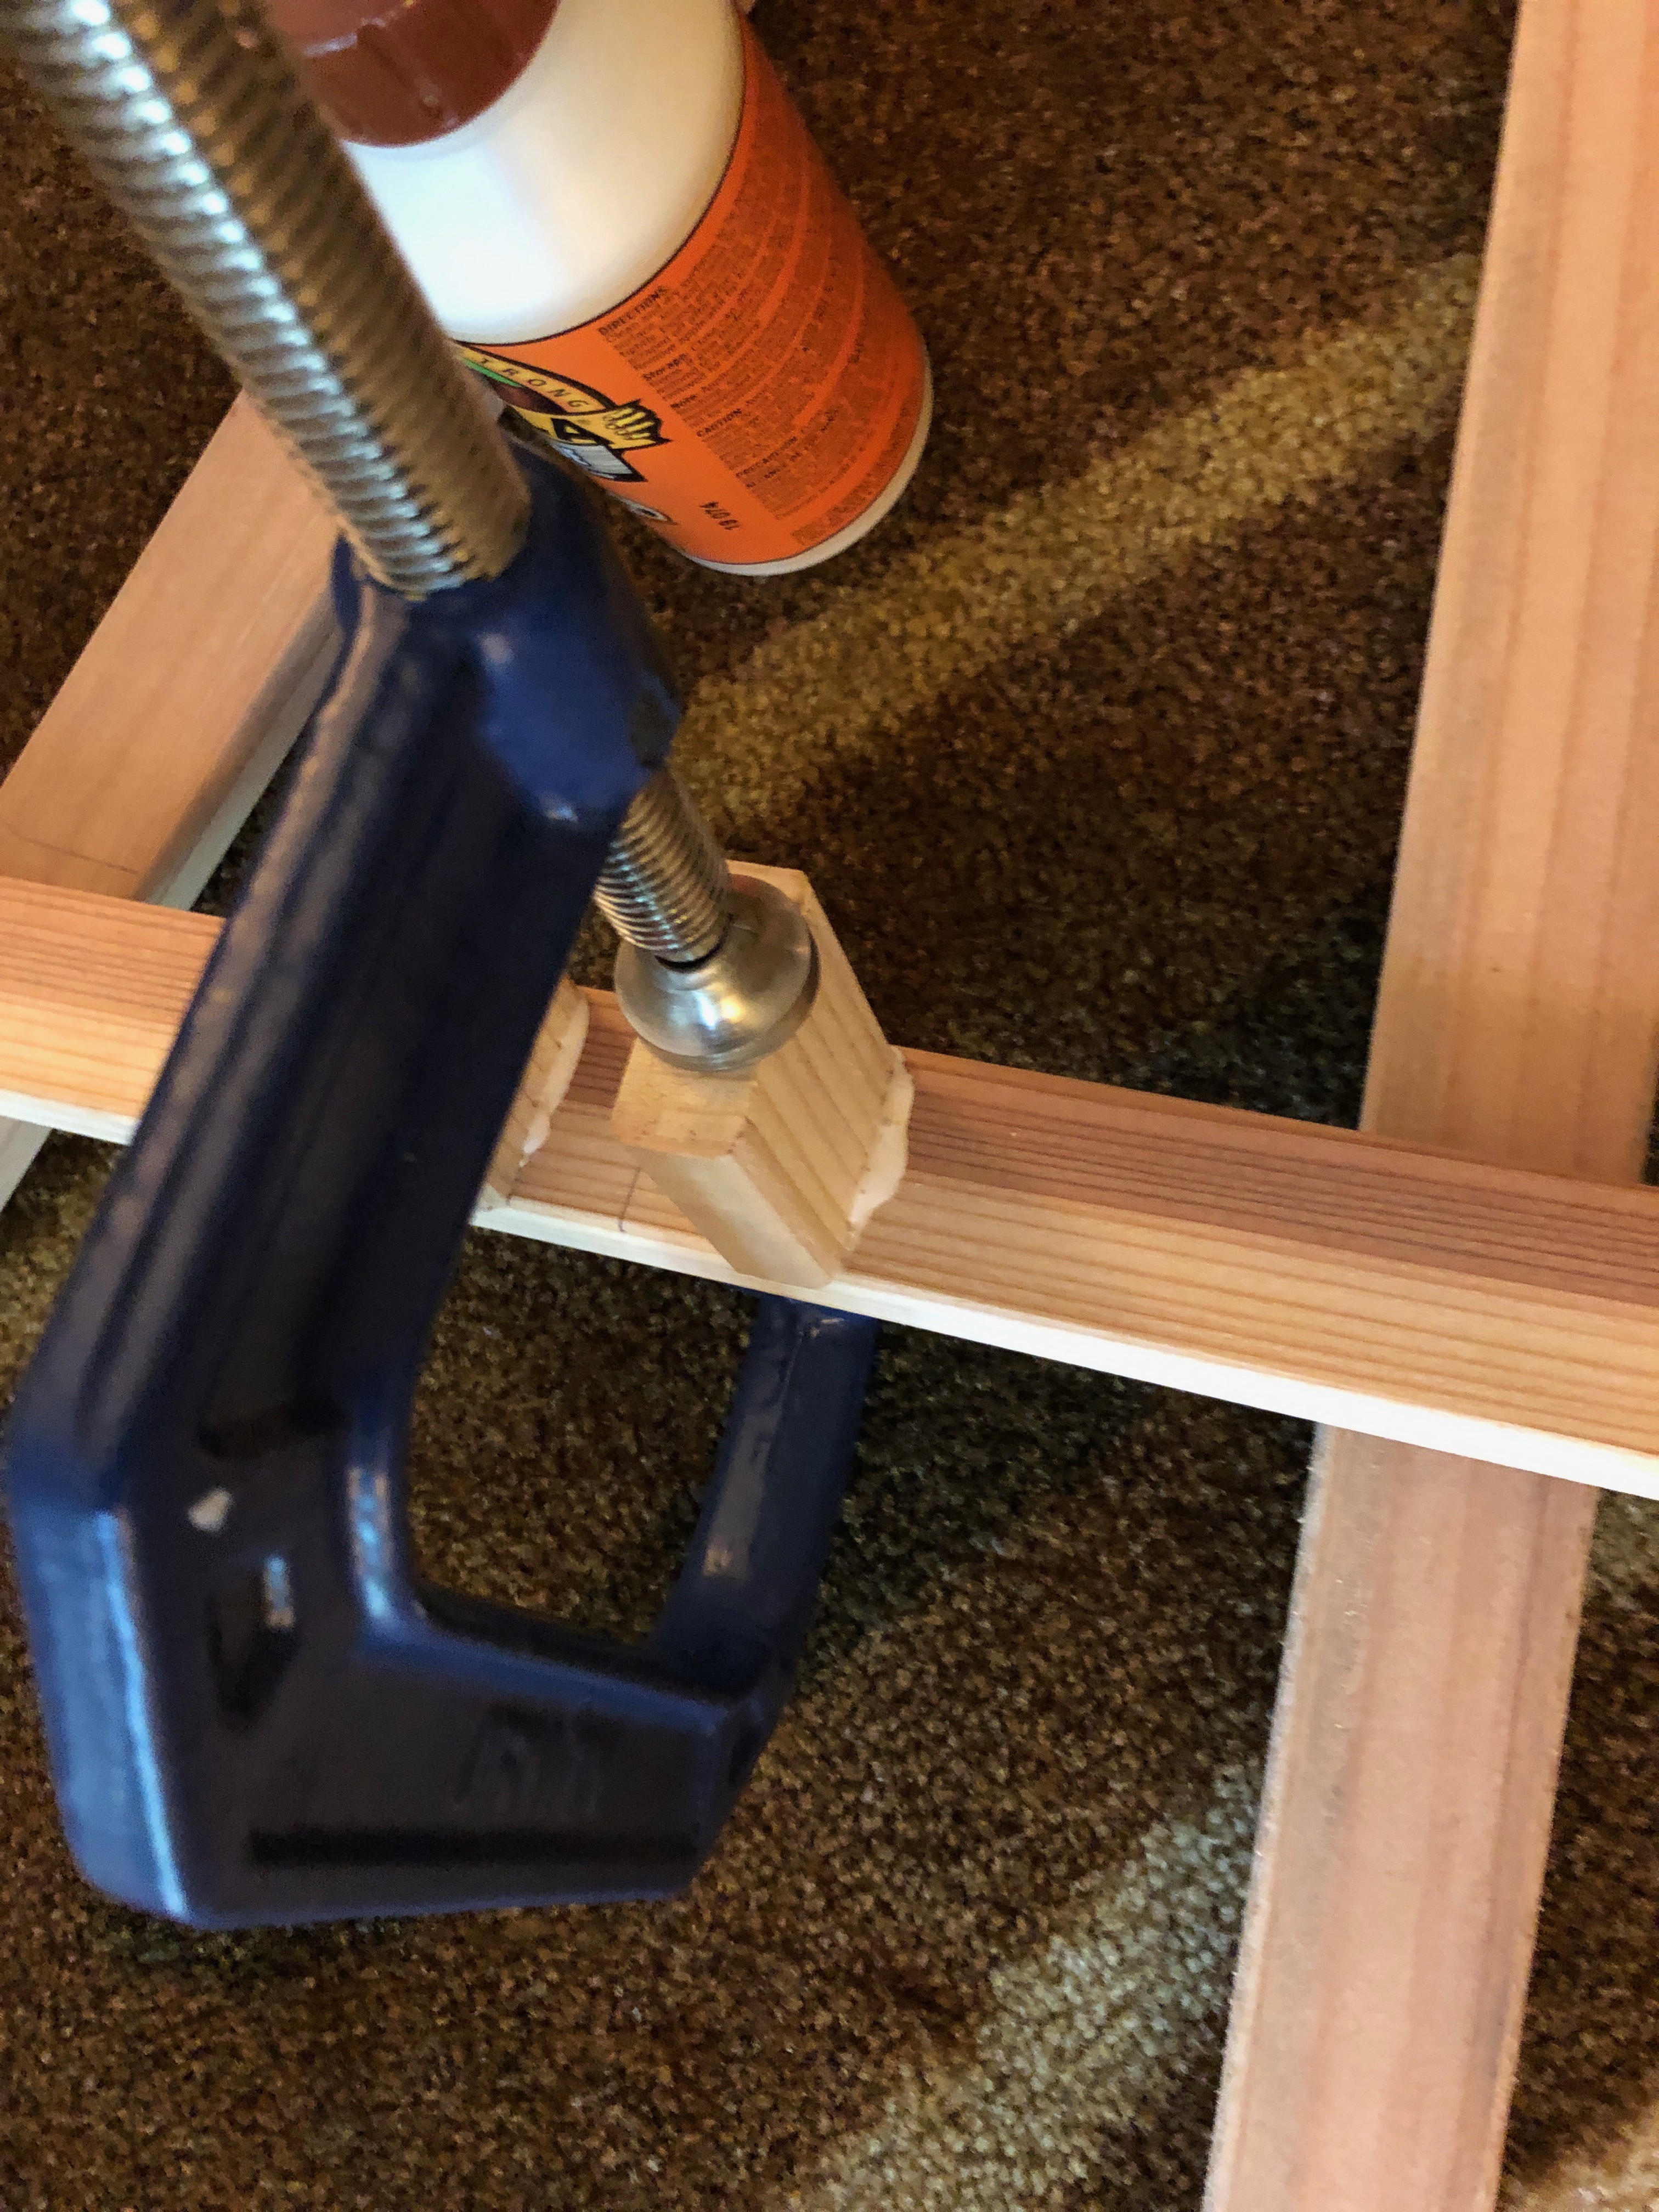
Mark the center of the brace with a pencil and attach the 2×2 pieces to the upper horizontal brace using the wood glue about an inch from the center.
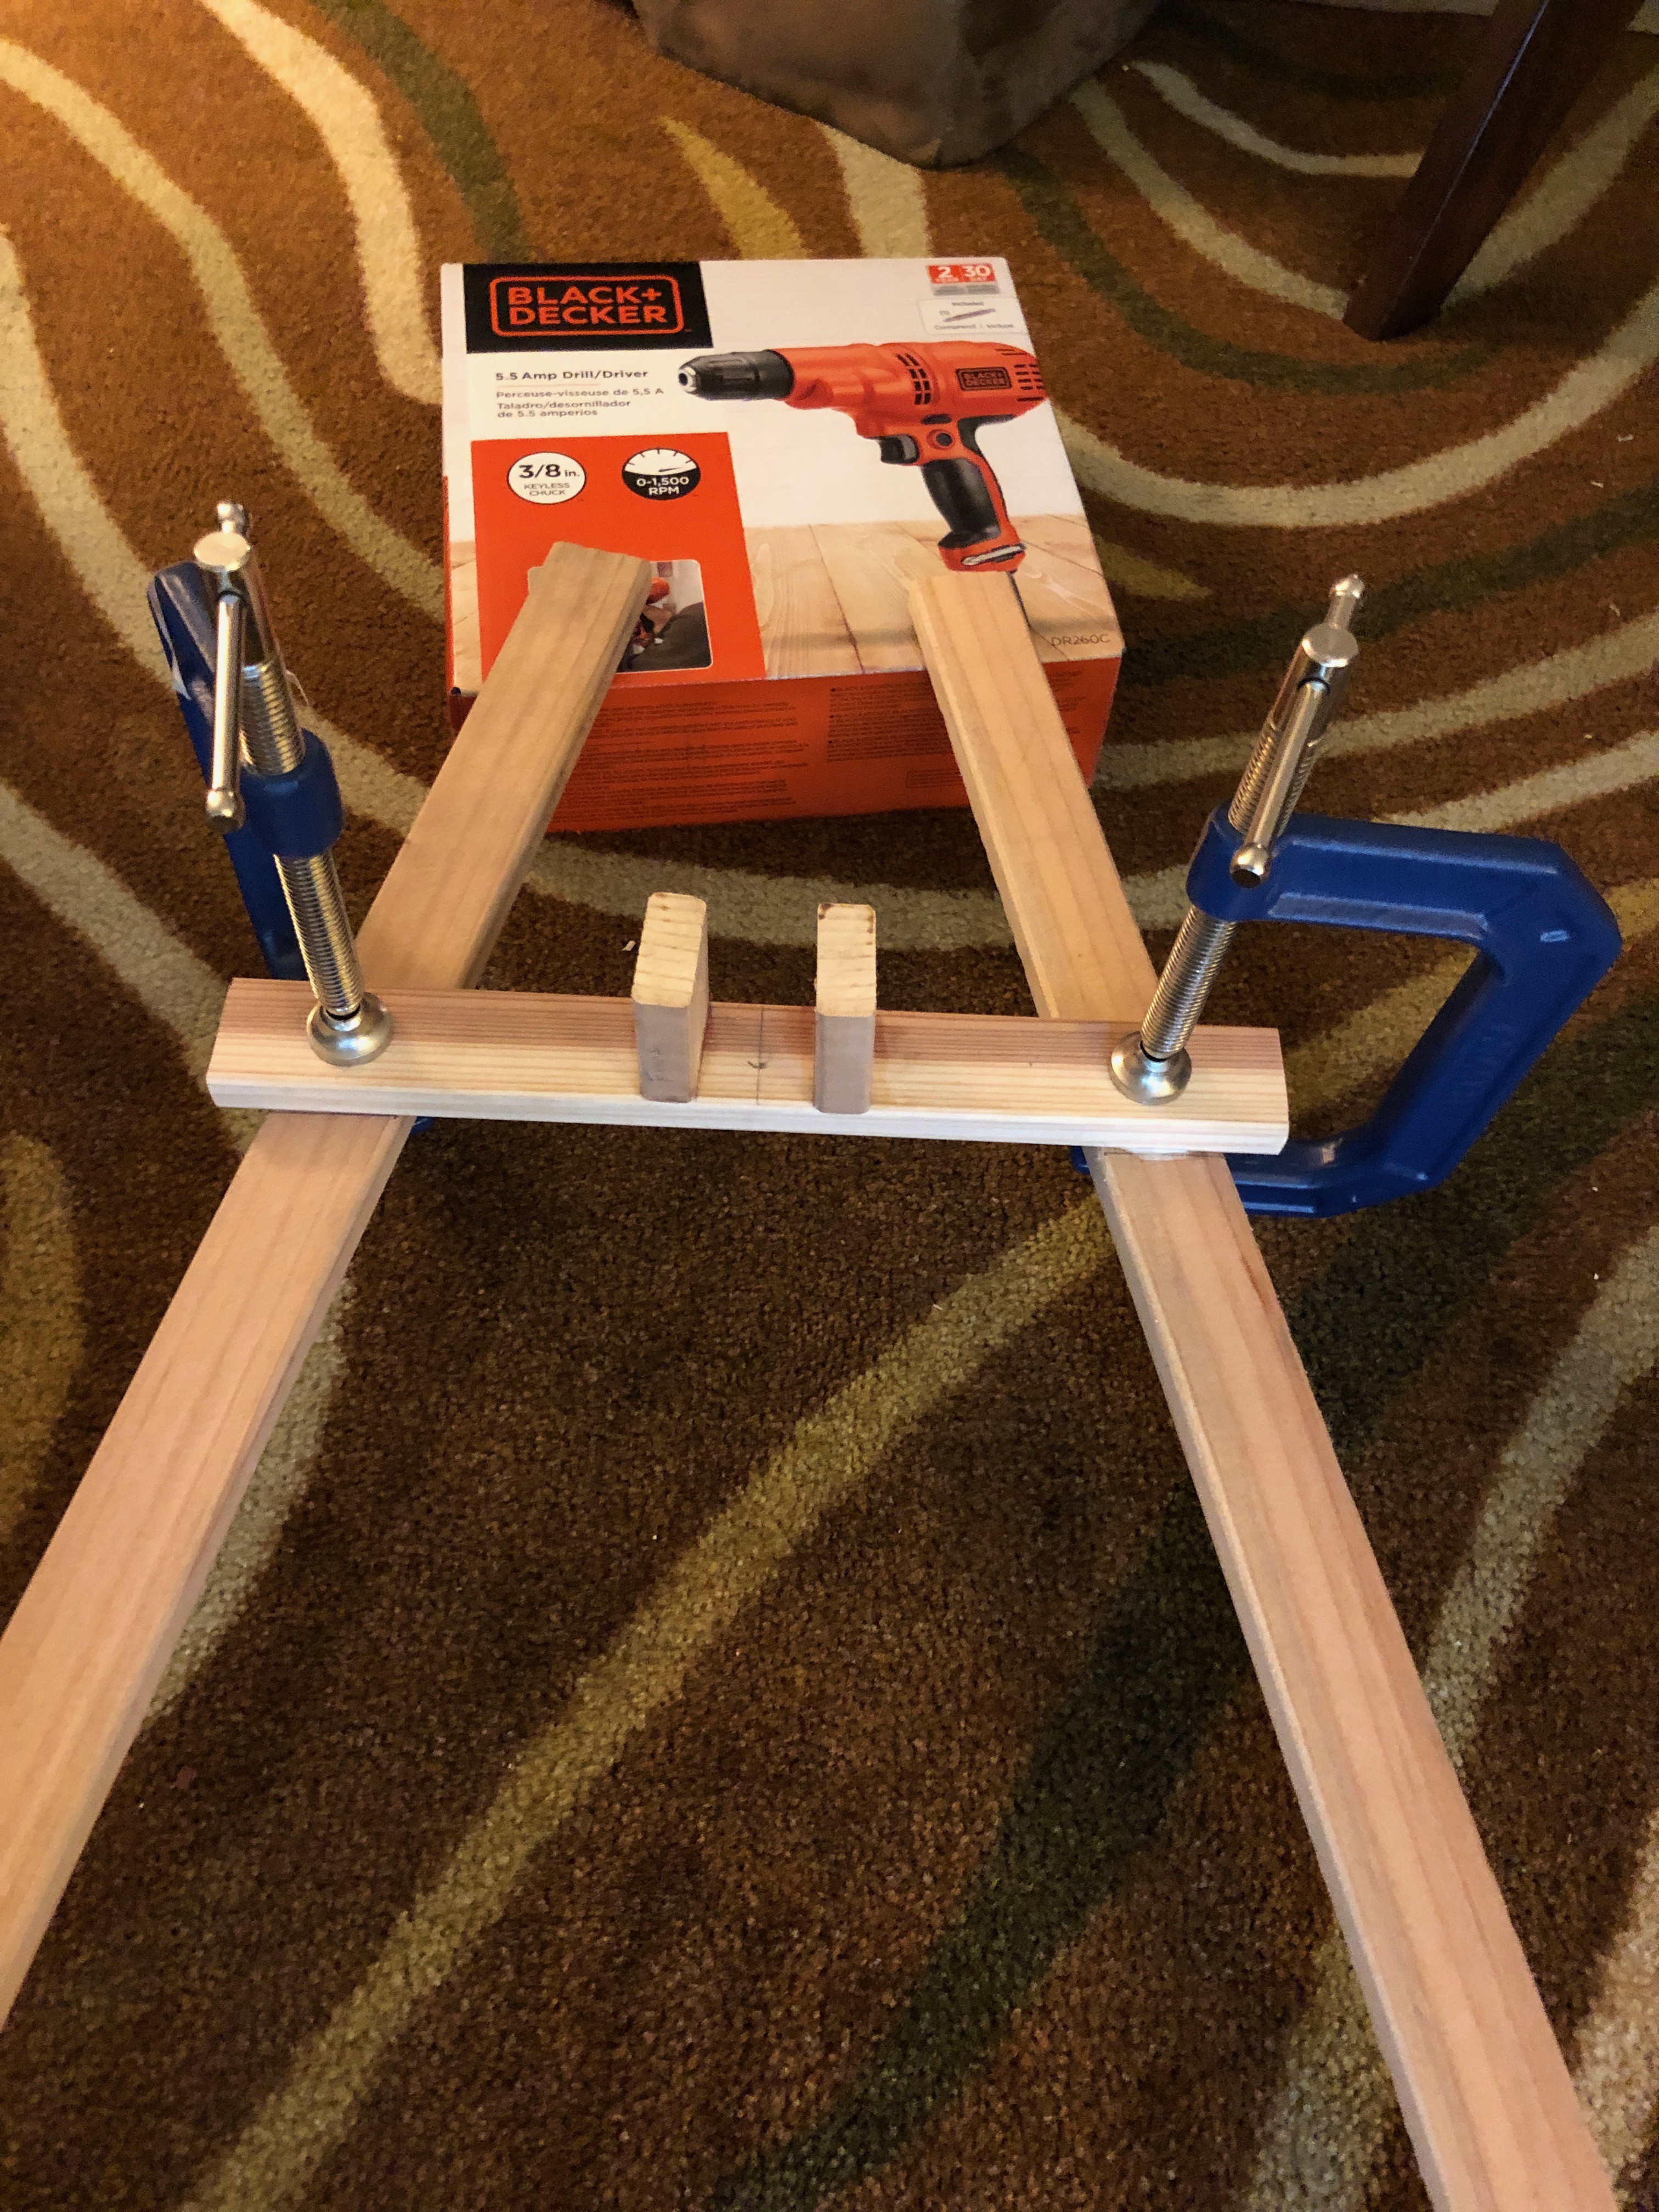
Arrange the two front legs at an angle. Measure 7?1/2″ on upper and 40″ on lower part and position the top brace 9″ from top of legs mark.
Drill a hole through each 2×2 piece as well as the back leg and thread the bolt through and secure with a washer and wingnut.
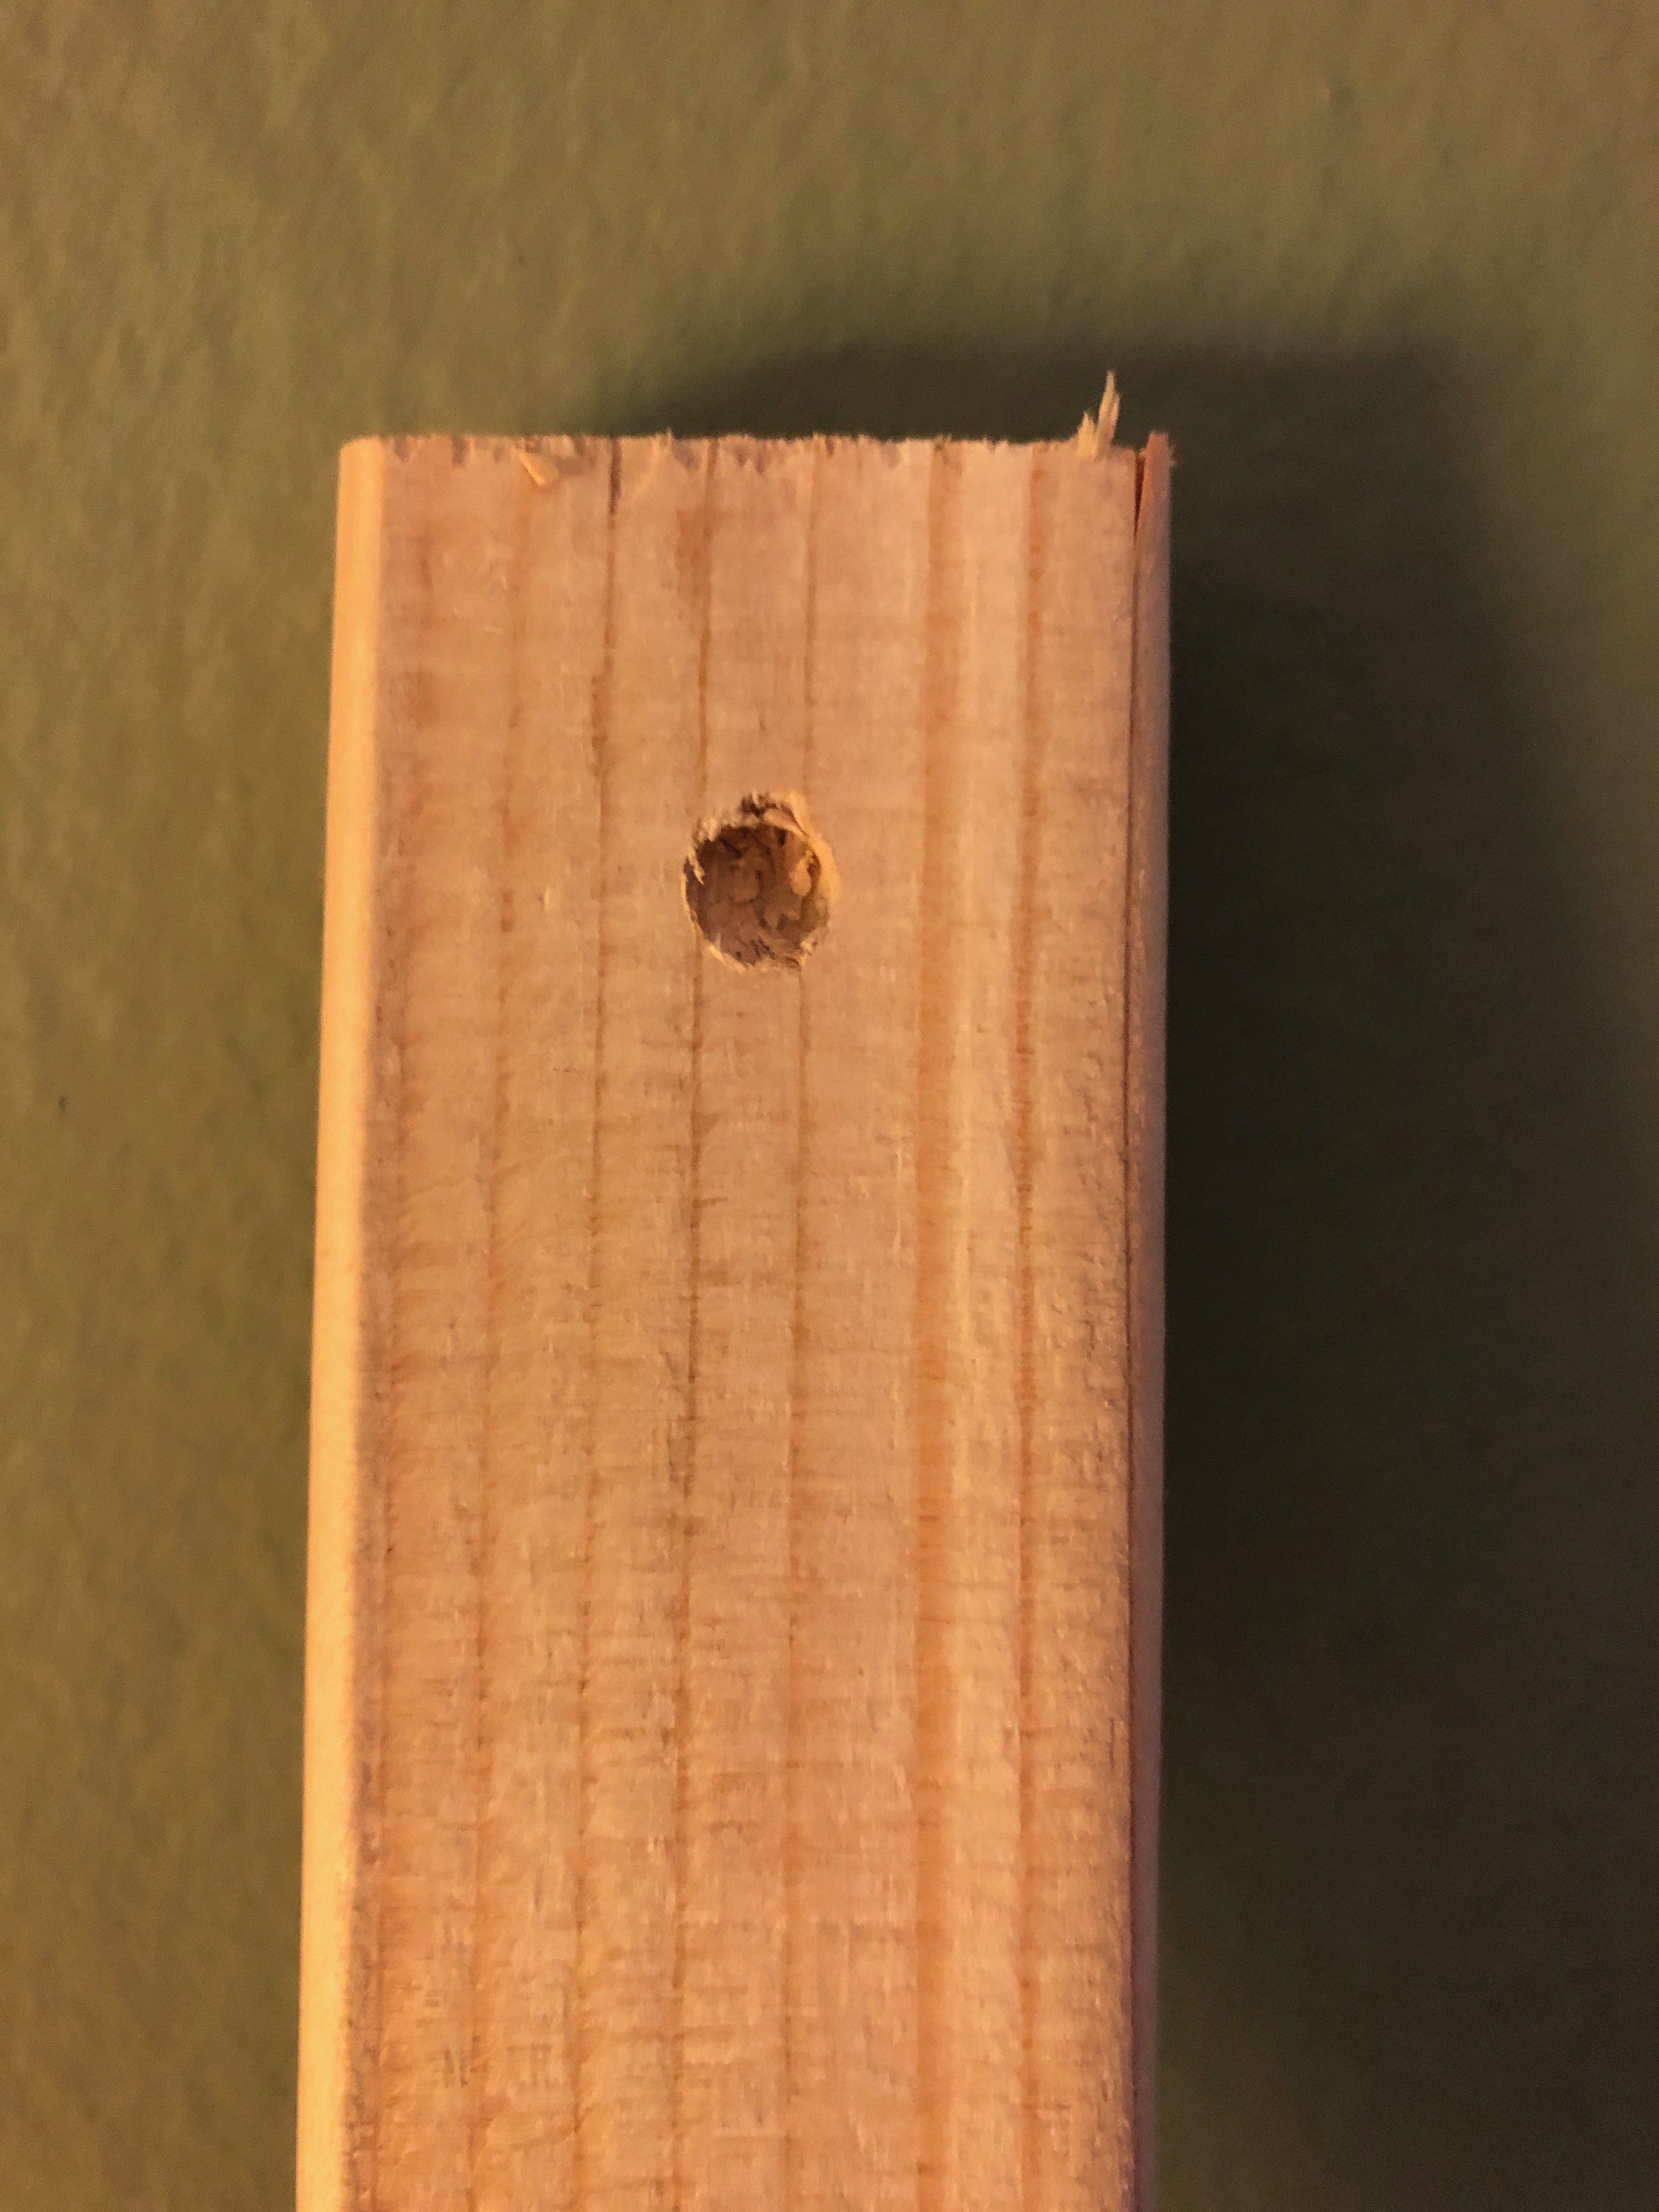 To show hole placement. You should drill all the way through the wood.
Attach the lower horizontal brace to the rest of the frame using wood glue and stand it up. It should look something like this below.
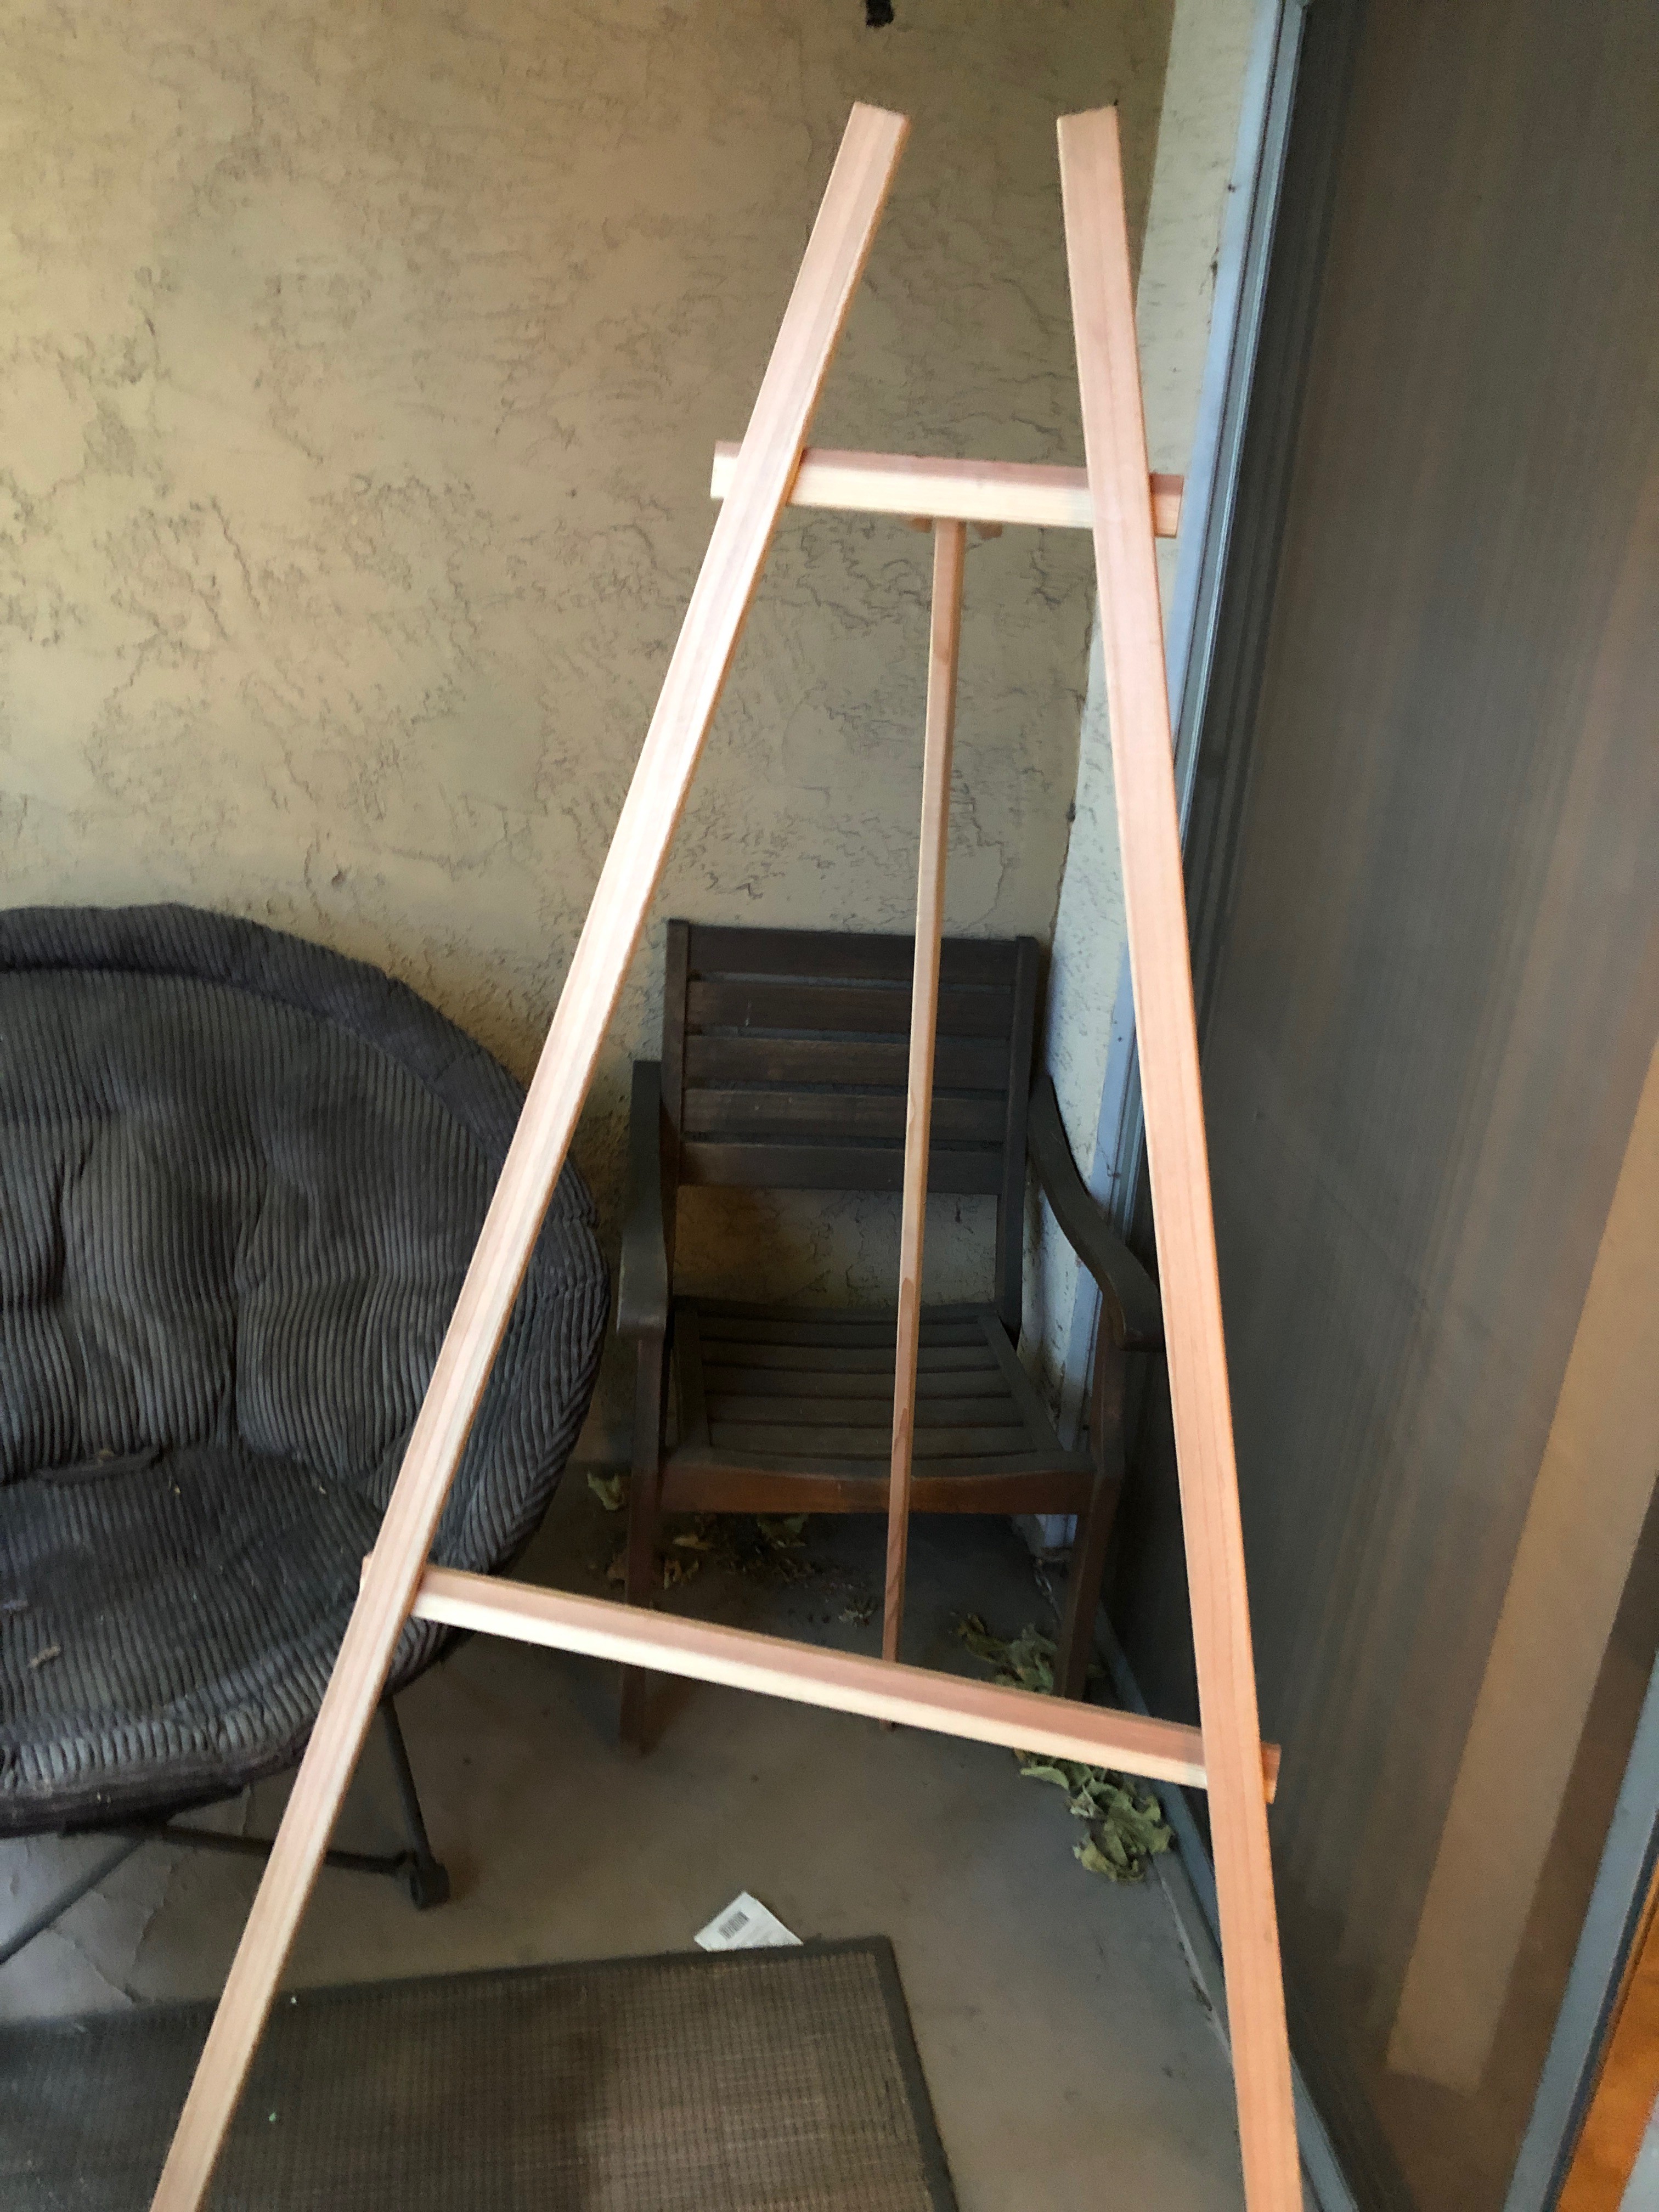
Lastly, drill several holes in the middle of the middle vertical support. I?d suggest drilling them 2 inches apart. Then attach to the frame using wood glue.
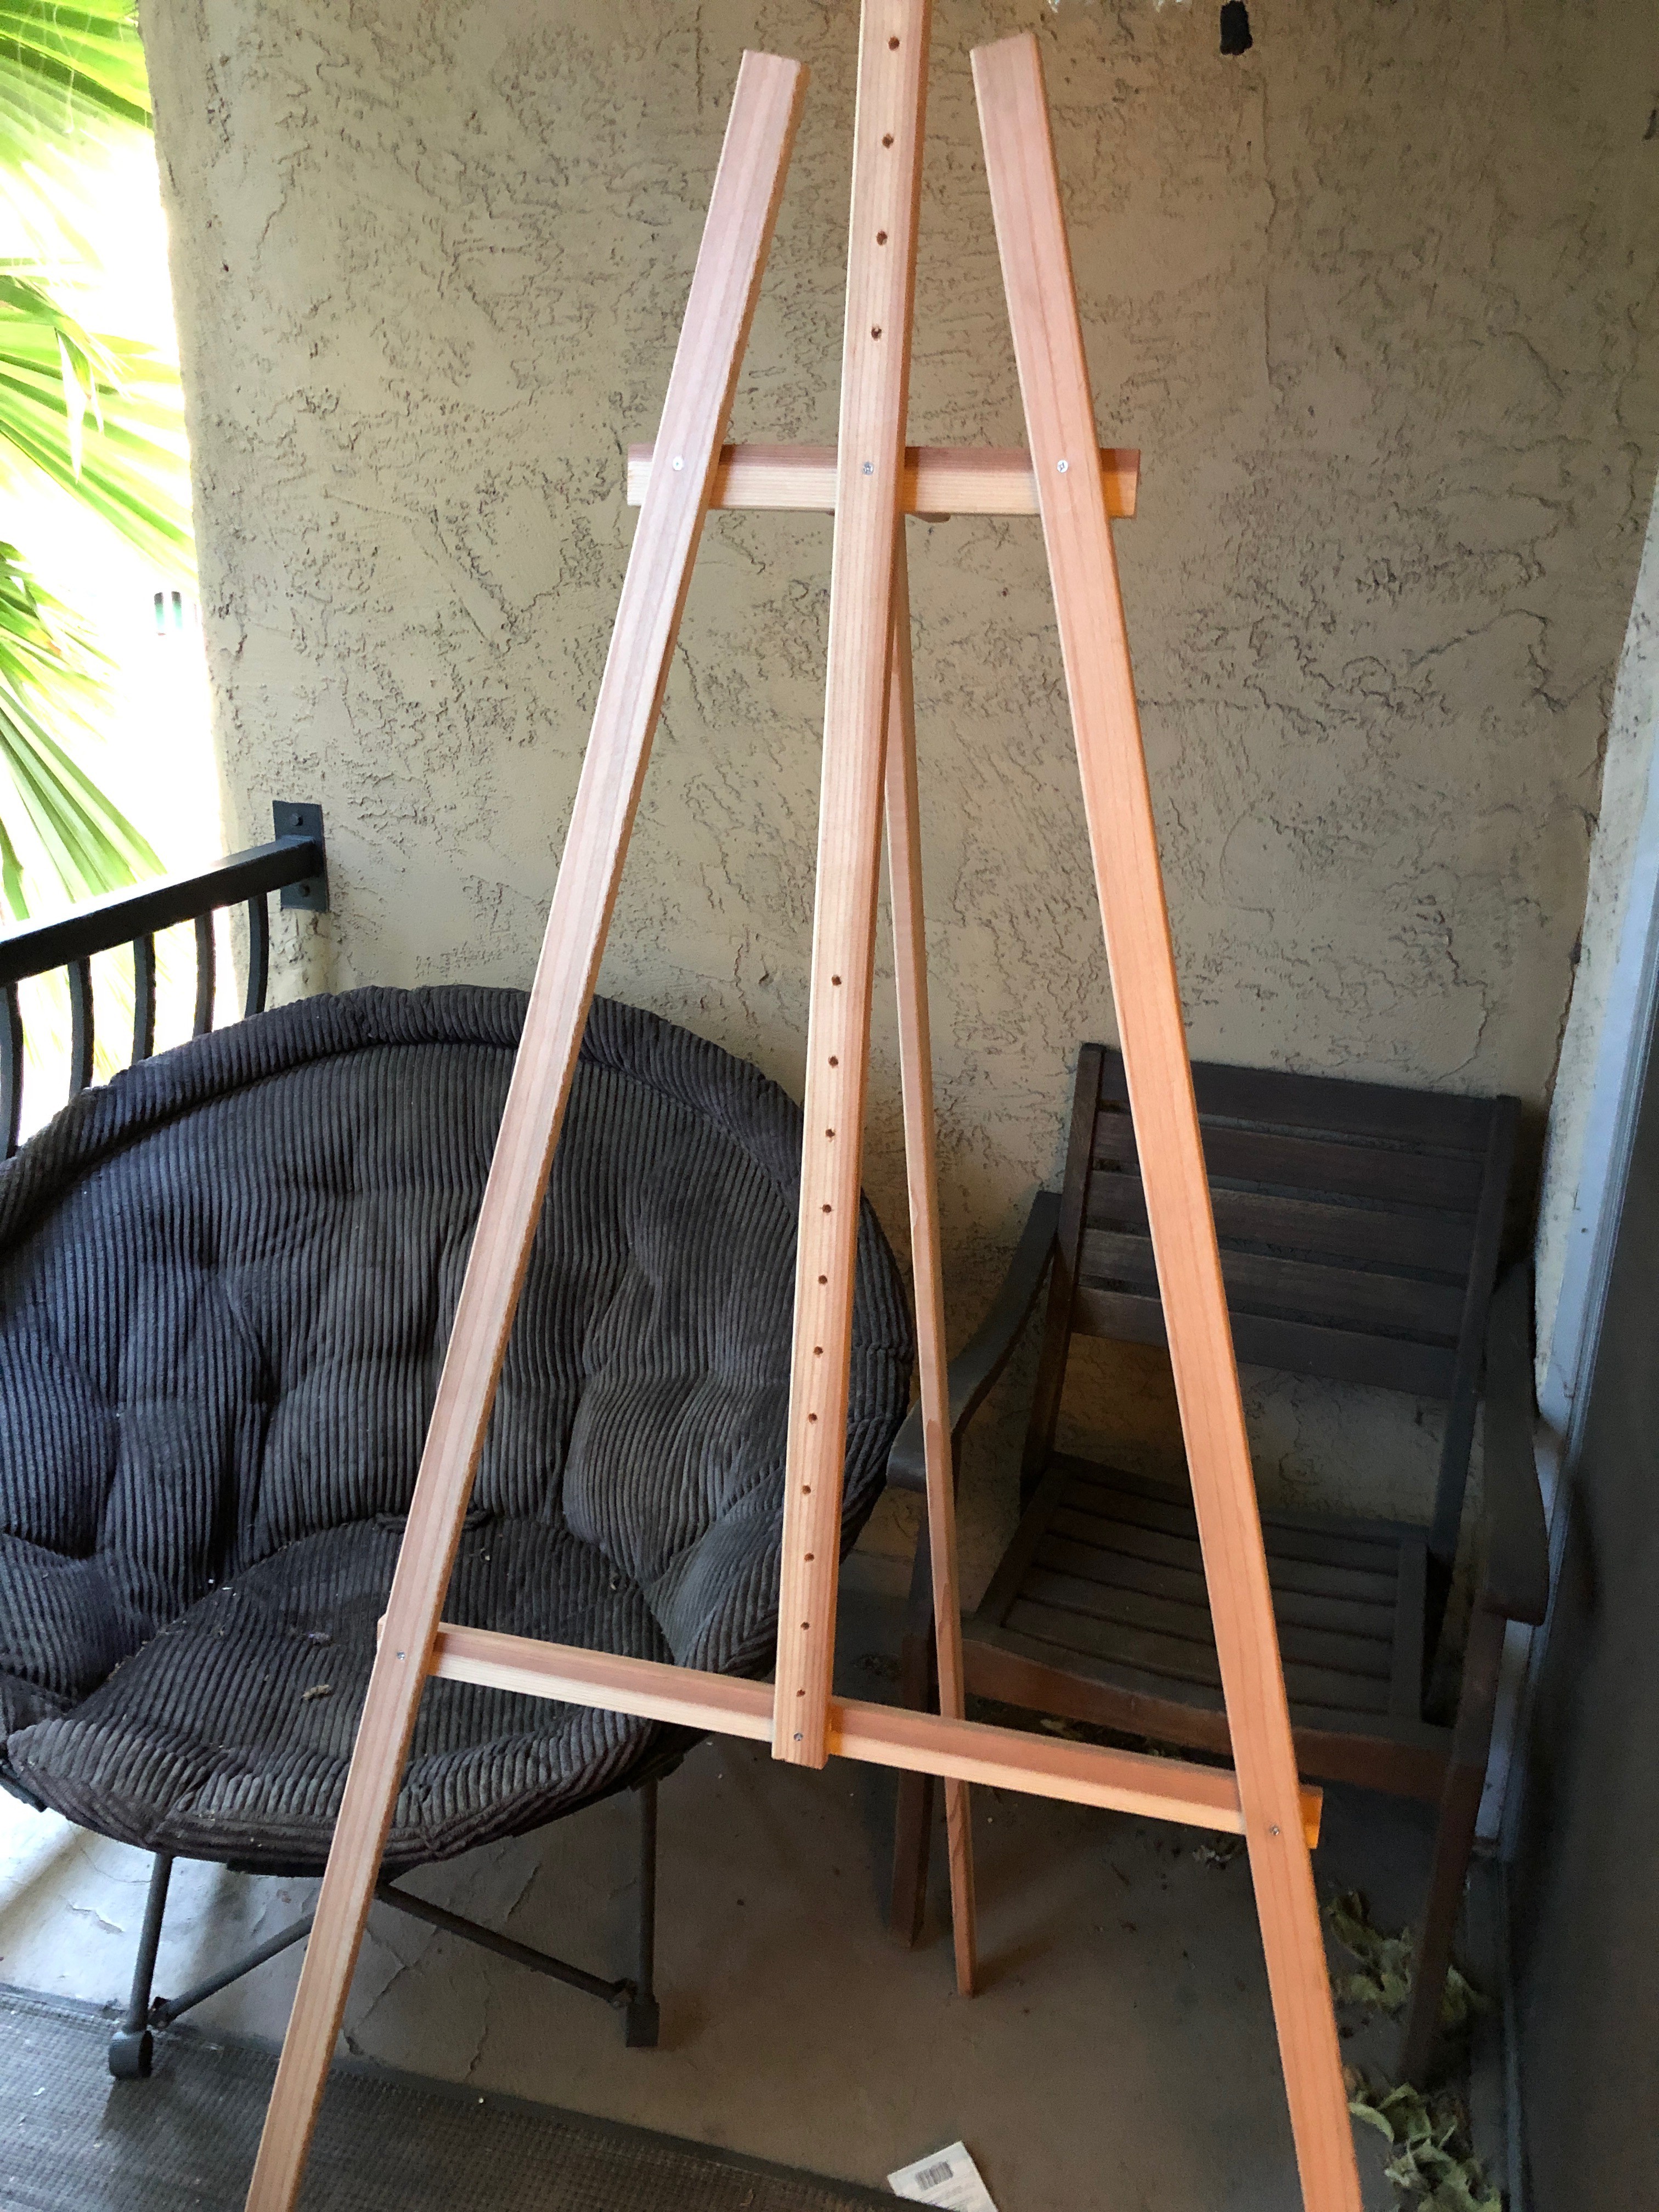
You made it! If you are happy with the frame, you can dill in wood screws at each intersection point.
Part 2: Assembling the Canvas Plate
The canvas plate is a bit more nuanced than the frame. I?ve attached a drawing below to show you how the pieces should be arranged.
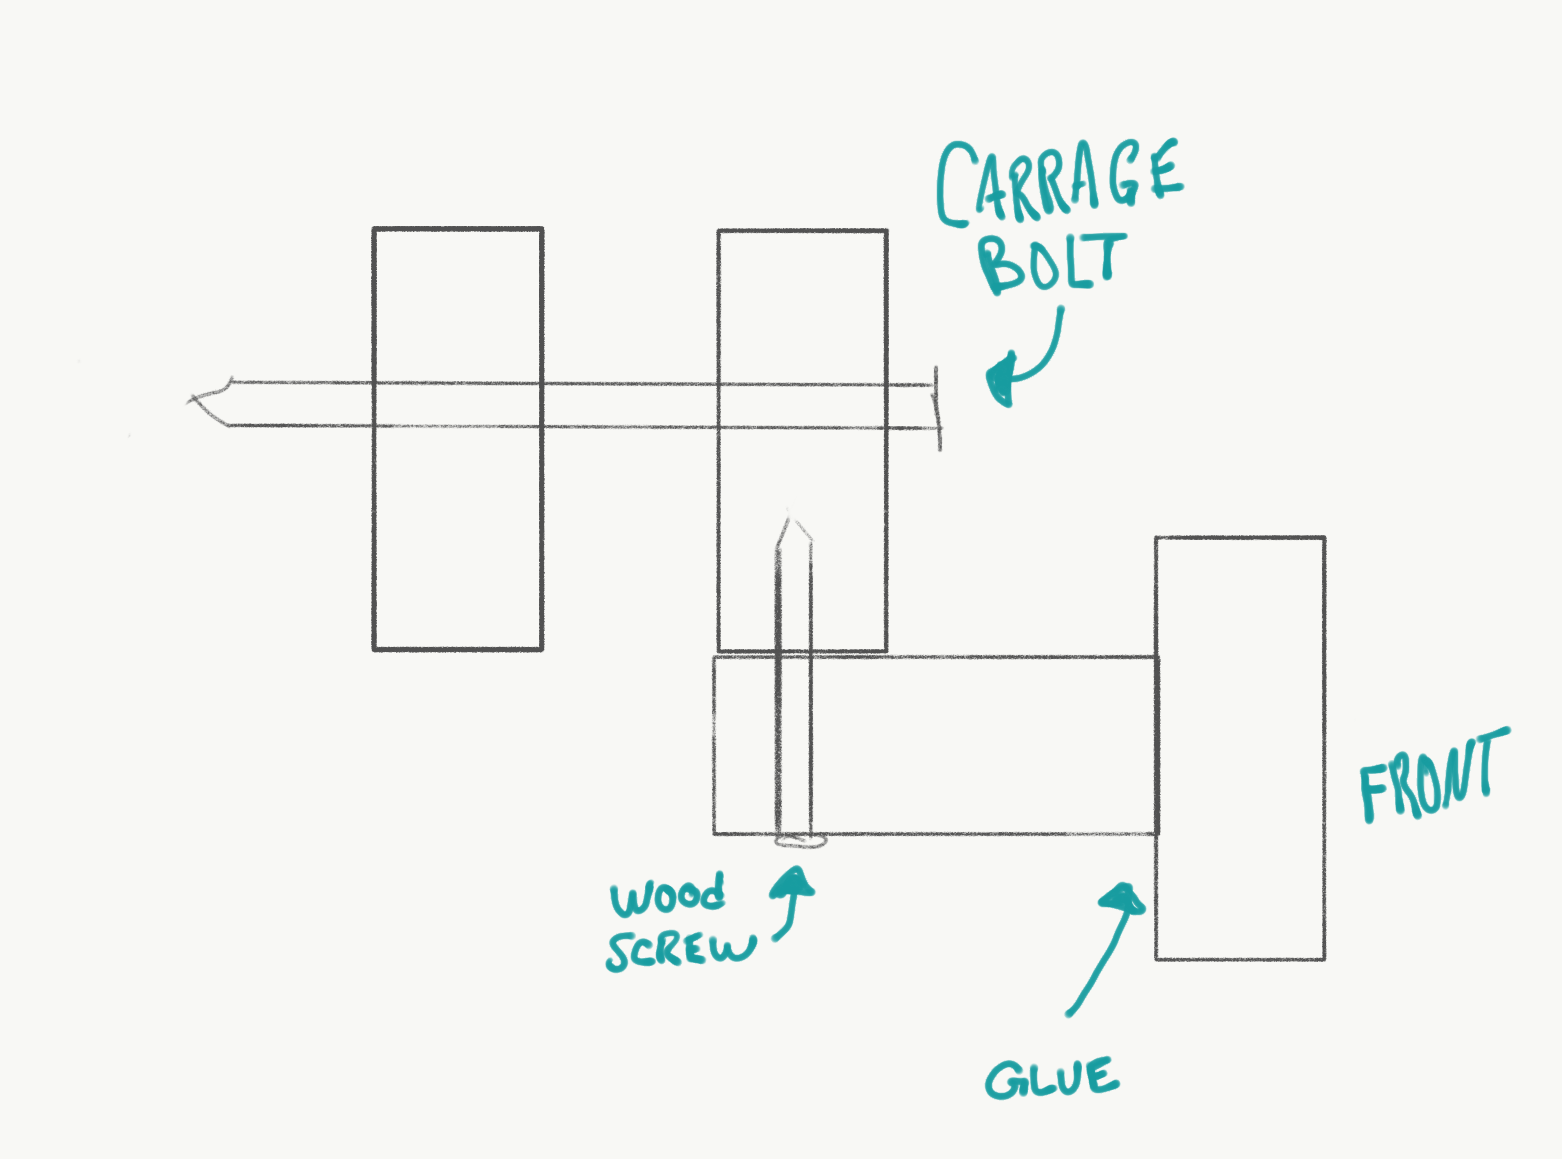 Side view of canvas plate
You can see the front board should hang about halfway down to form a T. You?ll want to glue the front piece to the bottom of the plate and hold in place until the glue dries.
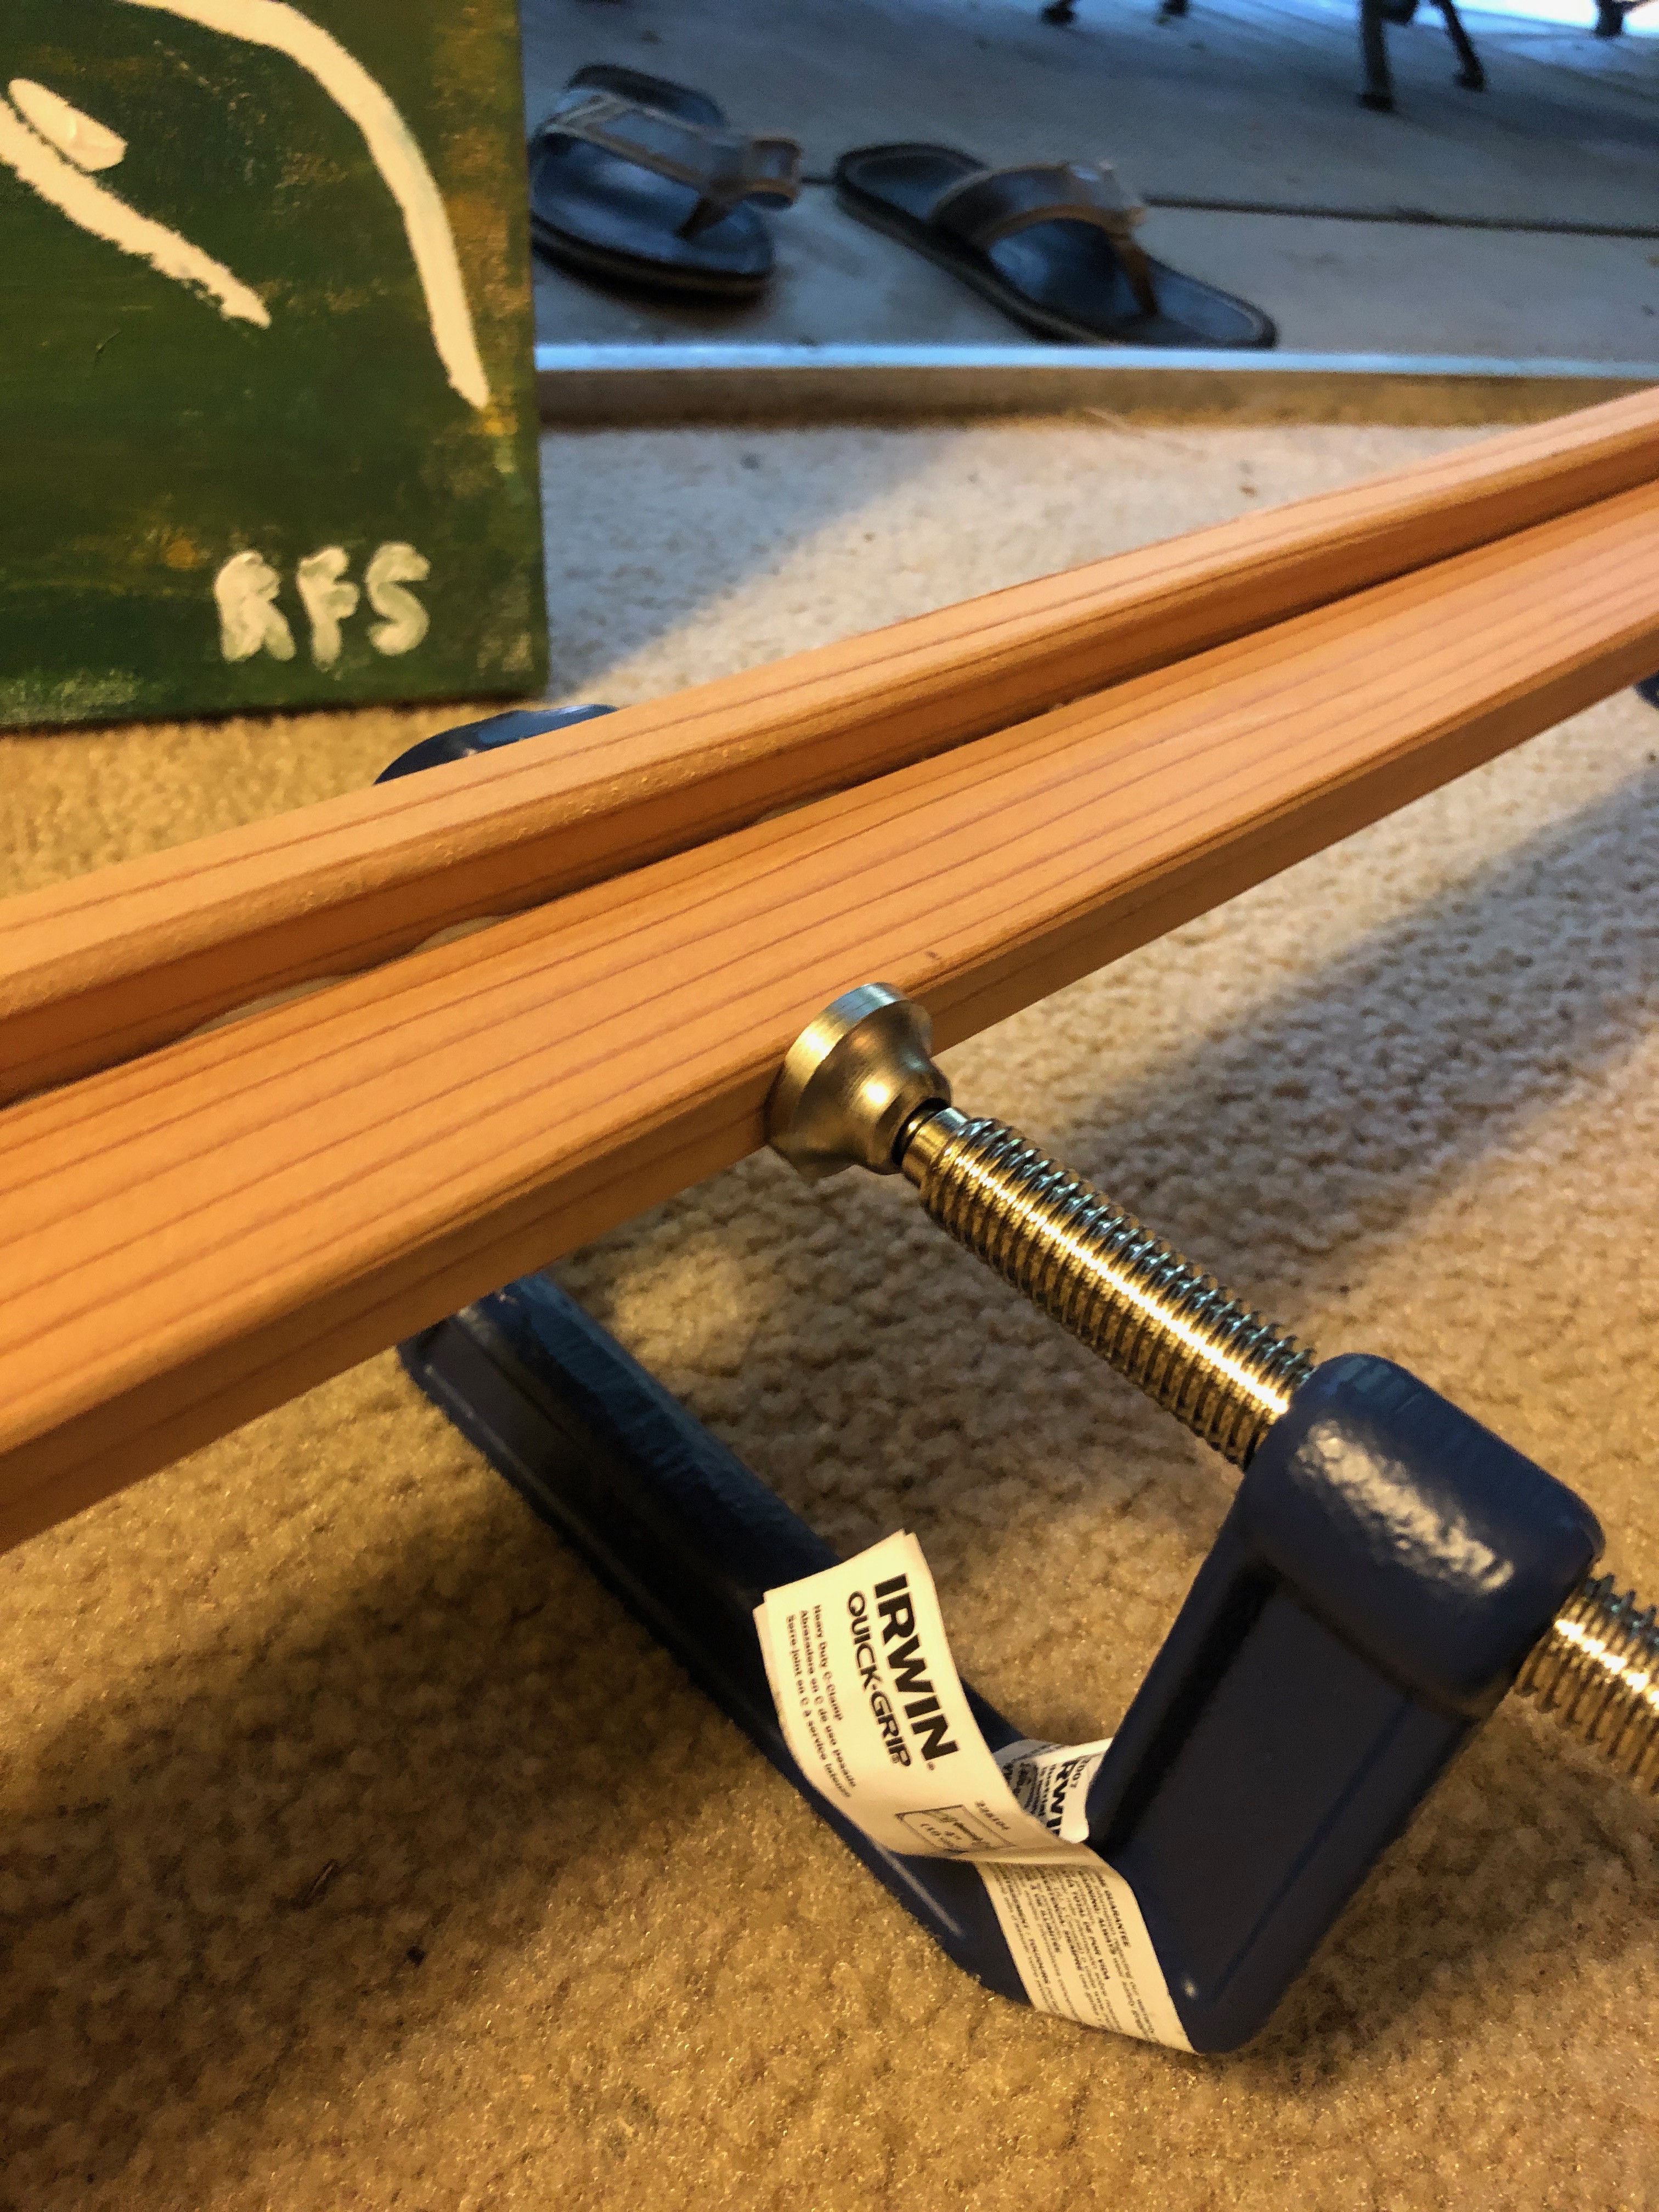
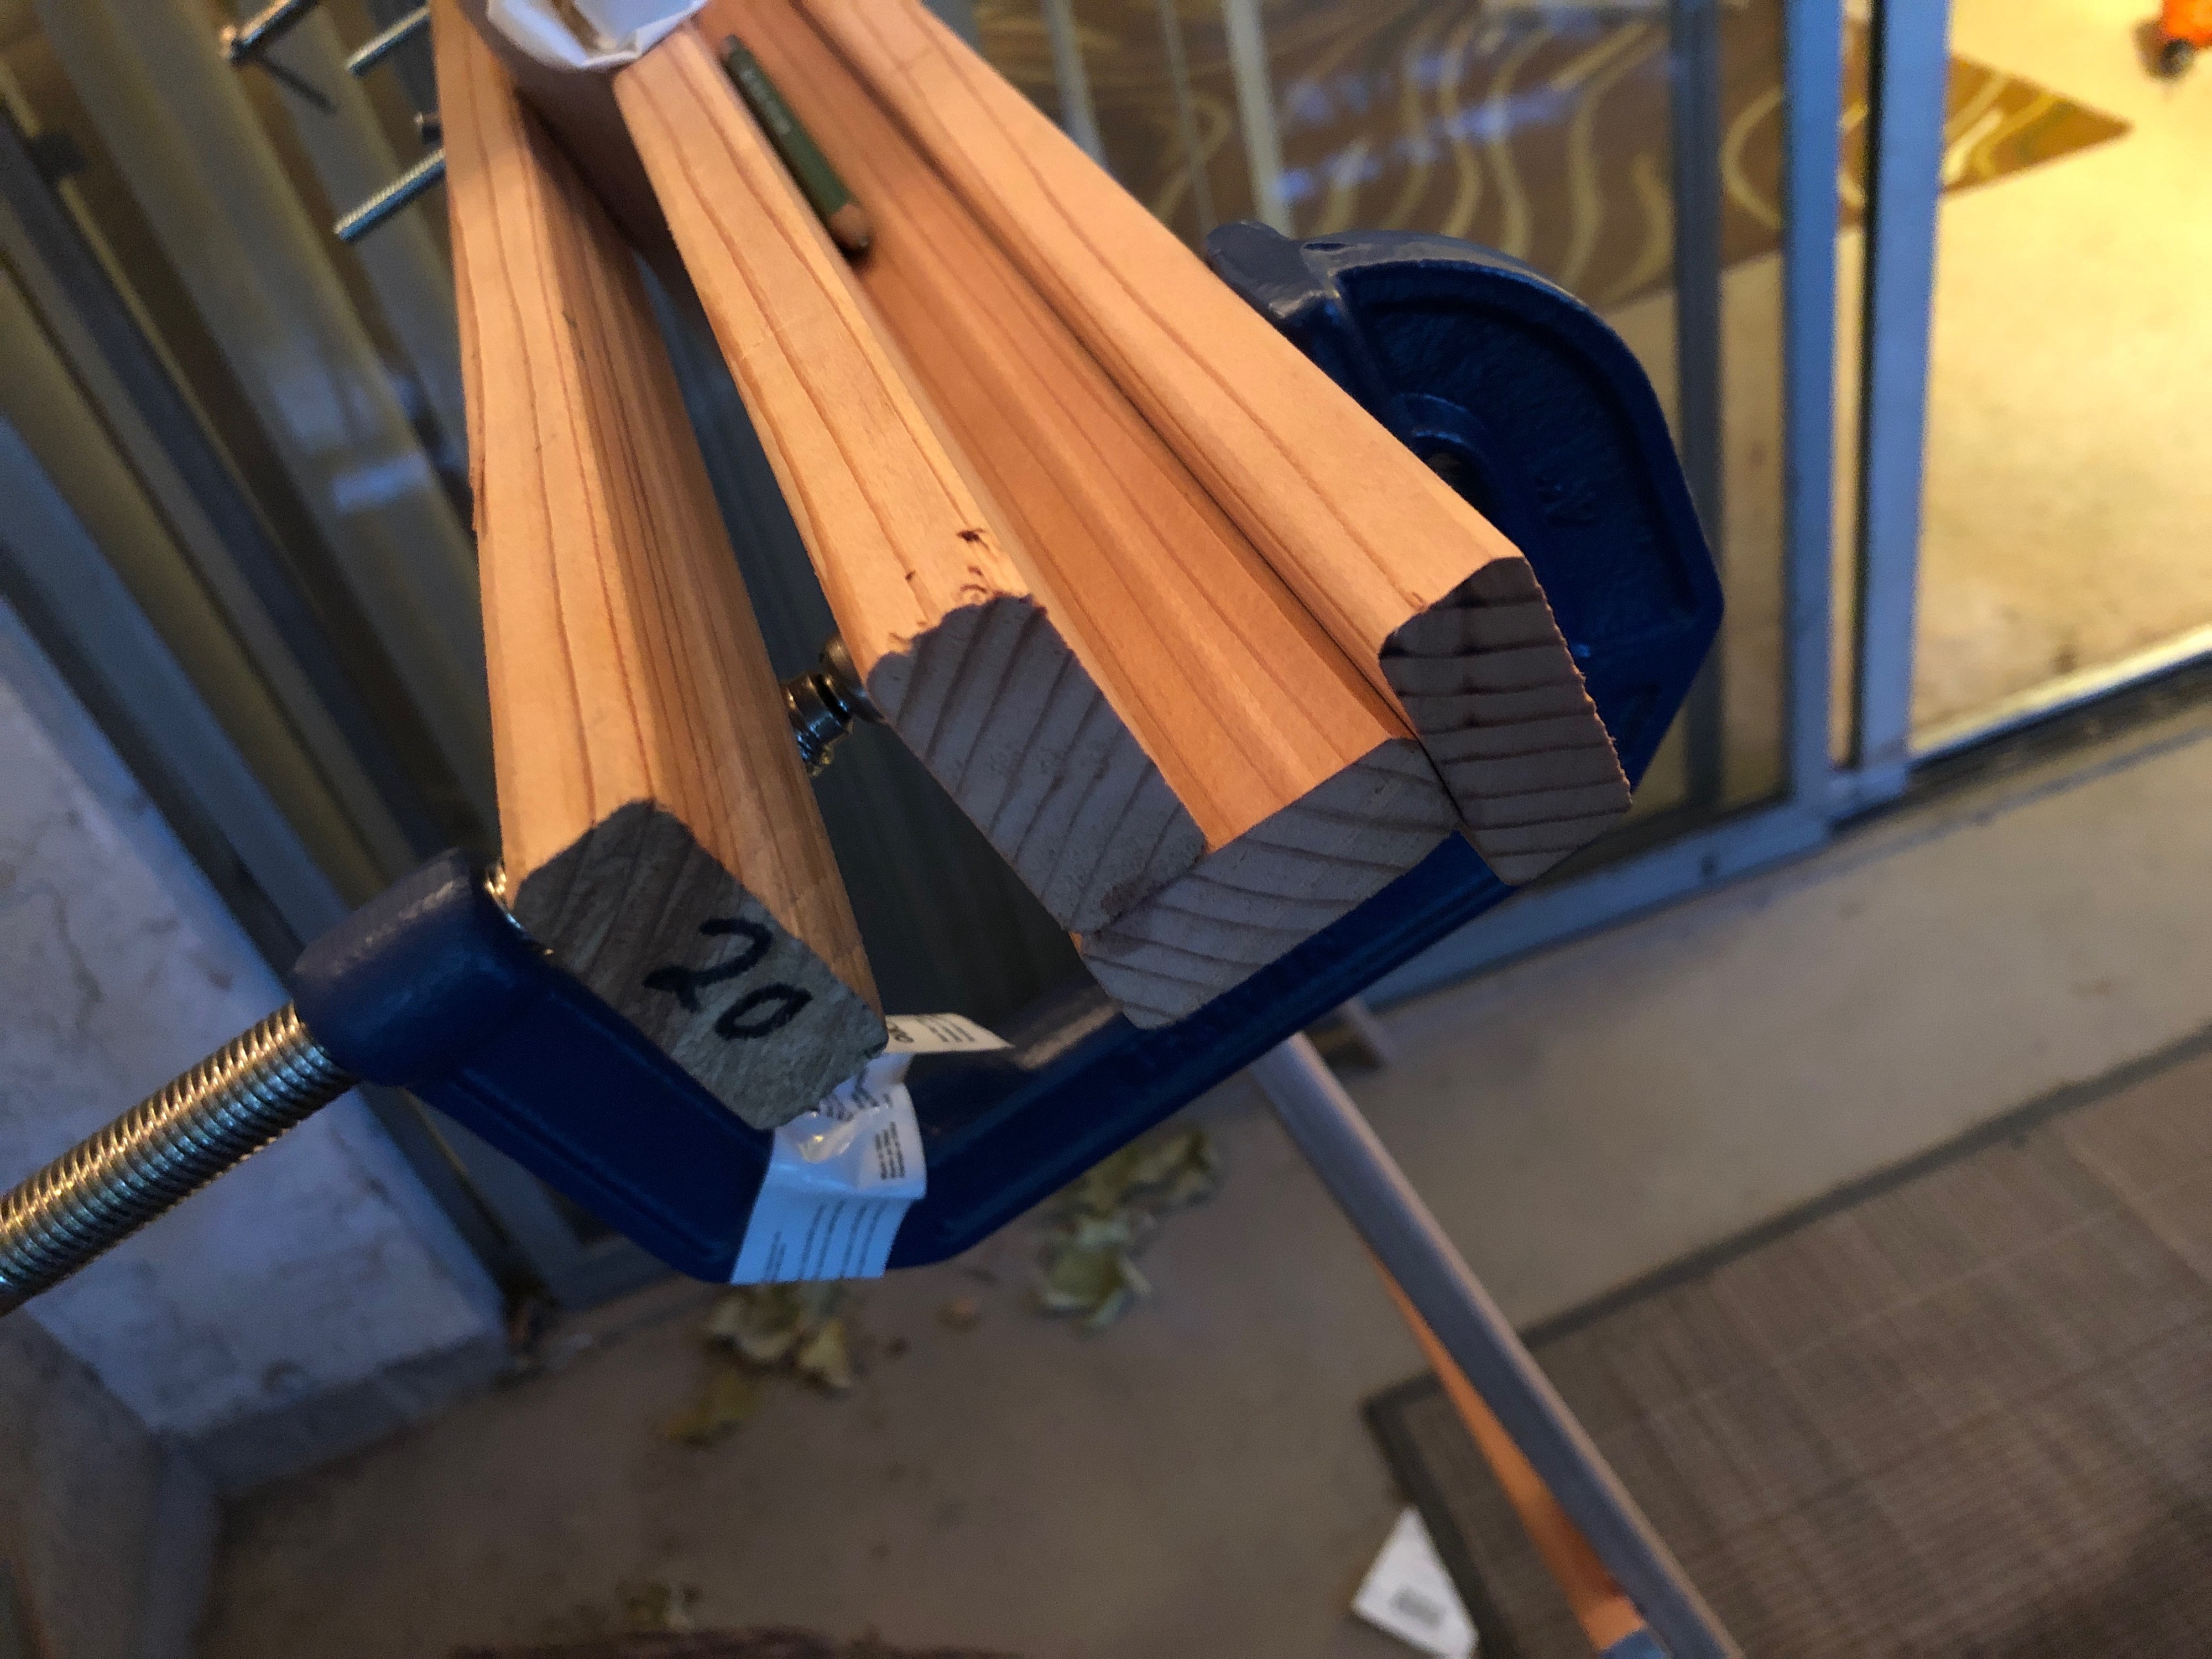
Next drill three holes in to the back and brace of the canvas plate. I drilled mine 6″ from the center on each side. You may also drill wood screws as needed for extra support.
Then attach one of the drilled board to the front and bottom glued pieces of the canvas plate. After the glue has dried, attach to the rest of the frame.
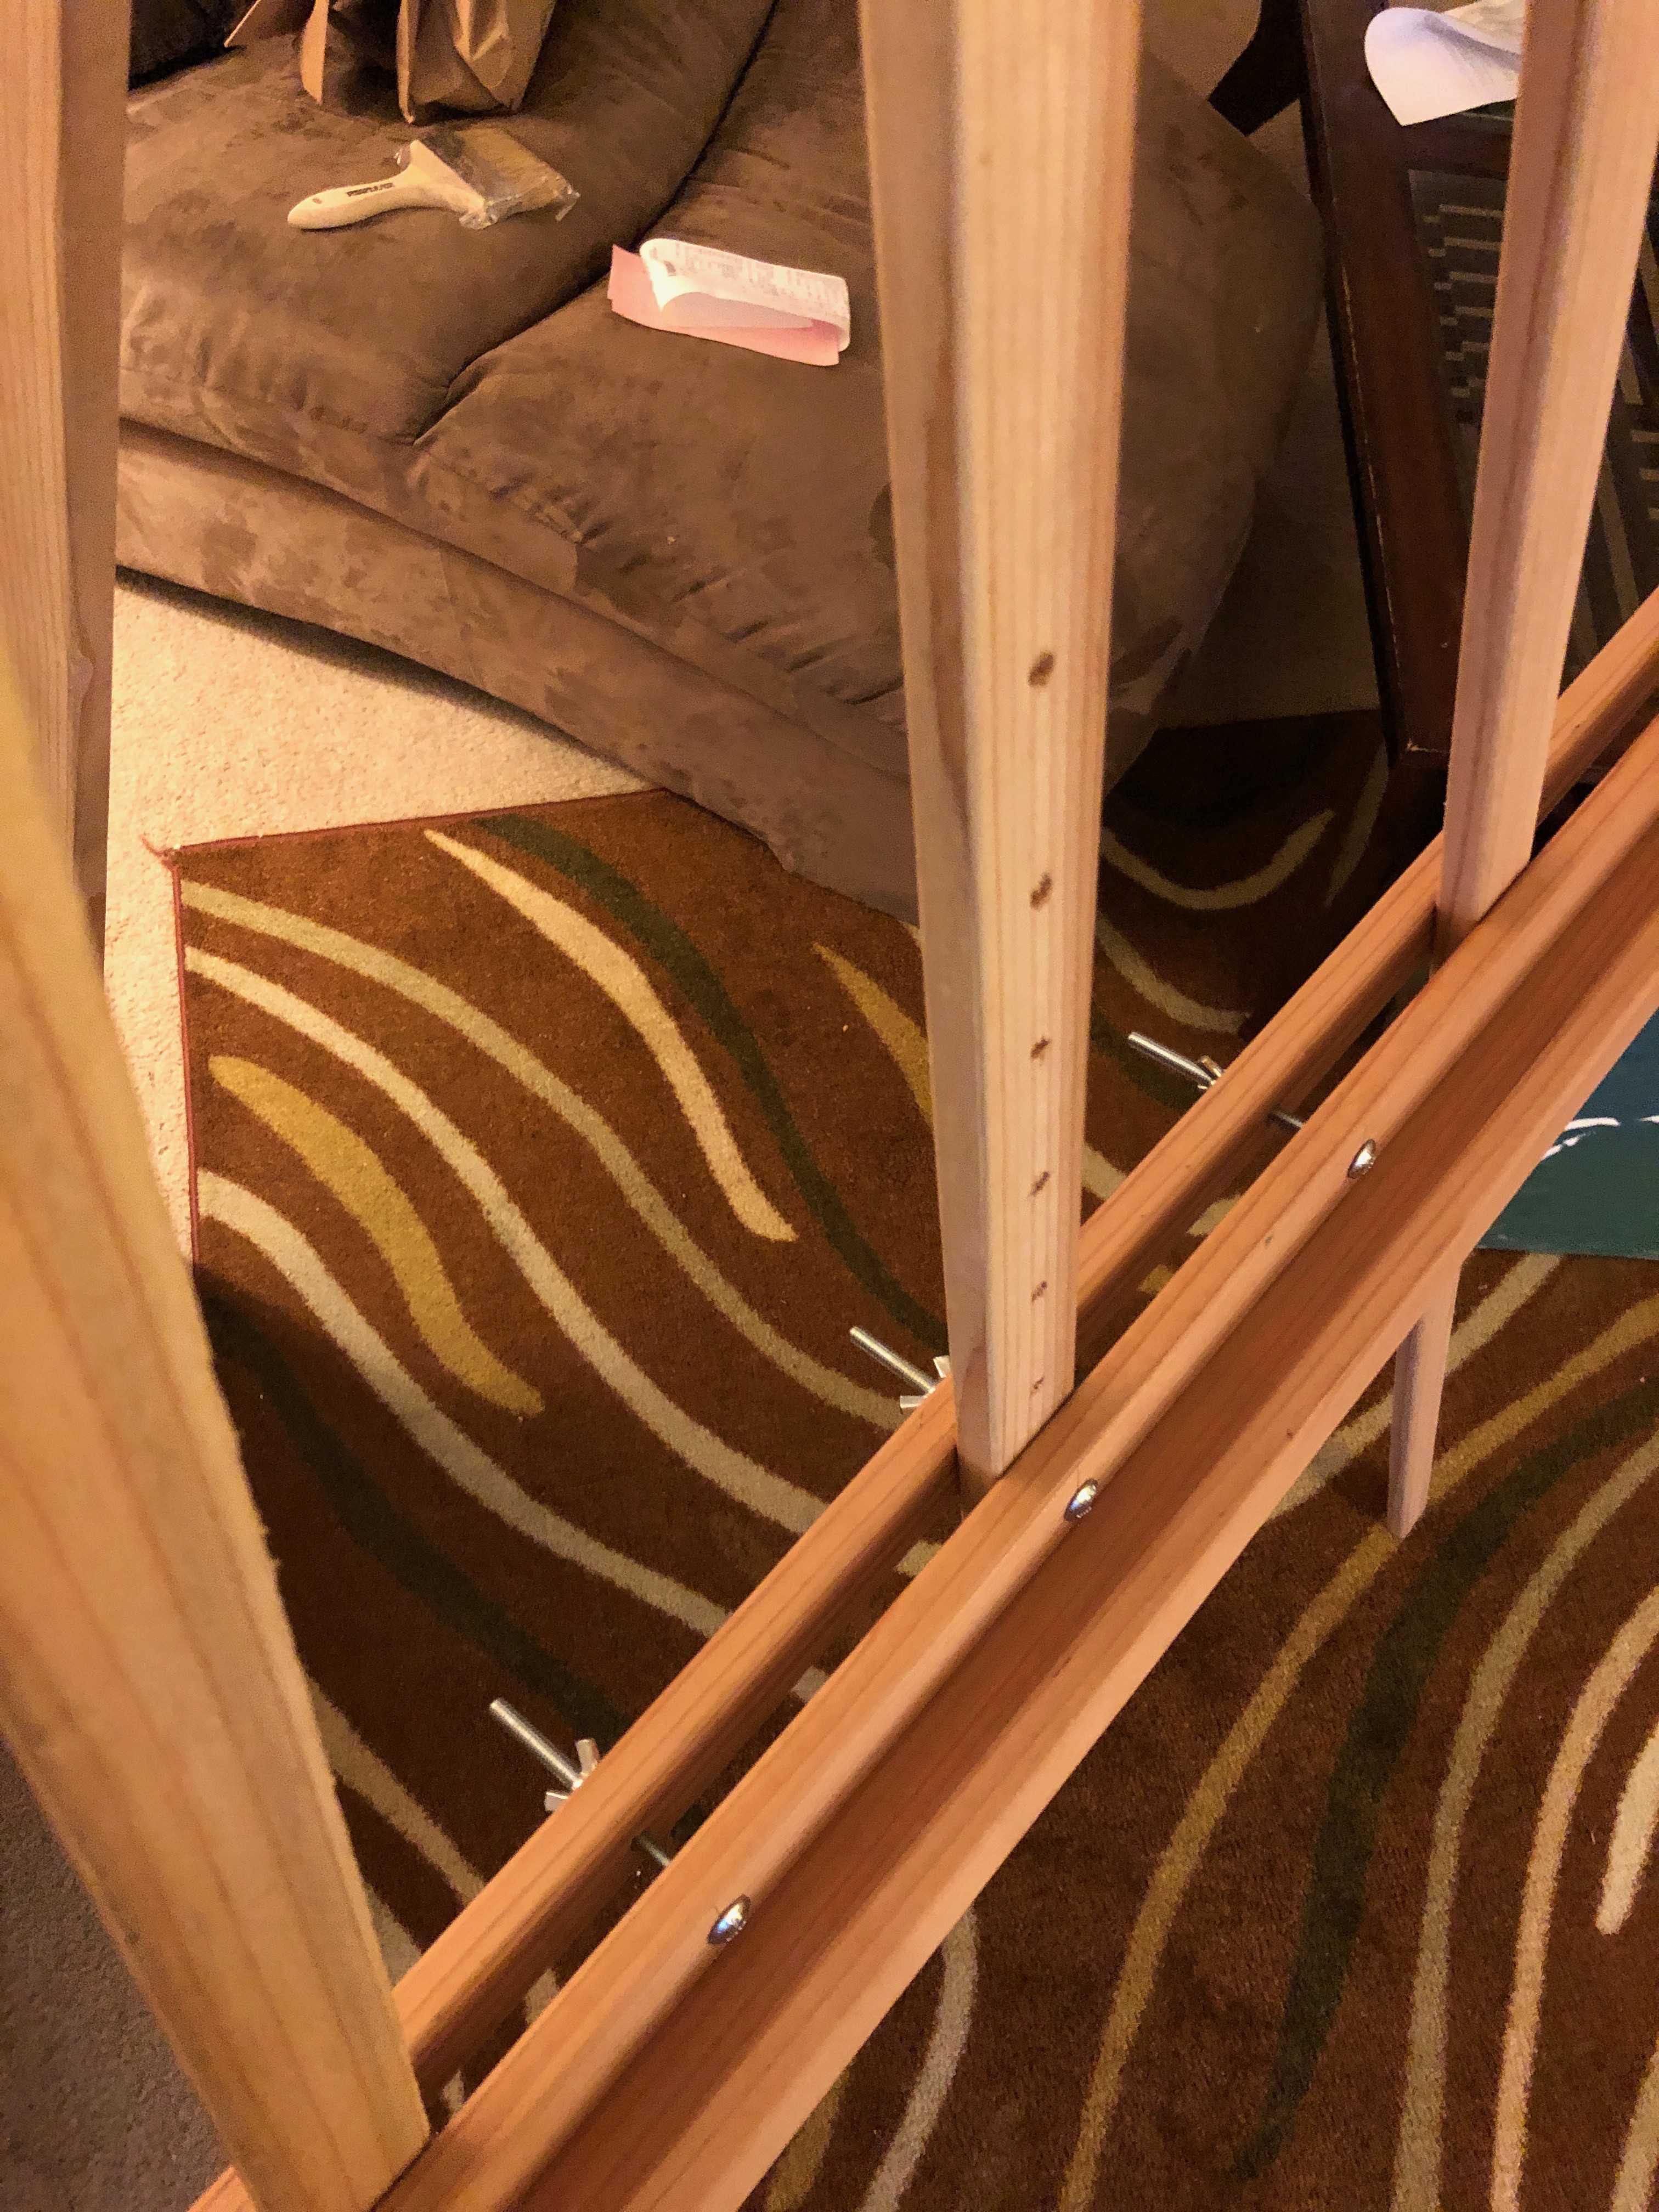
Attach the chain to the legs. Sand and wax and you?re done ! ?
In total I spent about $44 on materials. You could probably do better if you buy less expensive wood (I used clear redwood which was about .89/foot). Big thanks to Lazy Liz and her original blog post.
Now go make some art!
