Step-by-step advice on painting a landscape in watercolor

I enjoy painting all types of subjects. Landscape painting is especially pleasurable because it encourages me to look so much more closely at the scenes around me. Finding the right subject matter is not always obvious at first, but after a bit of practice, suitable scenes for painting seem to jump out at me all the time.
I took this photograph whilst on a walk in a part of England known as the Peak District, a national park in the north of the country. The pathway winding to the stack of rocks at the top of the hill feels like an appealing subject to base a painting on.
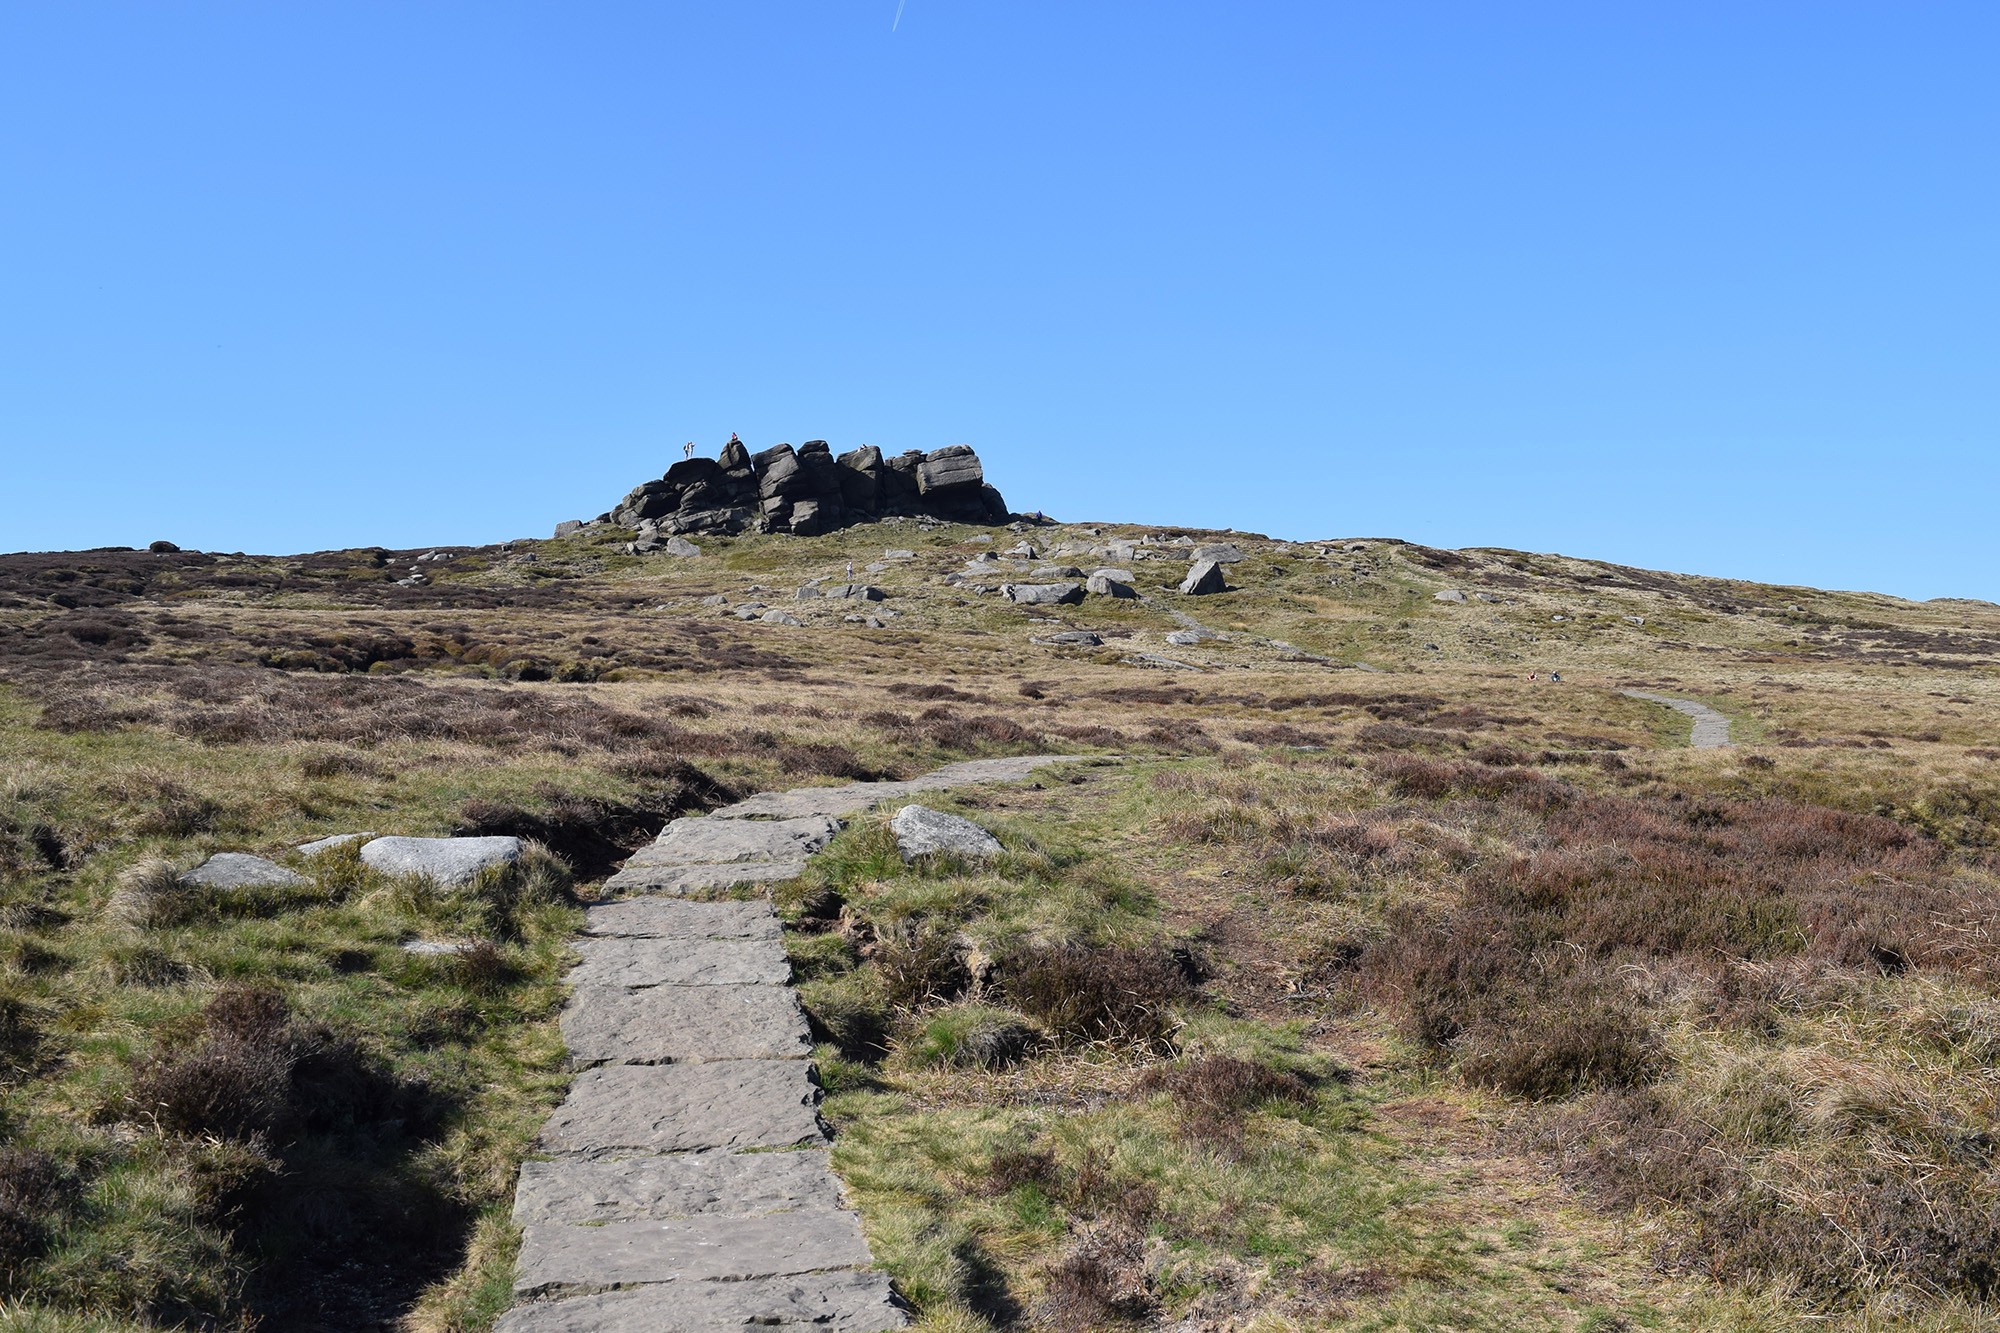 Photo by the author
Make a sketch first
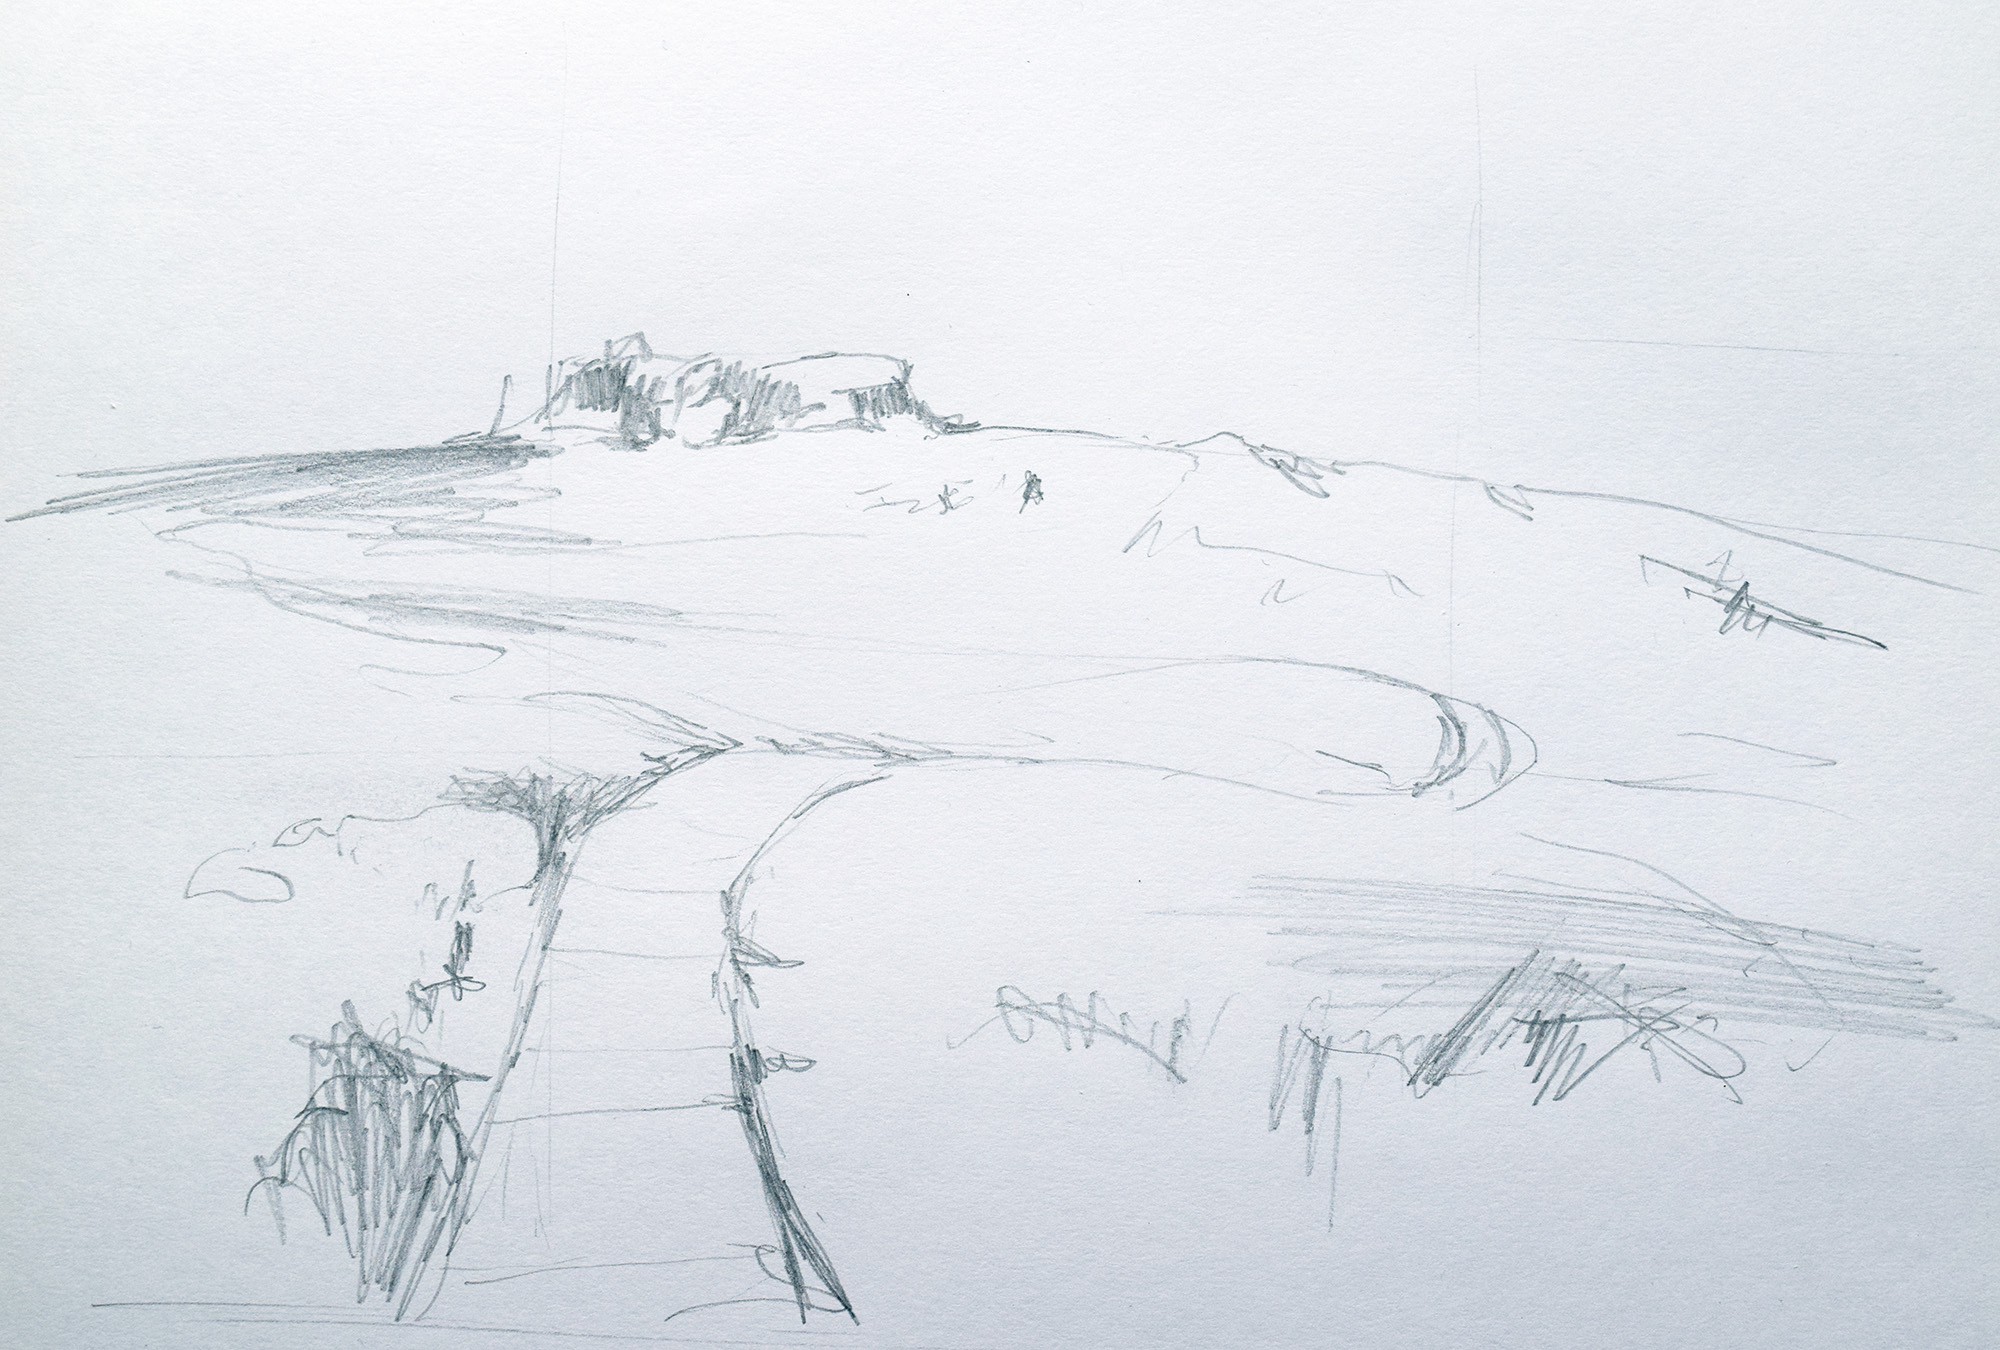
As a useful exercise, I tend to make a quick pencil sketch of the scene before beginning the main painting. I only spend about 10 minutes on this, since the purpose is to roughly plot out the structure of the painting rather than get pulled in by the details.
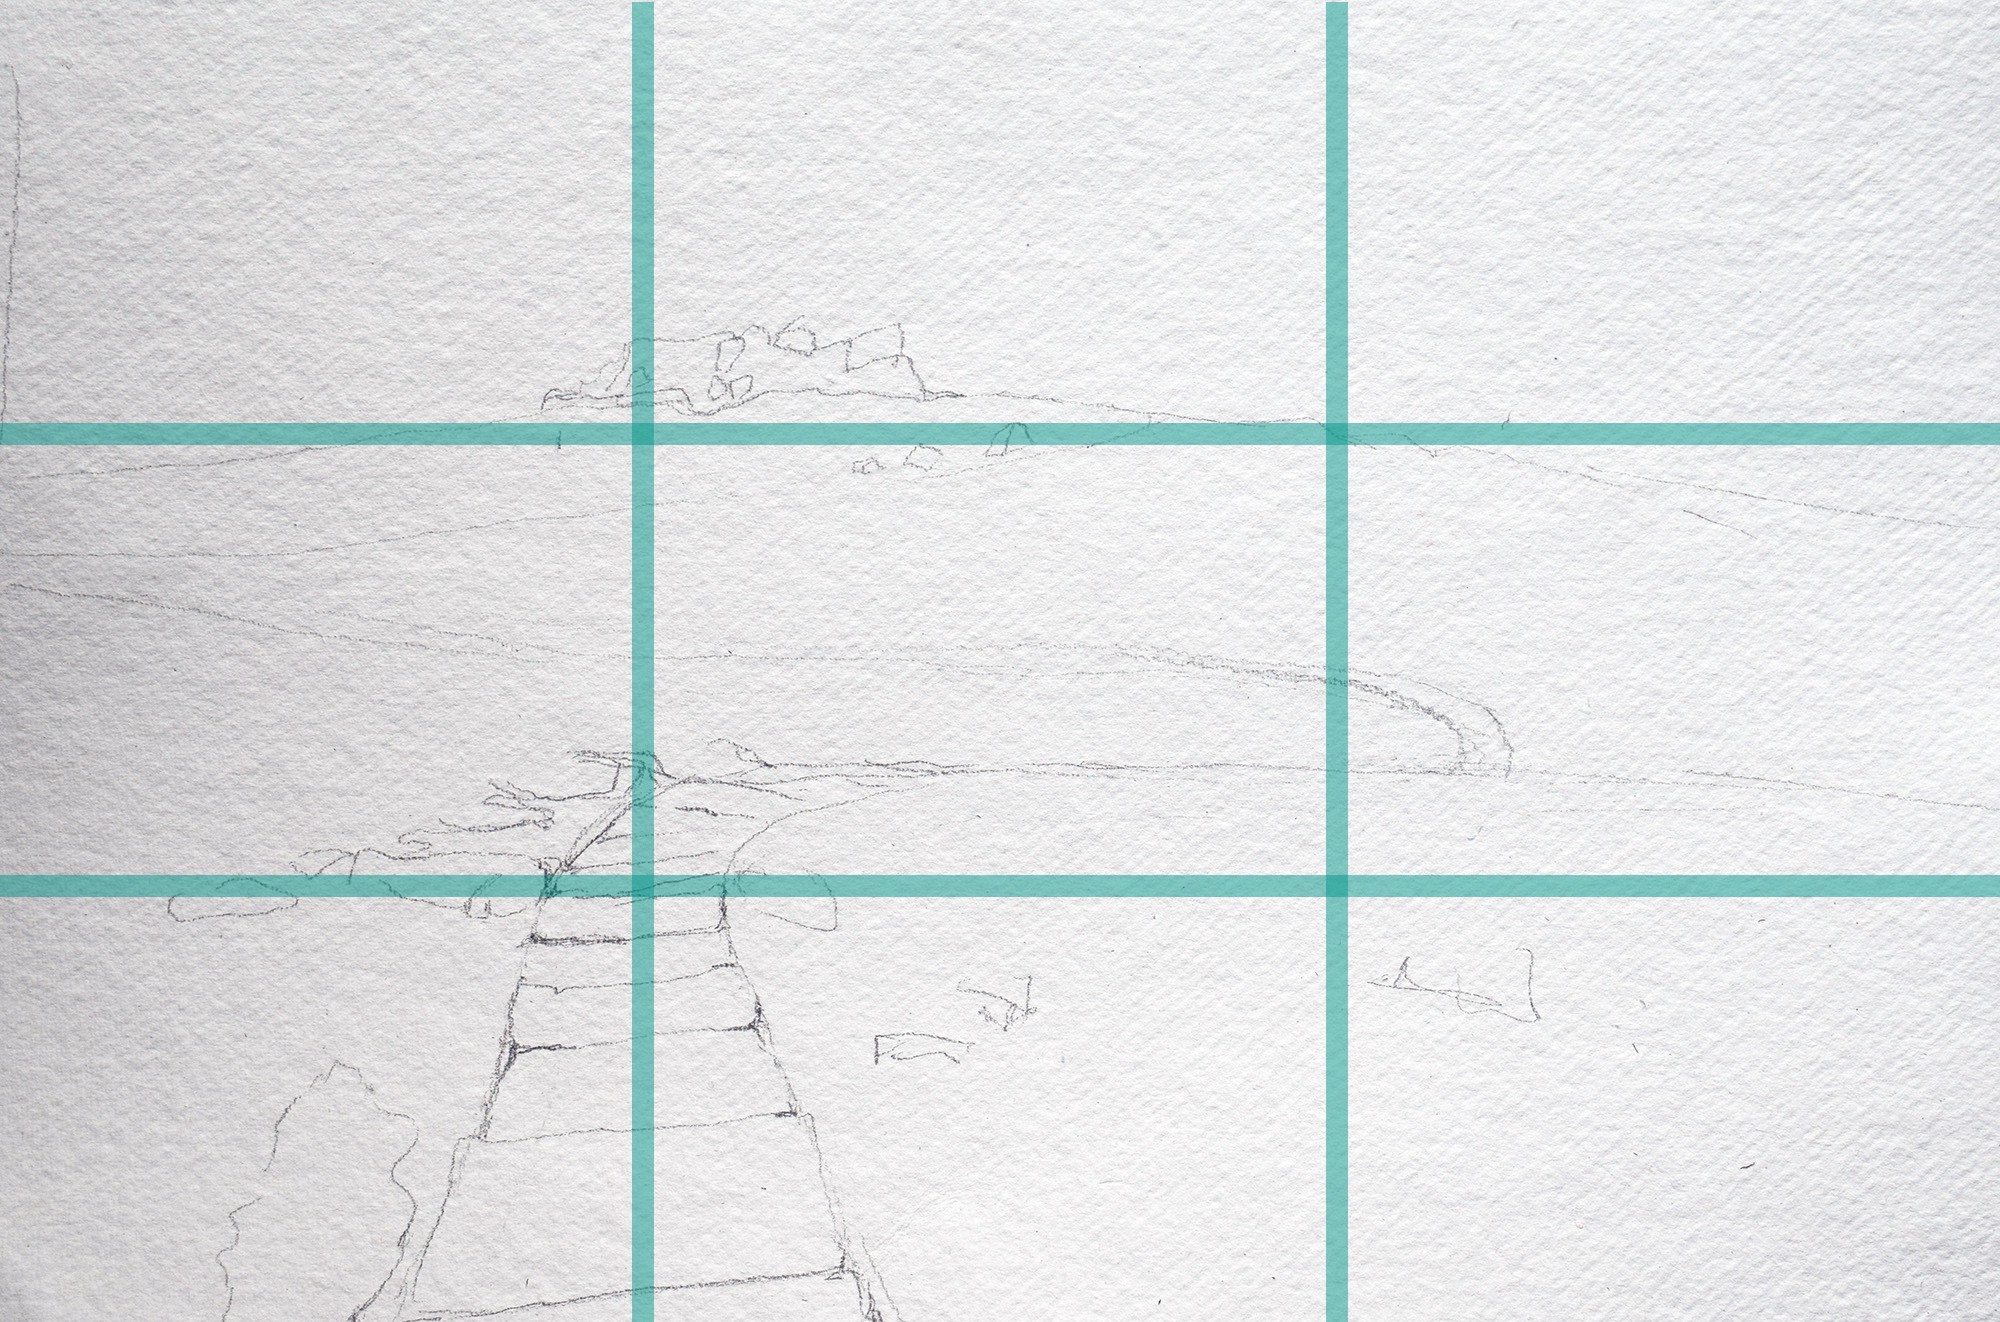
The benefits of making a sketch are two-fold: firstly, it allows you to clearly define the structure and composition. In this painting, I?ve decided to follow the classic ?rule of thirds? as it fitted well with the original photo: divide the picture into thirds (both horizontally and vertically) and place the points of interest along the lines and at the intersections.
Secondly, sketching helps to train your eye on the subject, improving your powers of observation and allowing you to explore the areas of the scene that may not be particularly obvious at first glance. For instance, when sketching out this scene, I realised there is a whole swathe of scrubby heather in the bottom-right that I hadn?t even considered, an area I will have to deal with when it comes to making the painting.
First steps
With a good sense of the layout of the picture, I sketched out the design on watercolor paper. I like to use a nice and heavy paper with a weight of 600gsm/300lb, which is not only full of texture but also more tolerant to washes (laying down broad areas of paint) and lifting-out (removing paint).
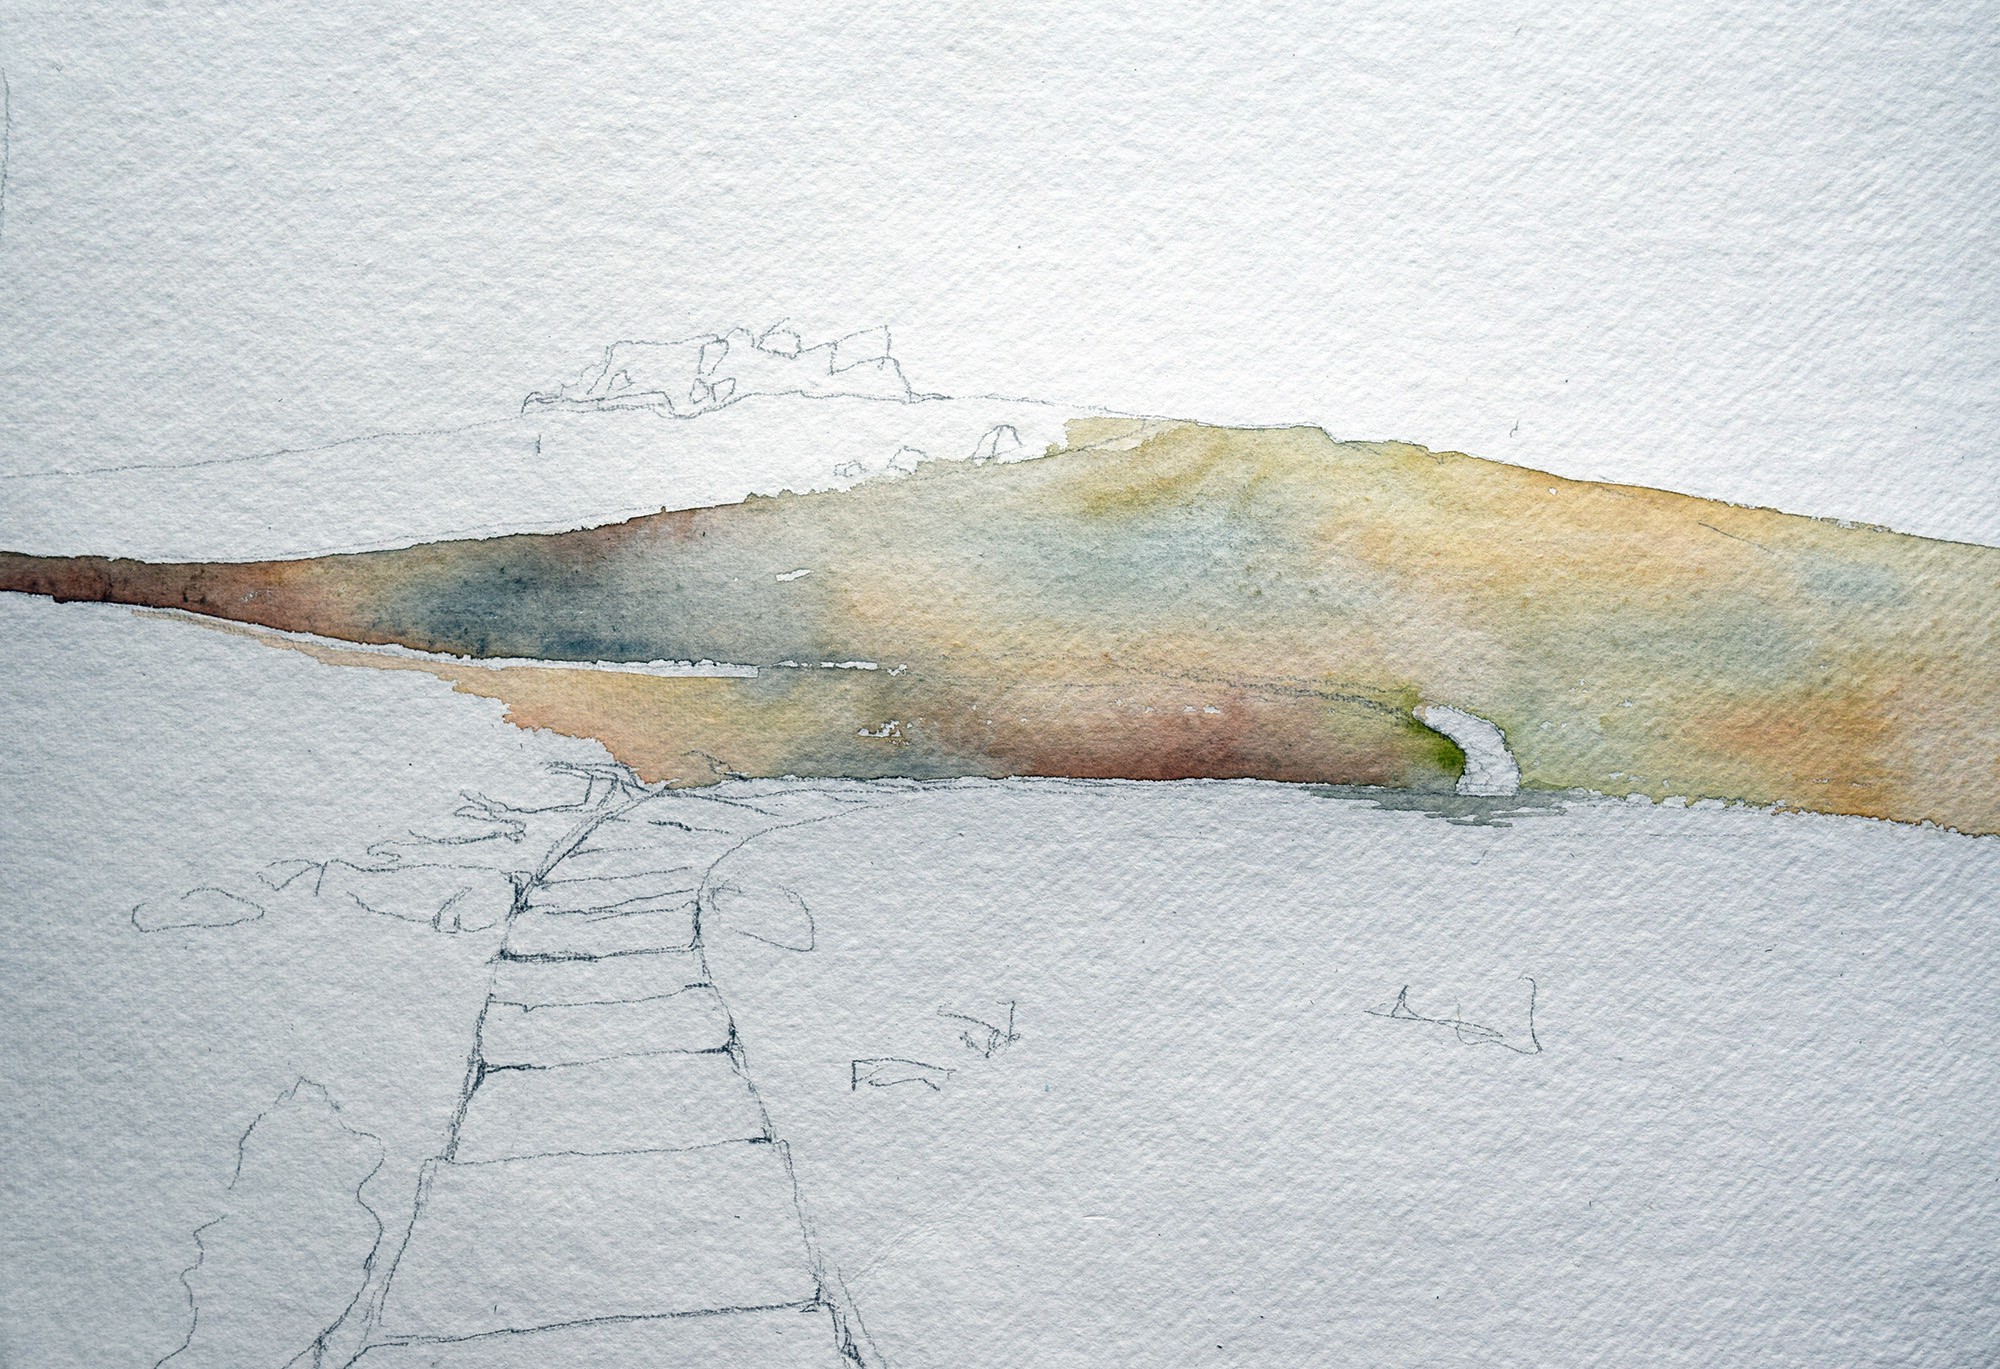
The first wash is added to the distant hills. A wash is an area of watercolor painting where you can?t see the individual brush strokes. It?s important to have a sense of where your washes will begin and end before you apply them, so you know how much paint to prepare and the most appropriate brush to use.
For this painting, I?ve applied the washes in the natural break-points of the hillside, applied directly onto dry paper. The main colors I?ve used here are Prussian Blue and Burnt Sienna, with a touch of Yellow Ocher here and there.
I like to keep the colors moving as I add a wash, so the colors bloom and mist together in a blend of shades. This is known as a variegated wash.
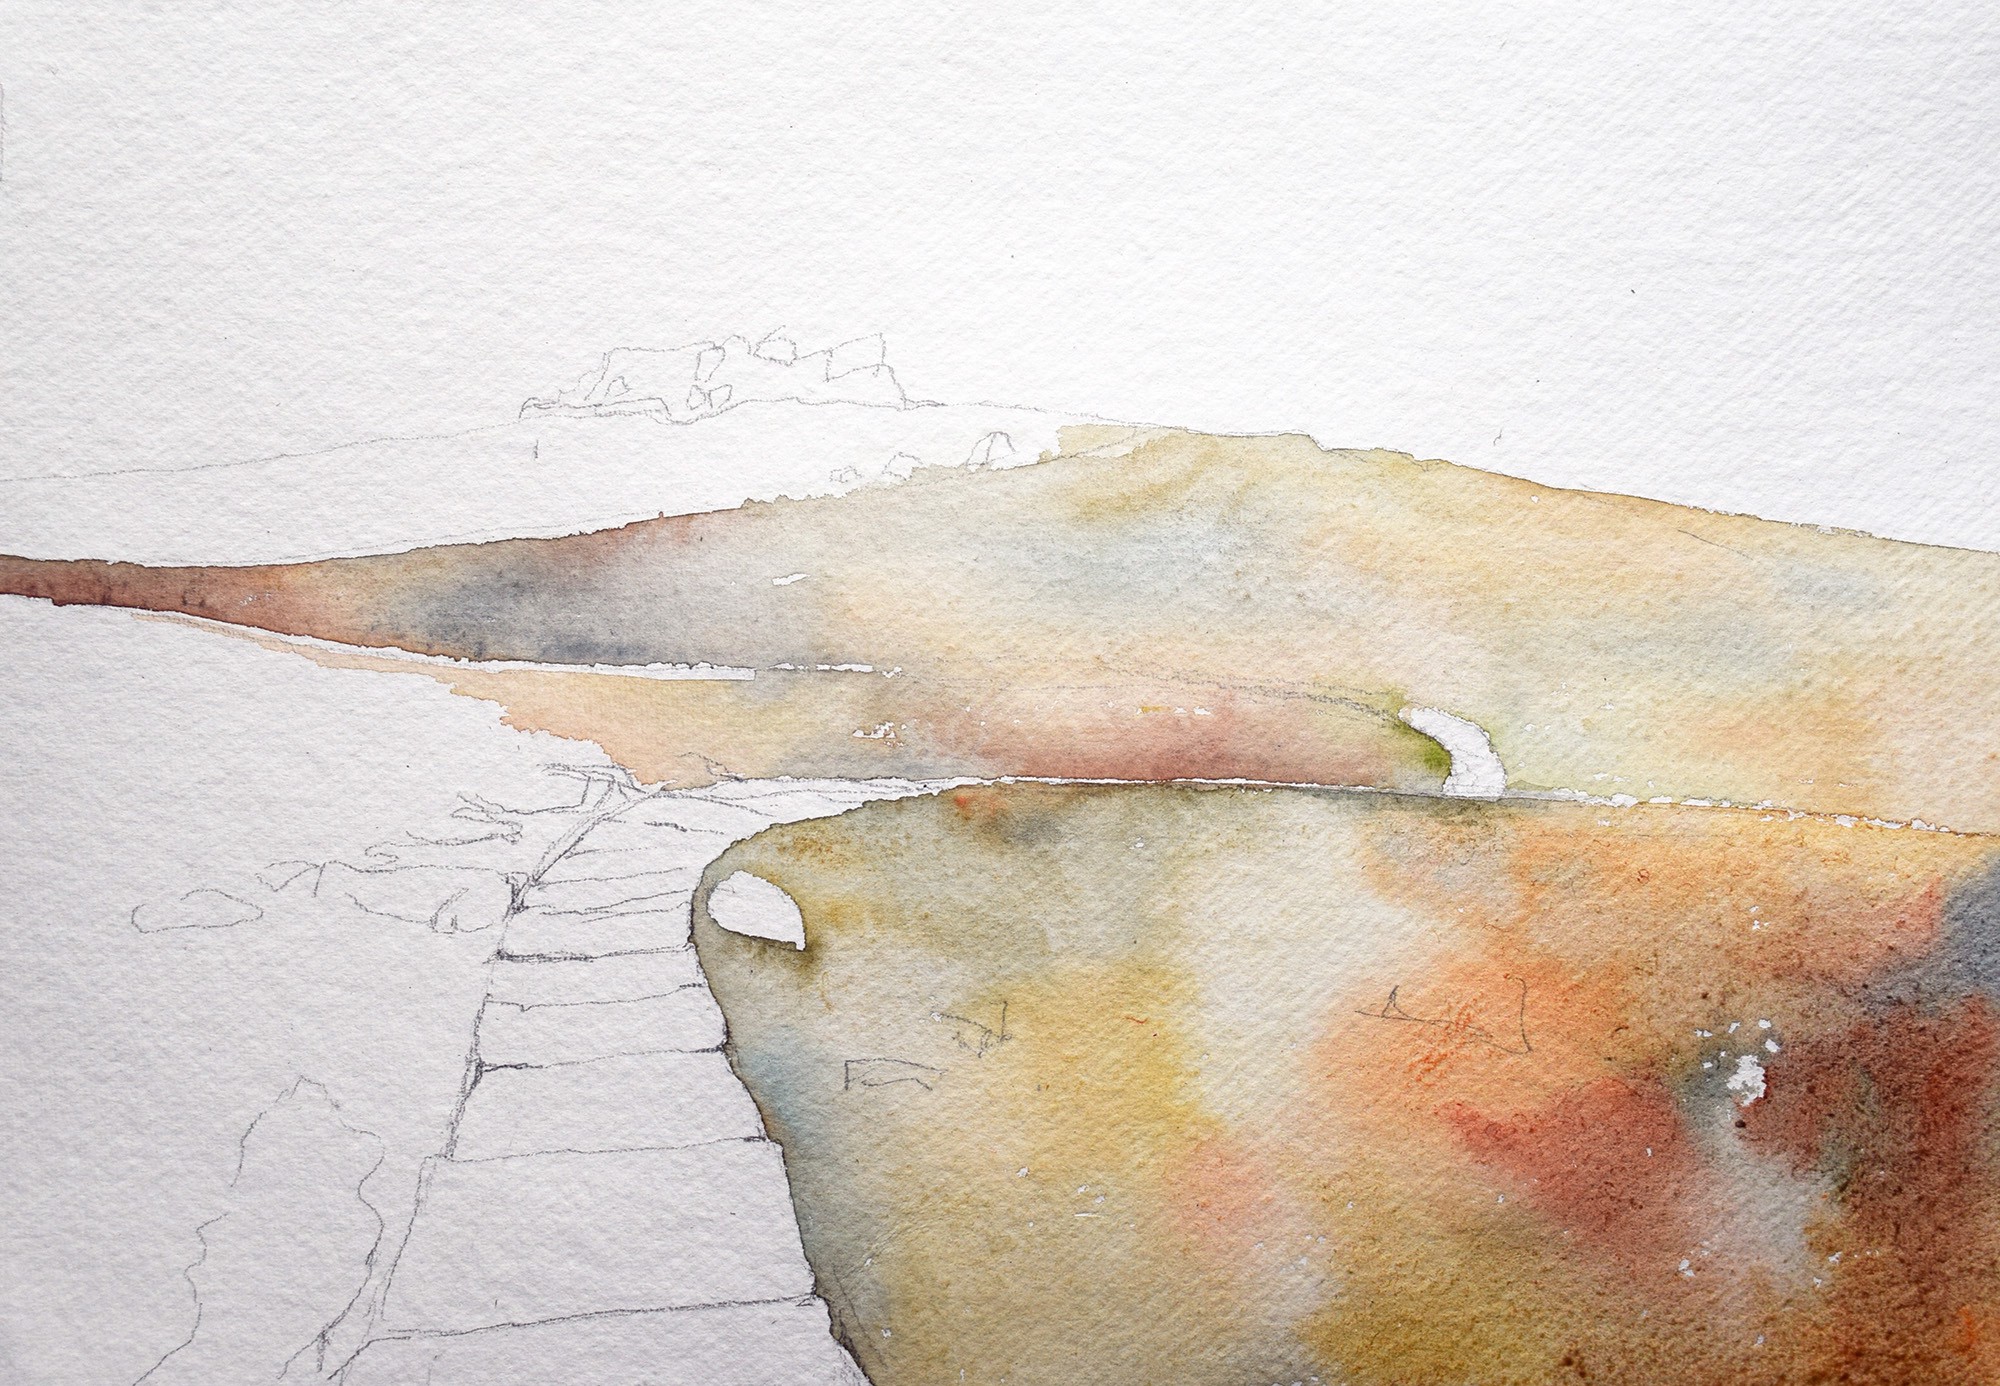
Finding the right tone
Moving down the page, the colors get richer in order add a sense of movement and depth to the landscape.
The general rule with watercolor is to add the lighter tones of the painting in washes, then to add the darker details over the top. The more you practice, the more accustomed you become to seeing shapes in terms of highlights and shade, to be painted in that order.
In this work, I wanted to keep the pathway a distinct shape leading into the landscape, so whilst I haven?t added many details at this stage, the path is clearly painted around.
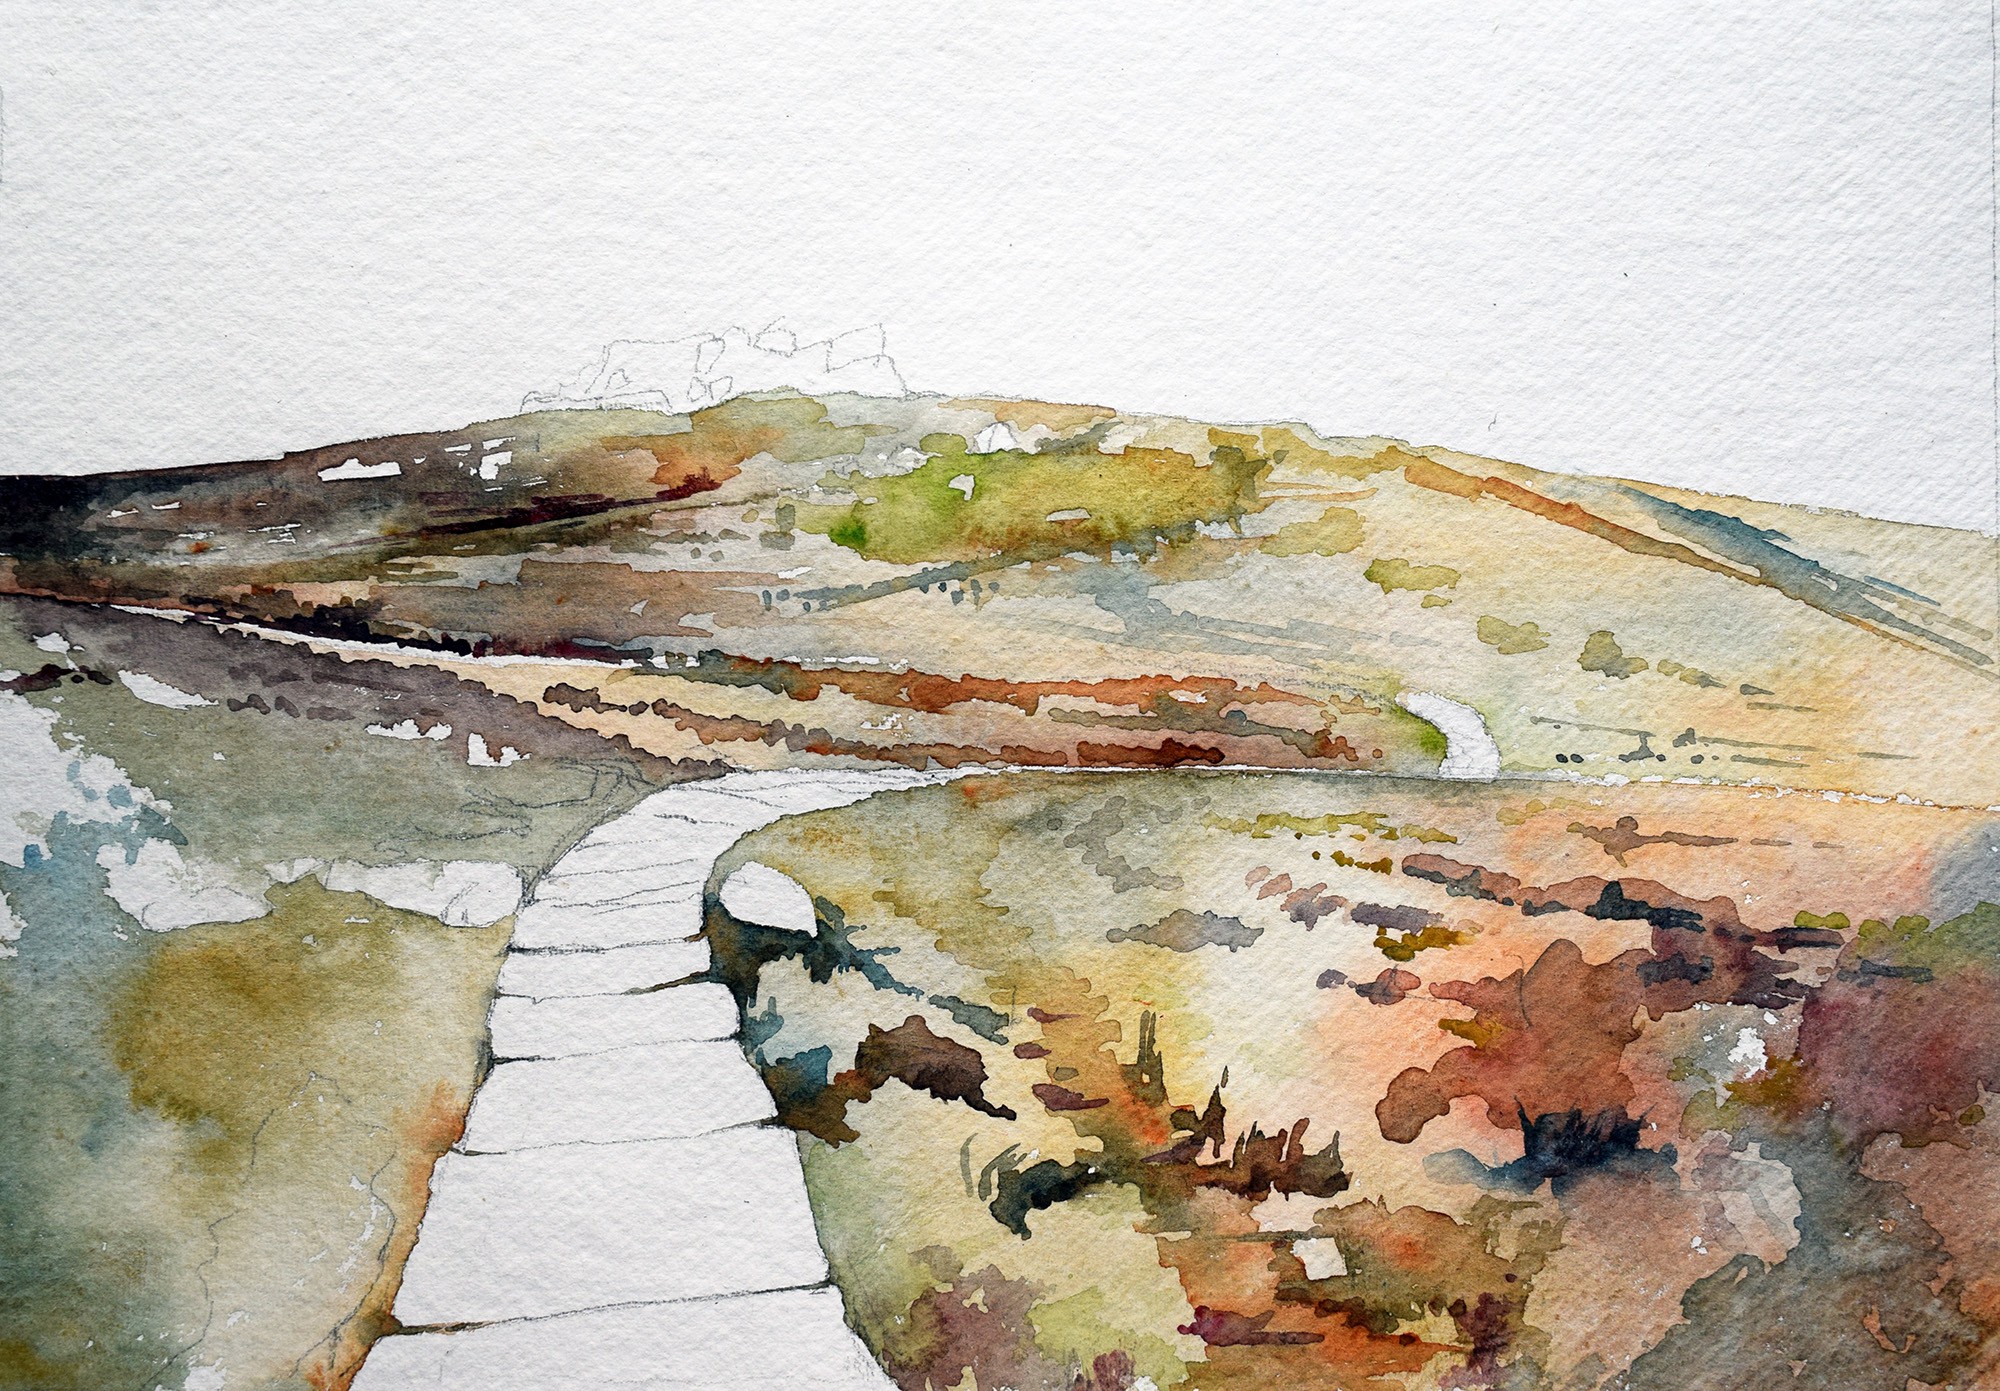
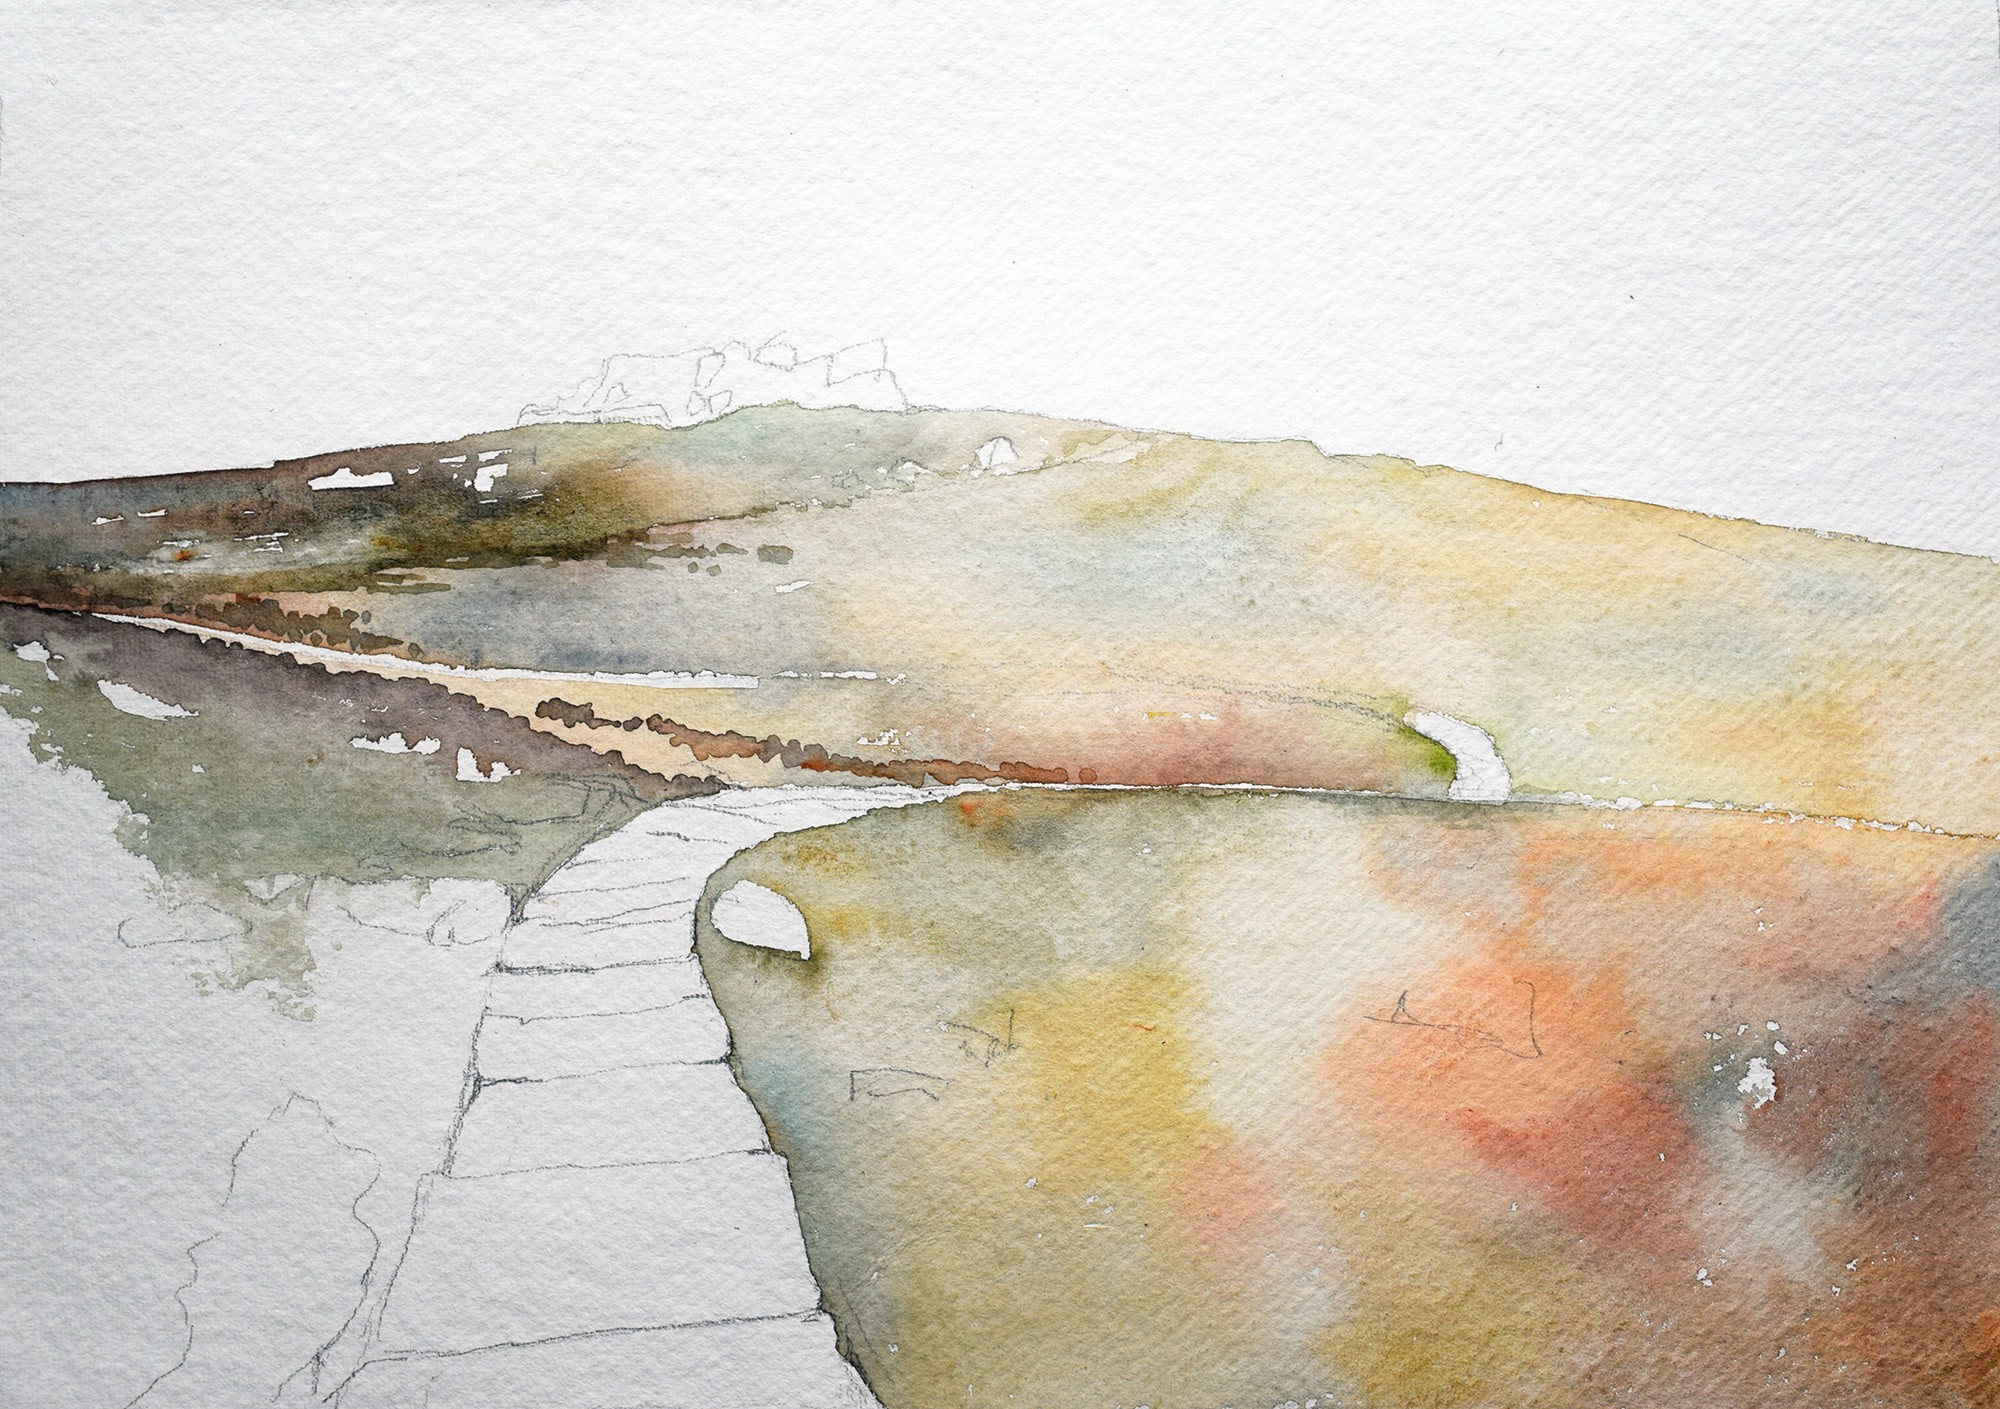
Fulfilling the composition
With most of the hillside painted in, I began to add details. With watercolor, it?s often a matter of selecting which details to include. Painted too fussily and the picture can become clogged up. The medium works best when used with its natural translucent characteristics, so loose brush strokes ? giving a general ?impression? ? tend to work best.
In terms of the painting?s composition, I wanted to add a sense of movement by having the outer edges of the painting in darker tones than the center. To do this, the land moves from dark to light as it comes in from the top-left, and then returns to dark again in the lower-right corner. This also deals with the large area of scrubby heather in the bottom right, now put to good use in the composition.
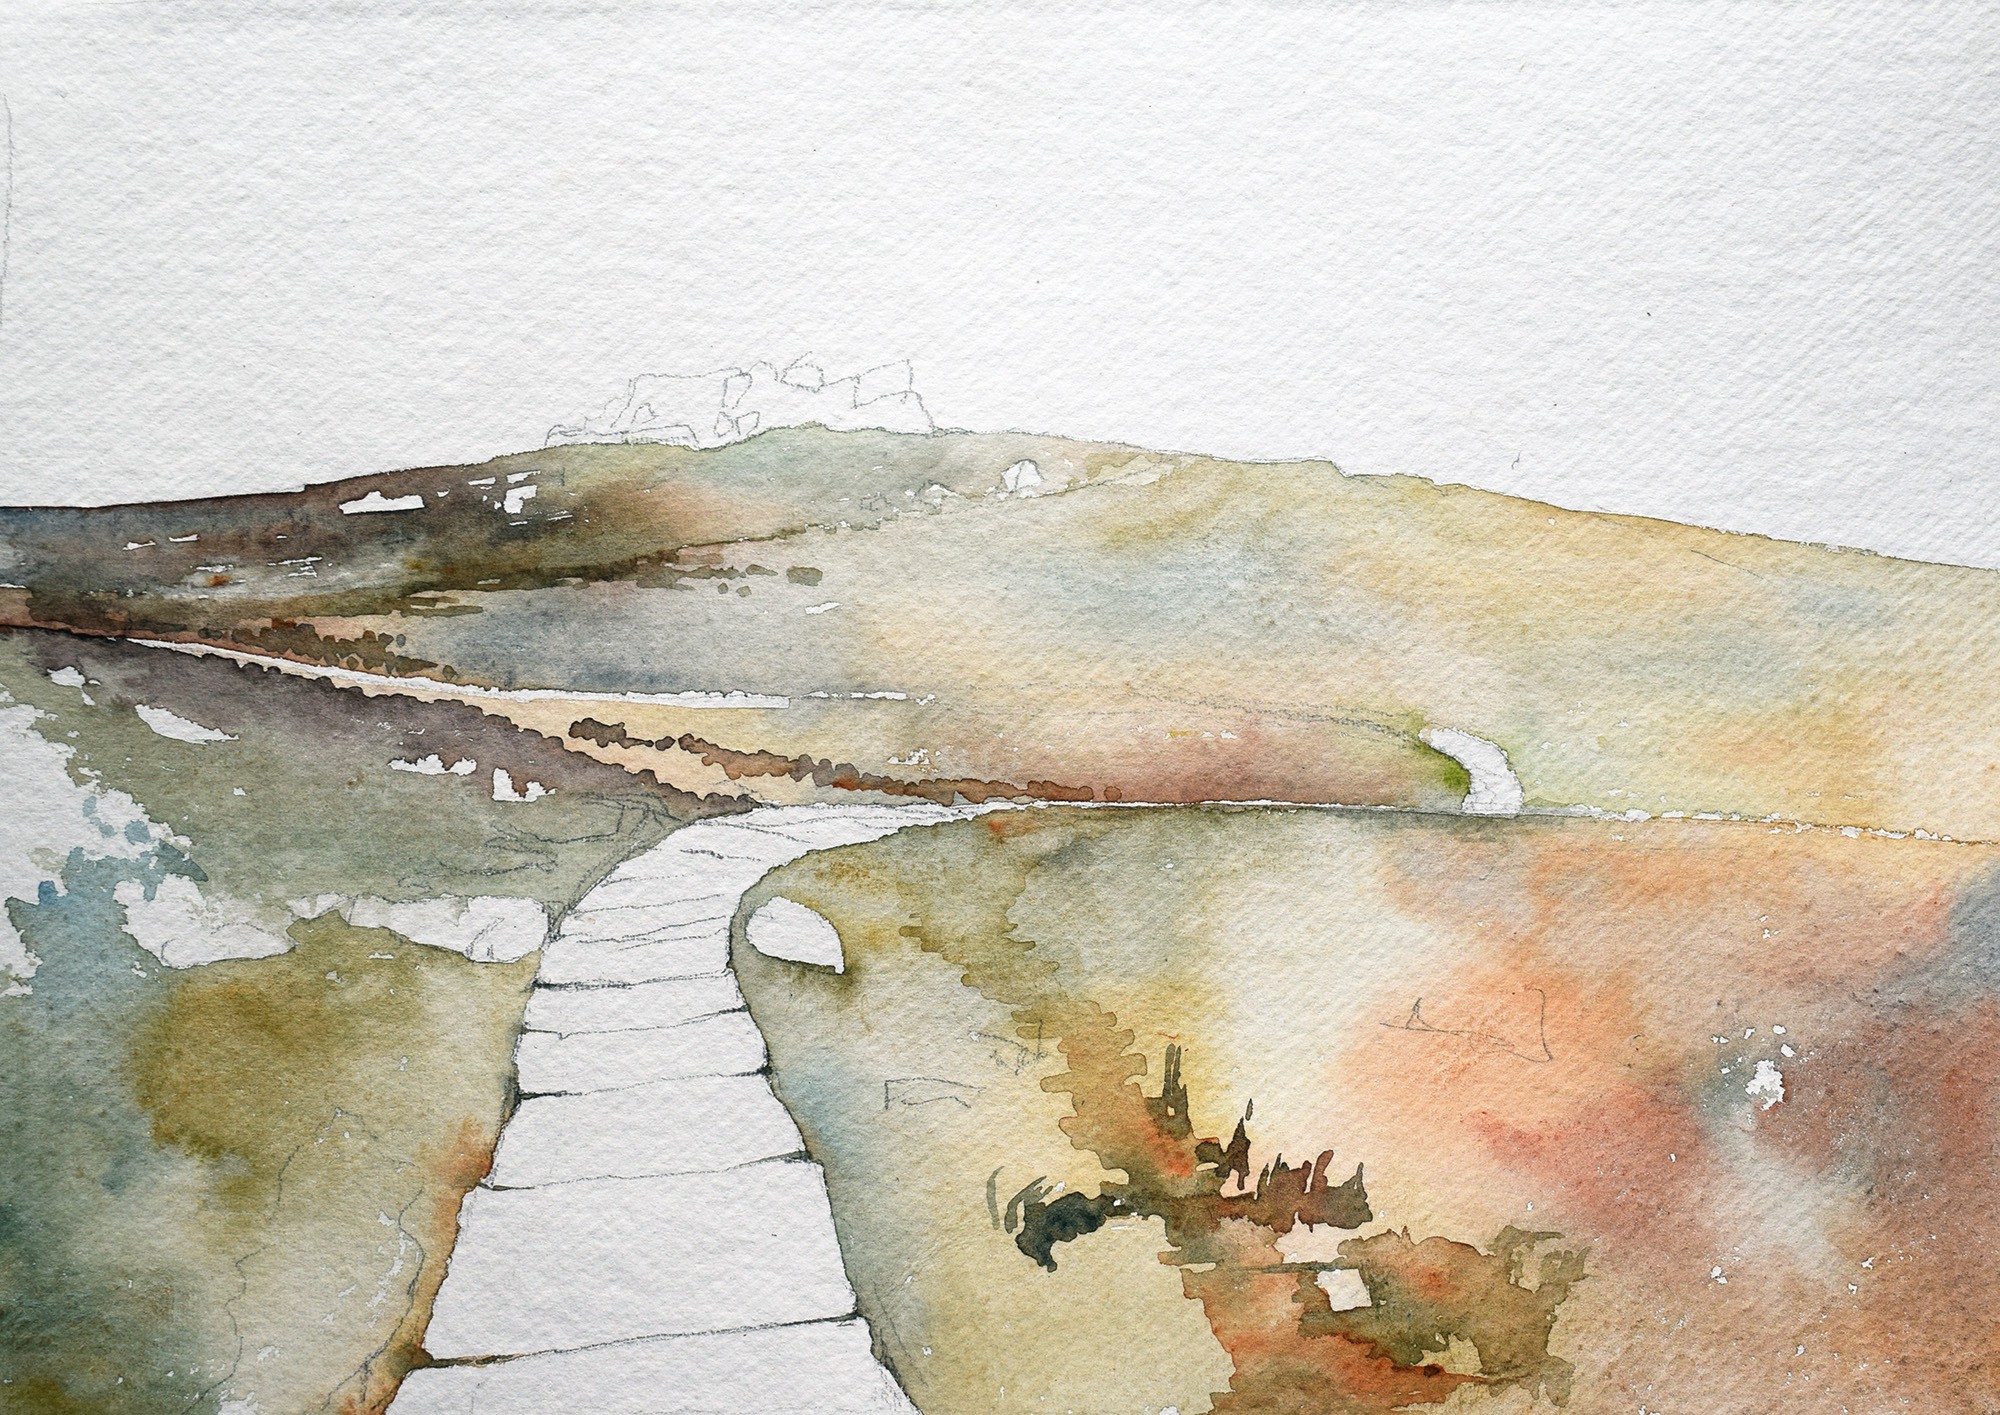
Final details
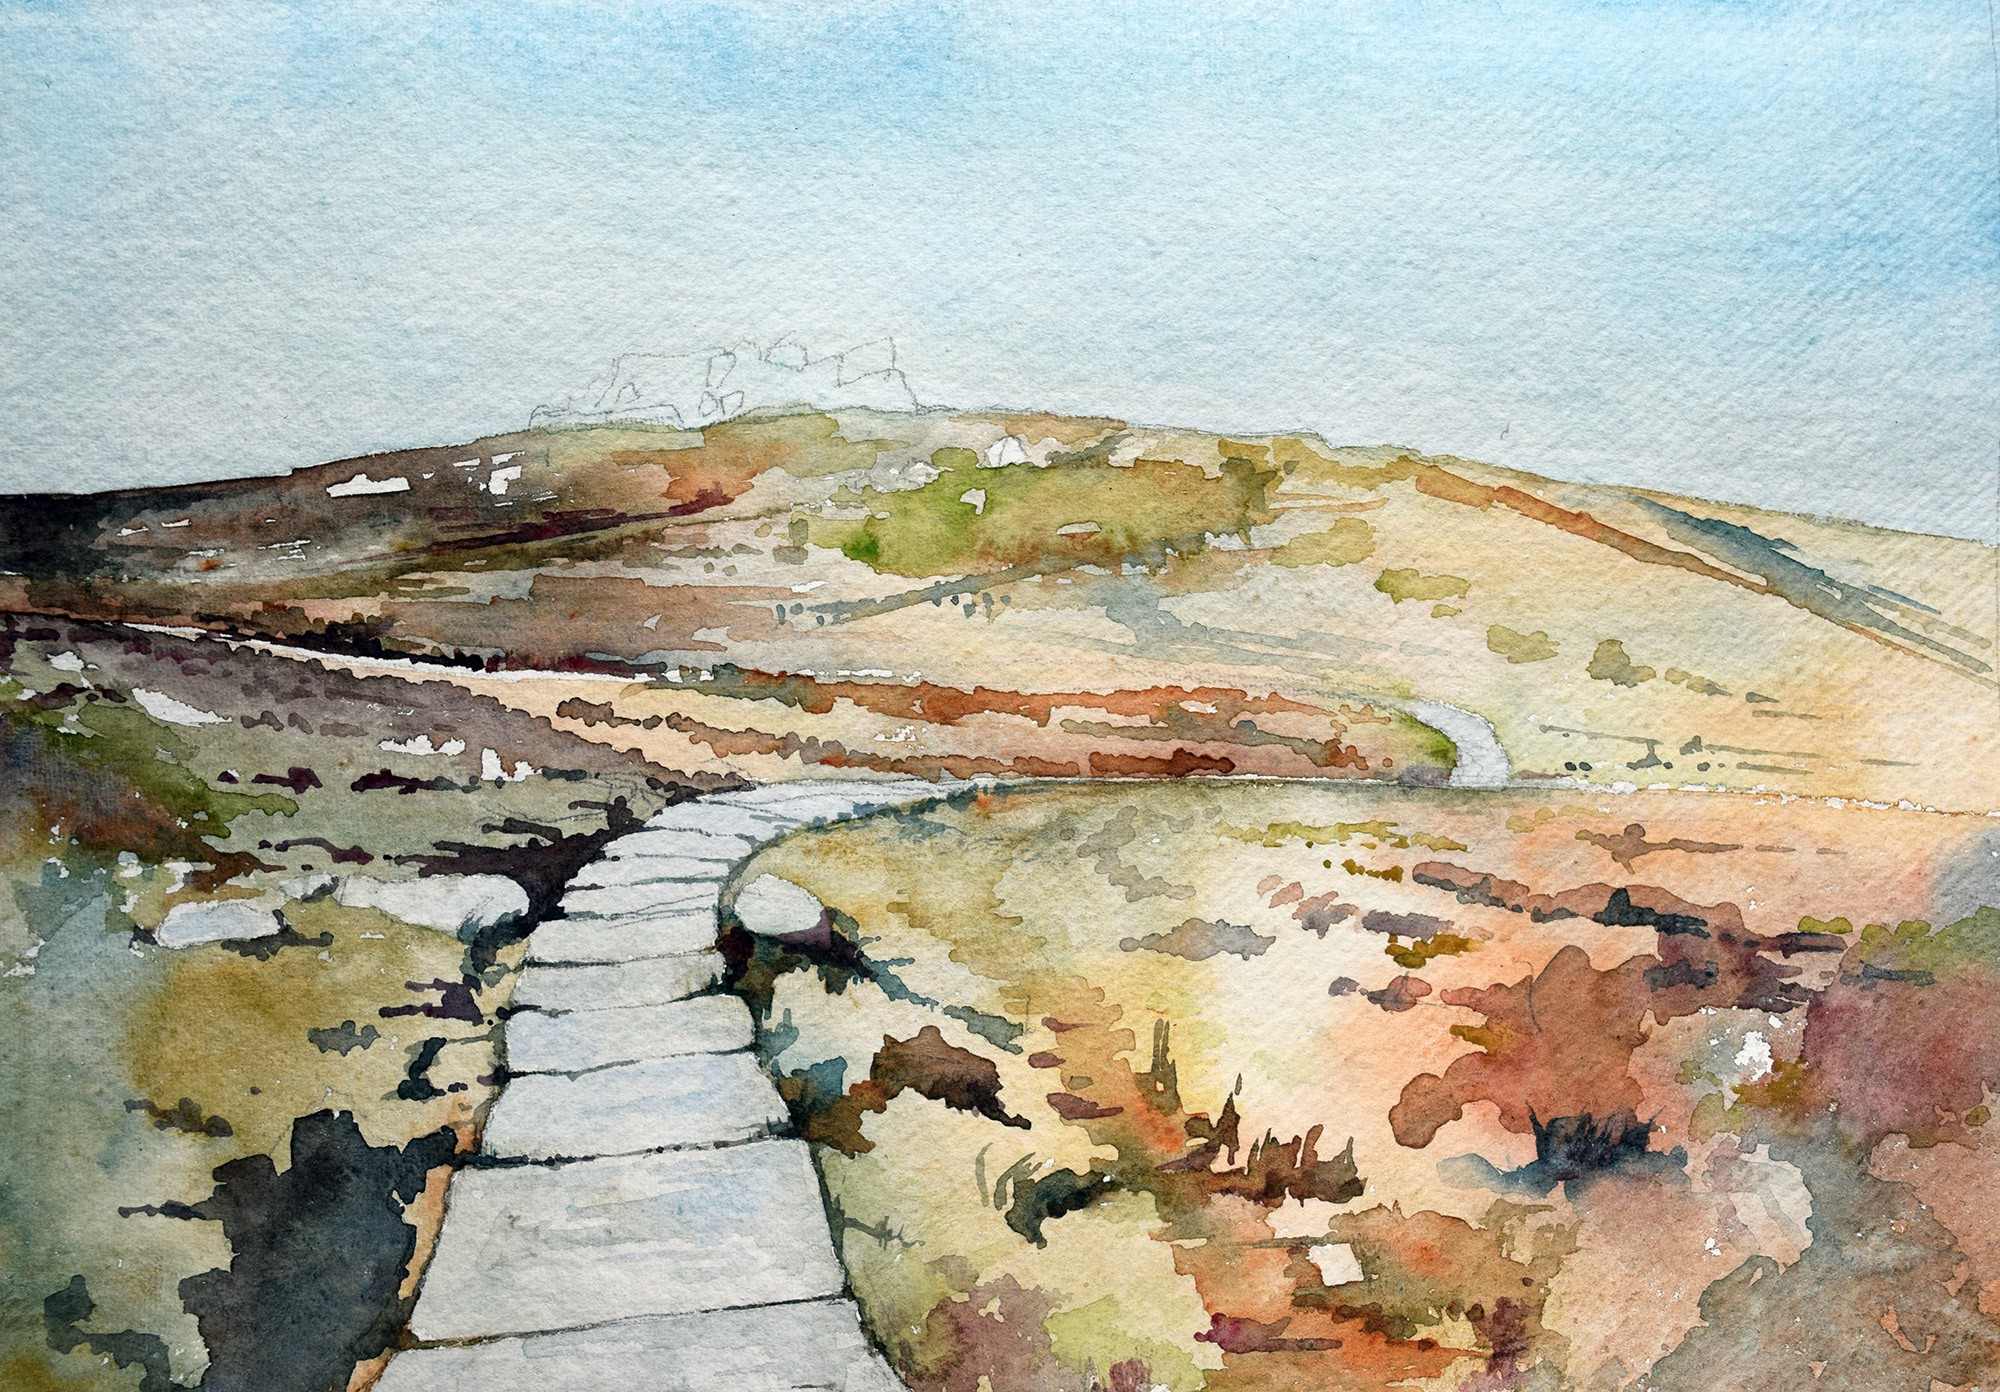
The last few details include painting the sky ? which I wanted to keep as simple as possible by adding a Cobalt Blue wash ? and the shadows around the rocks.
To complete the painting, I added a touch more detailing to the hillside foliage and added a few splashes of Ultramarine Blue across the picture, just for a bit of extra flavor.
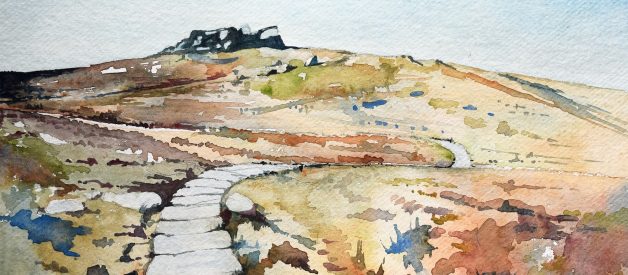
I?m pleased with the finished piece. I hope you like it too.
Peak District (2019) by Christopher P Jones.
See more of my artwork here. For more stories like this sign up.

