For video tutorial click here
If you need to create different Tilemaps of various sizes check out the second part of this tutorial
Tilemap component was introduced in Unity 2017.2 and significantly eased the 2D game development process. With the version 2018.3 Isometric Tilemap was introduced providing great support for 2.5D games. Recently I had an opportunity to work with this component closely and was challenged with the task to create tiles programmatically. In my last game I have a lot of levels and all of them have the same Tilemap-based board. But the board itself has level-unique setup. Obviously, being a professional developer I didn?t want to create 60 game scenes and paint all the levels by hand but rather have a mechanism to fill the board with the proper elements depending on the given input. If you are curious how the end result looks like here is link to the game.
Source code is available at GitHub, please, find the link at the end of this tutorial.
Prerequisites
I use the latest available Unity 2019.2.0.1f. In order to work with this tutorial you should have at least version 2018.3. We will use Isometric grid but described technique is applicable to any type.
Before starting I strongly suggest to read through this brilliant Isometric 2D Environments with Tilemap blog entry to get a basic understanding of Isometric Tilemap.
As we are working in a 2D environment you should set up a new 2D project (refer to 2DAnd3DModeSettings)
There are 3 main components required to achieve our goal: a game board where the game will take place, a place where to keep a level description and some code that connects one to another.
Part 1. Creating the Board
Let?s start by importing needed image assets. I?ll use the same images I used for my game:
 Used to create a base tilemap level
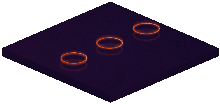 Used as a path
 Used to mark the start and end points of a path
We will keep images in the Tiles folder, simply drag and drop them there.
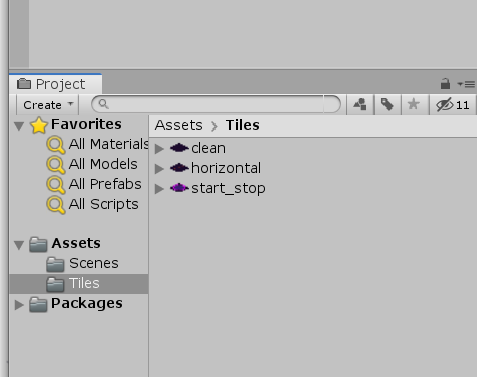 Tiles setup
Note! You should have a correct ?Pixel Per Unit? size set per each tile image (for further details see Isometric 2D Environments with Tilemap). For those images the value is 1096.
 Image setup
It is a good practice to separate different layers on a scene into dedicated game objects with descriptive names. Imagine the typical game screen that might contain a game zone, UI, Ad placements and so on.
Following this approach let?s create a new empty game object named GameZone where the board and all game elements could be placed.
Now it is time to create actual tiles from the images we imported earlier
Press Window -> 2D -> Tile Palette
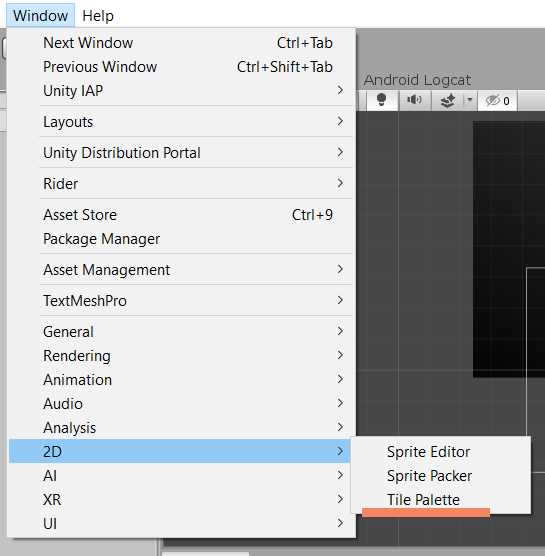 Tile Palette
Tile Palette view will be opened. Click ?Create new Palette? and create a palette:
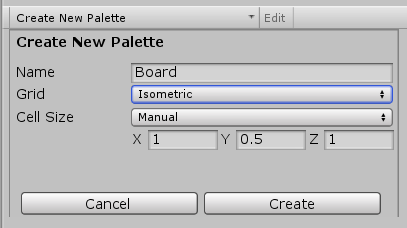 New Palette
Drag and drop tile images one by one to create an actual tiles.
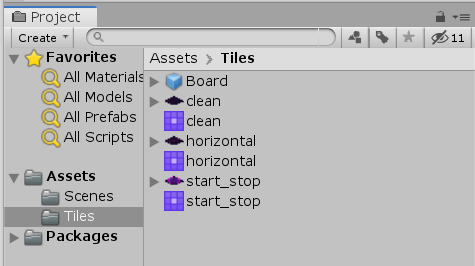 Tiles setup
With those tiles we can finally create the game board which will be filled with elements programmatically on a level startup later.
Find GameZone In Hierarchy view, right mouse click ? 2D Object ? Isometric Tilemap. A new game object Grid will be created.
The board size will be 11×11 tiles and we can start painting. Select the Box Brush tool (4th element from left) in the ?Tile Palette? view, then select ?clean? tile. Paint it in the Scene view.
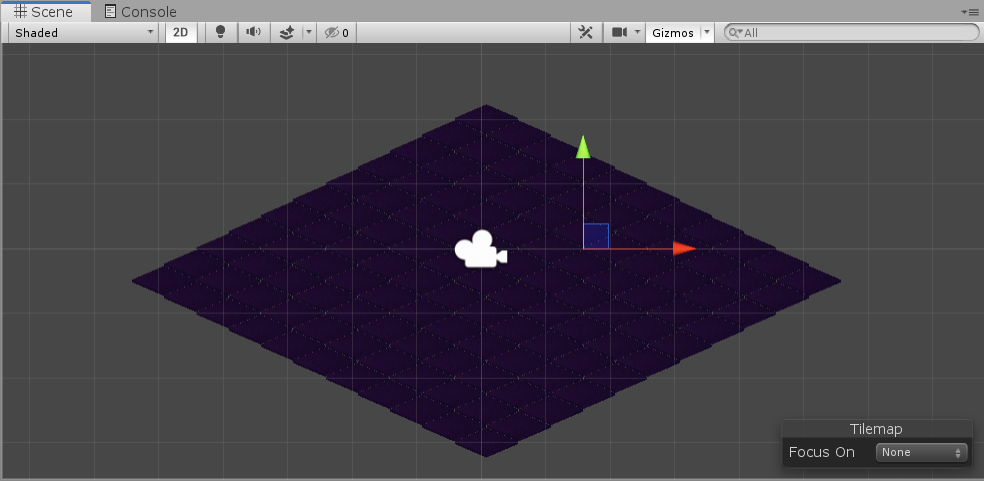 Board
Board
After you are done with the painting you should manually compress tilemap bounds. For this you need to select Tilemap in the Hierarchy view, press on a settings (gear) button on the Tilemap component and select ?Compress Tilemap Bounds?
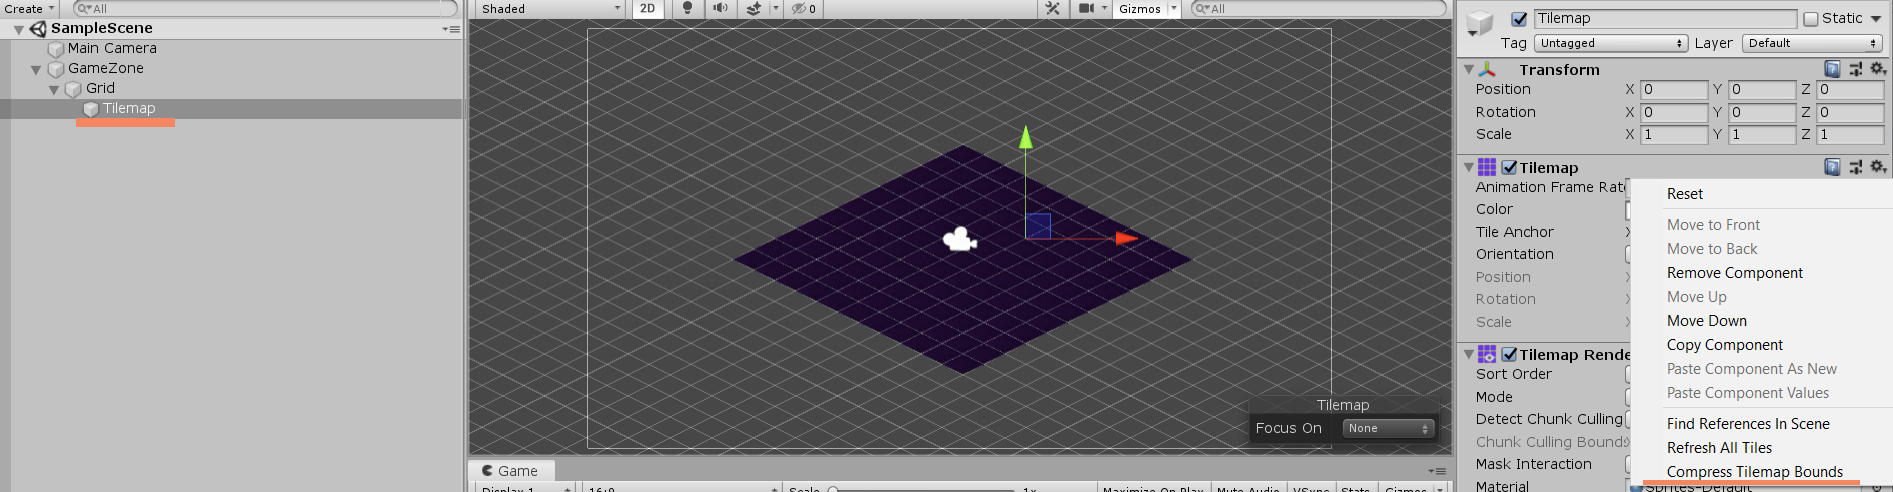 Compress Tilemap Bounds
Well done, the game board is ready to be used! We will get back to it in part 3.
Part 2. Level data
Since we want to reuse the same scene and the same game board the level data should be kept somewhere. A straightforward solution for that is a simple json file which will describe how each level should be built.
It is important to understand what we are trying to achieve, that?s why I have to say a few words about the mechanics. In the game there are objects that are moving alongside the path from the start till the end (pretty much like in Zuma) and player?s goal is to destroy all of them. In this tutorial we will create this path which will be unique for each level.
Okay, back to the project.
There are multiple ways how to access an external data in a runtime from a script. Here we will be using Resources folders
Let?s create a new folder ? Files ? and a sub-folder Resources. That is the place we want to keep the data, so create a new file ? Levels.json and place it there.
For the tutorial purposes we will have only two fields to describe each level:
- number ? an int to identify a level
- path ? the tile-based path that we want to create programmatically. Array of values where first value is the start point and the last value is the end point.
This is the file I will use. Don?t worry about those values in path, we will come to it later.
{ “levels”: [ { “number”: 1, “path”: [22,32] }, { “number”: 2, “path”: [55,65] }, { “number”: 3, “path”: [88,98] } ]}
Let?s create another folder ? Scripts ? and now the coding finally starts.
We want to access the data from the file in the code hence we need a model class for it. It is time to create our very first script ? LevelsData. It is not meant to be instantiated by Unity, so MonoBehaviour and StartUpdate methods should be removed. From the file above we can see that the root element is an array of levels where each level should have one int field number and one int array field path. Also, don?t forget to put [Serializable] annotation.
[Serializable]public class LevelsData{ public LevelData levels; [Serializable] public class LevelData { public int number; public int path; }}
Nice, now we have the file and the model. Next step is to transform one into another. Let?s create another script ? GameZone ? and attach it to the GameZone object on the scene. This script will be used later to setup the whole game board.
Follow Single responsibility principle let?s create yet another script ? LevelsDataLoader ? that will do all the transformation. Attach it to the GameZone object as well.
public class LevelsDataLoader : MonoBehaviour{ private const string LevelsPath = “Levels”; public Dictionary<int, LevelsData.LevelData> ReadLevelsData() { var jsonFile = Resources.Load(LevelsPath, typeof(TextAsset)) as TextAsset; if (jsonFile == null) { throw new ApplicationException(“Levels file is not accessible”); } var loadedData = JsonUtility.FromJson<LevelsData>(jsonFile.text); return loadedData.levels.ToDictionary(level => level.number, level => level); }}
This class will load the data and return it as a dictionary where the key is the level number and the data is the level data itself.
Now we should be able to access the data in GameZone script.
public class GameZone : MonoBehaviour{ private Dictionary<int, LevelsData.LevelData> _levelsData; private LevelsDataLoader _dataLoader;private void Awake() { _dataLoader = GetComponent<LevelsDataLoader>(); }private void Start() { _levelsData = _dataLoader.ReadLevelsData();Debug.Log(_levelsData.Count + ” levels have been stored in the dictionary!”); }}
Switch back to Unity, hit the play button and check the console ? you should see the message ?3 levels have been stored in the dictionary!?
Part 3. Connecting the Board and the Data
Congratulations, you?ve reached the last and the most interesting part of this tutorial. How will we actually connect the board and the data? Keep on reading to find it out!
First of all, let?s place horizontal and start_stop tiles created in the first part of the tutorial into Resources folder under the Tiles folder. Then add a new script ? TilesResourcesLoader ? a static helper class to load tiles from that folder in a runtime.
public static class TilesResourcesLoader{ private const string PathHorizontal = “horizontal”; private const string StartStop = “start_stop”; public static Tile GetPathHorizontalTile() { return GetTileByName(PathHorizontal); } public static Tile GetStartStopTile() { return GetTileByName(StartStop); } private static Tile GetTileByName(string name) { return (Tile) Resources.Load(name, typeof(Tile)); }}
As the last step we should place those tiles onto the board upon the scene startup. Let?s go back to the GameZone script. First of all we need to simulate the level selection, in the real game it usually happens whenever a user presses a level button. For the sake of simplicity let?s add a public field Level to GameZone and change it value to 1 for start. I will show you the final script first:
public class GameZone : MonoBehaviour{ public int Level; private const int FieldLineSize = 11; private const int FieldTotalTiles = FieldLineSize * FieldLineSize; private Dictionary<int, LevelsData.LevelData> _levelsData; private void Start() { _levelsData = GetComponent<LevelsDataLoader>().ReadLevelsData(); SetupTiles(); } private void SetupTiles() { var baseLevel = GetComponentsInChildren<Tilemap>()[0]; var localTilesPositions = new List<Vector3Int>(FieldTotalTiles); foreach (var pos in baseLevel.cellBounds.allPositionsWithin) { Vector3Int localPlace = new Vector3Int(pos.x, pos.y, pos.z); localTilesPositions.Add(localPlace); } SetupPath(localTilesPositions, baseLevel); } private void SetupPath(List<Vector3Int> localTilesPositions, Tilemap baseLevel) { var path = _levelsData[Level].path; var pathHorizontalTile = TilesResourcesLoader.GetPathHorizontalTile(); var first = path.First(); var last = path.Last(); foreach (var localPosition in localTilesPositions.GetRange(first, Math.Abs(first – last))) { baseLevel.SetTile(localPosition, pathHorizontalTile); } var startStopTile = TilesResourcesLoader.GetStartStopTile(); baseLevel.SetTile(localTilesPositions[first], startStopTile); baseLevel.SetTile(localTilesPositions[last], startStopTile); }}
Wow, that?s a lot of action! Let me walk you through it.
In the SetupTiles method we should first get the tilemap itself because we need to know the positions of tiles in order to change it. To achieve this we are using the tilemap.cellBounds.allPositionsWithin method which returns all the positions of tiles starting from the very first one ? in the given configuration it is a down-most tile.
Refer to the following picture where each number represents the index in the localTilesPositions list.
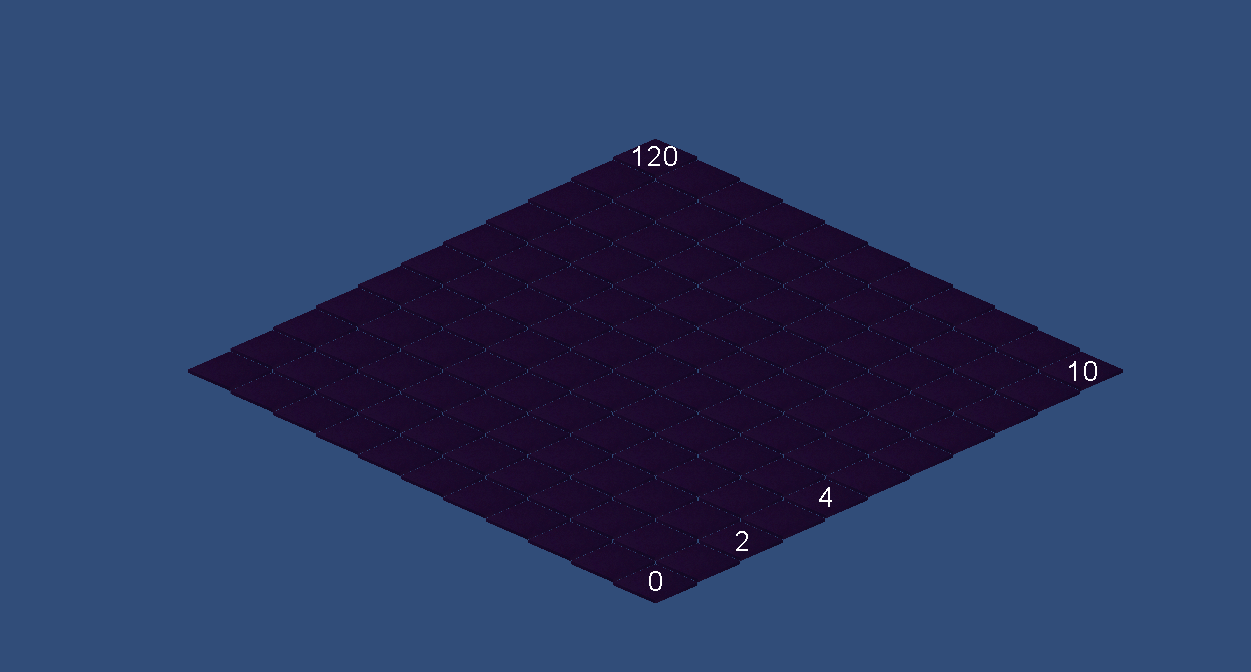 Numbered tilemap
Do you remember the values we use in the path in Levels.json? As you might have guessed already those values are the indexes of the tiles in the array. All you need to do now is to have a cheatsheet image to help you constructing levels. That?s the one I?ve been using during development:
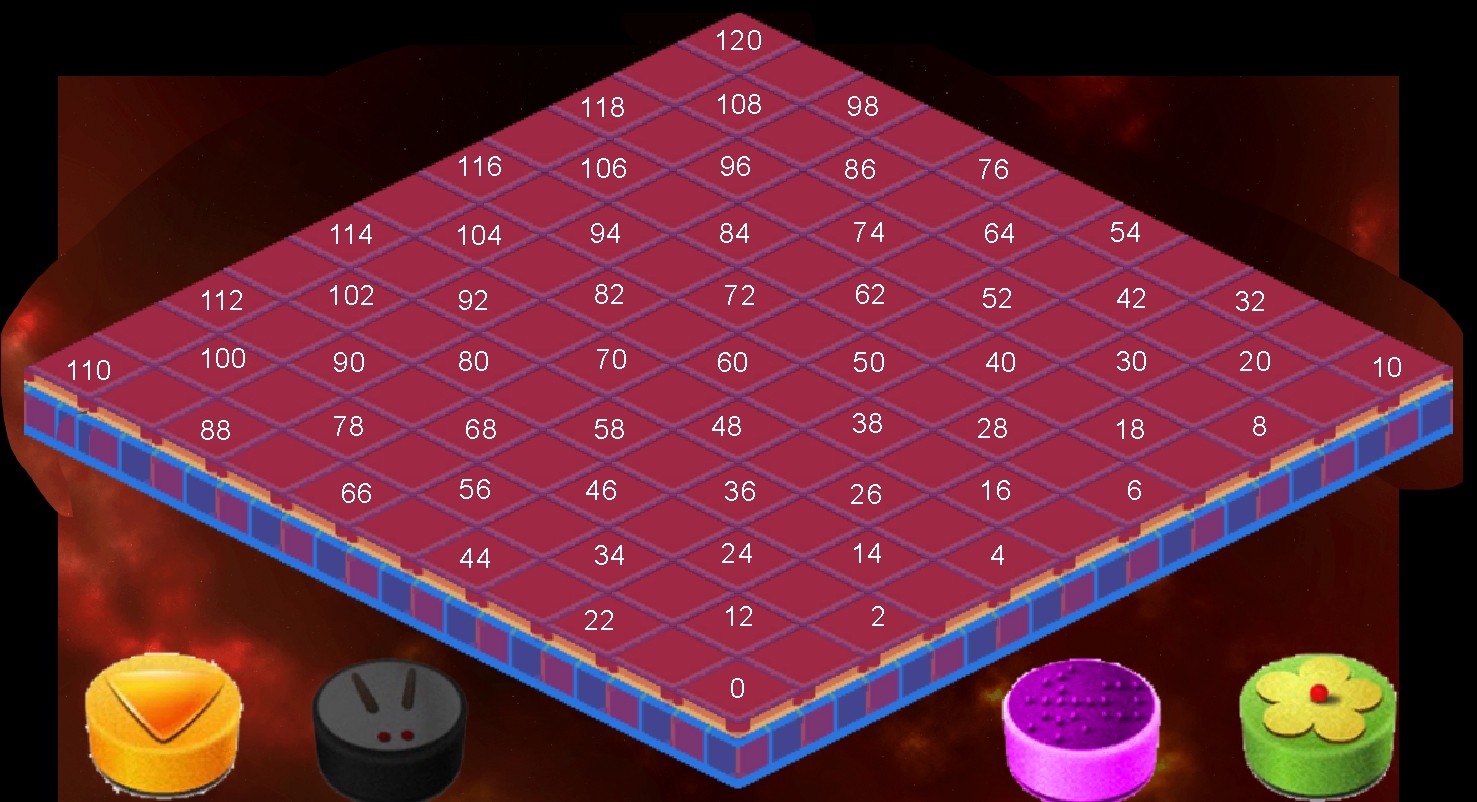 My ugly numbered tilemap
In this example we are setting up a horizontal line in the path, please refer to the SetupPath method. The key part is the following loop:
foreach (var localPosition in localTilesPositions.GetRange(first, Math.Abs(first – last))){ baseLevel.SetTile(localPosition, pathHorizontalTile);}
Here we iterate over localTilesPositions to find the ones to set the desired tile ? horizontal in this case.
Note! GetRange method has two parameters ? index and count.
In order to mark path start and end positions the start_stop tile is used.
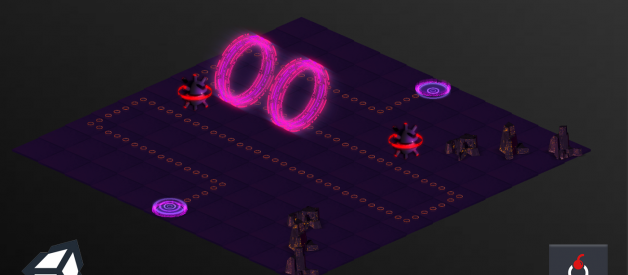
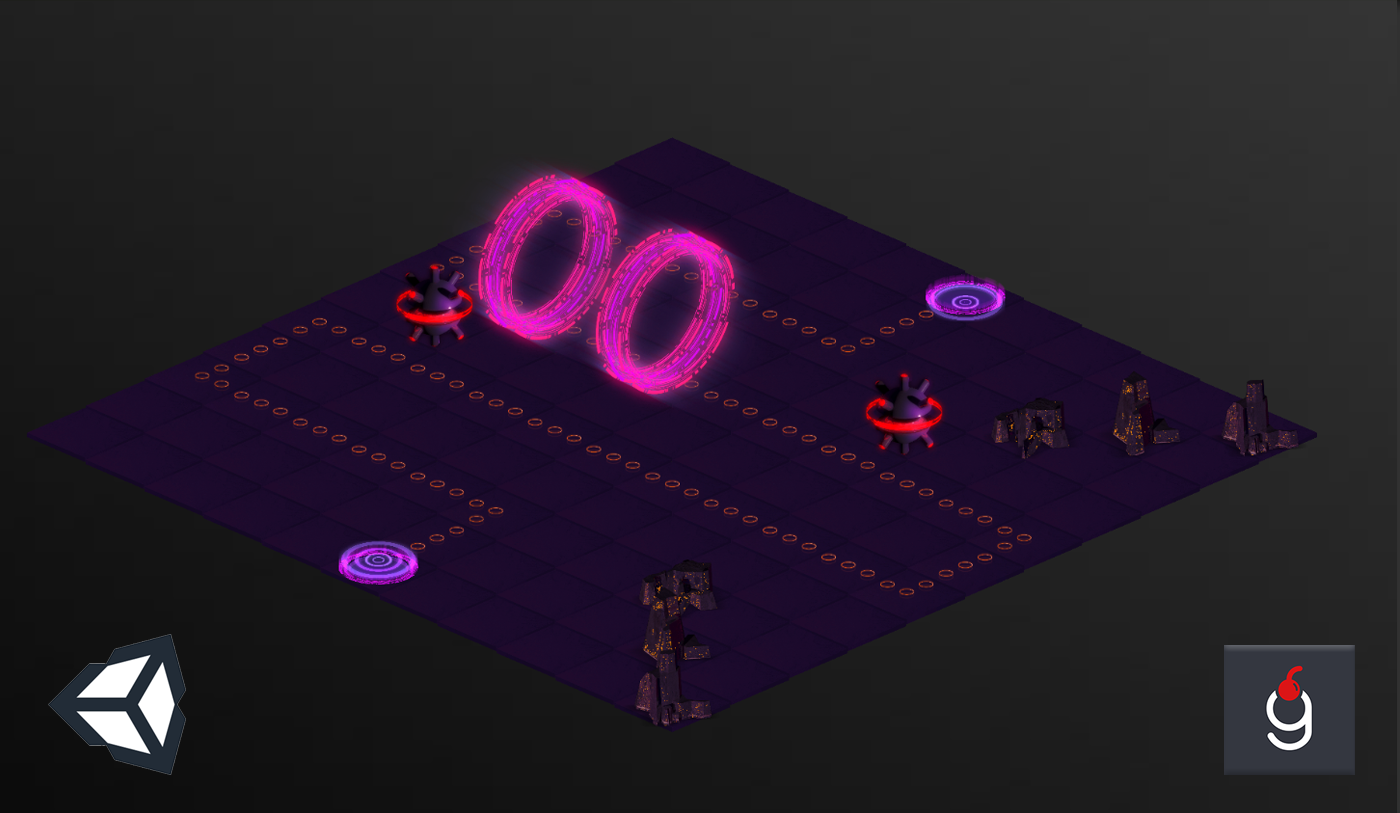
Here is the result of our hard work:
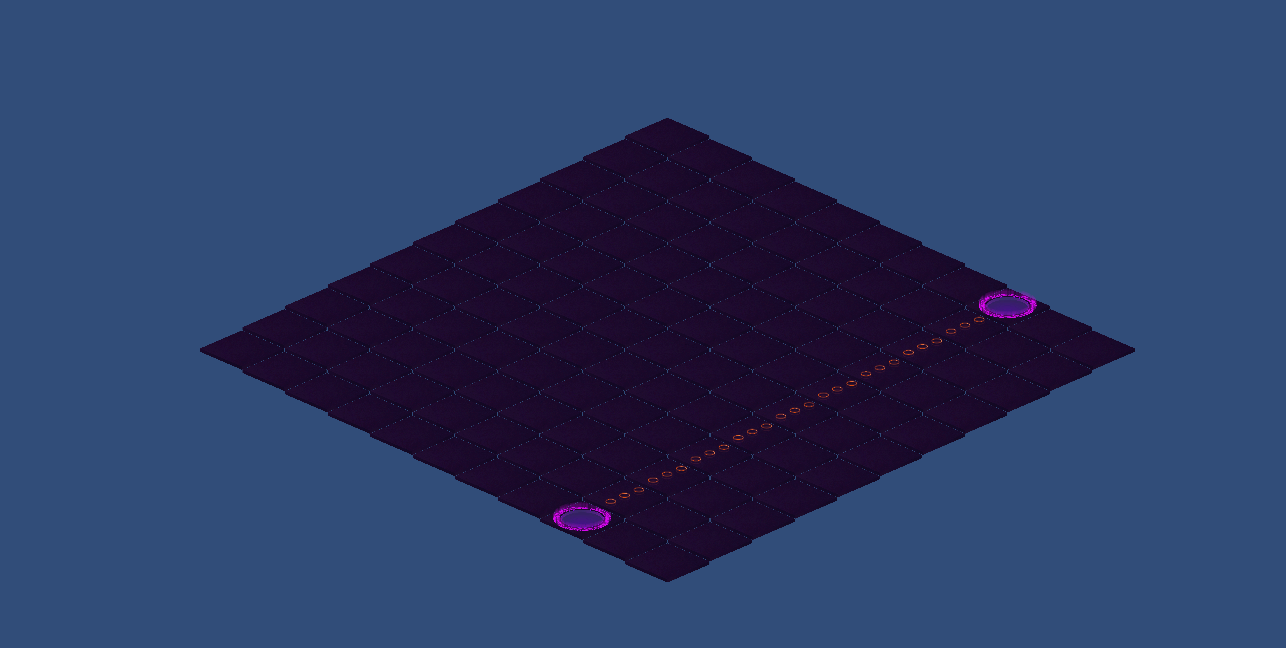 Final result
Now try to change the level number field of the GameZone script from 1 to 2 or 3 and you will see that the path is loaded properly for the given level.
Afterwards
Well done finishing the tutorial! Should you have any questions please leave them in the comments section below.
The project source files can be found at this GitHub repository
Check out the second part of this tutorial if you need to create boards of different sizes.
In the game I use this technique extensively, you can check it out here: Mooon
