Part 13 ? Designing and building a DIY home recording studio.
The whole story ? part 1, part 2, part 3, part 4, part 5, part 6, part 7, part 8, part 9, part 10, part 11, part 12, part 13, part 14, part 15, part 16, part 17, part 18, part 19, part 20, part 21
I should have titled this, ?searching for magic, flying unicorns?.
After more than 20 years of trying to find the perfect music studio desk, I?m realizing ?it? (like magic, flying unicorns), just doesn?t exist. BUT I may have just discovered a solution!
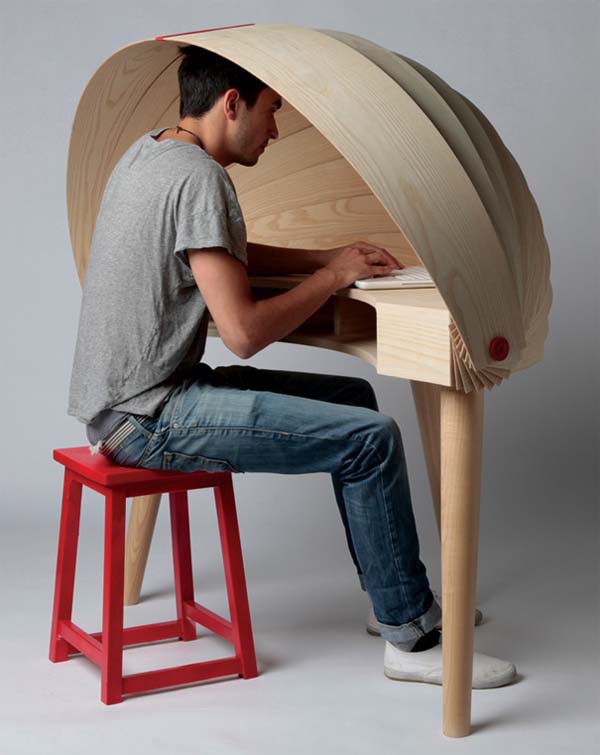 Name this German composer; ?Dome Dome, Dome, Dome!?
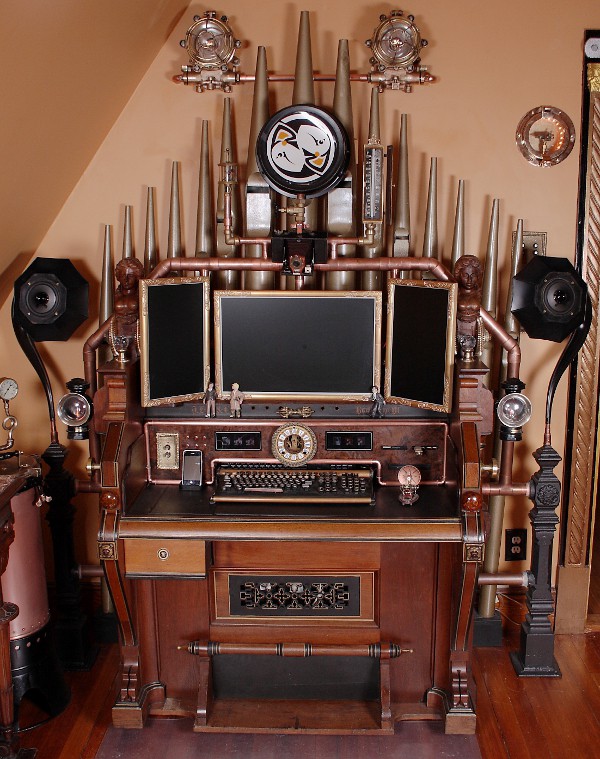 Wow!
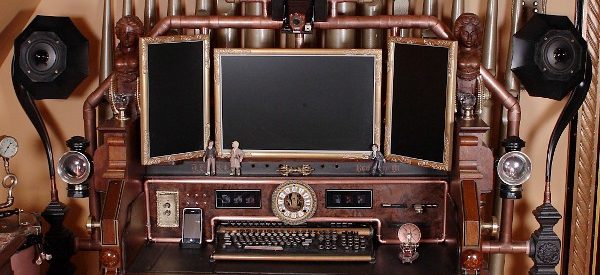
Wow!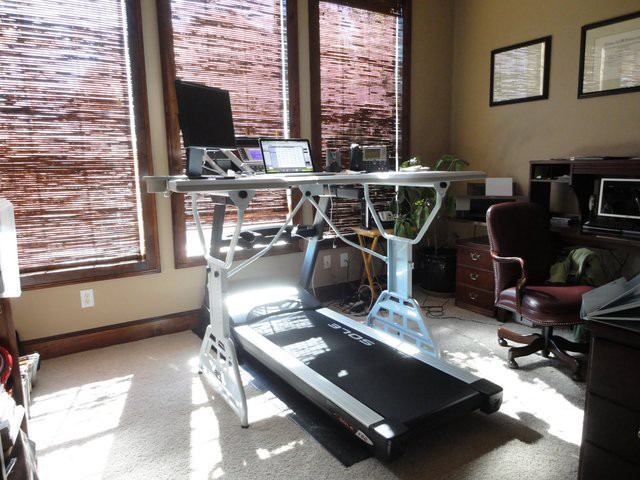 Add a couple speakers and Voila! You have a DAW (Digital Audio WALKSTATION)
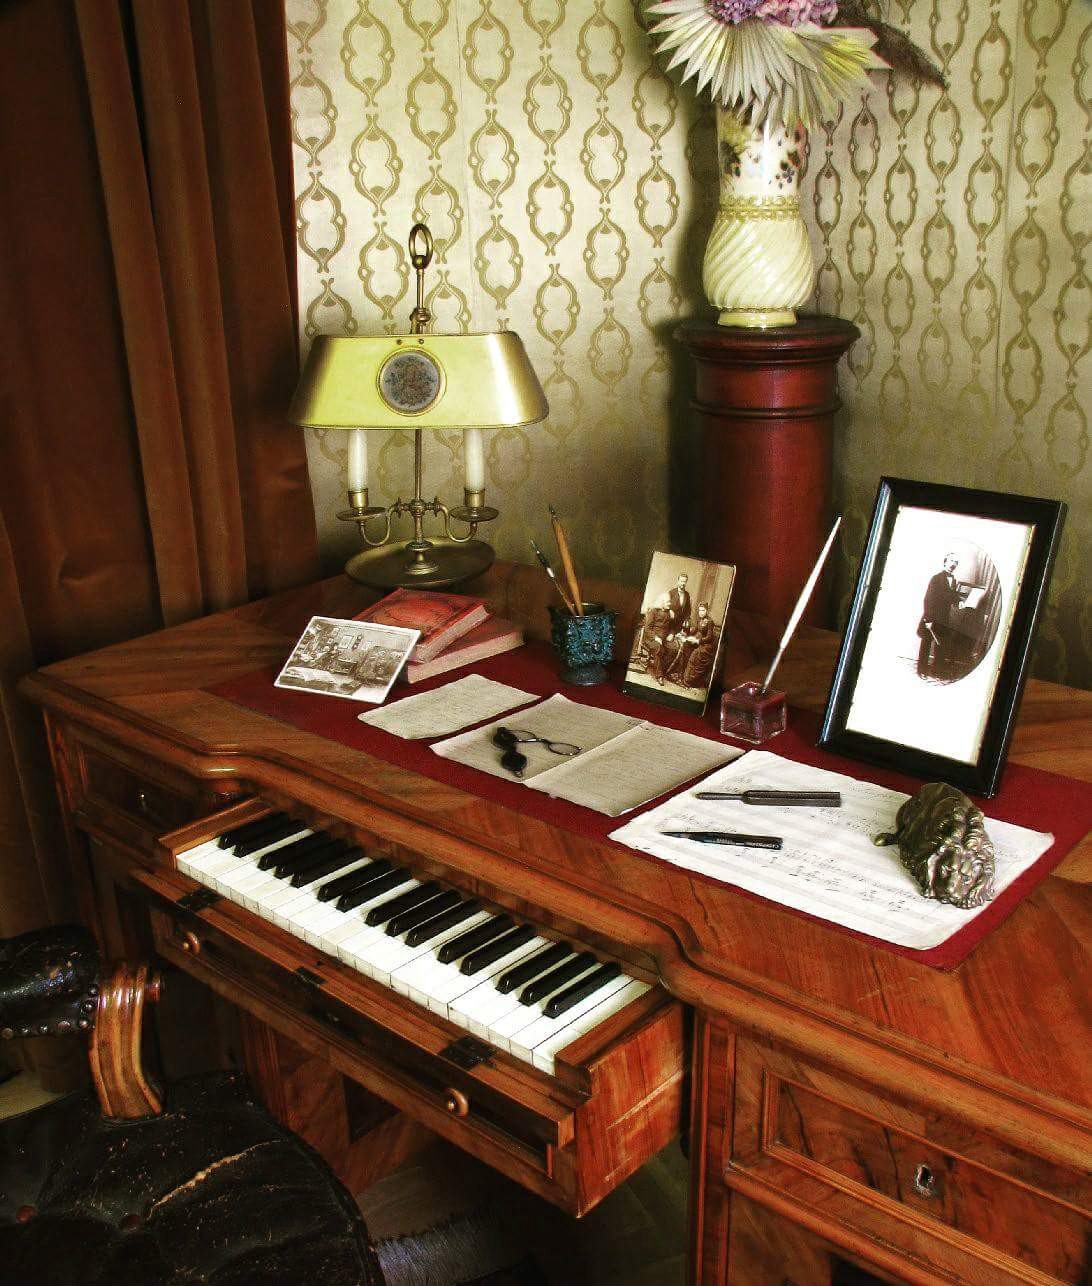 Ye Olde workstation. This is Franz Liszt?s actual writing desk. I love the short little keyboard in the pull out drawer. Pretty cool trend setting idea still in use today.
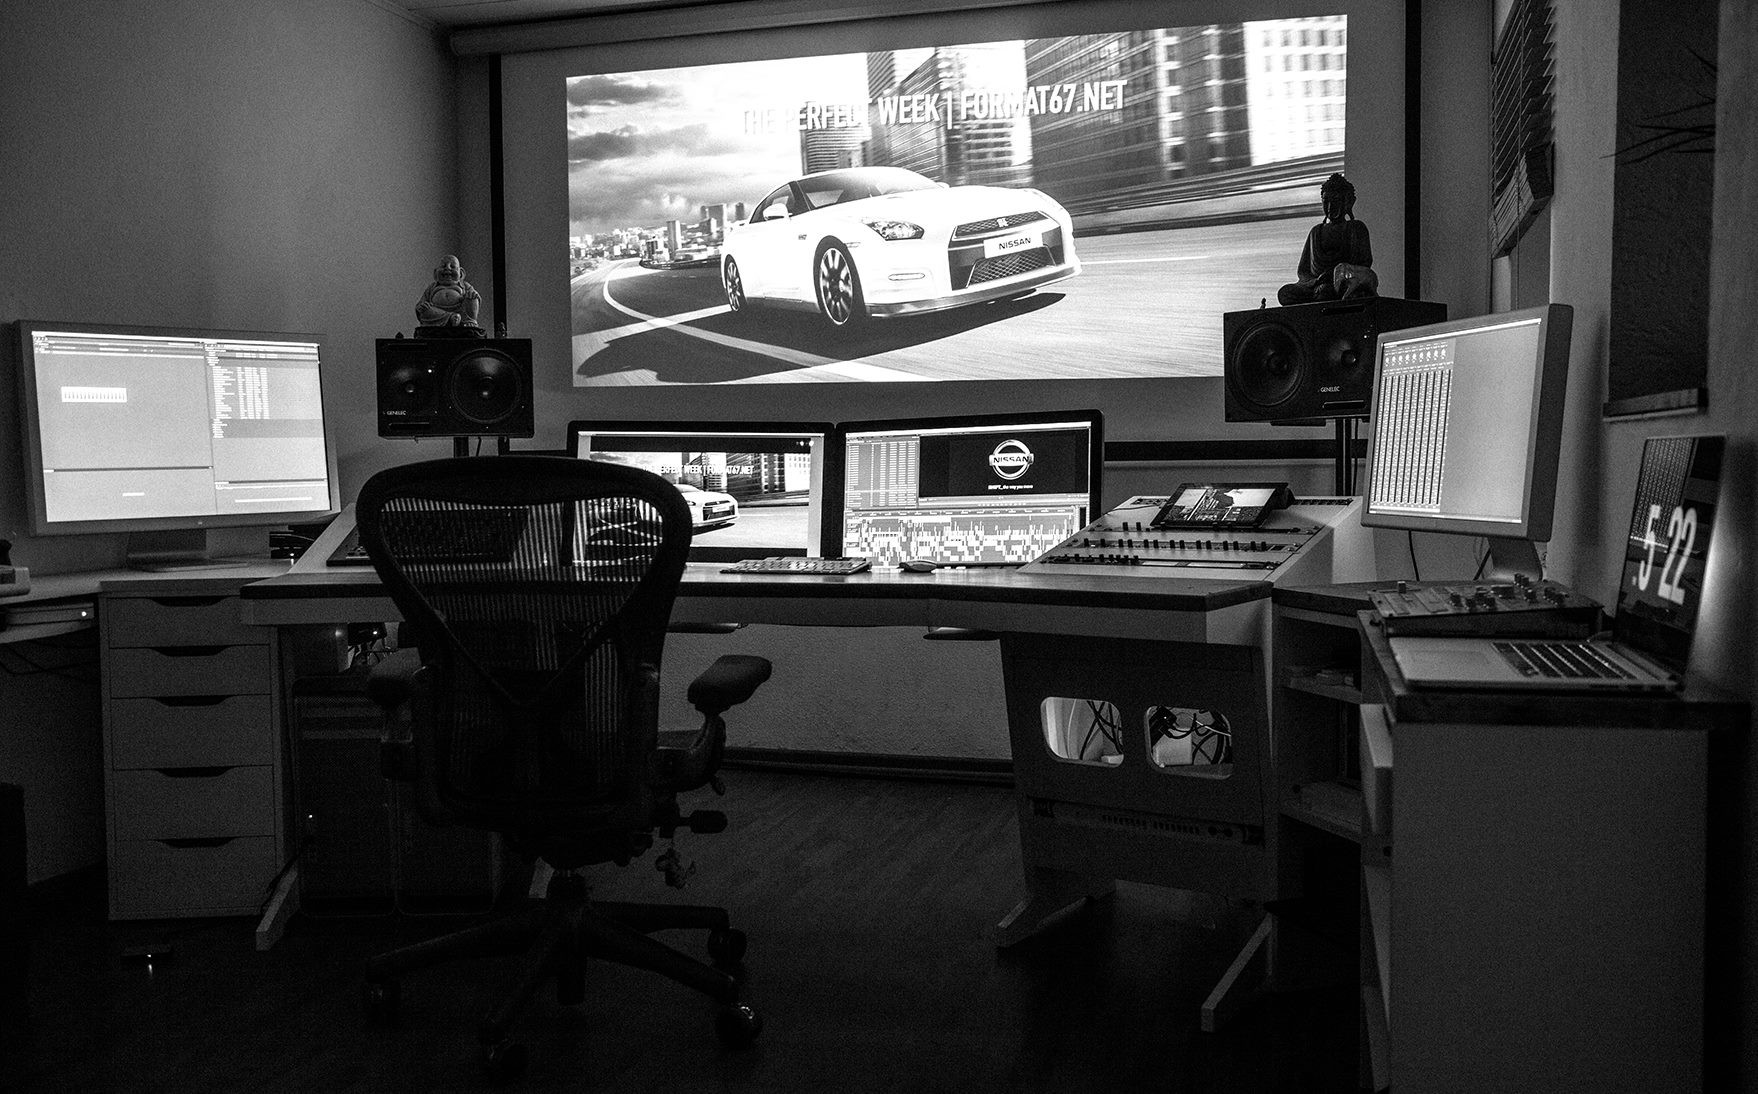 Ok, now we?re talking.
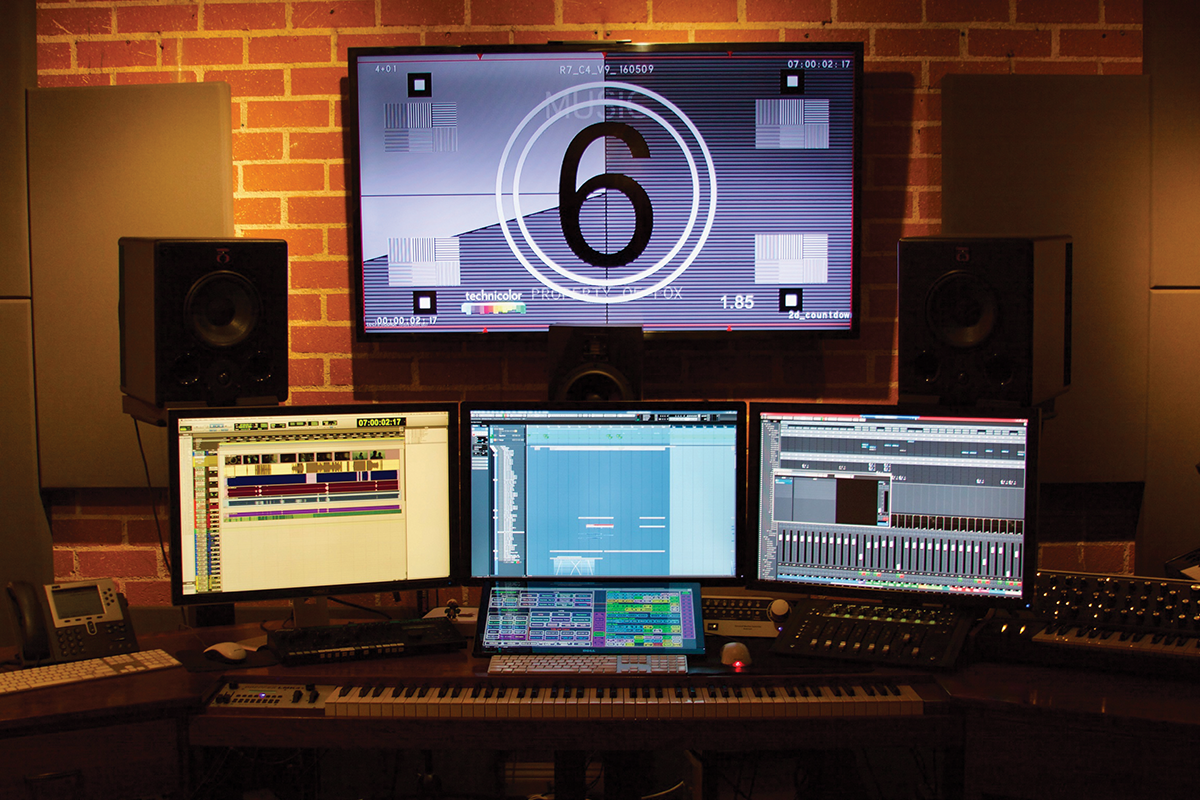
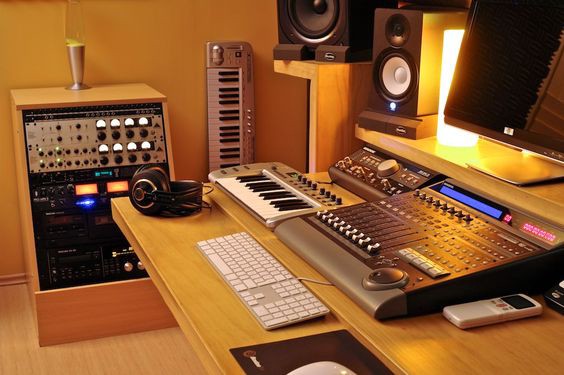
 I like all the screens. The less clicking around to see hidden windows or plug-ins etc the better. Saving a few clicks here and there repeatedly over the course of an entire project REALLY ads up quickly ? saving a lot of hand strain and delay. Anything that can help keep things moving is definitely worth looking at. DON?T SLOW THE FLOW.
Why doesn?t anyone make the desk I need?
All I want is a studio desk that gives me fluid, easy, pain-free access to my equipment equally well for both audio engineering and composing. Is that too much to ask?
Here?s how I use my studio:
- Composing ? Primarily using an 88 note MIDI keyboard controller and a computer keyboard and mouse.
- Sound design ? Once I?ve recorded/captured key elements out in the field or in the studio, I finalize sounds using the computer keyboard and mouse.
- Sound recording/editing/mixing/mastering ? Which for the sake of this post I?ll lump into one category. I primarily use a computer keyboard and mouse and mixing control surface of one sort or another.
My dilemma
In a perfect (albeit impossible) configuration, my MIDI keyboard controller and computer keyboard would be in the same place in front of me. But, since they can?t occupy the exact same space, the MIDI keyboard ? being larger ? wins the location battle and sits directly in front of me ? with keys at standard piano keybed height. The stand is nice and keeps my legs free and clear.
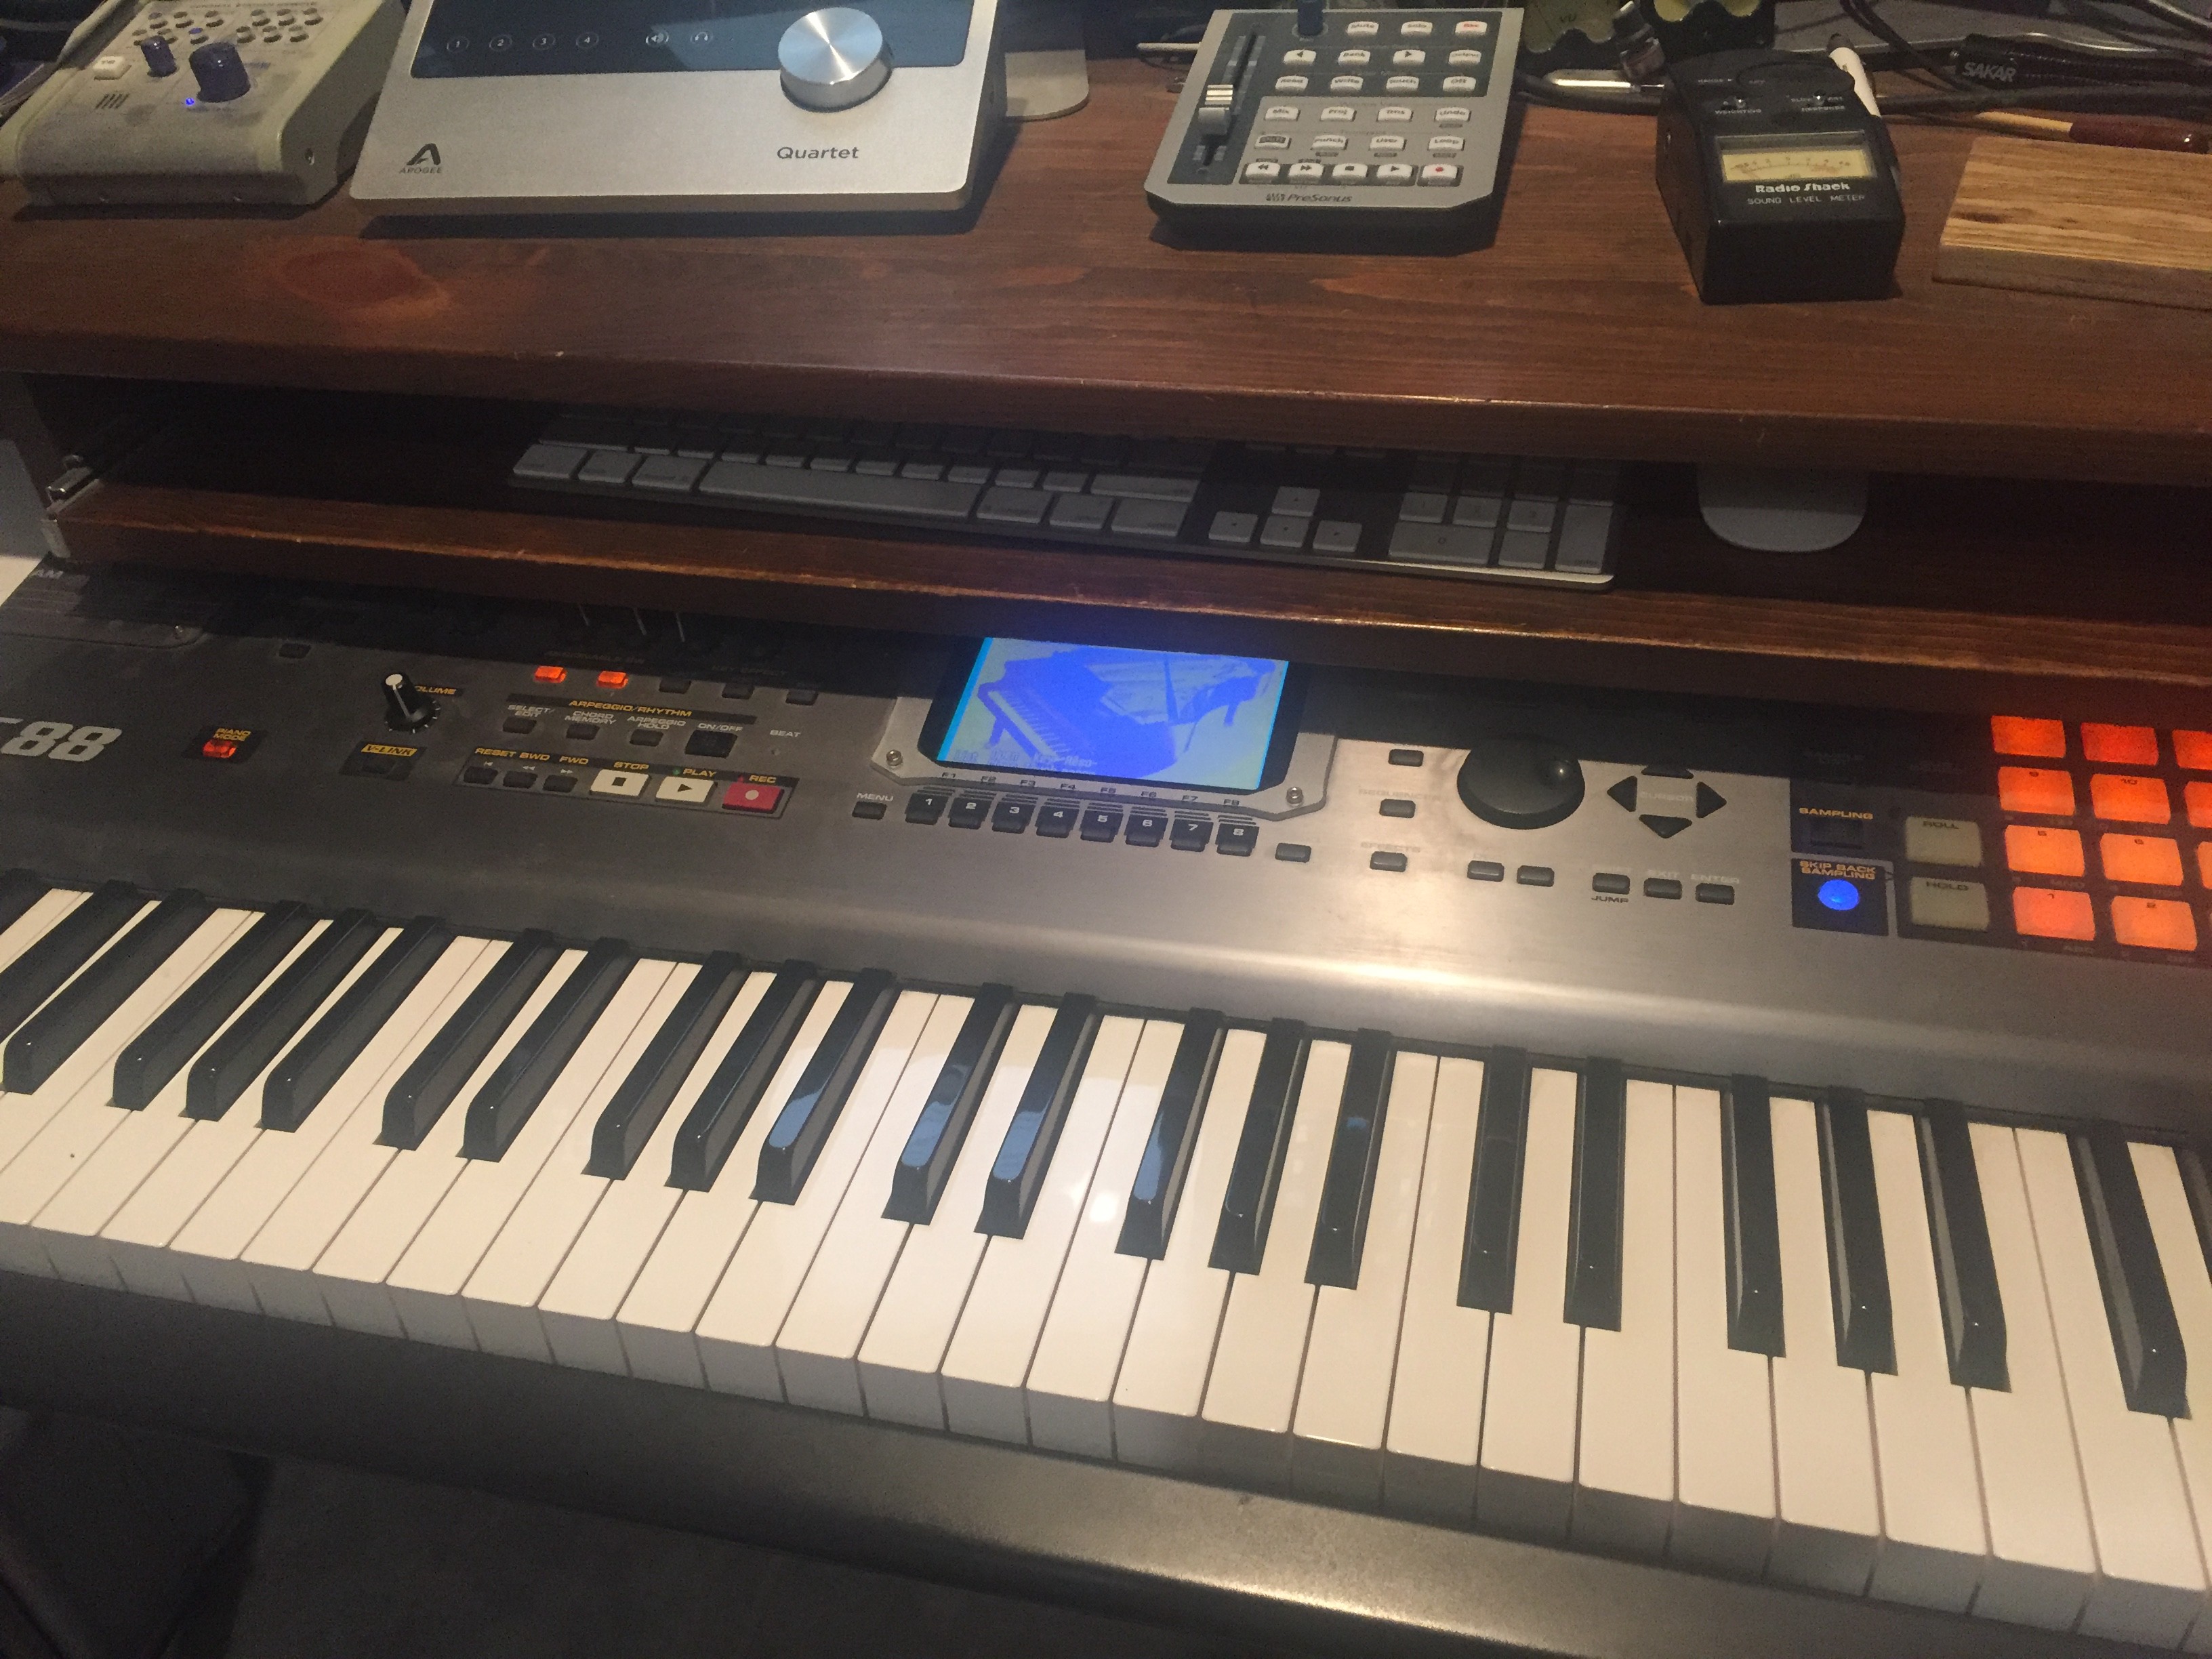 Piano keyboard is front and center for composing. I really need the computer keyboard as close to the same location and height as possible. I built a sliding tray to try to do that. It gets close to what I need, but I?m on the hunt for a more perfect solution.
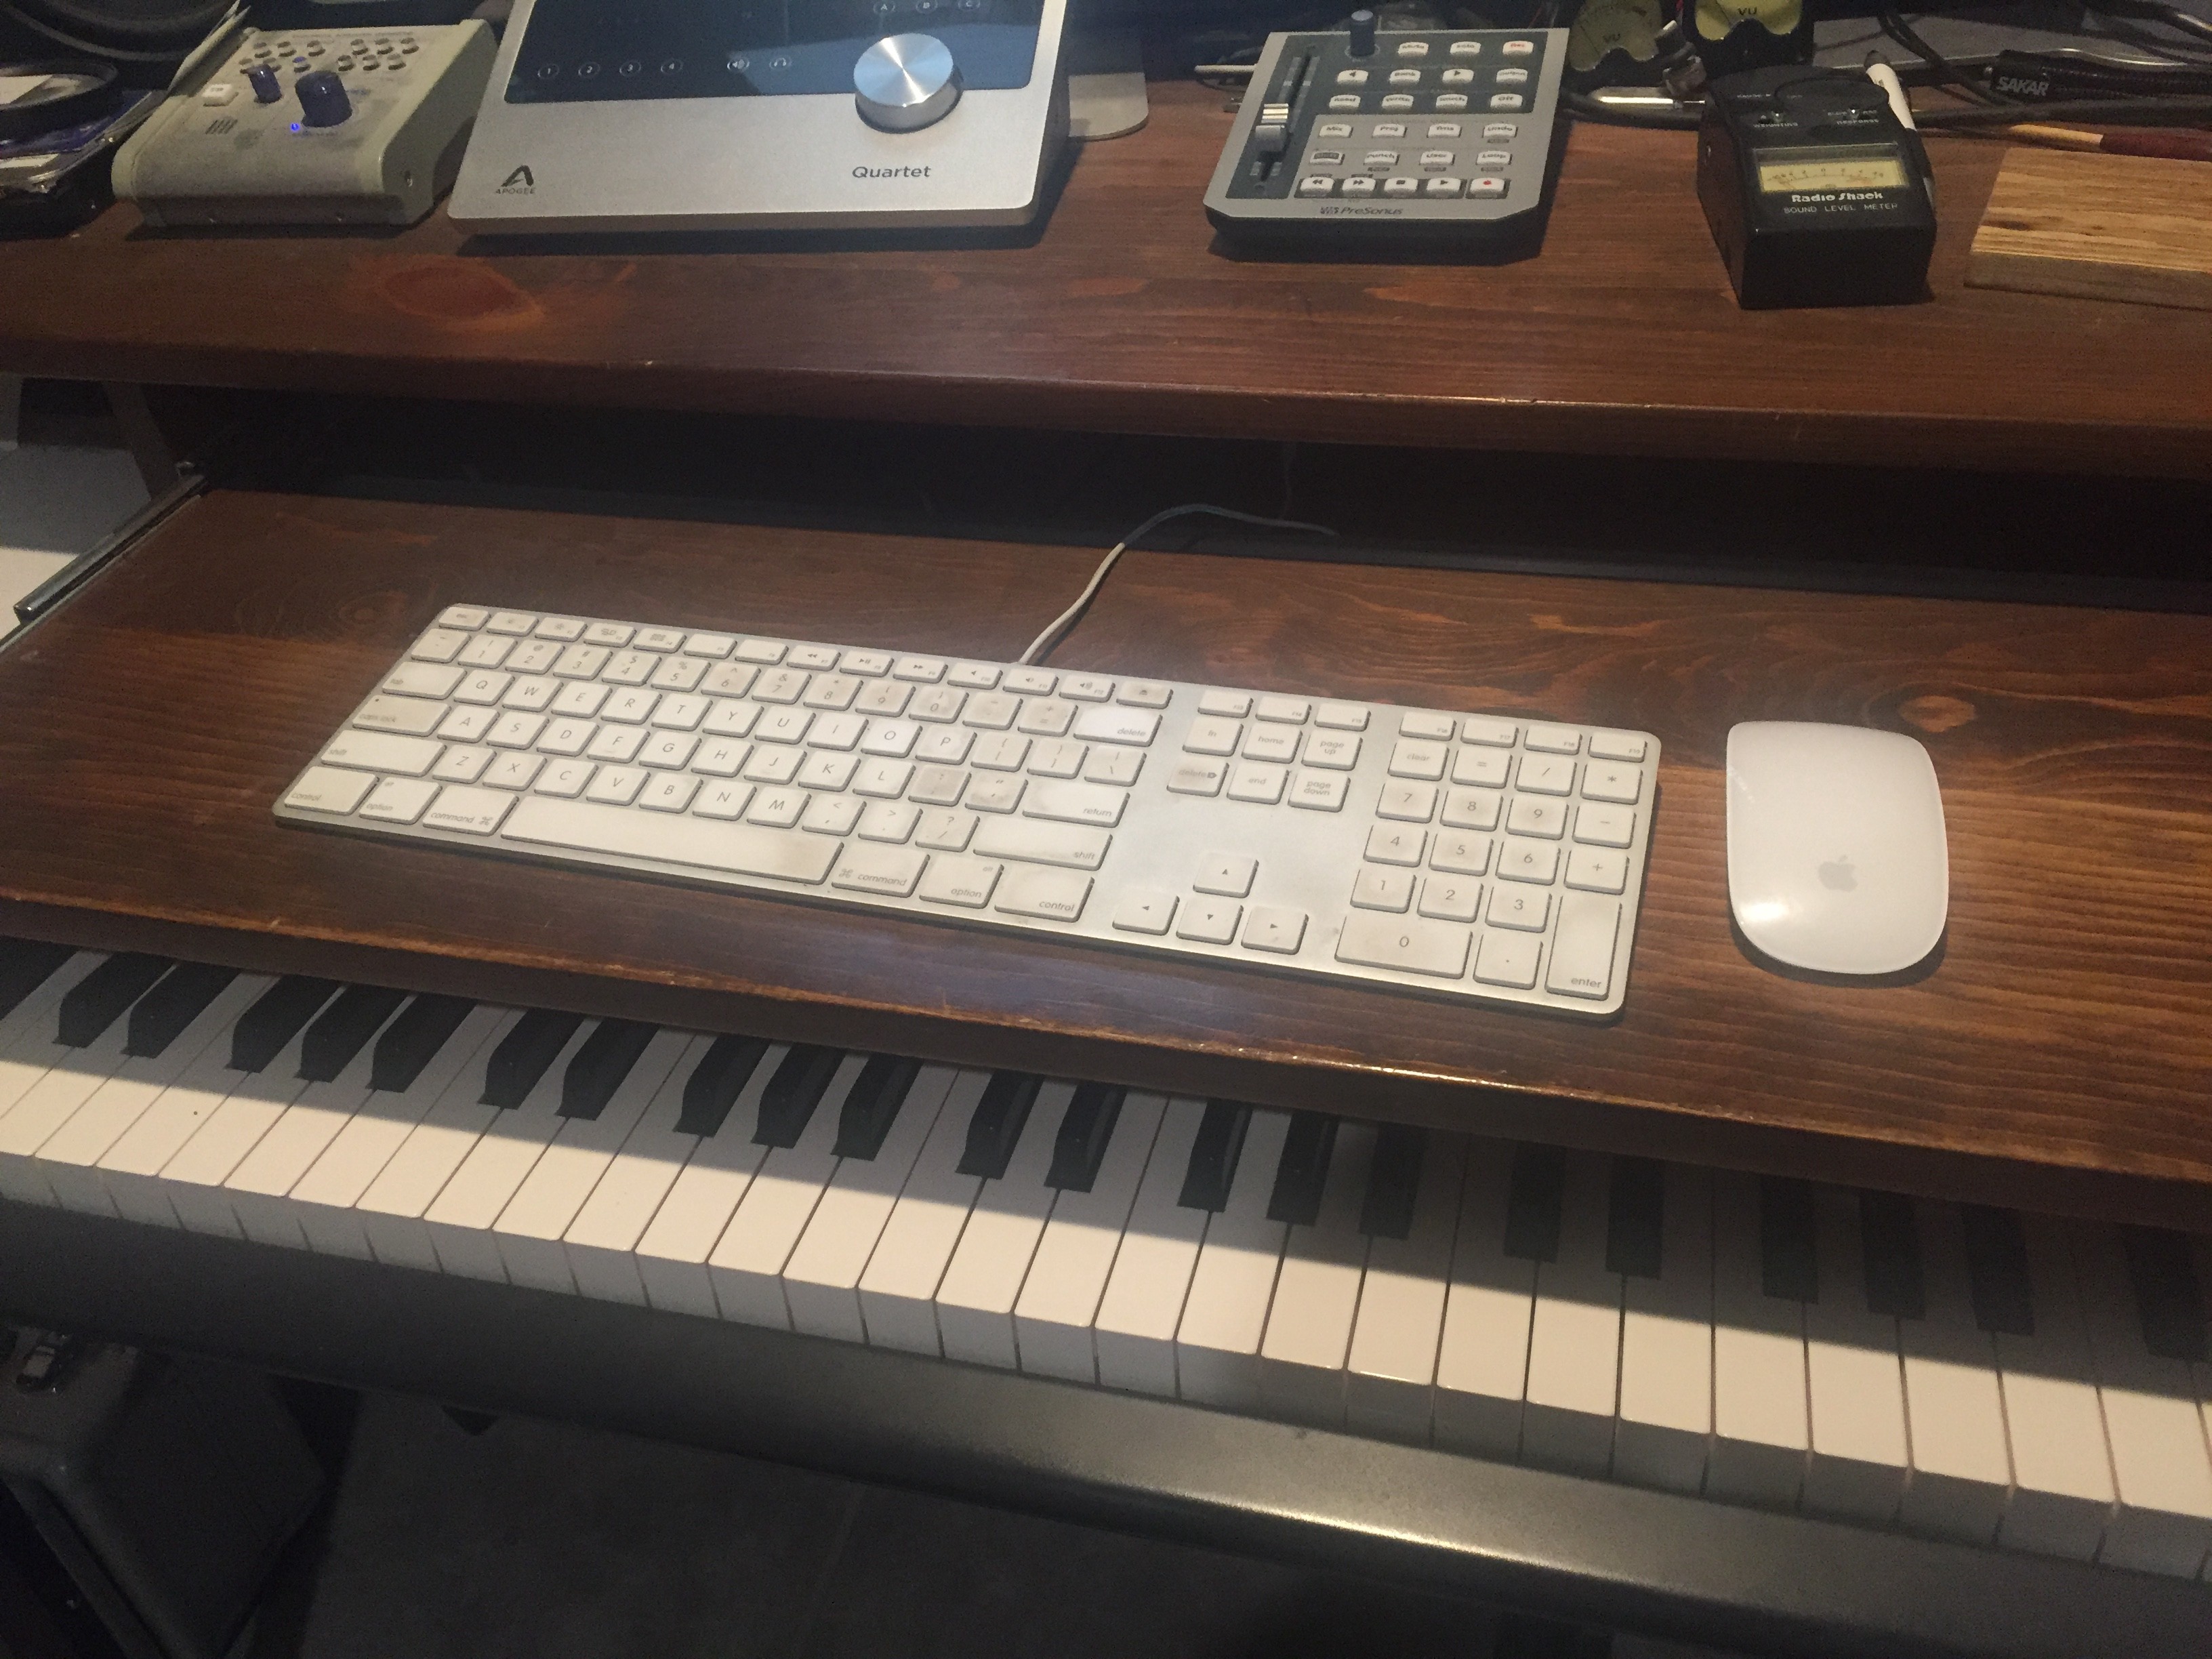
So, I still need my computer keyboard and mouse as ergonomically close and accessible as possible, so I?ve built a tray that slides the computer keyboard and mouse directly above the piano keyboard. When I don?t need them, I simply slide it back into the desk.
When I compose it slides back and forth hundreds of times.
I?ve used it this way for several years now so I don?t even notice I?m doing it anymore. UNTIL?.that is, until it?s time to work on only audio for a few hours or more. Once I start editing and mixing, that?s when I quickly remember in my wrists, shoulders and neck that the tray is 4?5 inches higher than it should be.
There?s got to be a better set up than this.
I guess I could completely rearrange my desk/equipment each time I switched between composing and engineering. Thanks but NO!
 When I?m composing, this arrangement of sliding the keyboard/mouse tray in and out as needed works fine. When I?m spending hours editing and mixing though, It only takes a couple hours to start feeling discomfort because the computer keyboard and mouse are about 4?5 inches too high. I need to find some type of desk arrangement that works for both composing and audio engineering that doesn?t require having to move gear around for each task. I may have finally found a more compatible solution. Maybe.
Again, all I ask is for a desk that works equally well for both composing and audio engineering? Is it too much to ask?
Apparently it might be. I?ve spent the past 20+ years looking for this ?holy grail? of desks, which serves composers and audio engineers equally, and it just doesn?t seem to be out there.
Desks in the market place, and even custom desks, are built for either the composer OR the engineer. Many try to please both and all fall short as a result. BUT?. I may have just recently discovered something that gets me VERY close to what I?m looking for.
side note: Over the years, the topic of ?best? studio desk remains one of the most entertaining and lively conversations I?ve had with others. Everyone has such different ideas of what BEST means. Plus, everyone?s body sits slightly differently, so perfect ergonomics will feel different to everyone, and may not be so perfect for some.
A little side thought
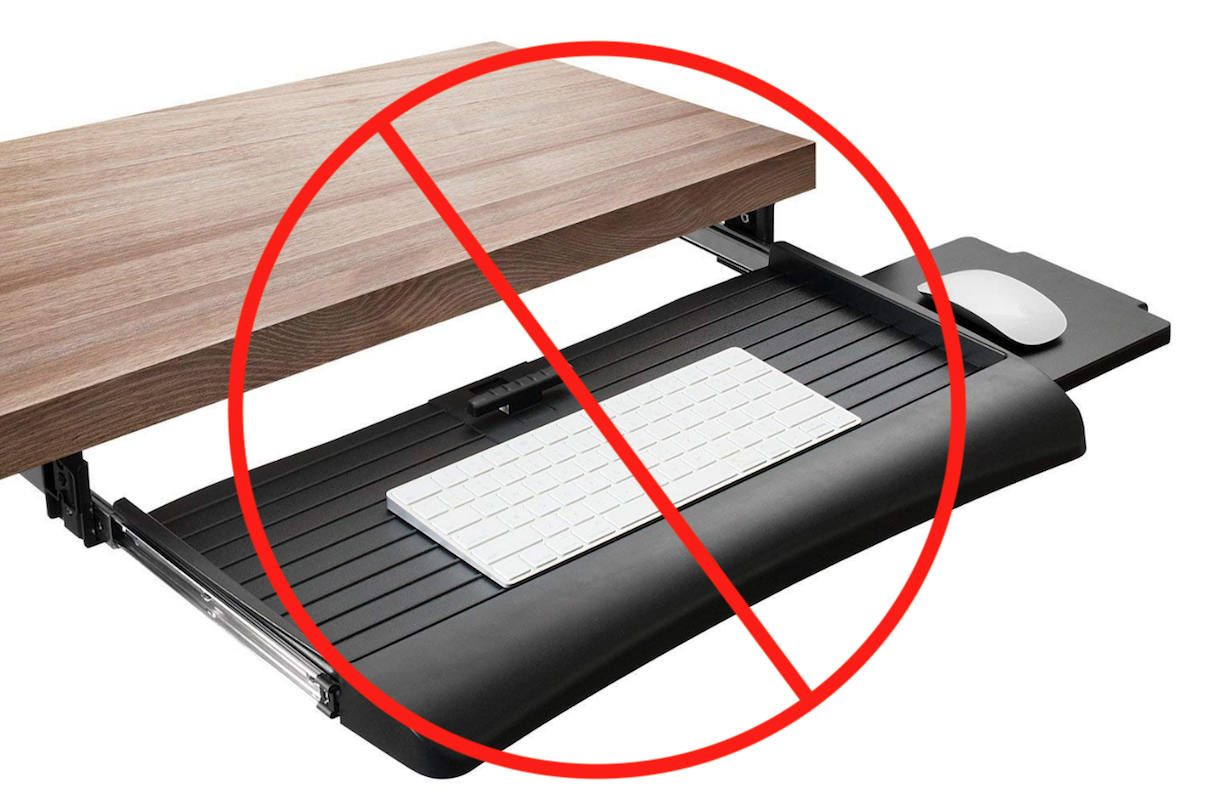 I know some people really love these, but I just can?t use them, because the piano keyboard sits right where this would be. I could have the piano keyboard controller on top of my desk I guess like many do, but ..no. Because then , besides being WAY to elevated to play comfortably, I would have to constantly reach over it to get to my mixing control surface which would have to sit even further behind it. There has GOT to be a better way.
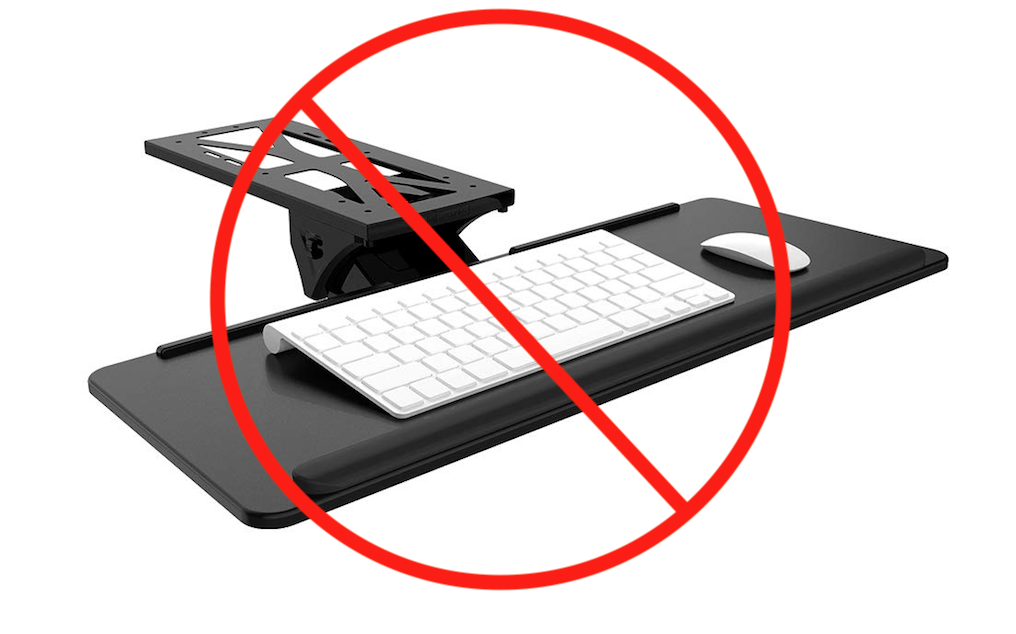
Some people really love those little mounted computer keyboard trays that sneak up to you from under neath the desk. I?ve tried to use them again and again, but I?ve just never been able to make them work for me. They actually kind of weird me out for some reason. Plus, I need elbow room around the computer keyboard on both sides to accommodate the mouse and anything I may need to place there temporarily ? including various controllers etc and a bunch of project paperwork, music, notes etc.
Plus, they always see to be in the way of being able to reach the keyboard properly.
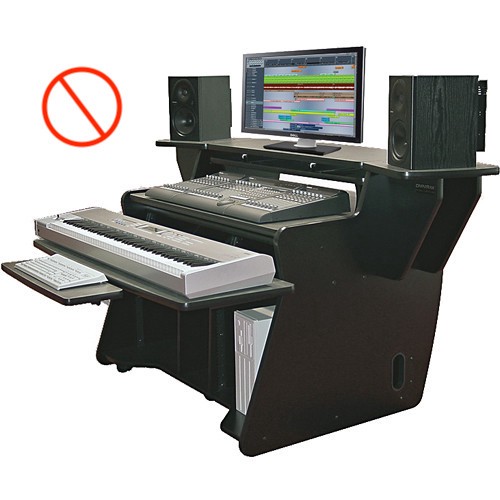 No, no aaaand?.no. A definite hard pass on this one. I can pretty much guarantee a person who seriously mixes audio for any significant amount of time did NOT design this desk. Can you imagine the shoulder, neck and back pain you?d have after just a couple hours of reaching over the piano keyboard to reach the faders and knobs at the top of the mixing board? By the way, where is the computer mouse supposed to go on this? The only thing missing as well is a pair of binoculars for the composer to be able to see what?s happening on the screen 6 feet away. Get my point?
I can work at traditional recording studio desks without any issue because, again, they are built very task specific for recording, editing and mixing audio. But try to add in a piano keyboard and even a computer keyboard and everything changes.
A couple examples of studios trying to figure this out
I love not having to reinvent the wheel, so after searching quite a while I?ve got a little photo gallery of various studios ? for the purpose of showing what they are using. There are actually some REALLY cool things happening in some of these rooms and I will be bringing some of the ideas into my room, but I still haven?t found one that fully satisfies what I?m needing.
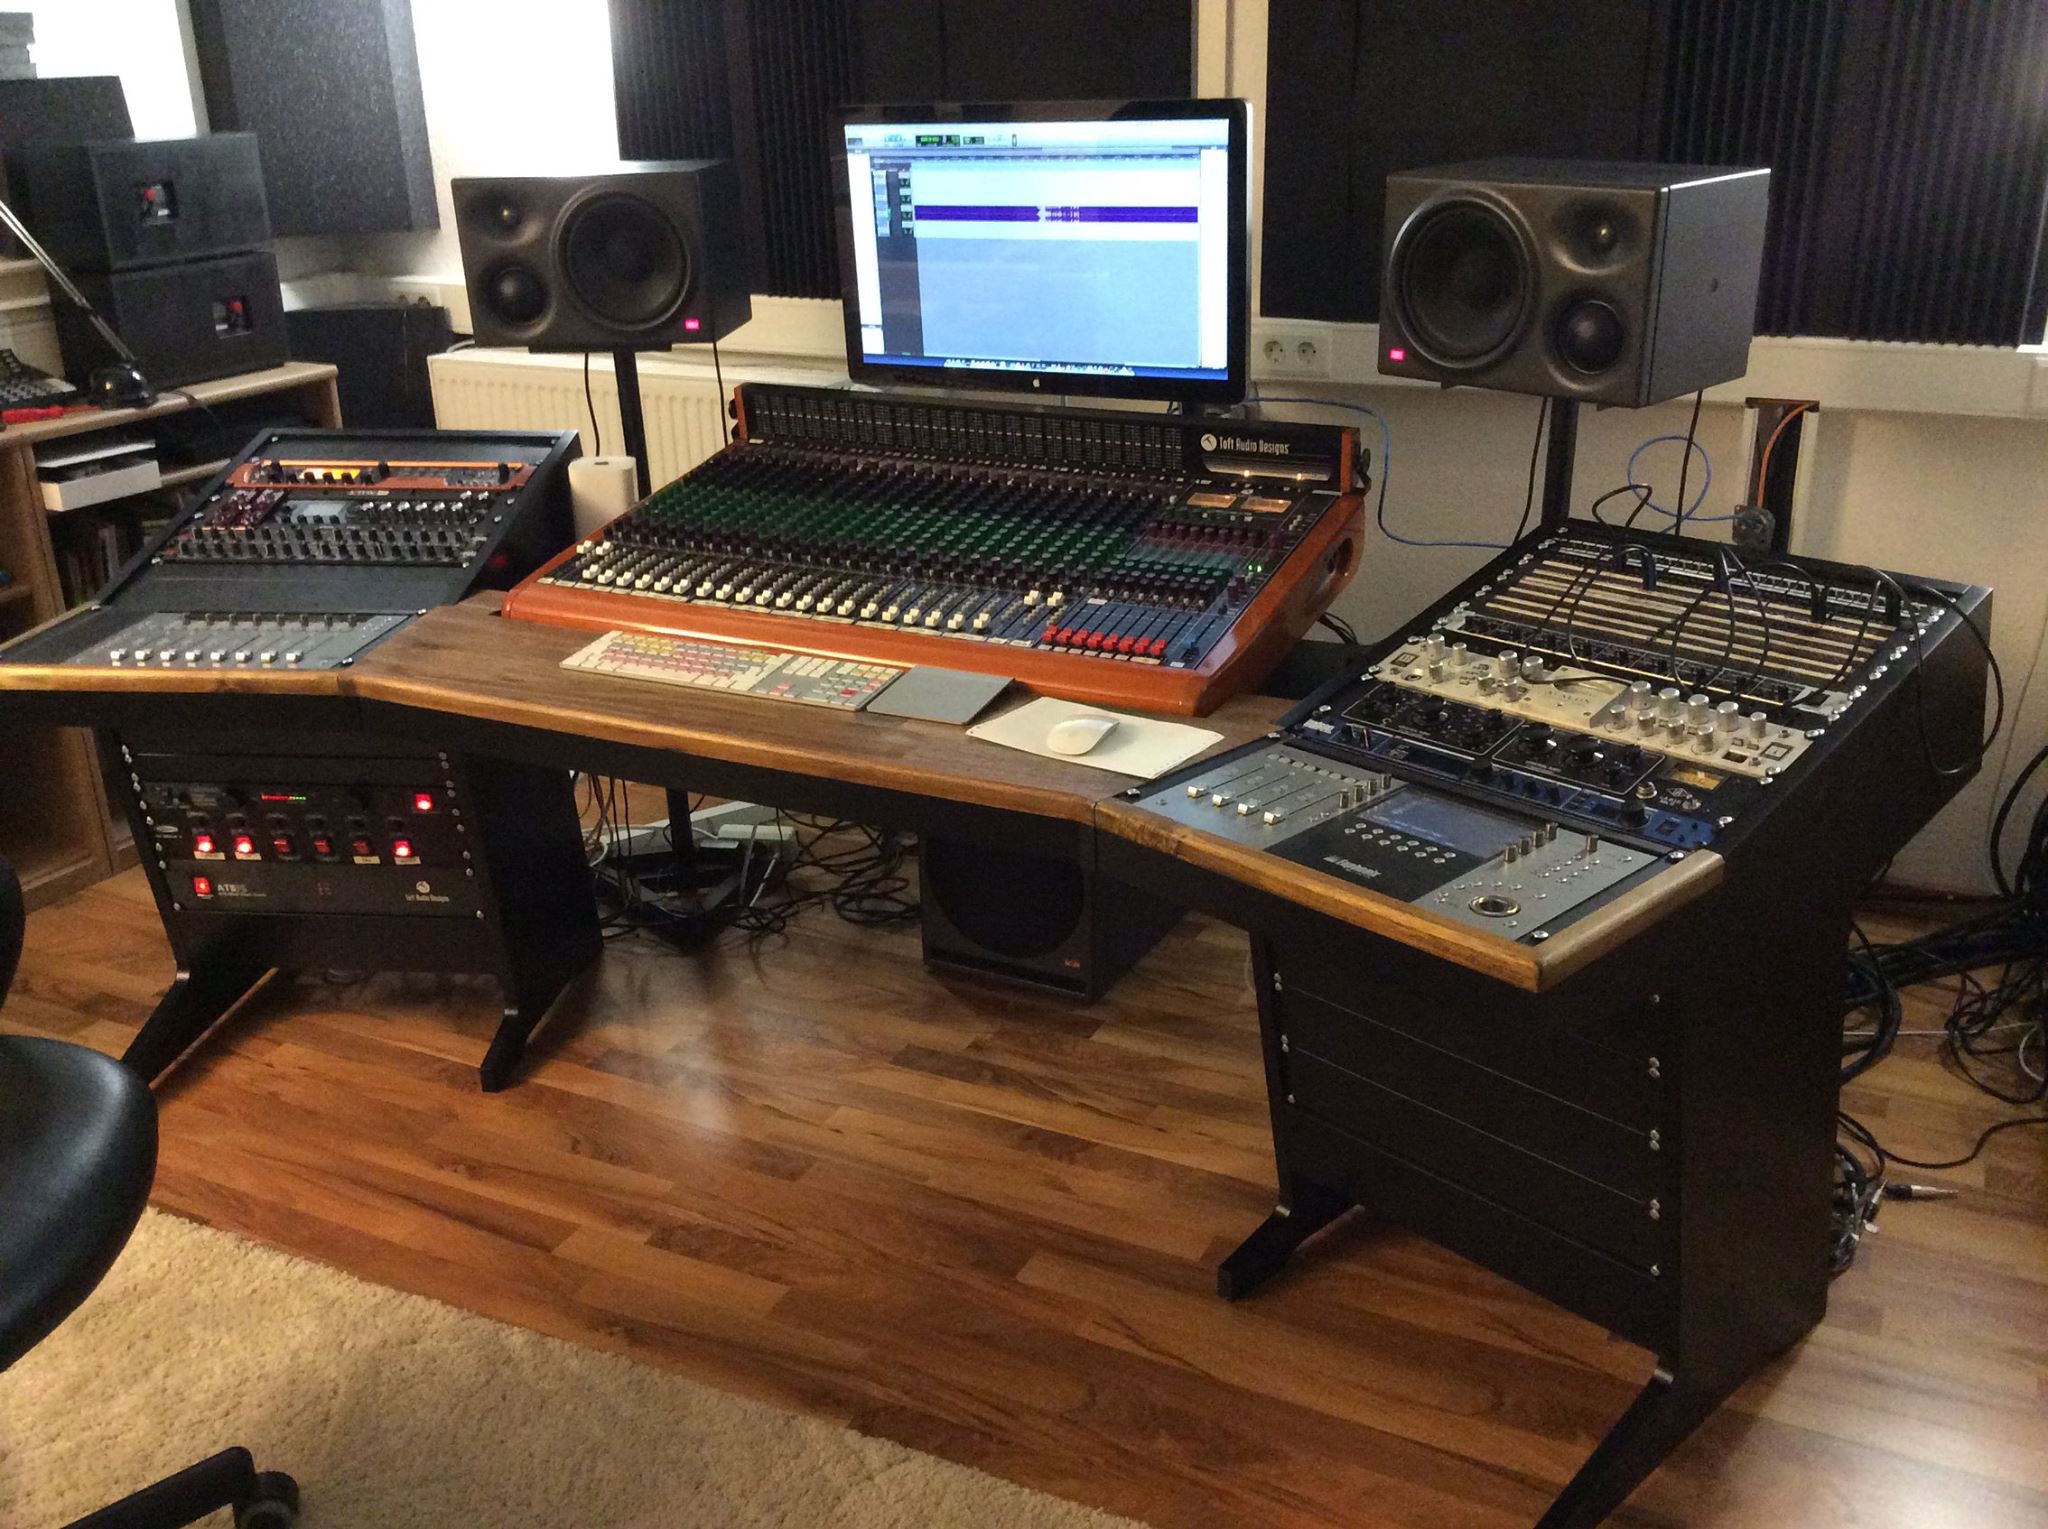
To start off, here is a less complicated example. This is a pretty awesome studio I?ve used several times for various audio only projects ? meaning I didn?t have to compose anything at a keyboard. But still, even audio only set ups (like this), struggle with knowing where to place gear when they try to present both analog and digital systems like this one. Everything is fighting for the same prime spot, which again, just isn?t possible.
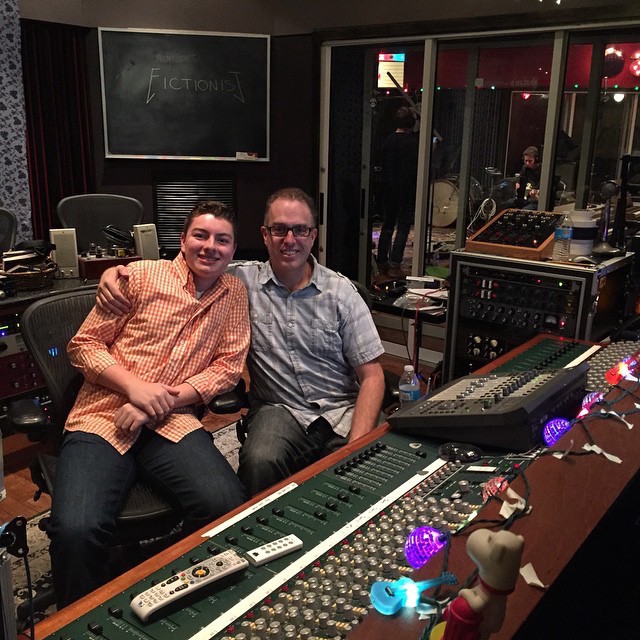 Me with my eldest son Mitchell during a session for my nephew guitarist (pictured in the back), and his band several years ago at June Audio in Provo, UT. They have an insanely awesome Pro Tools rig with a digital fader controller sitting on top of their beautiful analog console. It gets a little tricky when you have to start stacking faders on top of each other like this though? not the most ergonomically comfortable or convenient after a few hours? but it?s better than having the faders off to the side I guess and having to turn my head 90 degrees to the speakers to make changes.
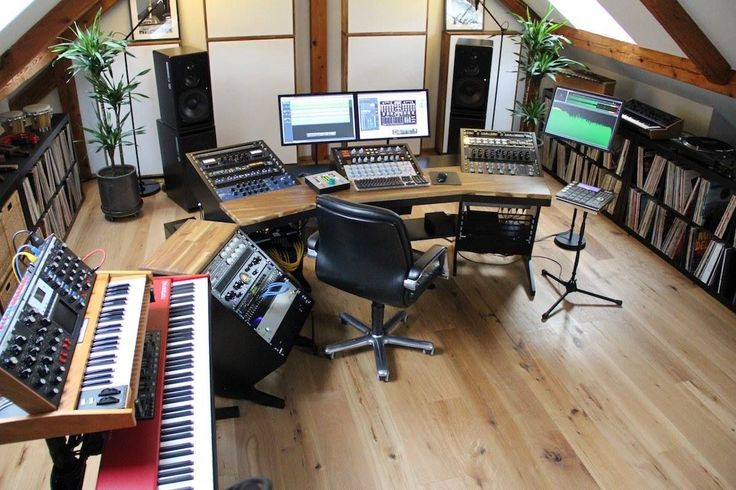
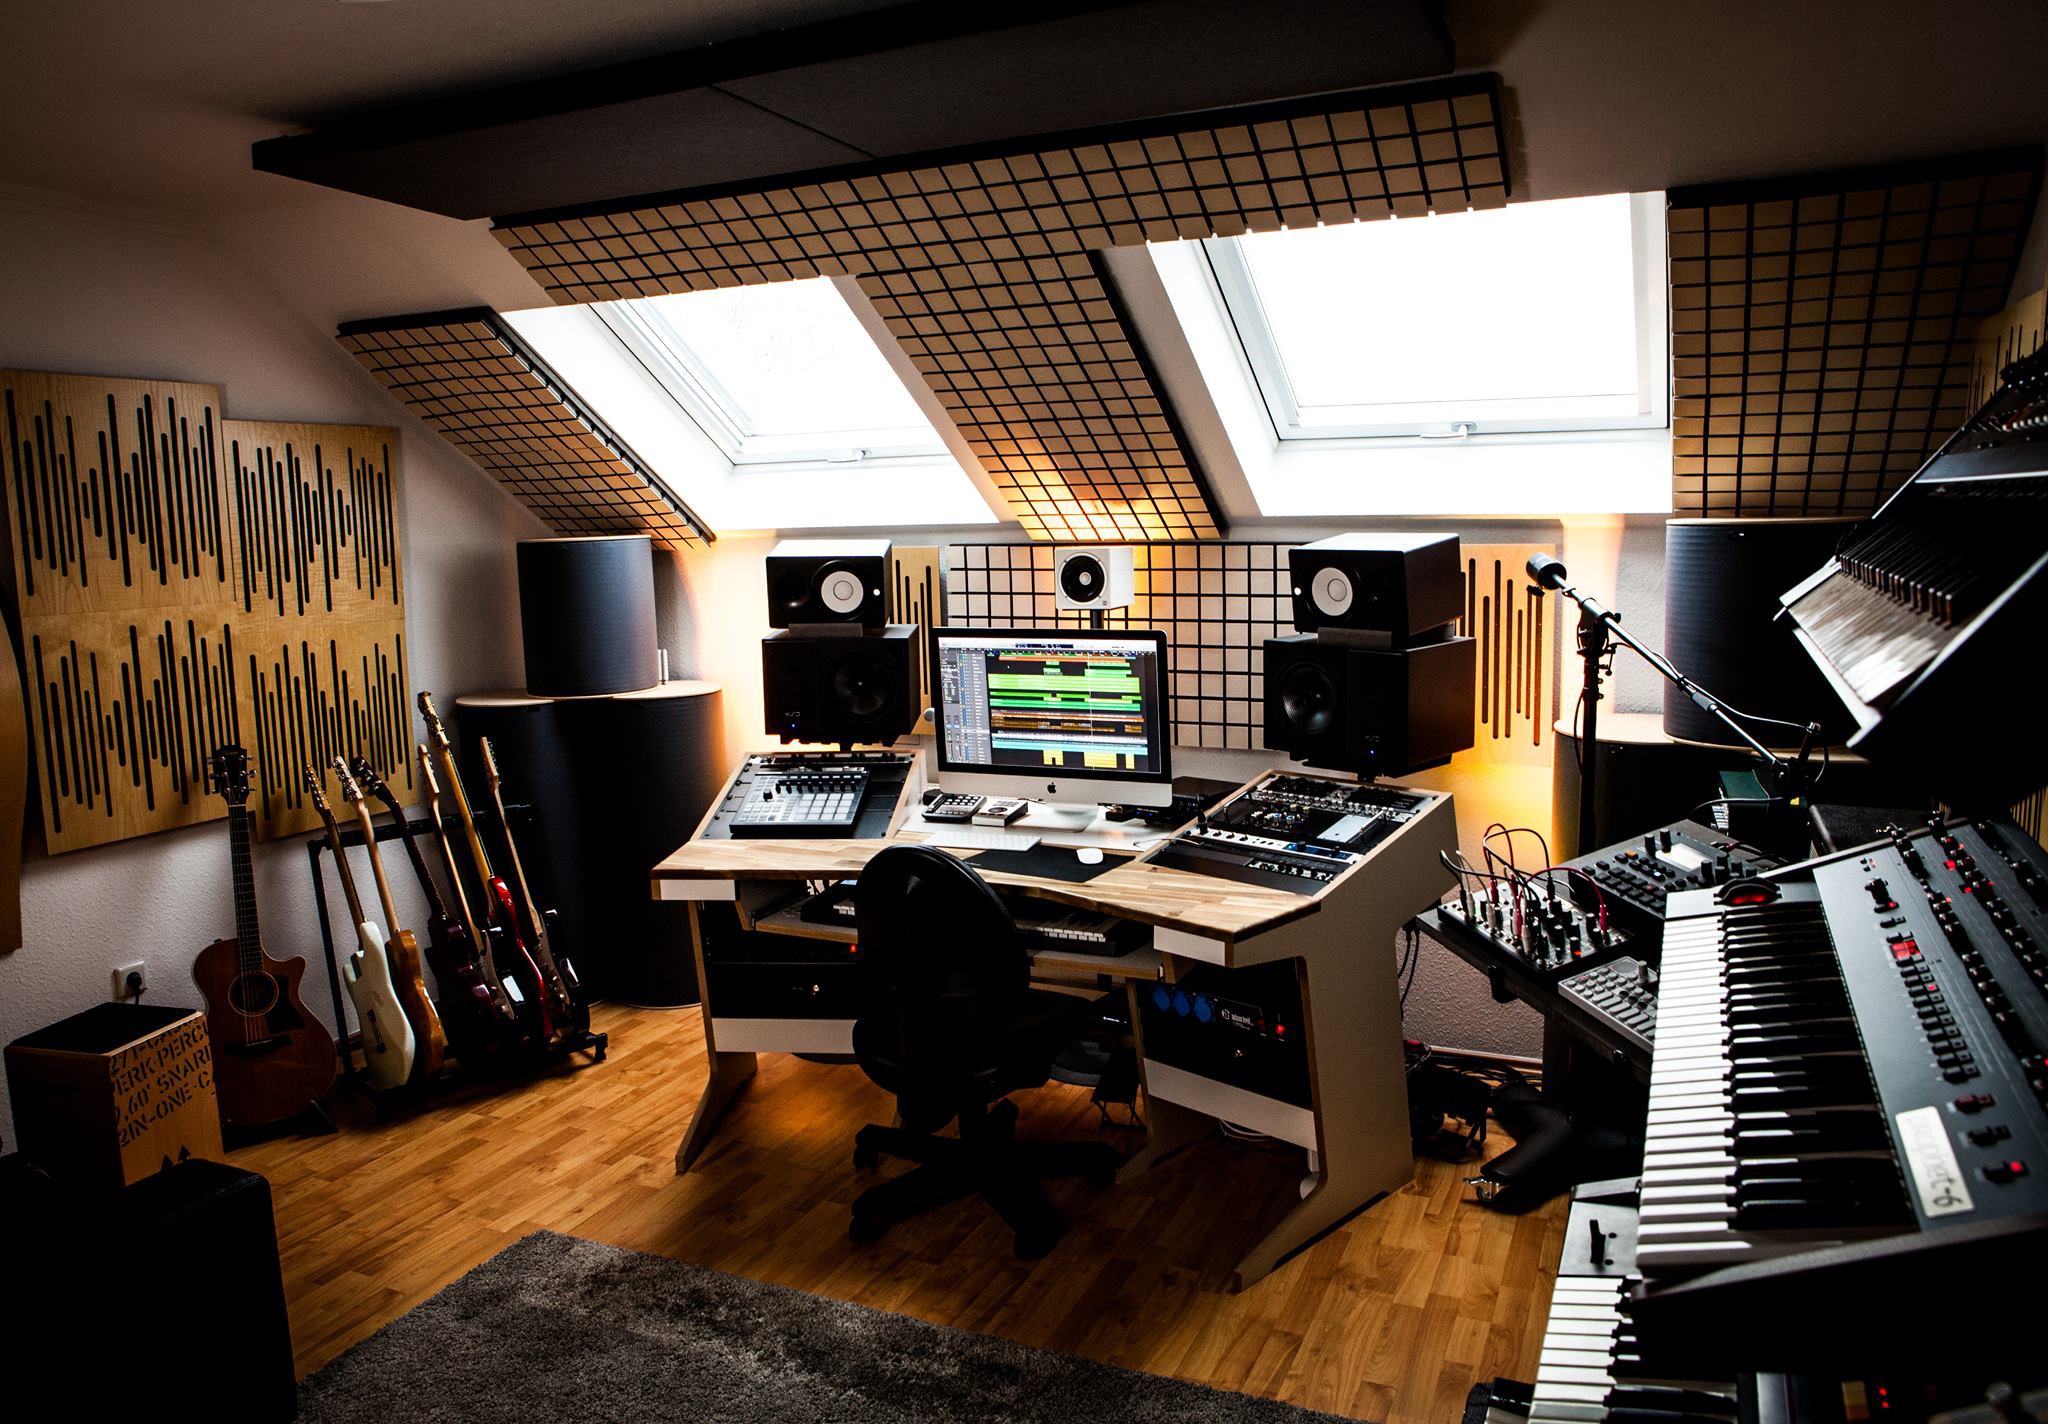
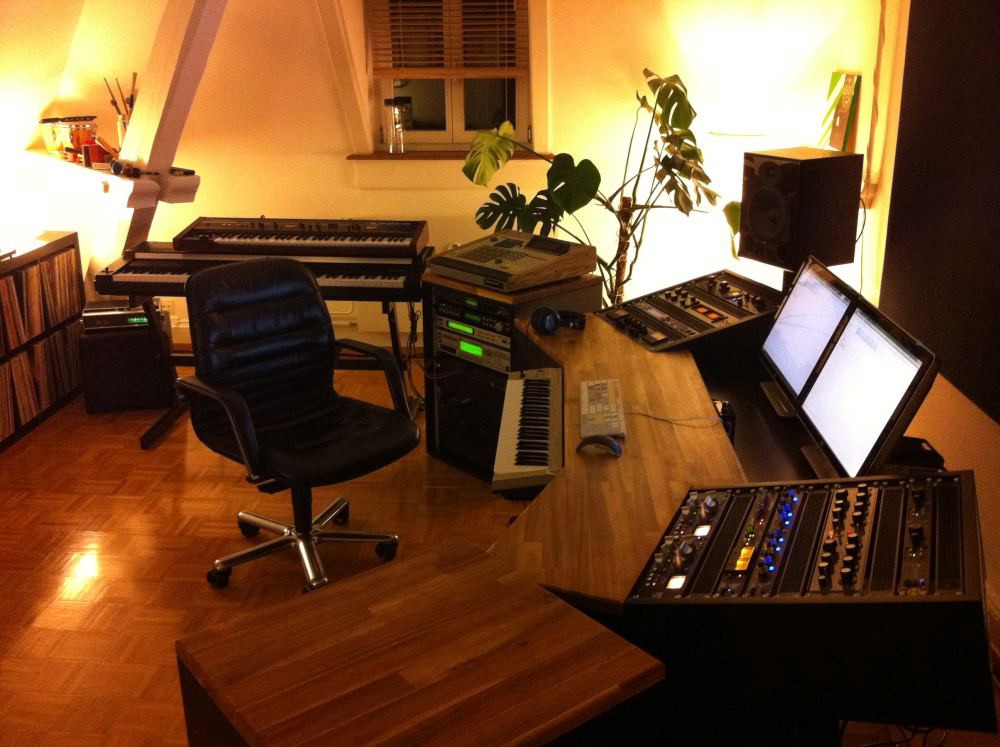
See if you can find an option below that truly offers equal front-and-center access for both composing and audio engineering.
Some of these get close, but ultimately give up and place the keyboards or mixer off to the side. I?ve never met anyone who really mixes well facing a side wall.
I know some of these only use the mixer for routing (not mixing), but even then, I still don?t see a room that really matches my criteria. If you know of a studio set up that does. PLEASE show me because I?ll want to emulate that.
Remember, I actually spend hours on the computer keyboard (just like the rest of you who are working on DAW based projects). I just can?t have it sitting on top of the desk out in front of me. It needs to be where I won?t end up with severe strain or carpal tunnel. I think you get my point.


So, let?s summarize;
- I?m needing a desk that allows me to remain in the reflection-free sweet-spot at all times ? during composing and any audio related task (recording, editing, mixing and mastering).
- I need the computer keyboard to be at the correct ergonomic height to allow for long hours of work.
- I don?t want to have to rearrange my equipment when I?m changing between composing and engineering.
My stop-gap desk
About 9 years ago, I needed to get a desk and because no one had anything close to what I needed. I repurposed an old TV armoire and made one. It isn?t perfect by any means, but it really has helped my workflow and ergonomics. Although I?d love a mixing control surface with more faders, I?m having to resort to keeping the FaderPort around just a little longer until I can solve this desk dilema.
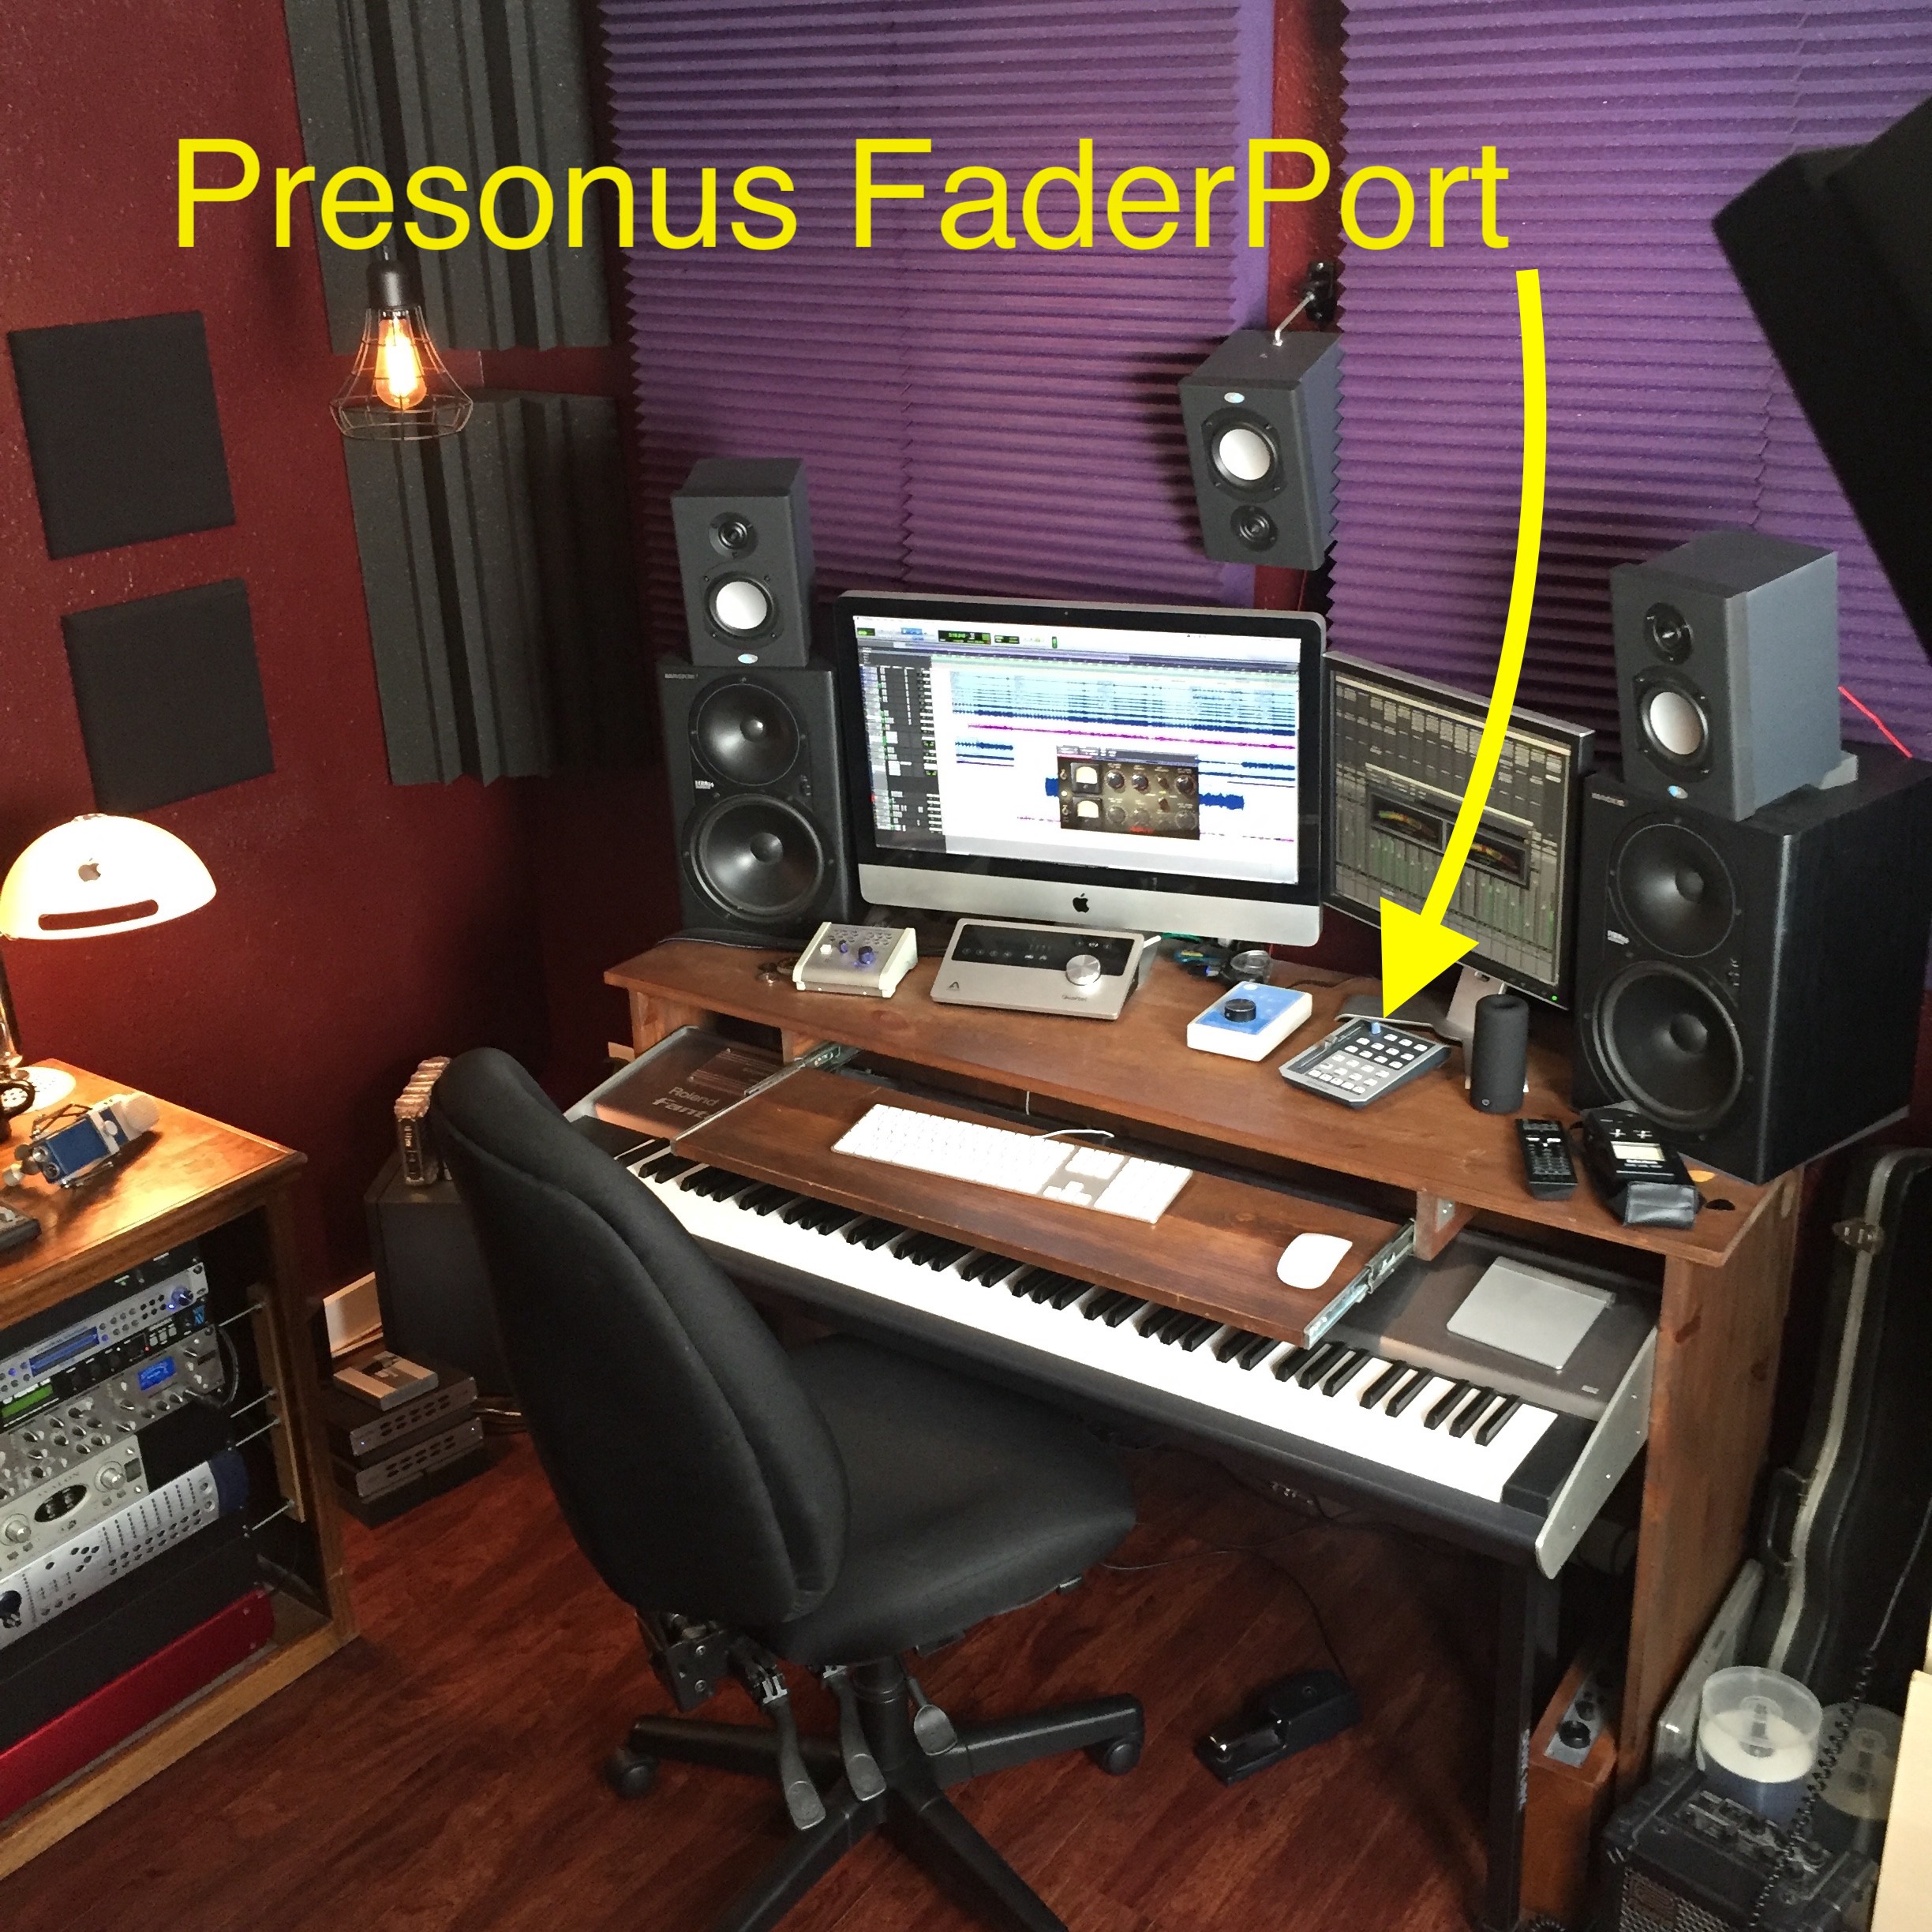
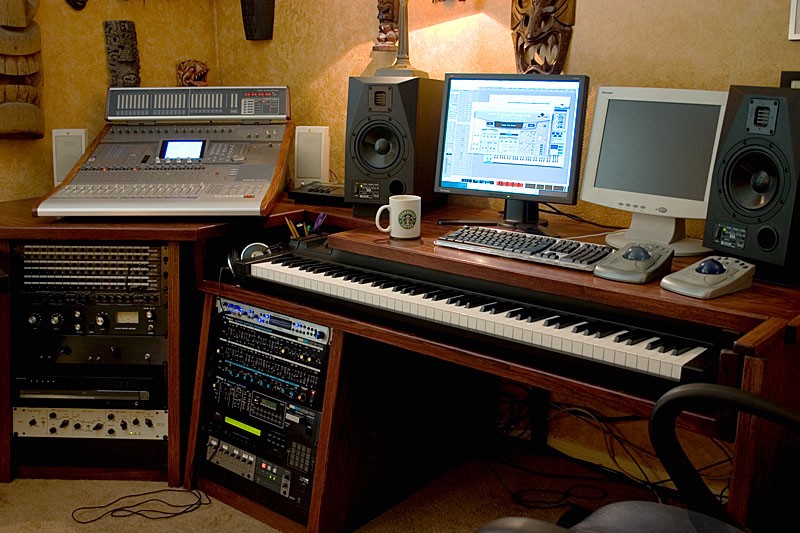
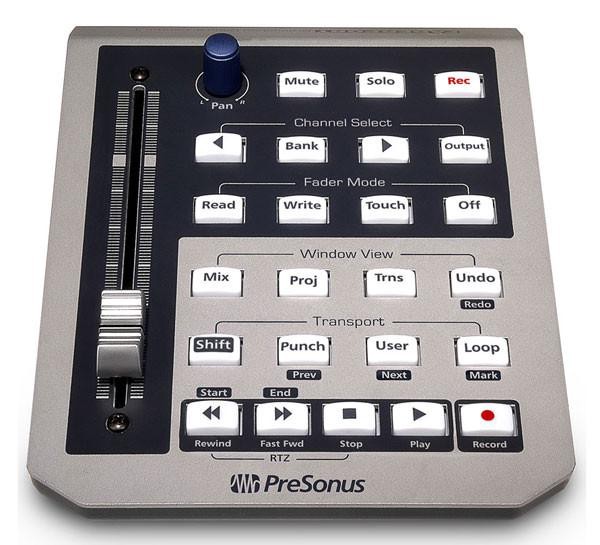 Here?s a picture of my old composing set up in my last home. I used it for album projects, music writing/MIDI sequencing, sound effect design and surround mixing in 5.1 for 3D/4D motion ride films. I still have the same desk today and It still works, but I still get sore using it when I?m editing or mixing for more than an hour or so. The Presonus FaderPort is the control surface I opted for a number of years ago after selling a handful of larger, more elaborate multi-channel mixing surfaces that were just too big and cumbersome to also allow for the piano keyboard to sit in the right place. I keep wanting to use something larger again, but until I can figure out a better desk set up that lets me use a larger control surface like the AVID S3 that will still allow me ergonomically correct access to my computer keyboard and piano keyboard without shoving the S3 clear up to my display monitors, I?m going to have to stick with what I?m using. The studio desk picturing the FaderPort above is a custom desk I made out of the wood I harvested from a TV armoire. It?s not the optimum set up, but it has worked fairly well for the past 8 years now. Total cost to make the desk was $15.
The plot thickens
With the ride film projects all at least 150 tracks, I?m really needing to find a control surface with more simultaneous channel control to help speed up the automation writing stage. The Fader Port is good for what it is, but it just wasn?t designed to mix film. I?m looking at something more like the AVID S3 ? and a desk that accommodates the larger multi fader controller as well as the computer keyboard, mouse and midi keyboard.
To build, or not to build?
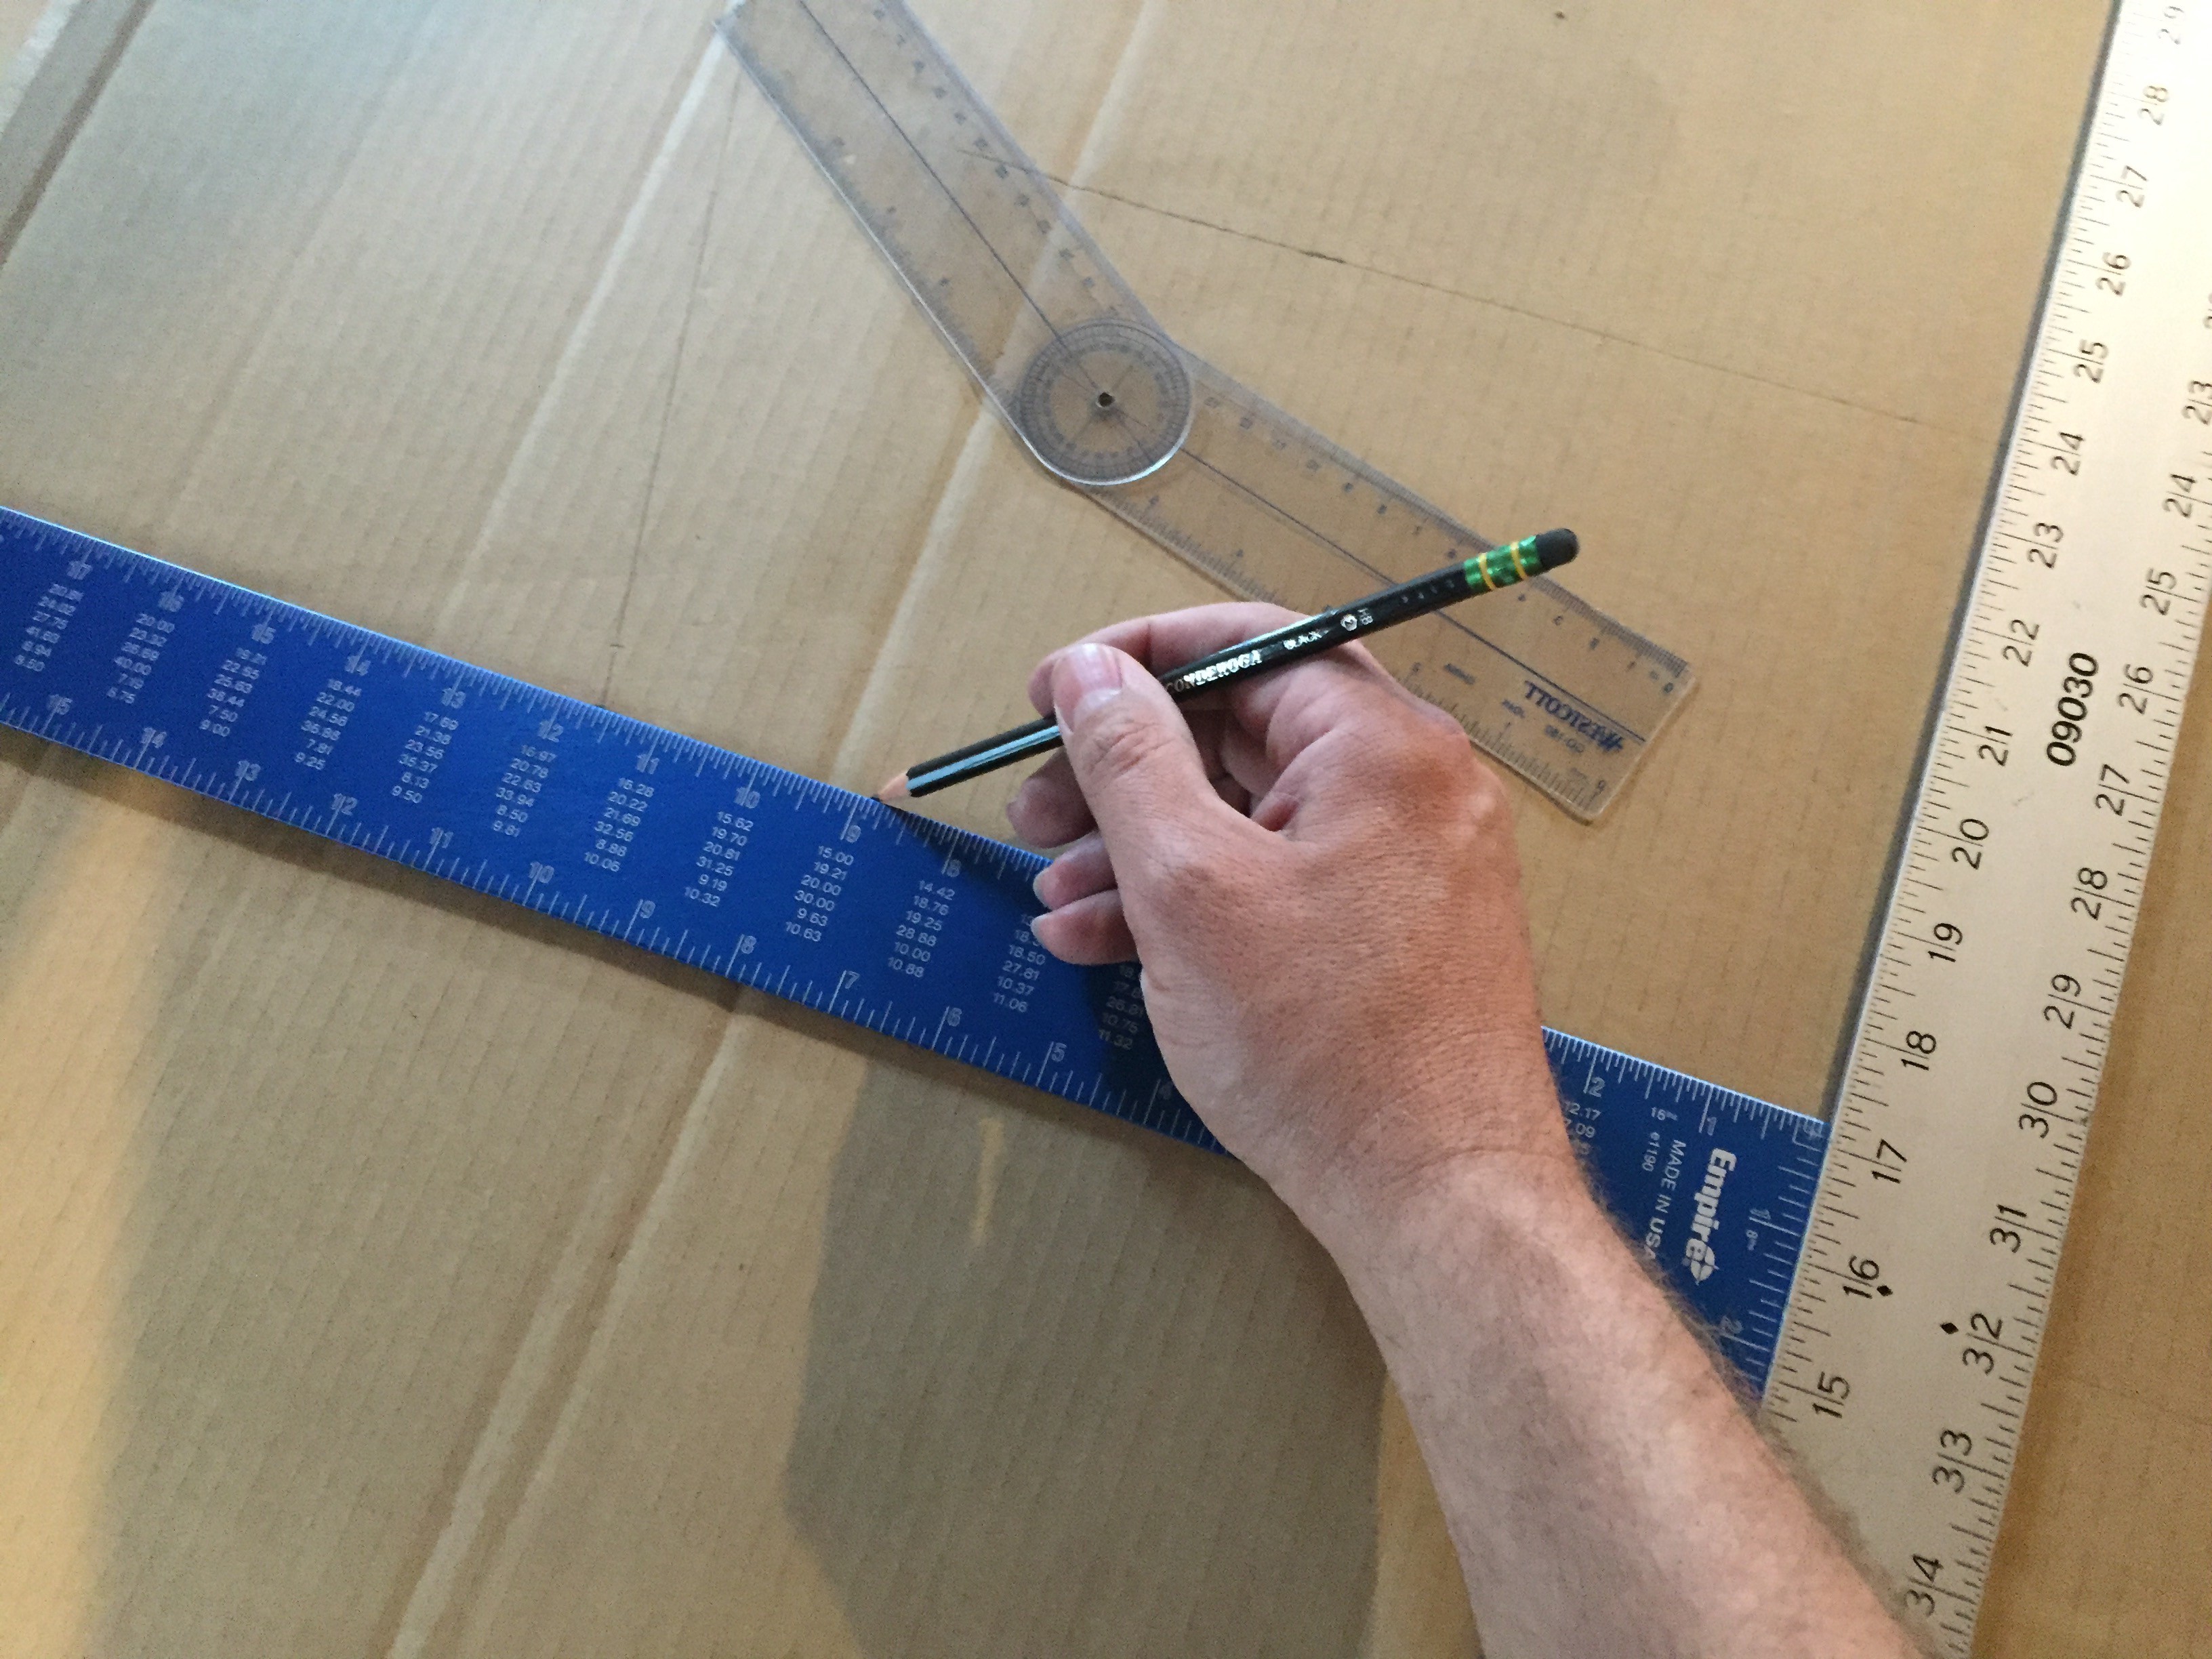
I?m sadly realizing that what I?m needing just isn?t out there, so reluctantly I?m realizing I will need to design and build my own. I grabbed some large sheets of cardboard from a friend who just bought a new dining set and I started to draw out some measurements. I?m not a desk designer, but I know what gear I?m needing to accommodate, so I used that as a starting point.
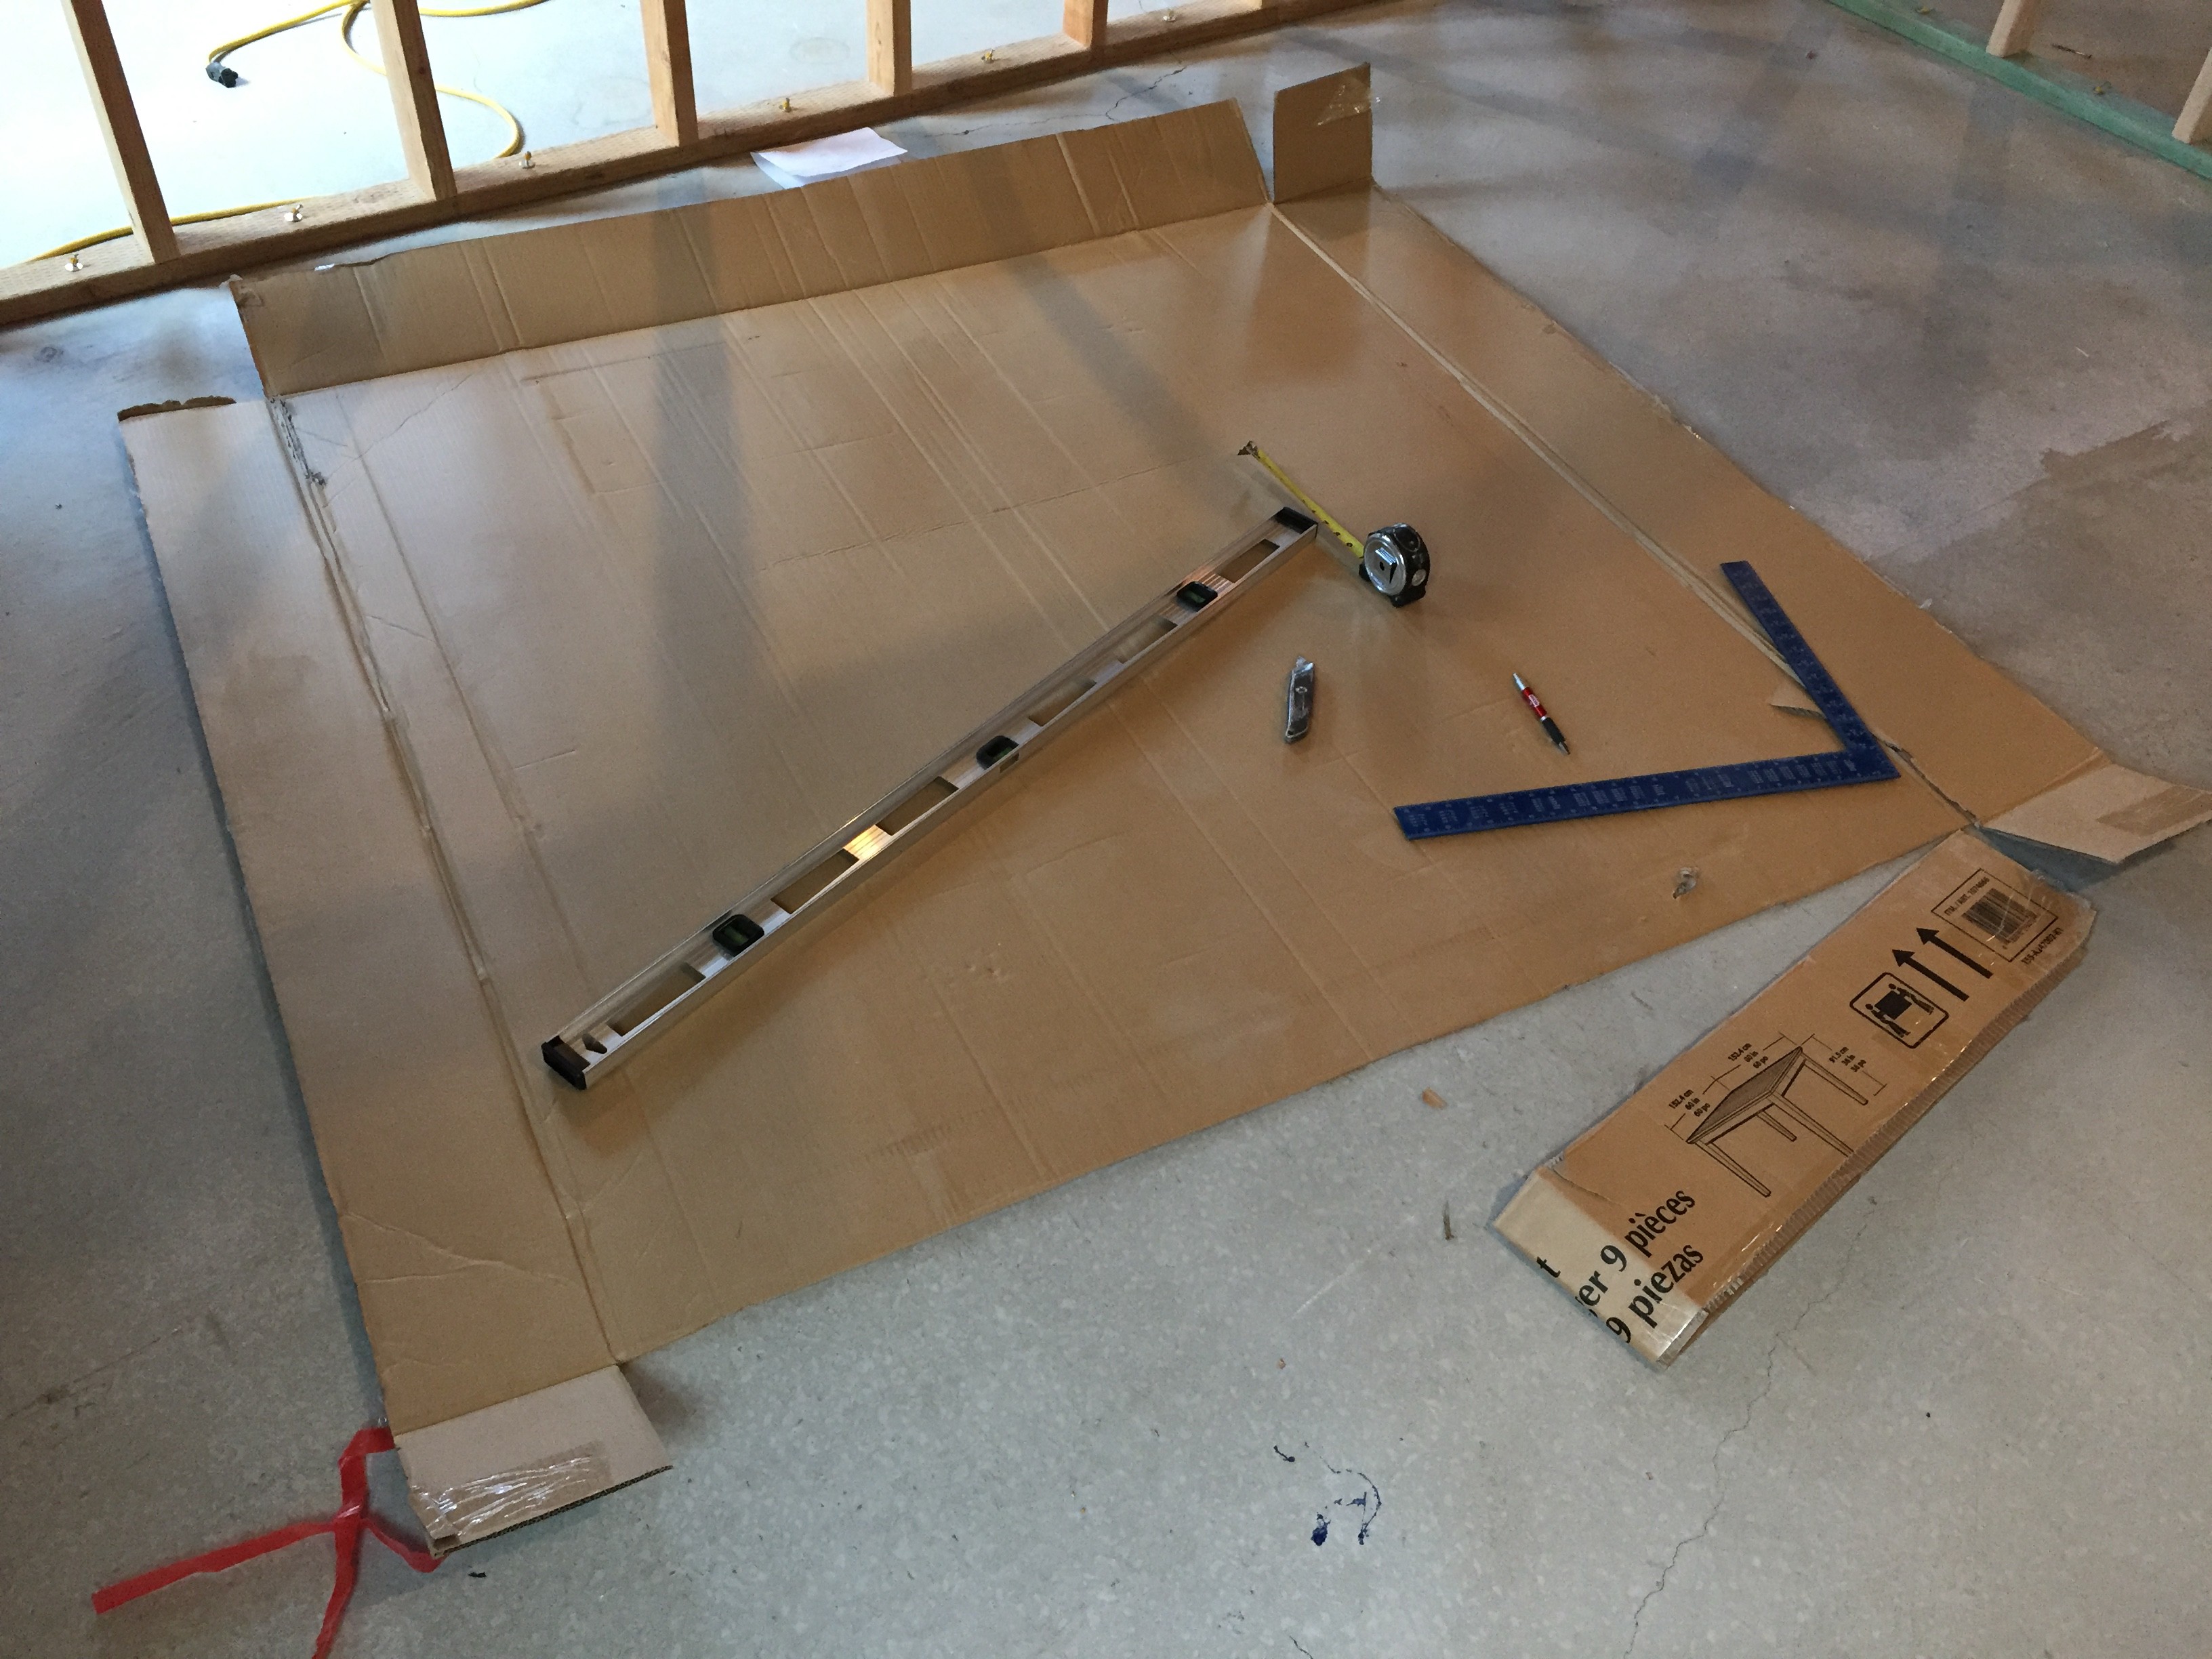
 I started by drawing out measurements for the gear and work space I know I need to have.
I figure, I can at least mock up the workspace area, and then I can start worrying about how it?s all going to fasten together (and not collapse), later

I discovered that two of these black bins with yellow tops stood perfectly at the height I needed once I added some 2×4 runners to support the cardboard.
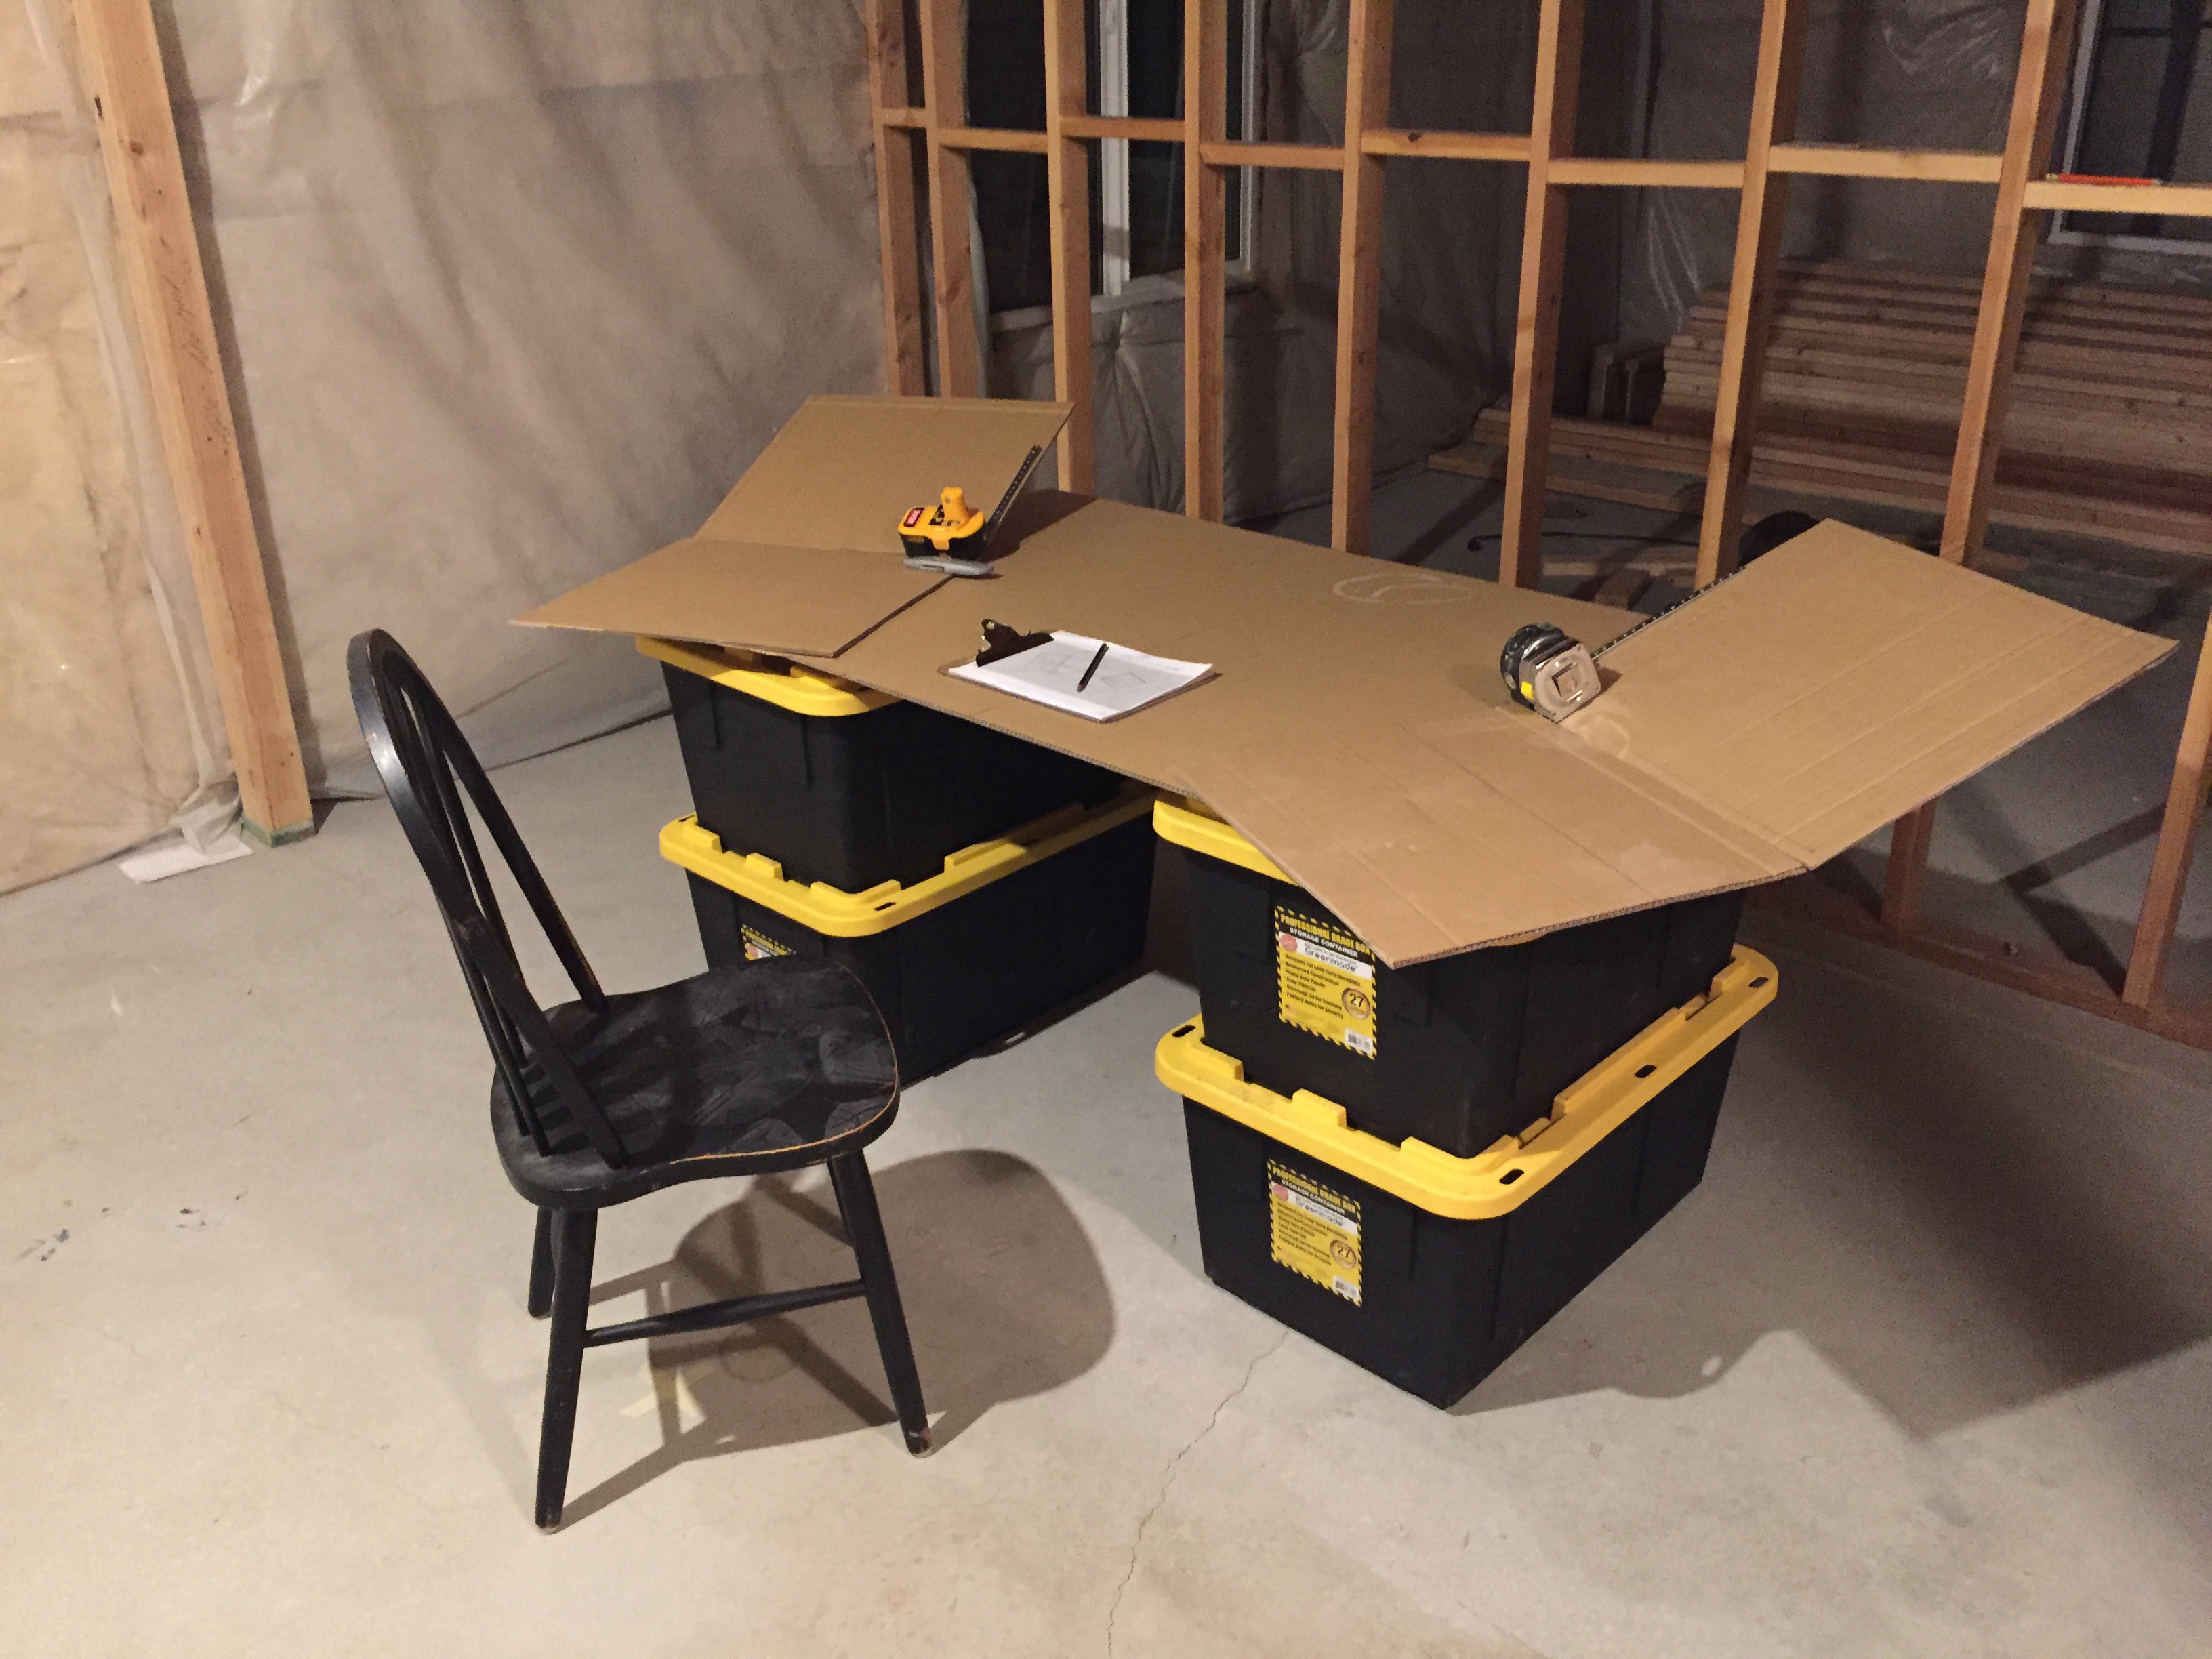
 I measured the gear racks I?m using now and thought it would be really cool if I could somehow make the racks adjustable ? all the way from flat and slightly recessed so I could place a cover over the gear if I needed that space to be a flat table surface for a bit. Or, adjust the vertical angle of the gear to whatever makes the most sense. I?d use some type of hinge at the bottom of the rack. After thinking about how to make this work, I think I?ve got some pretty simple ways to do it.
Cardboard
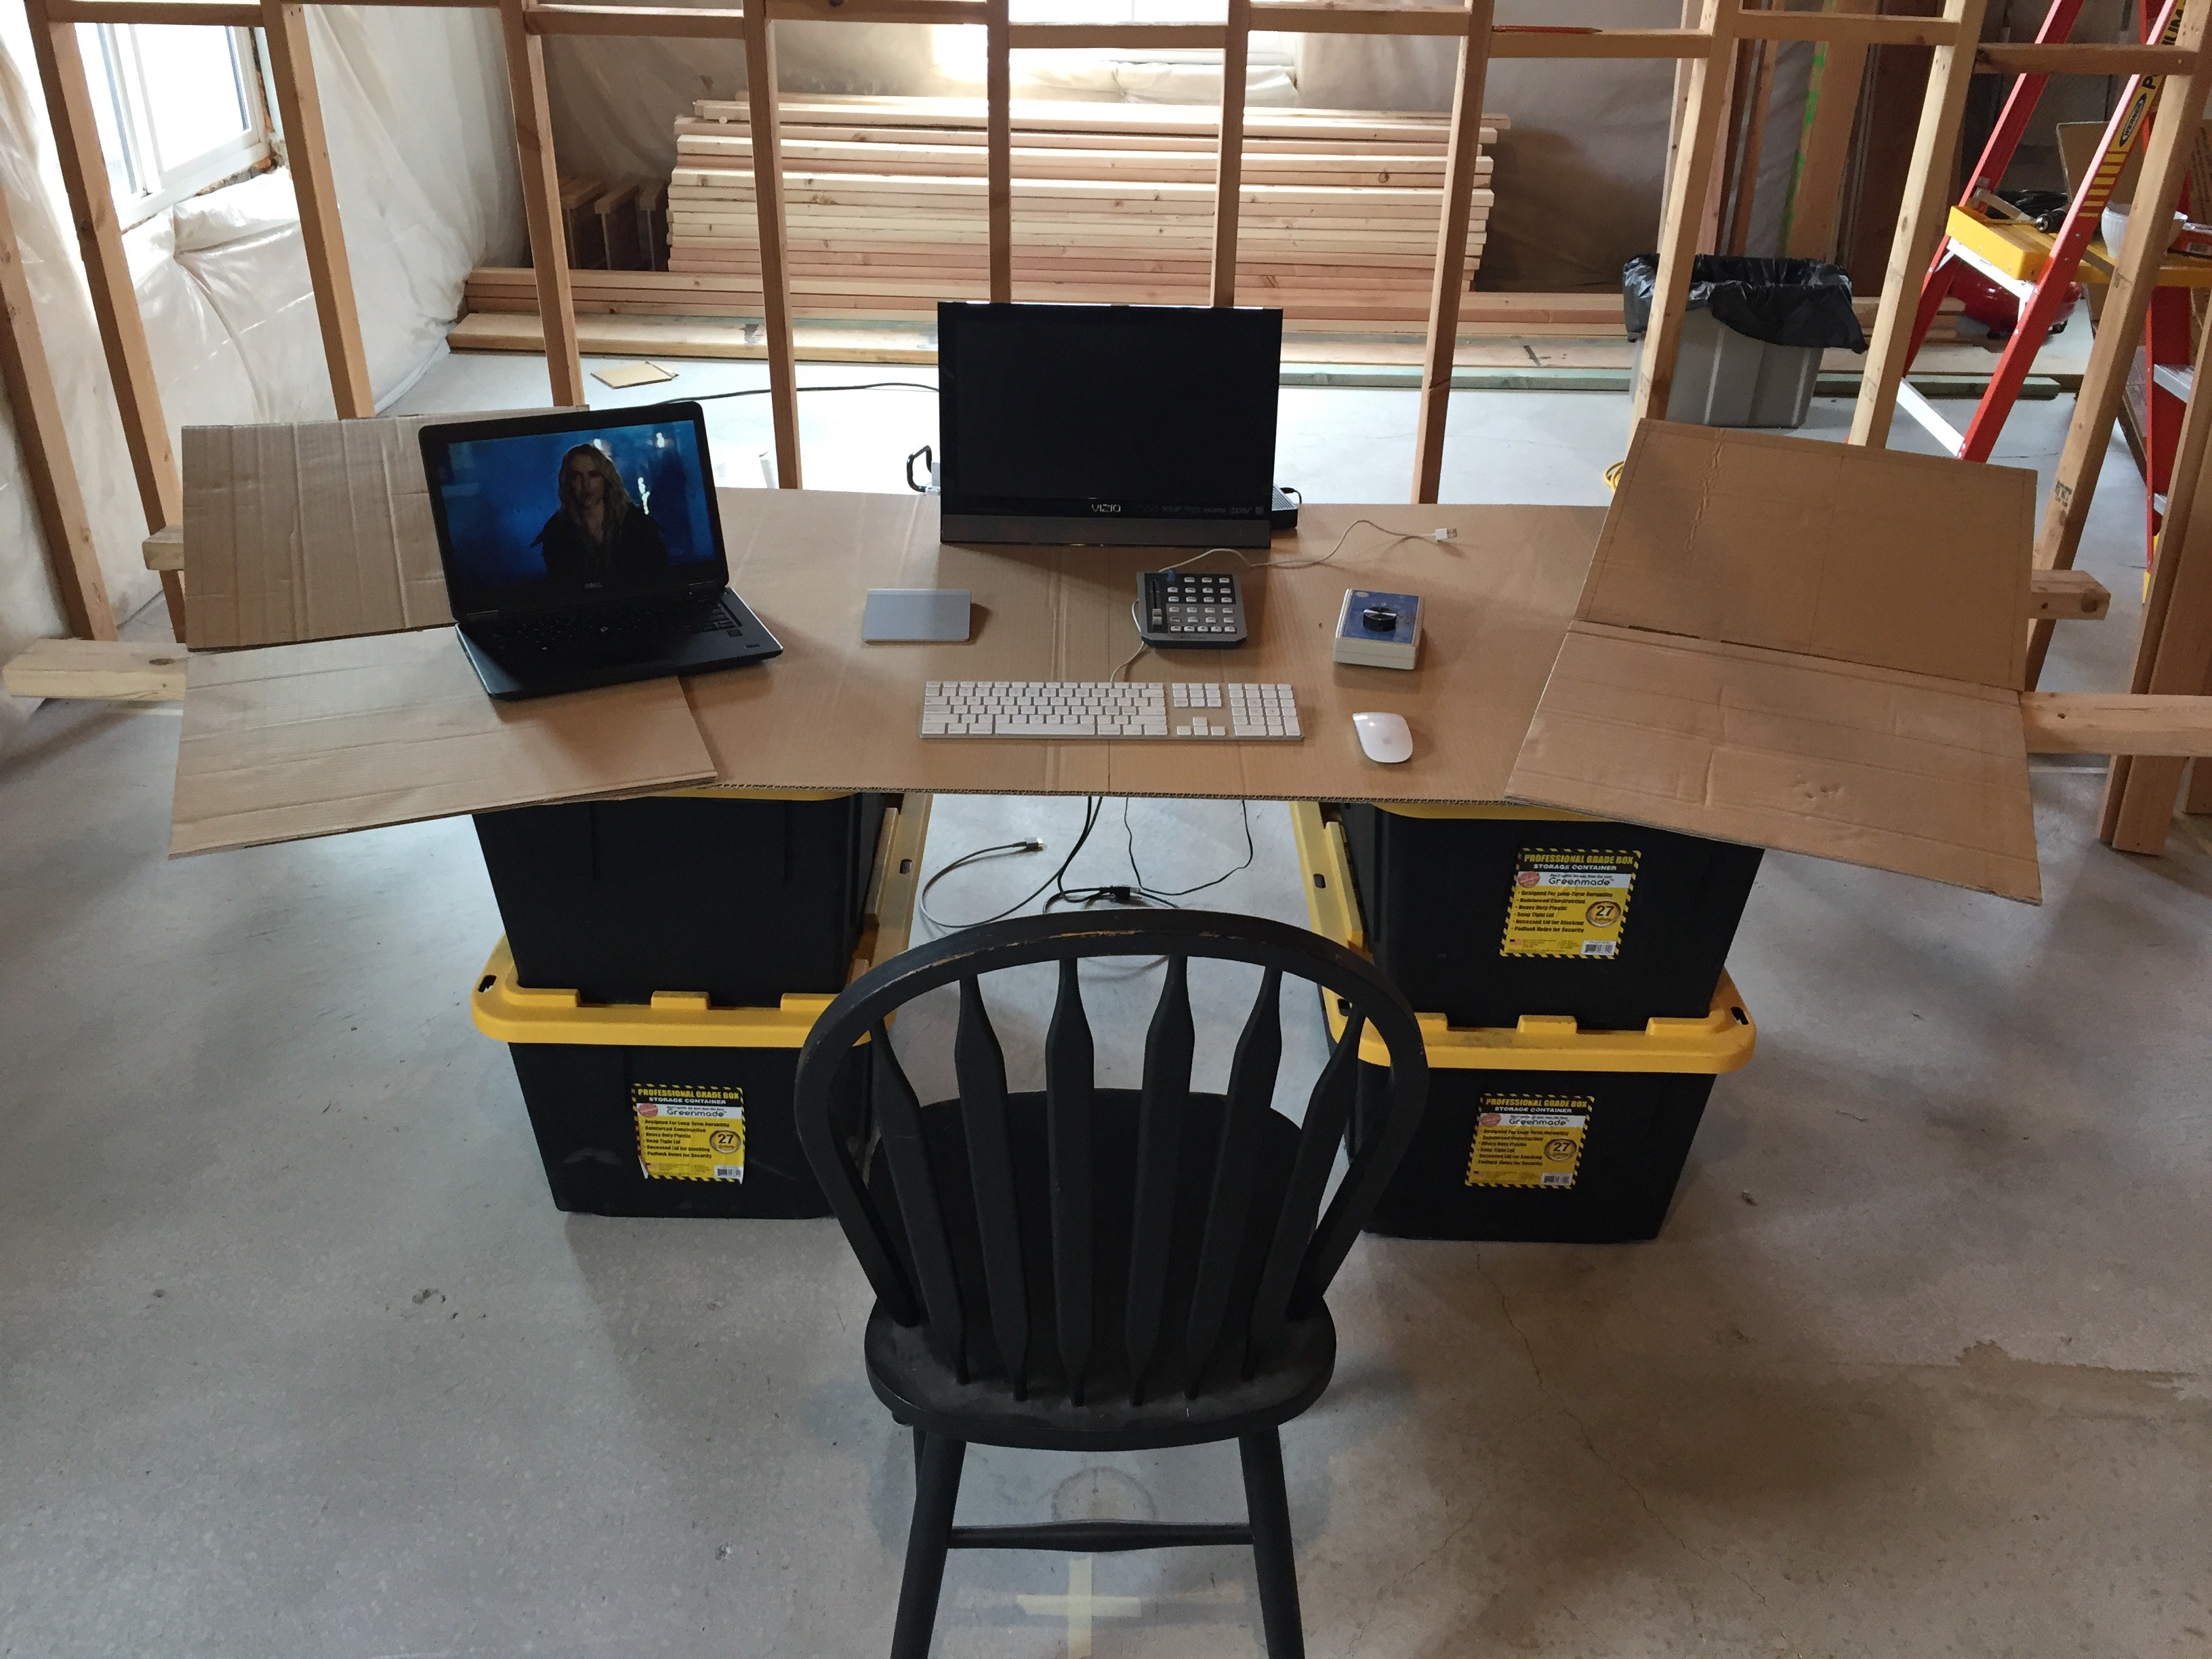
It know it?s only cardboard right now, but it?s starting to take shape. I can?t believe how great the desktop height feels so far. Alsol, if I can find a way to keep the computer keyboard right on top of the desk like this (and not need a slide tray for the keyboard), I will be elated!
I really like the idea of having access to some rack equipment on the sides (wings), but I?ve never liked working with desks that commit me to rack space on the sides in locations that I don?t like, or that give me rack space that I don?t need. Mostly desks with rack space on the sides are just using space resulting from making raised speaker stands in the desk.
But, I do like the idea of having certain gear reachable without having to turn around behind me or off to the sides to make equipment adjustments.
I want to have the option though of changing the angle of the side racks from full vertical to completely flat (and covered). I think I?ve figured out a simple way that when the rack is adjusted/lowered so it?s laying completely flat I can cover it with a slab of desktop. The face of the gear to be recessed enough to accommodate a wood cover to be placed over it which would hide the racked equipment and turn that wing into more flat desktop slab. I?ll explain this in a little more detail with pictures. See below.
I think I may have just found what I?m needing!! (sort of)
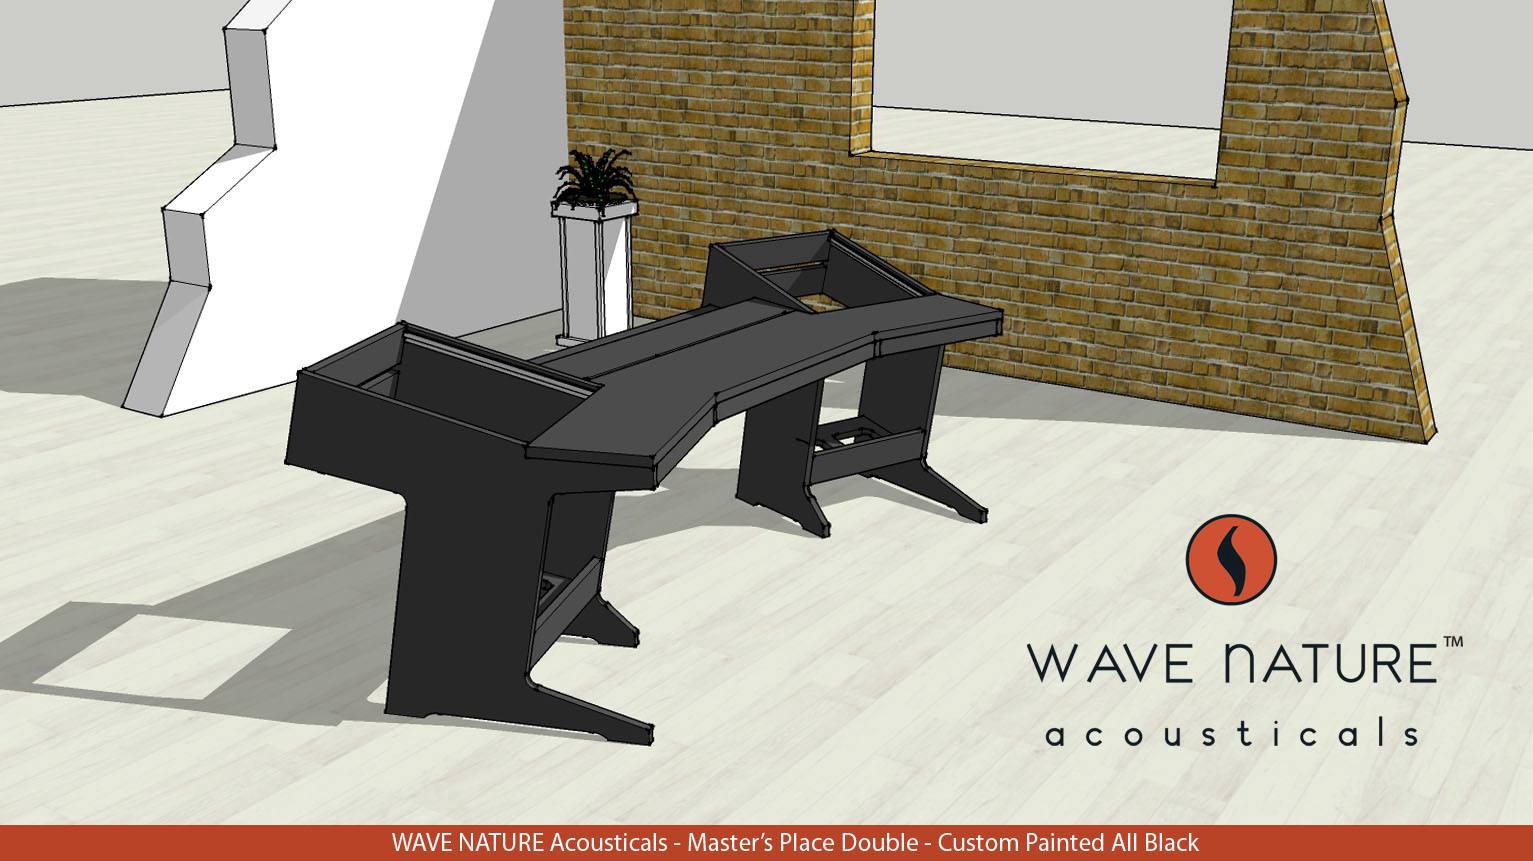
So, after looking for DAYS at every obscure studio desk image I could get my eyes on, I finally stumbled onto a random image of a desk that took at least another 15 minutes of searching on Google images to find out who actually made it. Maybe I?m just slow to the party and everyone else already knows about them, but I discovered a company in Germany called Wave Nature.
Unless you prefer German, there is a drop down at the top left of the home page where you can choose between a few languages?including English.
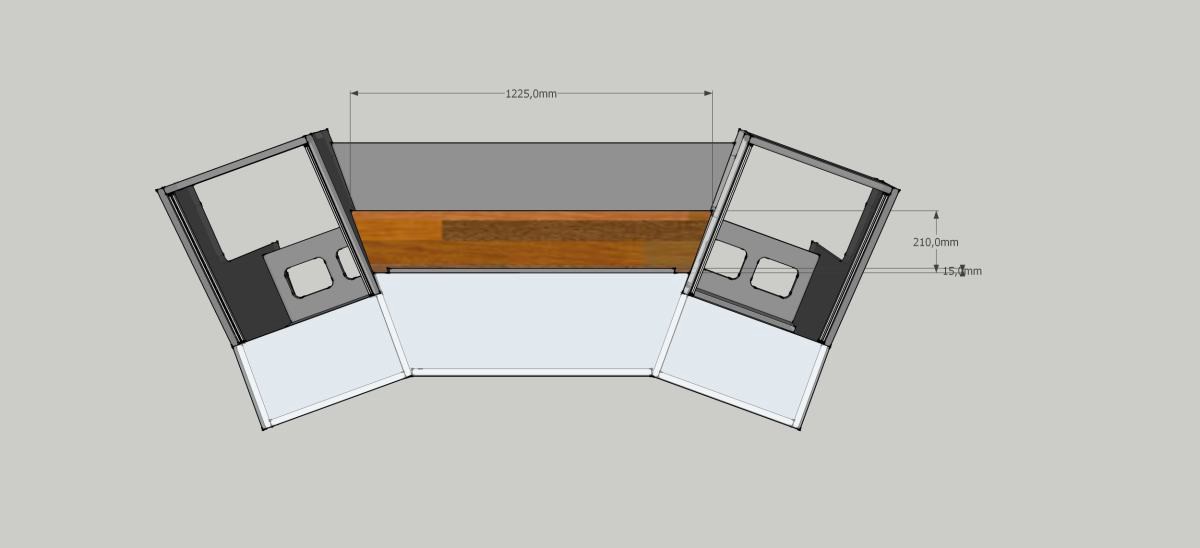
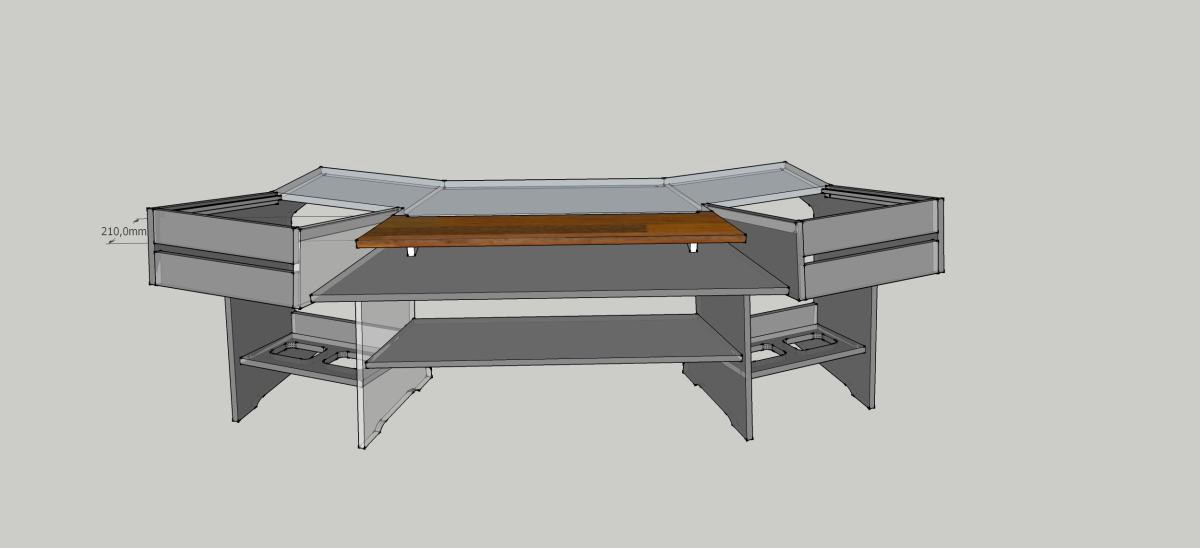
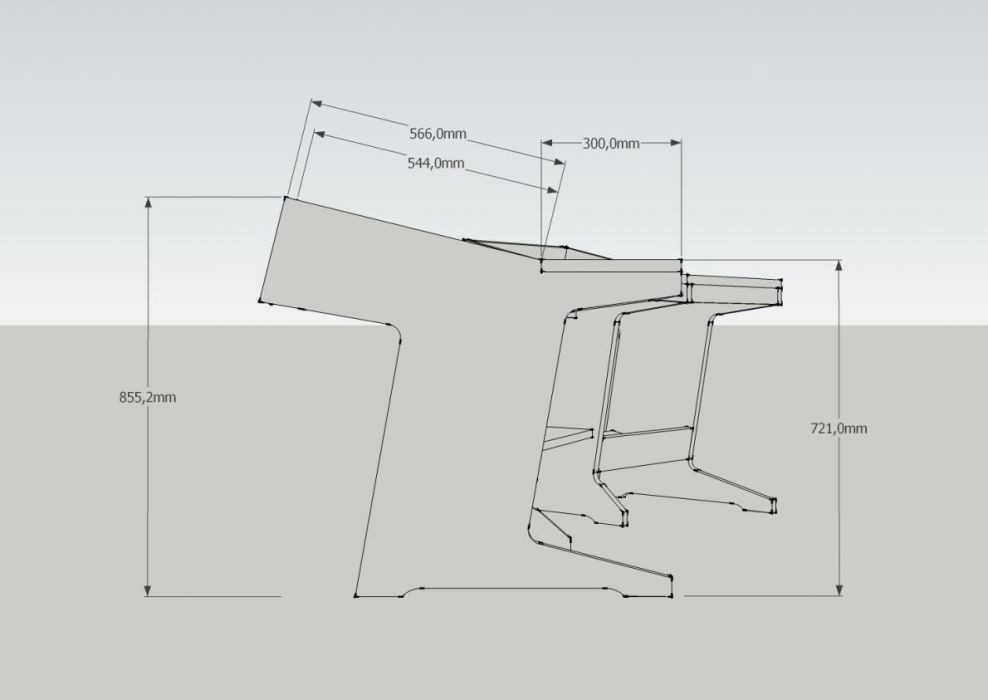
The more I clicked around the site, the more awesome images ? and very specific and detailed info I found. These guys actually used sketchup to draw out the desk and the various options they make available, and then posted it on their site, basically providing schematics and measurements of the various desks. I love that some of the images show what is happening below the top. Actually revealing their design and build technique.
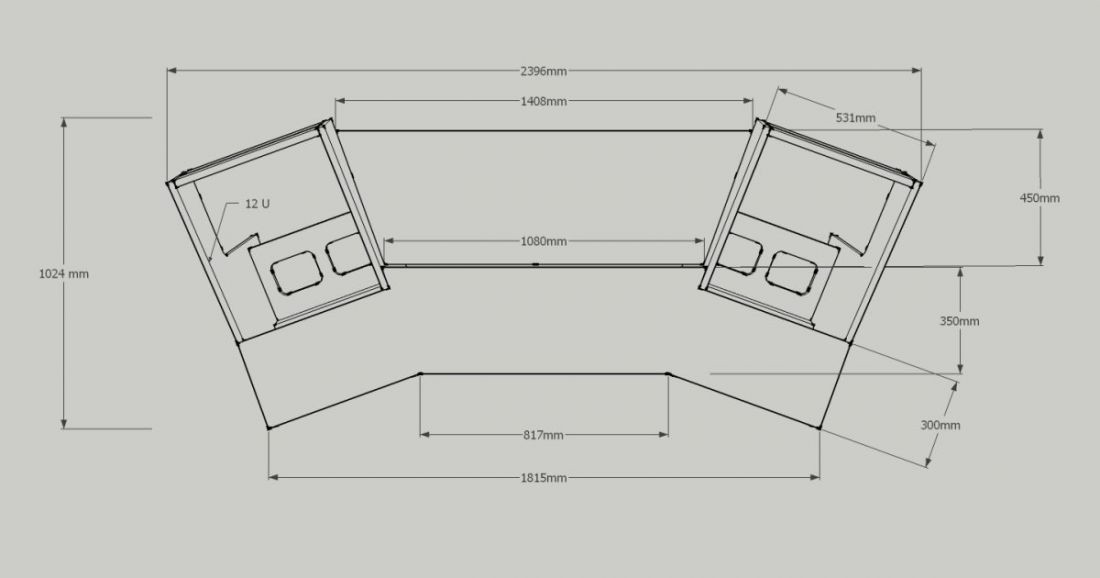
This was VERY helpful to use their measurements as a basis to see what might work for me. The more I looked though, the more I realized that having one of these custom built to my specific needs, and then delivering it to me, was going to be more cost and effort than just building one myself.
Plus, as much as I really like their various layouts and configurations, I?m still not seeing one that I would want for my room that would really offer anything more than what I?m currently using.
BUT, the prospect of using one of their core designs as a starting point and then modifying it with the various features and dimensions I?m needing, is suddenly becoming VERY appealing.
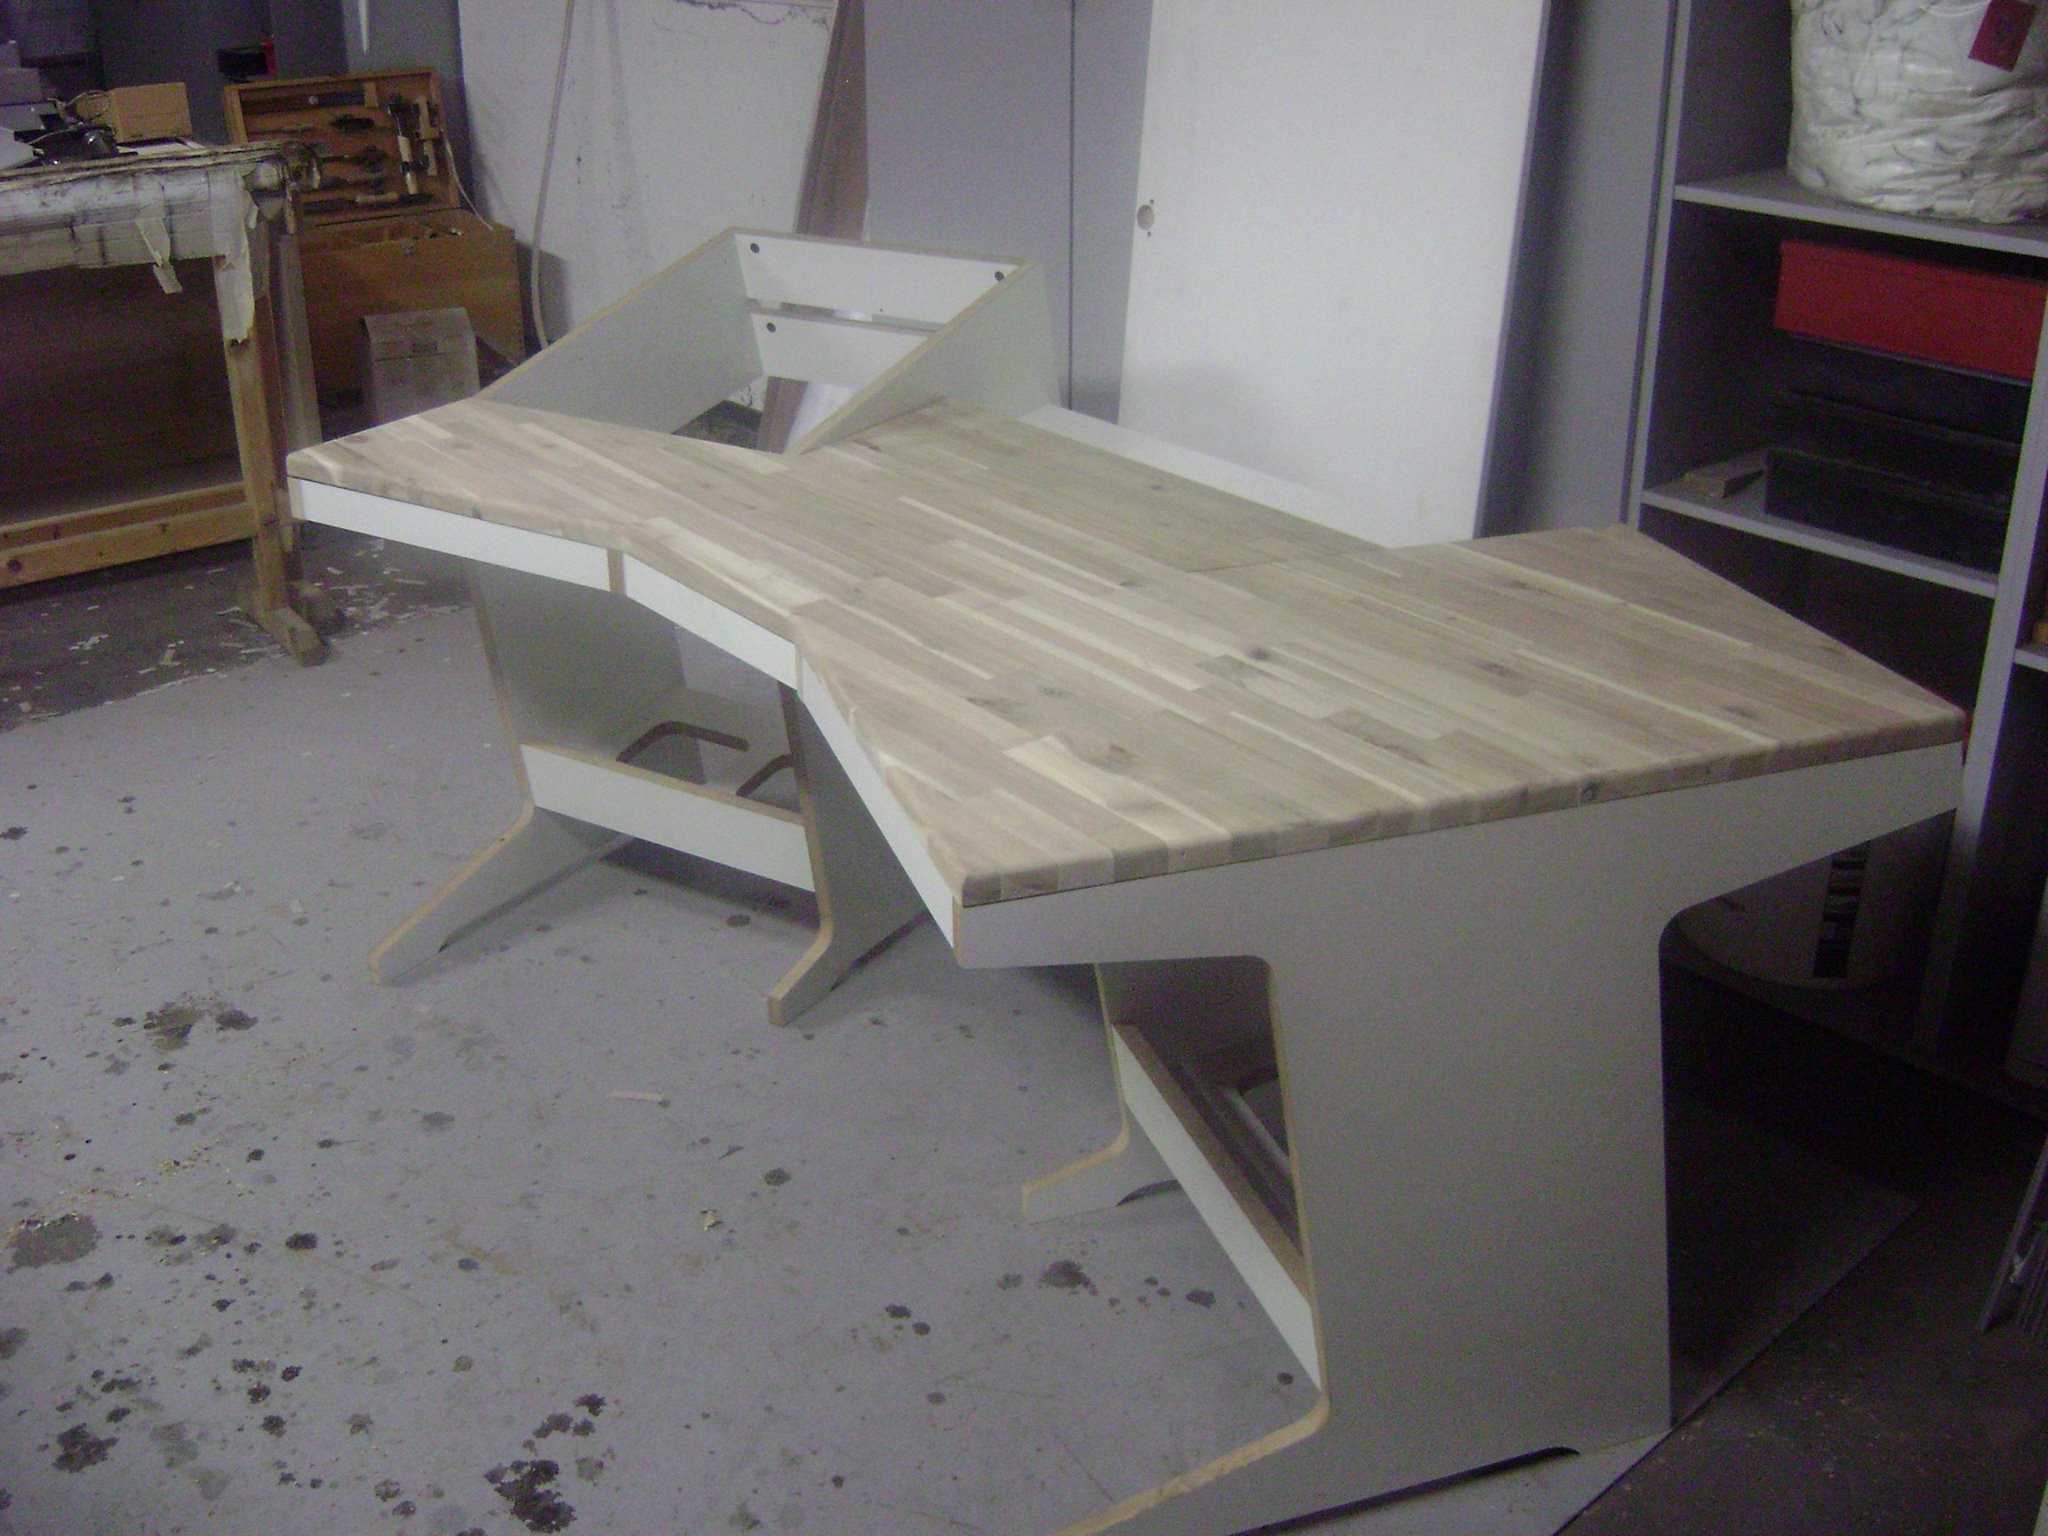
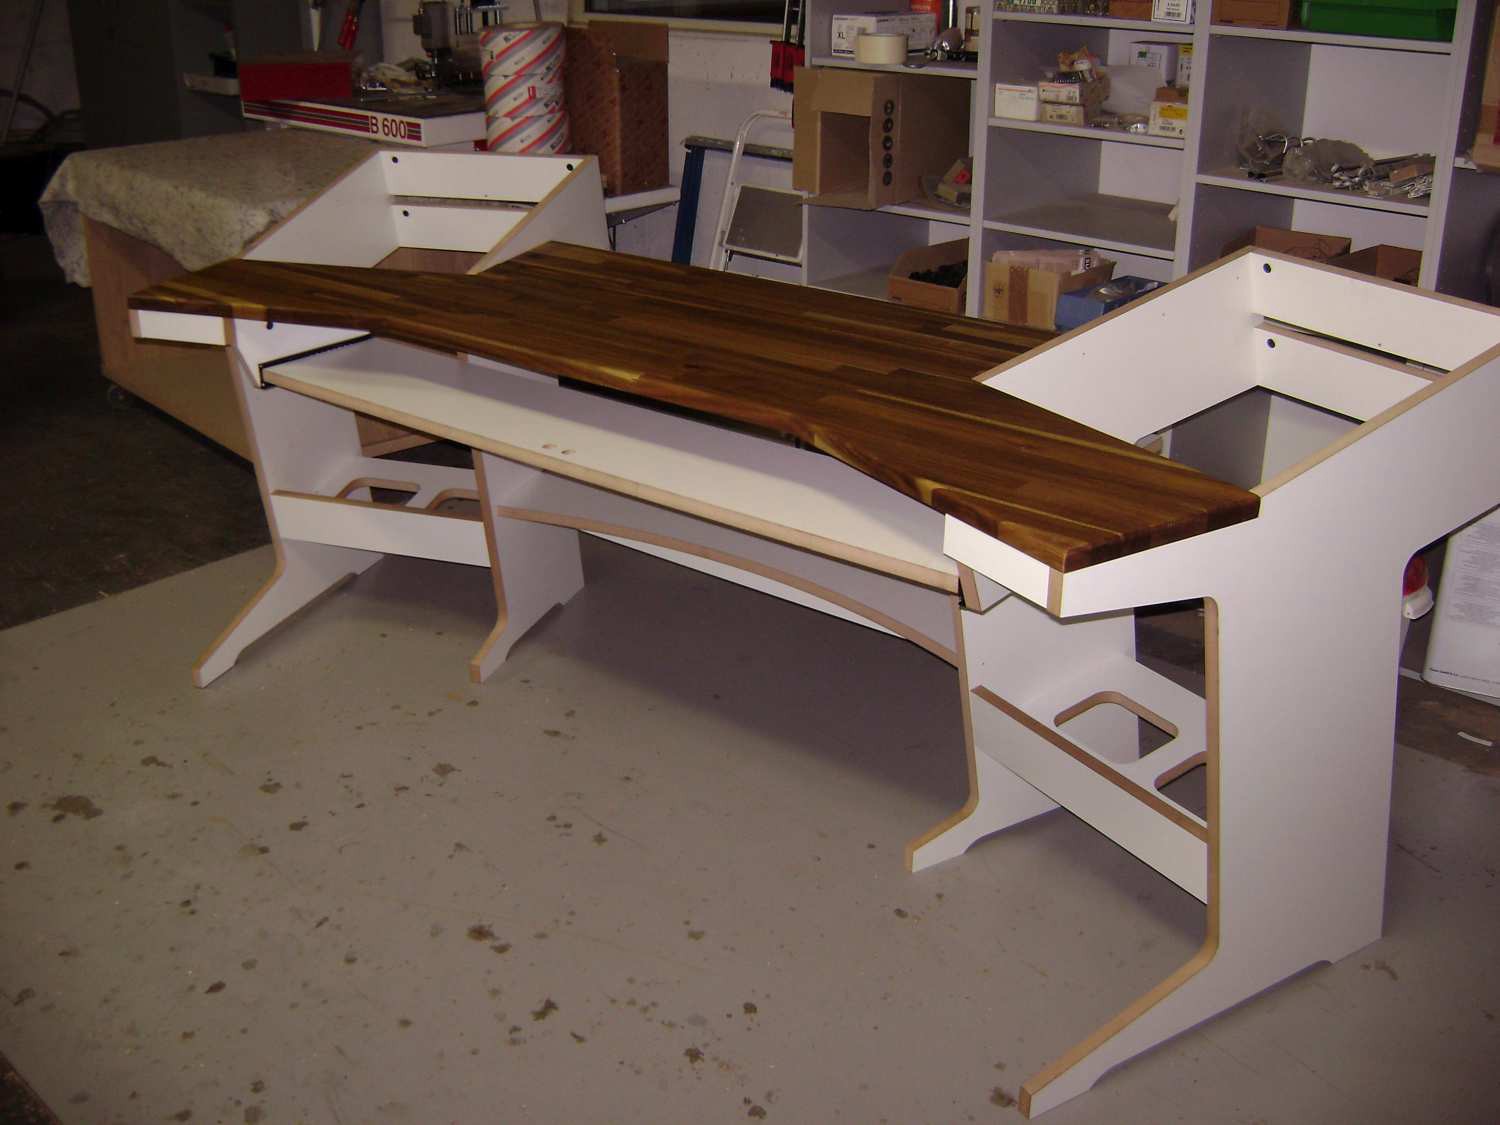
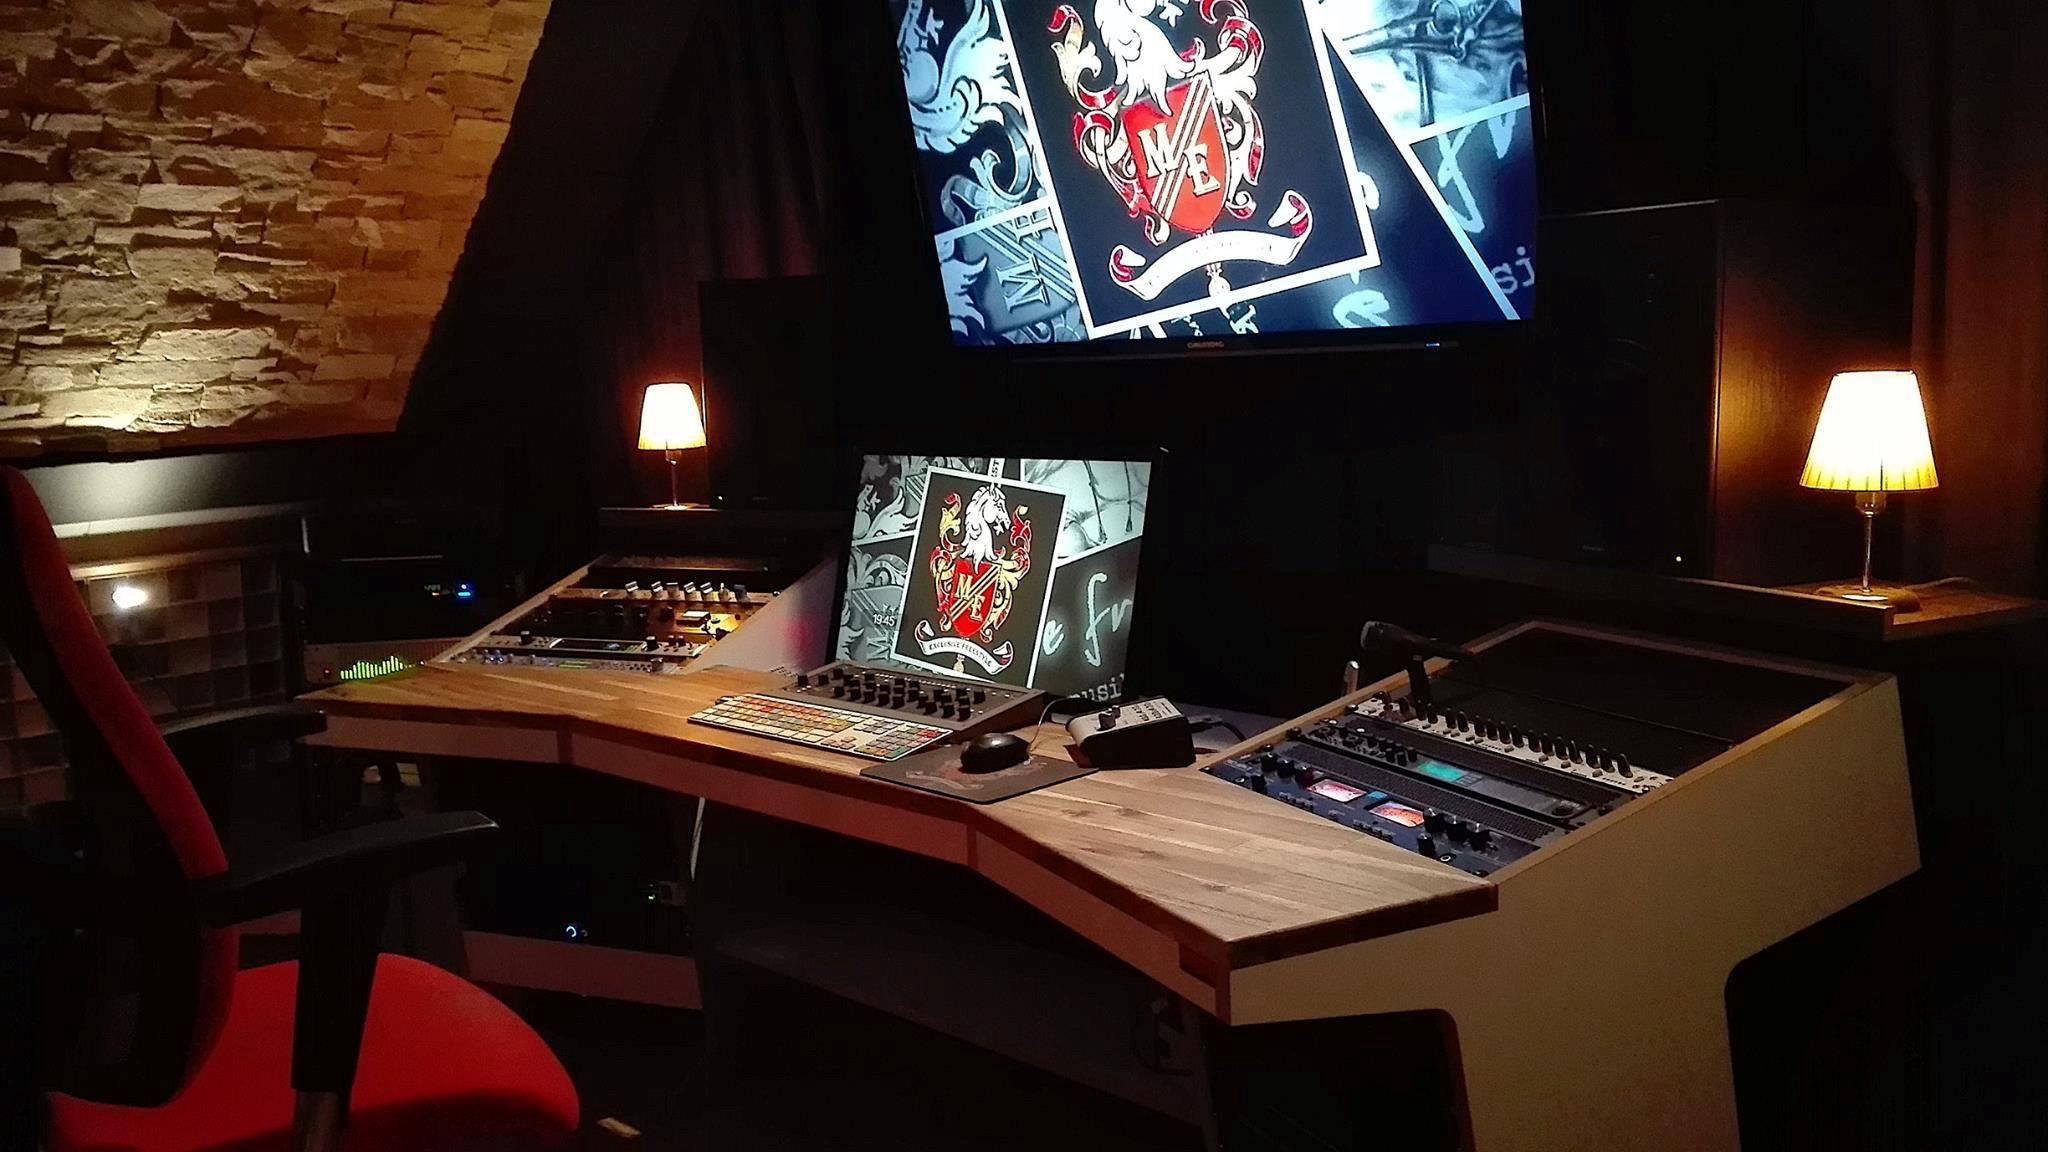
I?m really liking the wrap around idea and modular approach to add equipment racks as needed. I also love the ?slab? idea so my equipments has plenty of room to spread out as needed across the desktop. I also really like the slab with a drop down back in the center (as pictured on the unfinished desk below), because it has the desktop space I like and need, plus a drop down for the computer monitors. This lets the bottom edge of the monitor screen sit flush with the desk, or I can adjust the height of the computer monitors individually by placing something under them as/if needed.
I also really want to have rack equipment on the side ?wings?, BUT, I want the wings to be able to lay COMPLETELY flat and when they are flat, they are recessed about 1/2″ below the desktop. that way I can make a couple inserts out of the desktop material and the equipment racks can be plugged/covered creating a full desktop surface on the covered side?if that makes sense.
When the side is covered with the insert, that side of the desk will look like a full slab?like what the right side of the unfinished desk looks like (pictured above). That way I can accommodate both the use of my outboard gear when the rack is up and angled to the adjustable angle I choose OR use it as a table top for any equipment others bring in that need a place to sit besides the floor.
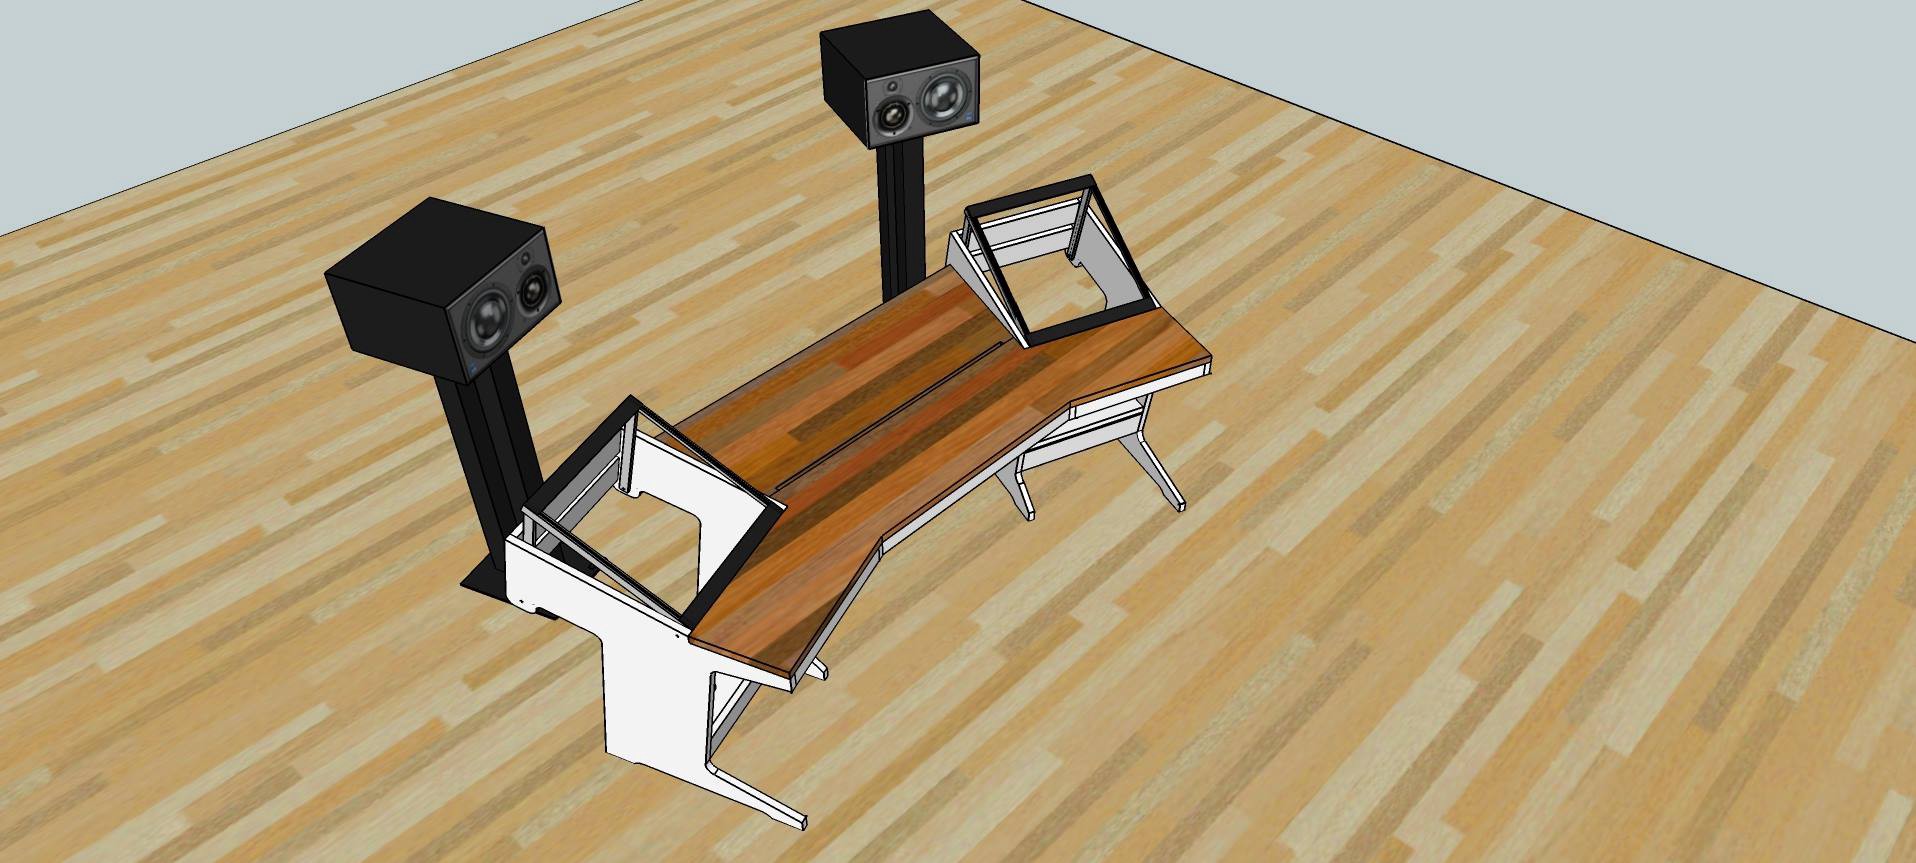
I was super excited to find this picture that was buried on their site. Similar to what the 3D model looks like with the black equipment rack wings on adjustable hinges, I want to take the idea further and design the sides so the racks can collapse all the way down to flat ? so they can be covered.
It took a couple days, but I?ve figured out a way for this to work and it will be fairly easy to execute. Basically a hinged inner rack frame held up to the desired angle with a pegged/notched kickstand on the sides. It would be solid and easily carry whatever weight the rack was loaded with.that would then be covered by the outer legs of the desk.
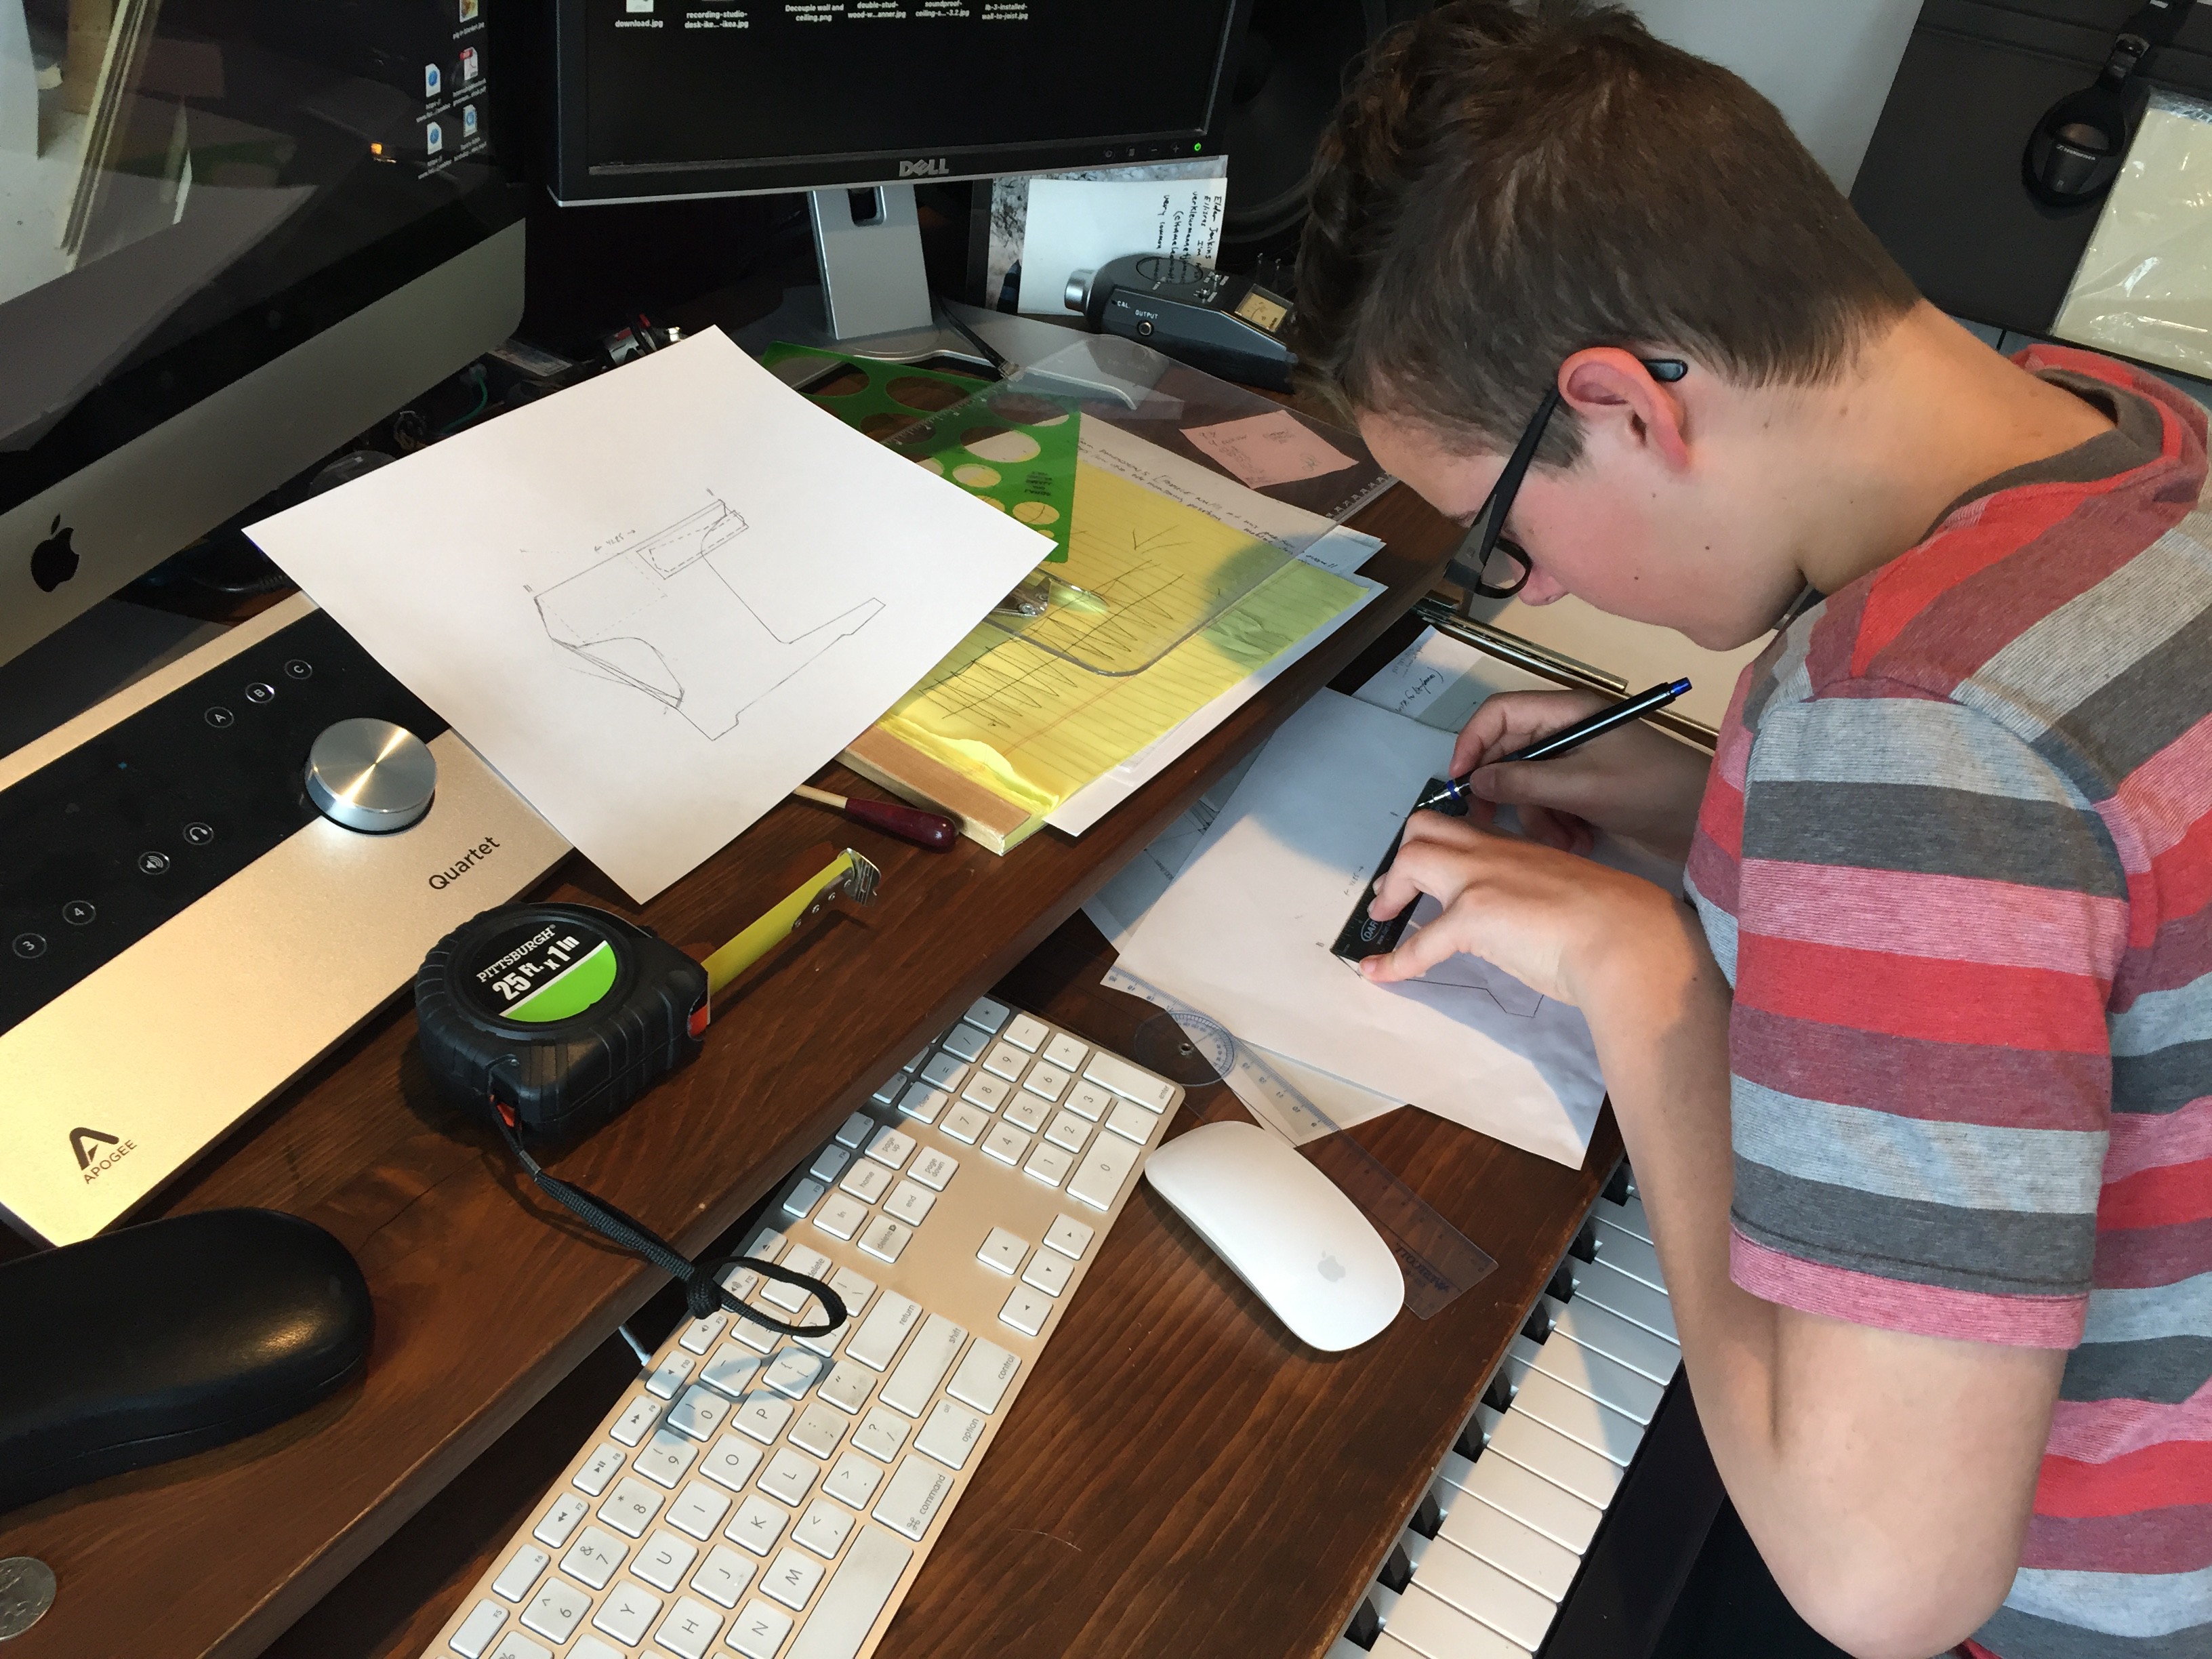
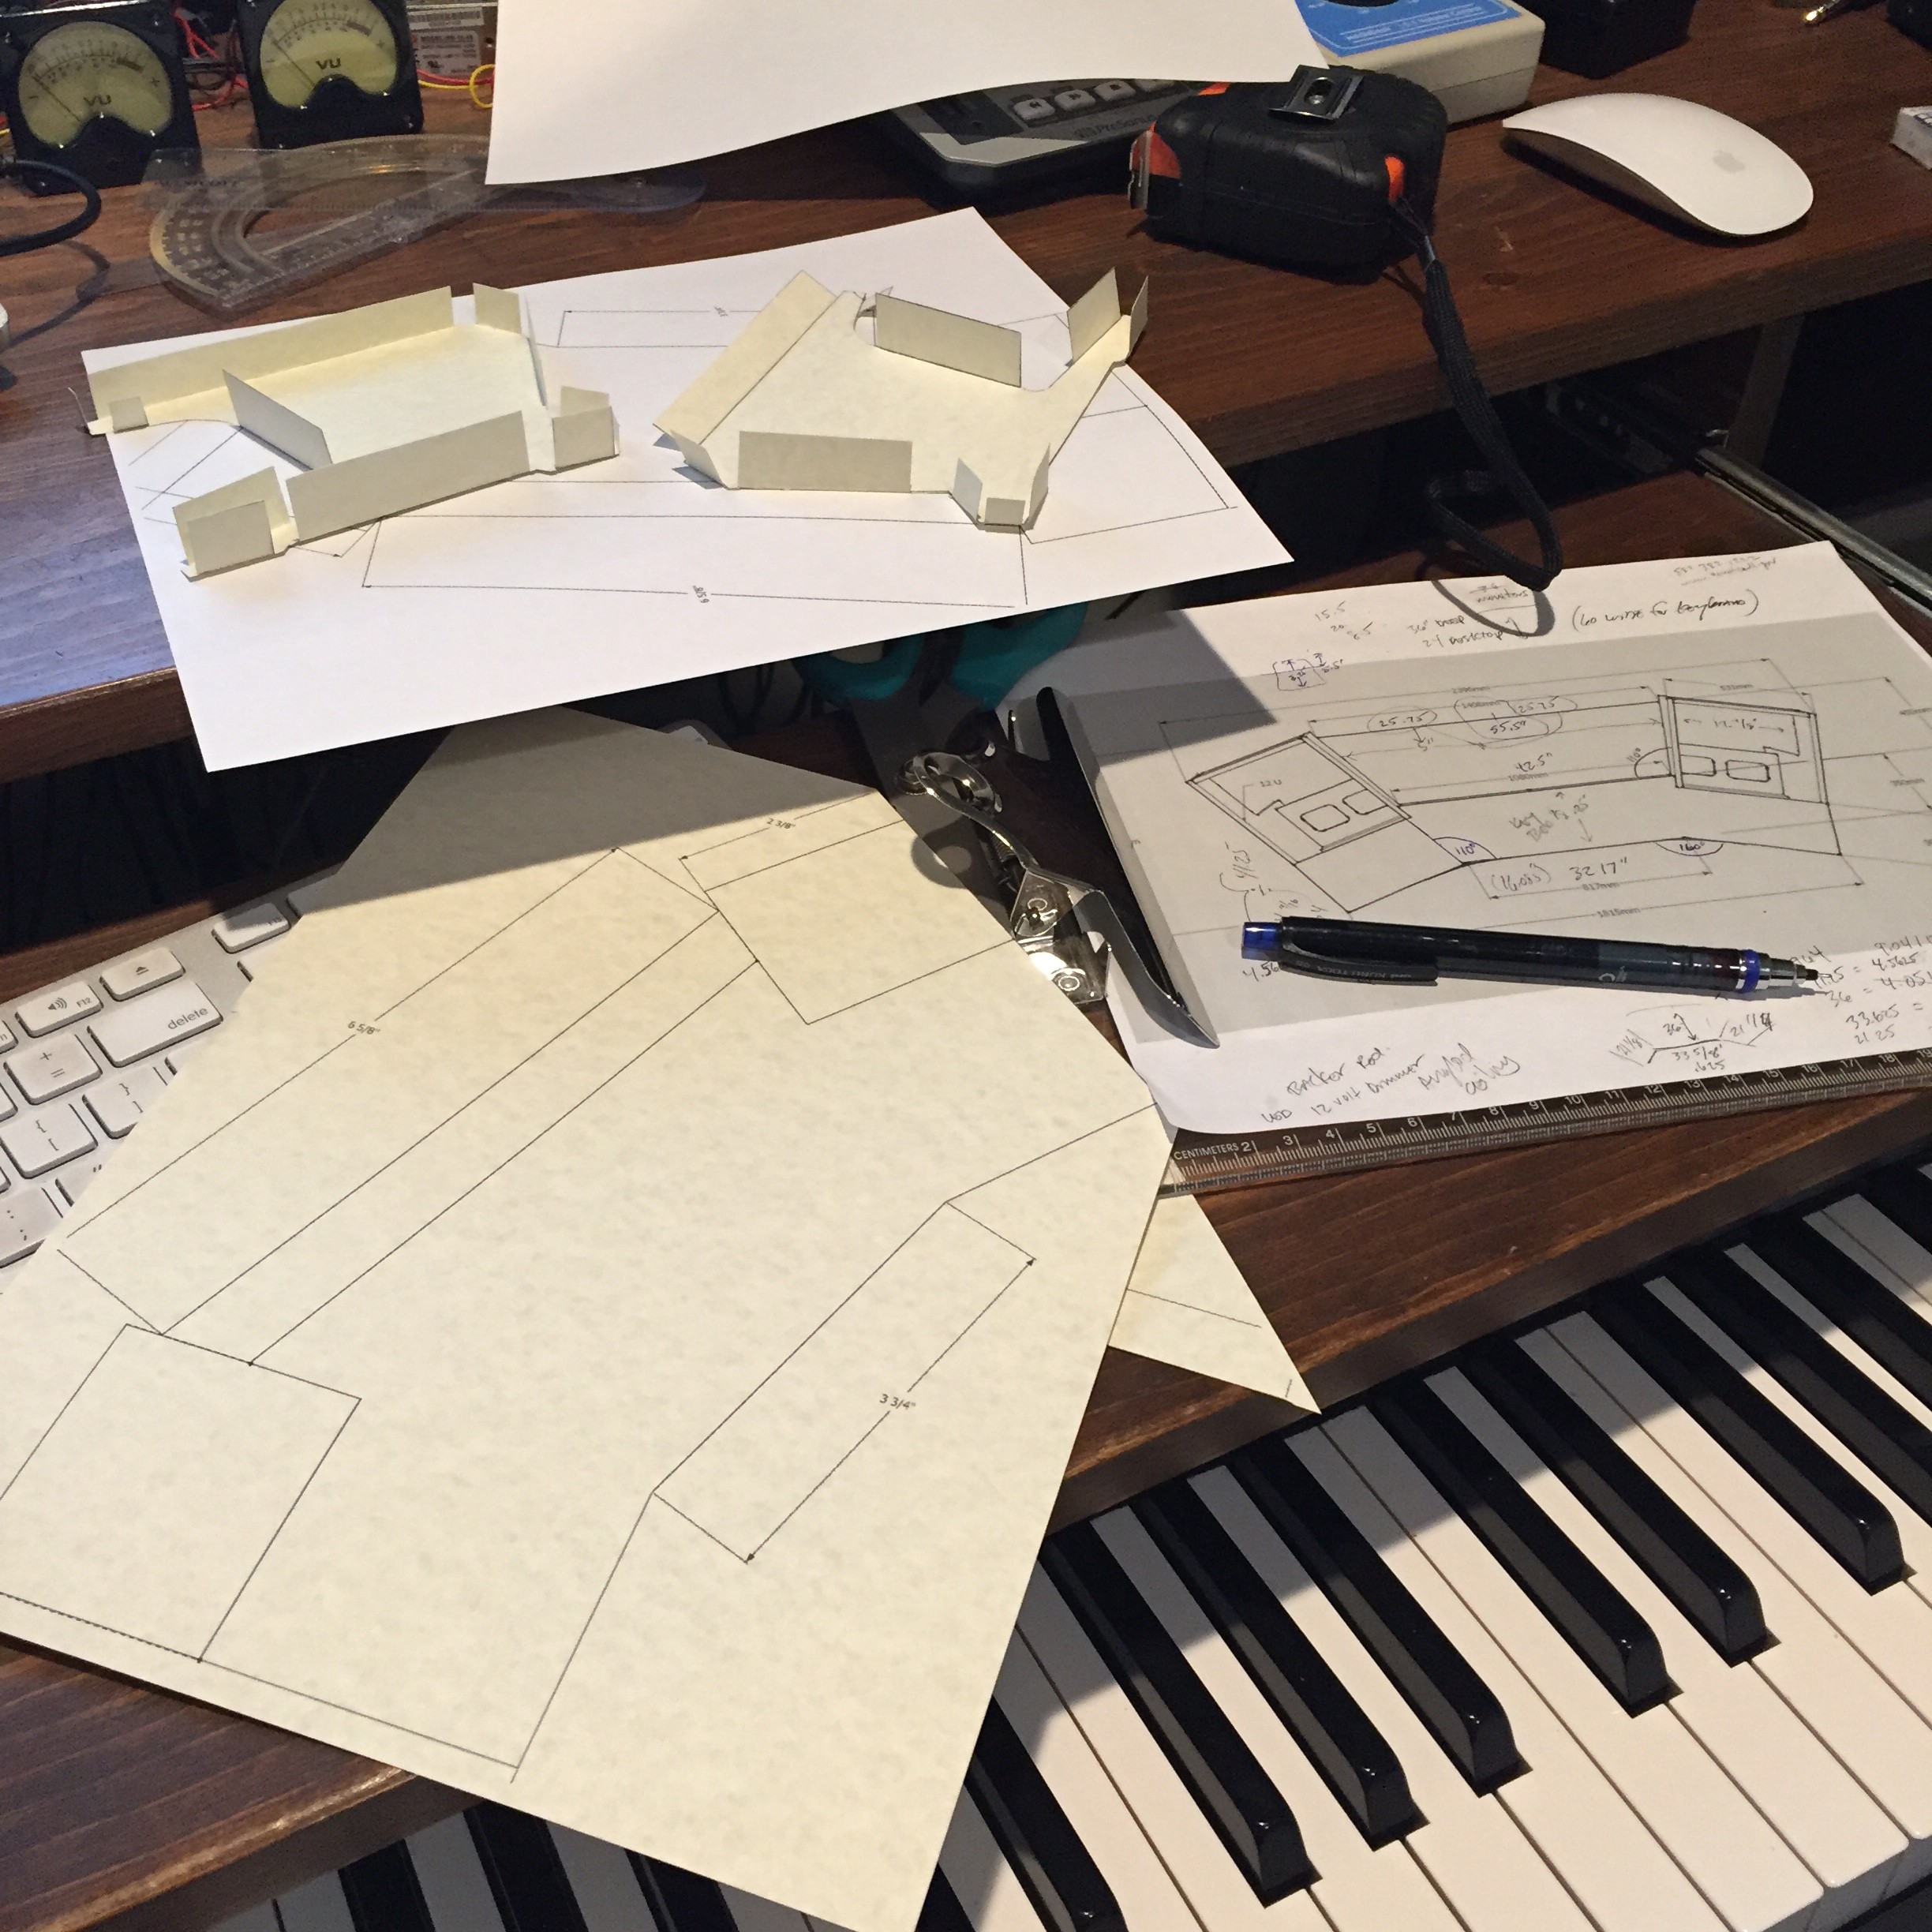
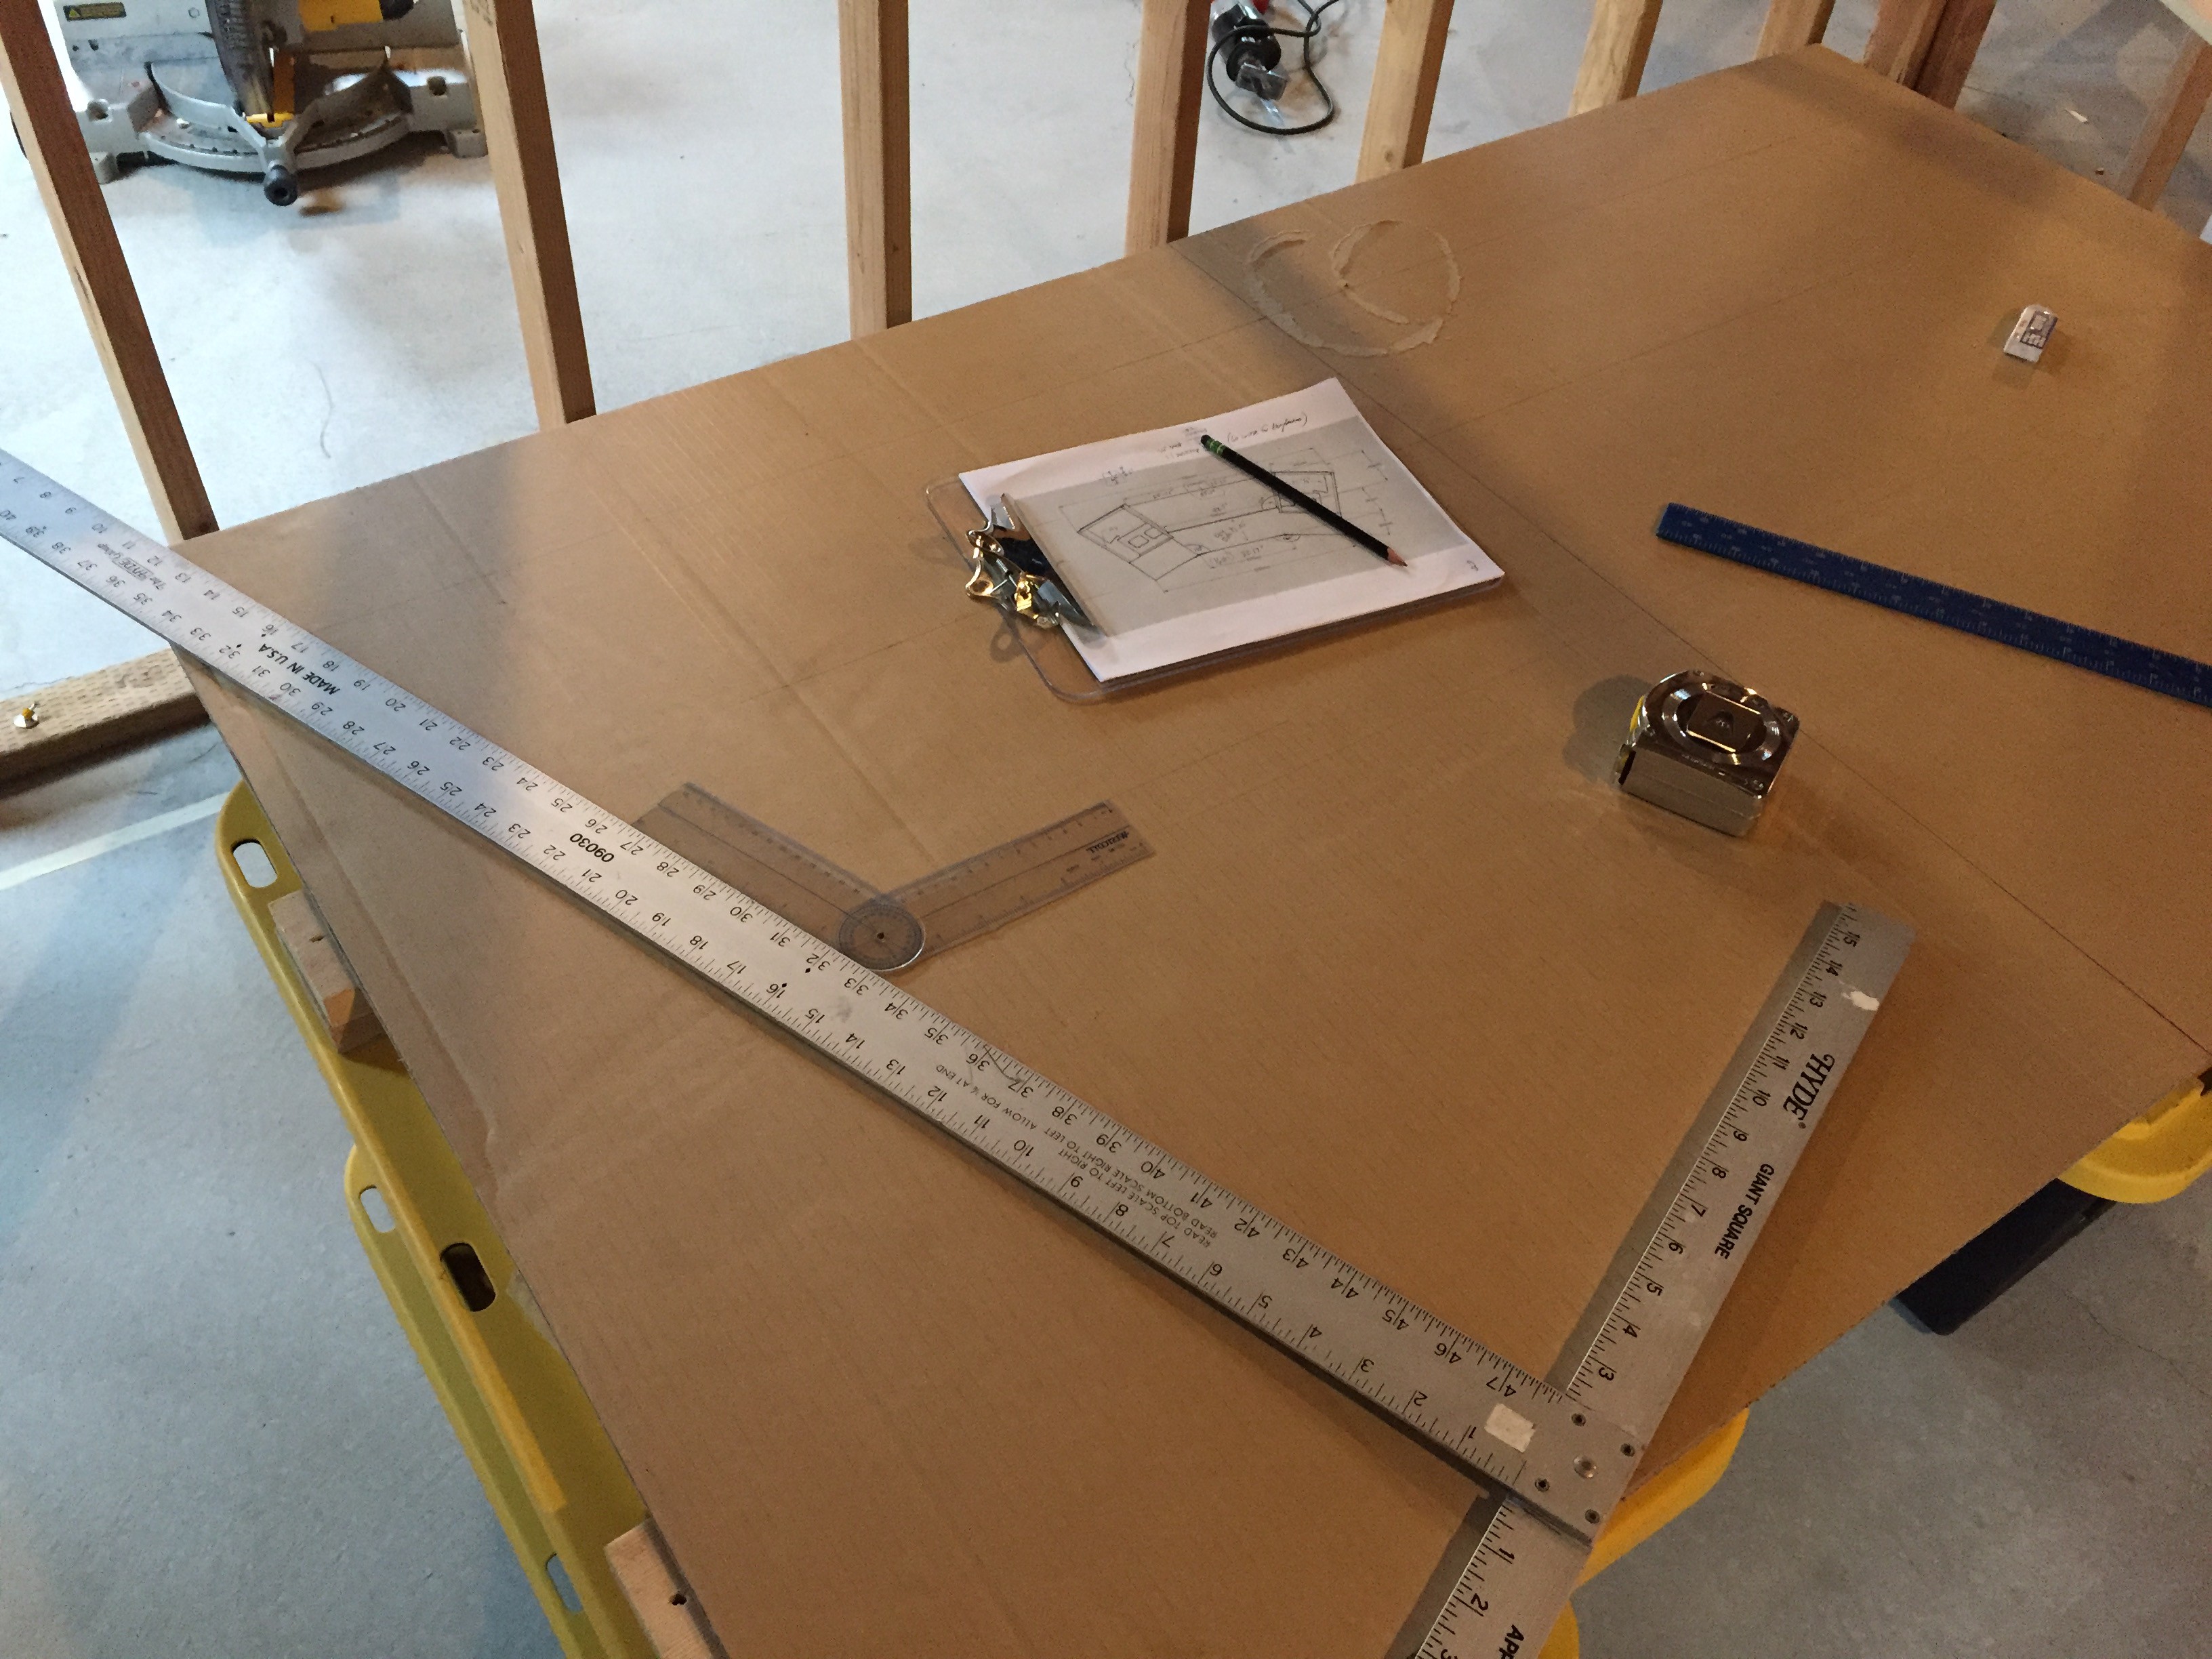
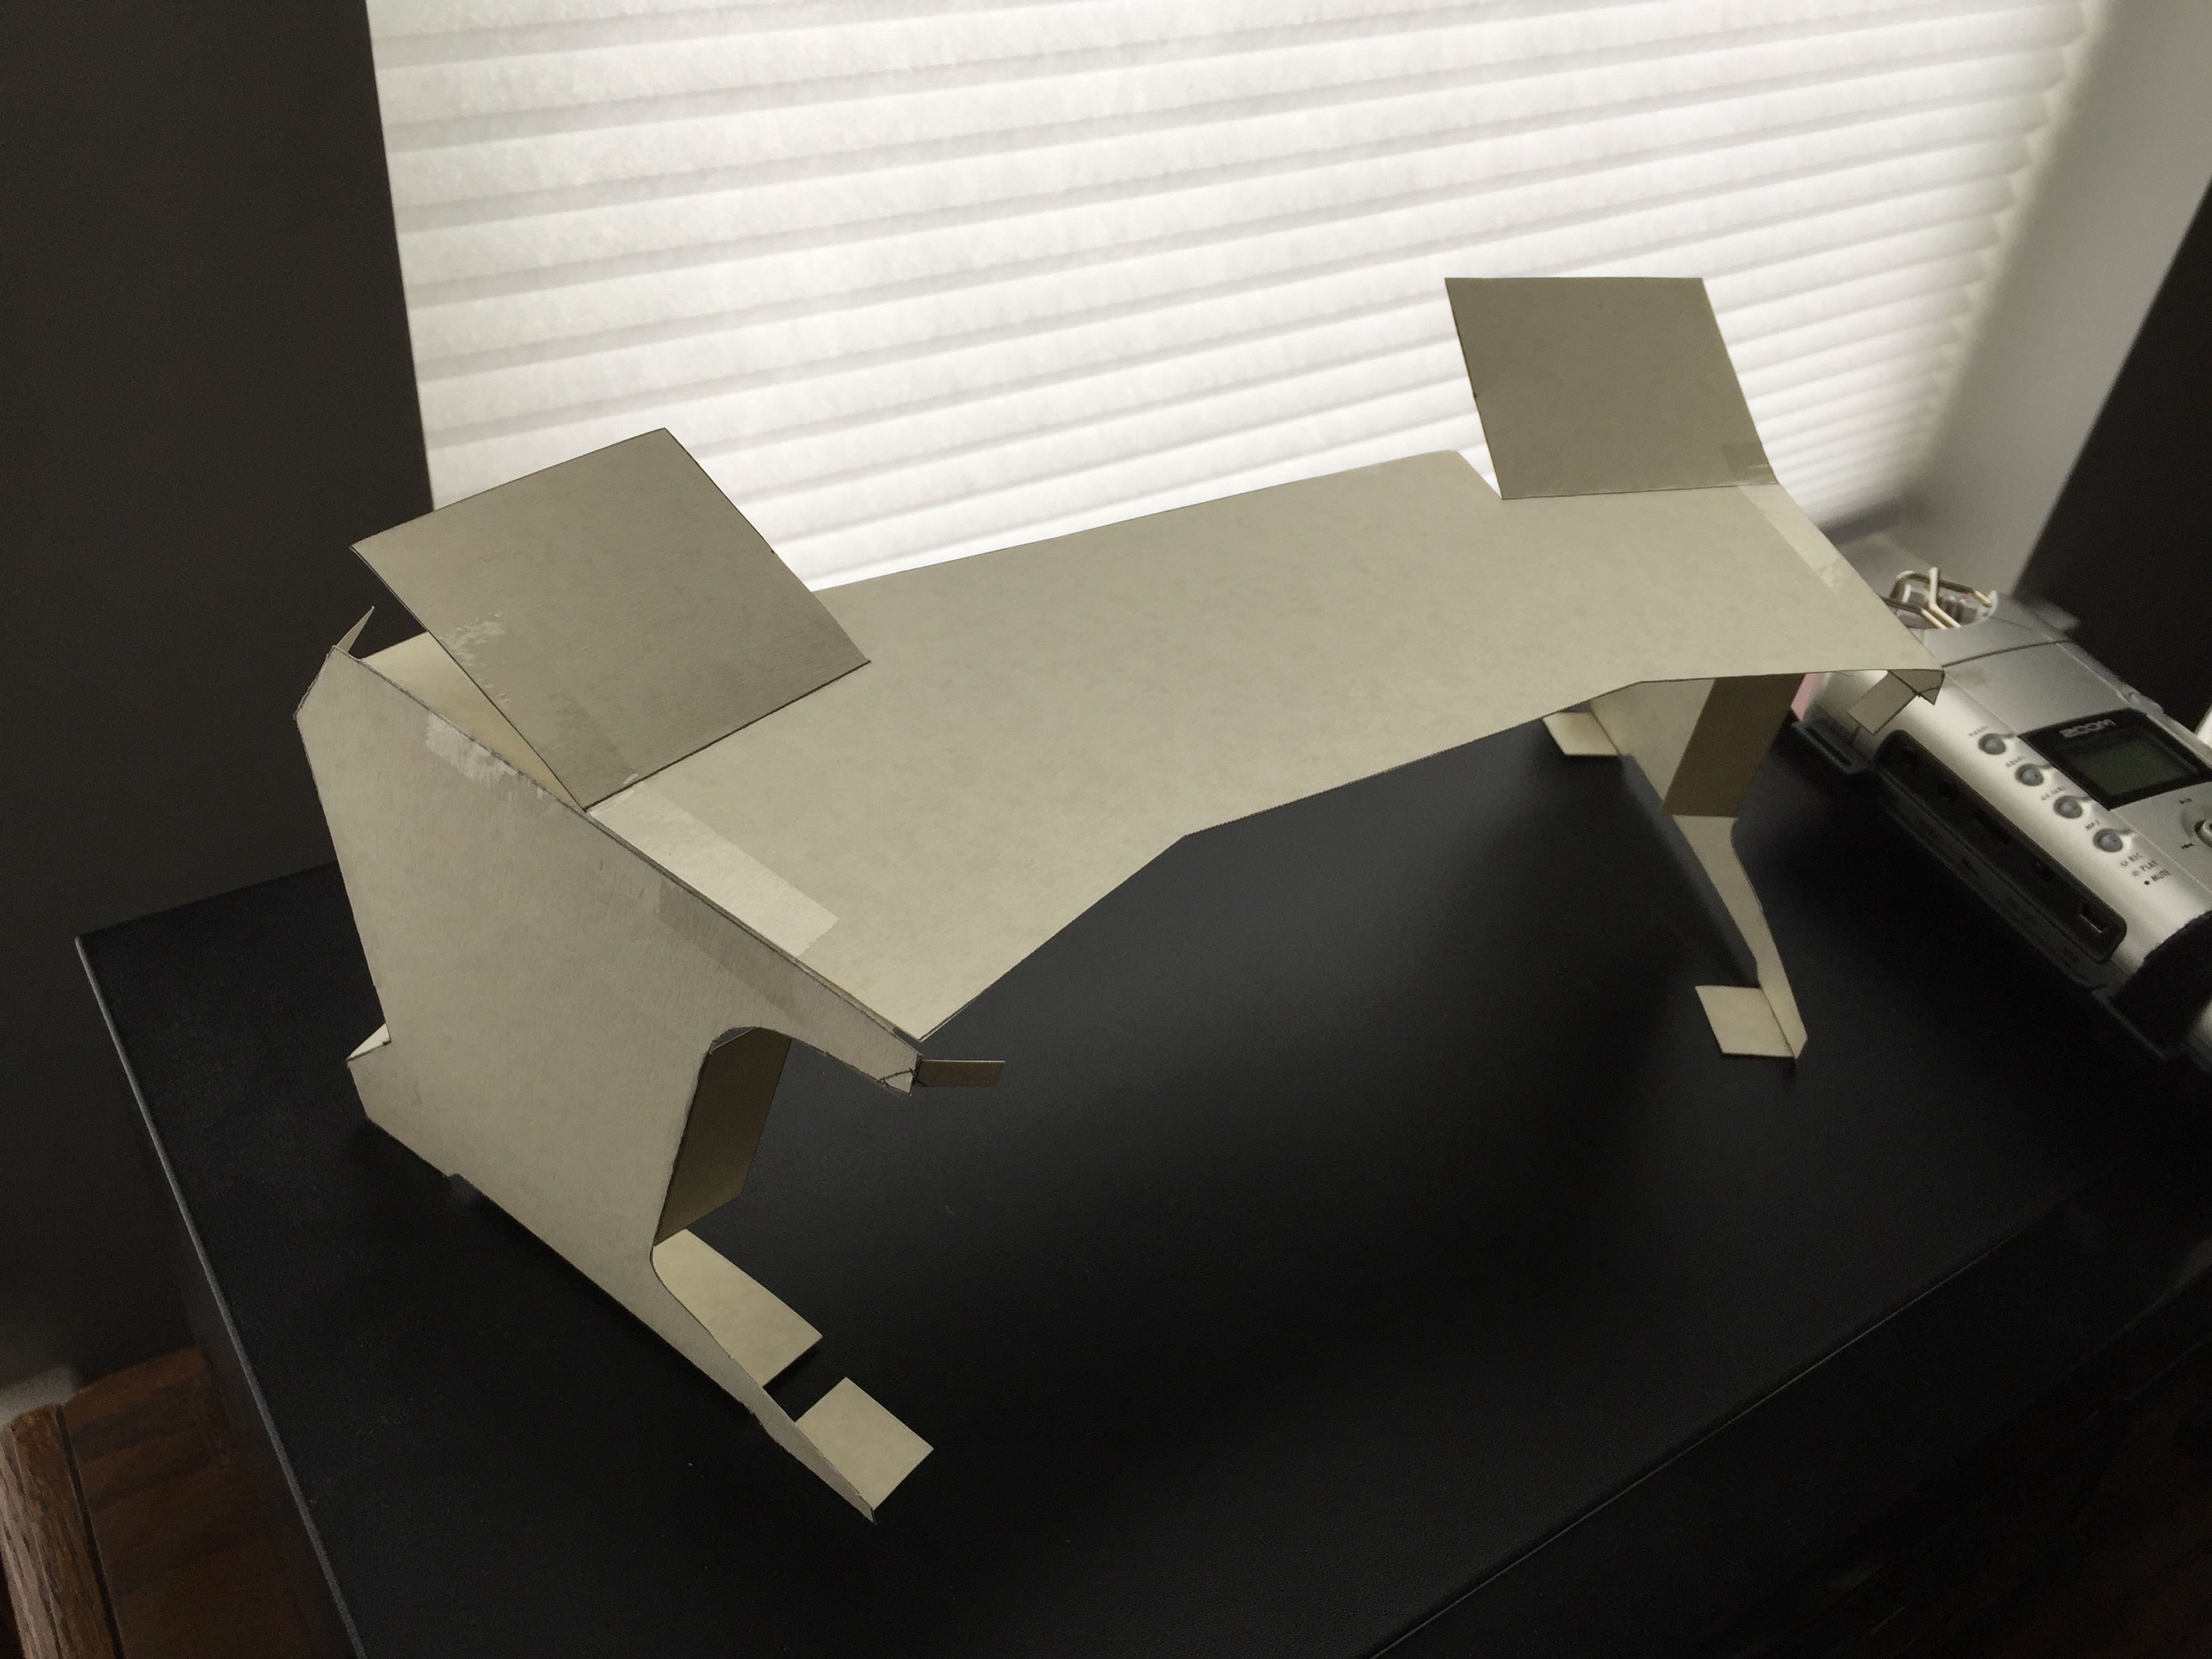 My son Grayson said he knew the formula to adjust and scale dimensions. And he did! So, I immediately put him to work helping me measure the cardboard beast I had been building and then shrink it down to a much smaller, more manageable size, so I can play around with the design I actually have a keyboard tray cut out now too (not pictured), and it will help me figure out where the legs of the desk and structural bracing will need to go. Once I?ve got it where I really like it, I?ll have him help me return it to a full size pattern that I will use to build the desk.
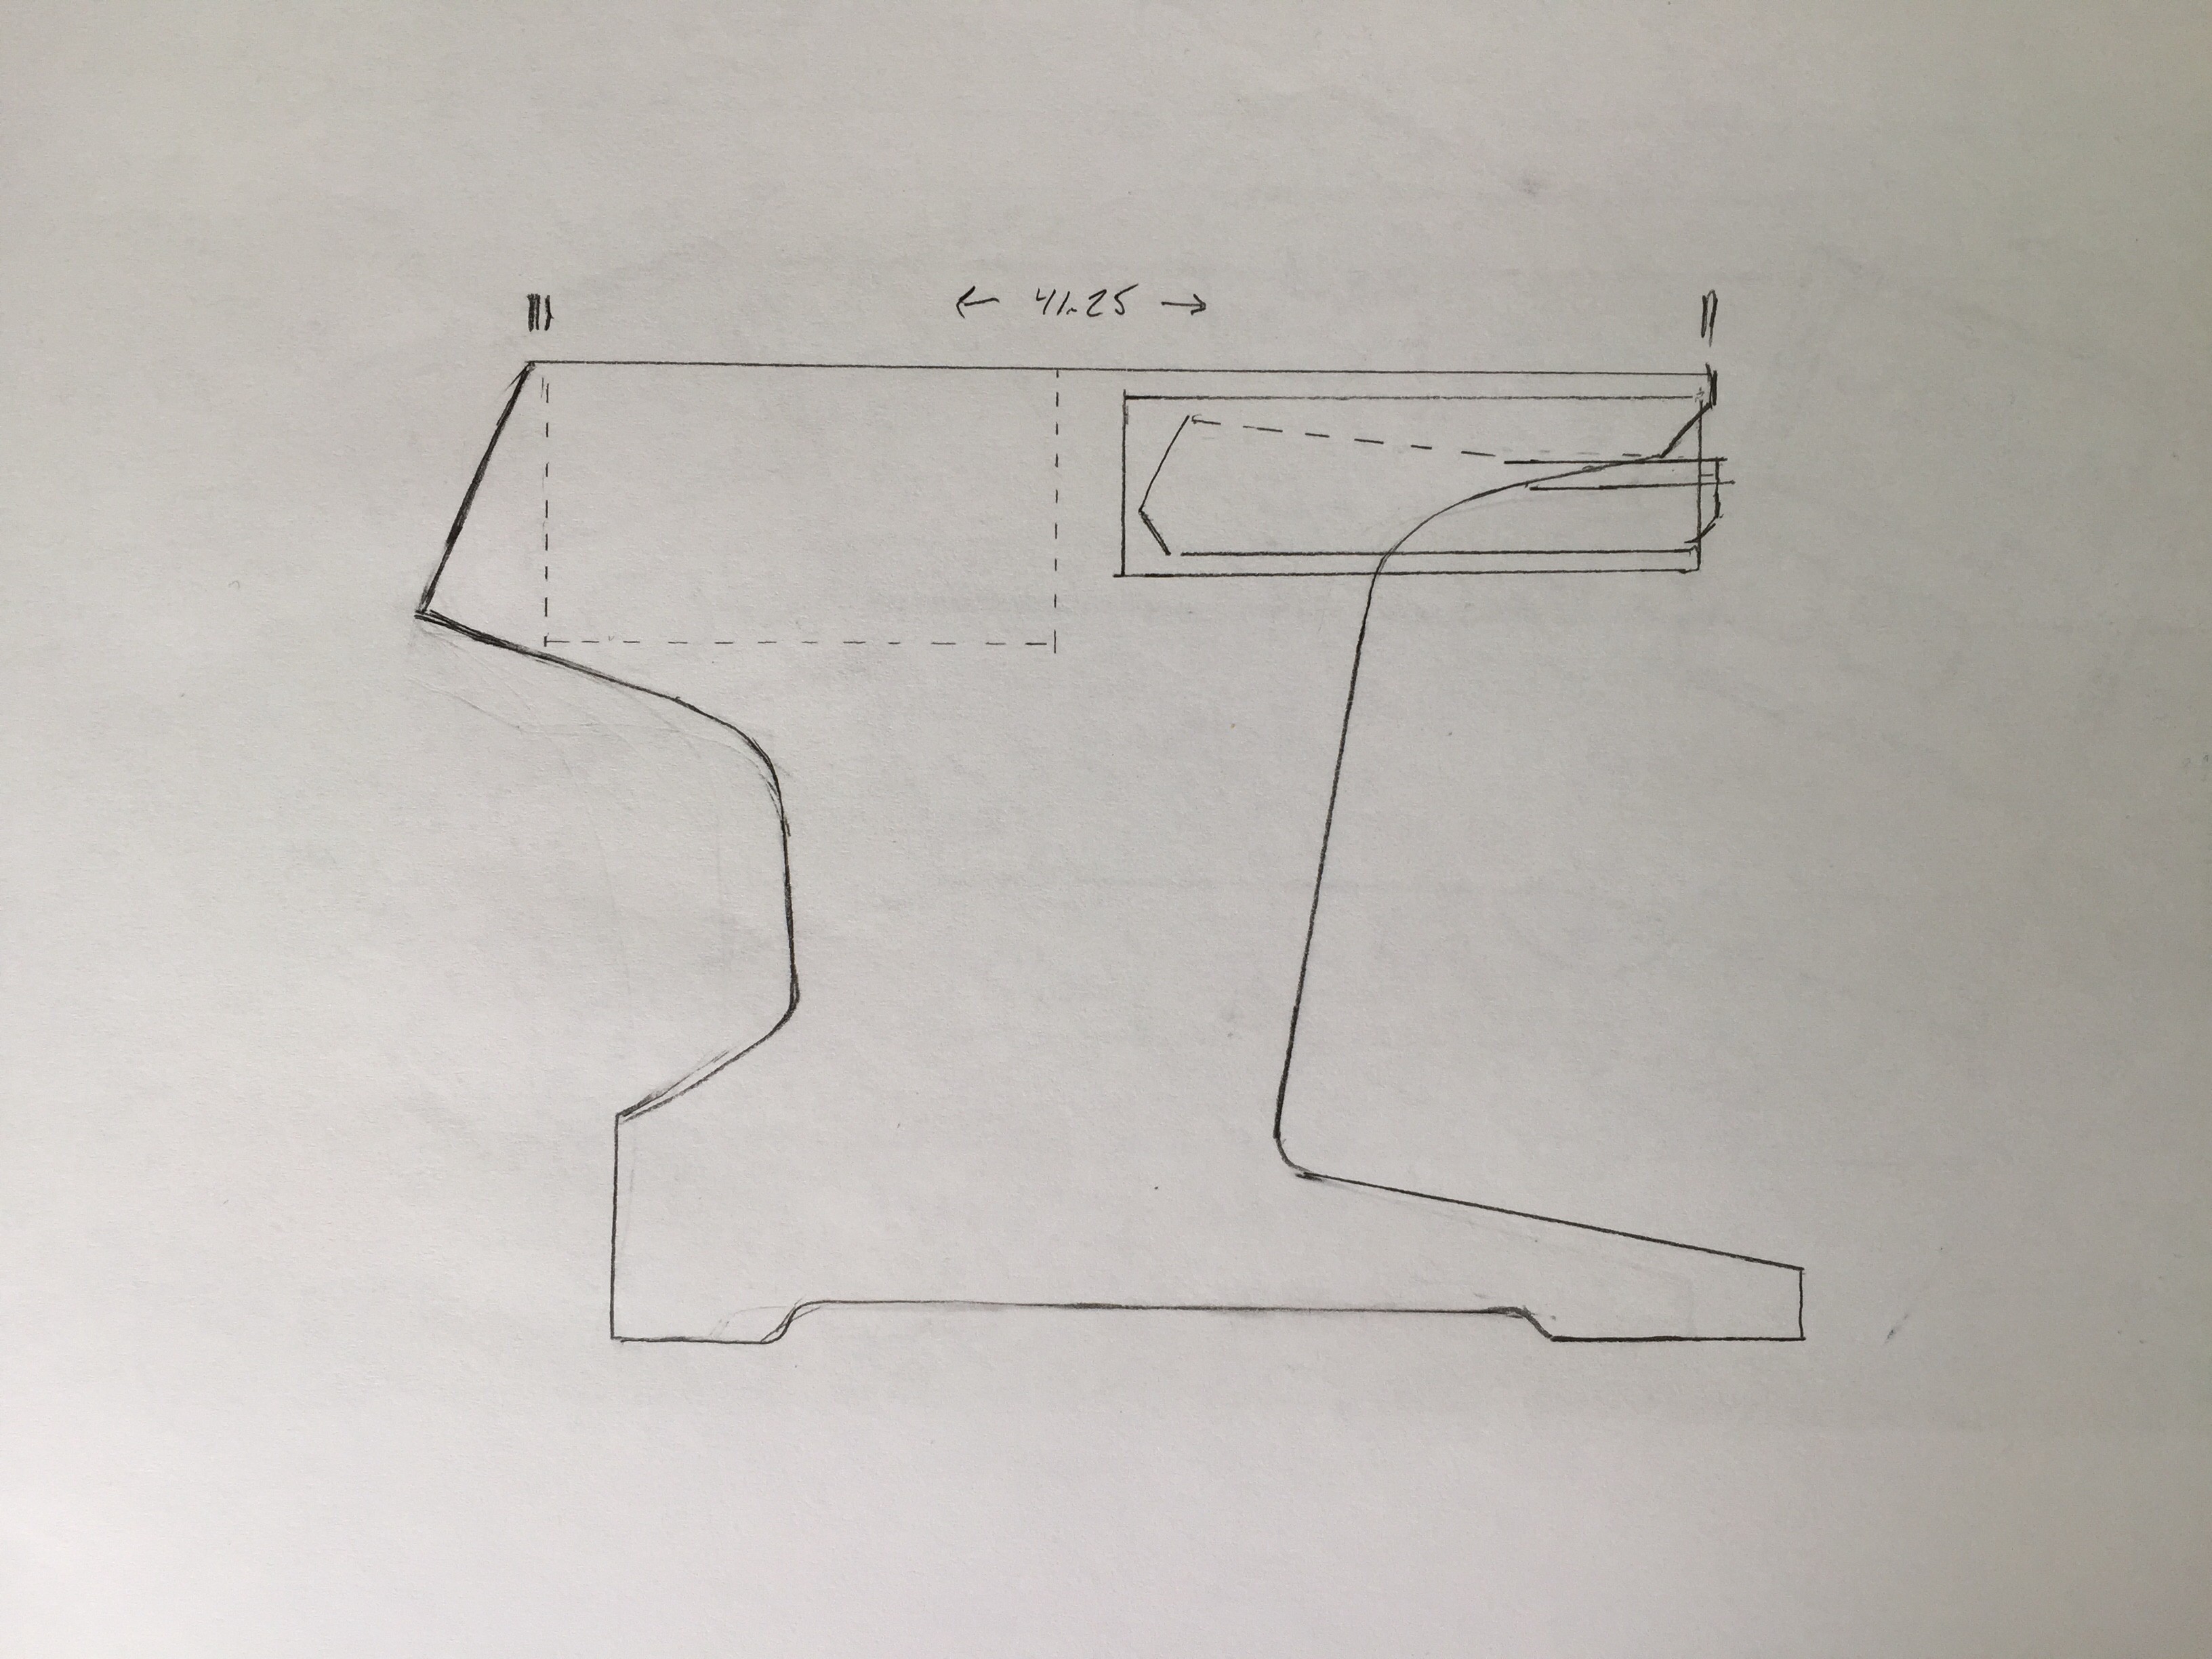 Just playing around with different side leg shapes and figuring out keyboard tray placement.
I can easily modify this desk top and custom cut out areas on as needed to accommodate control surfaces like the AVID S3 or whatever, or even just place them on the covered, lower deck portion (below the top desktop slab. This is the same hidden lower surface that the computer screens rest on in the back. If they are sitting on the hidden lower deck, I could simple create desktop surface covers that are cut to fit perfectly around them.
My description may not make total sense, but if you spend some time looking on the Wave Nature website and let your mind go wild, the ease of modifying the desk starts to become really clear. Especially when looking at their Sketchup rendered drawings. They really show you in 3D how the desk is designed.
I wish I could just order the desk I needed from them, but I don?t see how I could clearly communicate what I?m really needing as some of it will be ?adjust as I go? once I get it to a certain point.
 I would design the desk so the racks on the sides could be at virtually any angle between fully vertical to completely laying down.
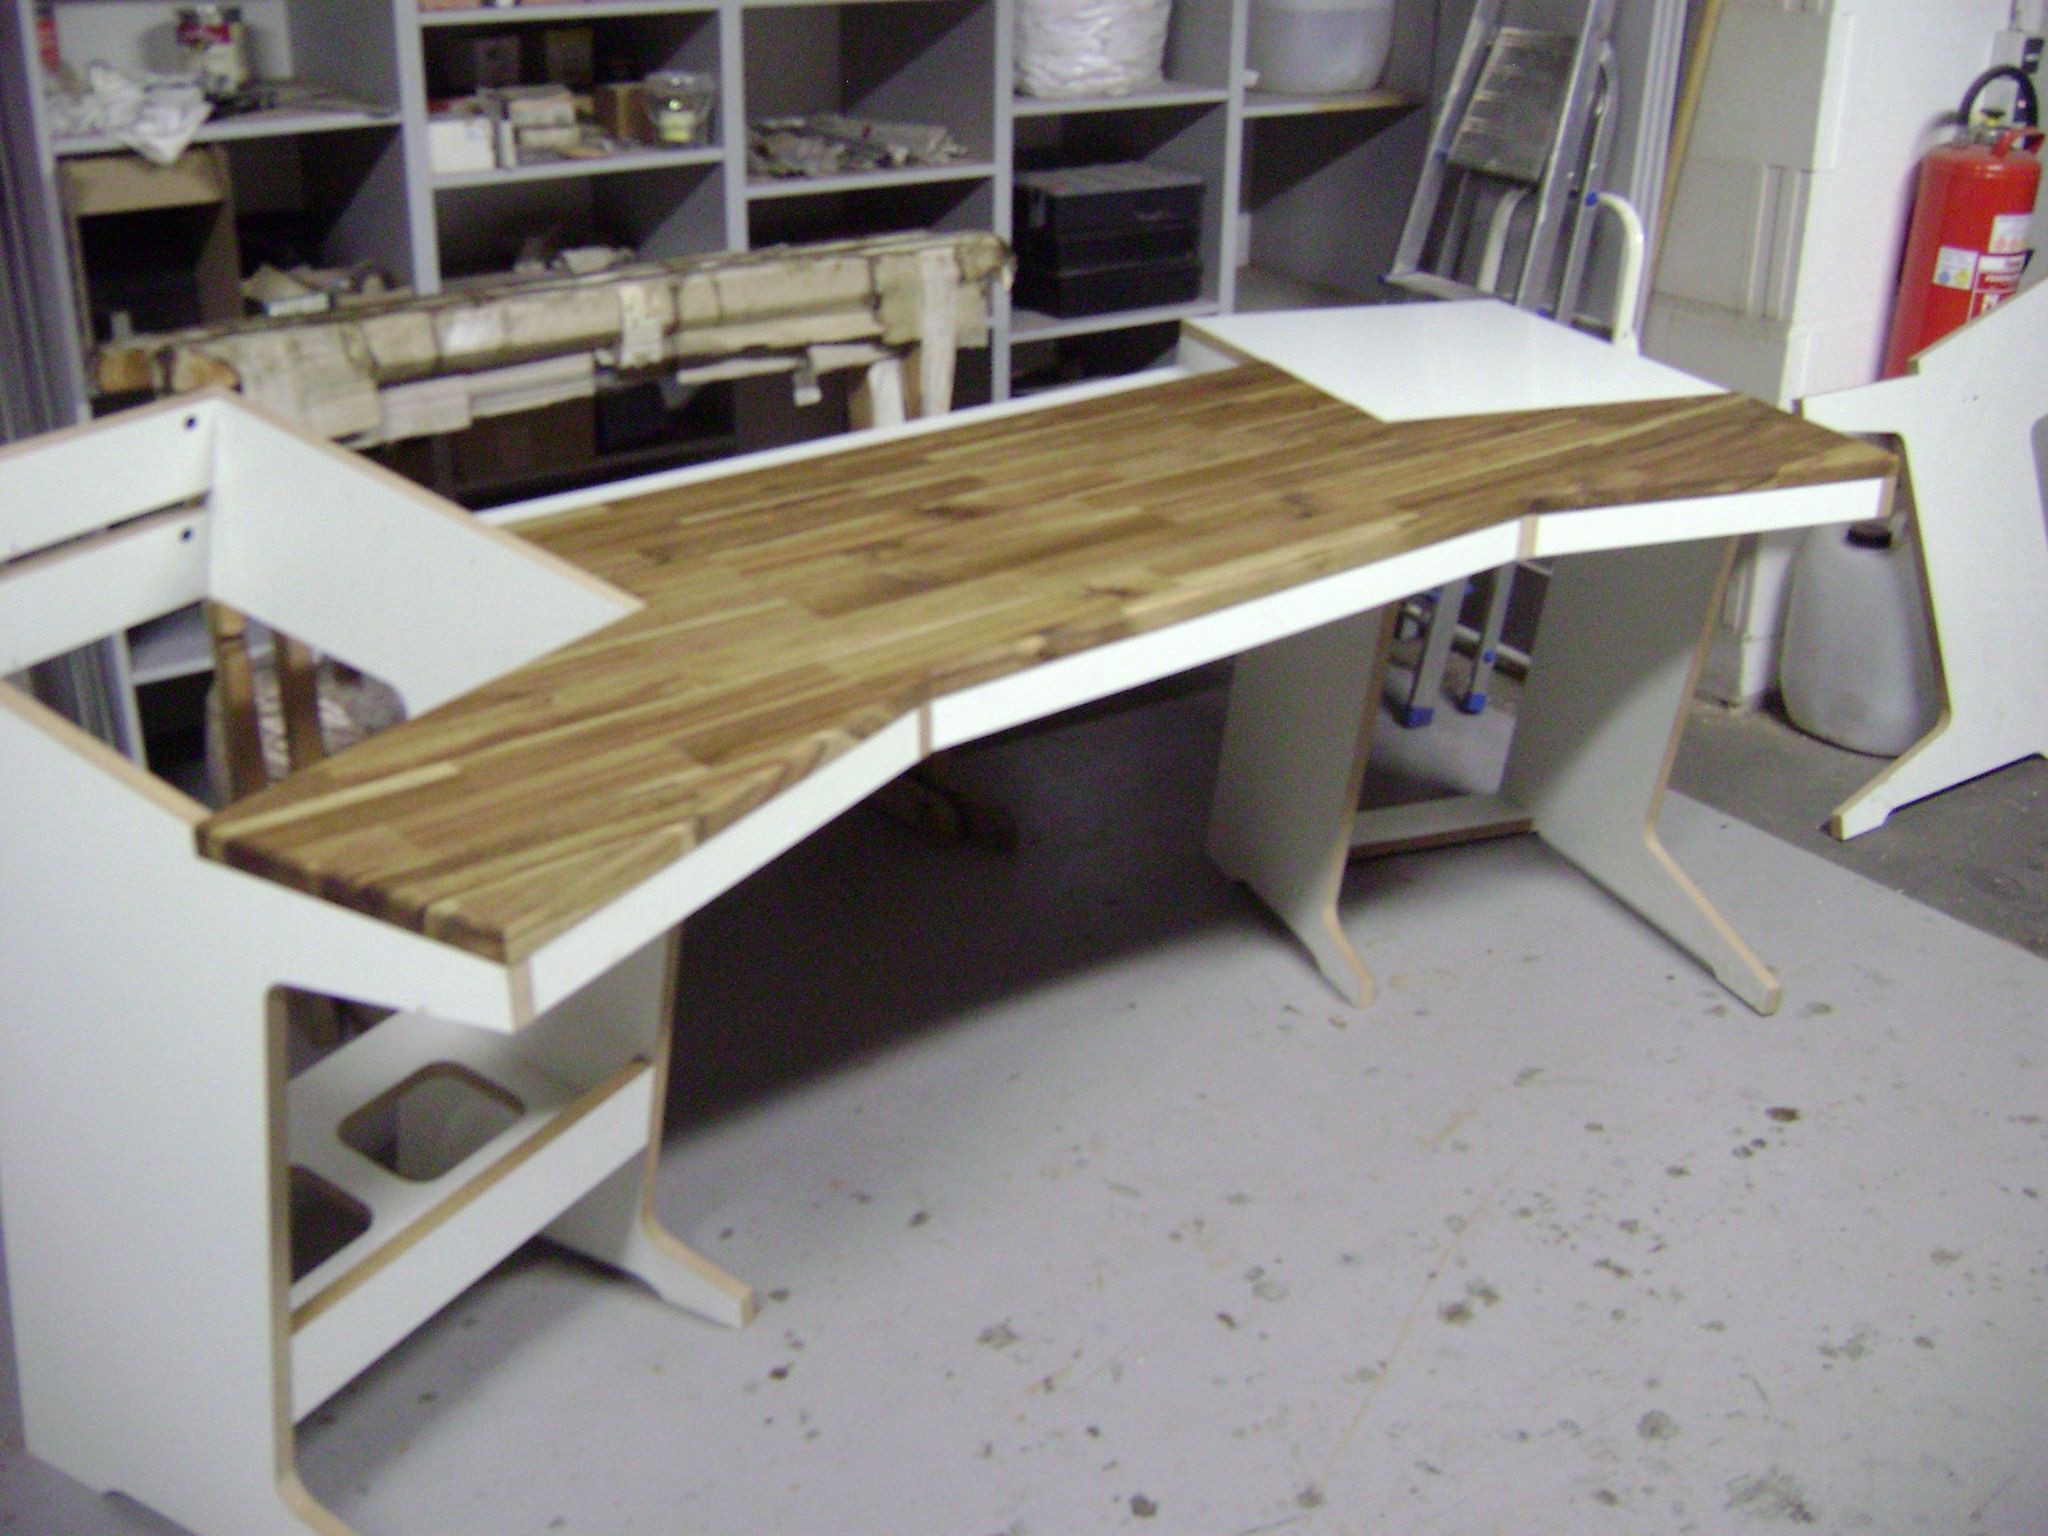 This is what the desk would look like if I lowered one of the racks down. I?ll design it so the rack equipment can stay in the rack, even when it is laying down to be covered ? to extend the desktop slab surface.So, with the hinged rack laying completely down on one side, it would look something like this once the rack was covered with a table top slab insert. Make sense?
Adding a MIDI keyboard
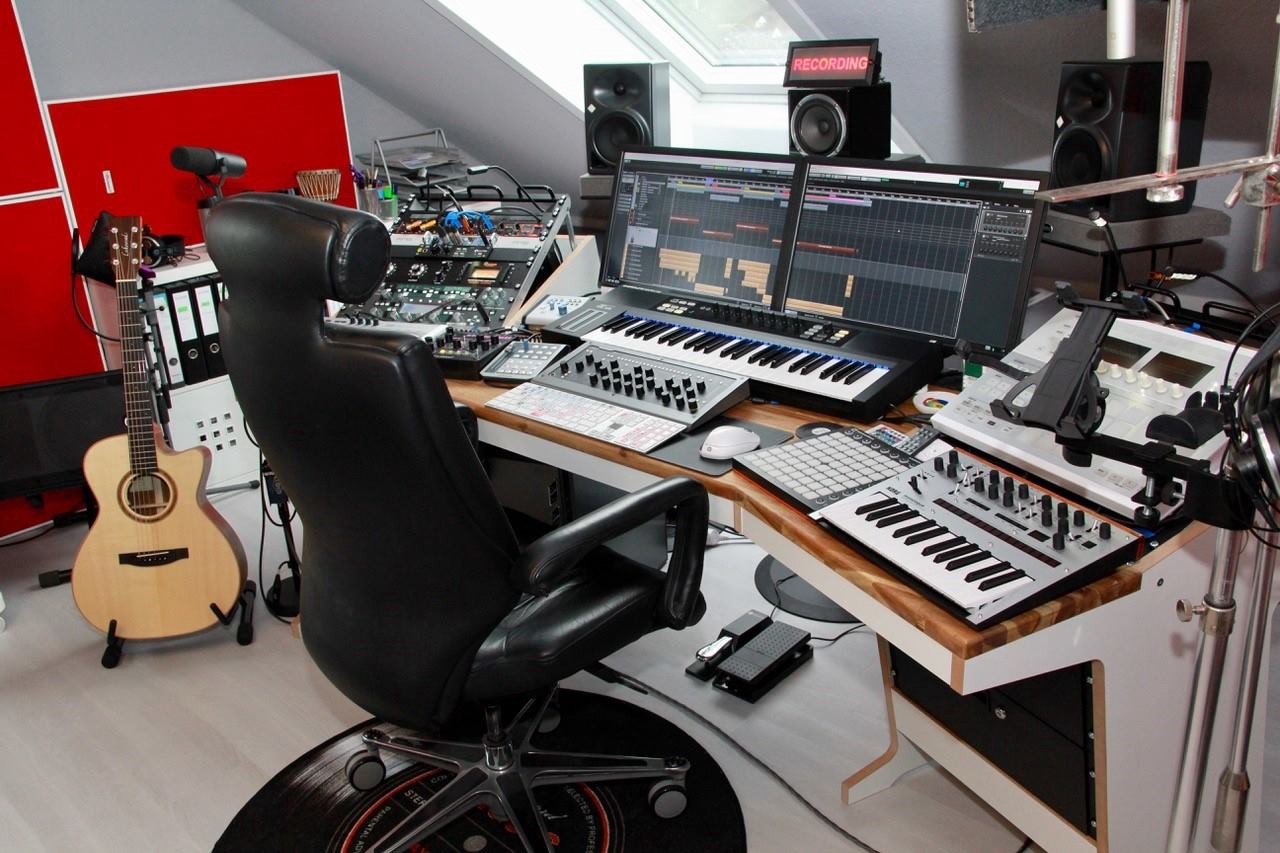
So, now that I?ve found a desk design option that works great as a starting point, now I have to figure out where to put a MIDI keyboard ? where it won?t interfere with anything I do during sound recording, editing, mixing and mastering. The picture below is REALLY close to something that may work.
It means I have to have a THIN midi keyboard controller so I don?t have to raise the desk up to high to accommodate it. If the sliding MIDI keyboard tray is too low, it will end up resting on my legs.
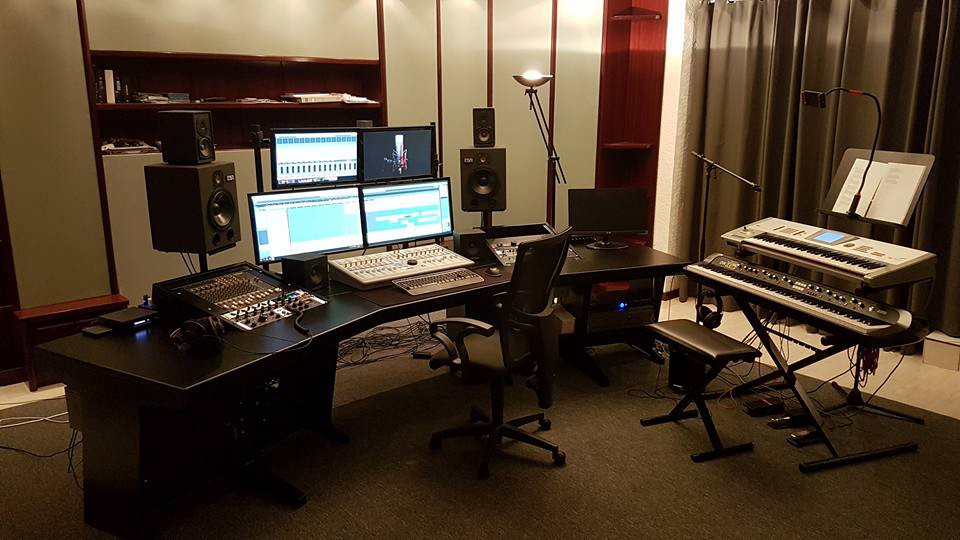
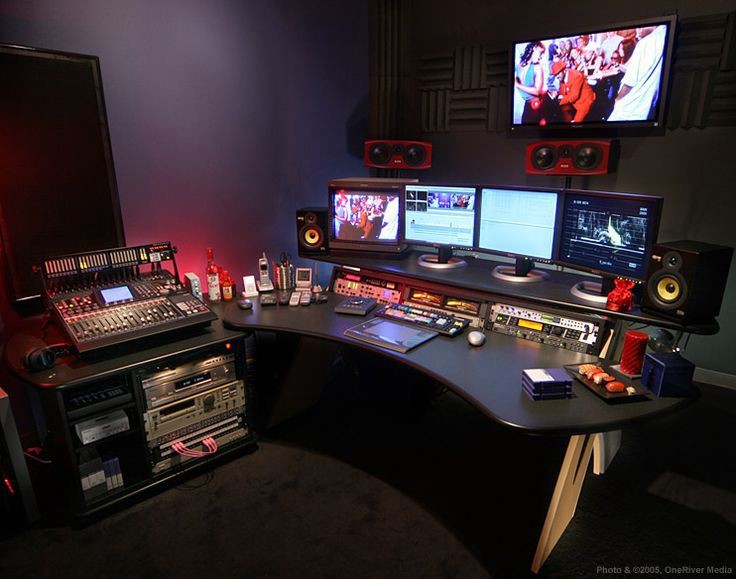
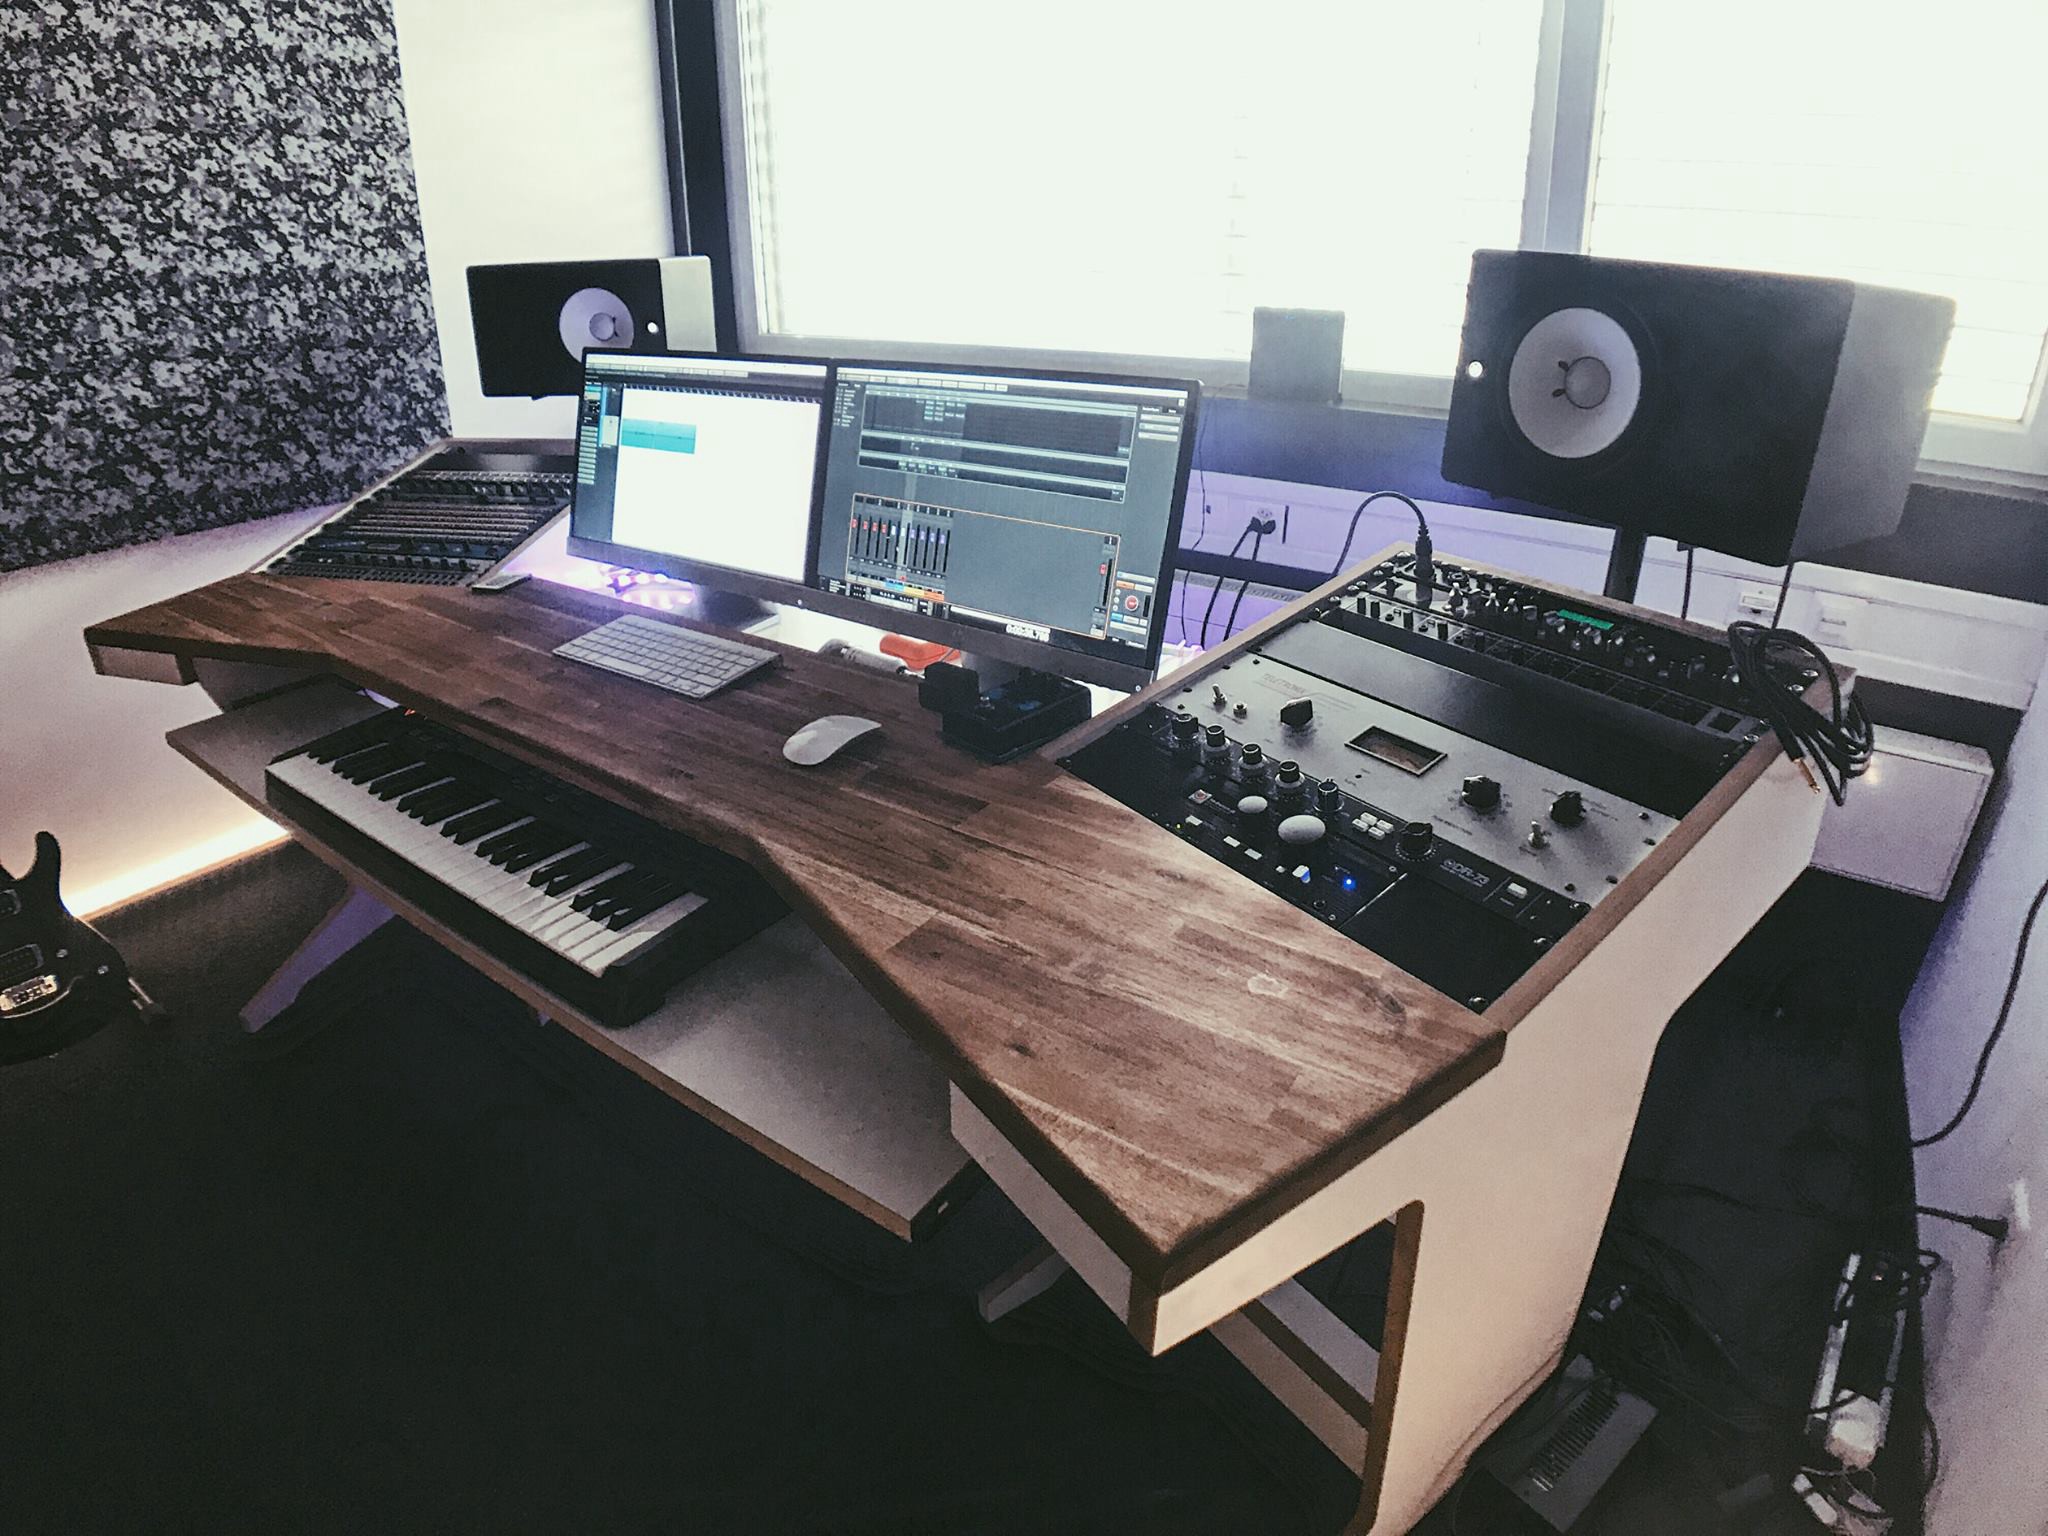 The picture showing the sliding tray for the MIDI keyboard is likely the design option I am going to use as my starting point ?inspiration? design. This approach will allow me to have the computer keyboard stationed front-and-center on top of the desktop and at the correct height. And I?ve found I will be able to compromise ever so slightly on the desktop height in a way that is ergonomic and still lets me have the keyboard up high enough it doesn?t rest on my kneesThis is also an inspiration set up. This is a perfect example of the two monitors sitting on the drop-down shelf which keeps them a bit lower, so the video screen on the wall doesn?t have to be up so high. because the screens are simply on a lowered level, they could be raised to whatever height makes the most sense for each person. I still would want the option to lower the side rack wings in a full-down position so I could cover them with desktop slab if needed to create more flat desktop space.
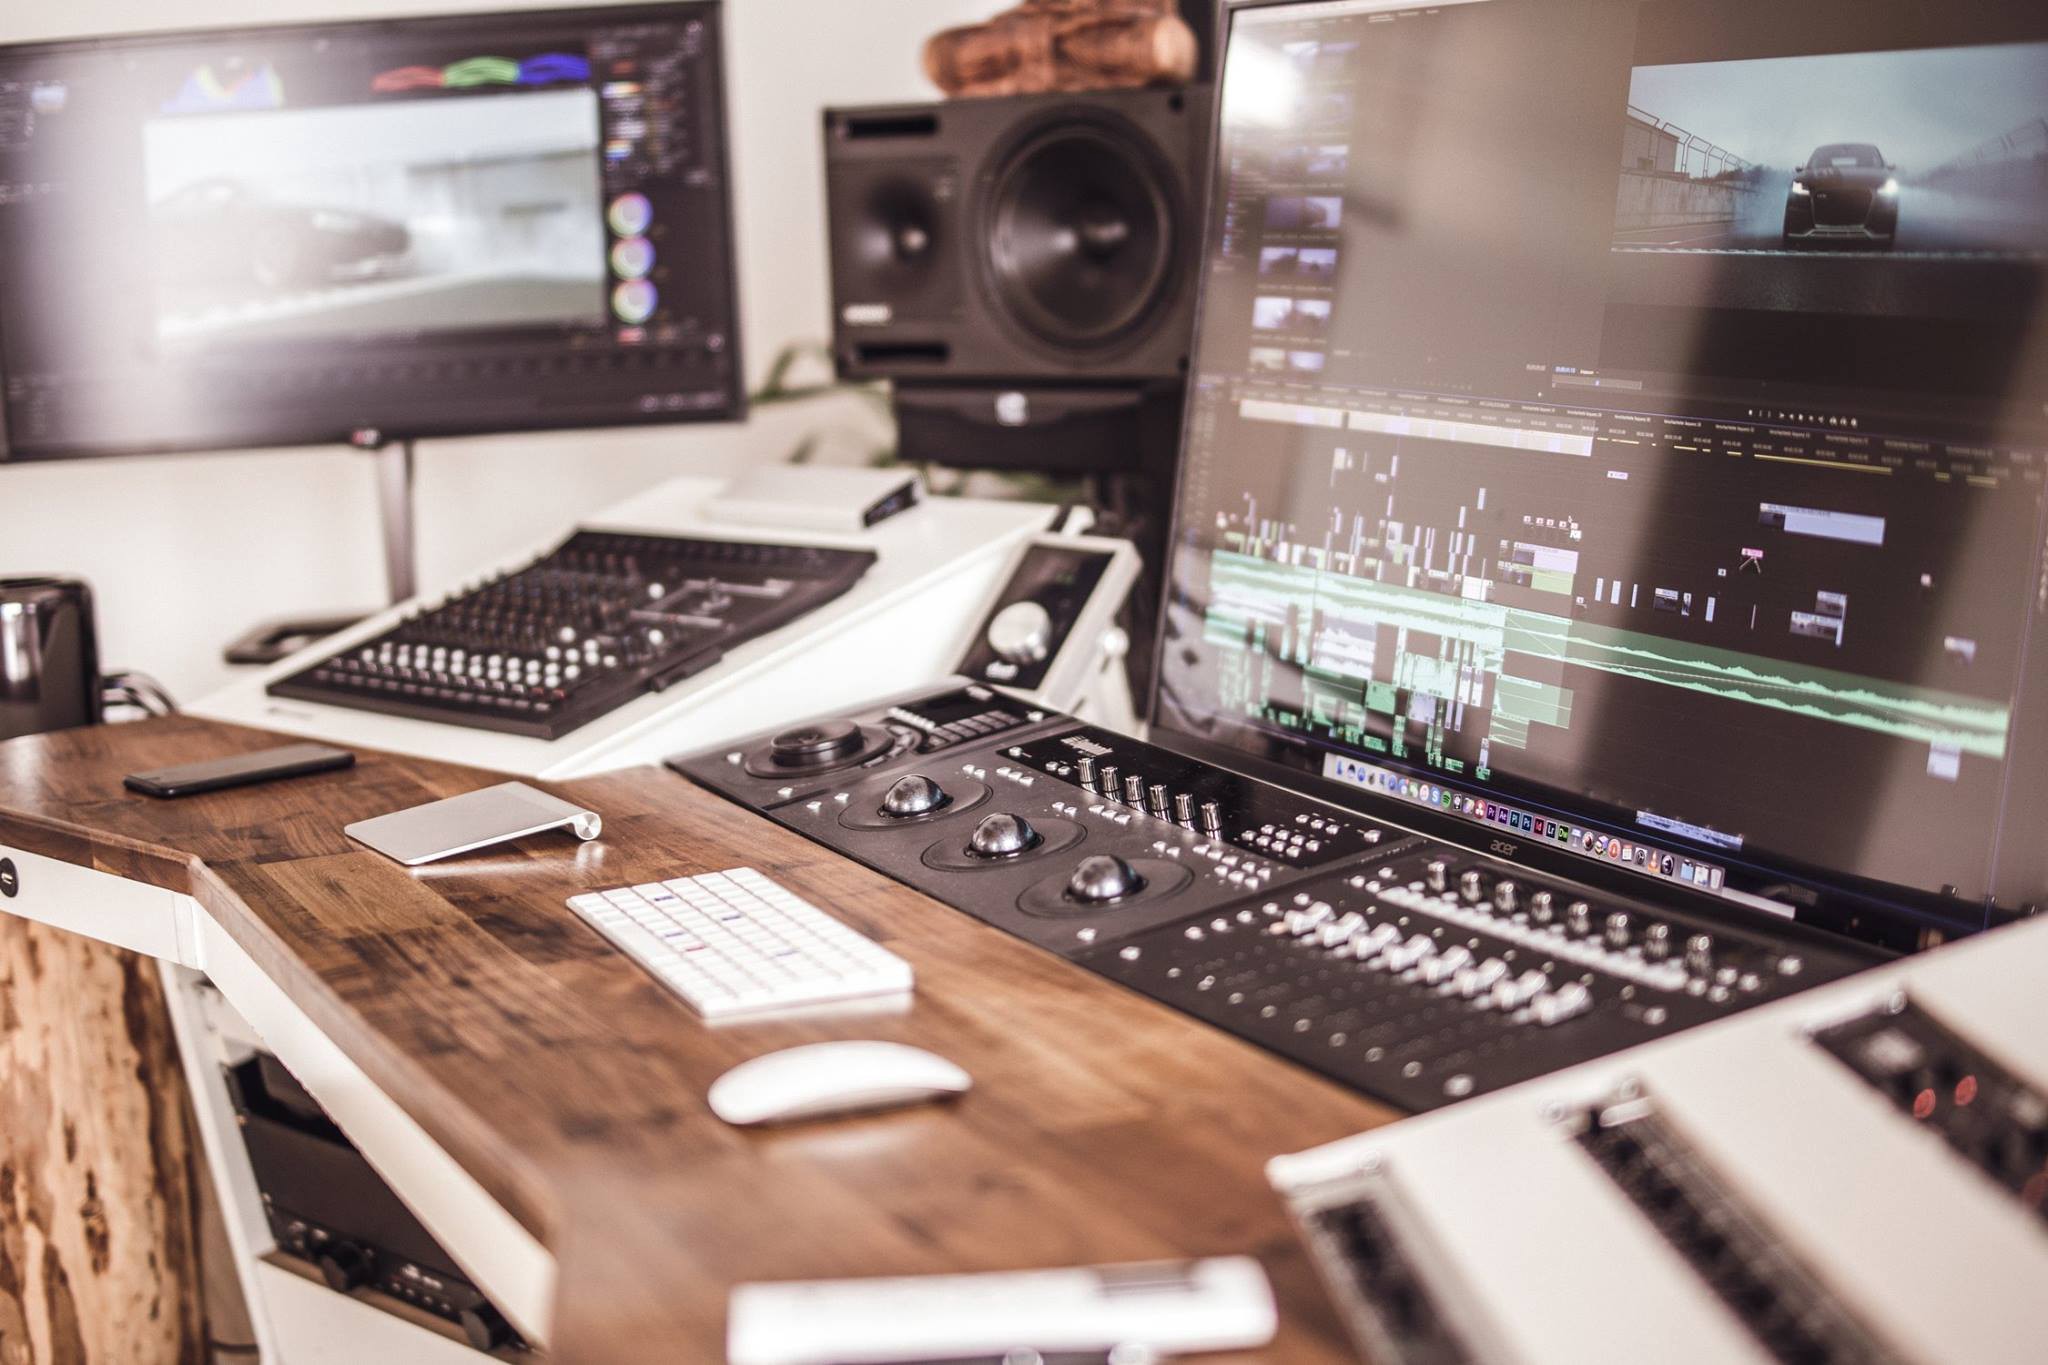
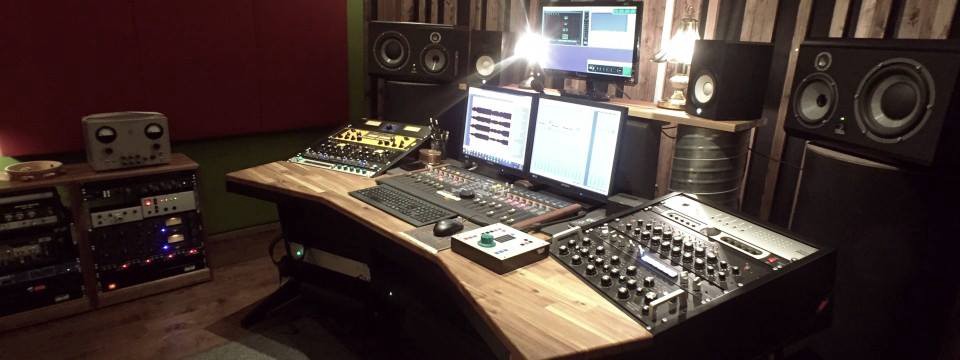 If I add a sliding MIDI keyboard tray, this could potentially be a cool set up with the mixing control still easily accessible. The computer monitors could actually be dropped down to a lower shelf so the bottom of the screen is just slightly above the mixing board for even better ergonomics. I like that idea as well because lowering them a little will allow me to keep the video screen on the wall behind them at a lower, more reasonable height as well.
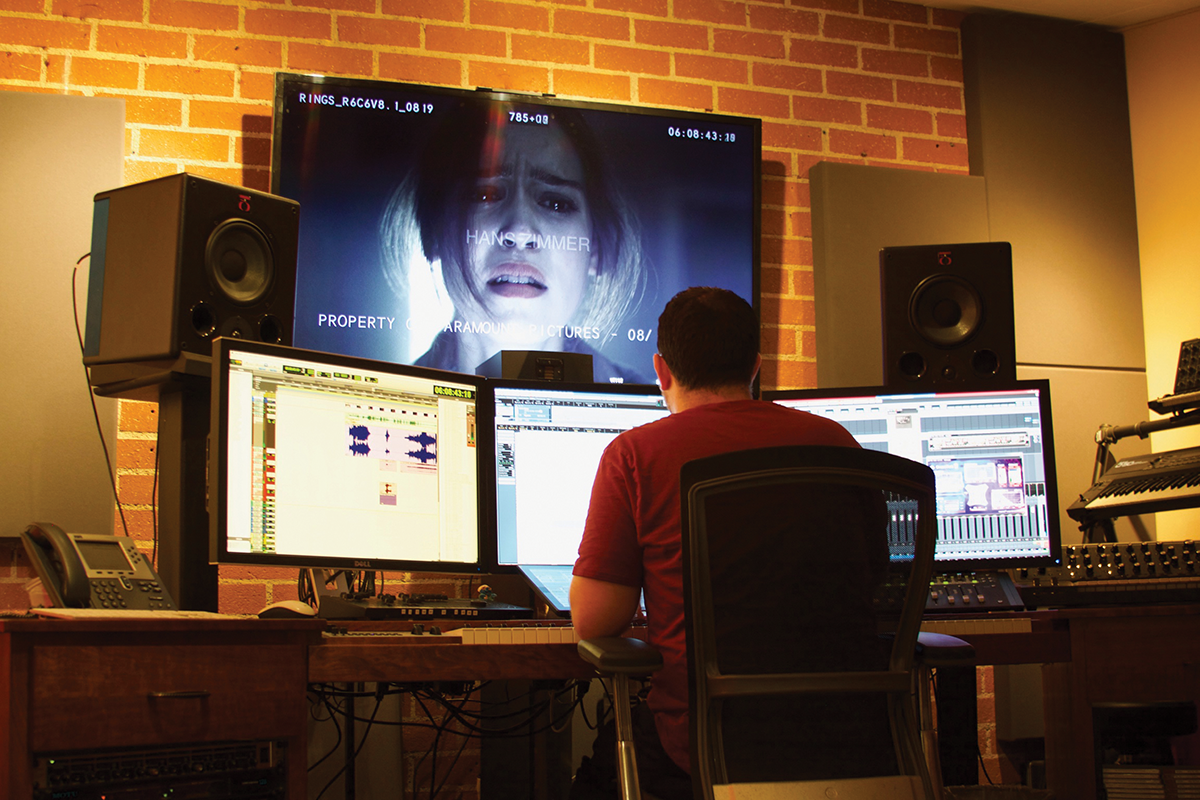
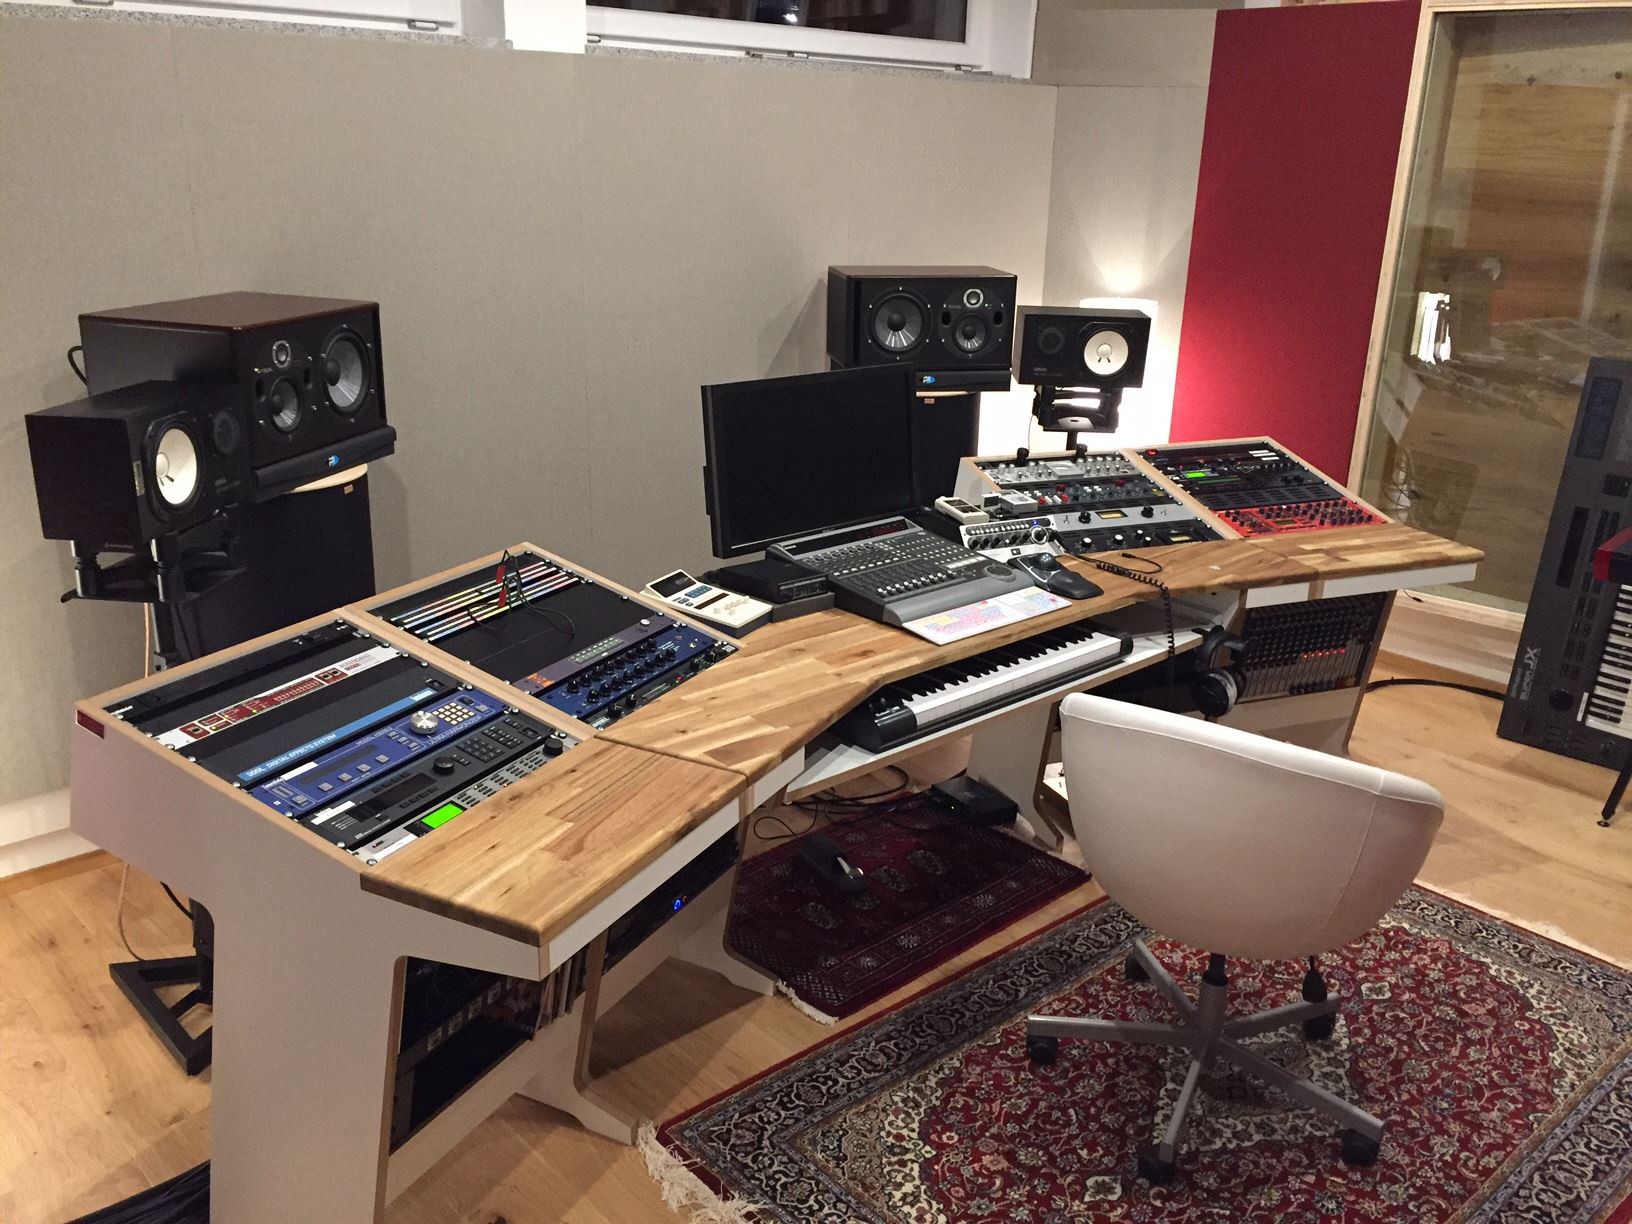
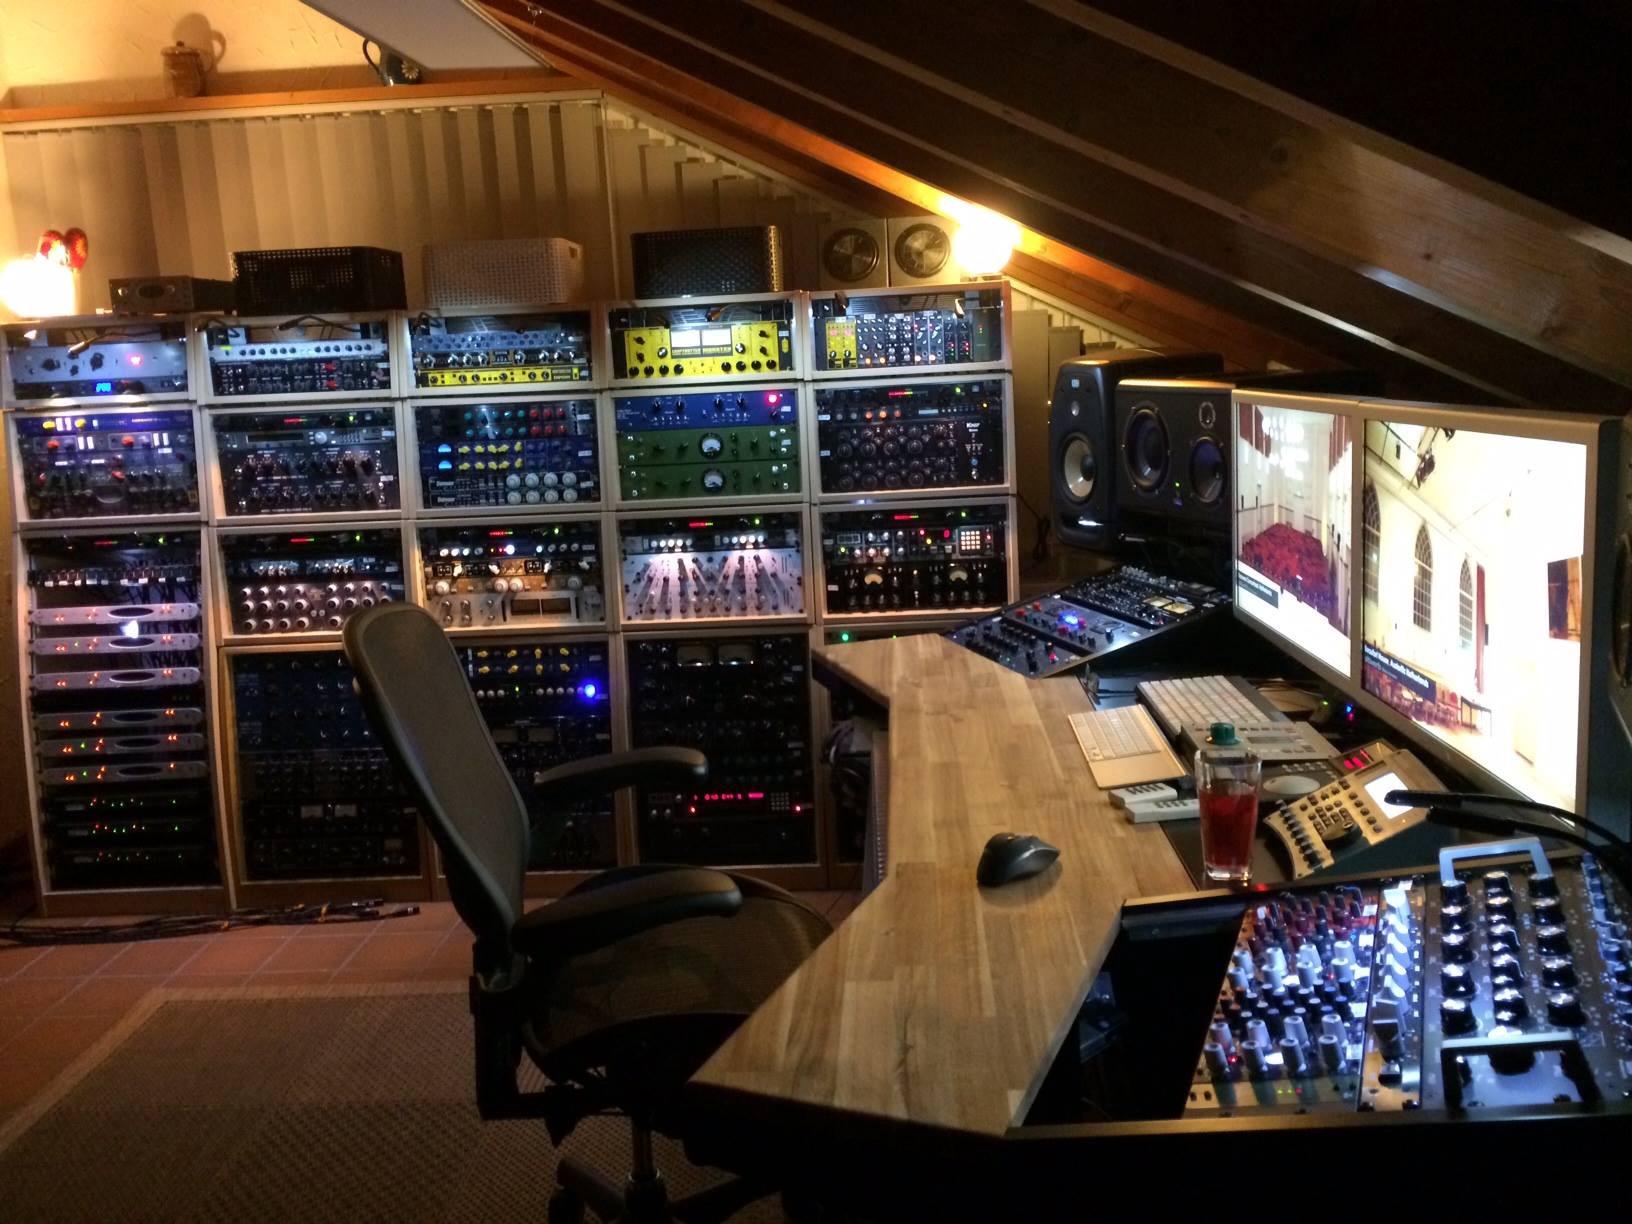 I like how much desk space there is. but, I would push the racks back just a little further and put them on a hinge at the bottom front, so they can adjust and lower all the way flat and be covered with a desktop plug if I?m not needing the racks. That would give me even more clean desktop space. It would also let me angle the racks more vertically when/if I needed to see the controls better. Again, just add a MIDI keyboard tray and this could be a cool set up. But I would definitely lower the screens by building a shelf that drops down about 5 inches, so the bottom of the screen is about an inch above the desk level. This would make it more comfortable for viewing the monitors for hours on end. It would also let me keep my video display on the wall behind them at a better height. Otherwise the screen on the wall will have to be much higher than would be comfortable to stare at for long periods of time. I?ve pictured a few desks below that have the monitor lowered like I?m describing.
Figuring out the design
Here are a few more cool pictures using the Wave Nature desk. It?s filling my head with a feeling of the vibe this design gives and all the different ways I want to totally change and custom design and build one for myself.
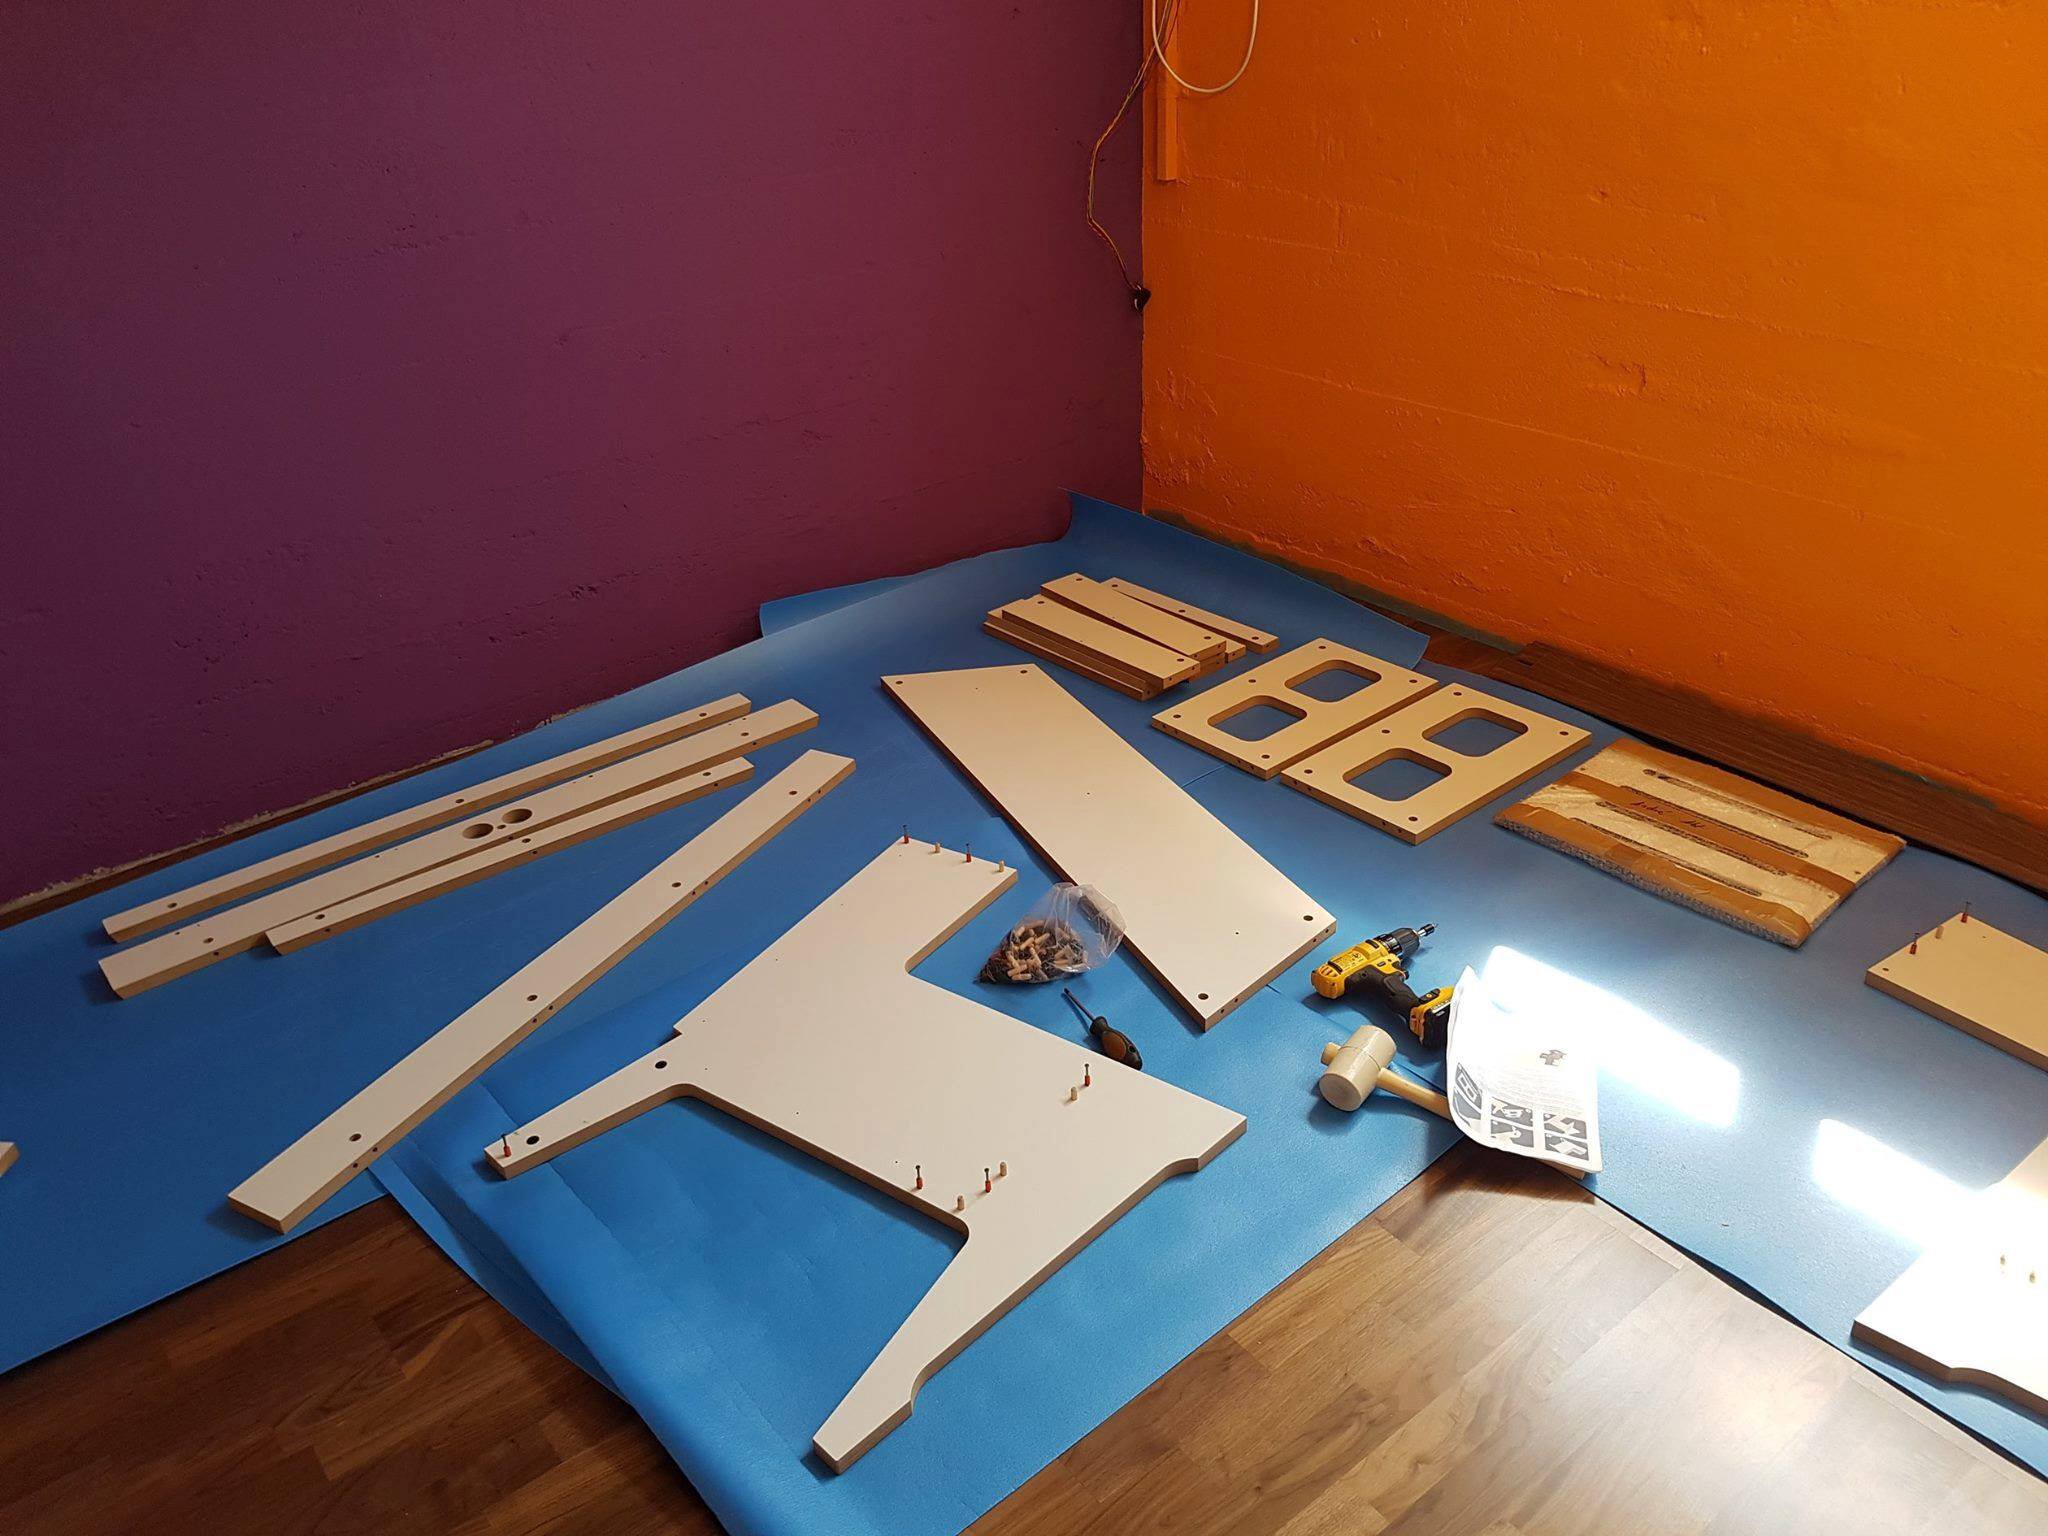
The detail these guys have on their site ? as you really start digging in ? is pretty cool. If they were local I would ABSOLUTELY be having them build one to my specs so I didn?t have to do a thing on the construction end of things. I?d just get a box on my doorstep with pieces ready to assemble (like you see in the picture below where the desk is all laid out on the floor ready for assembly). ALSO, I love that they use Acacia wood for the front slab.

Conclusion
Although there is a lot of work ahead of me still ? to tackle something like designing and building a desk, I?m feeling much more encouraged that I will actually be able to build something that is really functional, super custom to my workflow and looks amazing.
It may be a while yet, but I?ll eventually tackle this and then report back. For now, I?ll get back to building the studio so I?ll have somewhere to eventually put it.
The whole story ? part 1, part 2, part 3, part 4, part 5, part 6, part 7, part 8, part 9, part 10, part 11, part 12, part 13, part 14, part 15, part 16, part 17, part 18, part 19, part 20, part 21

