
Many hardware startups come to NOA Labs on a daily basis and misinterpret the different engineering validation phases necessary to make it happen until the first production run. These phases need to be checked and confirmed every time you want to jump to the next level.
The Product Requirement Document
In order to start the prototyping phase, a lot need to happen before that. Once your product idea is defined, you need to define all functions and basically the user experience. We are not here to explain all steps in between but basically you should come up by the end with a Product Requirement Document (PRD). This PRD will allow the engineers to start doing the work on the hardware and mechanical level, of course if the conceptual design has been done before. You might end up with a mock up in order to see a non-functional design but the game is to reach something that some beta users can manipulate and that we could call MVP (Minimum Viable Product). It will allow you to do few iterations if necessary and test your product in a real environment by your target customers. The MVP can have different meanings depending on your product and your requirement but basically this is a working prototype that some persons can use already.
EVT or Engineering Validation and Testing
Once your hardware is finalised, it needs to be tested and validated. This step is called EVT (Engineering Validation and Testing). In other words, the product cannot pass EVT if not all functional requirements are matched and if the hardware is providing the results and metrics that were expecting in the PRD through the specifications for example. EVT usually comes with a PCB for the hardware and it will be tested for thermal, power, and EMI stresses. It is not uncommon to make few different EVT iterations if you make changes to the hardware.
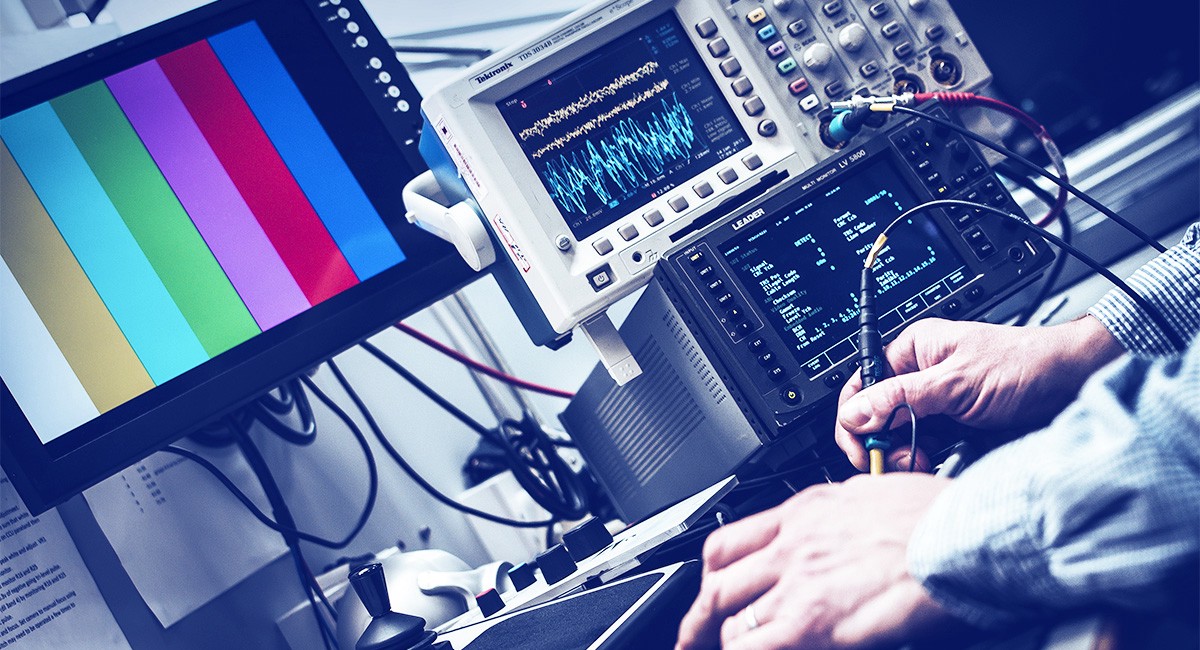
PCB getting tested for the EVT.
DVT or Design Validation and testing
The next stage is one of the most complicated and is called DVT (Design Validation and Testing). At this stage, all the hardware is ready and you want to make sure that you product will match your requirements in terms of cosmetics and environment. In order to do so, your product will be produced in small batches and will be under real stress. We are talking here of dropping it from a certain height, burning it, check if it is waterproof, etc. An extensive battery of tests will tell you if your product is ready for production. In the meantime, you want to make sure that its appearance is durable and lasting long enough so you will check the painting, if it easily get scratched, and so on and find out how to improve the fabrication process and maybe the materials to make it fit your requirements. This step is also quite related to certifications, like CE, FCC, UL etc. Every country has different certifications and standards for products. For example, in Europe you usually need RoHS and CE at least and sometimes UL if your product is directly plugged to a direct source of current. Hence, the target countries you defined in your PRD will tell you which standards you must respect before selling your product on the market.

Example of what can happen if there is no proper DVT.
PVT or Production Validation and Testing
Now, you have your product ready to jump to the next level: mass production. However, most people do always underestimate this stage, but not because it is usually the most expensive. In order to make it happen, there is one more step: PVT (production Validation and Testing). You will establish a pilot production line to check if there is any failure at any stage of the production line and you will evaluate how to optimise the process. It means that DFM (Design For Manufacturing) has been done and the moulds are ready, so is the stencil for your PCB (printed Circuit Board). The production line will be improved for your product, reducing time if possible for some parts, and making this whole process as smooth and reliable as possible. One element we did not really mentioned in here is DFA (Design For Assembly) as it can happen at different stages but most probably close to the end and it will allow engineers find the best and most efficient way to assemble the product after getting produced. Hence, sometimes the design needs to be slightly modified in order to improve this part.
We were in here pointing out all main stages happening during the product life cycle, even though it was simplified in order to get the bigger picture. Many people have a different overview of the whole process but it always follow the same logic basically. To develop a product, no matter what it is, is always a long journey and to have a better understanding of the different stages will always help to avoid issues by the end.
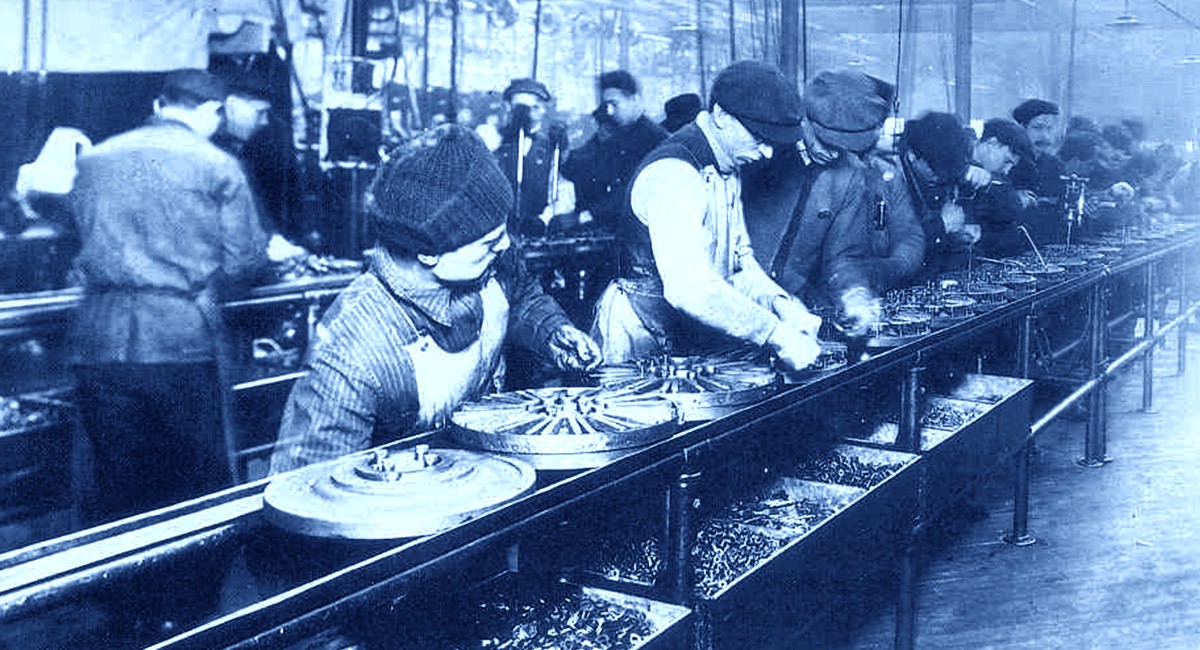
Ford reduced the time of assembling his car from 12hours to 2,5 hours by optimising the assembly line.

