This is a basic tutorial will show you how to create a Contact Form for your website that will send you an email. This is commonly used to collect feedback from users without them having to open their email client manually to send you an email. In this example, we?ll be coding in PHP.
Note: if you?re looking for a WordPress solution, I instead recommend using the plugin ?Contact Form 7?. My tutorial is for those who want to type PHP code.
We need two web pages:
- The page where a user can enter data in (ex. name and email address)
- The page that processes the request (i.e. sends the email to you)
Part 1 of 2: Data Entry
We?ll start with utilizing an HTML ?form?. A basic version (which isn?t yet functional) will have code like this:
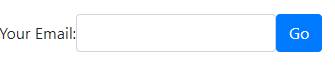
It?ll look like this:
![]()
We have a label, an input box, and a button.
Let?s make it a little nicer with Bootstrap framework . While I?m not doing it here, it?s best practice to put the CSS code in the HEAD tag. Then just add the appropriate class values to make it look nicer:
Gives us this:
Now for the slightly harder stuff?
Once the user hits the submit button, we need to tell the browser what to do; we need to bring them to the next web page that will actually send the email.
Step 1 of 2
Each FORM tag has an ACTION element tells the browser that, once the user hits the ?submit? button, where does it go? In this example, we want to bring the user to a page called ?send.php? .
Step 2 of 2
Each FORM tag also has a METHOD element. There are only two possible values:
- ?GET? which is generally used for public, non-sensitive data. For example, when you do a Google search, the second screen (where you see the results) will show the content that you typed in, in the web address bar.
- ?POST? will hide this information; very common for sensitive data (like a credit card number). While the information you will be collecting in a Contact Form most likely won?t have sensitive information, we?re going to use this for a cleaner user experience.
Note the additions of the METHOD and ACTION elements on Line 4:
There won?t be any visible changes to the user (so the screen will still look the same after making these changes).
Part 2 of 2: Sending the Email
Create a new file, with the name being the same value that we put in the ?action? of the form. In my example, the new file will be called ?send.php?. Let?s start with just this one line of code:
Go ahead and load up that page in your browser (by going to it directly; don?t get there from clicking the ?Go? button, yet).
![]()
You?ll only see the hard-coded text there (?You typed in:?). The part for $_POST[?myEmail?] will be blank.
Depending on your server?s configuration, you may get an error that $_POST[?myEmail?] wasn?t found. Don?t worry about this yet.
Now, let?s try getting to the second page (send.php) by submitting the form on the first page. You should get this:
 The difference in font on the right-hand side is because we didn?t bring in the Bootstrap CSS yet
Explanation of how this works:
Examining this part: <?php print $_POST[?myEmail?];?>
- All PHP code goes inside of <?php and ?>
- The print command displays content on the screen
- POST is used because that?s the method in the FORM (from Step 1)
- myEmail is used because that?s the name of the textbox in the FORM (from Step 1)
Now we need to actually send the email
To start with, we?ll use the PHP mail() function.
It follows this format:
<?php mail( ?send-to-my-email?, ?email-subject-line?, ?email-content?); ?>
It?s common practice to pass in variables, so we?ll use this format instead:
Go ahead an put in your email address on line 2, then load up the webpage. You should get an email in your inbox! It may take a couple of minutes, and it may go to your spam/junk folder, but it should work. If it doesn?t, you?ll have to contact your web host or web administrator.
To finish up the minimum functionality, we need to take the contents of $_POST[?myEmail?] and include that in the $body variable so that we can see what the user put in. We should also notify the user that we?ve received their information. Update send.php to:
Content in the <?php and ?> won?t be shown to the user (unless you print it out on purpose). The final output visible to the user will be:
![]()
The email that you?ll get:
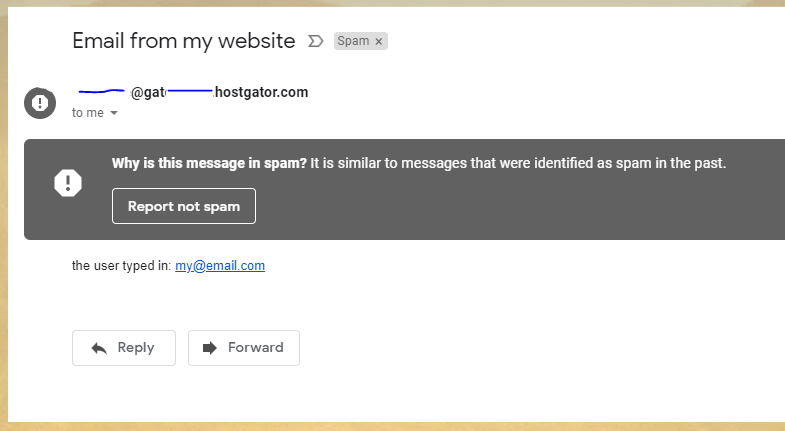
For me, it went to spam. You can indicate that it?s not spam to train your email provider to send it directly to your inbox. I have work-around discussed in Part 2 of this tutorial.
A slightly more advanced example
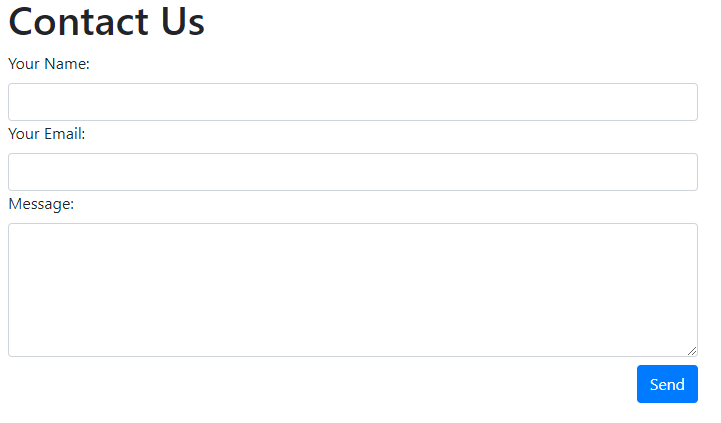
If you want to have a form with multiple input elements, you can use this as a template:
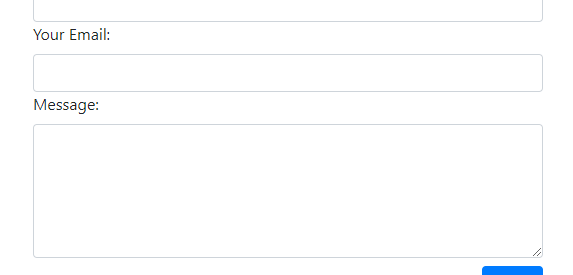
It?ll look like this:
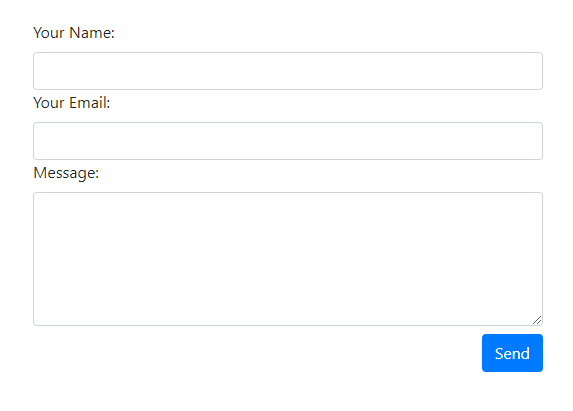
And the respective code to send it is:
The rn on lines 13?15 creates a new line when displaying it in your email. You could also use a <BR> or <P> tag.
Part 2 of this tutorial, where I go over some more advanced concepts, can be found here.
Do you know what an ?if? block is? And what a variable is? If you already do and are interested in learning PHP, check out my book ? where I gear it toward people who already know programming fundamentals.


)
)