If you plan on recording your screen with OBS Studio, and you?re wondering what settings you should use, then this is for you!
Video recording settings
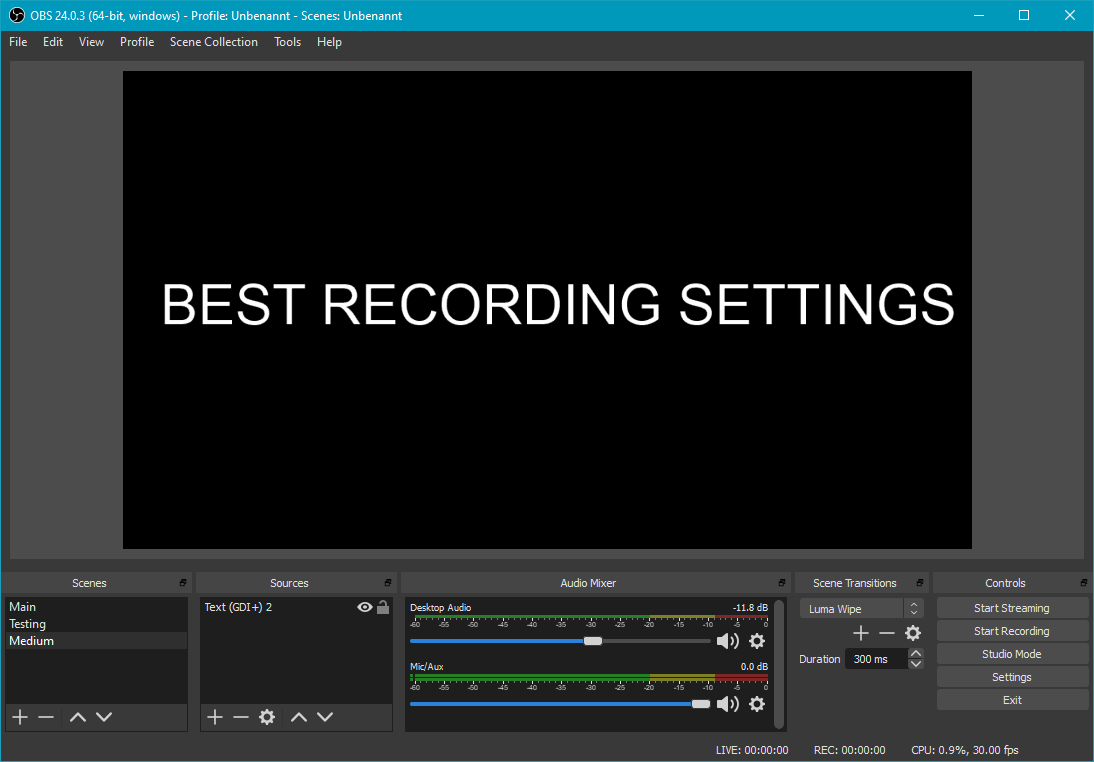
The settings shown here are optimal for YouTube uploads.
Go to the settings
 File
File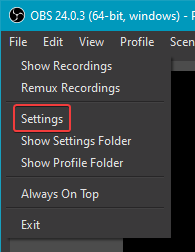 File ? Settings
Go to the ?Output? settings
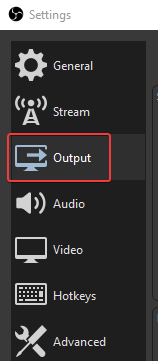 File ? Settings ? Output
Set your recording settings
Set your settings to this:
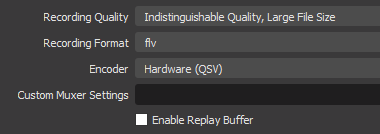 File ? Settings ? Output ? Recording Settings
Recording Quality: This is set so high because it?s one of the two most important values for a good-looking video. This will set your video bit rate higher and make the output file larger ? and sharper.
Recording Format: I choose to set this to FLV. This format is way better while recording, because it handles errors a lot better and in the case of a sudden shutdown, the file will be recoverable. We will automatically convert the file to MP4 later!
Encoder: The encoder that should be used differs from system to system. I choose to use ?Hardware? as my CPU is pretty good. This choice is faster. Use ?Software? if you experience frame drops.
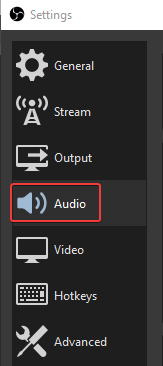
Go to the ?Audio? settings
 File ? Settings ? Output ? Audio
Set your audio settings
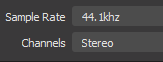 File ? Settings ? Output ? Audio ? Audio Settings
Sample Rate: This is a standard value. This only needs to be changed for high detail music/sound recordings.
Channels: Stereo means that the sound has a left and right channel, for your left and right ear.
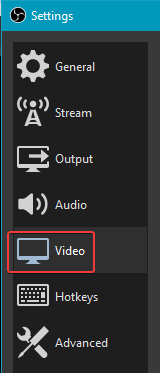
Go to ?Video?
 File ? Settings ? Output ? Video
You have to set the output video resolution here.
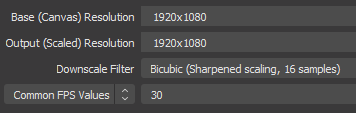 File ? Settings ? Output ? Video (Sample settings)
Base (Canvas) Resolution: This should be set to the resolution of your screen.
Output (Scaled) Resolution: This should be set to the resolution of your screen. This resolution will be used while exporting the video.
Downscale Filter: This is the algorithm that will be used to scale your Video. Normally Bicubic with 16 samples is fine.
FPS: This is up to you. A higher value means that more frames will be saved every second, which makes the video smoother and the file larger.
Common FPS Values:
- Movies in America | 24 fps
- Movies in Europe | 25 fps
- Vlog/Screencast/Streaming | 25 fps or 30fps
- Gaming videos | 30 fps or 60 fps
Automatically remux the video to MP4
Go to ?Advanced?
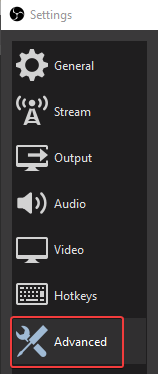 File ? Settings ? Output ? Advanced
 File ? Settings ? Output ? Advanced ? Recording ? Automatically remux to mp4
Check the checkbox to automatically convert the output file (FLV) to a MP4 file.
Now you are all good to start recording!
