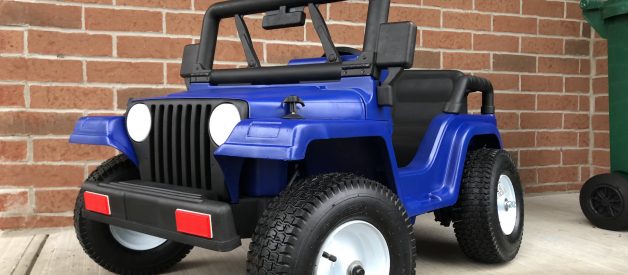
 The finished product
There are certain early childhood memories that stick with you well into adulthood. For me Power Wheels, or rather my lack of them, is one of these memories. No matter how fiercely I lobbied my parents it was either too expensive, took up too much space, impractical, unnecessary or some combination of those things. I never ended up getting them and was instead left to jealously watch other kids wheel around in seemingly endless joy.
Having a child of my own seemed like the perfect opportunity to vicariously live my Power Wheels dreams. But alas as a sensible adult myself I saw the same problems with owning them that my parents did. Unlike my parents I went about trying to solve some of those problems.
Problem 1: Cost
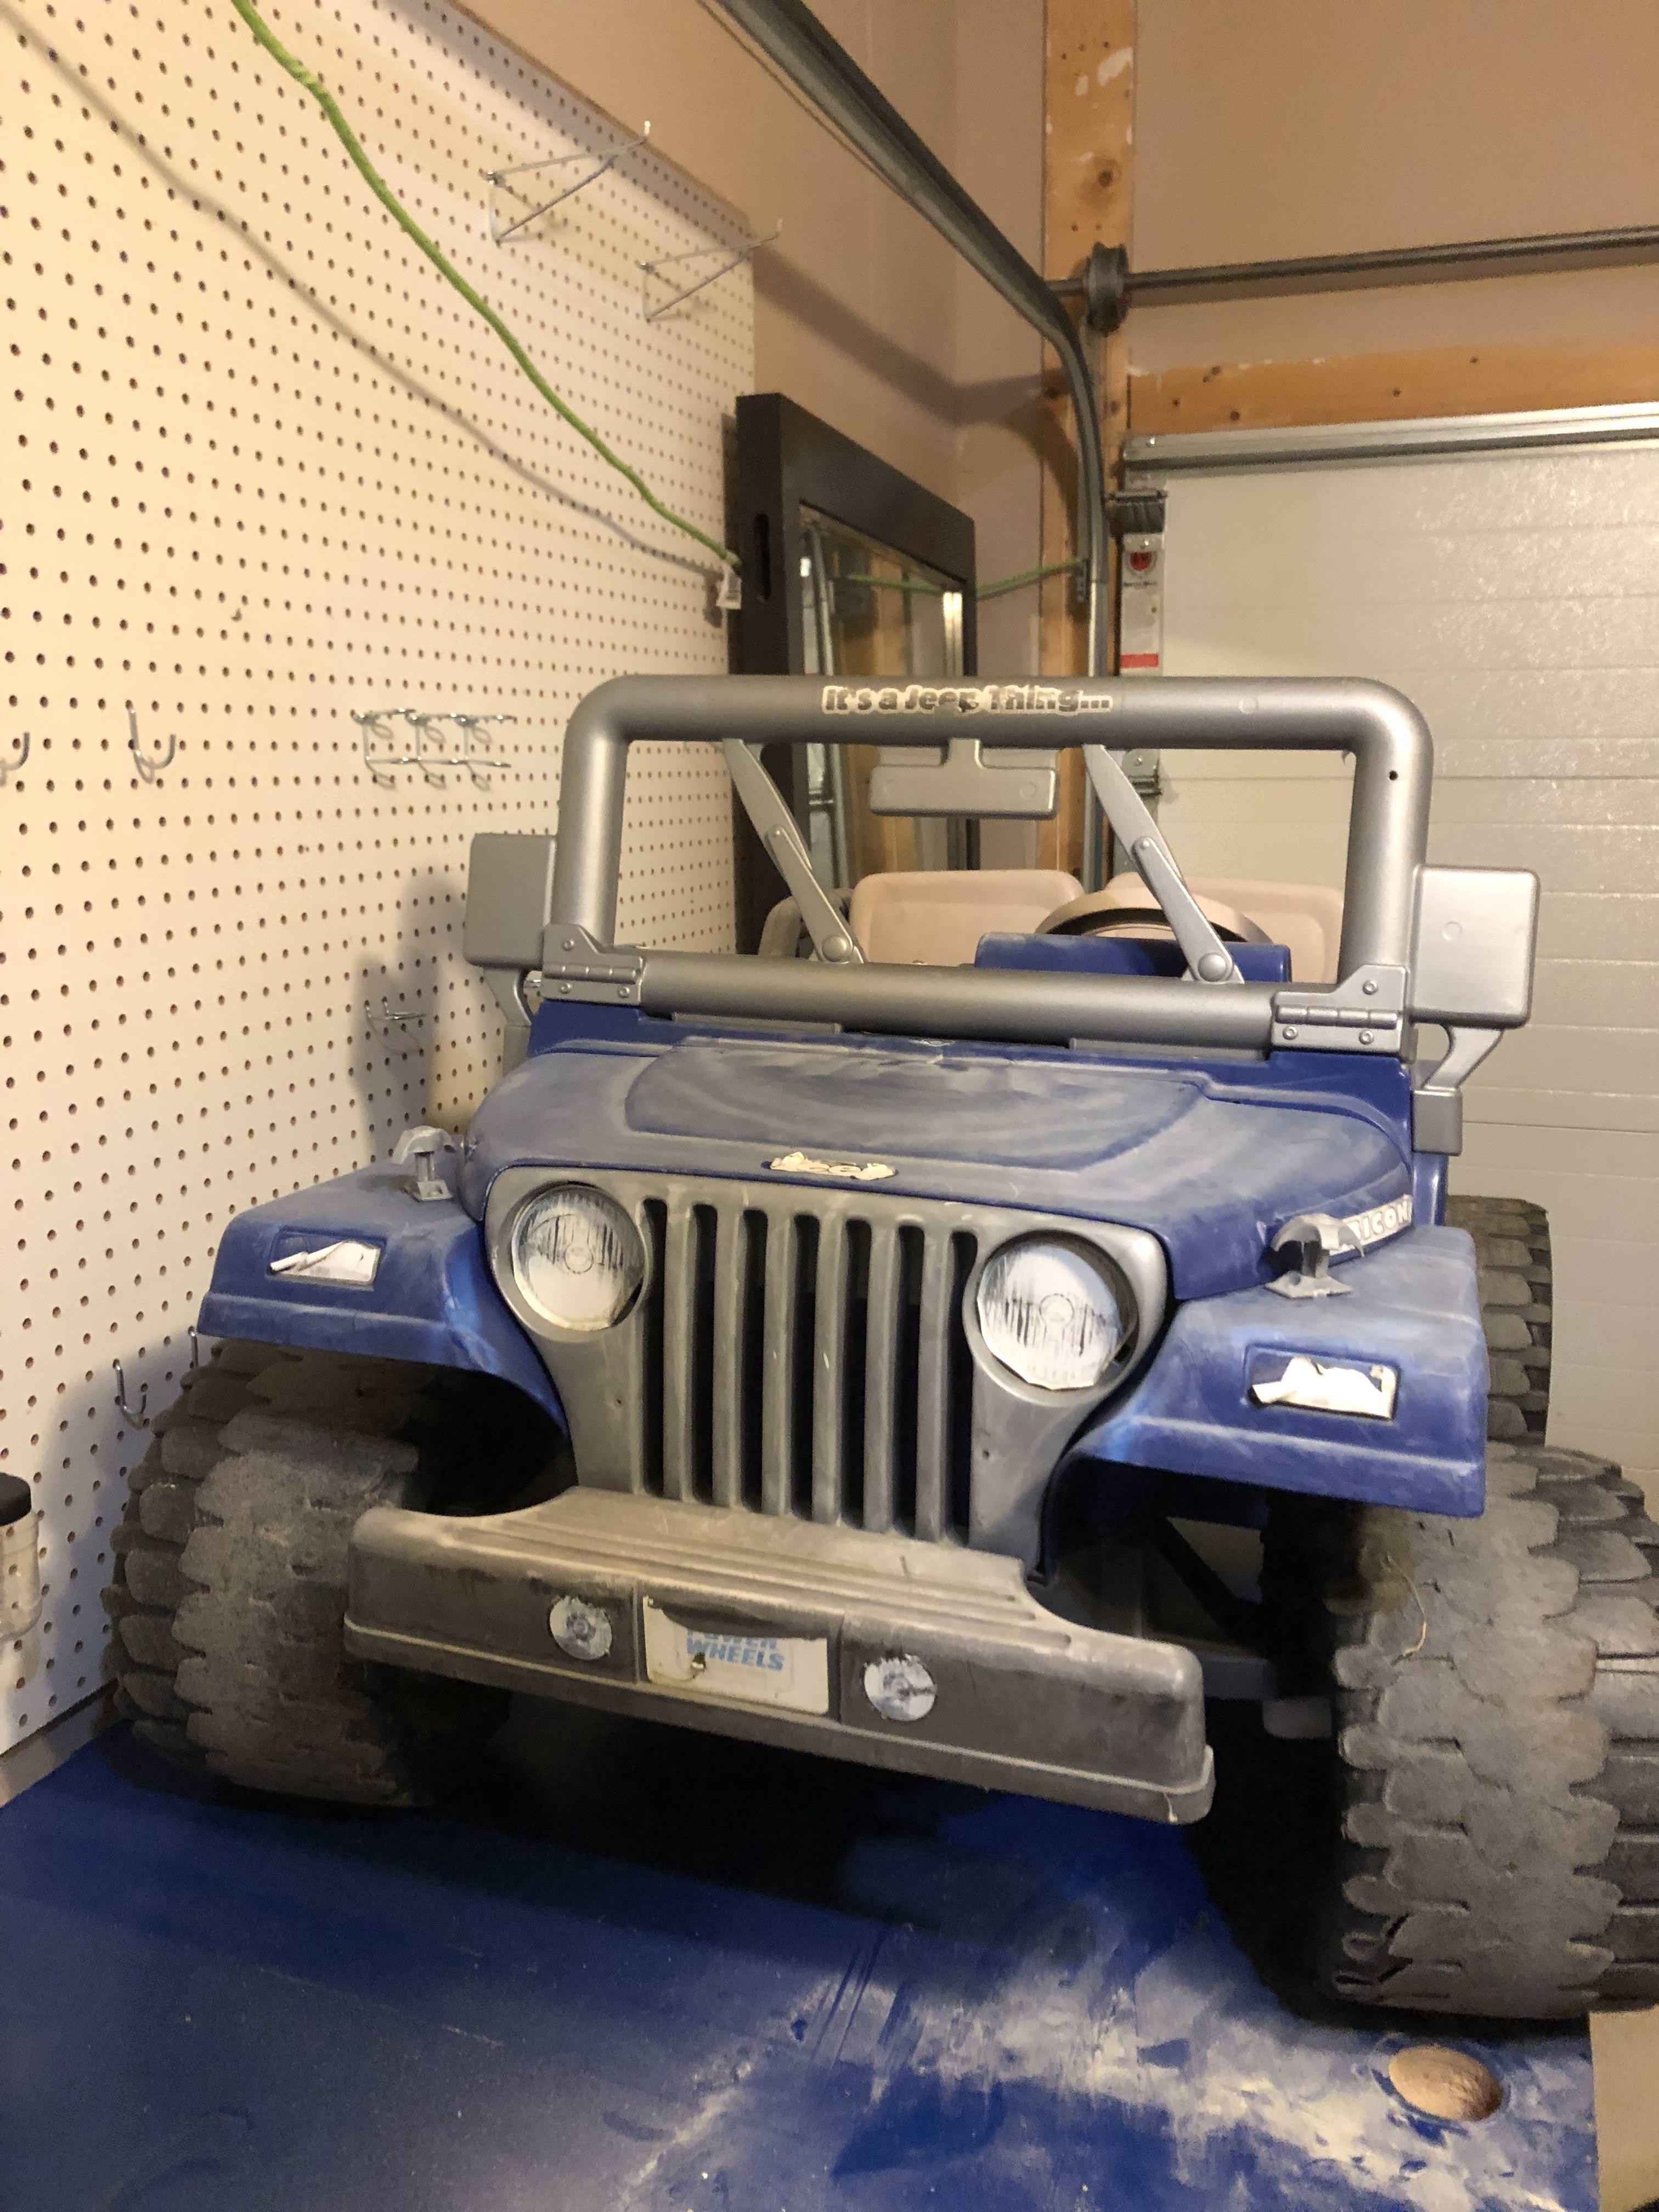
These days you can get single-seater, slow, plasticky, knock-offs for just over $100. But for an original Jeep 2-seater with dual motors and 7″ wide tires it?s over $300. Luckily, they also last forever and are very repairable. For just $40 I picked up a decade old model that had been put through the ringer by 3 boys. It still ran and the battery still held a charge but it really wasn?t much to look at with peeling stickers, fading plastic, rusted screws, and dirt everywhere.
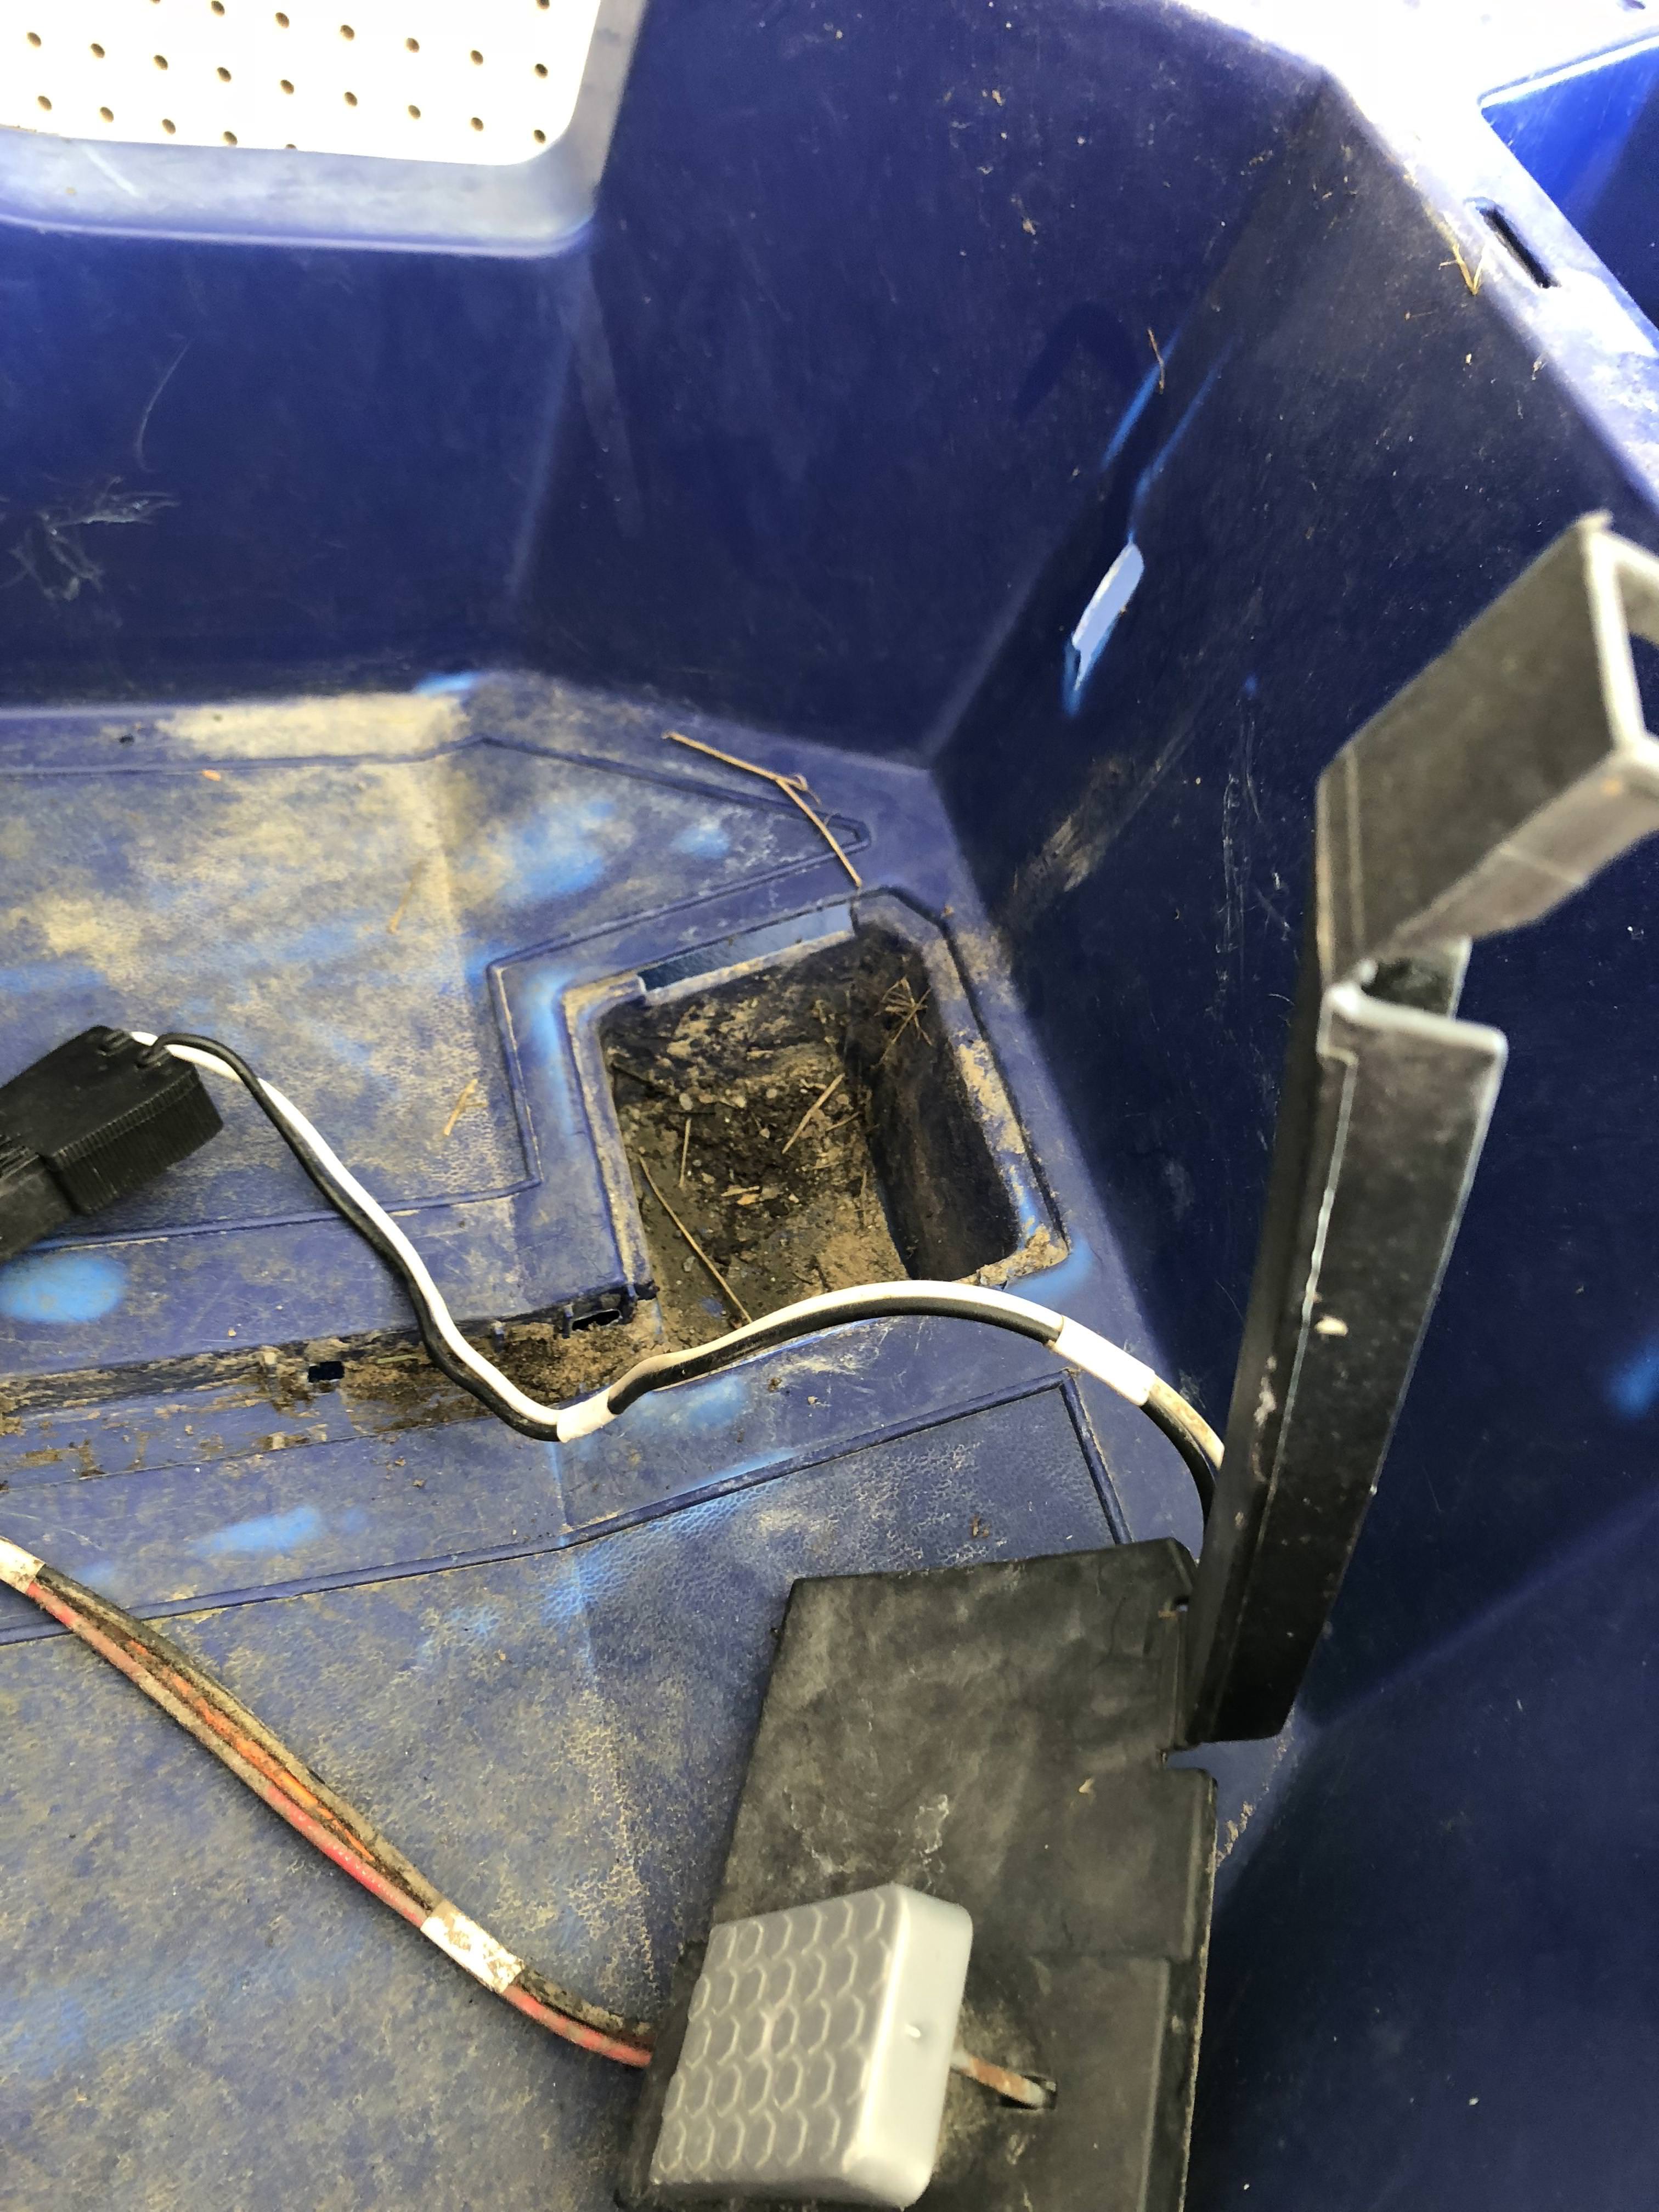
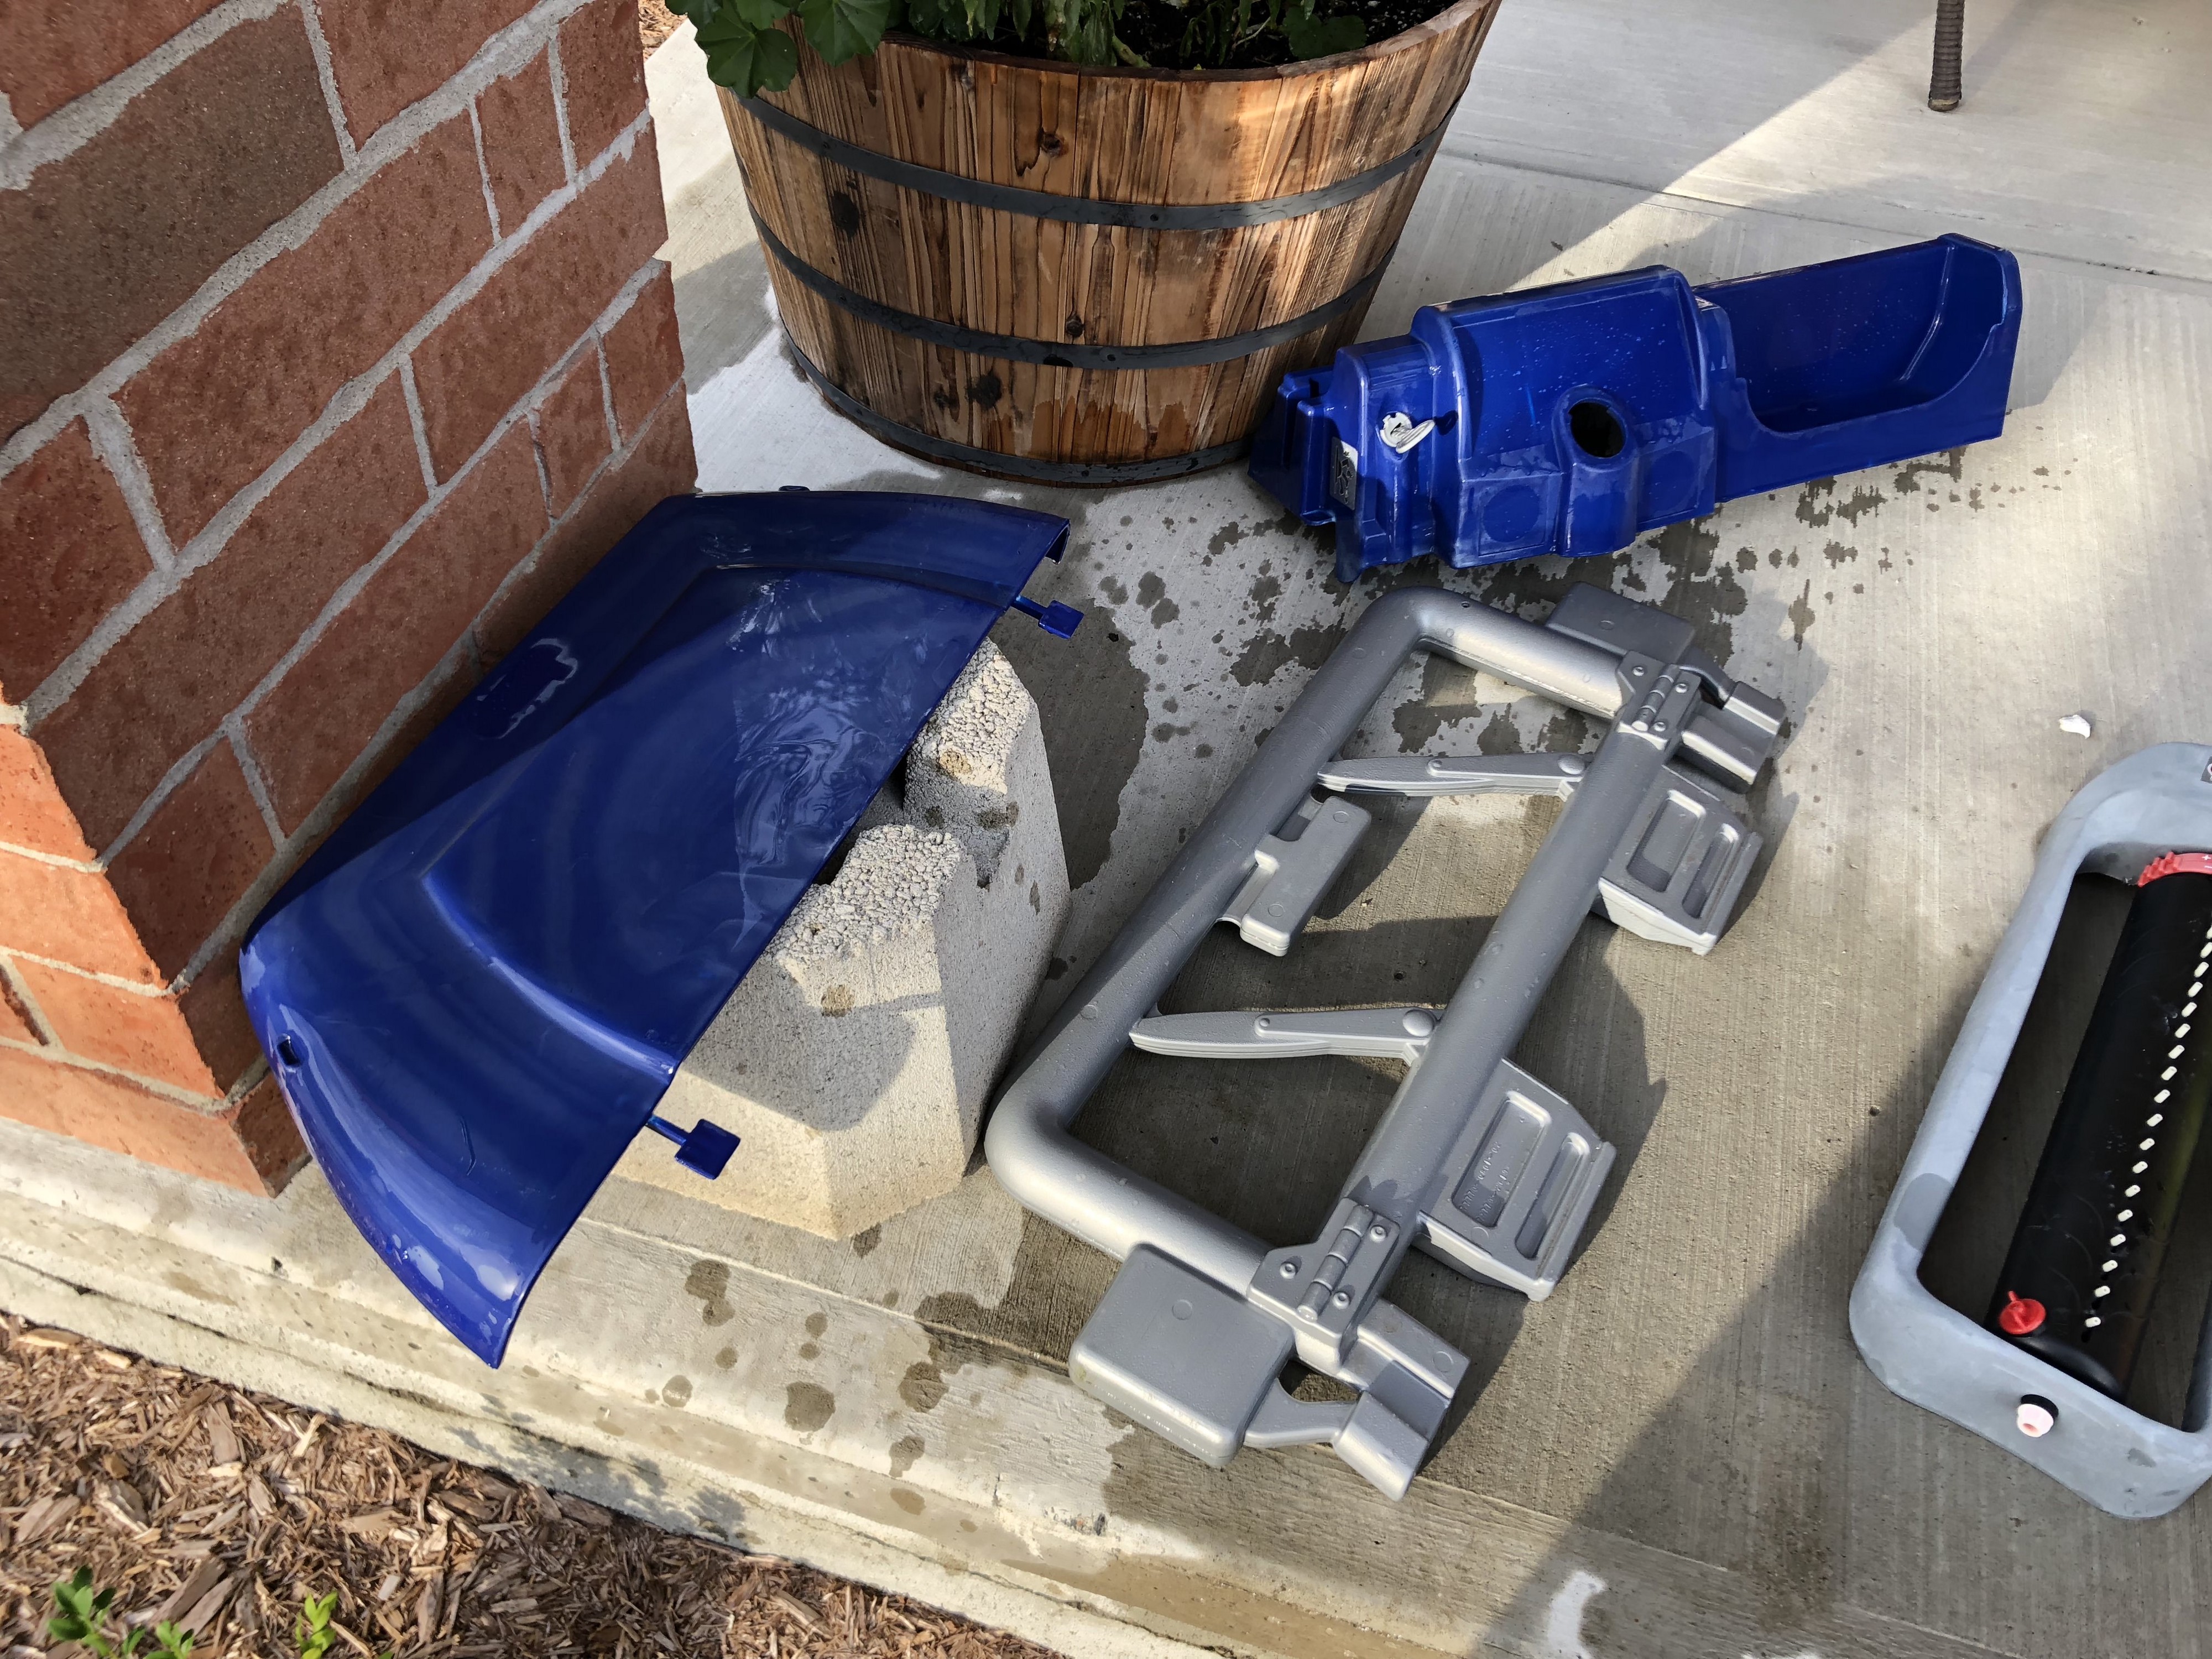
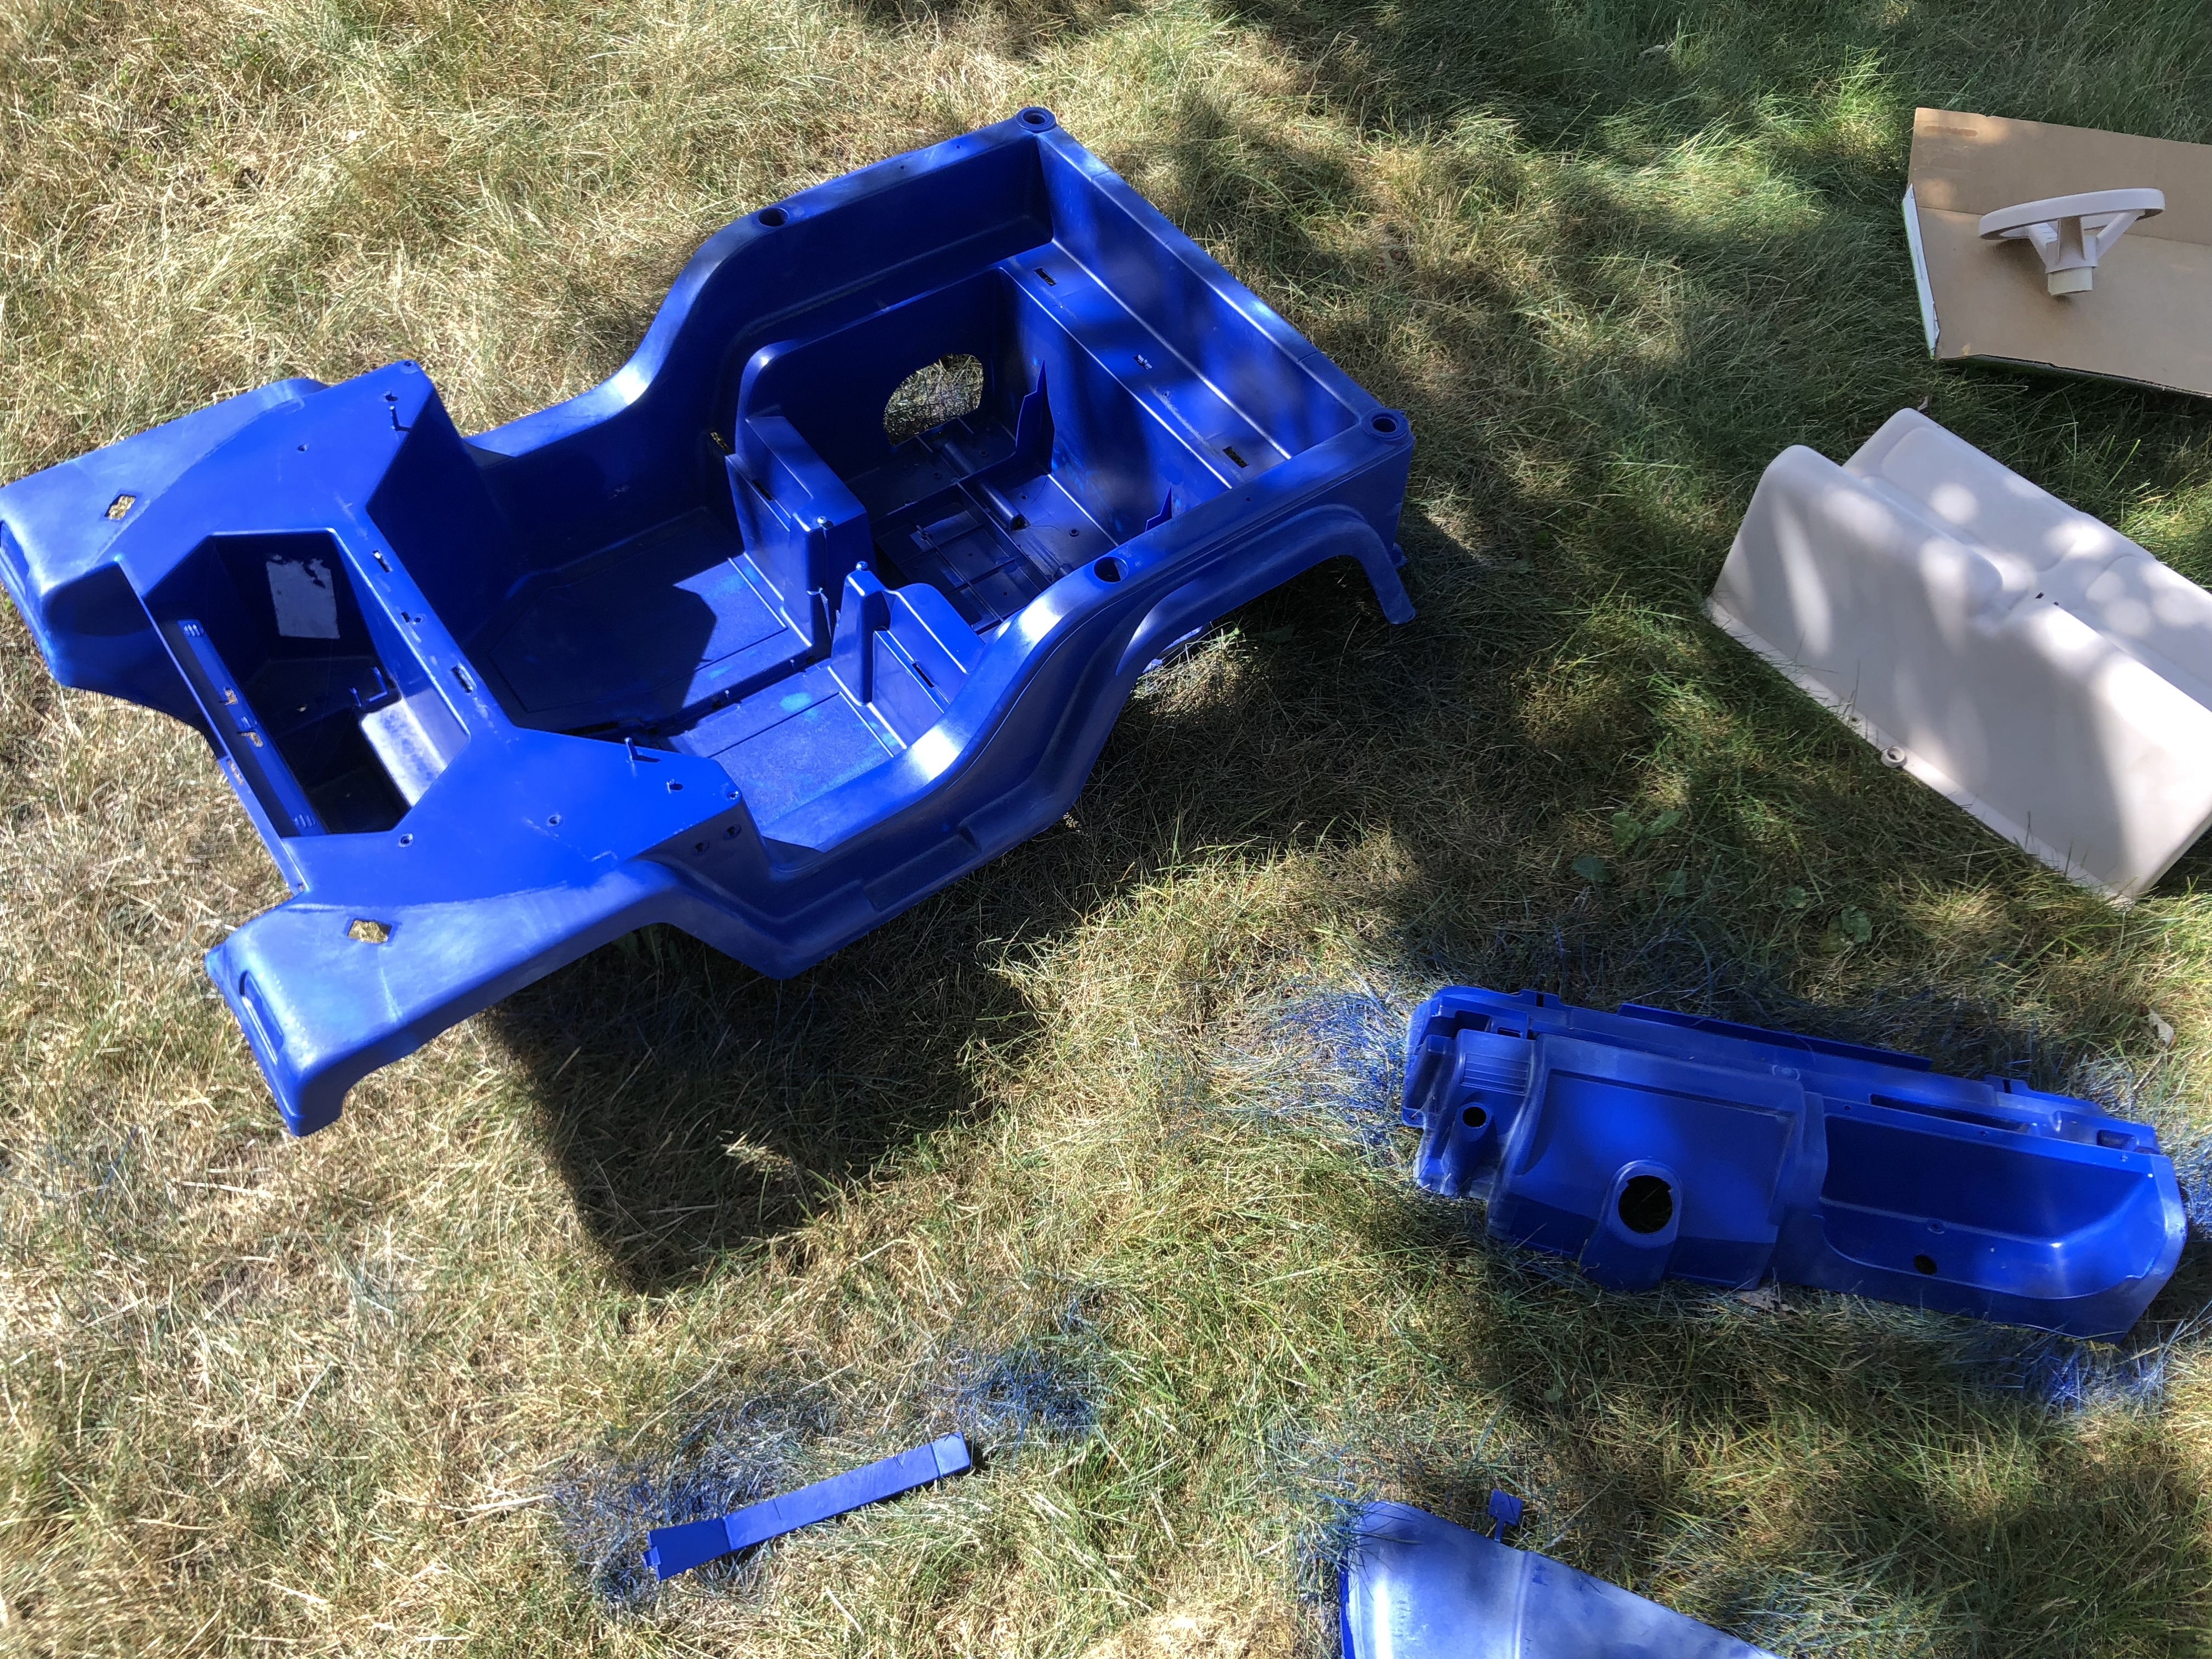
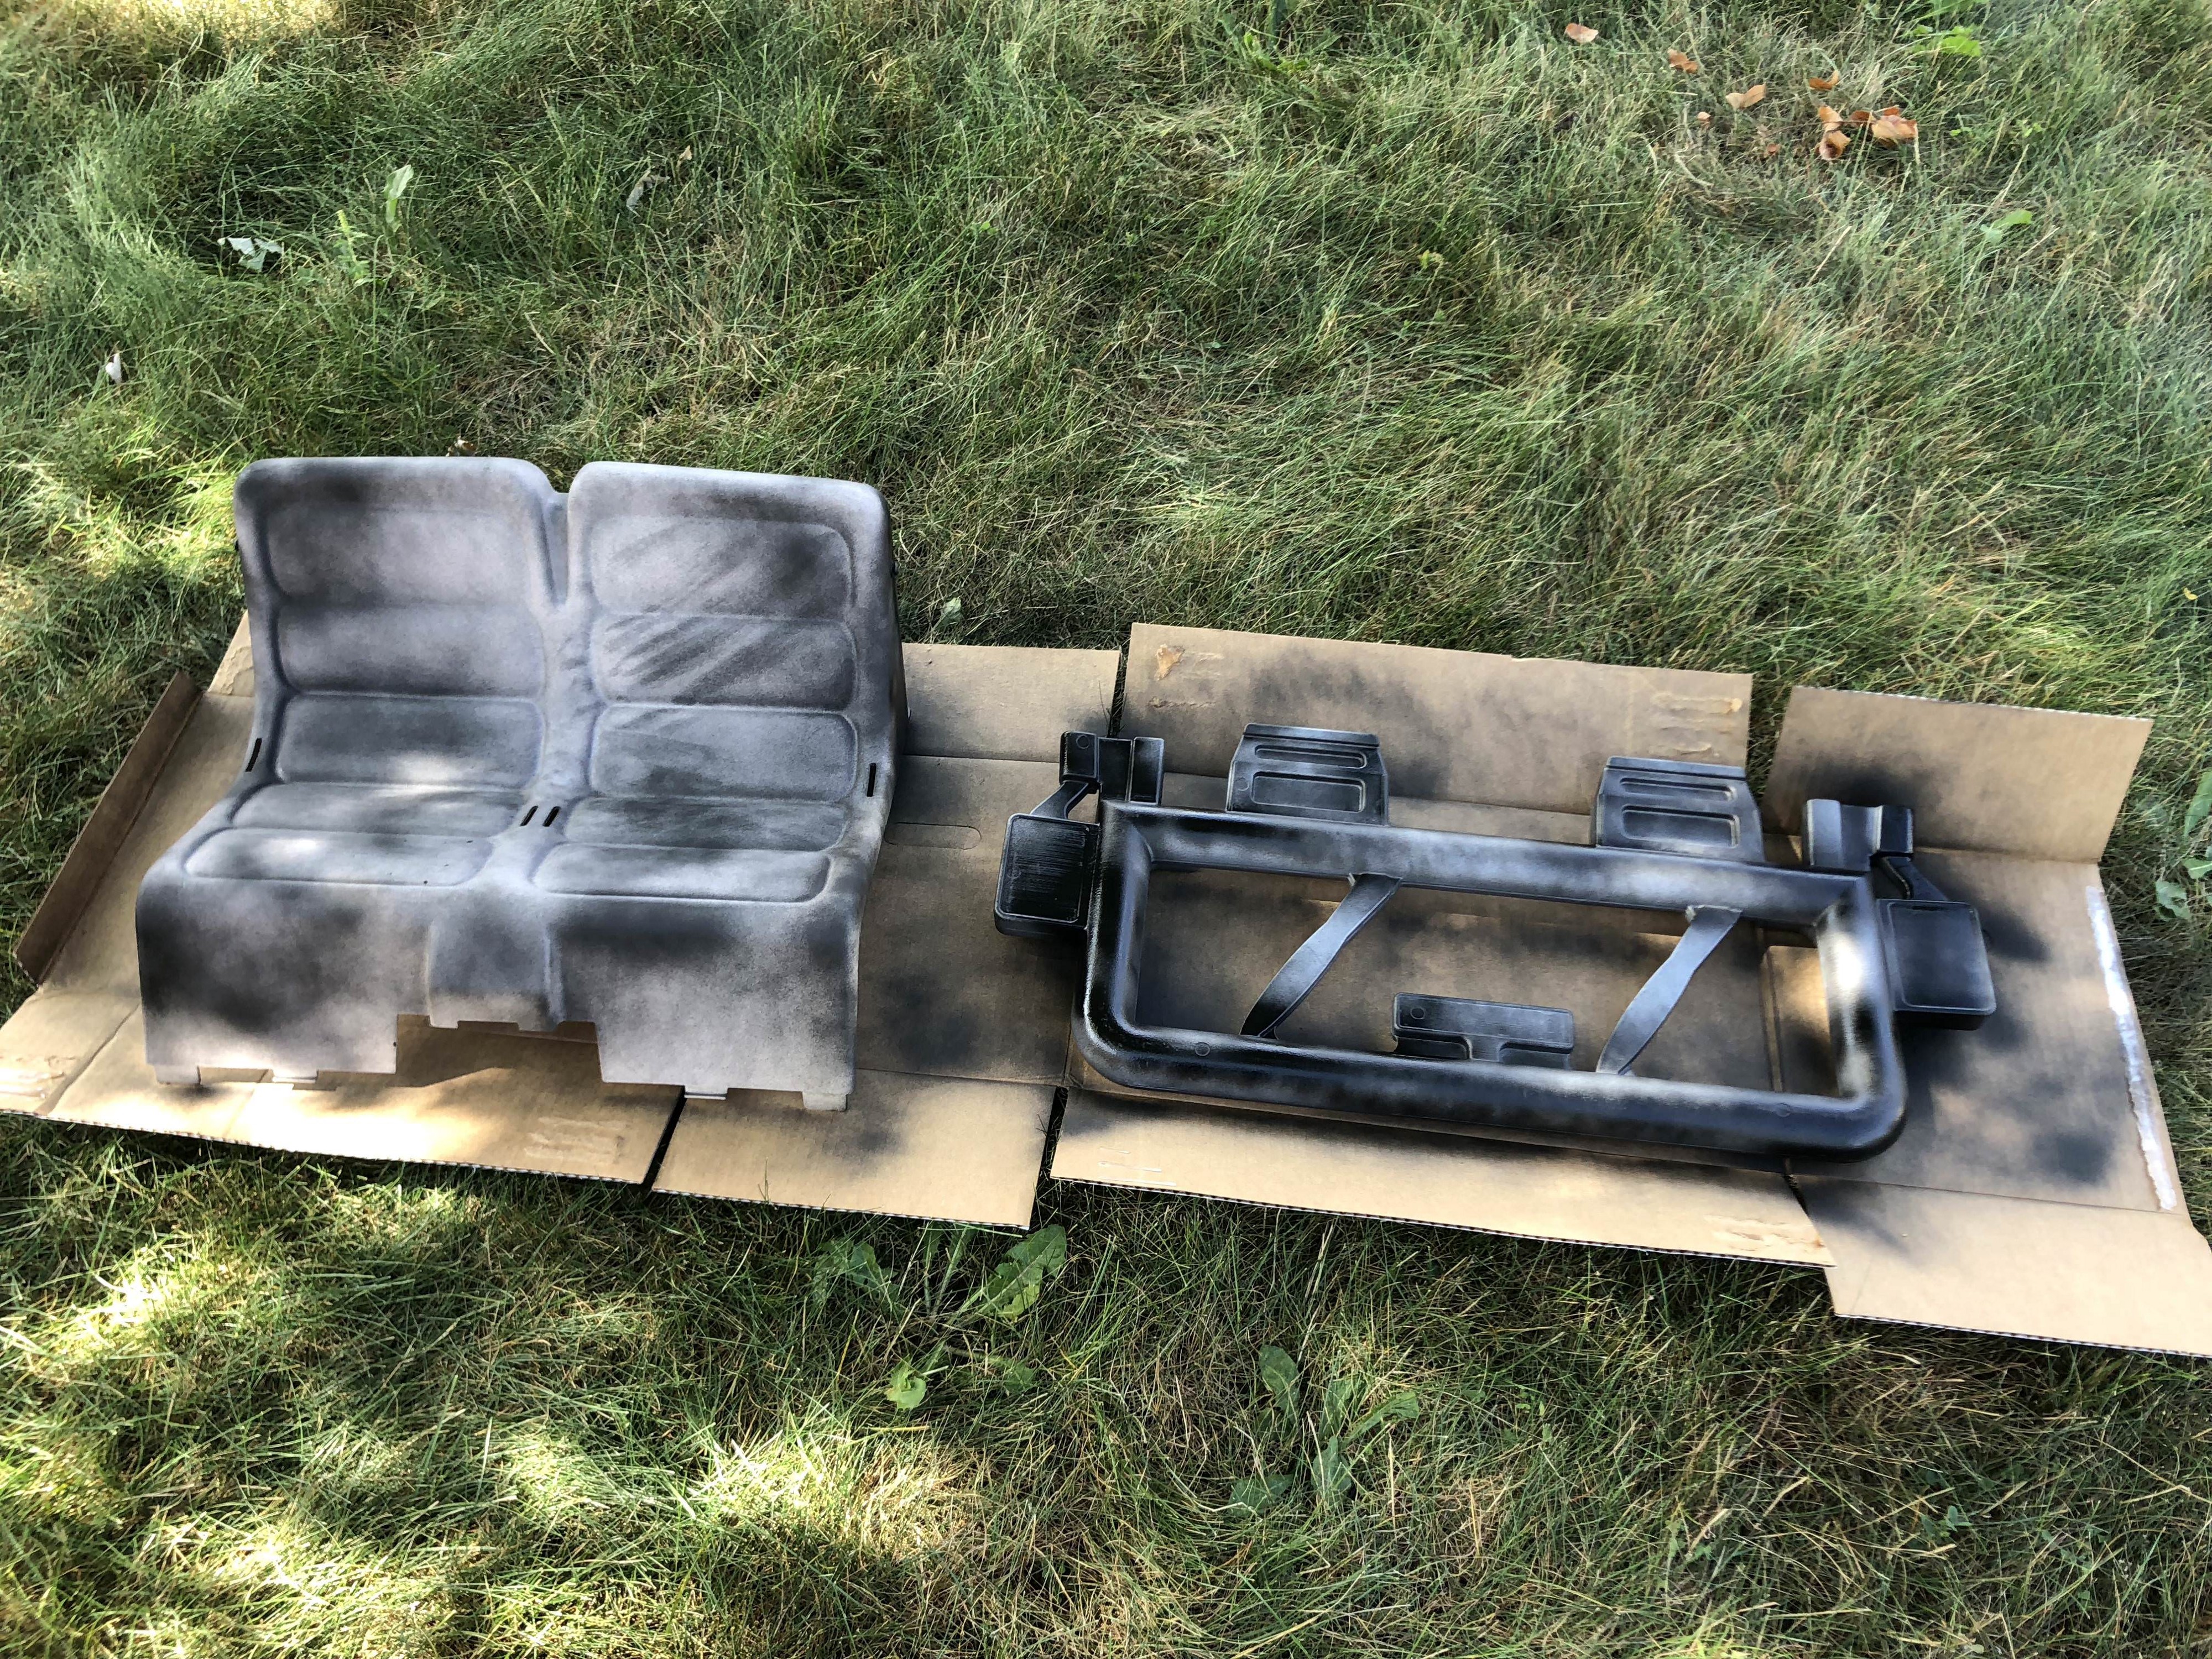
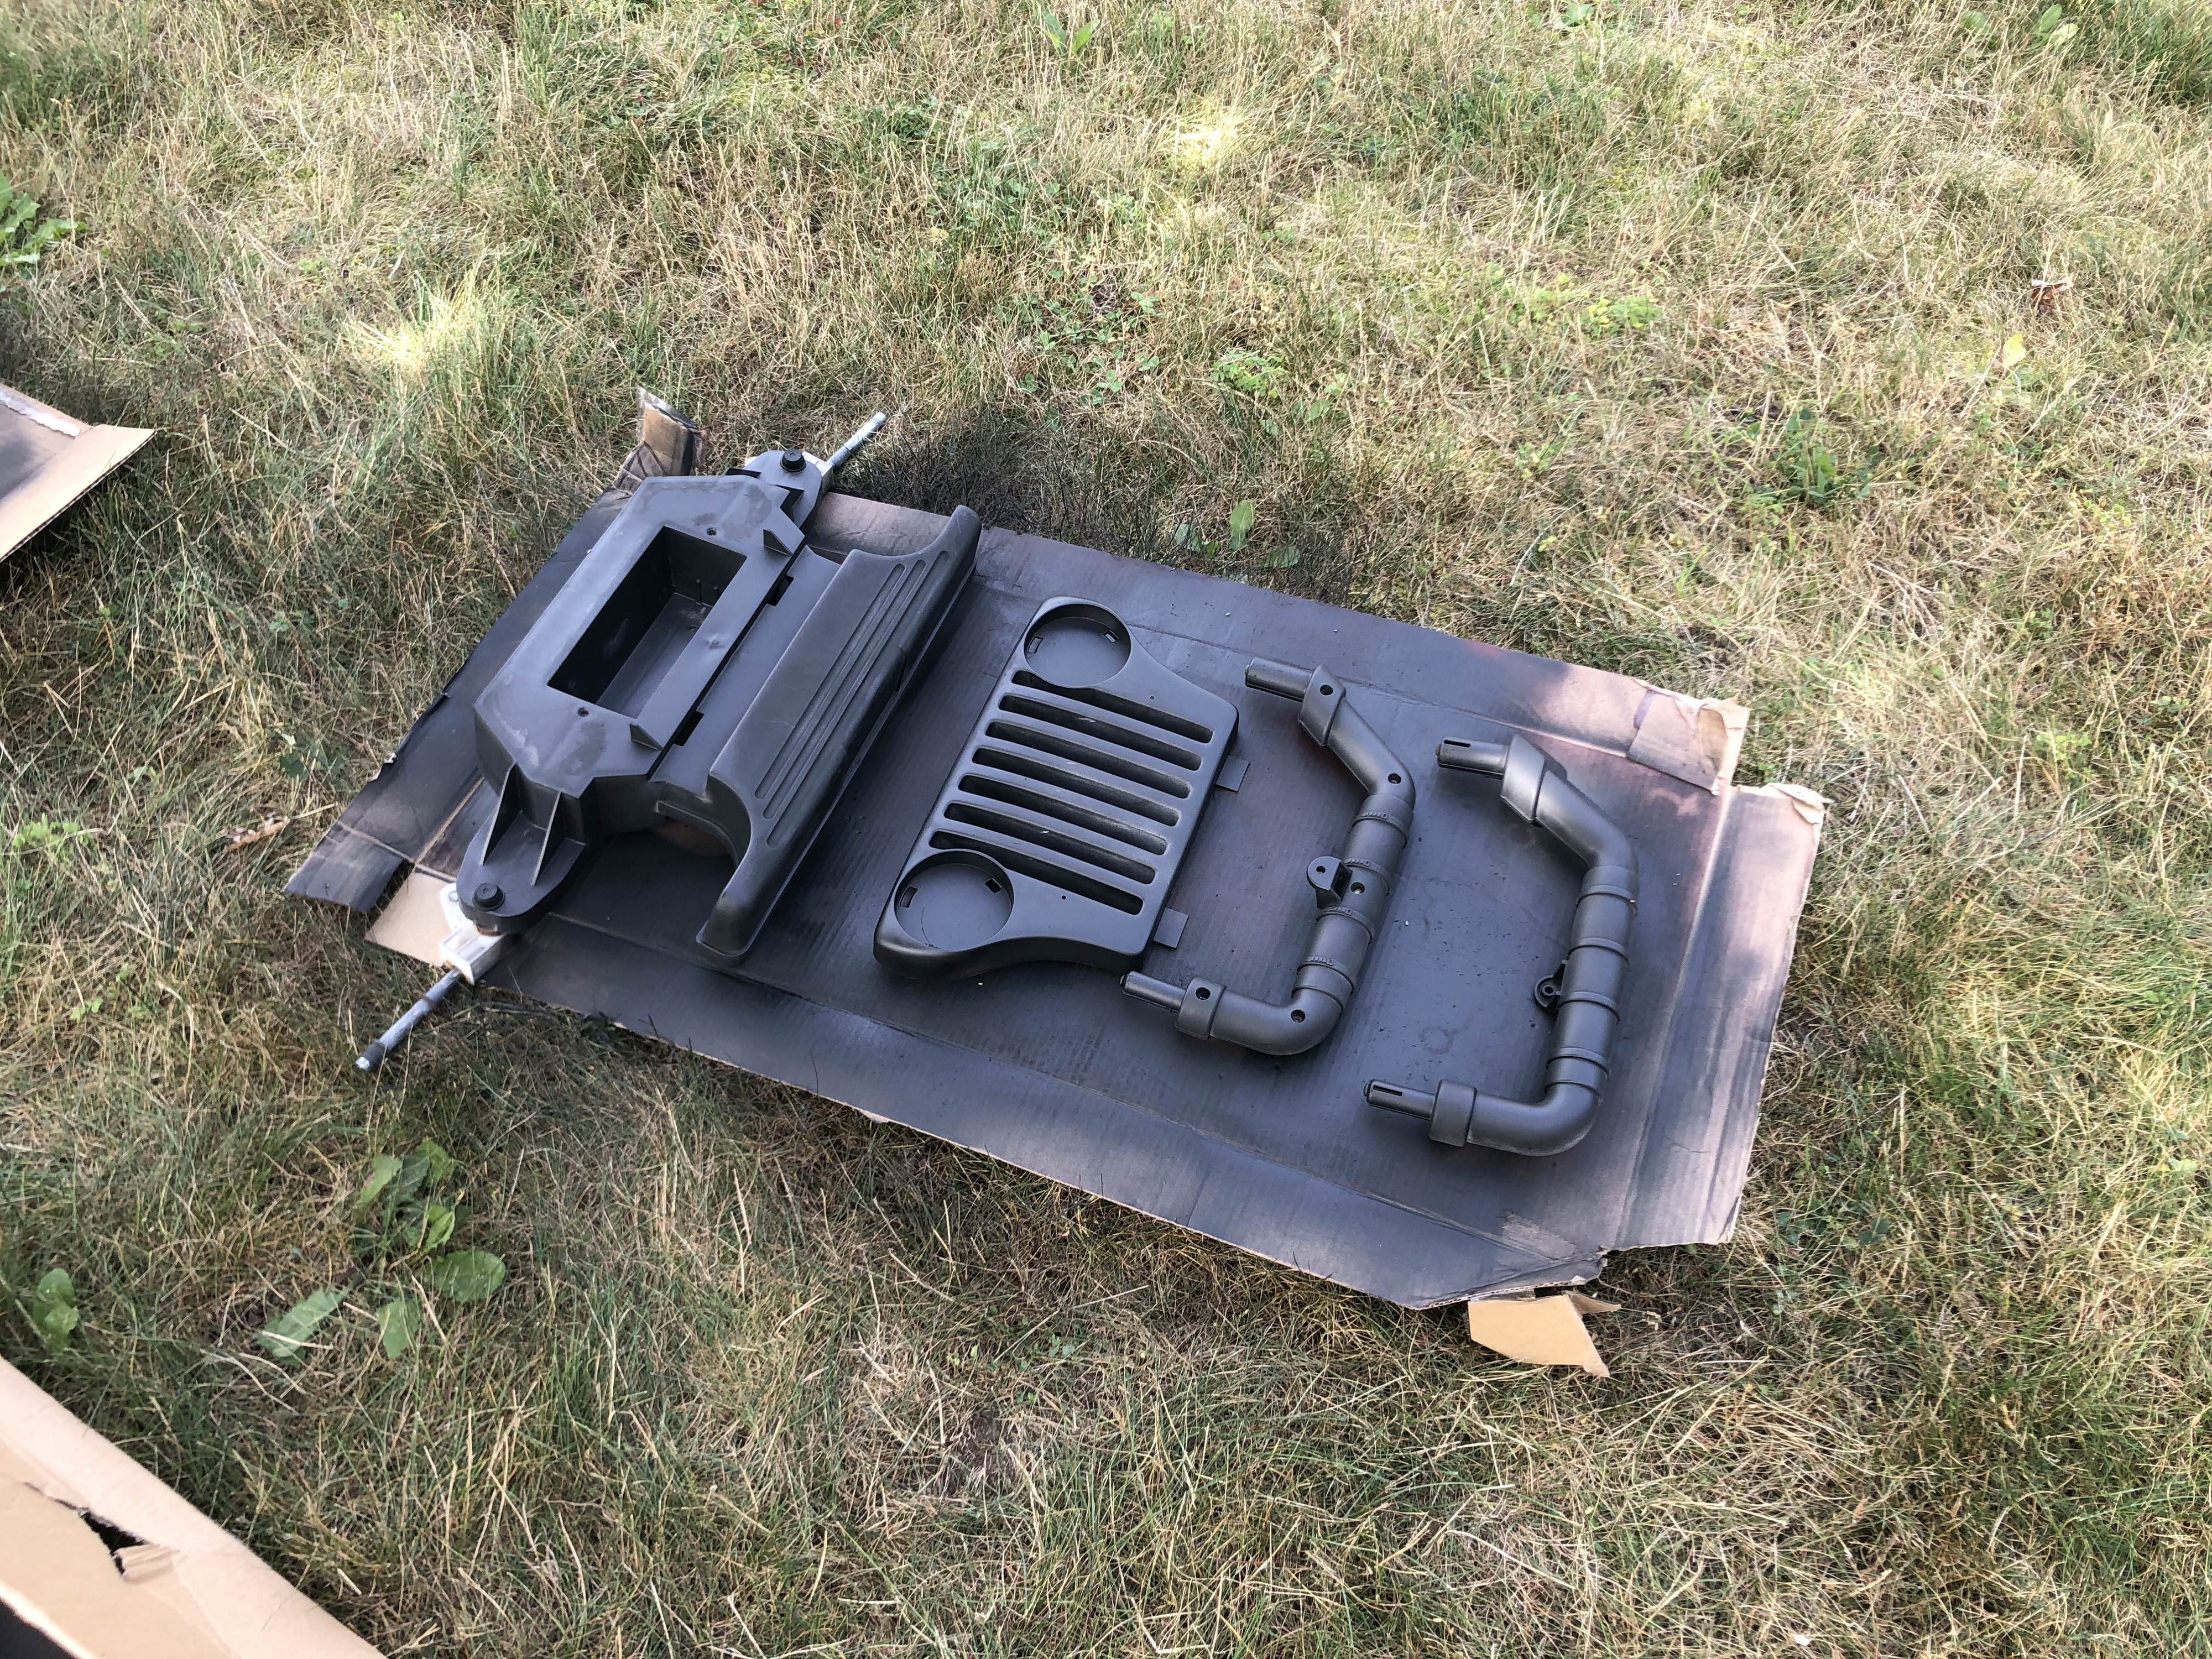
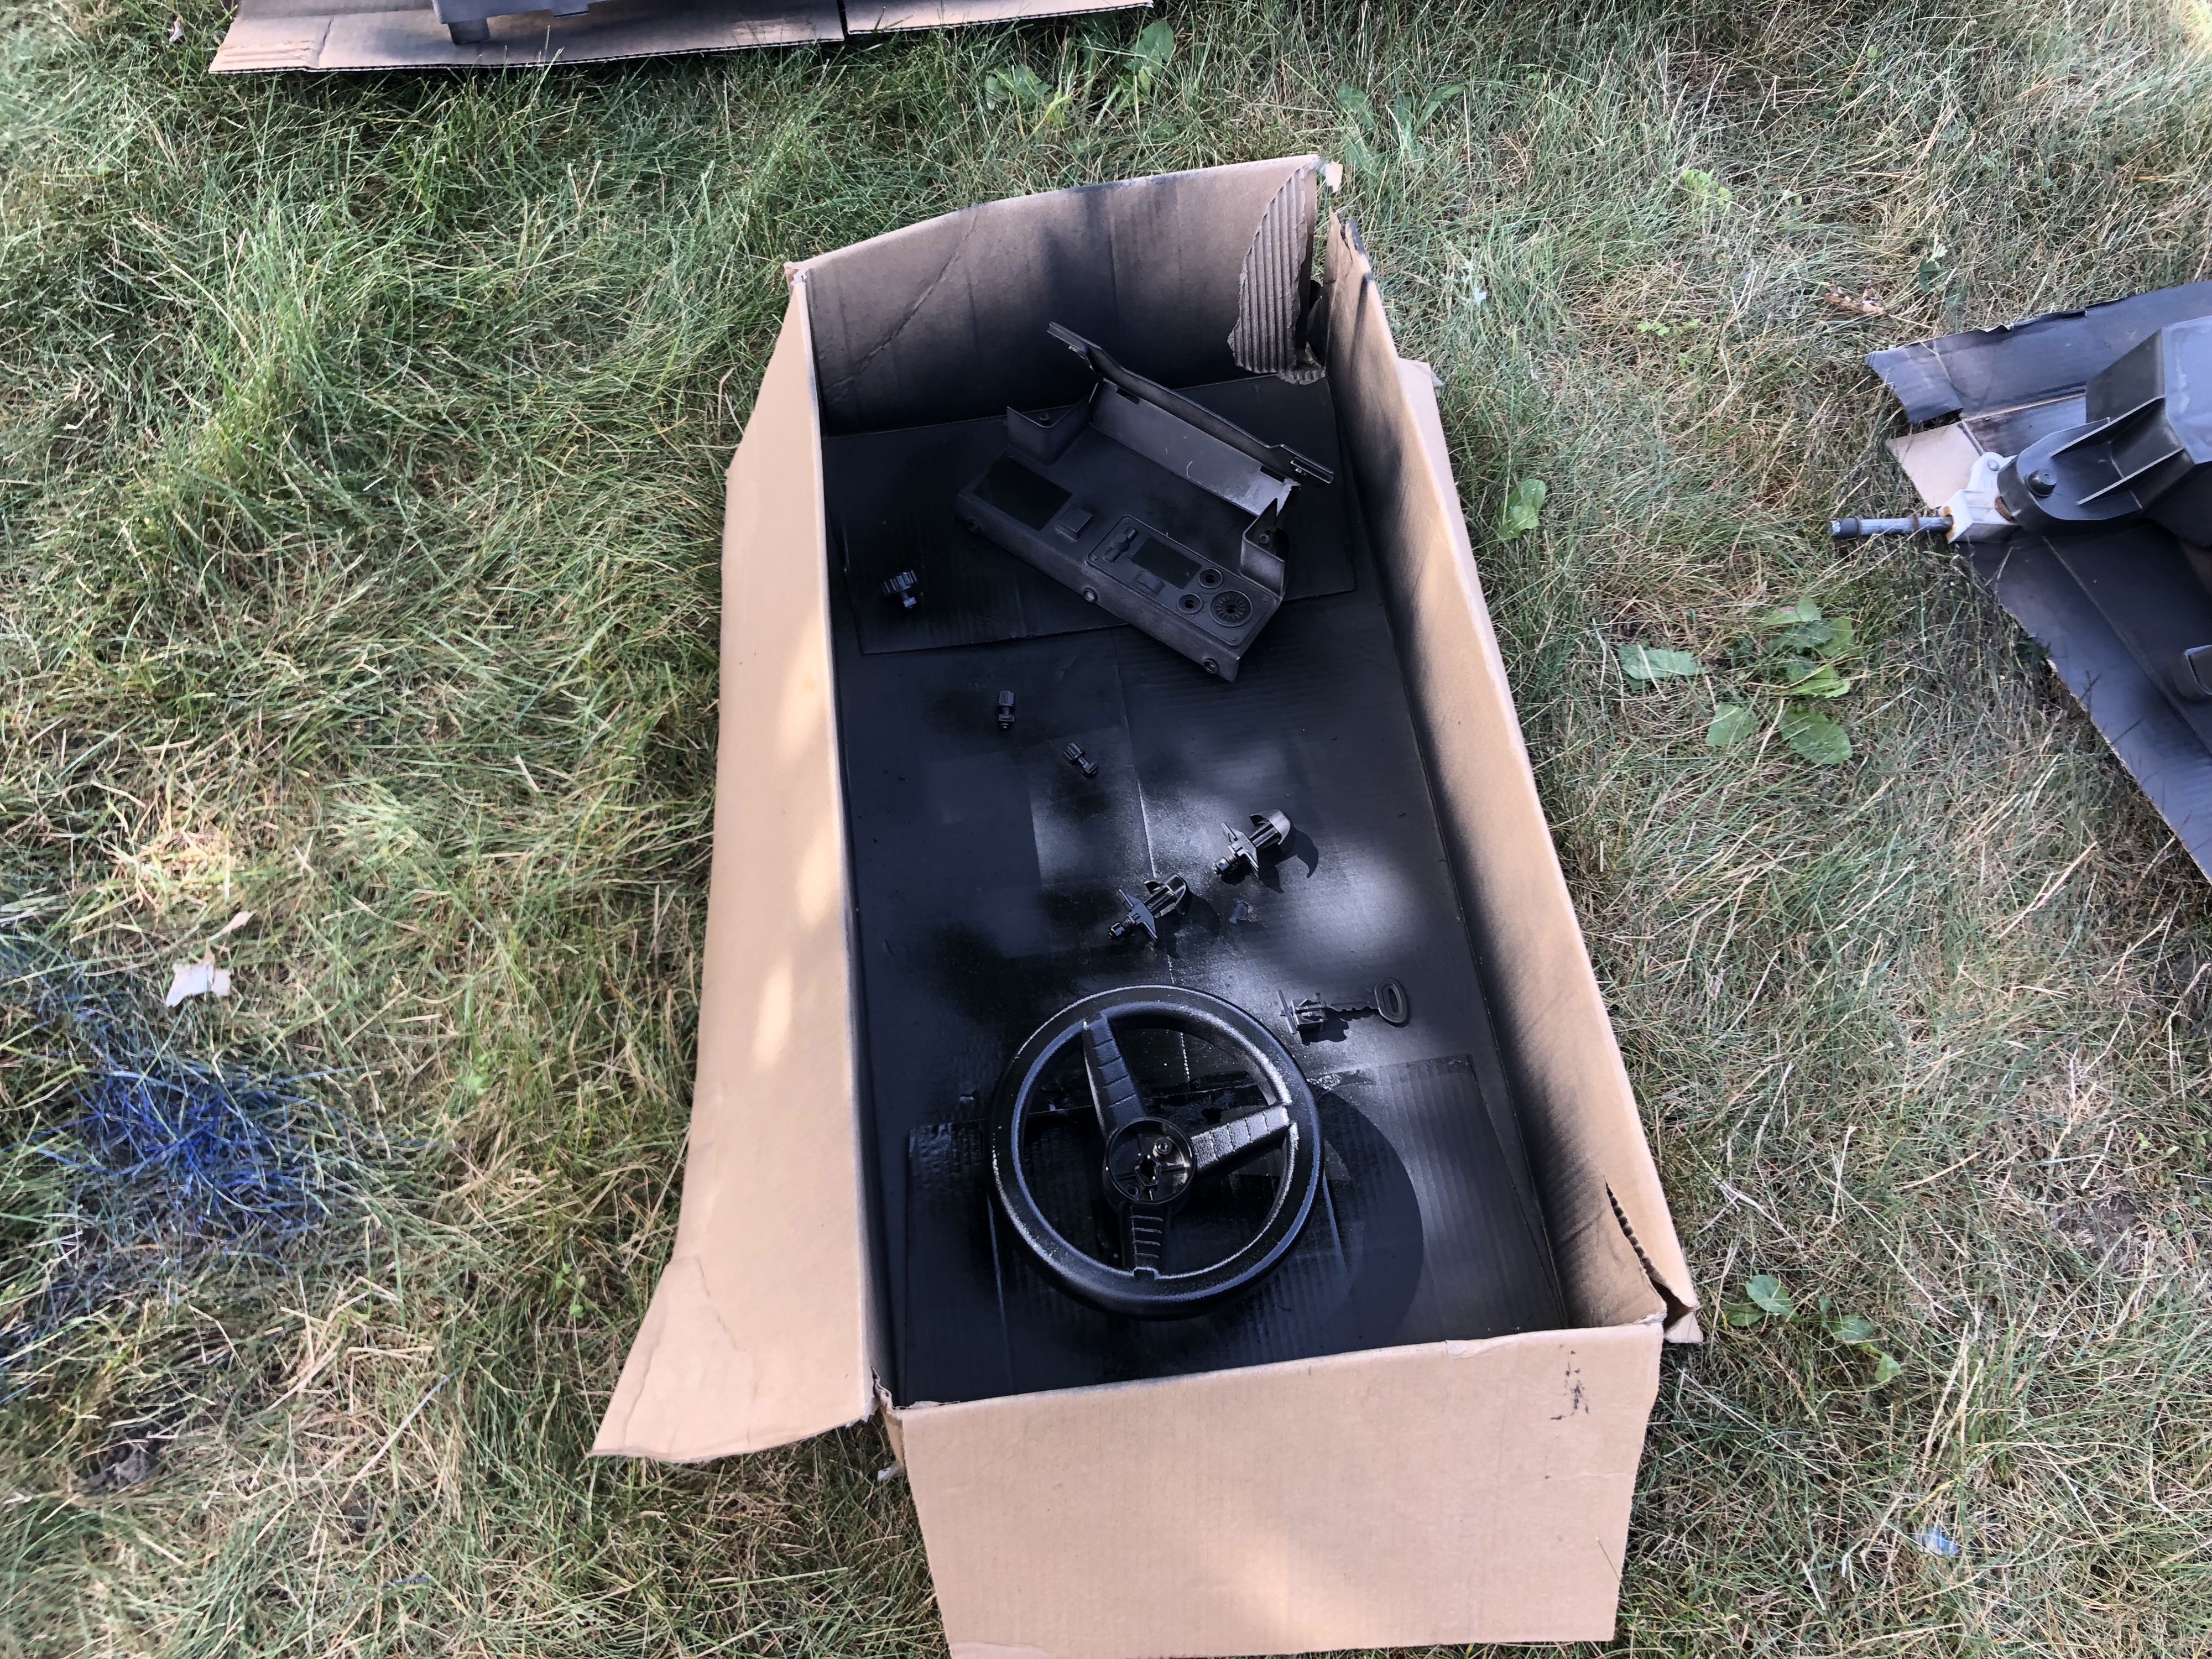
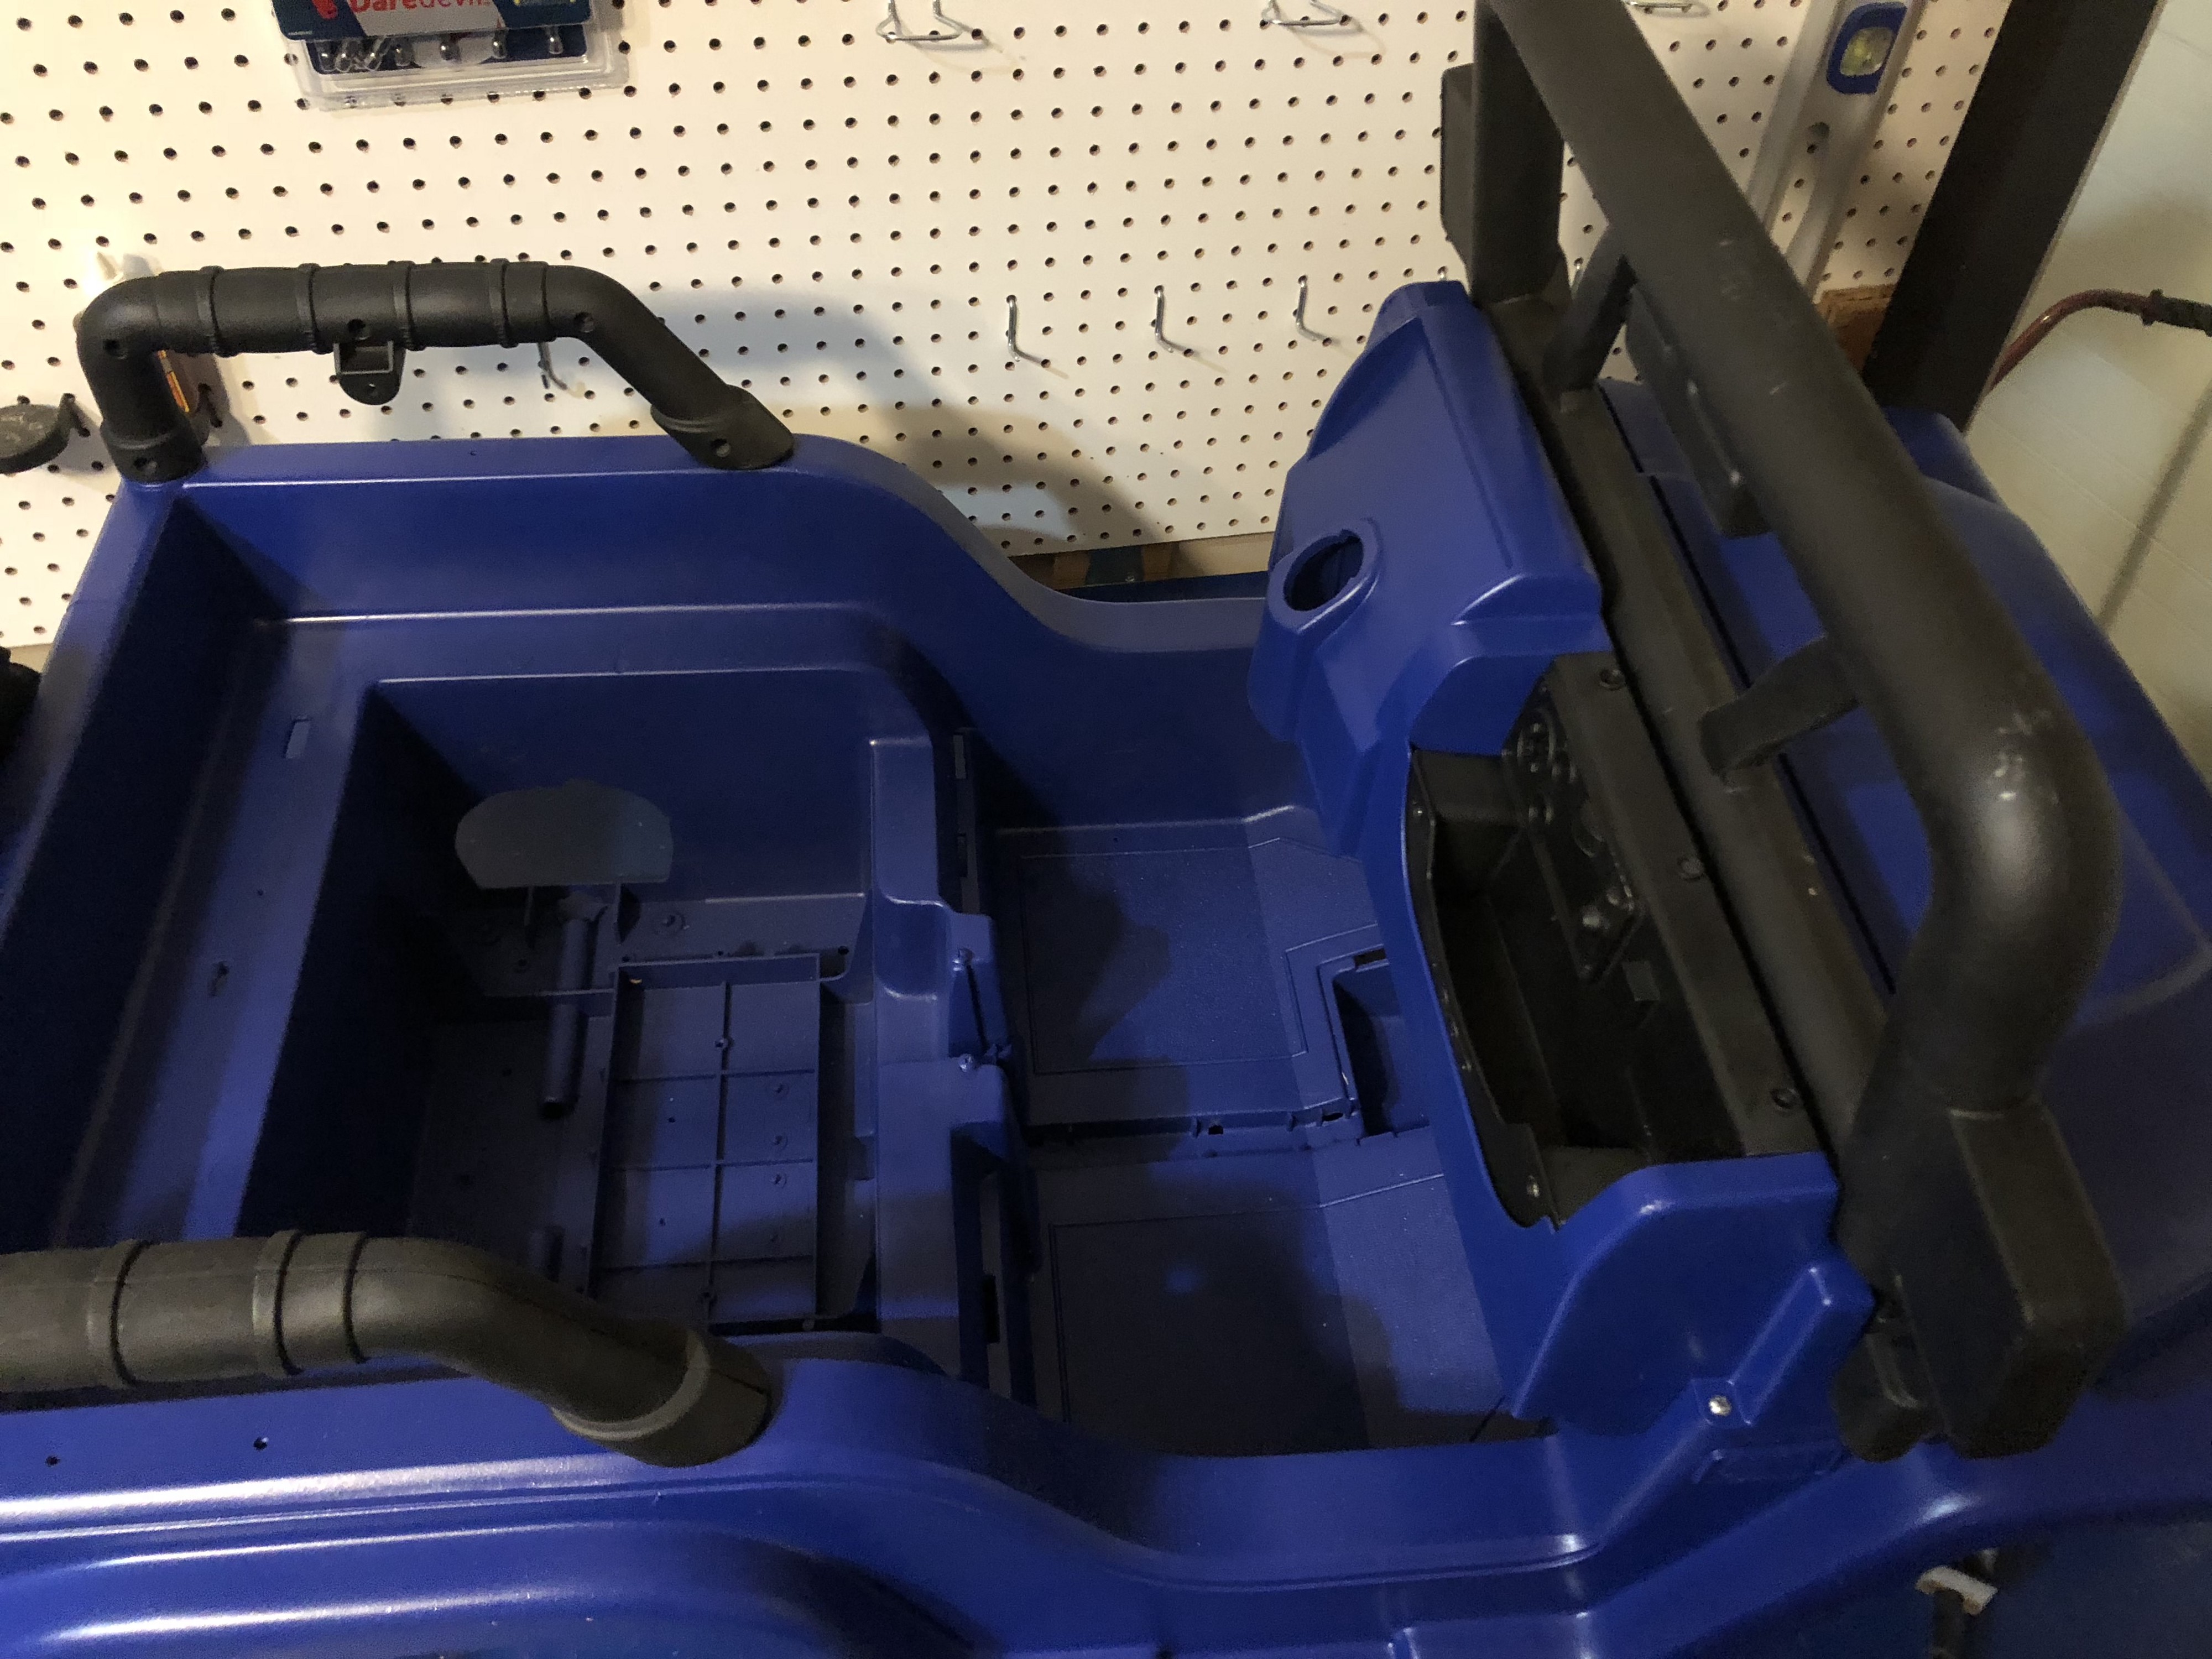
 Apart from a bit of dirt all the parts are in great shape.
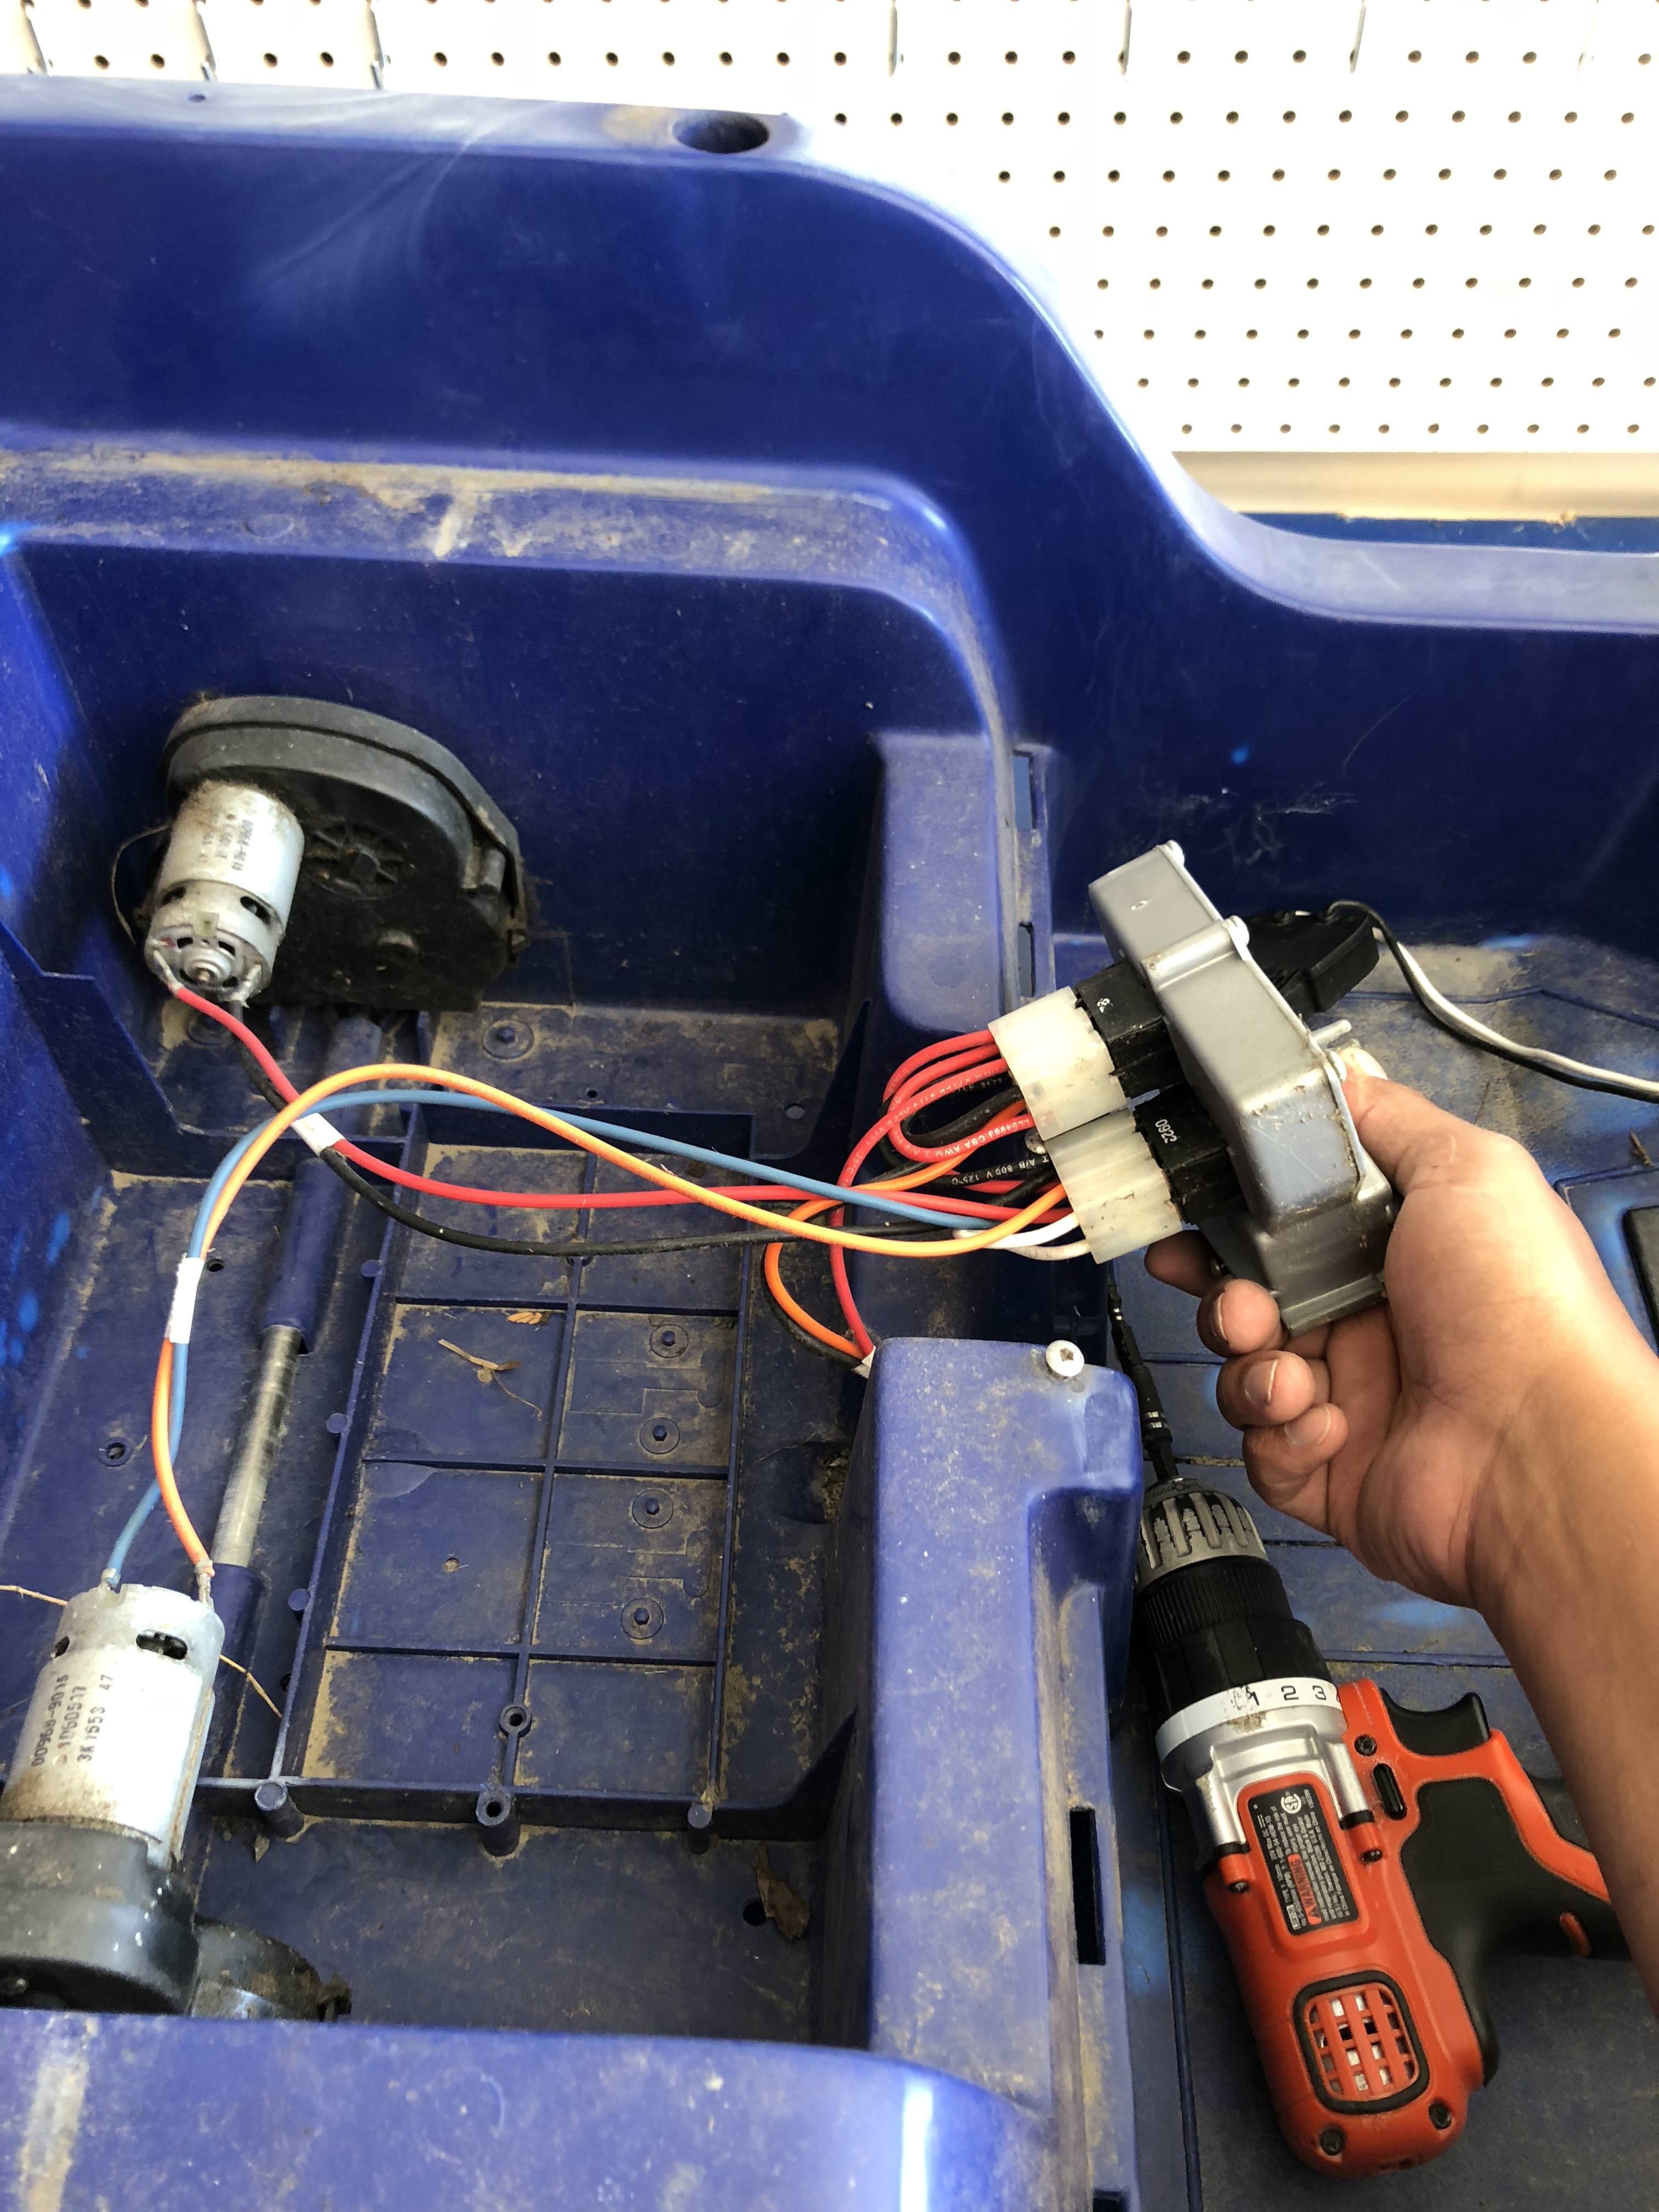
The repair-ability of this Jeep is close to 10/10. Almost every part comes off with a screw or re-usable clip and replacement parts are available online. The first thing I did was take everything apart for a good cleaning and painting.
 Already looking much better after a good scrub. I did about 5 super thin coats to get the paint to stick to the plastic.
One benefit to doing this with an old sun-bleached toy is that the plastic surface is so porous that even basic spray paint has no problem sticking. I still did multiple thin coats with about 30 minutes of drying time in between to make sure it wouldn?t peel. Used about $40 in spray paint between the royal blue, matte black, and pearl clear coat.
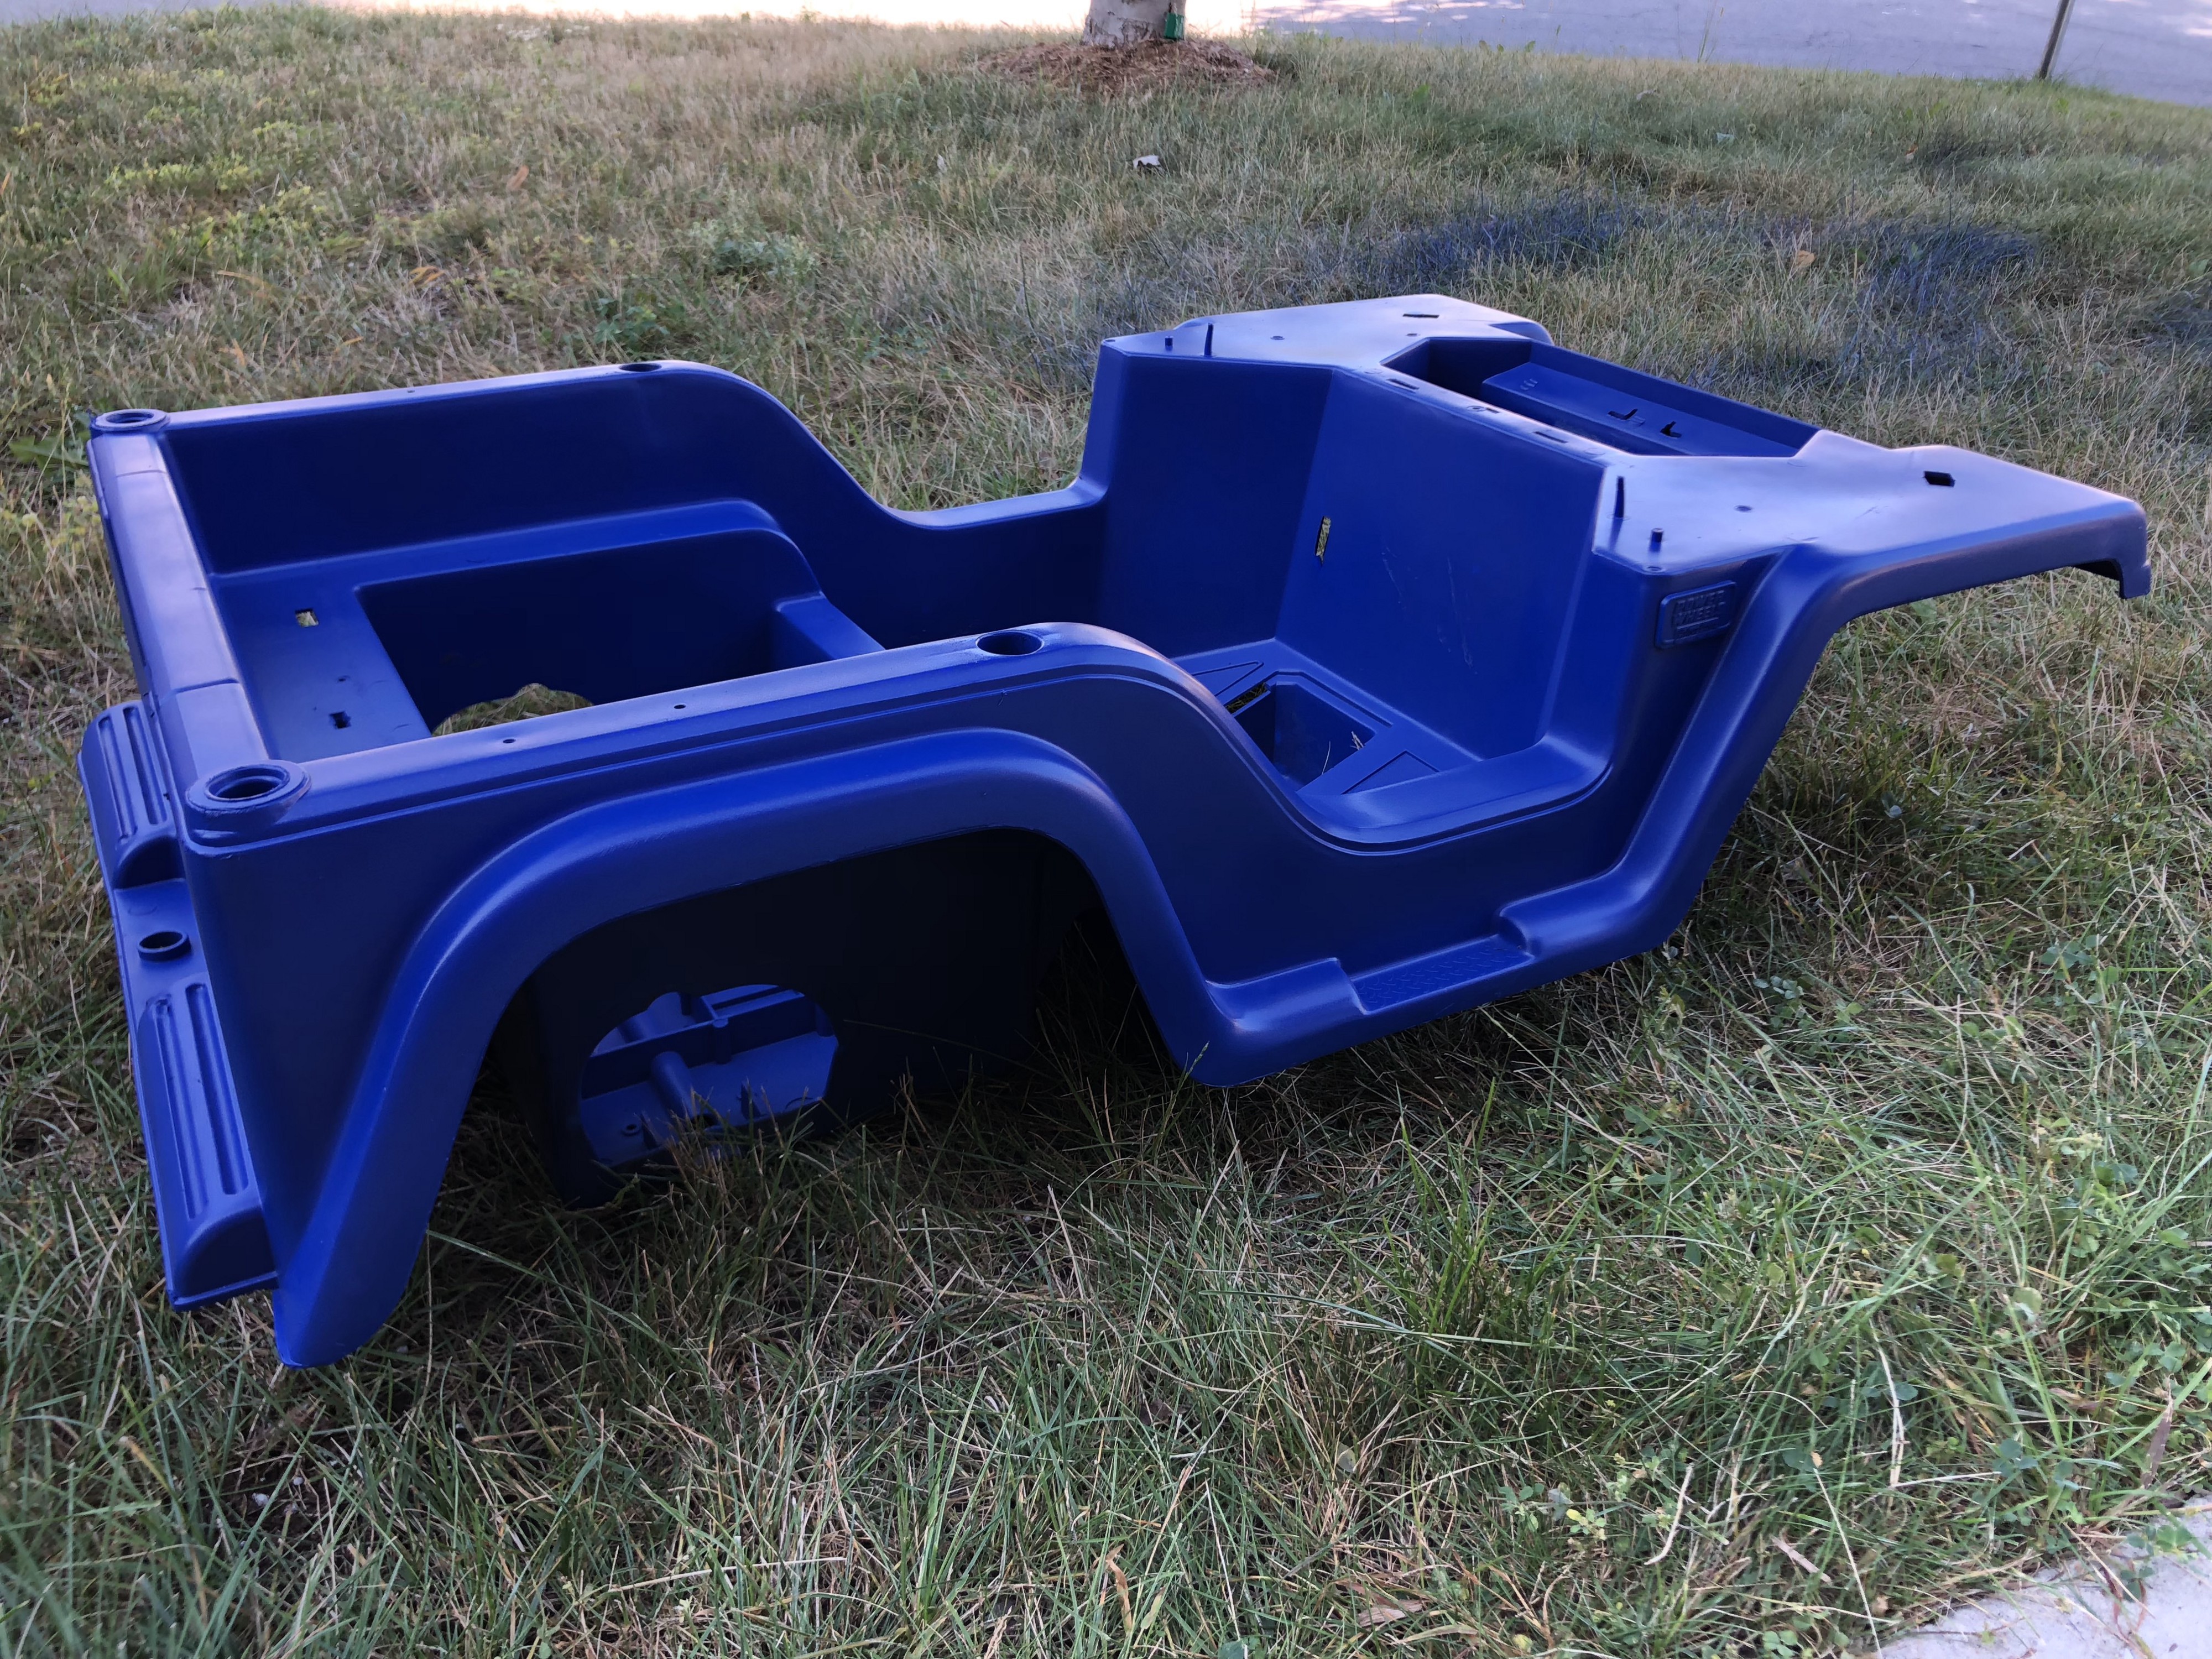
 Starting to look better than new
Problem 2: Practicality
One thing I?ve always disliked about these cars is the plastic wheels. They?re very noisy on pavement, slippery, don?t work on snow or ice, and aren?t very durable. To solve those problems some people fit traction bands, which are rubber strips about the width of a bicycle tire, around the plastic. Some cars even come with these traction bands pre-installed. Since the Jeep wheels were already worn and cracking I figured rubber pneumatic wheels would be a functional and aesthetic upgrade.
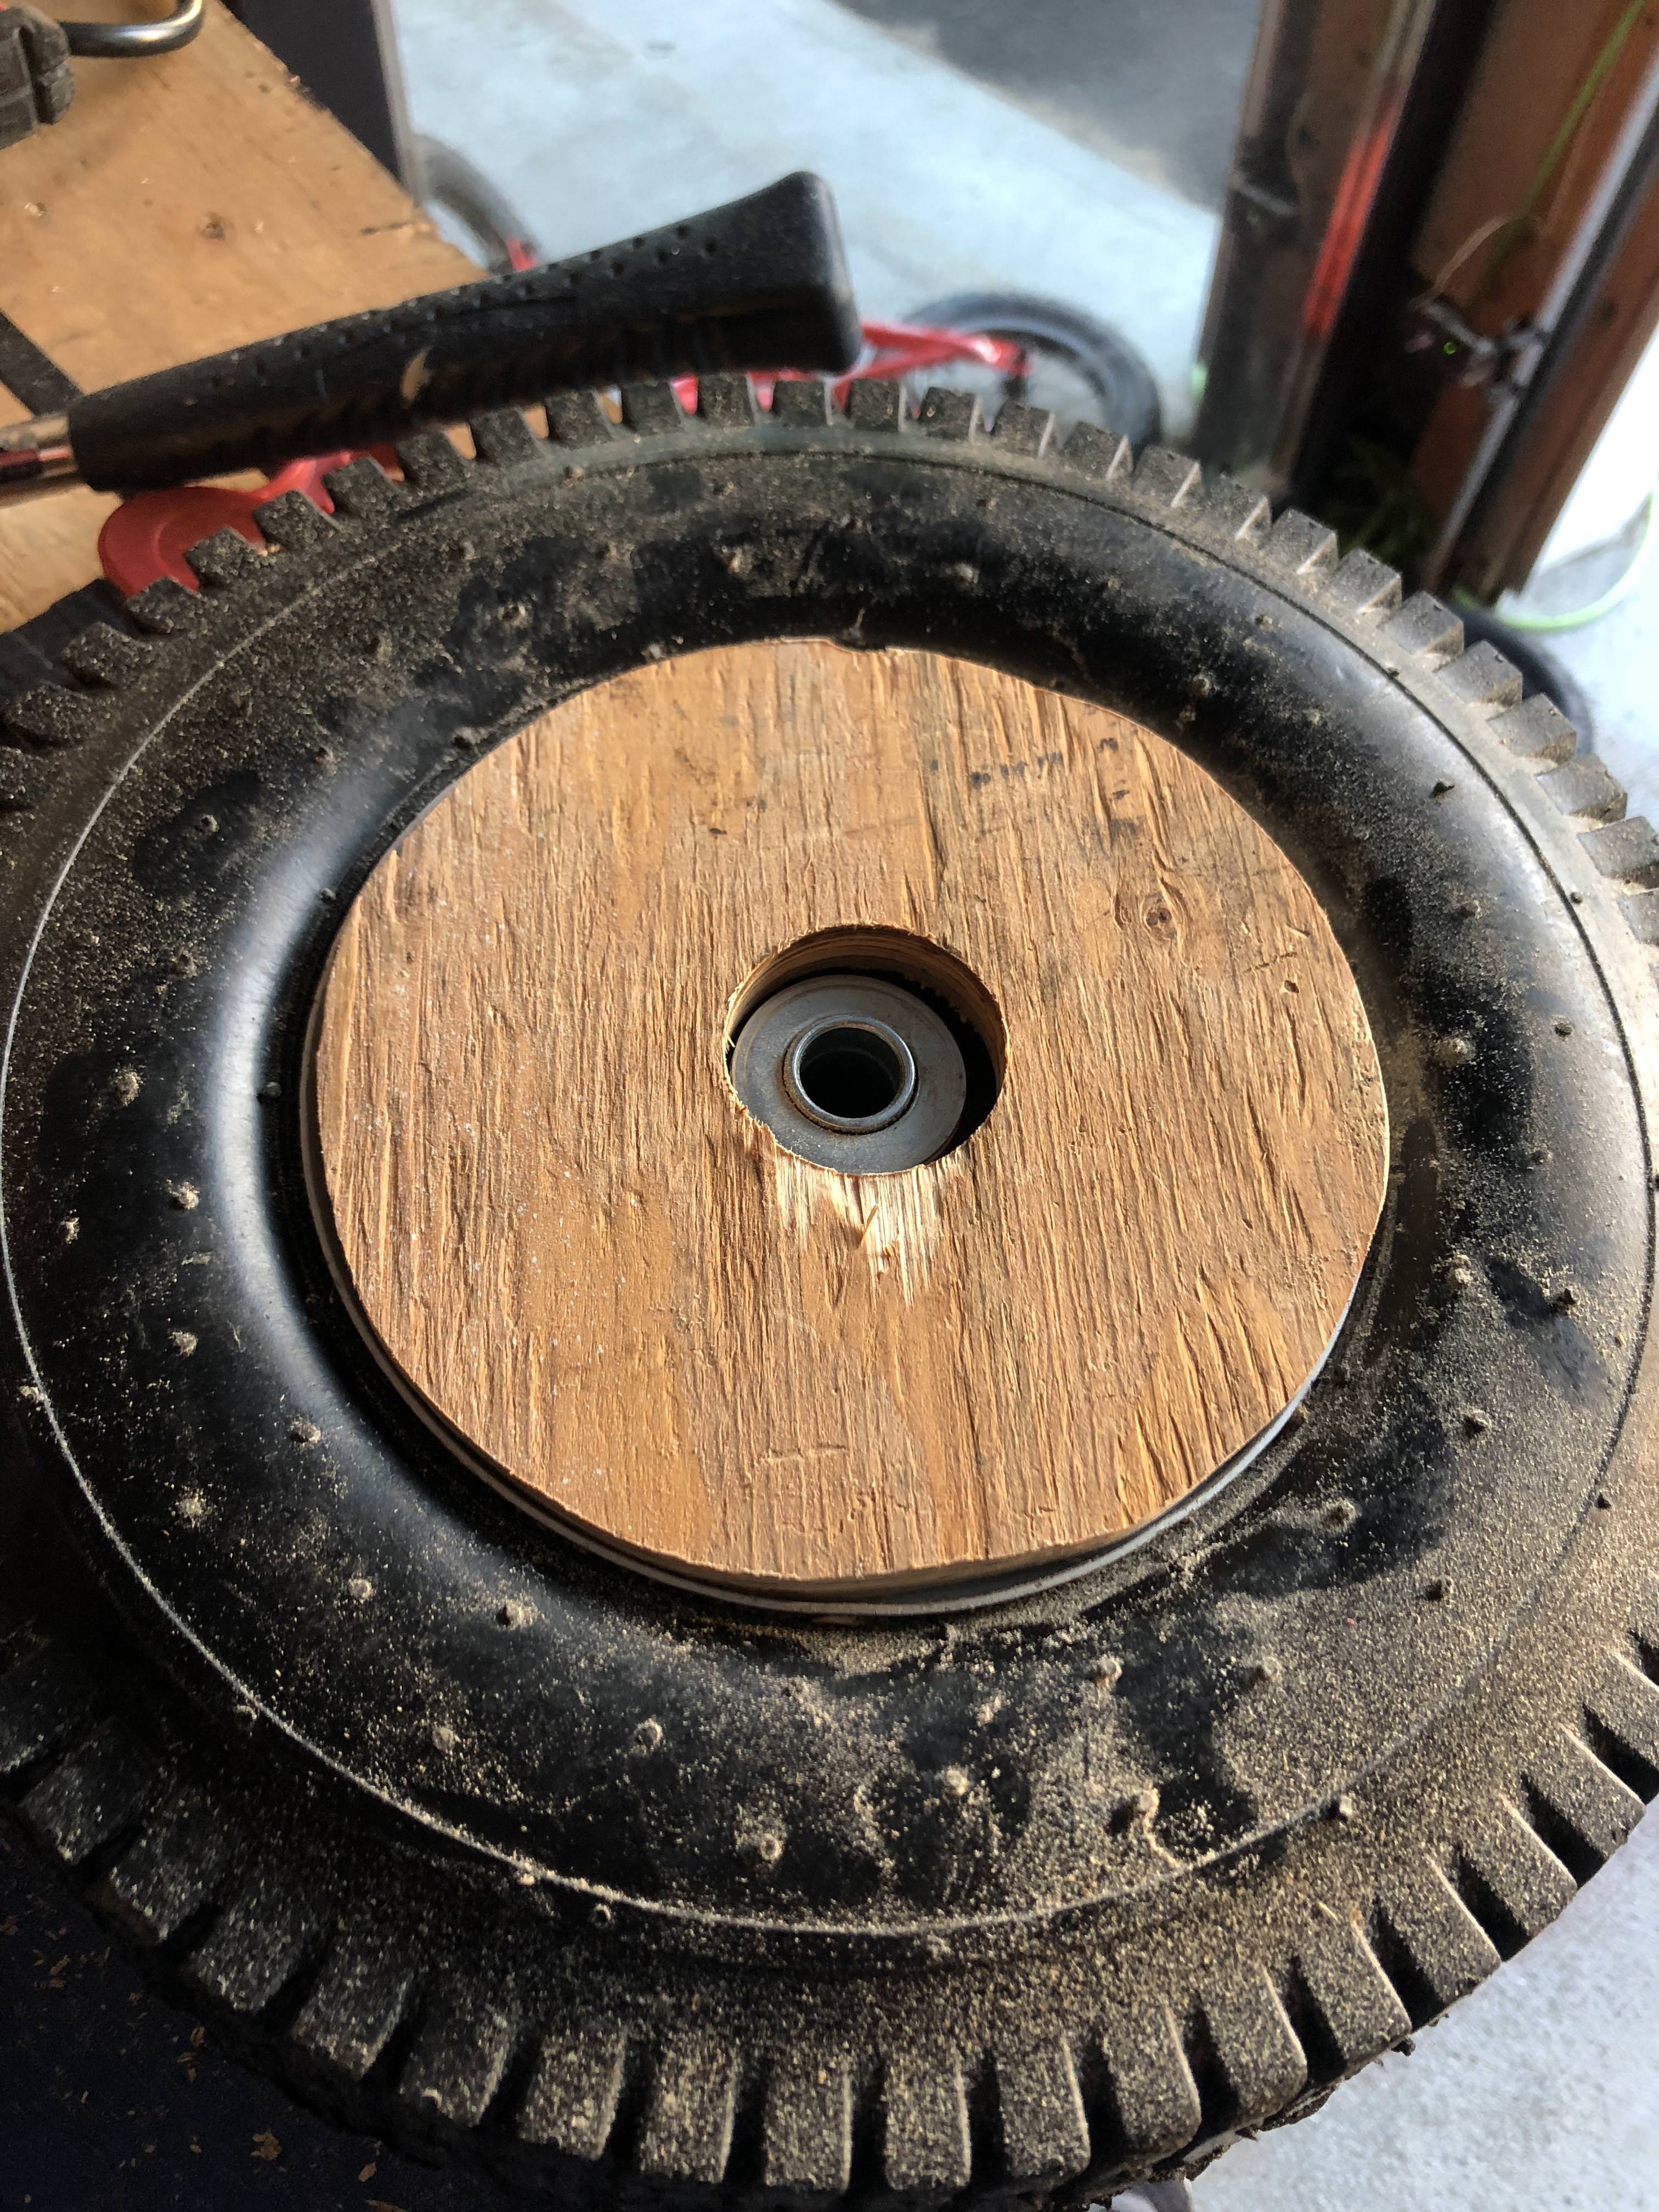
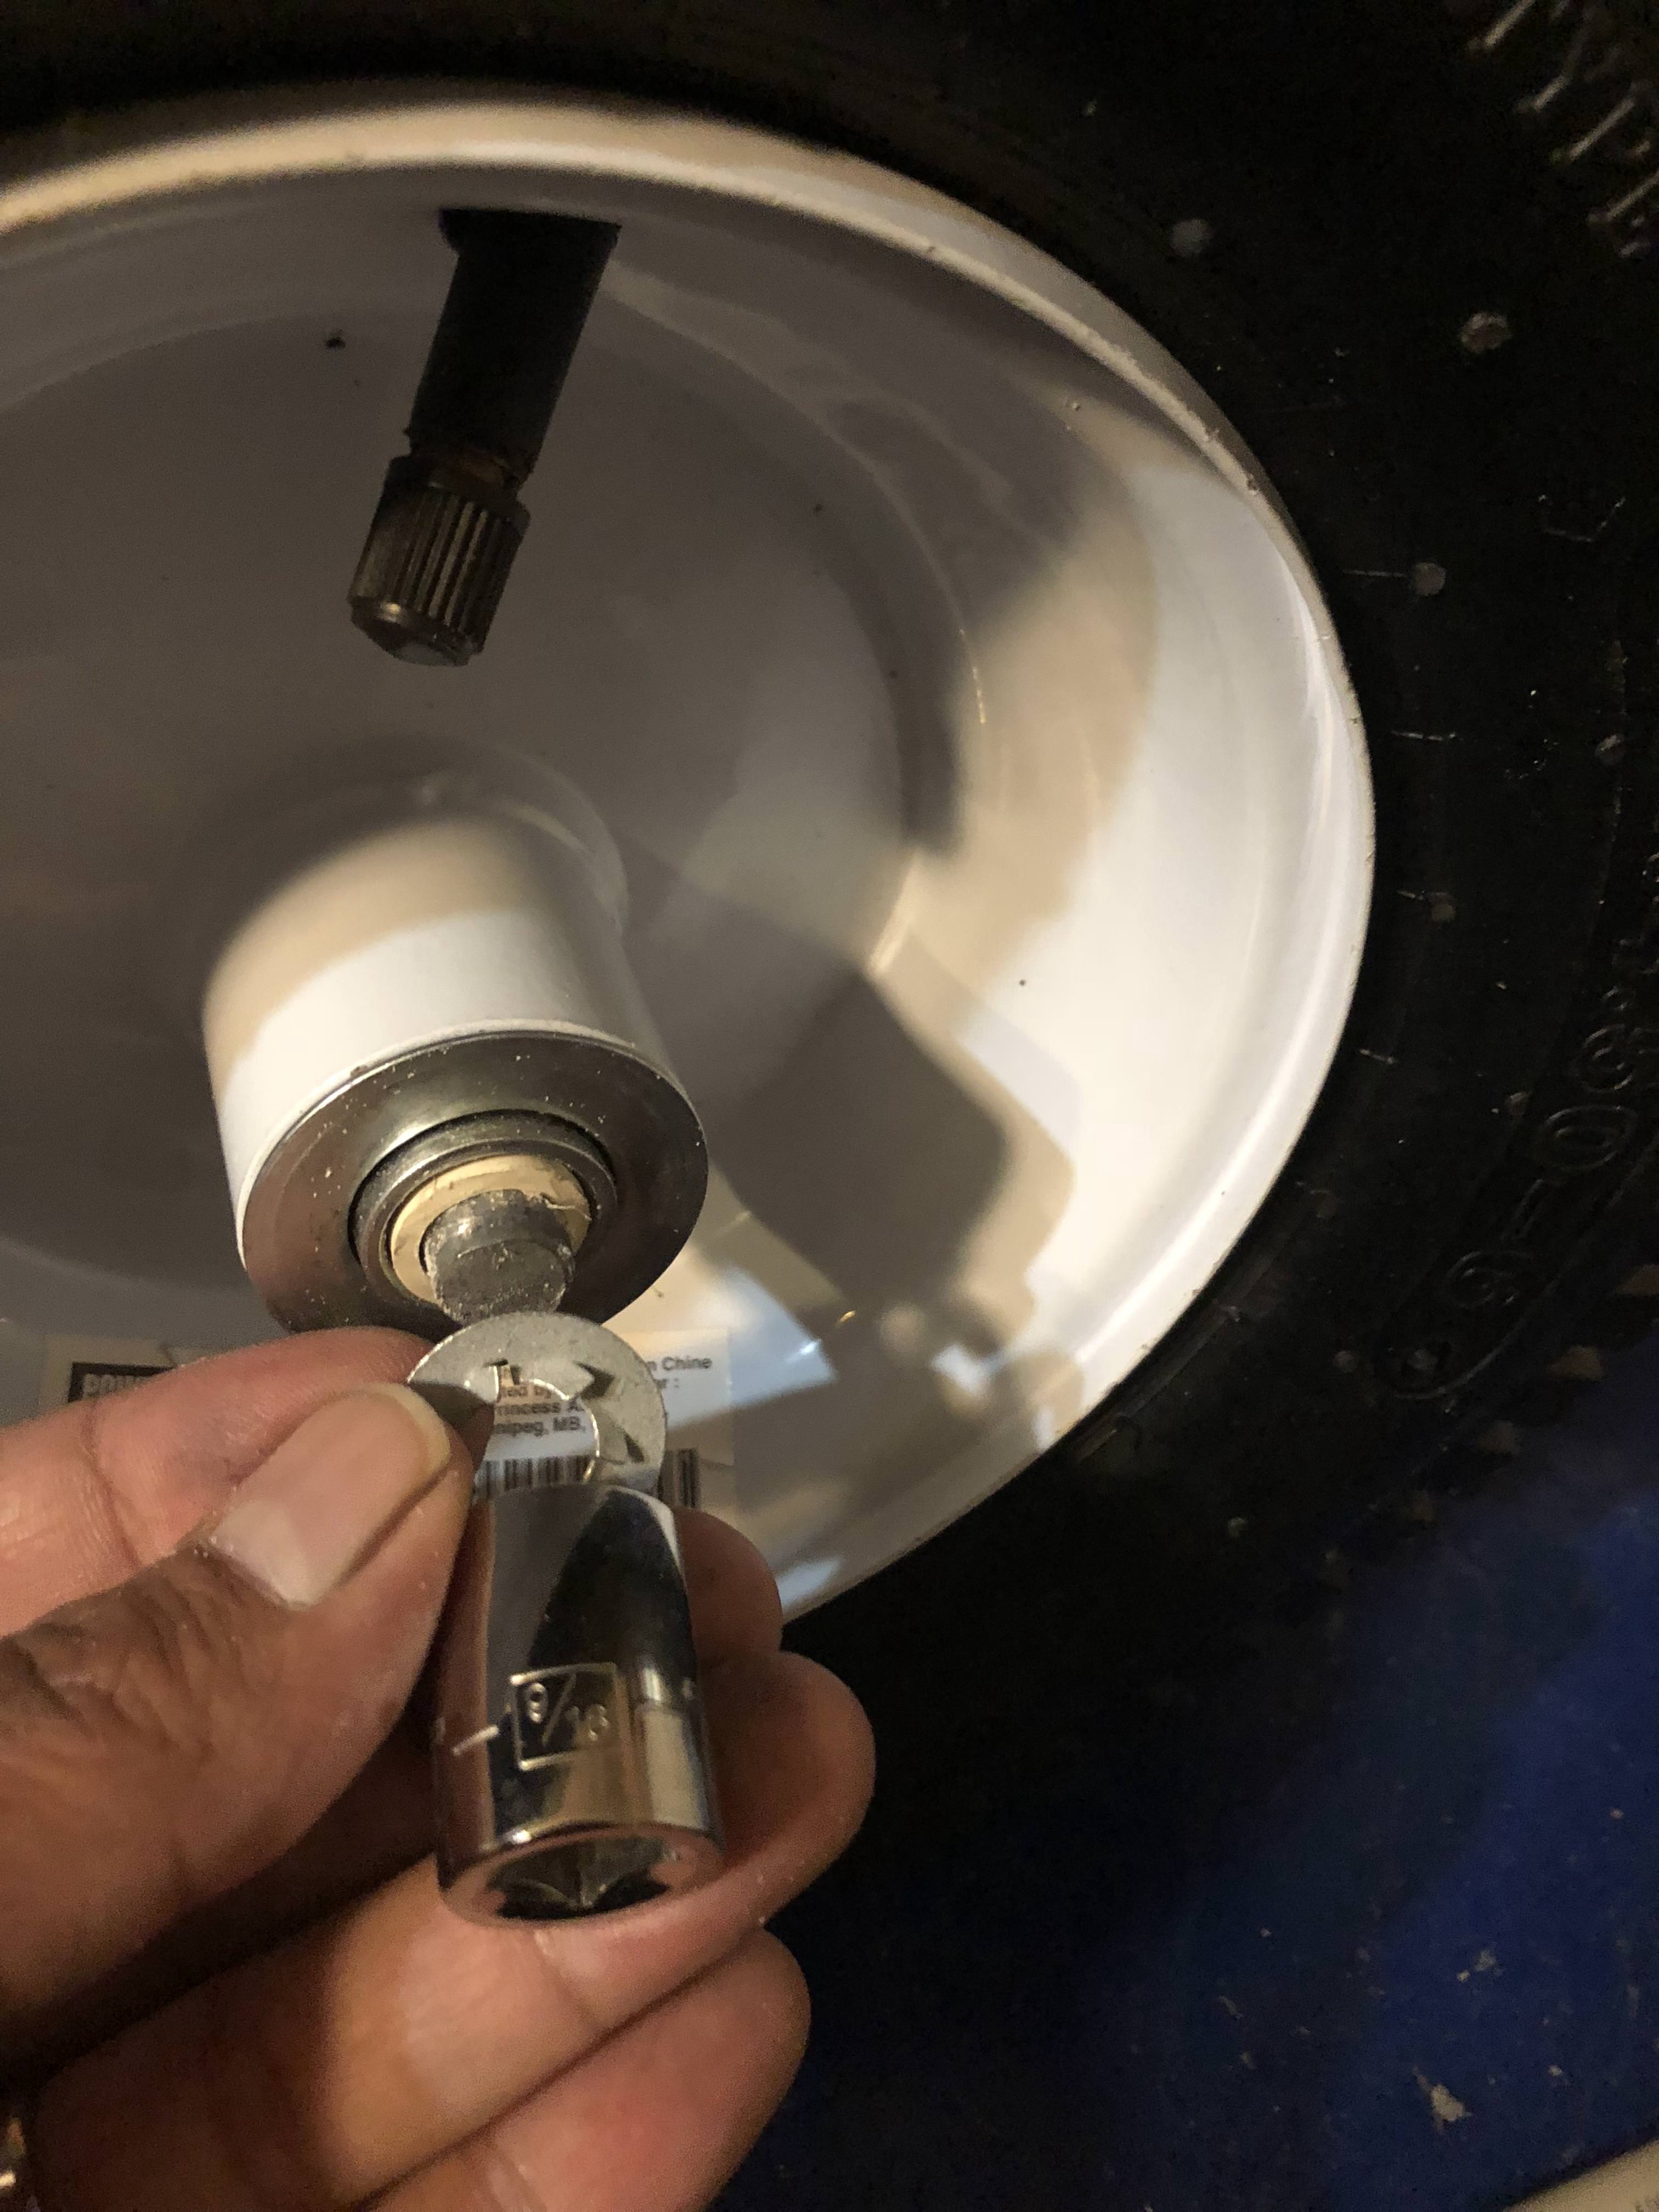
I was able to find a 13″ turf tire, originally made for riding lawn mowers, that was a pretty close approximation of the 12″ stock tire. A couple problems were immediately apparent though: they?re made for a 1/2″ axle rather than the Jeep?s 7/16″ axle, and they?re not made to be drive wheels (connected to a motor).
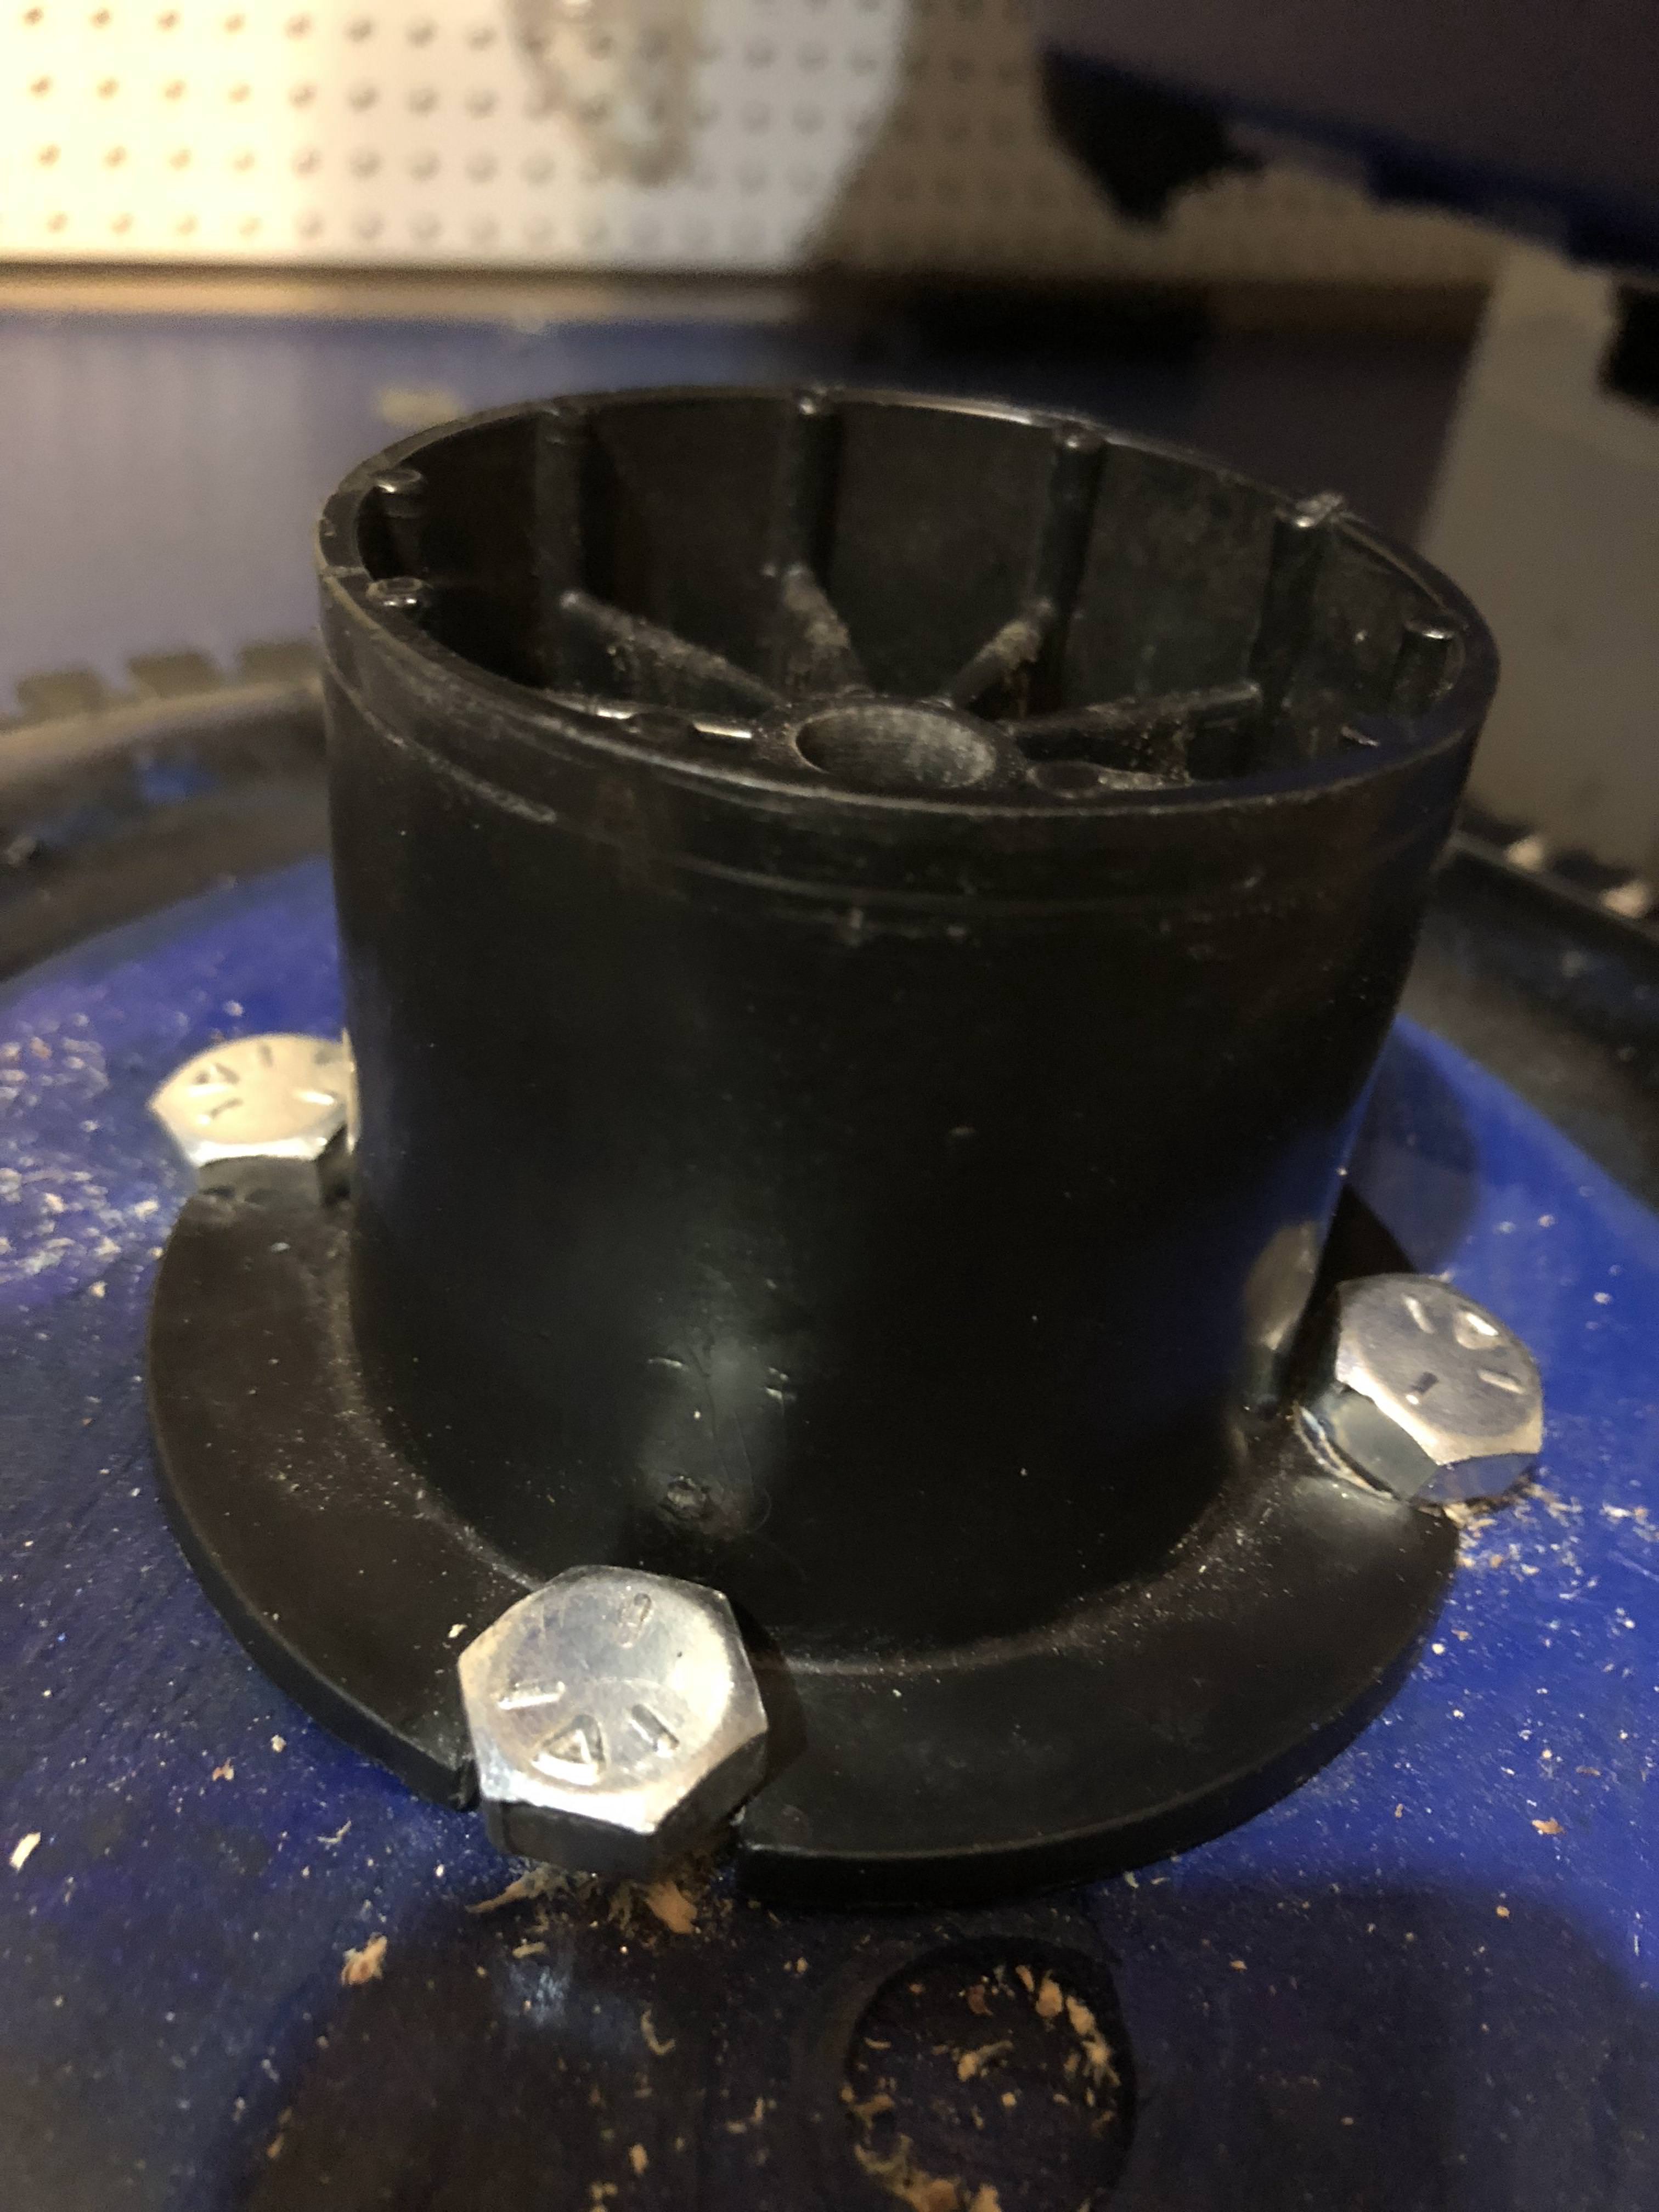
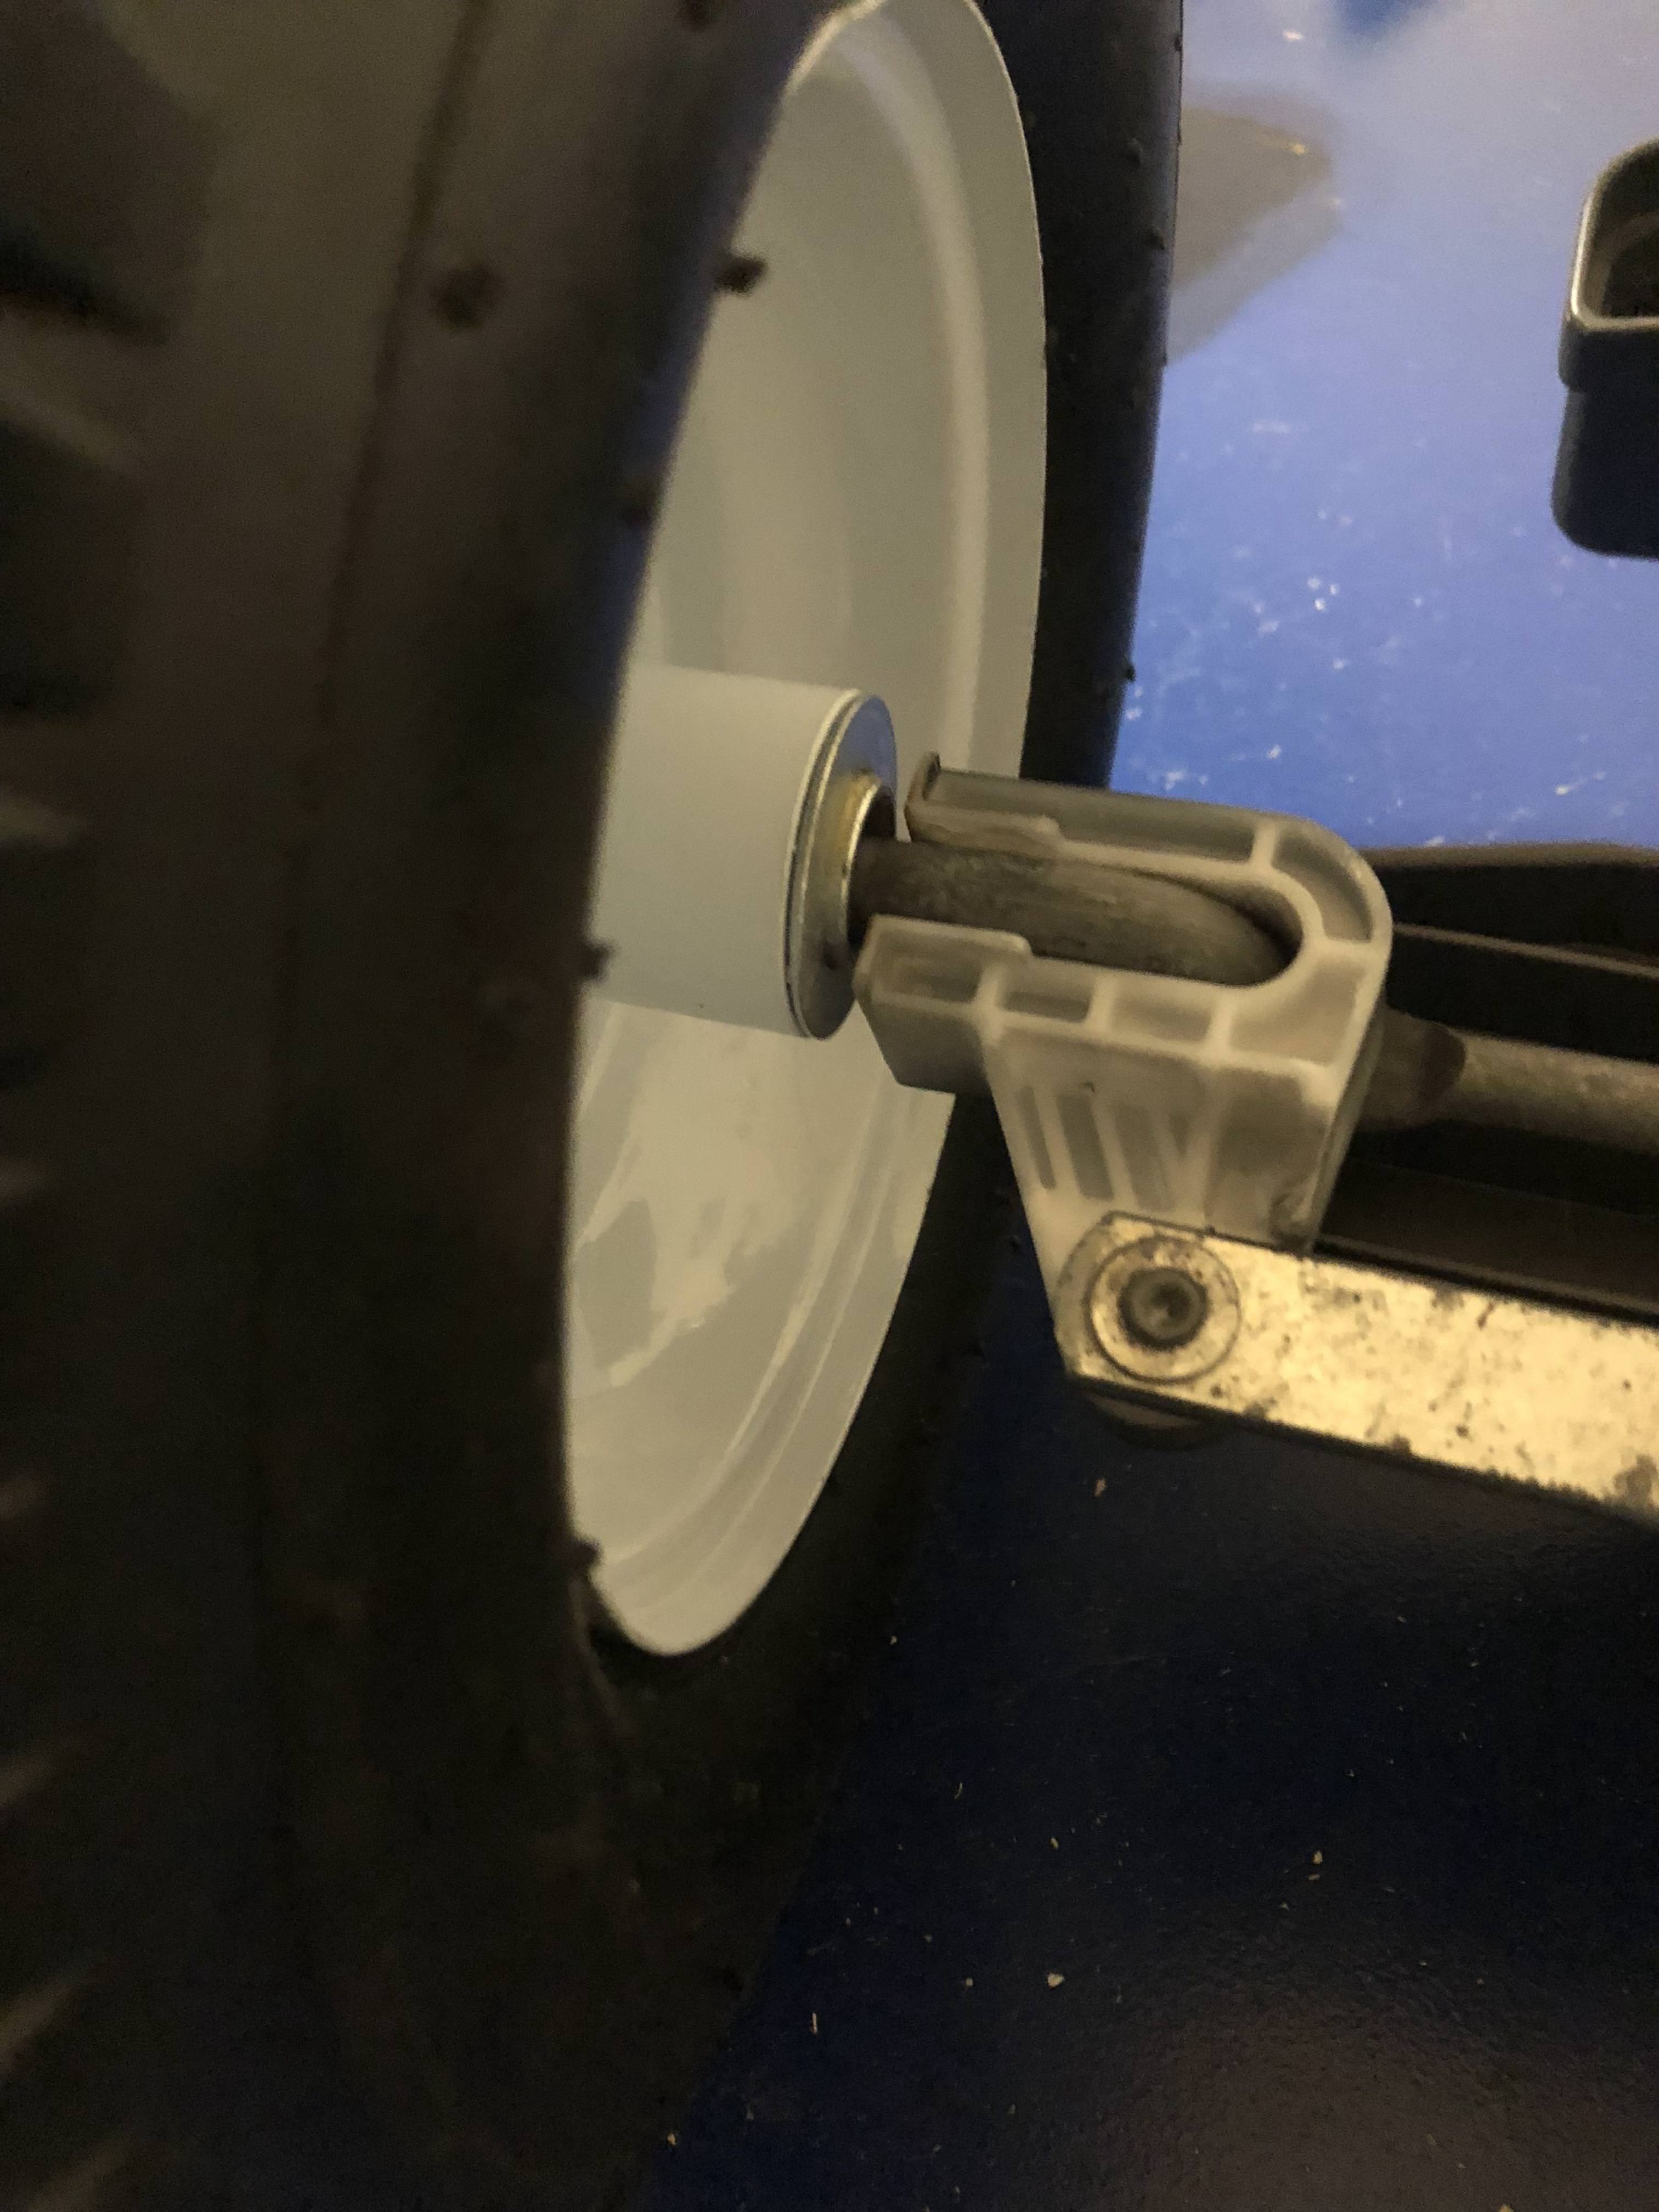
The first problem was easier to solve, I picked up some PEX water tubing and cut it to size making a perfect bushing to go from 7/16″ to 1/2″. For the second problem, I struggled with figuring out how to convert the back wheels to drive wheels. There was no good place to drill into the rim to mount the Jeep?s motor adapter and I wasn?t equipped to do any welding. So I decided to cut a piece of thick plywood, paint it to seal the wood from moisture, wedge it into the rim, and gorilla glue it in place.

At this point I could see the finish line and was racing to get there. When test fitting the wheels onto the Jeep I was dismayed to find the rear axle and front wheel mounts were both about an inch too short. Luckily the rear axle is just a plain ol? hardened steel rod, unluckily a 7/16″ steel rod is damn near impossible to find. Trying a threaded steel rod proved to be a bad choice as it started bowing and warping with very little pressure. After scouring every store in the city I was able to find a 7/16″ hardened rod that would work.
To get the front wheels mounted I had no choice but to cut into the plastic brackets holding the wheel in place, possibly sacrificing some alignment and strength.
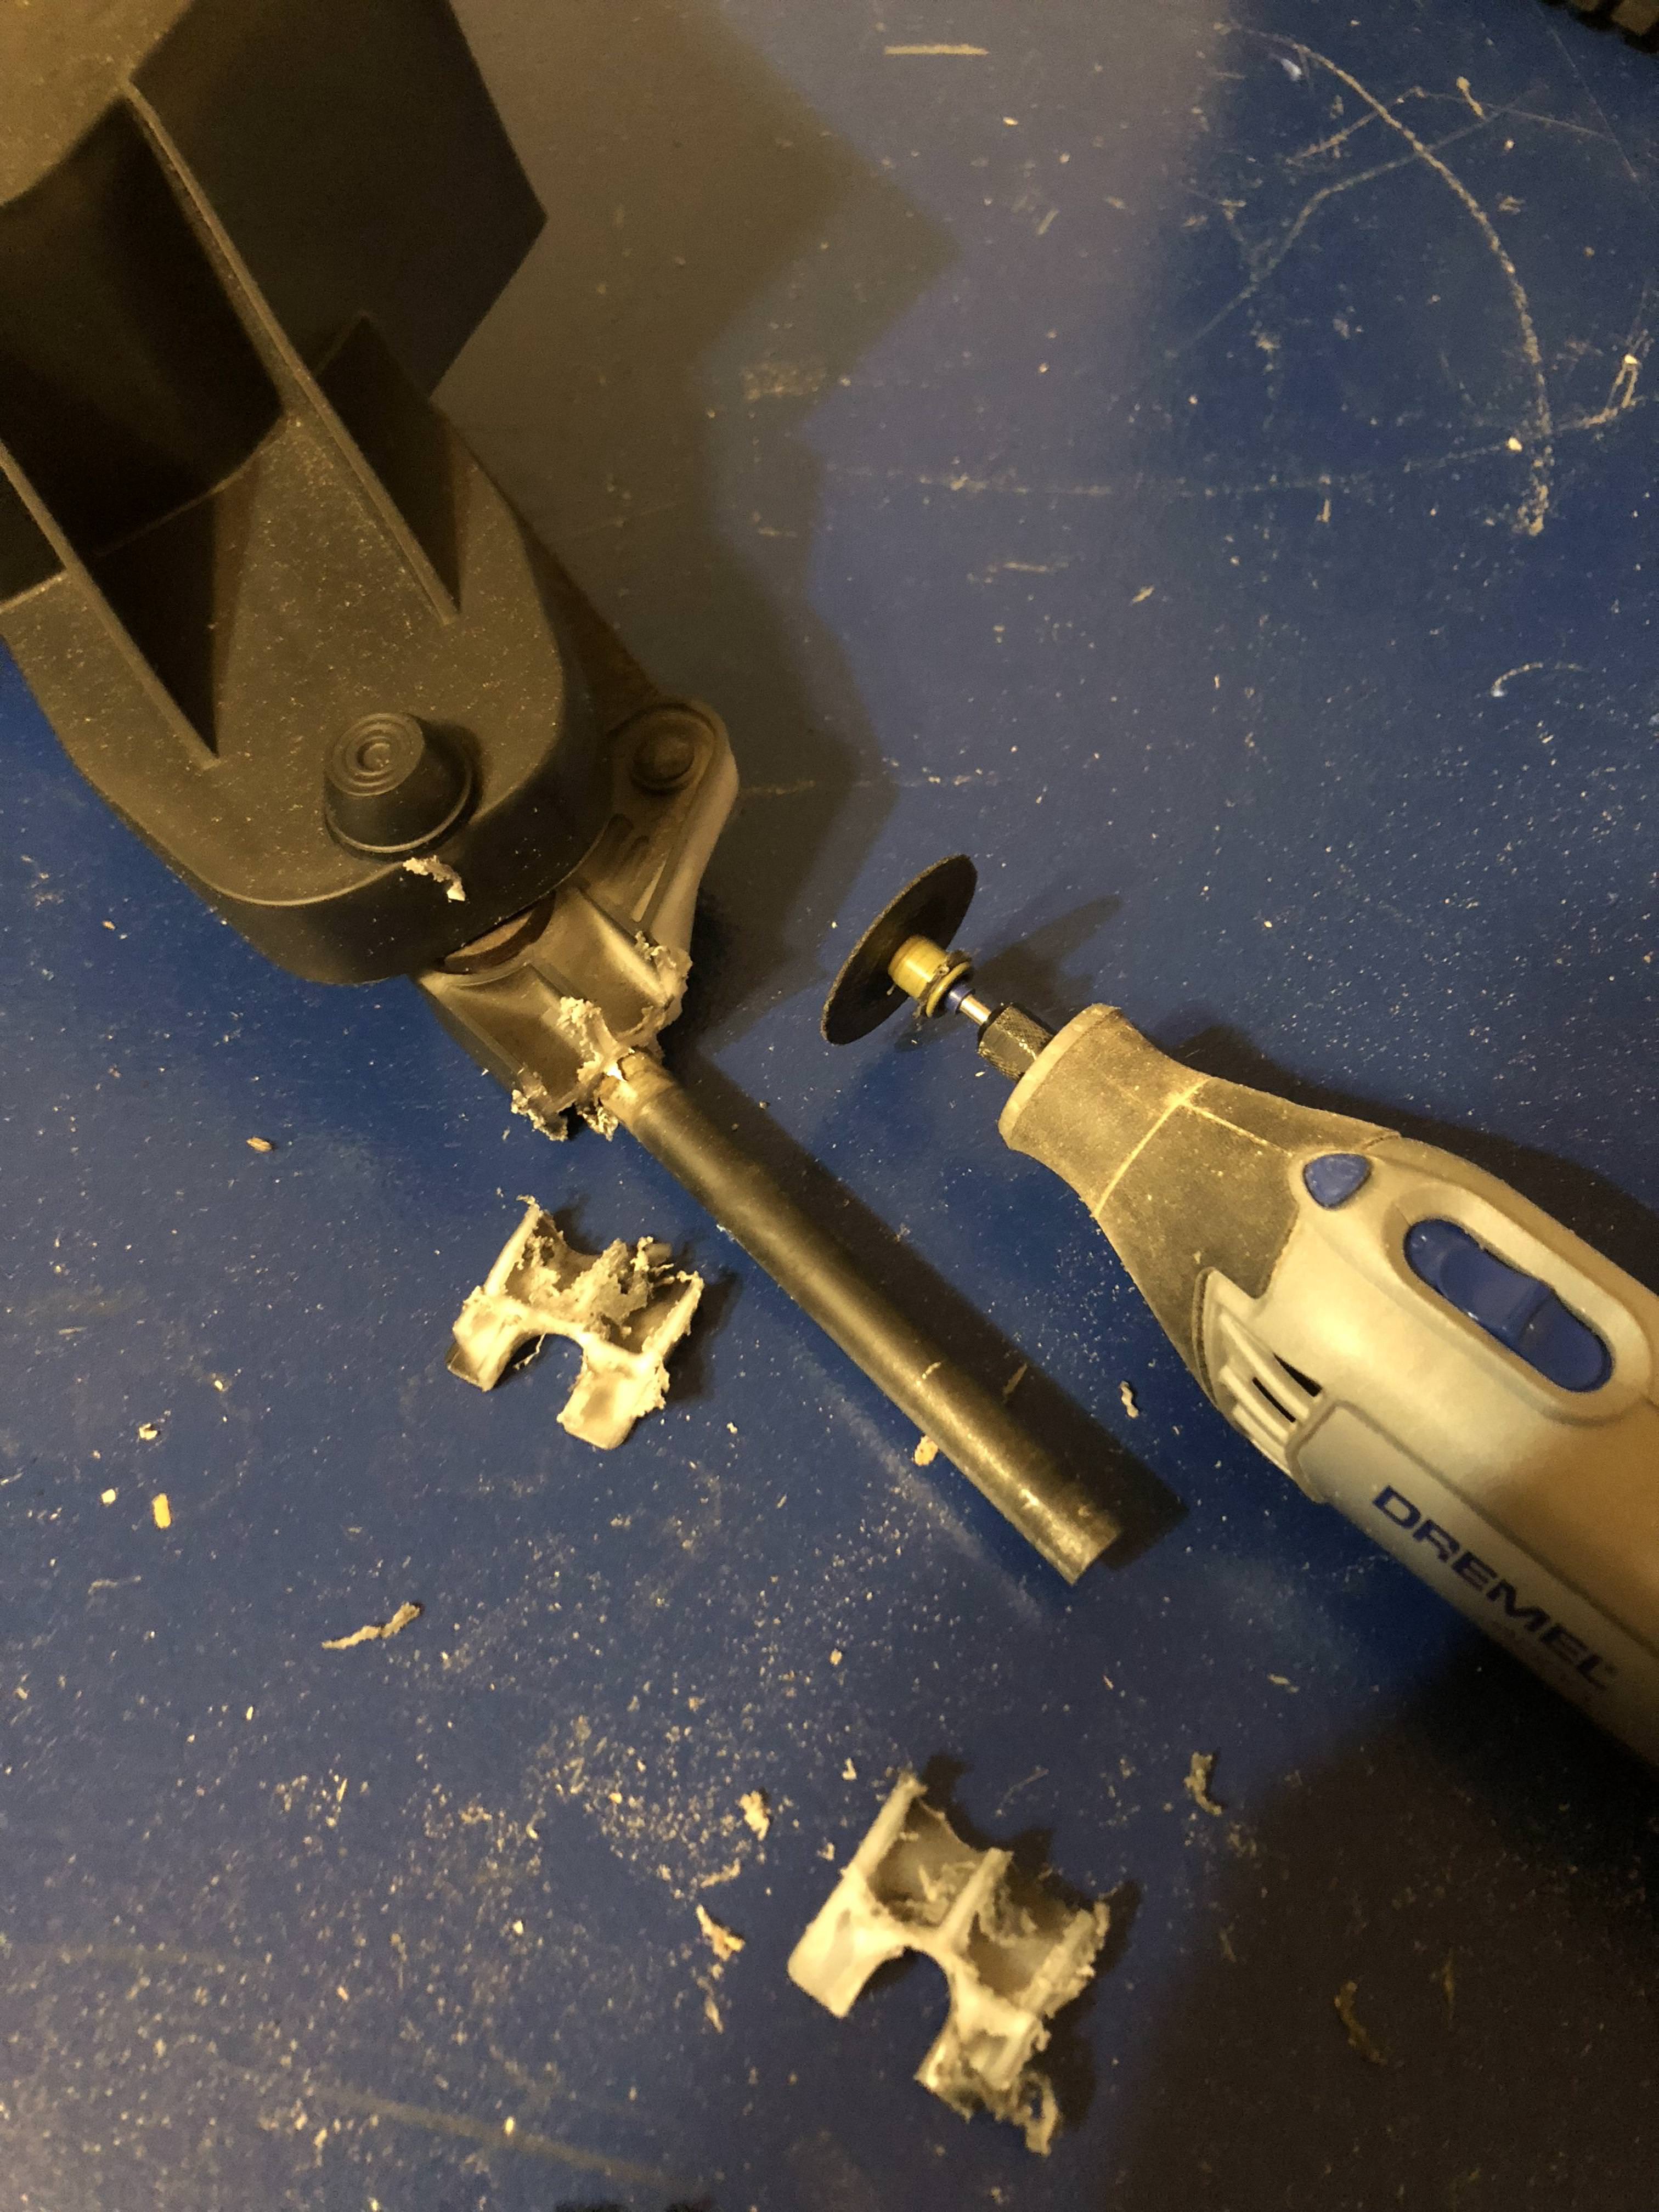
 Cutting the front wheel holder to fit my new rubber wheels
With the wheels on and the freshly cleaned and painted parts put back together it was time for the finishing touch. I installed some motion-sensing, battery-powered round headlights that will only come on if the ambient light is low. I managed to find a couple round ones that fit perfectly in the Jeep?s headlight sockets that previously featured a lame faux-headlight sticker.

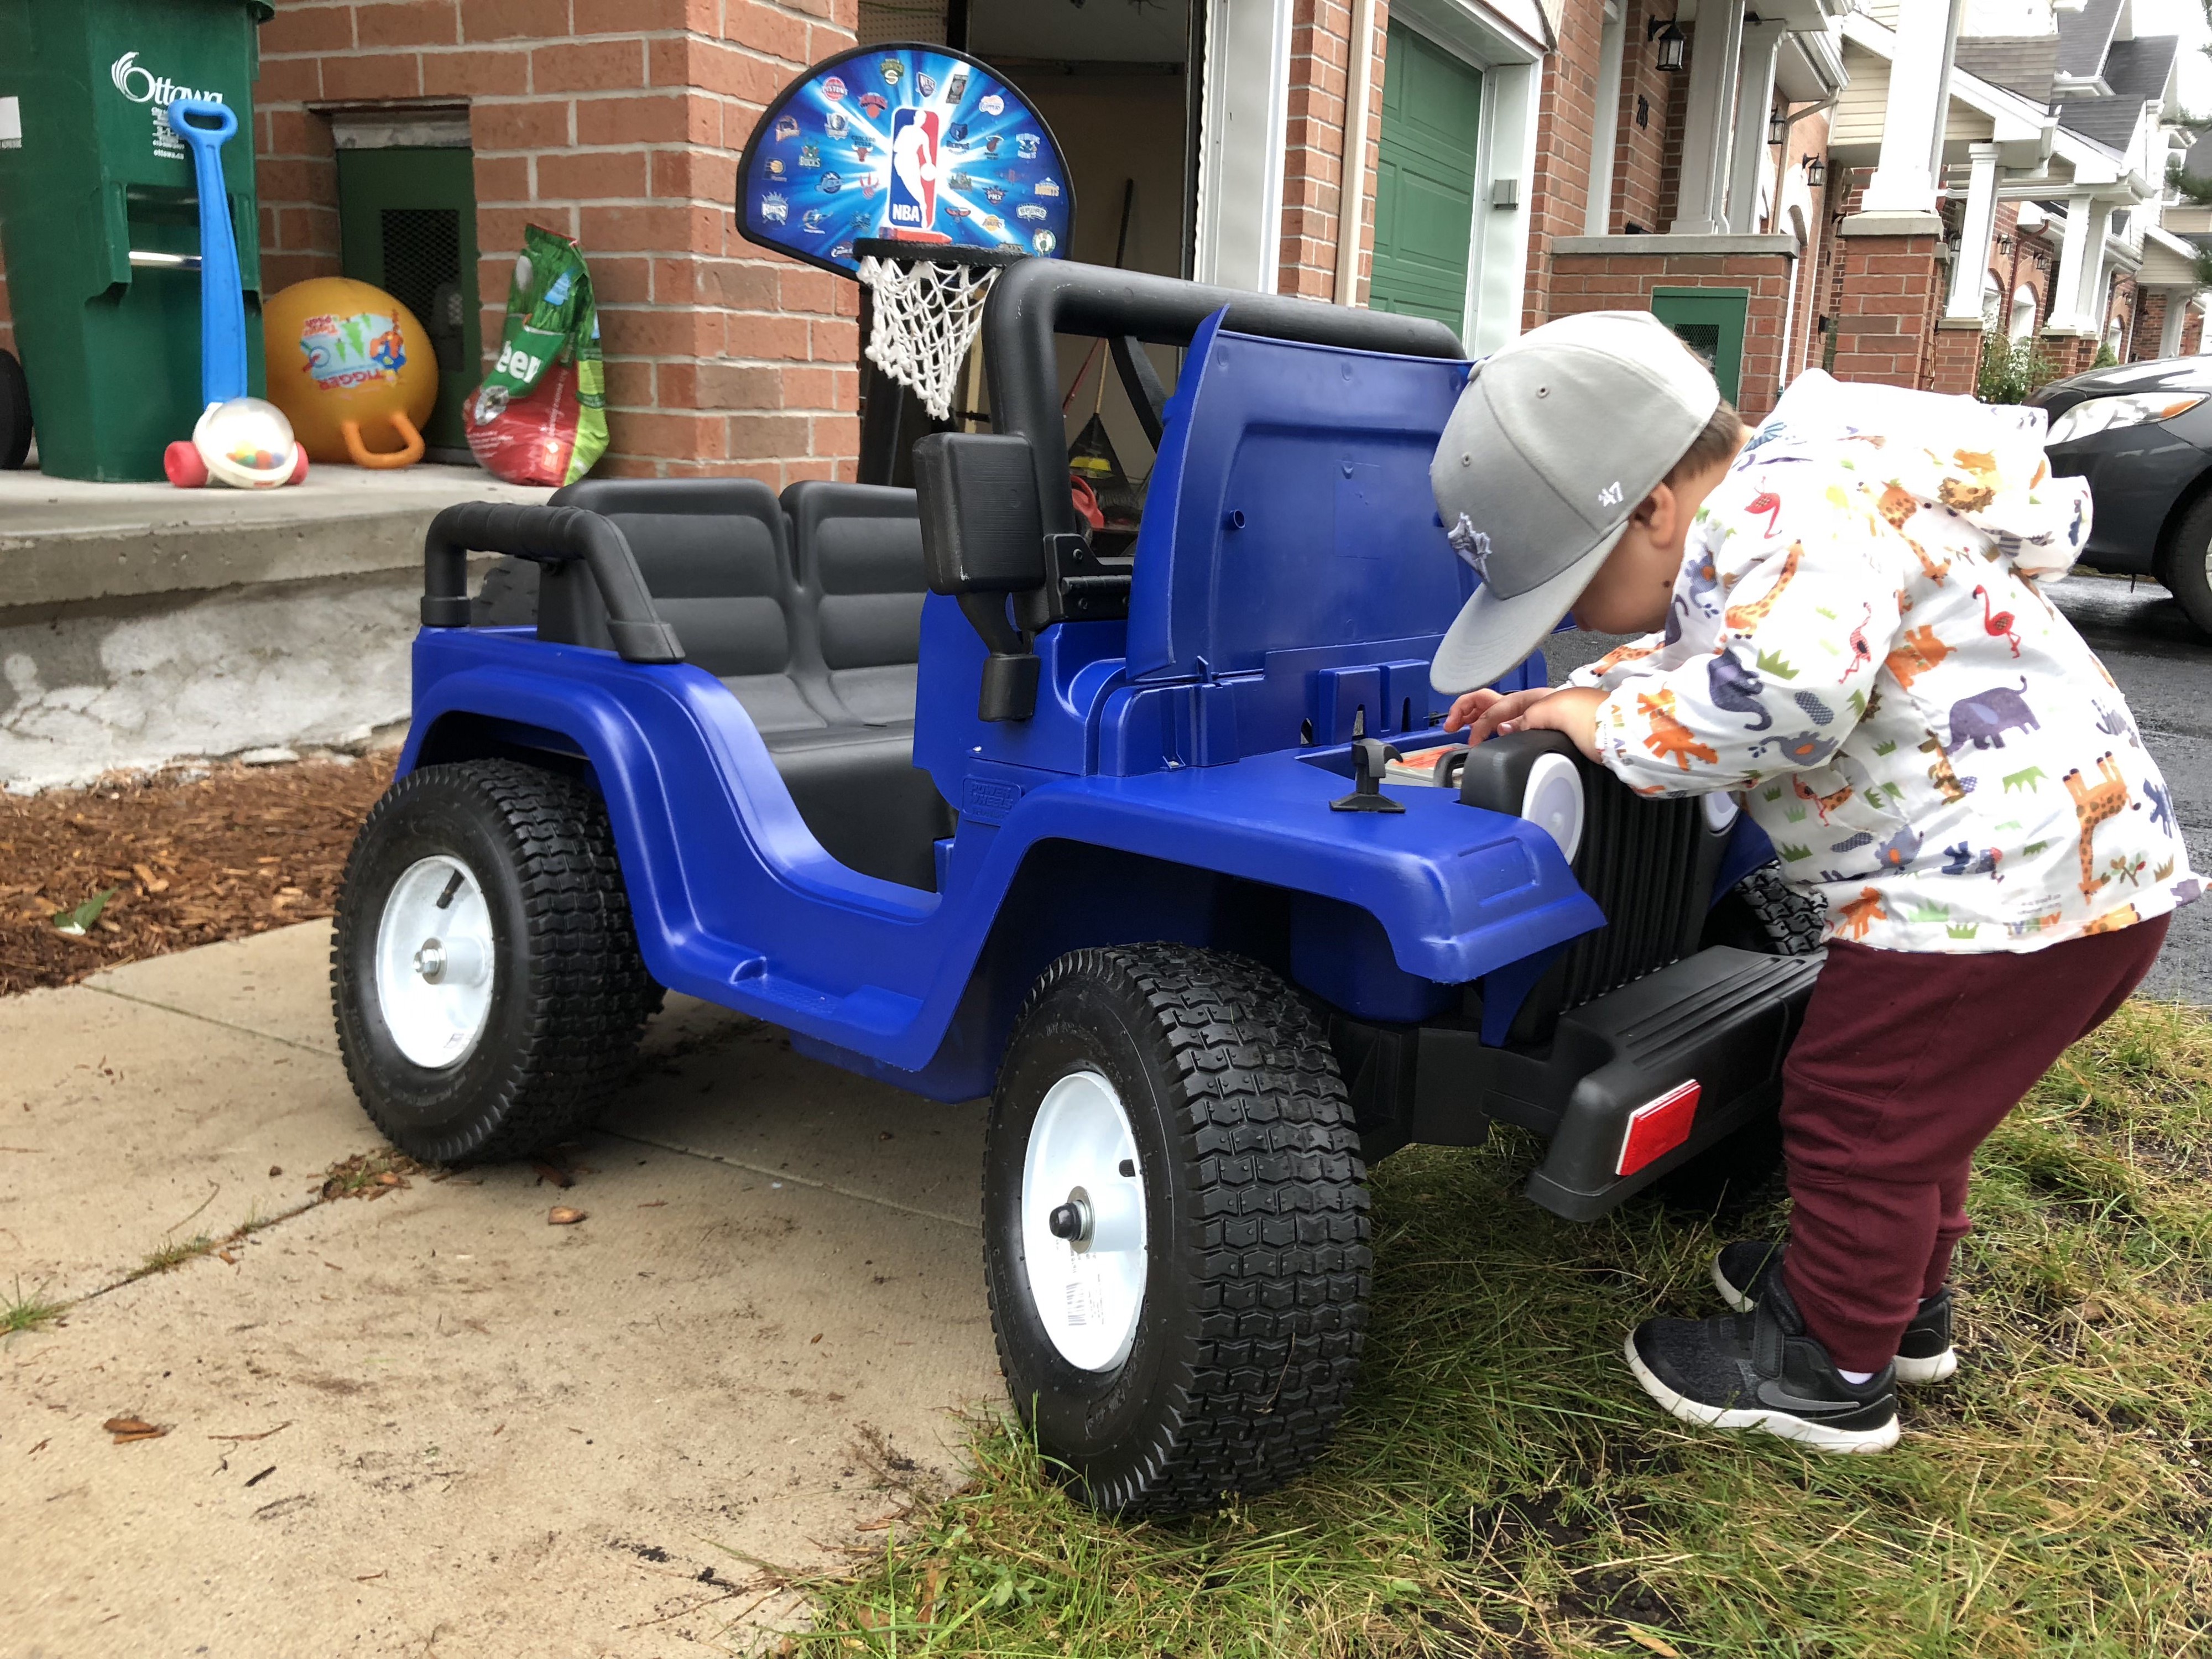 Really love these headlights! My little mechanic in training.
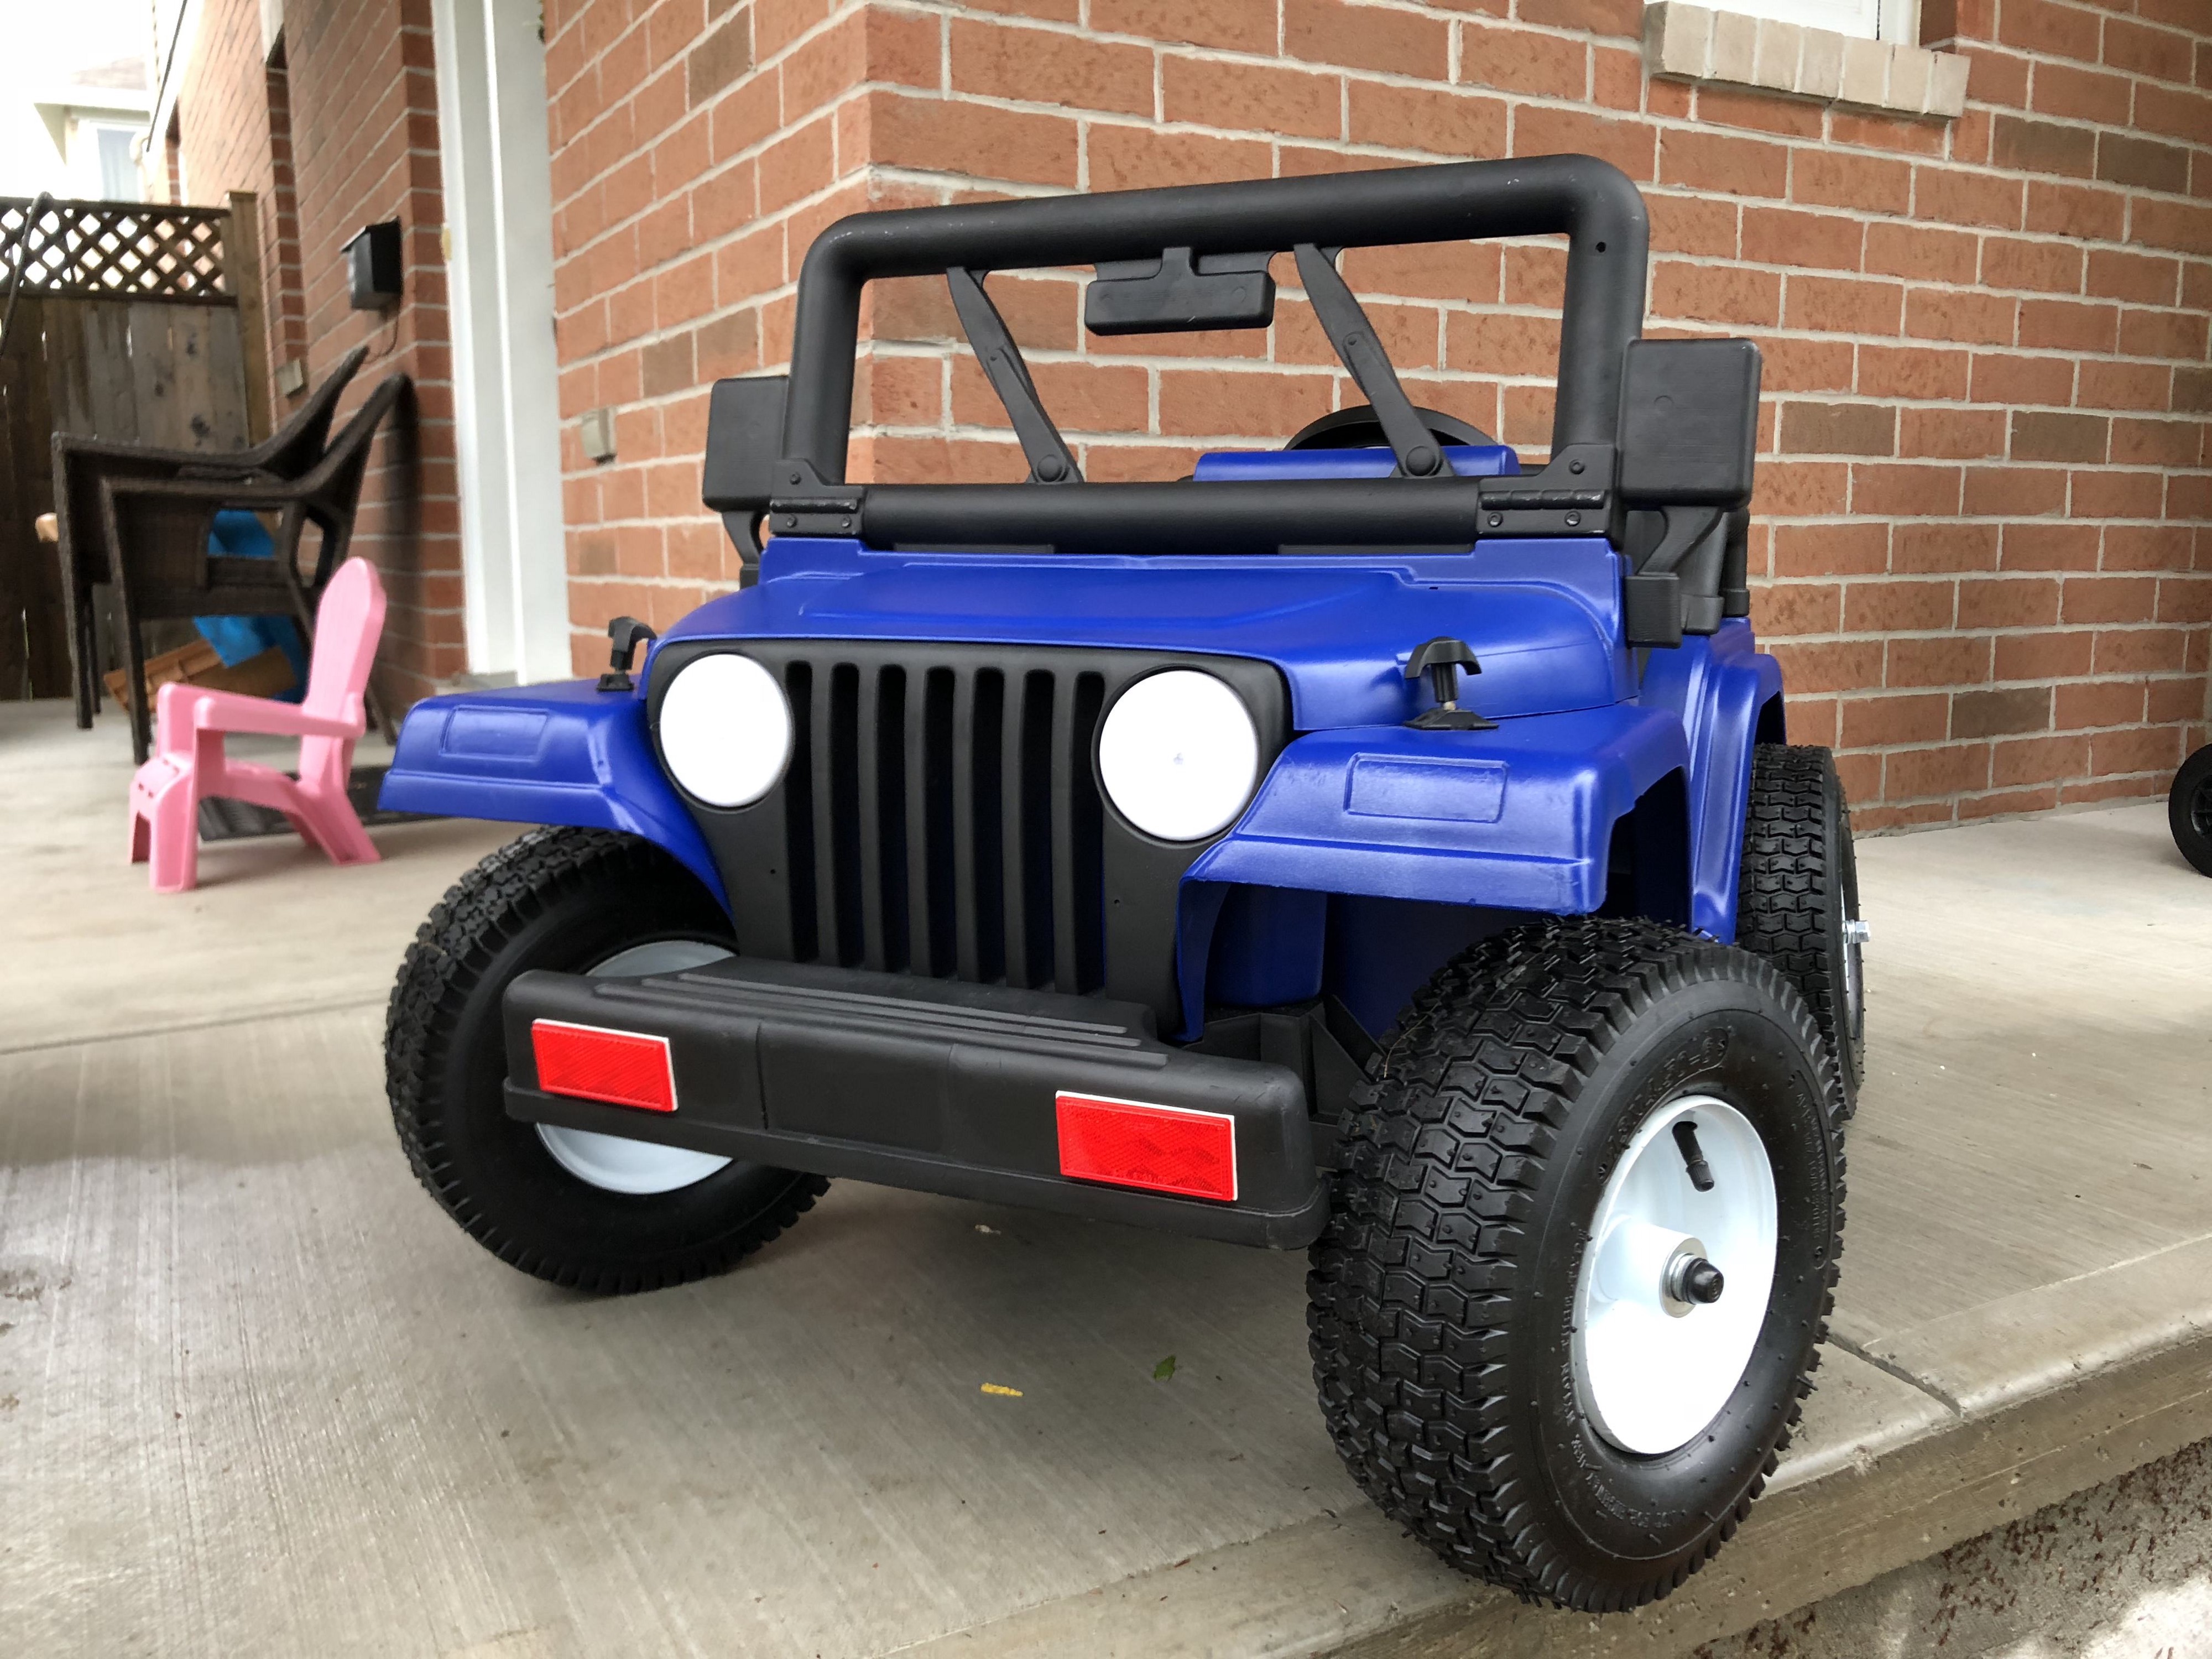
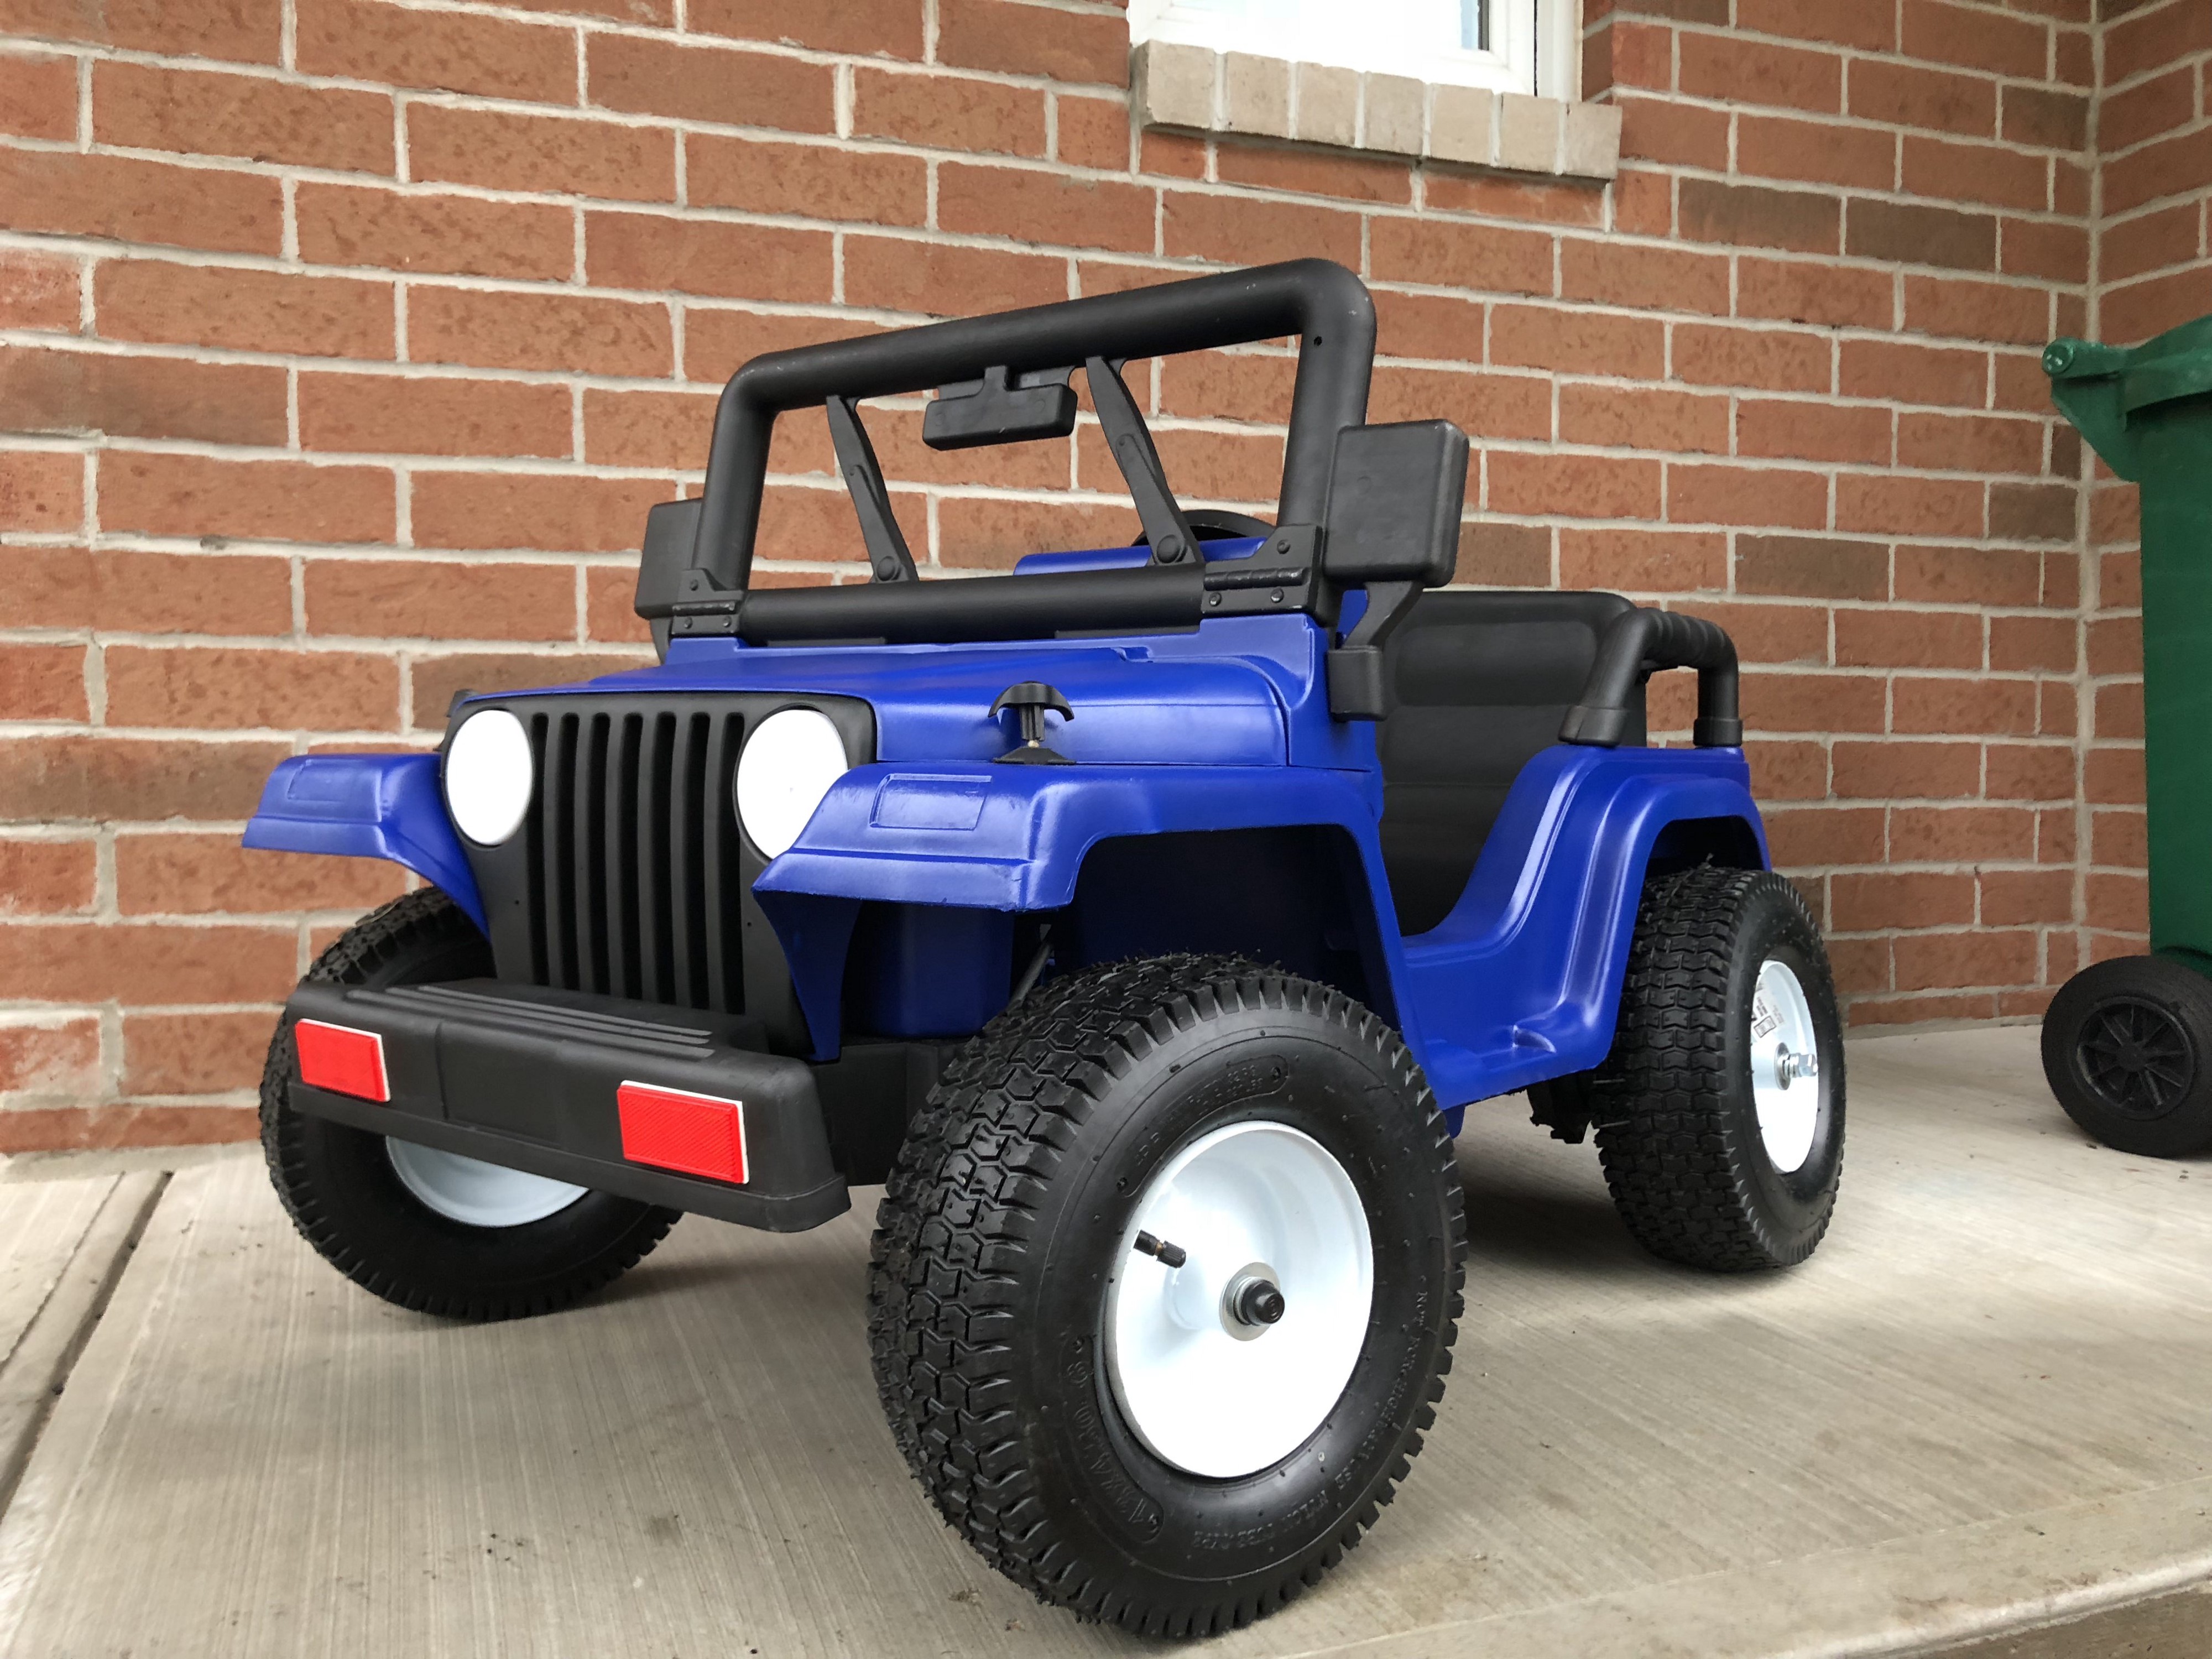
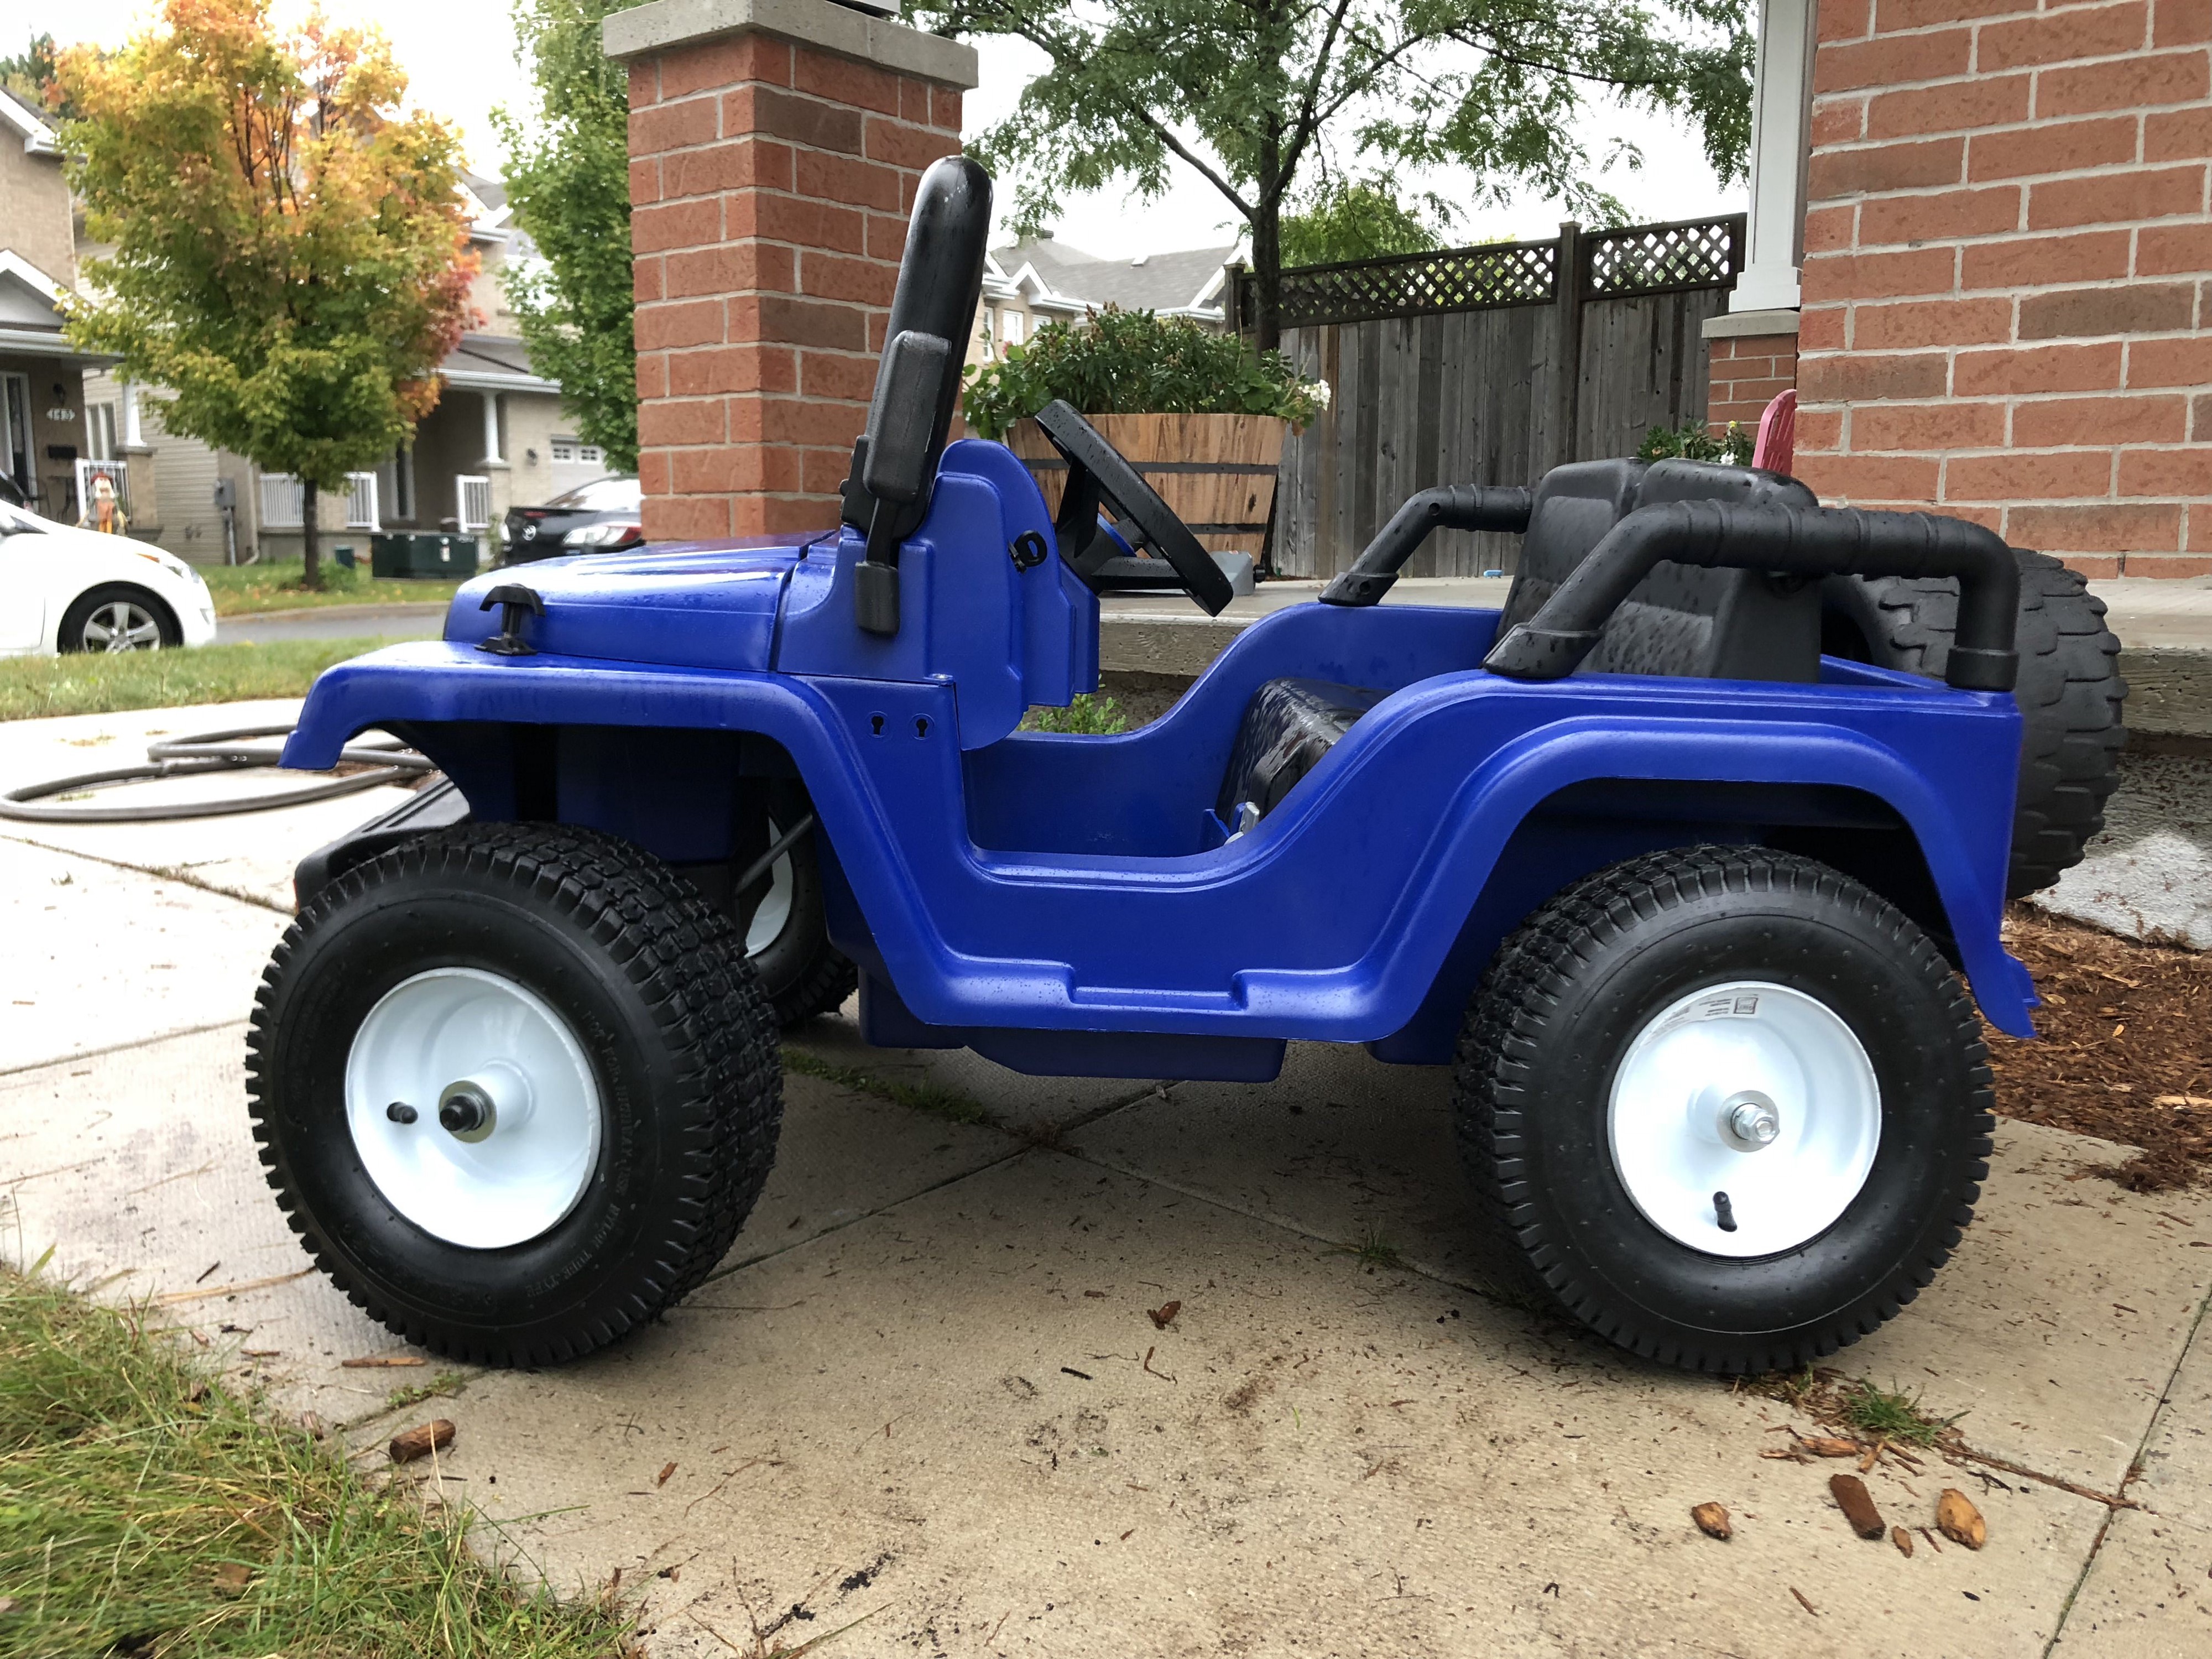 The finished product
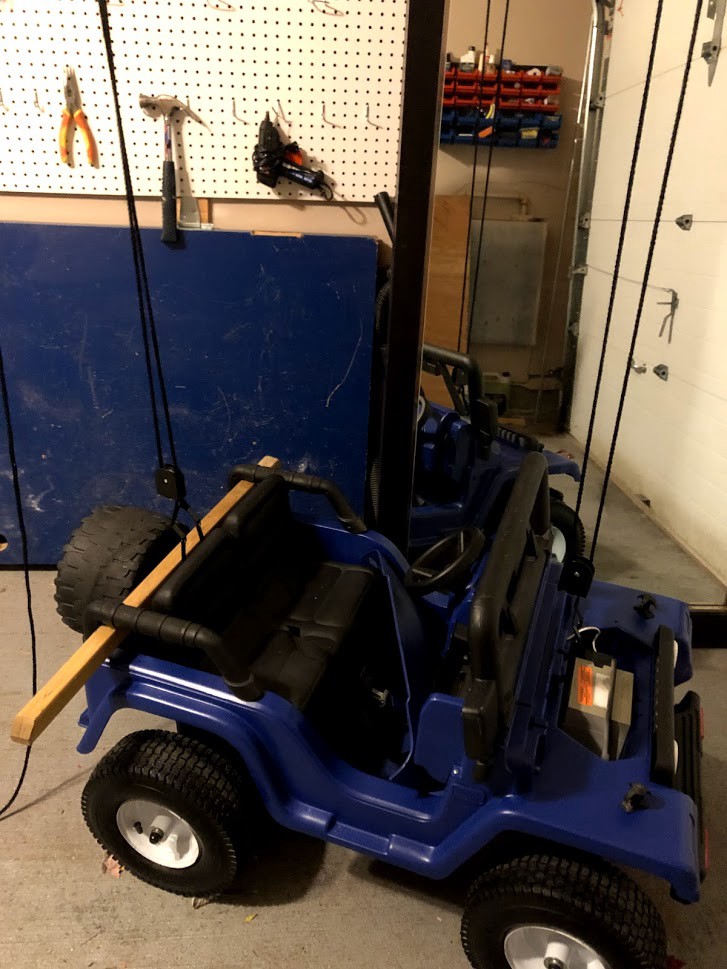
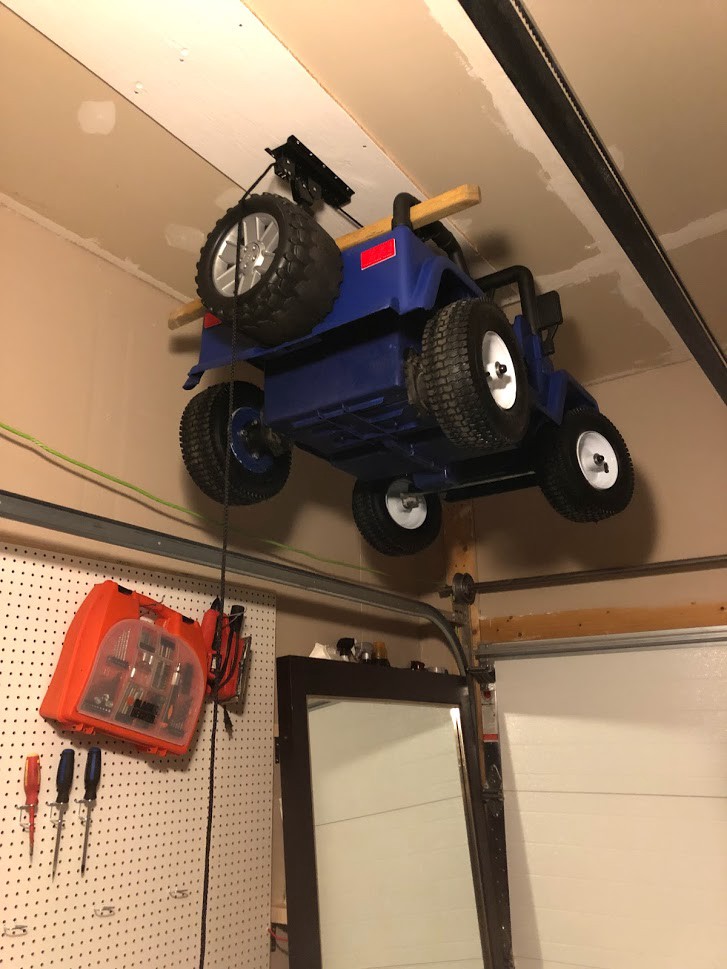
Problem 3: Storage
Though I thought I was done, there?s still one pesky problem: storage. The Jeep takes up a not-insignificant amount of floor-space in my garage and I?d prefer not to store it outside to get weather beaten. The solution: a heavy duty bike hanger to hoist the Jeep up to the roof of the garage when not in use. It?s a tight fit, but when fully raised it just manages the clear the garage door.
All-in it cost about $150 in parts on top of the $40 purchase price with the wheels being the most expensive component. So I didn?t end up saving much money. But can you really put a price on the sense of satisfaction and the joy you get from seeing your kid enjoying something you made? I don?t think so.
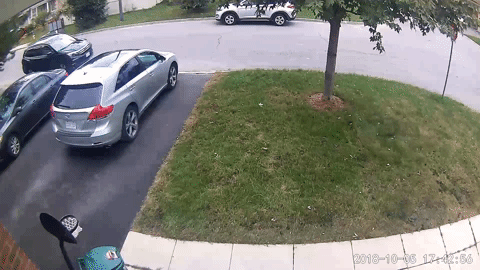 Next up: driving lessons?

