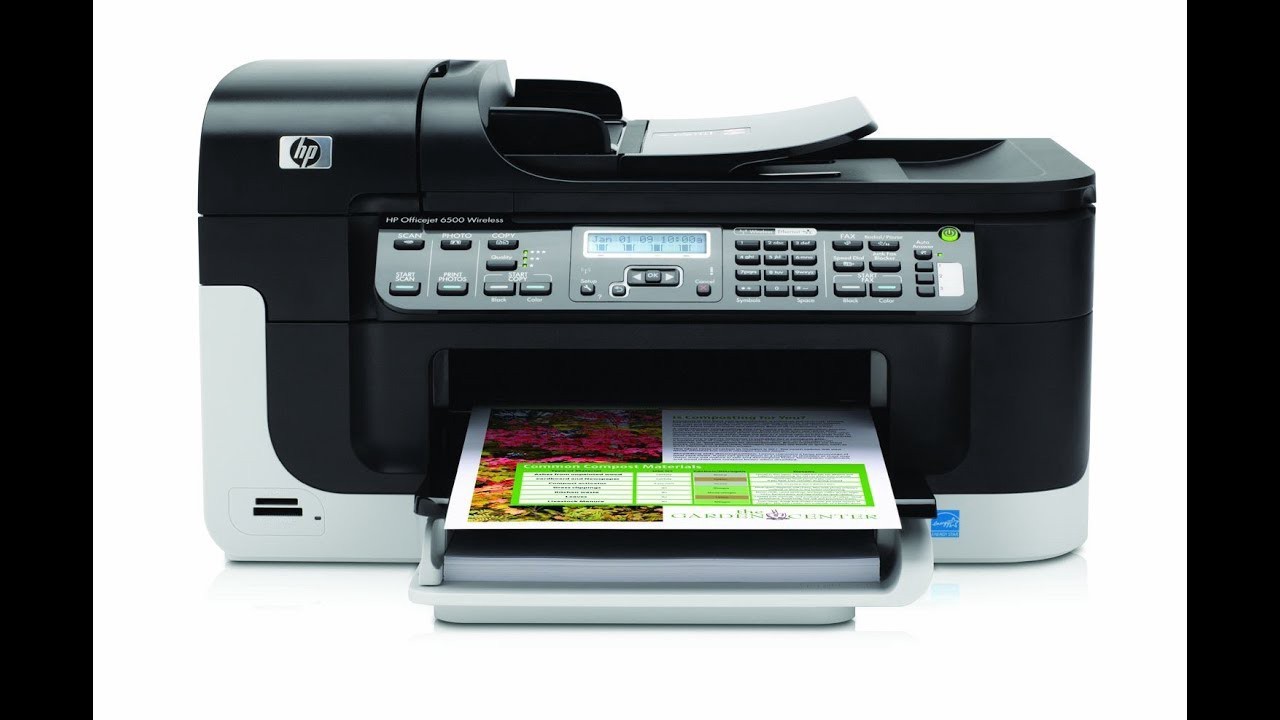
This article shows how to manually clean the printhead on the HP Officejet 6500 printer when it is not printing black or color ink or prints blank pages. Manually clean the printhead only when your printer is out of warranty.

Follow these steps to confirm that your printer is out of warranty.
Open your web browser, and go to hp.com/go/warrantycheck.
Type the printer?s serial number and product number in the text fields, then click Submit.
Make sure that your printer is out of warranty before cleaning the printhead.
You will need a disposable container, two lint-free cloths, filtered or distilled water, disposable gloves, and paper towels to clean the printhead.
Next, follow these steps to soak the printhead in warm water.
Stack paper towels in the bottom of the disposable container until it is 6.5 millimeters or one-quarter of an inch deep.
Heat the water until it is warm, but not boiling.
Do not use tap water, alcohol, or other solvents because these might damage the printhead.
When the water is warm, pour it into the container until it is five centimeters or two inches deep.
Make sure the water covers the paper towels.
Save the remaining water.
Next, remove all ink cartridges from the printhead.
Open the cartridge access door.
Put on disposable gloves to prevent ink from transferring to your skin or clothes.
Lay out a paper towel to set the ink cartridges on.
Remove each cartridge by pressing the tab on the front, and then pulling it up and out of its slot.
Then place each cartridge upside down on the paper towel.
Repeat these steps until all of the ink cartridges have been removed from the printhead.
Do not leave ink cartridges outside the printer for more than 30 minutes.
Exposure to the air can damage the cartridges.
After all the ink cartridges have been removed, follow these steps to remove the printhead.
Lift the printhead latch, then lift the printhead directly upwards from its slot.
Dampen a clean, lint-free cloth with filtered water and gently wipe away any excess HP ink on the printhead.
Clean the bottom of the printhead.
Be careful to not press into the nozzle area or force water into the printhead, since these can cause damage.
Continue to wipe the nozzle area until no ink transfers onto the cloth.
Follow these steps to soak the printhead.
Place the printhead into the disposable container so that the bottom rests on the paper towels.
Soak the printhead for ten minutes.
After ten minutes, remove the printhead and set it on a paper towel with the nozzles facing up.
Wait 15 minutes for the printhead to dry.
Do not use compressed air or a hair dryer to dry off the printhead; these methods can cause clogging and damage.
After the printhead is dry, return the printhead and ink cartridges to the printer carriage.
Reinstall the printhead in the carriage and lower the latch handle to lock it into place.
Using the color guides on the printhead, reinstall each ink cartridge.
Press down on each cartridge until it clicks into place.
After reinstalling all the cartridges, close the cartridge access door.
Clean the printhead using the automated cleaning tool.
First, load plain white paper into the main input tray.
On the printer control panel, press the Setup button.
Press the right arrow to find Tools, then press OK.
Press the right arrow to find Clean Printhead, then press OK.
The automated cleaning tool cleans the printhead.
Your printer is now ready to use.

