Let?s start off with the moment where powering on your Mac did not respond in the general way it does. Maybe you were trying to dual-boot your system and something went wrong. Did you just unknowingly destroy your favourite toy? I think you are better off than the ones who are living on the edge by still rocking the 2011 MacBooks. If you are facing a booting issue with your Mac then it is either of two things: you have worn out your hard-disk (OR) you just have experienced a flesh wound.
 What booting up your Mac shows
Older systems might run into issues where the internal hard disks are no longer able to perform at an optimal rate and this is a hint from Apple to hit the Apple Store as soon as possible. Keep the cash ready for either replacing your hard-drive or getting a new machine.
Let?s assume that you are having one of the newer MacBooks (2013 and sooner) and you run into the problem of not being able to boot into macOS/OS X. This is what has happened to you. You have either corrupted the contents of the disk (OR) you have deleted the partition which contains your Operating System. Even though the latter seems to be happening seldom, believe me when I say that it is an honest mistake and a careless onetoo.
 You played with this maybe?
But you need not worry since I have gone through the same phase and this blog is to help you out through any means possible.
So what is Internet Recovery and why did you get scared when it came up?
In addition to the startup volume which holds a bootable copy of the operating system along with your applications and data, your Mac?s disk contains a hidden recovery partition that you can boot from in order to reinstall OS X, perform a quick check of connected disks and more.
But what happens if you try to enter this mode by hold-pressing ?-R (Command-R) while your system is booting up. You should generally see the Utilities app running for you as follows.
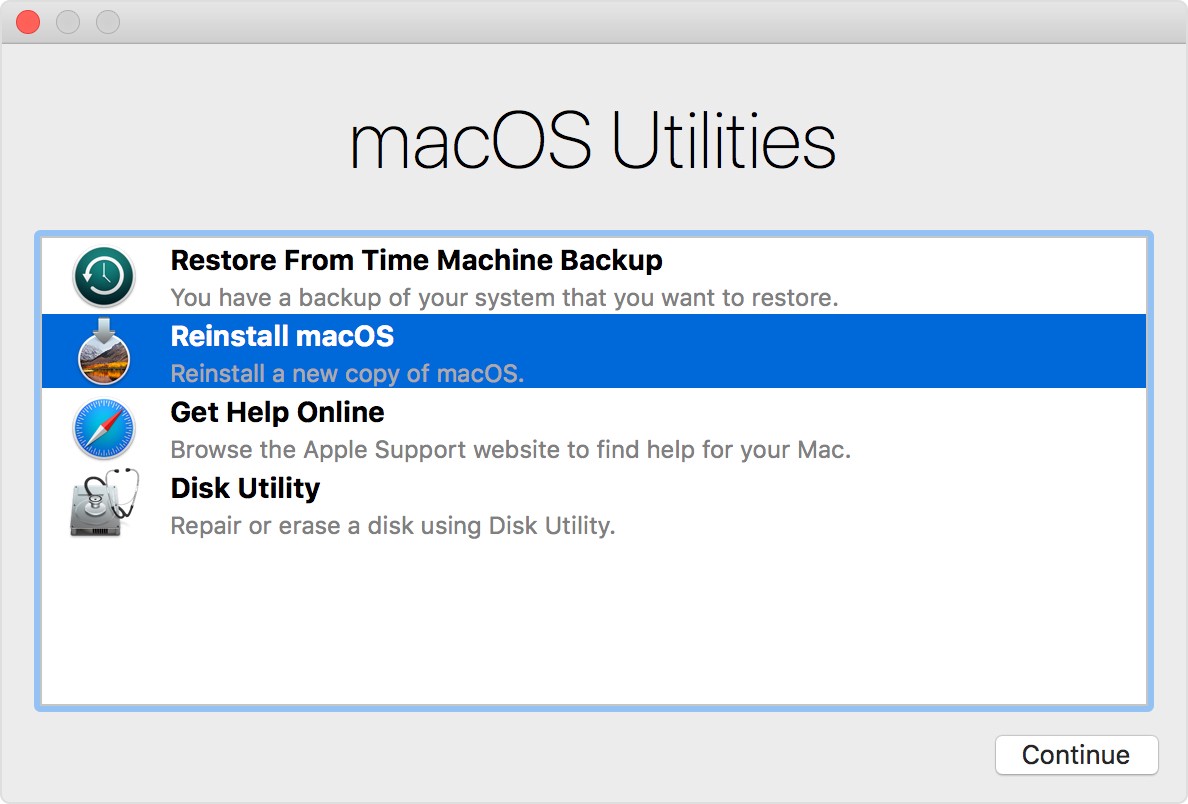 macOS Utilities on Recovery Startup
But you are presented with a different story?
You select your choice of Network and enter the Network Password. But instead what you end up is here (either through ?-R or ?-alt-R).
NOTE : ?-alt-R lets you enter the Internet Recovery Mode manually.
 Internet Recovery Time is in hh:mm
Taking too long? Wait it out. It completely depends on the Network your system is connected to.
What your system is doing is fetching the data regarding your System and your OS at the time of purchase and downloading the Utilities application from Apple?s servers. Why is it doing so if the Utilities application is supposed to launch if we use ?-R? This is because, when you messed up the drive, the pointer to the OS got lost and there is no information regarding what the computer should proceed with. Most probably the macOS data got welcomed by the trash bin instead.
Once it finishes downloading, you will be presented with the Utilities application as shown earlier. Click on Disk Utility and format your drive once in GUID mapping and name it whatever you like, e.g. Macintosh HD.
Now return back to the Utilities application and click on Reinstall macOS and proceed as suggested. You would be presented with the following..
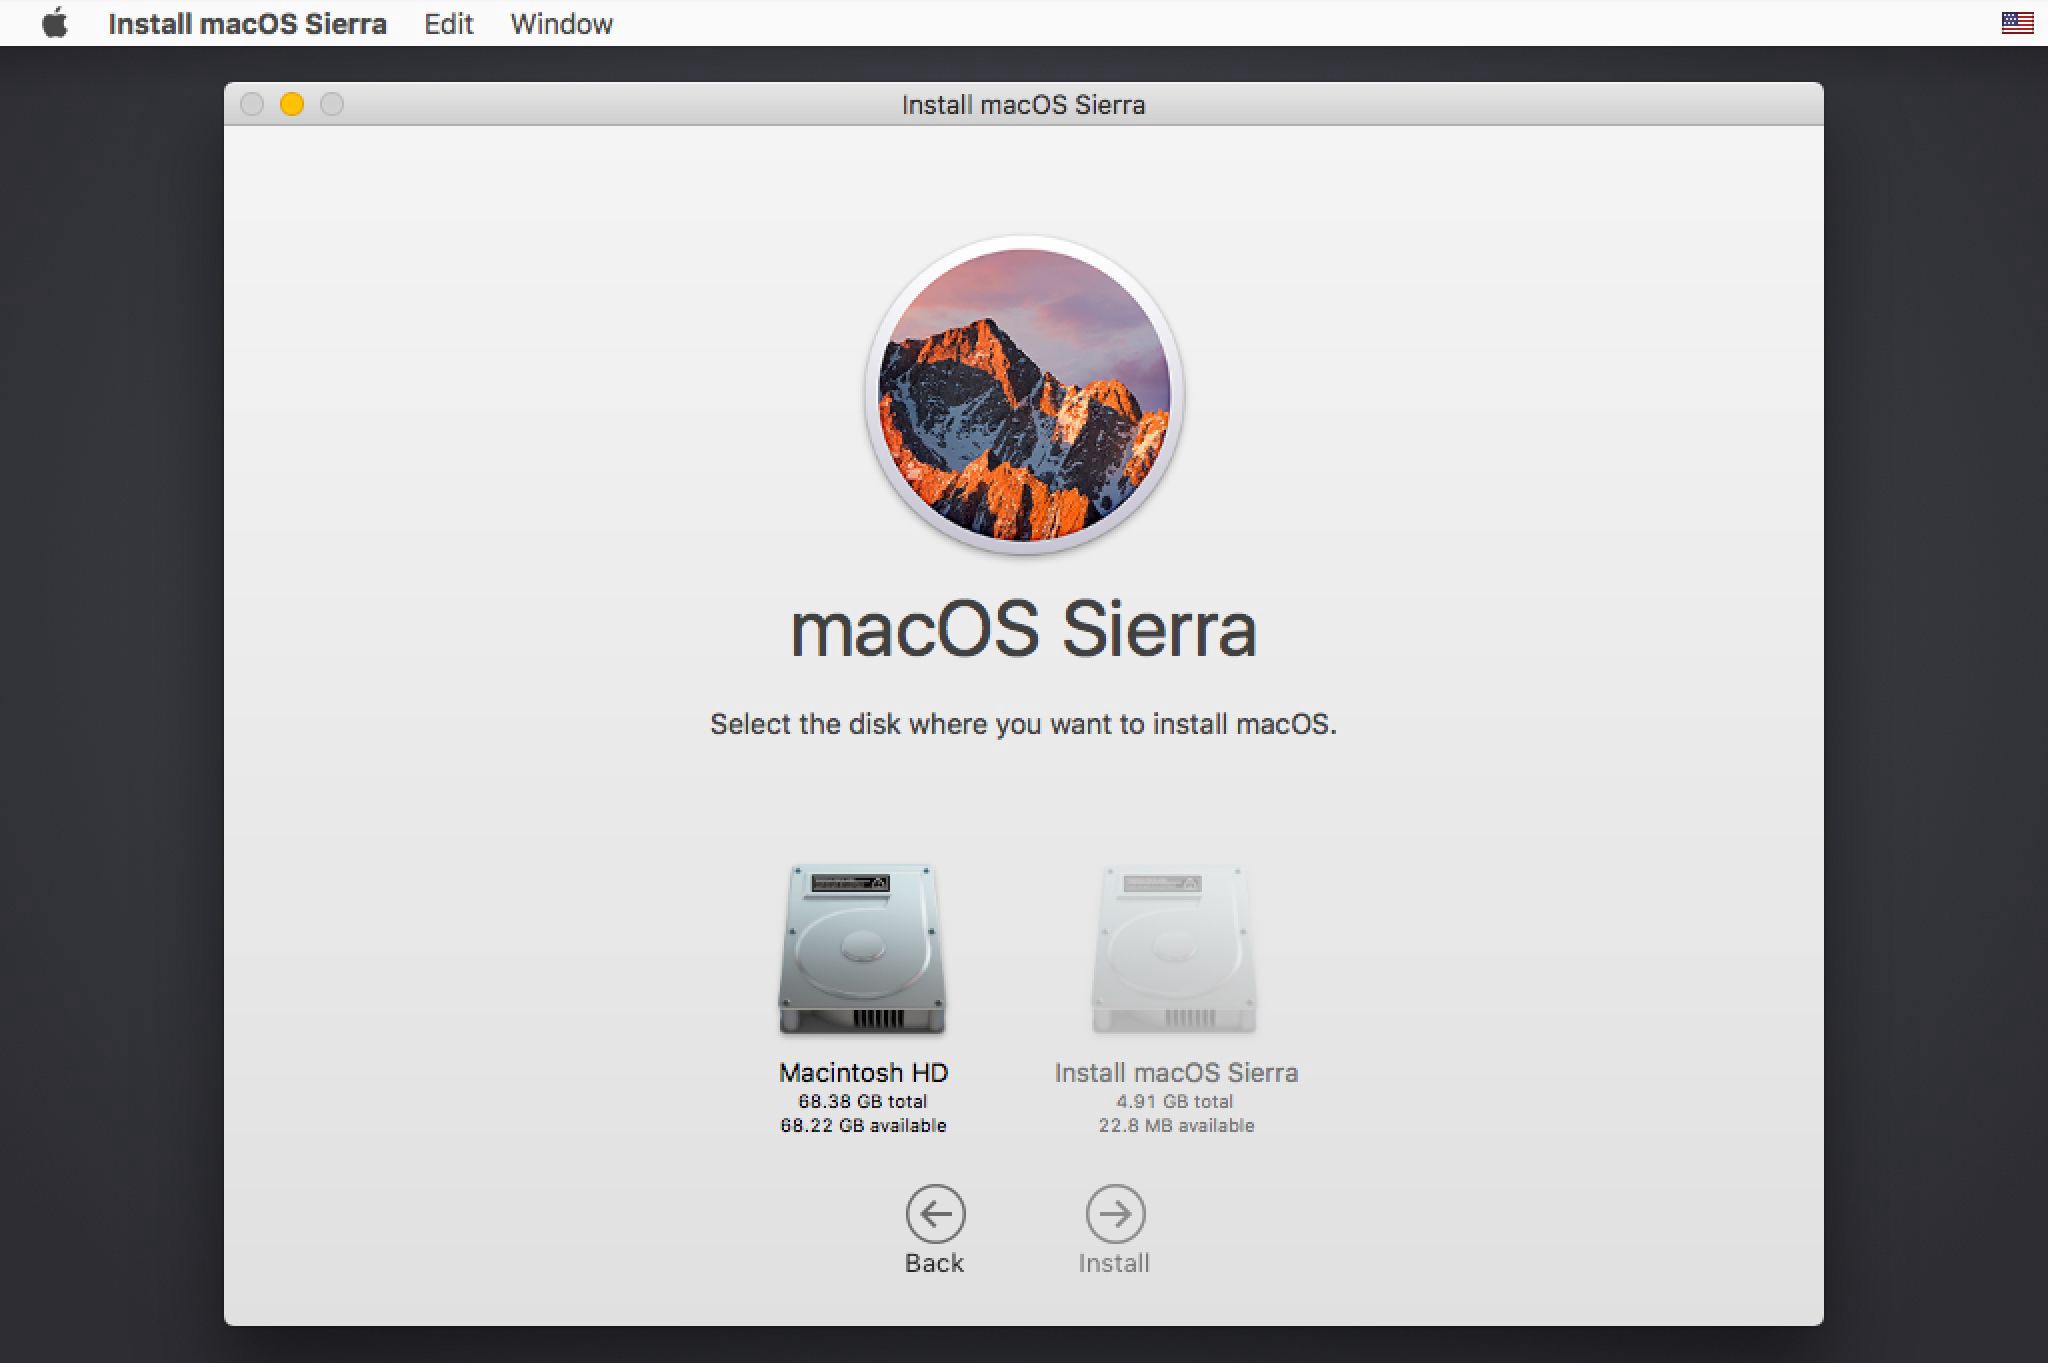 Drive Selection
Click on Macintosh HD and wait for the following process to end. Again, it would depend on your Network Bandwidth.
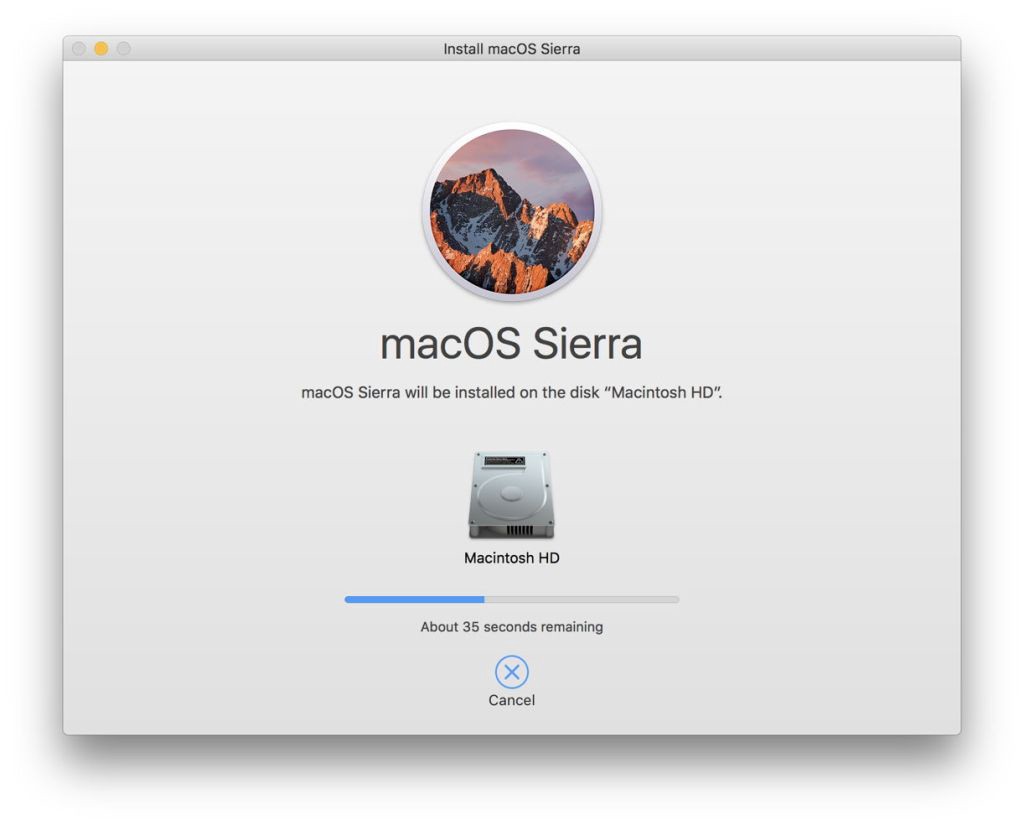 Downloading additional components for macOS
Once the process ends, your Mac with restart and you are back to where you want your device to be. Proceed with the ?Formalities? and be awesome again.
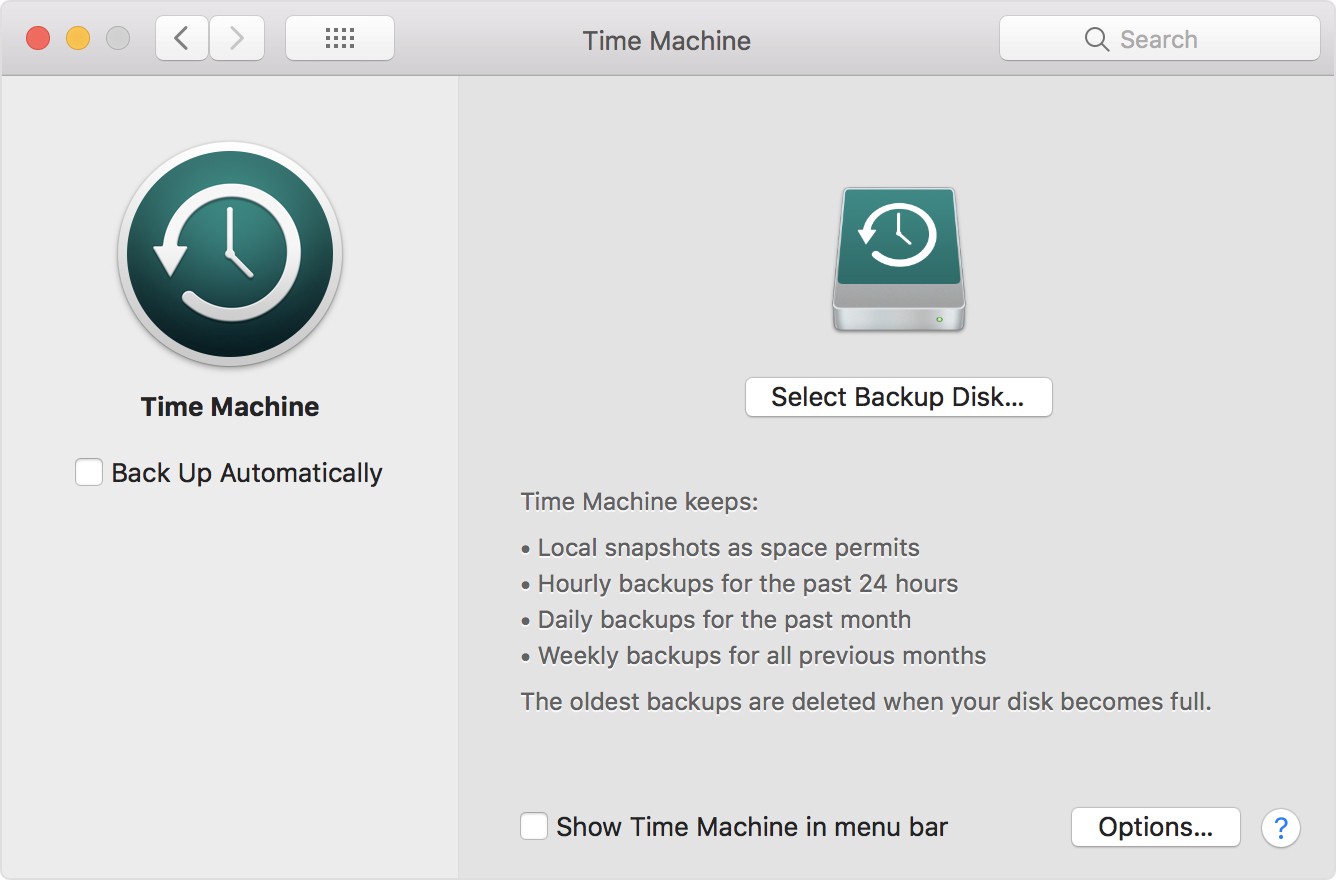 The Time Machine (It will save you from re-reading this blog in the future)
But wait! All this could have been avoided if you had a simple backup! So, use TimeMachine and backup your existing state of system. Since you have practically done a fresh install of the Operating System, it is best that you grab a hard disk and use it as your backup-drive. I would recommend having a buffer of 200 GB of storage space over the existing internal-hard-disk (OR) SSD storage.
So the next time you fall into this mess, you could just use the Restore From Time Machine Backup option from the macOS Utilities and save some time.
Let?s hope that you treat your system better..

Happy Macking?


 Internet Recovery and how to be NOT scared of it…)
 Internet Recovery and how to be NOT scared of it…)