If you?re just getting started with designing for the web, a newbie to Sketch app, a Photoshop (or similar) user not quite ready to make the jump, or a developer looking to throw UI design into your repertoire, then these easy to follow tutorials will be perfect to give you a brief understanding of how Sketch works, and how to produce a gorgeous design for desktop, tablet, and mobile.
Please Note: This is Part 1 of a 5 Part Course. Throughout this series I will be teaching you how to get started with Sketch (and some of the great complementary tools I use alongside it). All the way through to creating a beautiful design for Desktop, Tablet, and Mobile devices, and preparing your design ready to hand off to developers.
Sound good? Awesome. Let?s do this?
In this first part I?ll be showing you how to work your way around the application, and some tips, plugins, and resources I use when creating a design like this in Sketch.
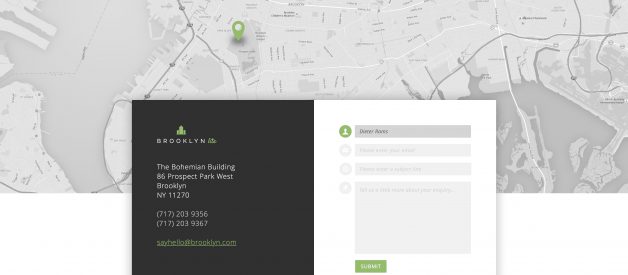
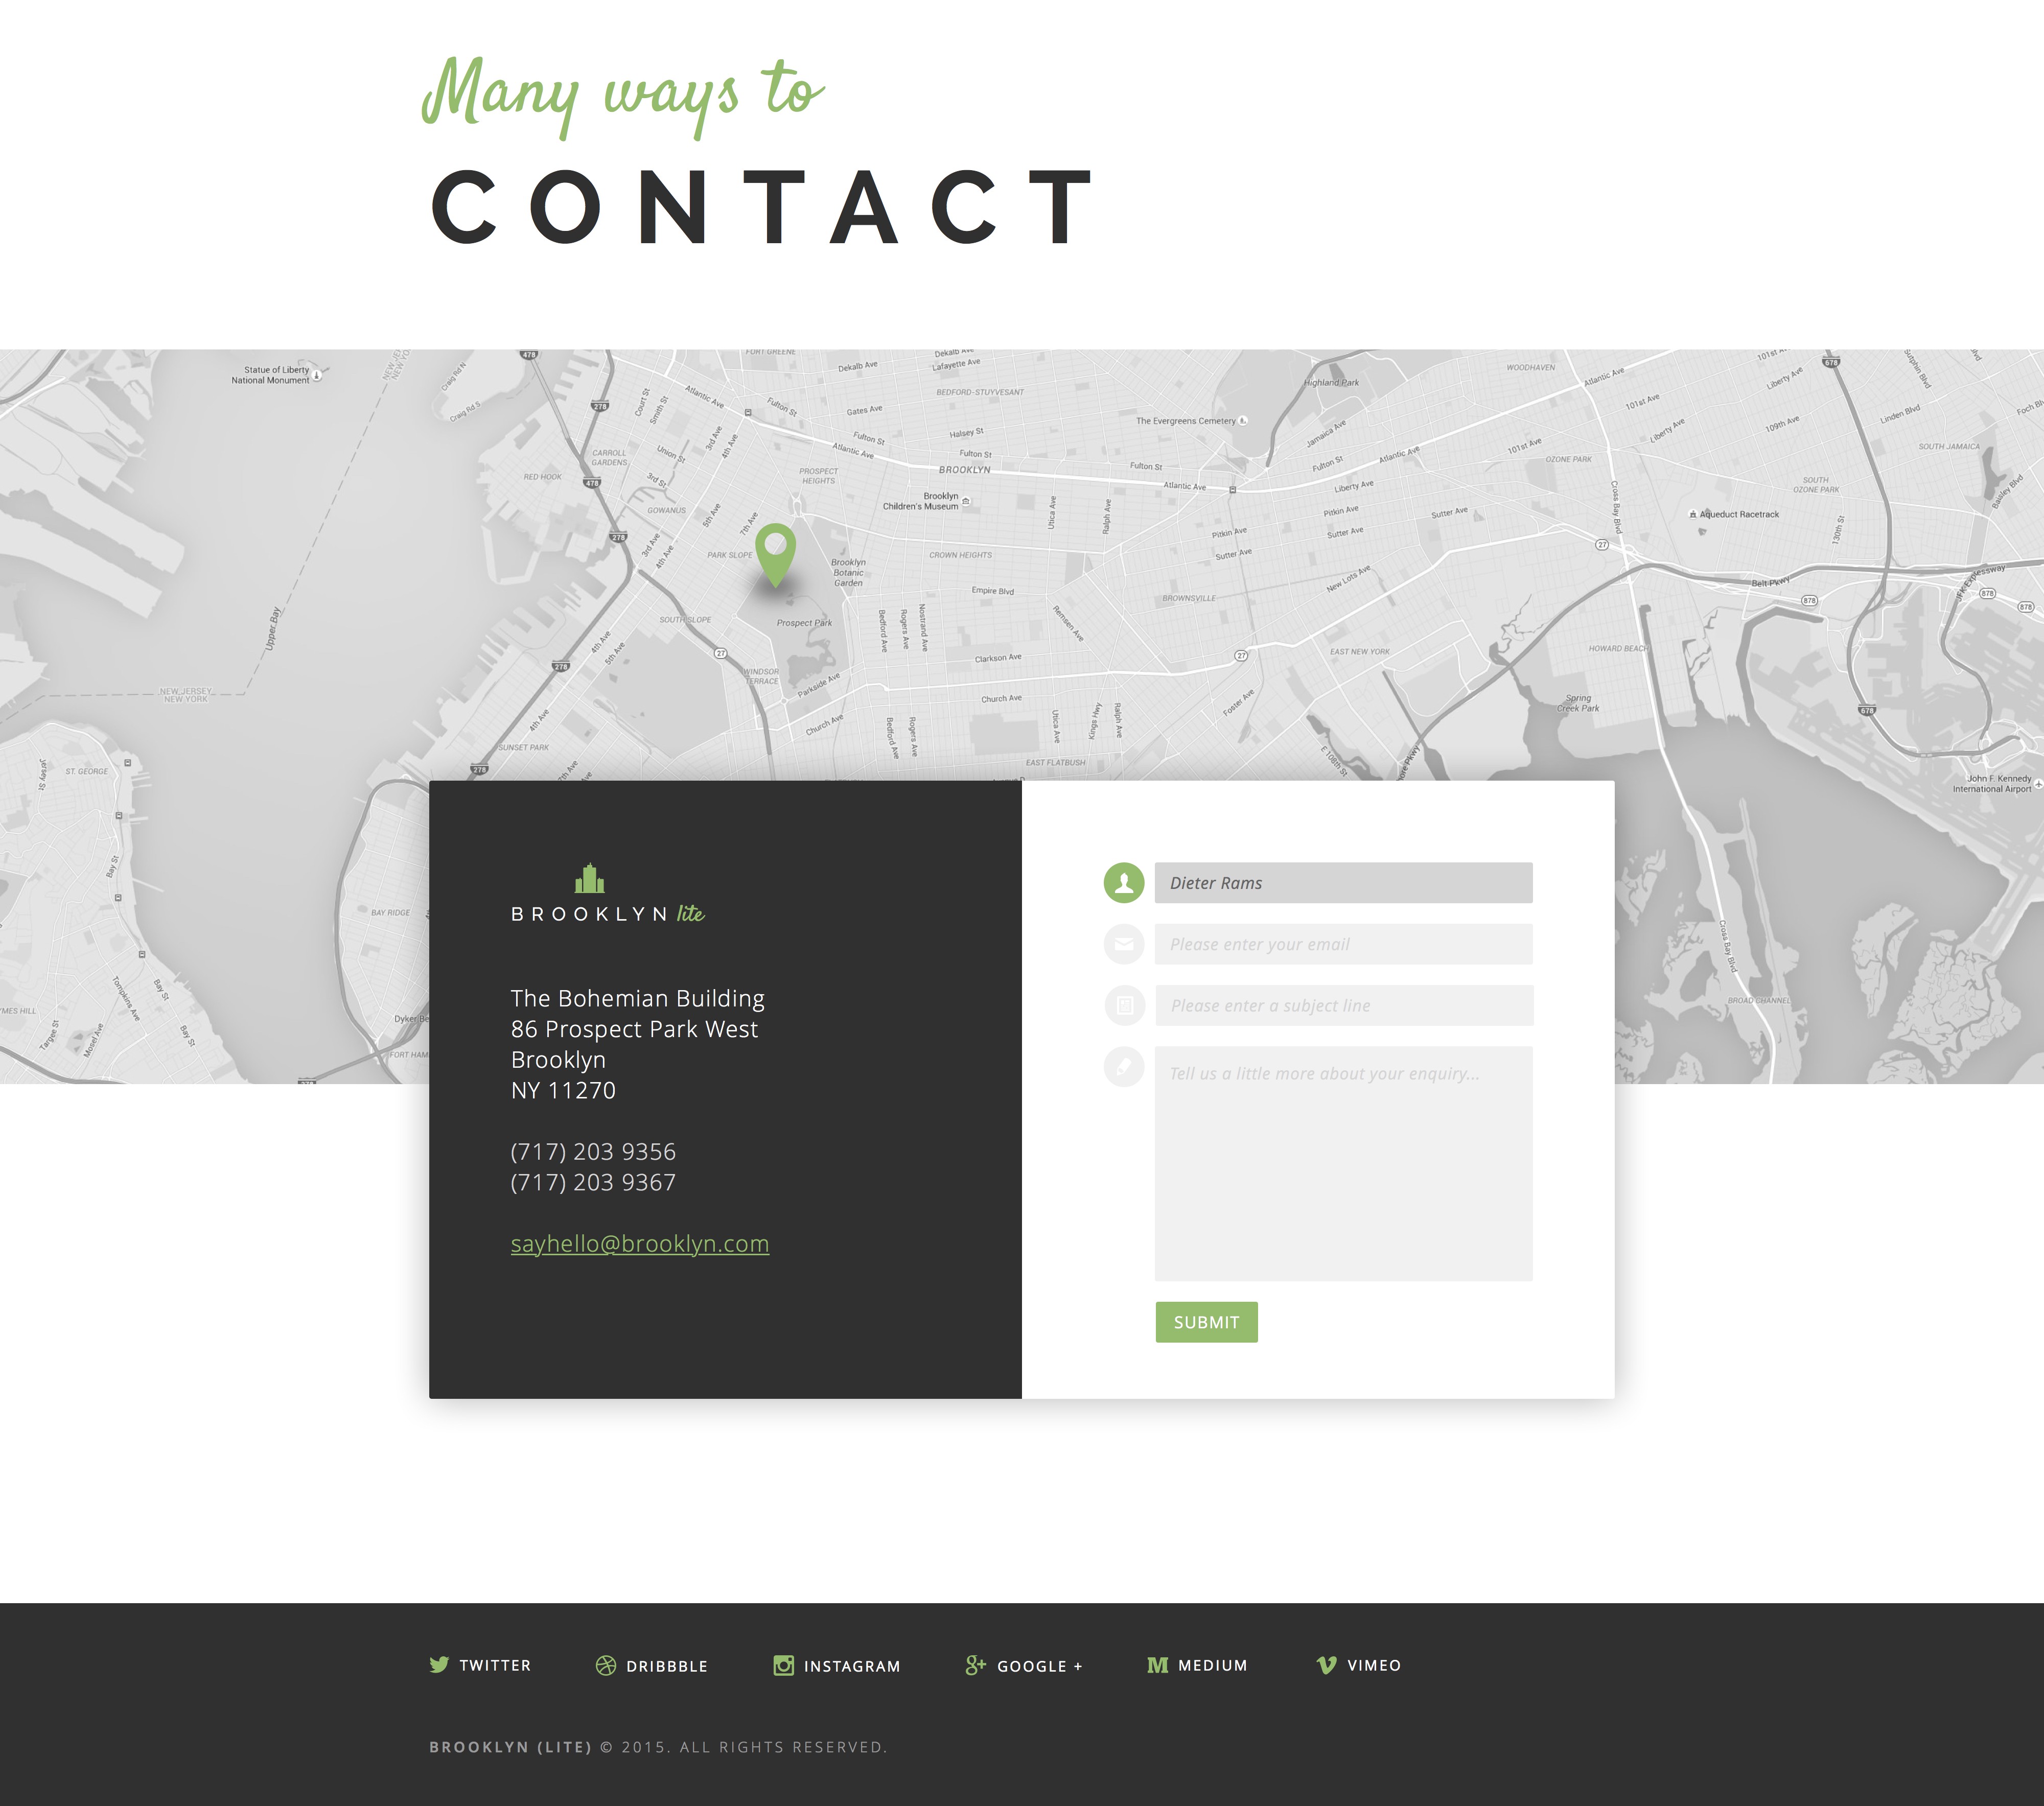 Just a small part of the design that we?ll be creating in Sketch
I won?t be covering in minute detail all the functionality of Sketch, but hopefully this tutorial will give you a head start for when you next jump into the application.
You don?t need to follow the whole tutorial. If you just want to grab a bit of inspiration from this article, please be my guest.
Time to fire up the Sketch rocket
Ok. So hopefully you have a copy of Sketch on your Mac. It would be a little awkward if you didn?t. If you don?t, go grab yourself the free trial from here.
So hopefully you?re all installed, and ready to rock? Cool. Let?s fire up Sketch, and create some awesome together.
When you first open up Sketch you?re presented with a pleasantly refreshing stripped back layout?
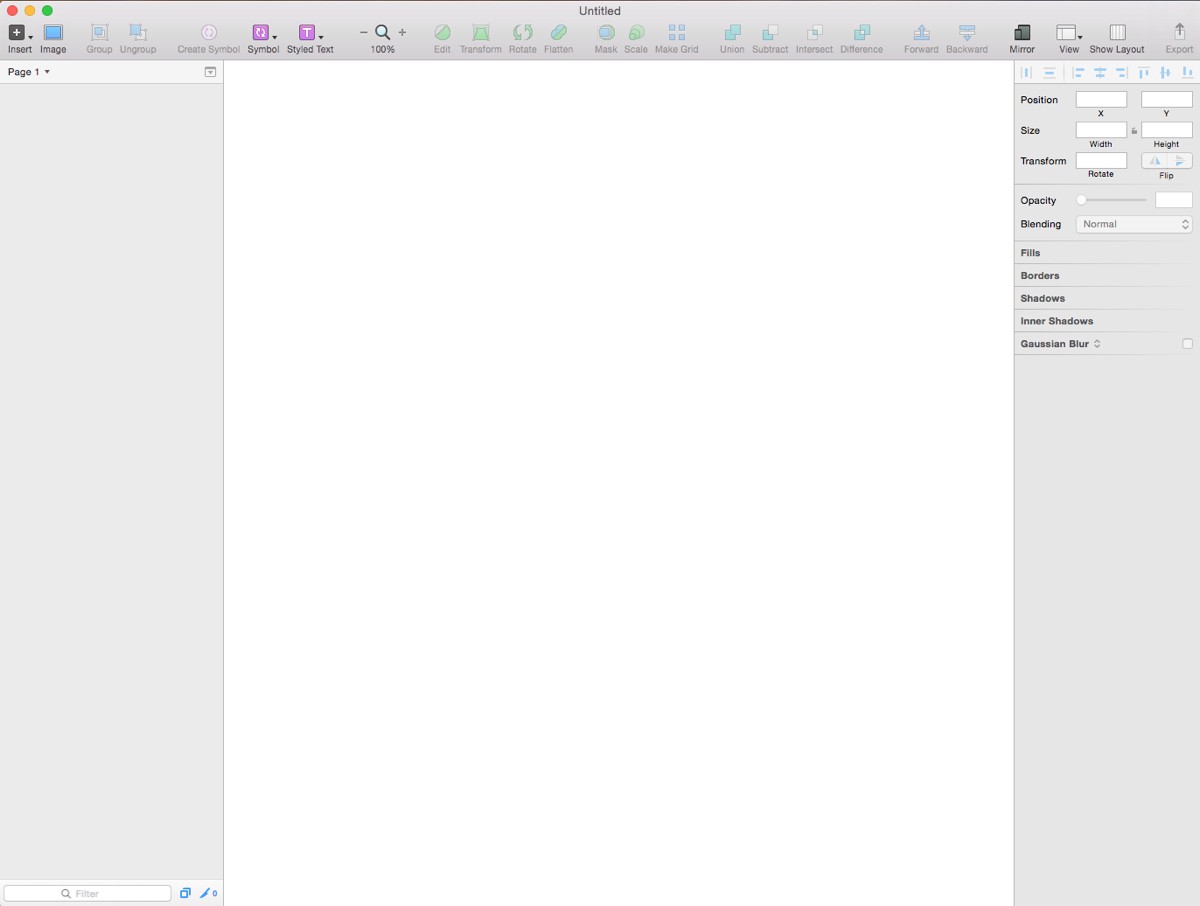 The Sketch interface is native, bright, and refreshingly simple
Your Toolbar at the top contains a variety of tools that you can use when working on a project. This can be setup to your liking (show what you need, hide what?s not required) by clicking on the View menu, and then on Customize Toolbar?
You can drag & drop elements around with ease, to get a toolbar that?s suited to you.
Below that you have the 3 main areas. On the left you have your Layers List, where any elements that you add to your design will be visible here.
Next to that panel you have your Infinite Canvas, where all your designing will be done.
And on the right you have the Inspector where you can adjust the settings for the layer you?re currently working on, or tweak the options for the current tool you?re using.
The infinite canvas is one of the key features thats makes Sketch great
Now I mentioned briefly about the infinite canvas with the app, and this is one of the key features that makes Sketch great to work with.
It doesn?t constrict you into choosing a document size, or output resolution, and you can start working straight away without feeling confined.
I know, from previous experience, that being presented with the document size dialog box before you?ve even started designing somehow restricts your thinking already.
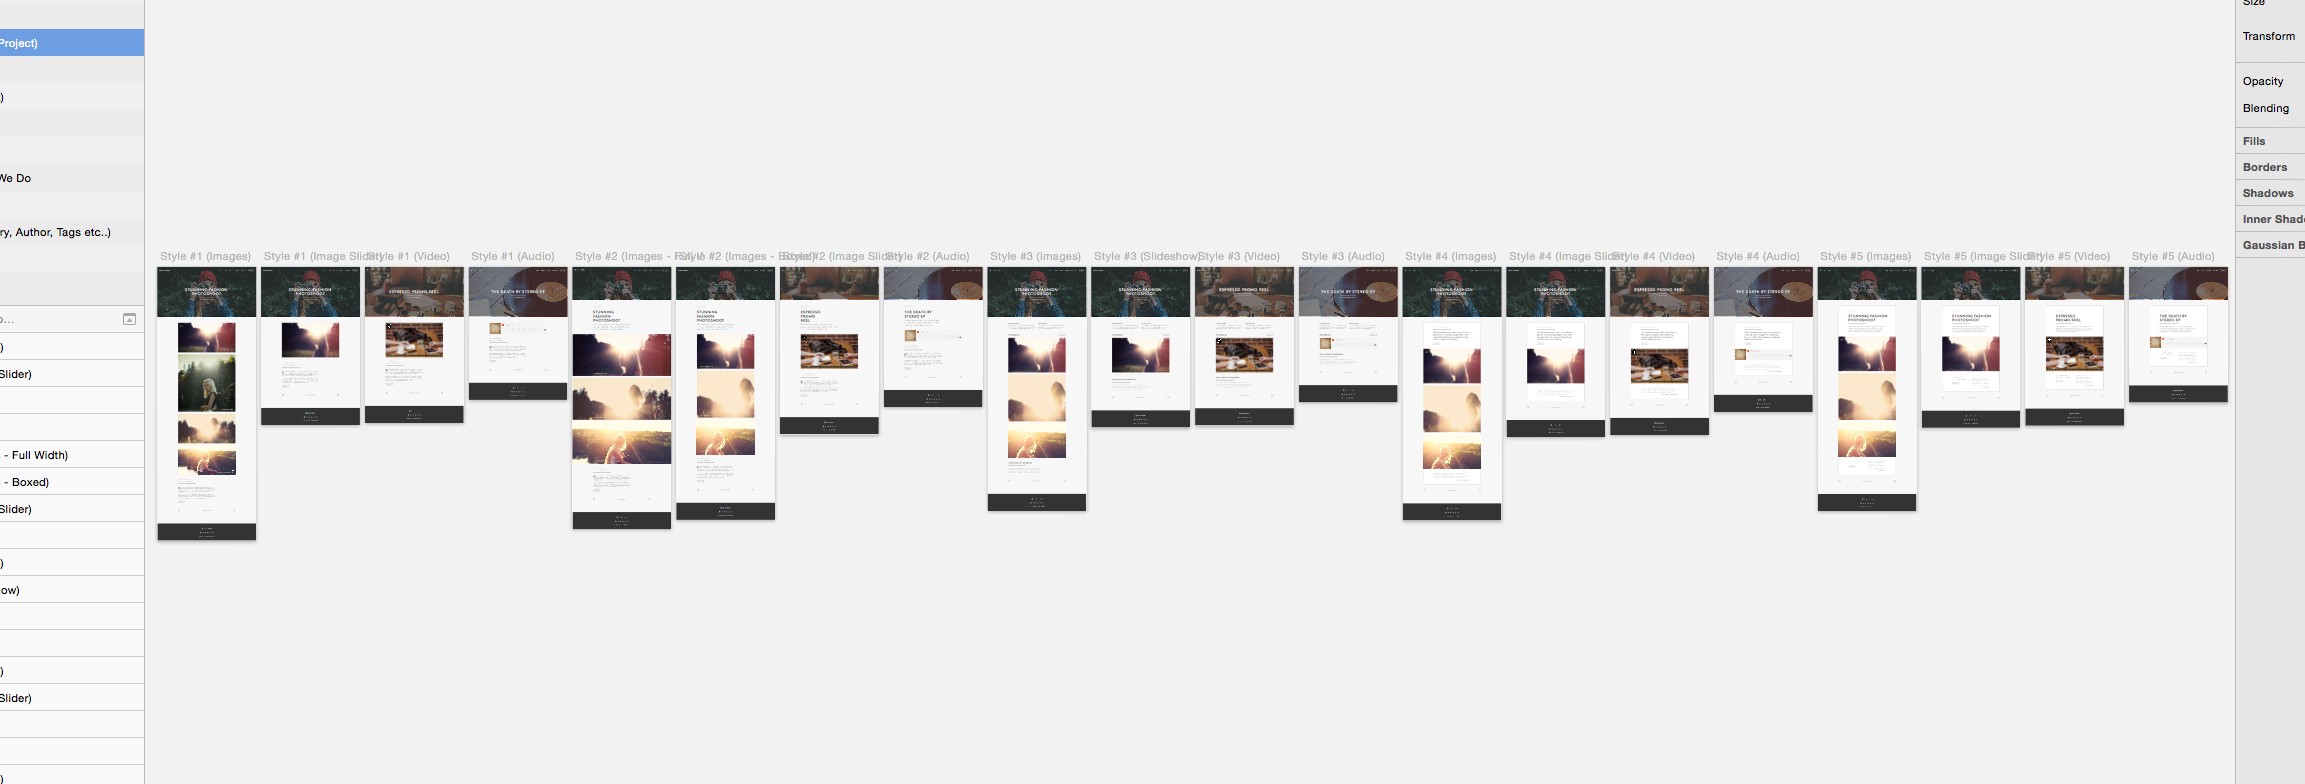 Example of the infinite canvas in action
You could, in theory, if you were creating, say a 60 Artboard design, have them all there inside that one canvas area.
Every artboard for your project can live inside of that one Sketch file. This is great in so many ways. It allows you to move quickly around your various artboards, it allows you to easily take a top down view of the whole project, and duplicate items across those different artboards.
Honestly, once you?ve been spoilt by working on an infinite canvas, you?ll find it very hard to work in anything else.
Now one thing (and we have an awesome community to thank for this) that makes Sketch even better are Plugins.
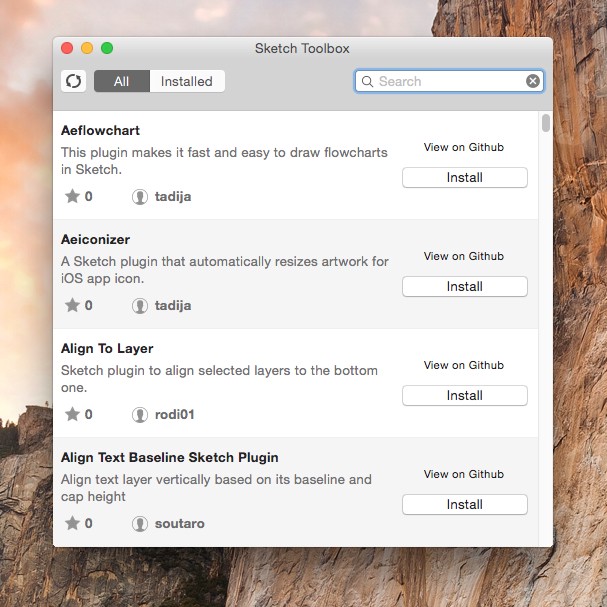 No designer should leave home without the Sketch Toolbox
Now you can install plugins manually, or you can grab an awesome application called Sketch Toolbox which allows you to easily look through some of the many plugins available out there.
With a quick button press you can install them into Sketch. This tool is a great timesaver.
I have a few plugins that I pretty much use all the time when working on a project.
- Content Generator for Sketch
- Unsplash It
So go ahead and install Sketch Toolbox, then, via that app, install the plugins that I mentioned above.
Let?s bring on the icons
Everyone loves a good icon set. The set we will be using for this tutorial are the awesome SVG icons from Entypo. You can grab them from here.
It?s a small set, but perfect for this tutorial, and will allow you to not be over-faced with masses of icons as we move through the following tutorials.
Gone are the days when It used to be a chore in choosing the right icon from your various icon sets. Trawling through the various folders on your machine to find the correct one. Not cool.
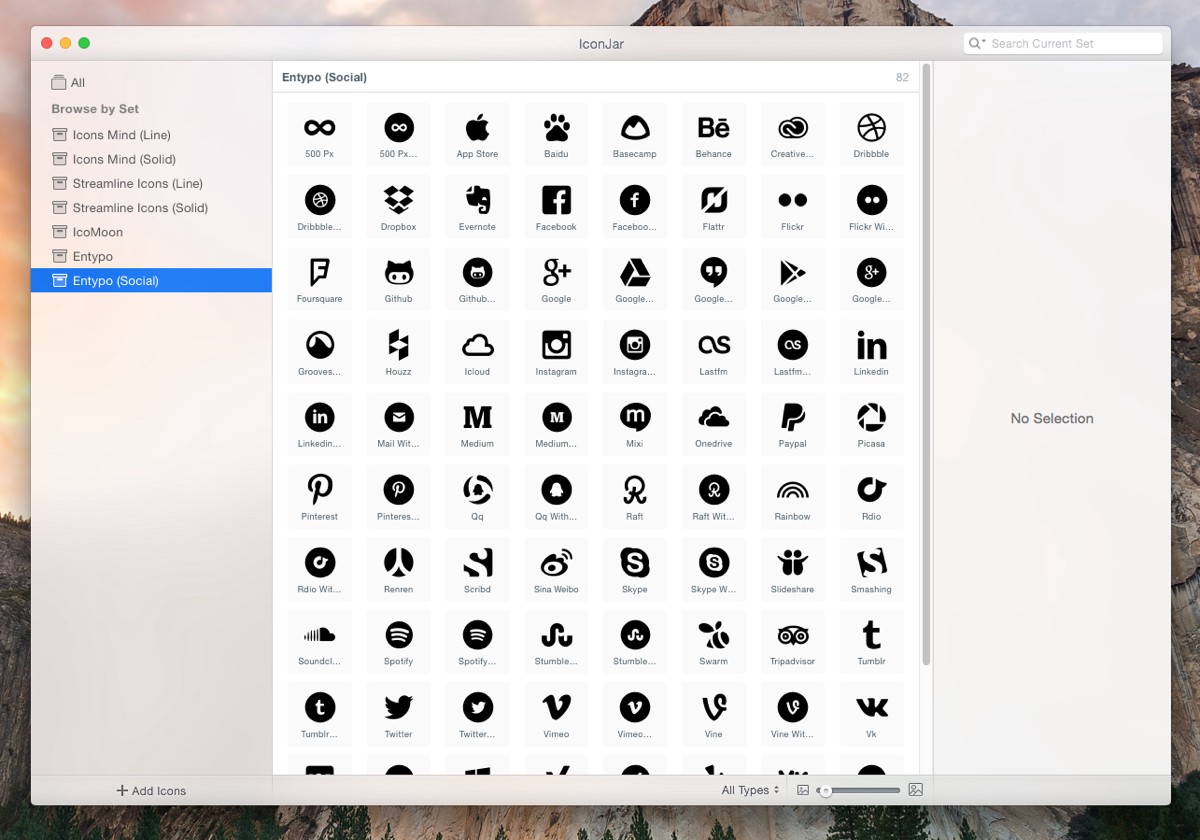 Oh IconJar, let me count the ways I love thee!
This is where IconJar gladly brought the good stuff. It collects all your icon sets in one application, and then allows you to easily drag & drop the icon of your choice onto the Sketch document you?re working on. Bliss! It?s an essential part of my toolkit now.
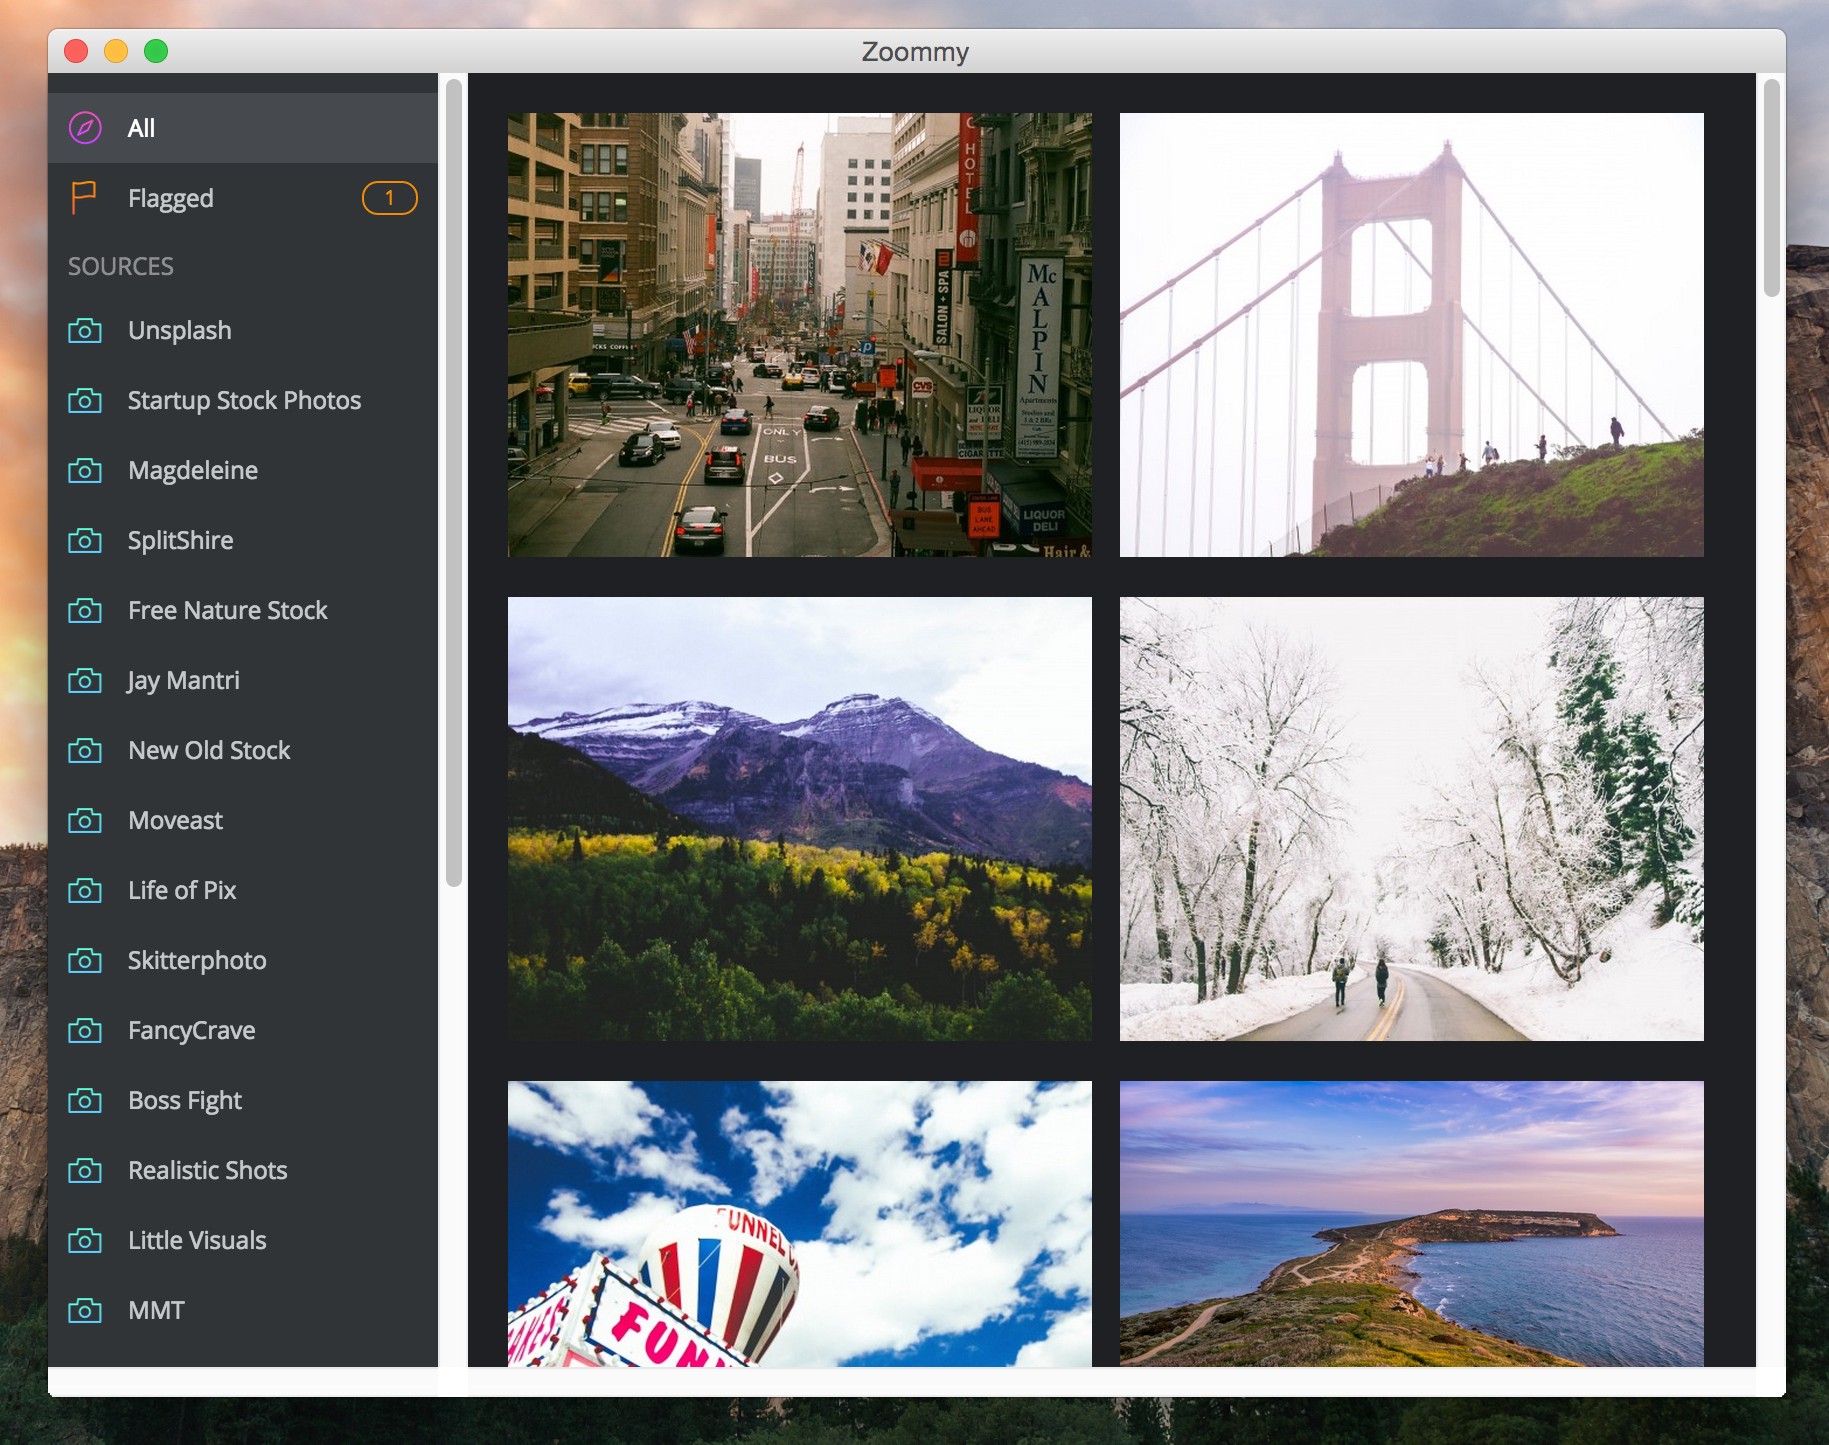
An awesome tool for free stock photos
 You can never have enough free stock photography right?
When I?m creating artwork inside of Sketch, another invaluable application I?ve found for dropping placeholder images inside of my design, or just for inspiration, is called Zoommy. Which you can grab from here.
Instead of jumping in and out of the many sites now offering free stock photos. You have this one application where you can easily browse through the various sites out there. Sites like Unsplash, Magdeleine, Jay Mantri, and many more.
Another essential tool when I?m working with Sketch. You can never have enough free stock photos right?
Let?s bring some (Google) fonts into play
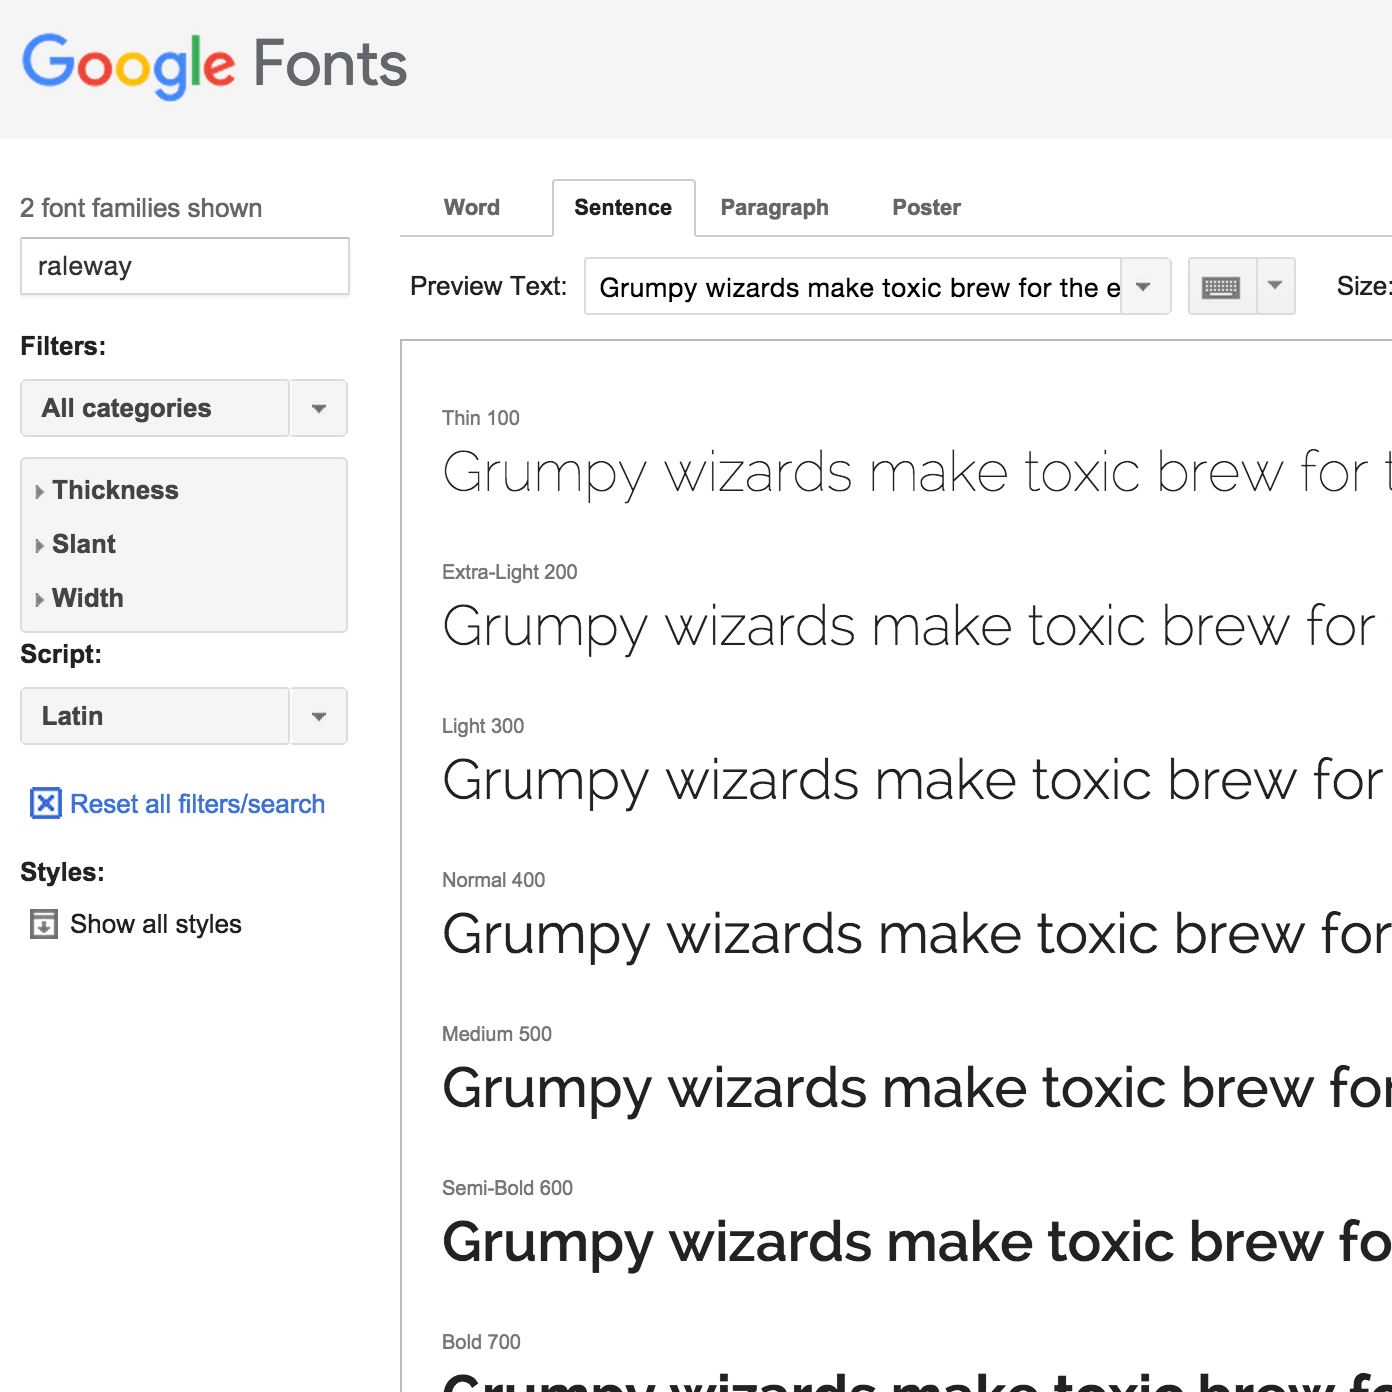 Free font families for everyone. Yeah!!
There are some great, subscription based, font services out there such as Typekit. But for this tutorial we?re going to stick with some great choices from Google Fonts
They won?t cost you a dime, and there?s an abundance of (some good, some bad) font families to choose from there.
We?re going to download, and install 3 font families from Google Fonts.
- Raleway
- Open Sans
- Satisfy
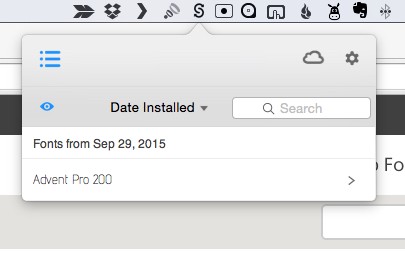
You can download them manually from here, or you can use the fantastic SkyFonts, where, once installed, you can, via the Menu bar on your Mac, easily search for, and install fonts straight from the SkyFonts app.
Keyboards shortcuts you just gotta know
Ooh. Before we move any further, let me show you a few invaluable keyboard shortcuts that you?ll find yourself using on a regular basis.
I won?t cover them all, and if you require a reference to them all, this site here is essential.
Insert
- New Artboard (A)
- Rectangle (R)
- Rounded Rectangle (U)
- Oval (O)
- Line (L)
- Text (T)
Type
- Bold Cmd + B
- Italic Cmd + I
- Underline Cmd + U
Canvas View
- Zoom In Cmd (+) +
- Zoom Out Cmd (+) –
- Actual Size Cmd (+) 0
- Center Canvas Cmd (+) 1
- Toggle Grid Ctrl + G
- Toggle Rulers Ctrl + R
- Toggle Layer Guides Ctrl + L
- Move Canvas Space + Drag
Window
- Toggle Layers List Alt + Cmd + 1
- Toggle Inspector Alt + Cmd + 2
- Toggle Layers List and Inspector Alt + Cmd + 3
- Presentation Mode Cmd + .
Editing Layers
- Show distance to other layers Alt
- Show distance to other layers inside group Alt + Cmd
- Duplicate Alt + Drag
- Color Picker Ctrl + C
Arranging Layers, Groups, and Artboards
- Bring Forward Alt + Cmd + ?
- Send Backward Alt + Cmd + ?
- Rename Layer/Artboard/Group Cmd + R
- Group Layers Cmd + G
- Ungroup Layers Shift + Cmd + G
Setting up a Grid System for those pixel-perfect layouts
When working with designs for various screen sizes it?s great if you can stick to a nice grid system for aligning elements on the various devices, and screen sizes your design is going to be available on.
Now if you?re a developer you may already have a Grid system that you currently work with, for example the Bootstrap framework with it?s Grid built in. Or maybe you have one of your own that you use.
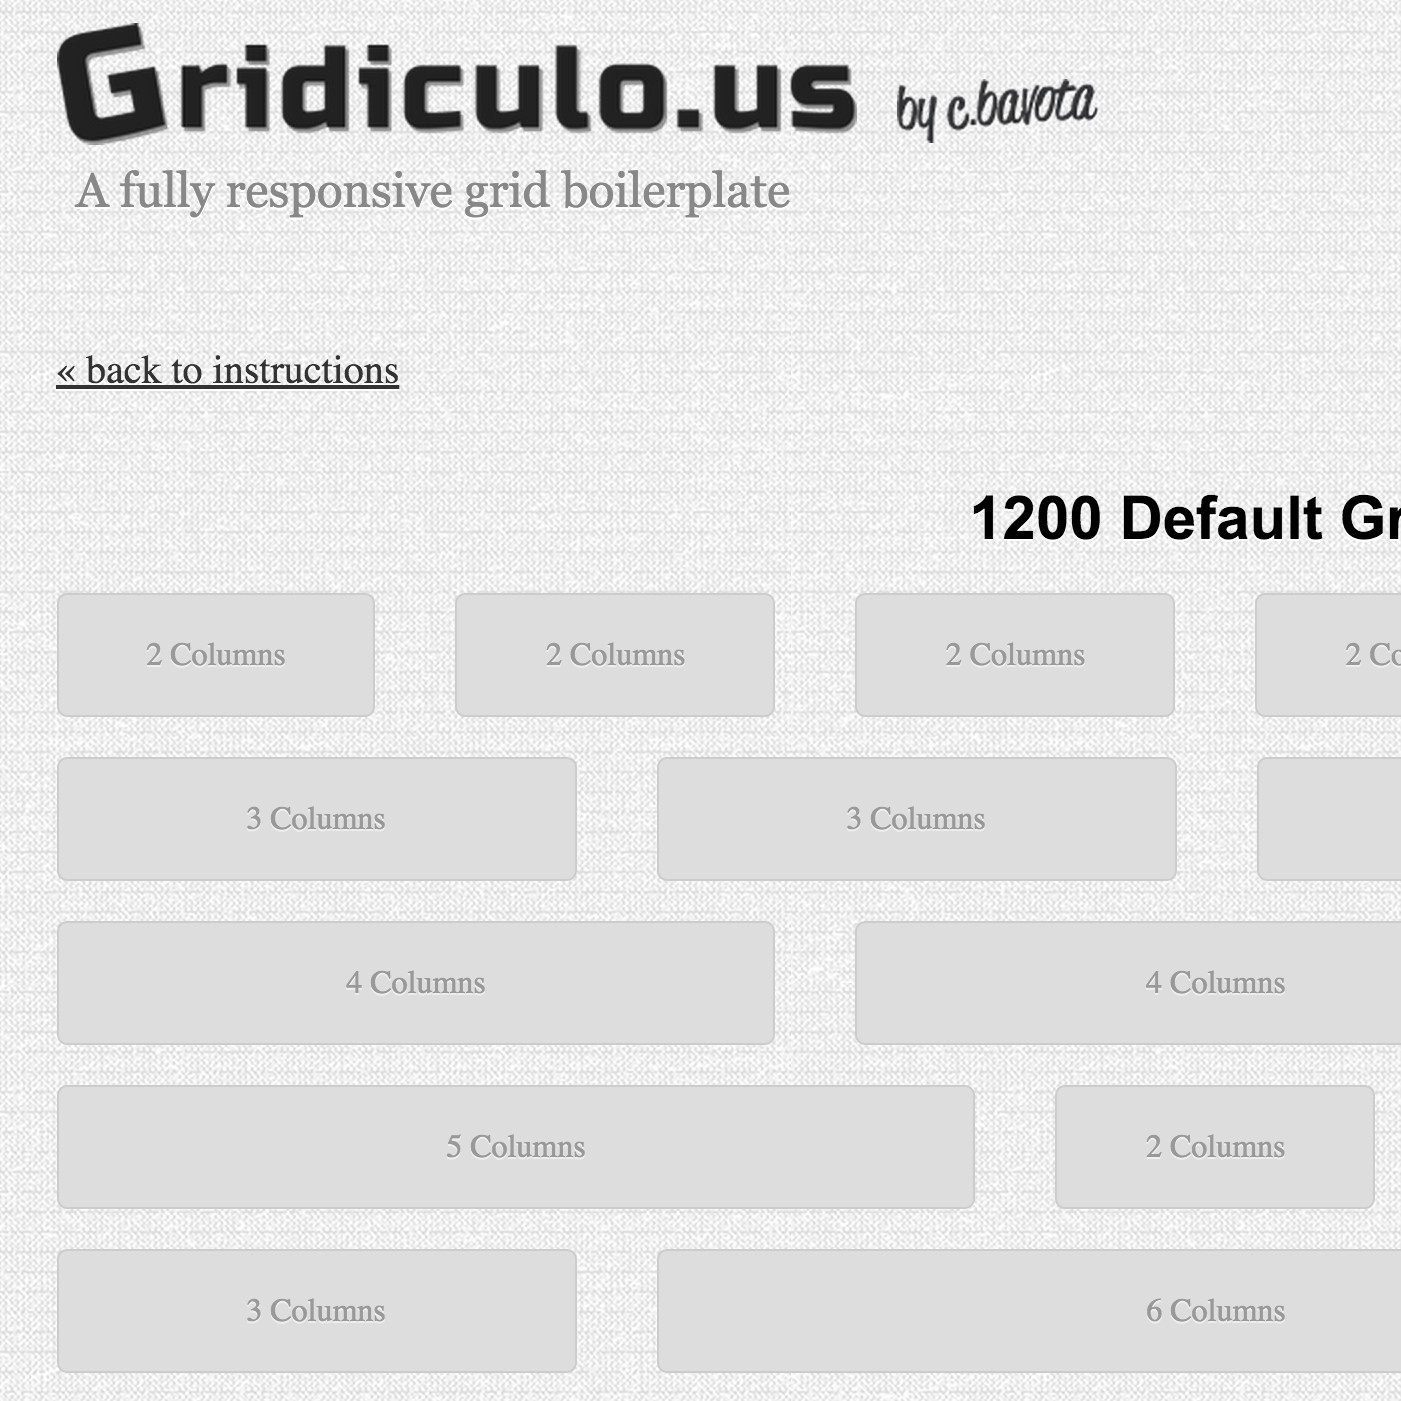 Simple, lightweight Grid System
Me, personally. I have used, on many occasions, a lightweight grid system called Gridiculous which has served me well when it comes to the development on various projects.
Because if you?re wanting to stick to a certain grid system when developing (coding up) your project. You also want your designs to adhere to that same grid system, or vice versa.
When it comes to hand-off to a developer you know your designs from Sketch are going to slot right into your grid system. Happy designer. Happy developer. **Cue Pharrell Williams**
For the purpose of these tutorials we?re going to stick with the 12 Column Gridiculous Grid System, and I?ll show you how to quickly set that up.
On the toolbar in Sketch. Click on the View icon, and in the dropdown choose Layout Settings, then enter the following settings shown in the following screenshot?
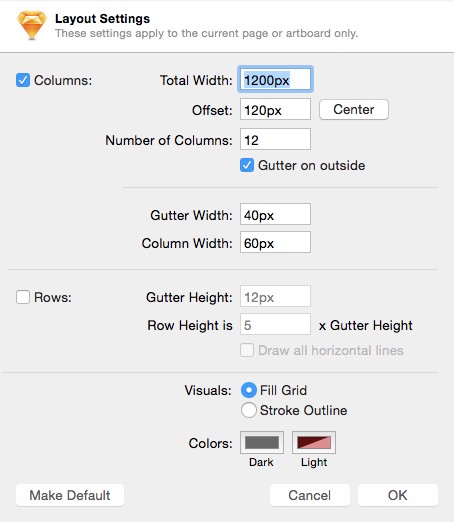 Layout settings for the Grid system we?ll be using
I always like to stick with a Red, with about 50% opacity for the guide lines in my grid. I find it stands out great when you have an artboard with many elements on it.
And just remember that keyboard shortcut Ctrl + L for toggling your grid layout. You?ll find that you will be using it a lot through this tutorial.
Time to bring the Artboards into play
Ok. Lets create an Artboard for our design, that we?re going to name ?Brooklyn?. Why ?Brooklyn?? I?m a big fan of old-skool Hip-Hop. A lot of great rappers came from that area. Erm. Yeah. That?s it I guess.
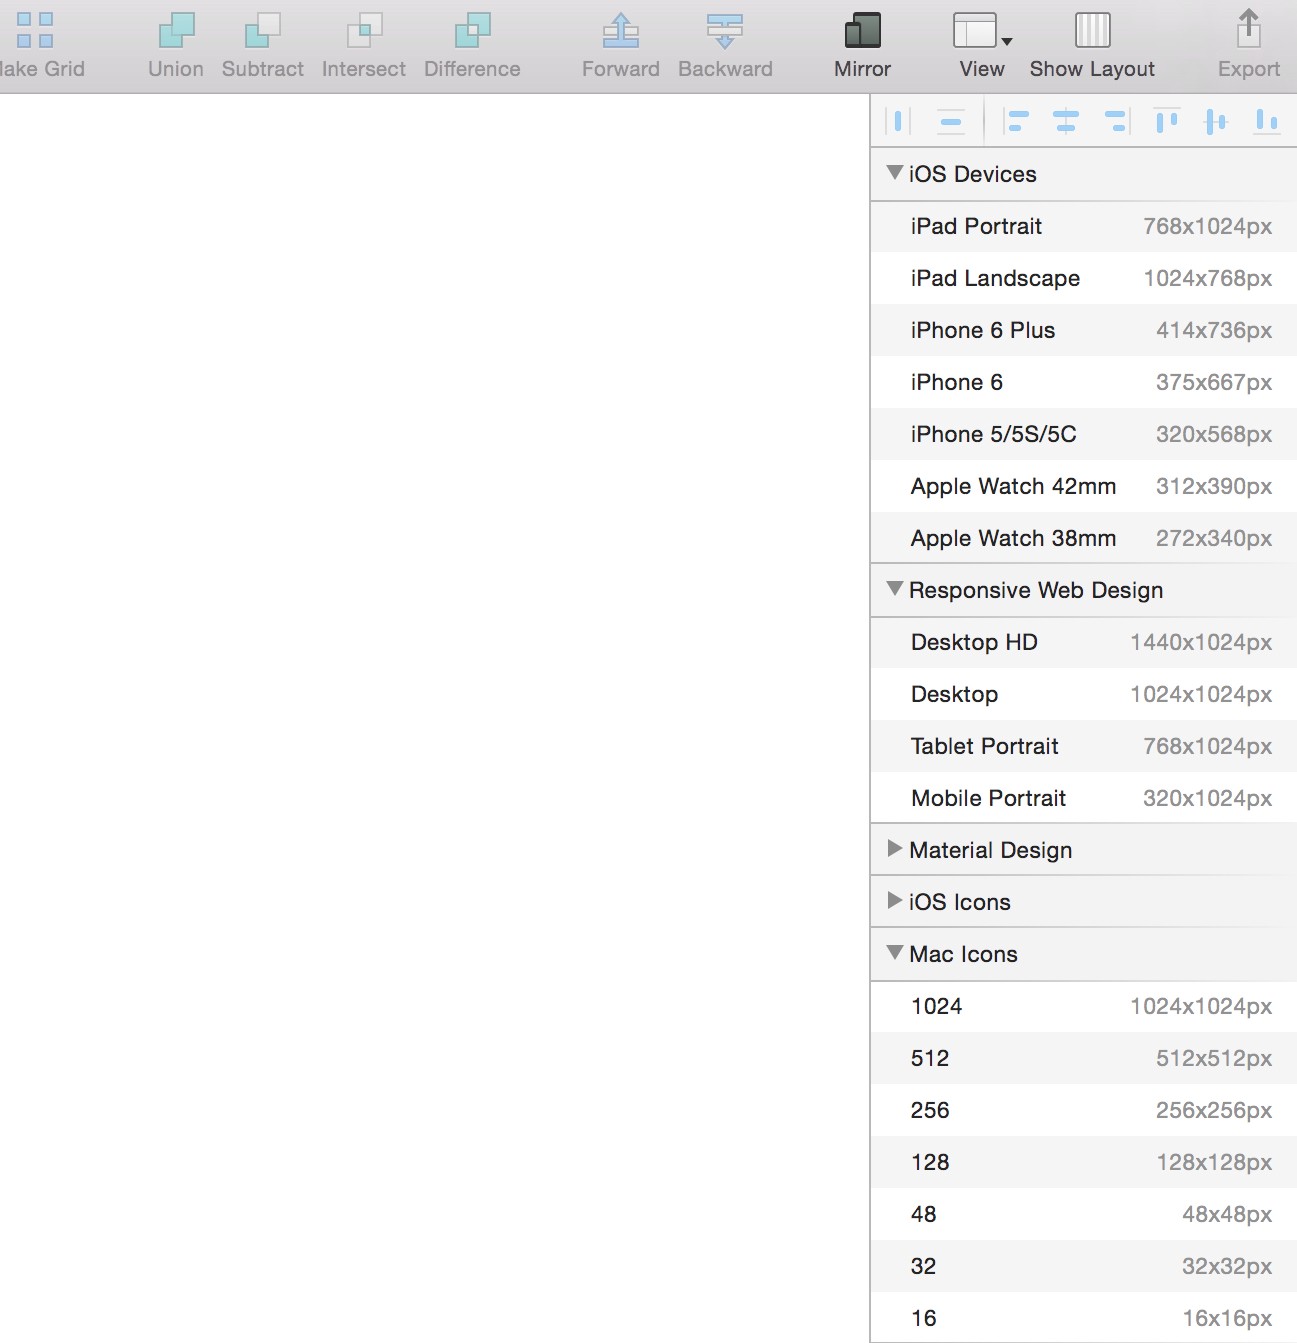 An overview of Artboard sizes that are available
So press the A key to bring up the various Artboard sizes in the Inspector panel on the right. We?re going to click on the Desktop HD option to insert our Artboard onto the canvas.
The Artboard will be too short in height for this tutorial so click on the Artboard name in the Layers List, in this case, Desktop HD. And then in the Inspector panel increase the height to 7000px.
Now we have ample height to play with from the start.
 Increase the height of your Artboard in the Inspector panel
Hope you enjoyed that quick overview of Sketch?
Ok. Cool. So we have a blank Artboard not really doing much right now. We will improve on that I promise.
In Part 2 of this tutorial series (which you can jump to below), We?ll make a start on creating the design for Desktop screens.
We?ll be digging even further into Sketch, and I?ll be showing you more cool features, shortcuts, and tips as we work our way through Part 2.
Hope to see you again soon.
Thanks for reading the article,Marc
Ready for Part 2.Go to it here?
Oh. Before you go, don?t miss out on this amazing offer for Sketch users?
Want to rapidly improve your design workflow?
Meet Cabana. A Design System for Sketch that helps you work better, smarter, and faster than ever before?
Use the offer code MEDIUM20 to receive 20% OFF Cabana here.

