Last Updated: August 17th, 2019
The difference between an amateur photo and a professional one often can be boiled down to a few simple things.
Lighting, composition, image quality ? these are probably the most significant ones.
If you are wanting to learn how to take professional photos yourself, we?re going to show you how in this tutorial. Many of our photography tips are common sense ? but we?ll aim to show you exactly how small changes to your current approach can result in huge differences.
By the end of this post, your shots will go from looking like they were created by an amateur photographer and now produced by a seasoned pro!
Tip #1: What Role Camera Gear Plays
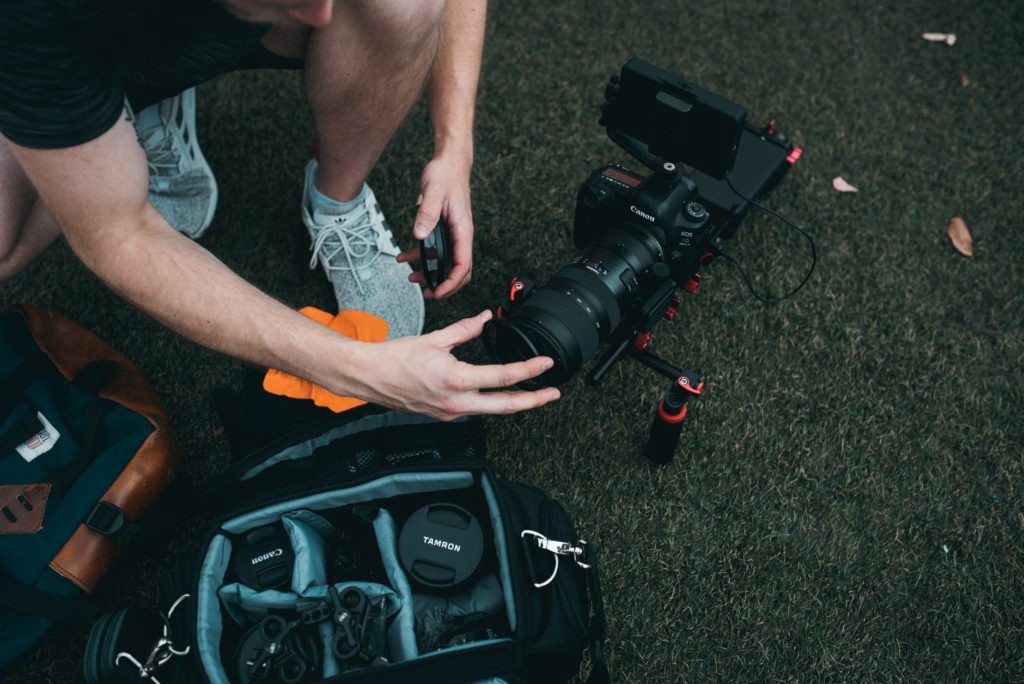
It?s impossible to talk about how you can achieve professional photo quality without discussing camera equipment ? so let?s just get this out of the way!
The quality of your camera, lenses, and lighting setup will play a significant role in how your image turns out. If we were to compare images taken of the same subject, in the same light, at virtually the same time ? but taken on significantly different cameras ? we?d generally agree the image taken on the pro equipment turned out better.
This is just an objective fact.
Images taken with a Canon 5D Mark IV are going to be better looking than those taken on a Canon Rebel or a point-and-shoot camera.
Now, with this said, as you aspire to take professional looking images ? you can work with the gear you have. Not everyone is ready to spend thousands of dollars on a pro camera (and rightfully so!).
A good photo, even if lacking some extra detail and quality that you?d get with the more expensive equipment, is still going to be a good photo.
It?s for this very reason that some professional photographers even choose to use older camera models. I can think of Sean Tucker who continues to shoot with a Canon 5D Mark II ? a once professional camera body, but now very dated. He still produces beautiful images!
For the rest of this post, we?re going to leave our discussion of camera gear here. If you?re in the market for some better quality gear and need recommendations, check out our Gear Reviews and Resources for more on that.
Tip #2: Use the Right Focal Length Lens for the Shot You Have in Mind
Your choice of camera lens will determine your photos perspective in significant ways.
Professional photographers have mastered the art of determining what will be in the frame and what will be outside of it.
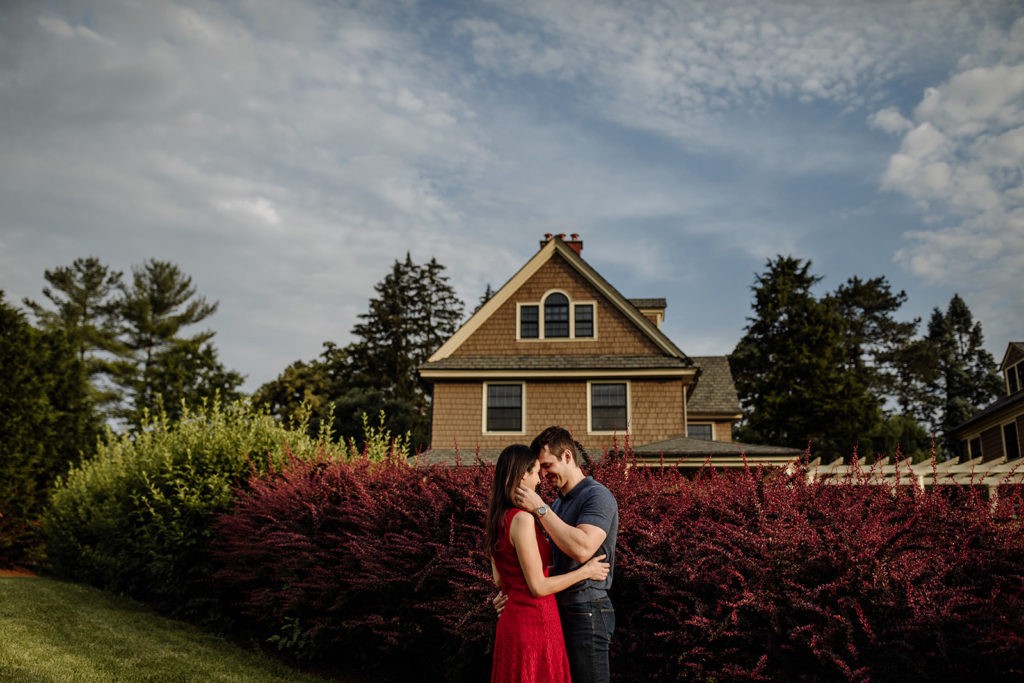
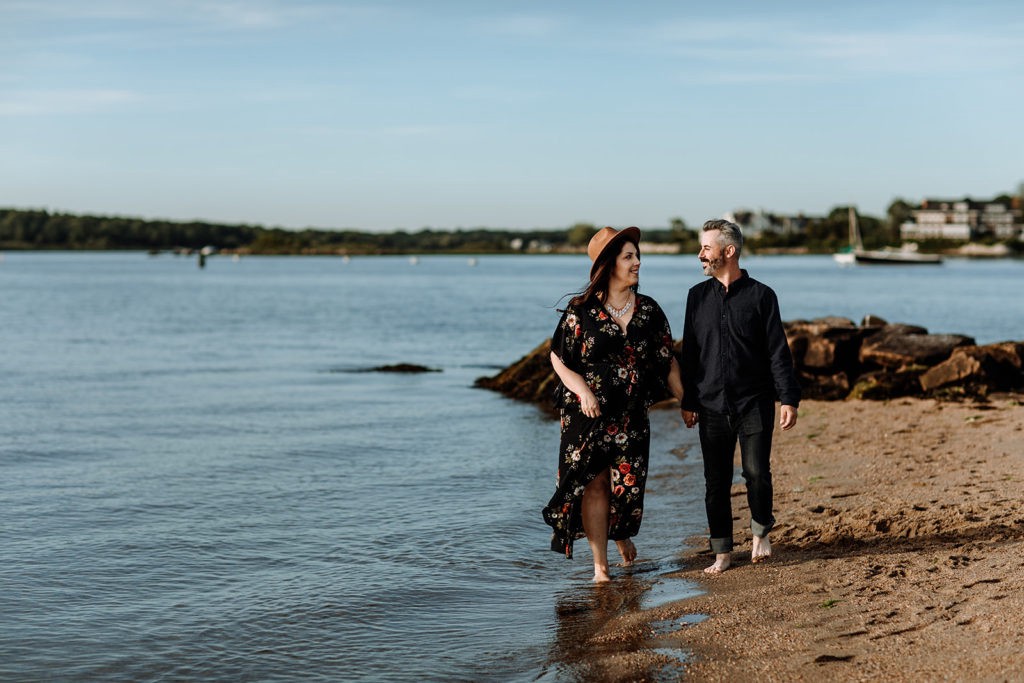
Our ?claim to fame? is our couples portrait photography. One thing we are regularly asked is how we make our portraits look so good. We think our choice of focal length (ie: wide, standard, or long lens) plays a really big role because our choice determines how the resulting image will look. In a real sense, using a longer lens will allow us to ?crop? the scene naturally. A wider lens gives a lot more breathing room and will incorporate elements of the landscape.
So ? next time you are shooting and want to create better photos ? really think about why you are using the lens you are.
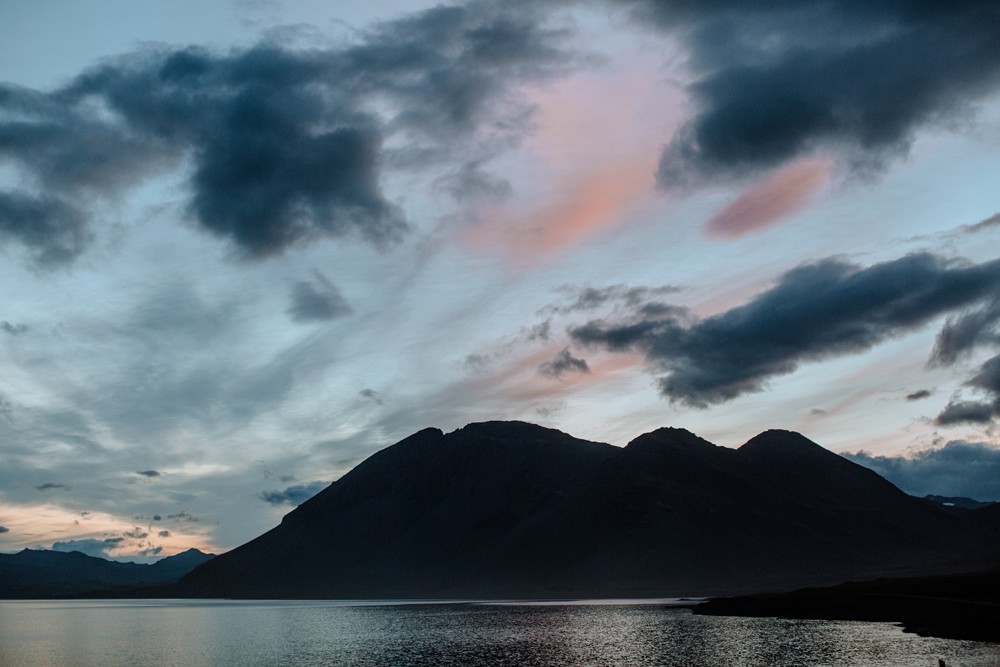
Tip #3: Lighting is Key
The most amazing photographs ever taken feature beautiful light. There ? we said it!
If you are wanting to take better outdoor portraits, landscape photos, and similar ? shooting during Golden Hour will instantly make your photos look better. During sunset/sunrise, the sky is illuminated with a soft glow and a range of colors. This translates into beautiful images with ease.
Of course ? not every photographer will want to shoot during this time exclusively. We certainly don?t!
The real key is learning how to work with the light that is available.
There are a lot of best practices when it comes to getting the right lighting that will depend on the style of photography you are going for. You may or may not really love harsh mid-day light, but learning how to augment your photos using flash is definitely a good skill to add to your tool belt.
Because photography literally means ?painting with light?, mastering how you use the light itself will be one of the biggest things you can do as you aspire to take professional photos.
Tip #4: Composition is Very Important
We?d agree with the idea that ?beauty is in the eye of the beholder?, but in photography, some photographers have an eye for beautiful things more than others.
With the right light in place, the next biggest thing that will dictate the quality of your image is your composition.
Many amateurs have a tendency to overthink this!
In our experience, there are just a couple simple photography rules we follow when taking photographs (of any subject!):
- Simple looks great
- Use leading lines to create depth
- Use foreground objects to frame your subject
- Have an interesting or simple background (it should not be too distracting from your subject)
- Apply the Rule of Thirds for interesting compositions
- Keep your subject front-and-center
- Do not be afraid to experiment with both tight and wide shots of the same subject
- Use the ?Dutch tilt? sparingly
- Be willing to experiment and make mistakes
We tend to believe that a photographer?s ability to compose a shot is one of the biggest things that helps to make them unique. After all, we can all use the same photography gear, can all shoot during the same lighting, but composition is really the most subjective feature of photography.
If you are still learning how to properly compose a shot, one of the best photography tips we can offer you is to simply recreate and emulate the work of photographers you love.
For example, say we wanted to take a really great portrait shot ? we could pull up the work of a beloved portrait photographer like Joe McNally and use it as a reference. We could aim to set up our portrait subject in the same way, and compose our shot exactly the same. This is one way to learn!
Tip #5: Clean Up the Background
When we review portfolios of photographers, one of the biggest missteps we see is messy backgrounds.
Professional photographers know to reduce clutter and unwanted things in their images. When we are on location shooting wedding photos, we will physically remove things that are interfering with our shots. In some instances, we?ll clean up the background in Photoshop later on. These unwanted things serve as distractions and removes focus from your subject.
Tip #6: Make Your Subject(s) the Focus
One of the biggest mistakes beginner photographers make is to have too many areas of focus in their shot. This isn?t something that can?t be done, but like we said earlier ? simplicity is often best. Pro photographers tend to use minimalism to create really powerful shots by not trying to do too much with a single image.
Related posts:
- Photography for Beginners: Where Do I Even Start?
- 135 Wedding Photography Tips for Beginners ? Go From Novice to Expert Quick!
- What Camera Should I Buy to Start Photography? (7 Camera Kits for Beginners!)
- The Best Portrait Photography Equipment for Beginners
- 10 Photography Ideas at Home for Beginners
Tip #7: Edit Images for a Pro Look
Most modern photographers are using post processing software like Adobe Lightroom and Photoshop to create their final images. This is one of the biggest things that digital photography has allowed for us to due when compared with the ?old days? of film photography where making alterations was much more challenging (if not impossible for most people).
Today, as a part of our photography workflow, we process every image we take to refine color, contrast, and other elements in our photos.
Photo editing can be extremely simple like making small alterations and adjustments. Or it can be very complex ? making touch-ups to skin (like removing acne scars), fixing up backgrounds, and tweaking colors to otherworldly extremes.
In our experience, using presets can help you to achieve a pro photography look really quick. We recommend the Signature Edit?s Genesis Collection for those looking to get started!
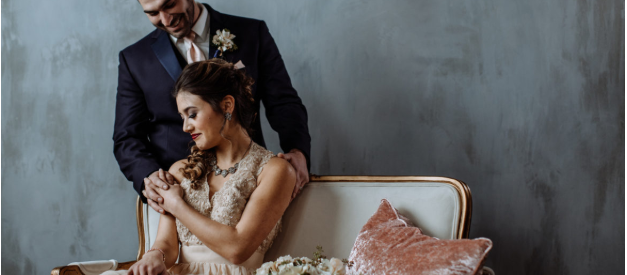
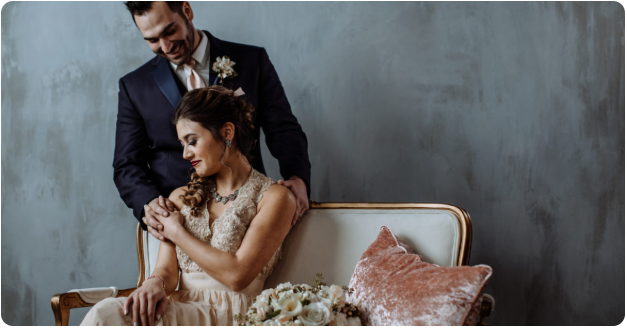
Check out this before-and-after to see how editing a photo can make a HUGE difference:
Tip #8: Choose an Interesting Subject
Take a look at some of your favorite photos taken by other photographers. What makes them so great?
We can talk about technical camera skill, lighting, gear, composition and everything else under the sun ? but at the end of the day, the images that really stand out are the ones that are of something interesting.
Being honest for a second, we?ve taken countless great photos of mundane things. These are ?great? photos objectively ? good lighting, good composition, etc. But ? they just aren?t that interesting. Really, once you?ve seen a close up shot of a leaf, you?ve basically seen them all.
As you aspire to take photos like a professional photographer would ? keep in mind your choice of subject plays a huge role in this.
Tip #9: Only Showcase Your Best Work
Some food for thought:
Most photographers (yes ? even pros!) take a lot of bad pictures. We shoot professionally, and have to cull out all of the bad pictures we don?t want to use.
This is maybe a symptom of DSLR photography ? where we can snap 100 pictures in a minute and not bat an eye. With film photography where you may be limited to a roll of just 8 pictures ? you will be much more selective of course.
Because of this simple reality ? one of the attributes of a pro photographer vs. an amateur photographer is that the pro?s know how to show restraint and showcase only their best images.
We often take upwards of 4,000 pictures (between 2 photographers) at a wedding for our clients. By the end of our culling and editing process, they end up receiving around 400. This means we really, truly loved about 10% of the images. What?s contained in the other 3,600 photos we left behind? Some real duds, missed focus shots, poorly composed shots, blurry shots, and of course some duplicates of similar shots we decided to keep.
Moral of the story ? if you don?t love every photo you take, just know that the professionals like us are throwing away most of their shots, too!
Tip #10: Sharper Images Look Better
Most people would agree that sharper (ie: more in focus) photos look better than soft (ie: out of focus) shots.
How do you get sharper photos? Well ? there are a number of things that contribute. The tops ones that come to mind:
- Use a high quality lens
- Use a higher f-stop (a narrow aperture gets more of the scene in focus)
- Use a tripod to remove motion blur
An argument for soft photos: while we tend to agree with the idea that sharper photos = more professional looking pictures, we do have a soft spot for soft images.
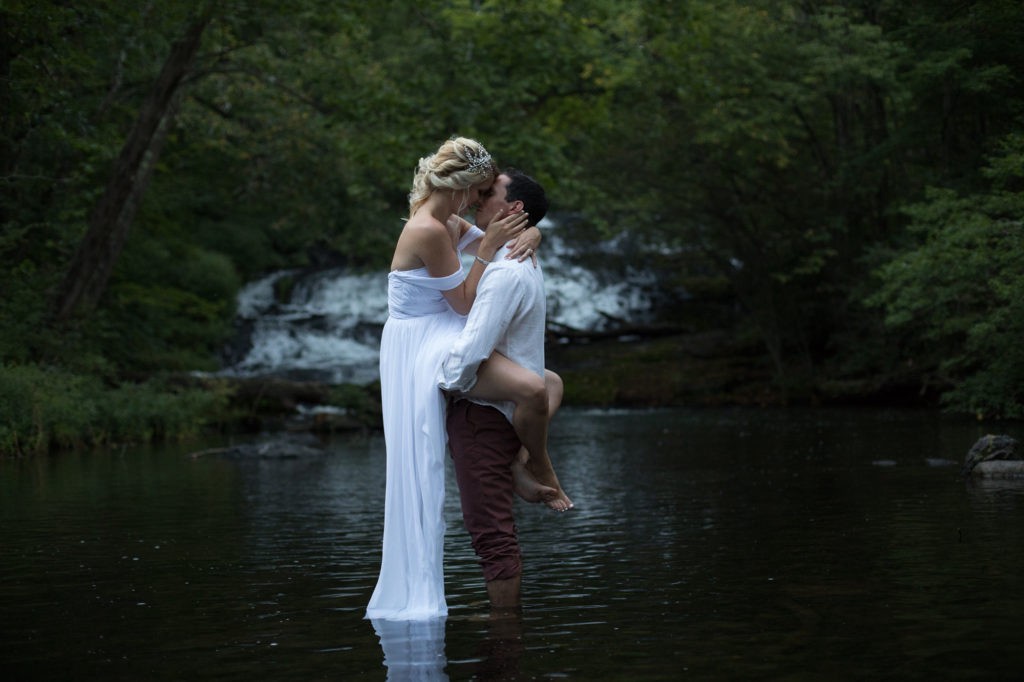
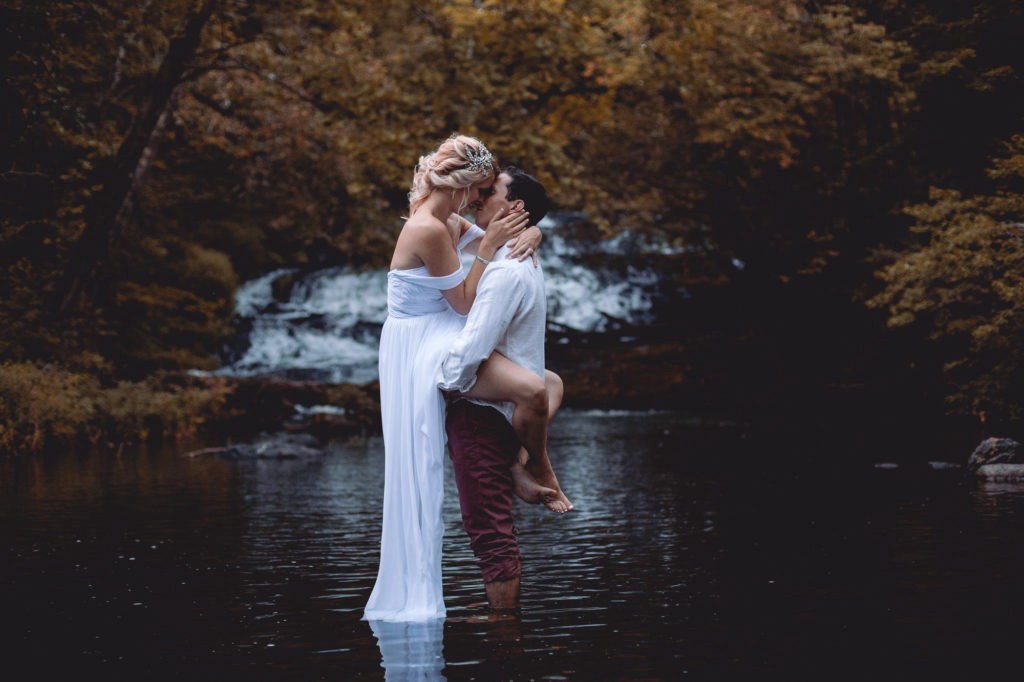
We like to use this example: you?re photographing a couple. They?re young and in love, and have a sweet chemistry between each other. They are getting romantic in front of the camera, and you?re snapping away. Some soft, even a little out of focus, shots might just enhance the mood of your photos. With this example in mind ? you need to remember that context plays a role in defining what makes a shot feel professional, too!
Tip #11: Simplicity is Often Best, Experimentation Makes Photos Unique
Professional photographs normally fall into two camps:
- Really simple but beautiful images with great subjects, backdrops, camera work, etc.
- Experimental photos that show us something new or unexpected
Most photographers, even professionals, stick with tried and true methods of doing things. In portrait photography, it?s pretty easy to get a great looking shot when you have a beautiful model, ideal lighting, a great backdrop, and so on.
The photographers who really excel and capture a viewers imagination are those who push some boundaries and produce something new. For the longest time, and even still today, someone like Annie Lebovitz does this in her work showcasing celebrities in a unique light.
The good news: there is no right or wrong approach. We often love the simplicity of capturing a great photo even if that photo seems derivative of things that have already been done. Our approach is normally in camp #1, but we keep ourselves open to experimentation when it makes sense to do so.
Tip #12: Capture Authentic Emotion
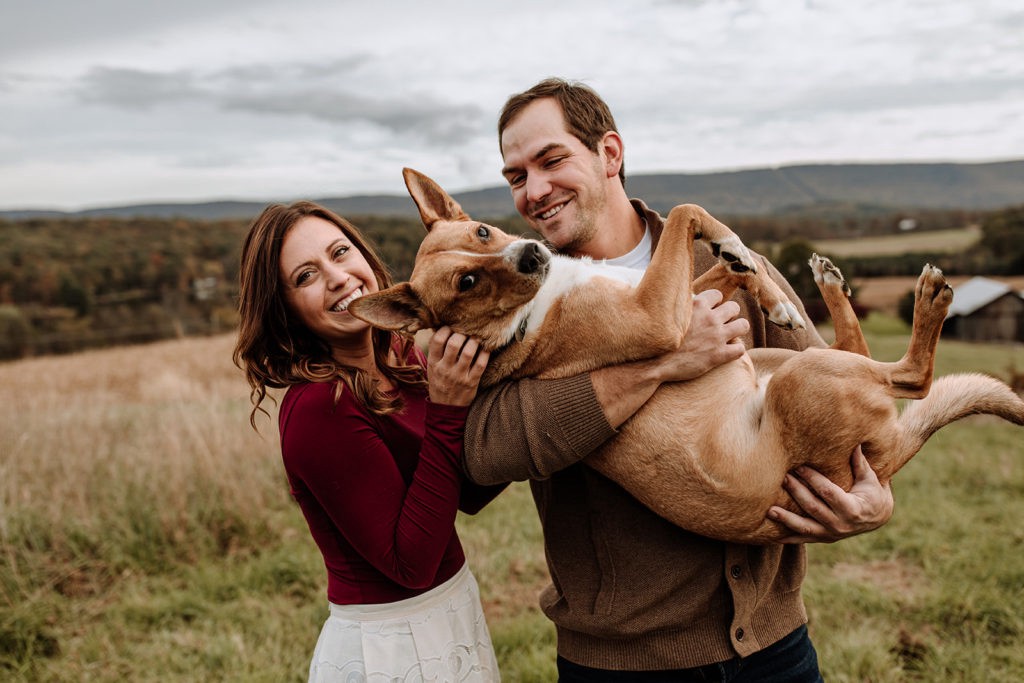
Being able to authentically capture your subject is one of the tell-tale signs of someone who has matured as a photographer and can produce work as a professional.
We look back on old family photos where we had to stand in a really posed manner and put on our cheesiest smiles. For the time, this was the ?style? and we can?t exactly call the photos unprofessional for this reason ? but hindsight is always 20/20. In the current day, this sort of look just doesn?t fly ? or at least most people wouldn?t say it looks all that great. Disagree? Let us know in the comments!
It is our opinion that professional photographers can bring out genuine emotions in their subjects. While this is often meant in the context of portrait photography ? we do also feel you can also capture emotions of non-living things like a landscape or macro photography of a flower.
Emotions can be brought out of subjects, or can be prescribed to them through your decisions as a photographer.
When taking portraits, we use posing prompts to help coax naturally reactions and emotions from people.
When looking at a landscape and snapping a picture of it, our choice of composition is often intentional so as to showcase a specific feeling. A viewer can look at a photo of something as trivial as a landscape and ideally feel something ? sadness, happiness, a sense of surrealism.
Photography is, at it?s core, a very simple thing. Our camera?s are tools that help us dig into these more complex, even metaphysical, concepts.
Tip #13: Be Intentional in Your Camera Settings
Professional photographers have a solid understanding of how to use their camera on a technical level.
You are not normally going to find a pro shooting in Automatic mode.
Instead, a professional is going to be shooting in Manual mode ? selecting all of their settings intentionally.
We saw a great boost in the quality of our photography when we learned how to make all of these adjustments ourselves. It took a while and was frustrating at times.
Now, we can make adjustments to ISO, Shutter Speed, Aperture, White Balance with our eyes closed. Seriously ? sometimes we?ll be running to grab a shot with our camera in one hand and making adjustments! It might sound crazy ? but it?s true.
Your camera settings become an innate part of your workflow. Ultimately ? dialing in the right settings allow you to properly expose an image, and can also let you intentionally underexpose and overexpose in certain conditions.
Tip #14: Take Control of Your Depth of Field (DOF)
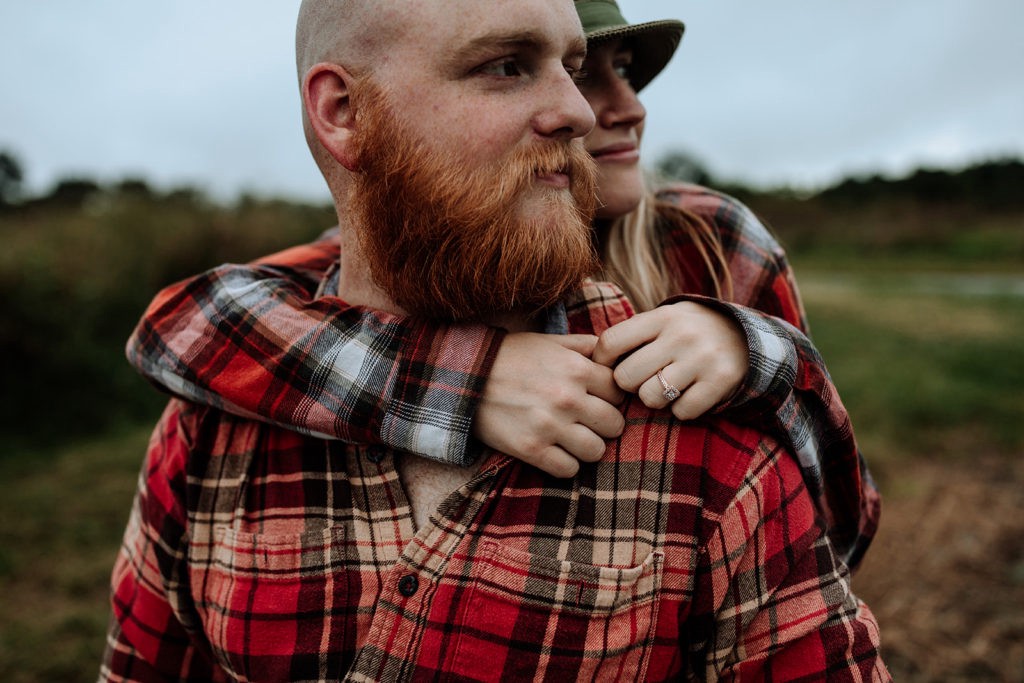
Depth of field refers to a viewers perception of the distance between the nearest and furthest object in a scene.
Really great photographers are very aware of the importance of this depth as it can create a great illusion and transform a 2D photo into something that looks 3D.
Your choice of DOF will depend on the specific result you are looking for.
A common landscape photography tip is to maintain a high f-stop to create a narrow depth of field ? allowing most things in a scene to be in focus. In a large landscape, you don?t necessary need (or want) a lot of separation between the foreground and background.
Alternatively, in portrait photography in particular, a simple pro technique is to use a low f-stop (like f/2.0) to create a wide depth of field ? allowing the portrait subject to be in focus, but the background to be blurred out and separate. This allows all of the emphasis of a portrait to be on the person, not all of the unnecessary things in the backdrop.
Conclusion
With these 14 tips, we hope you have been able to learn more about how to take professional photos.
What is most amazing about the difference between pro and amateur photography is that, for the most part, the difference is created by very small things. A choice of camera settings, the subject you?re photographing, being mindful of the background ? are all very easy things to learn and adjust for.
This post should serve as encouragement if you are wanting to take some really AMAZING pictures of your own because those shots are well within your grasp. With a little practice, some experimentation, and learning to refine your process ? you?ll surely take some great shots yourself!
And when you do ? be sure to share them with us!
This article was originally published on Formed From Light (FormedFromLight.com) on April 6, 2019 and was written by Jes and Chris Romans.
