When I submitted a (pretty dope, and also buyable, just saying) tee to Cotton Bureau, I was met with a terrible response: ?this design has too many colors?. While I firmly believe that there is ? NO SUCH THING AS TOO MANY COLORS ?, their print shop could only do a maximum of 6. I turned to halftones, little dots of one color on top of another color, to provide more flexibility. Let me show you how that worked.
Step 0: What are halftones and why are they cool?
Halftones are dots of varying sizes & densities placed on top of a solid color so to a viewer standing further away, the colors appear to blend together. They are most often used in printing to fake gradients.
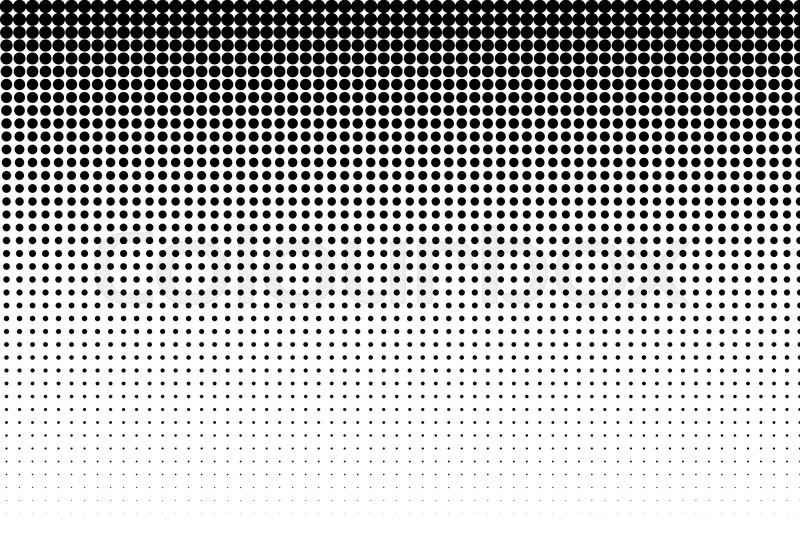 Gradient halftone.
They?re also used, most notably in comic books, to get more flexibility when working with a limited number of inks. This is closer to my use case. The idea is that if I needed an orange, I could layer dots of yellow on top of a solid patch of red, and presto pesto, it looks orange!
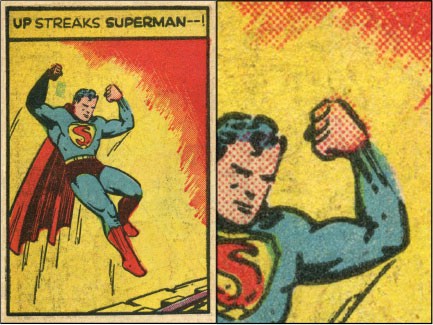 Comic book halftone.
Step 1: Figure out what colors to use.
Definitely more art that science, this will totally depend on your design and how many colors you can work with. One thing I found that helped in figuring out my color choice, is I made a whole bunch of squares, set the transparency mode (window -> transparency) to multiply , and dragged them on top of each other. This shows how the colors blend together, and if one was a halftone on top of another, how it would appear to a viewer.
 Getting a feel for how the colors combine
In my case, I chose green as a base color, even though blue and yellow combine nicely, because I wanted the green on the design to be as crisp and shouty as possible. Magenta, yellow and red form the bulk of the design, so choosing those three were no brainers. Blue allowed me to make purple and was a great modifier to create cooler colors. Black was a must-have utility to make darker colors.
You don?t have to get these absolutely perfect, the colors can always be adjusted later.
Step 2: Make color swatches.
Once you?ve chosen your colors, it?s time to turn them into swatches. You can do that by creating a shape with your desired color, and pressing the new swatch button at the bottom right of the swatches panel. That will open up the new swatch dialog, which will let you fine-tune your color. Before you hit OK, make sure you check the Global checkbox. Without that checkbox, changes to the color swatch won?t be reflected in objects that use that swatch. With the swatch in global mode, you can make adjustments to the swatch which will propagate everything that uses the swatch.
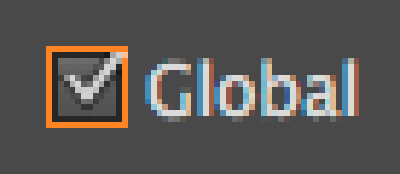 Important.
Step 3: Create a halftone base.
Now we make the base of our halftone pattern. It?s a fancy name, but it?s basically a grid of tiny dots that we?ll overlay on top of a solid color. I found that it was easiest to start at the most dense halftone I wanted to use and work down from there.
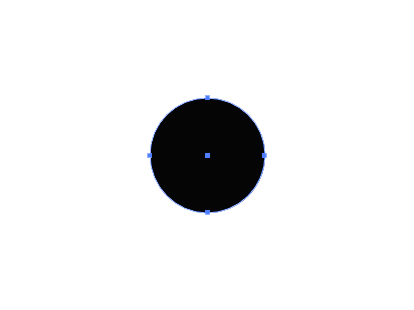
Start by creating a circle 0.0125 inches wide by 0.0125 inches tall. This was a size I chose somewhat arbitrarily but I found that it actually worked pretty well. Set it to no stroke and set the fill to one of the color swatches we created in Step 2.
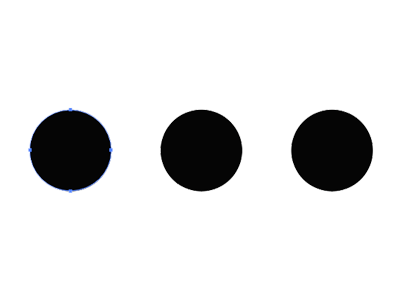
Next, we?re going to apply a series of transform effects to create a 3 dot by 4 dot grid to use as our pattern swatch. Go to Effect -> Distort & Transform -> Transform? and apply a horizontal transform of 0.02 inches, with 2 copies. You should have three dots like the image below.
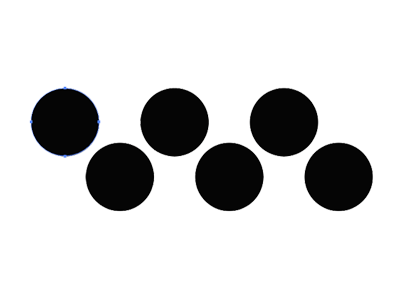
Next, we?re going to apply another transform. This time apply horizontal and vertical transforms of 0.01 inches with 1 copy. You should have two lines of offset dots like you see below.
Last transform! Build out the grid by applying a vertical transform of 0.02 inches and 2 copies, and you should have our 3×4 grid like the image below.
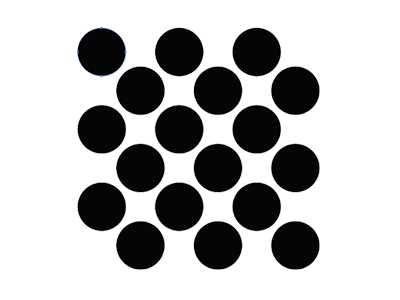
If you want to choose a slightly different size, that?s totally fine. Just make sure that your most dense halftone grid has dots that overlap by about 20%.
Step 4: Create a base pattern.
Select our dots, go to the top menu and click Object -> Pattern -> Make and you?ll be taken to the pattern interface.
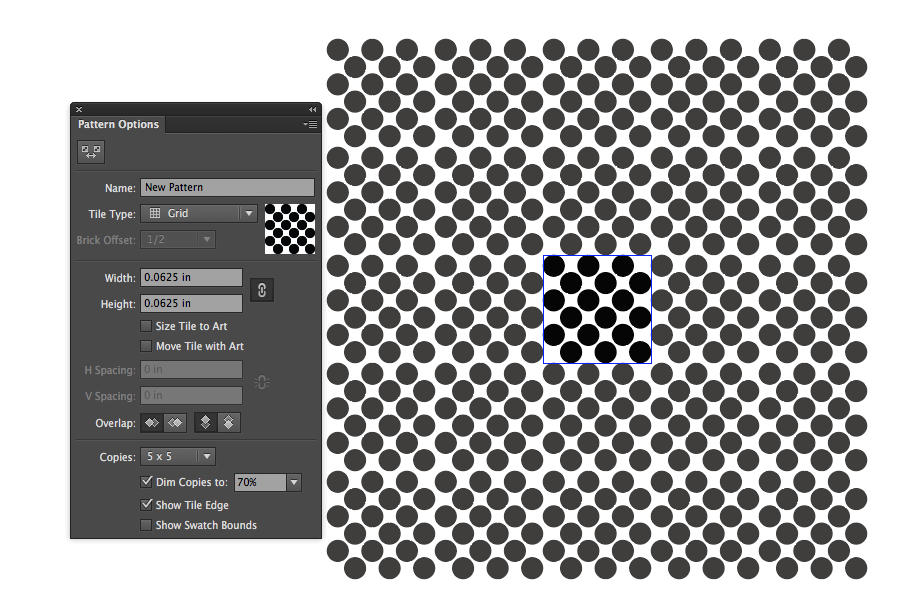
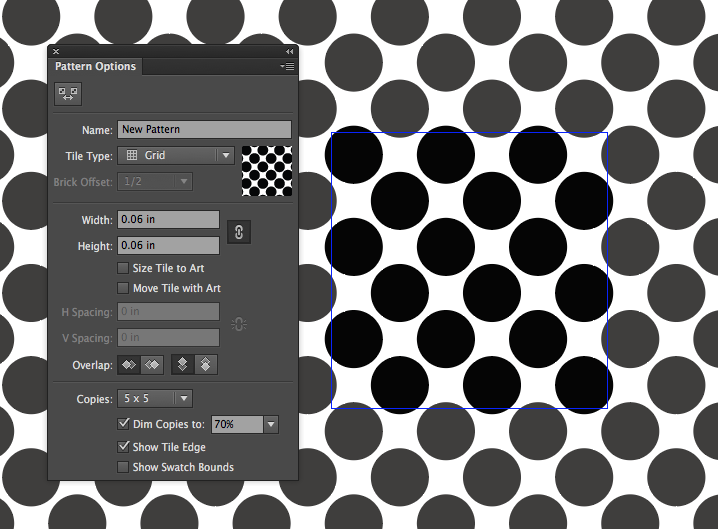
There are some noticeable seams here that we?ll have to take care of. This is because our halftone dots have a slight overlap, so we?ll have to proportionally take some size out of the pattern tile to make it seamless. Change the width and height of the pattern to 0.06 x 0.06 inches, and you?ll get a seamless repeating pattern of dots! If you?re starting with a different size, don?t worry, just size your tile so the pattern is seamless. Name it something descriptive and hit save.
Now, you might be thinking, why the hell did I do all those transforms? Can?t I just make a pattern out of one dot, changing the size of the single dot and the size of the pattern tile to adjust spacing & density? Well, yes and no. While that is totally possible, and preferable for larger patterns, Illustrator has a minimum pattern tile size of 0.0278 inches. While that?s tiny, we want our halftone dots to be even smaller! That was too large to give tight spacing for our teeny tiny dots. We compensate for that minimum size by having more dots per tile.
Step 5: Fill out a library of halftone densities.
Great, we?ve got our first halftone! That still doesn?t give us a lot of flexibility however. We?ll need to create several halftones, each dots of varying sizes to control how dense the colors combine.
In our example, the first pattern we made was our most dense halftone. Select our halftone base object from Step 3 and duplicate it via copy paste. Select the dot, and take the size down by 10%. Because we created its neighbors through transform effects, this change will propagate through all of them. Click Object -> Pattern -> Make to enter the pattern interface for your new, smaller pattern. Change the tile size to 0.06in x 0.06in just like we did in Step 4, and the spacing will be nice and even.
Do this over and over until you have halftone dots at the minimum size your printer can comfortably accommodate. I stopped at 0.0028 inches, and had 8 available densities from that tiny size all the way up to the gargantuan 0.0125 inch base.
In this case we created different densities of halftones by downsizing the dots while leaving the spacing identical. It?s totally valid to keep the dots the same size and vary the spacing to control density. I chose to not do this because when the spacing is identical, it means you can?t layer halftones on top of each other, like you see below. If the spacing was different, they wouldn?t neatly line up like this.
 Layering a black halftone on top of a blue halftone.
Step 6: Fill out your colors.
So now you?ve got a whole slew of different sized dots, but that won?t do anything for you until you?ve got all of those in the colors we selected all the way back in step 2.
In the swatches panel, select all the halftone patterns you?ve made so far, click the menu button at the top right, and then click Duplicate Swatches. For each of your new pattern swatches, double click them to go into pattern editing, select all the dots, and change the fill to a color swatch from Step 2, rename it and hit save. Do this for each color.
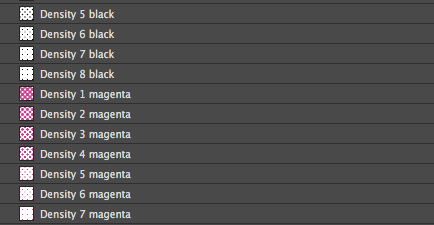 So. Many. Patterns.
You won?t necessarily use all of these color & density combinations, and that?s okay. This is all about building a library so you can quickly & easily experiment.
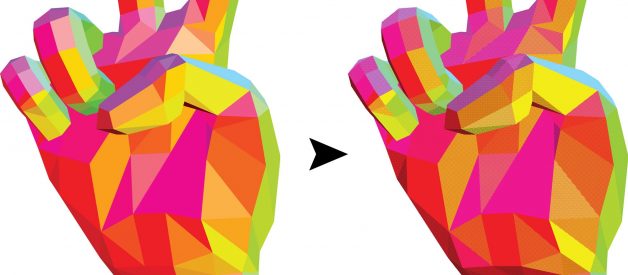
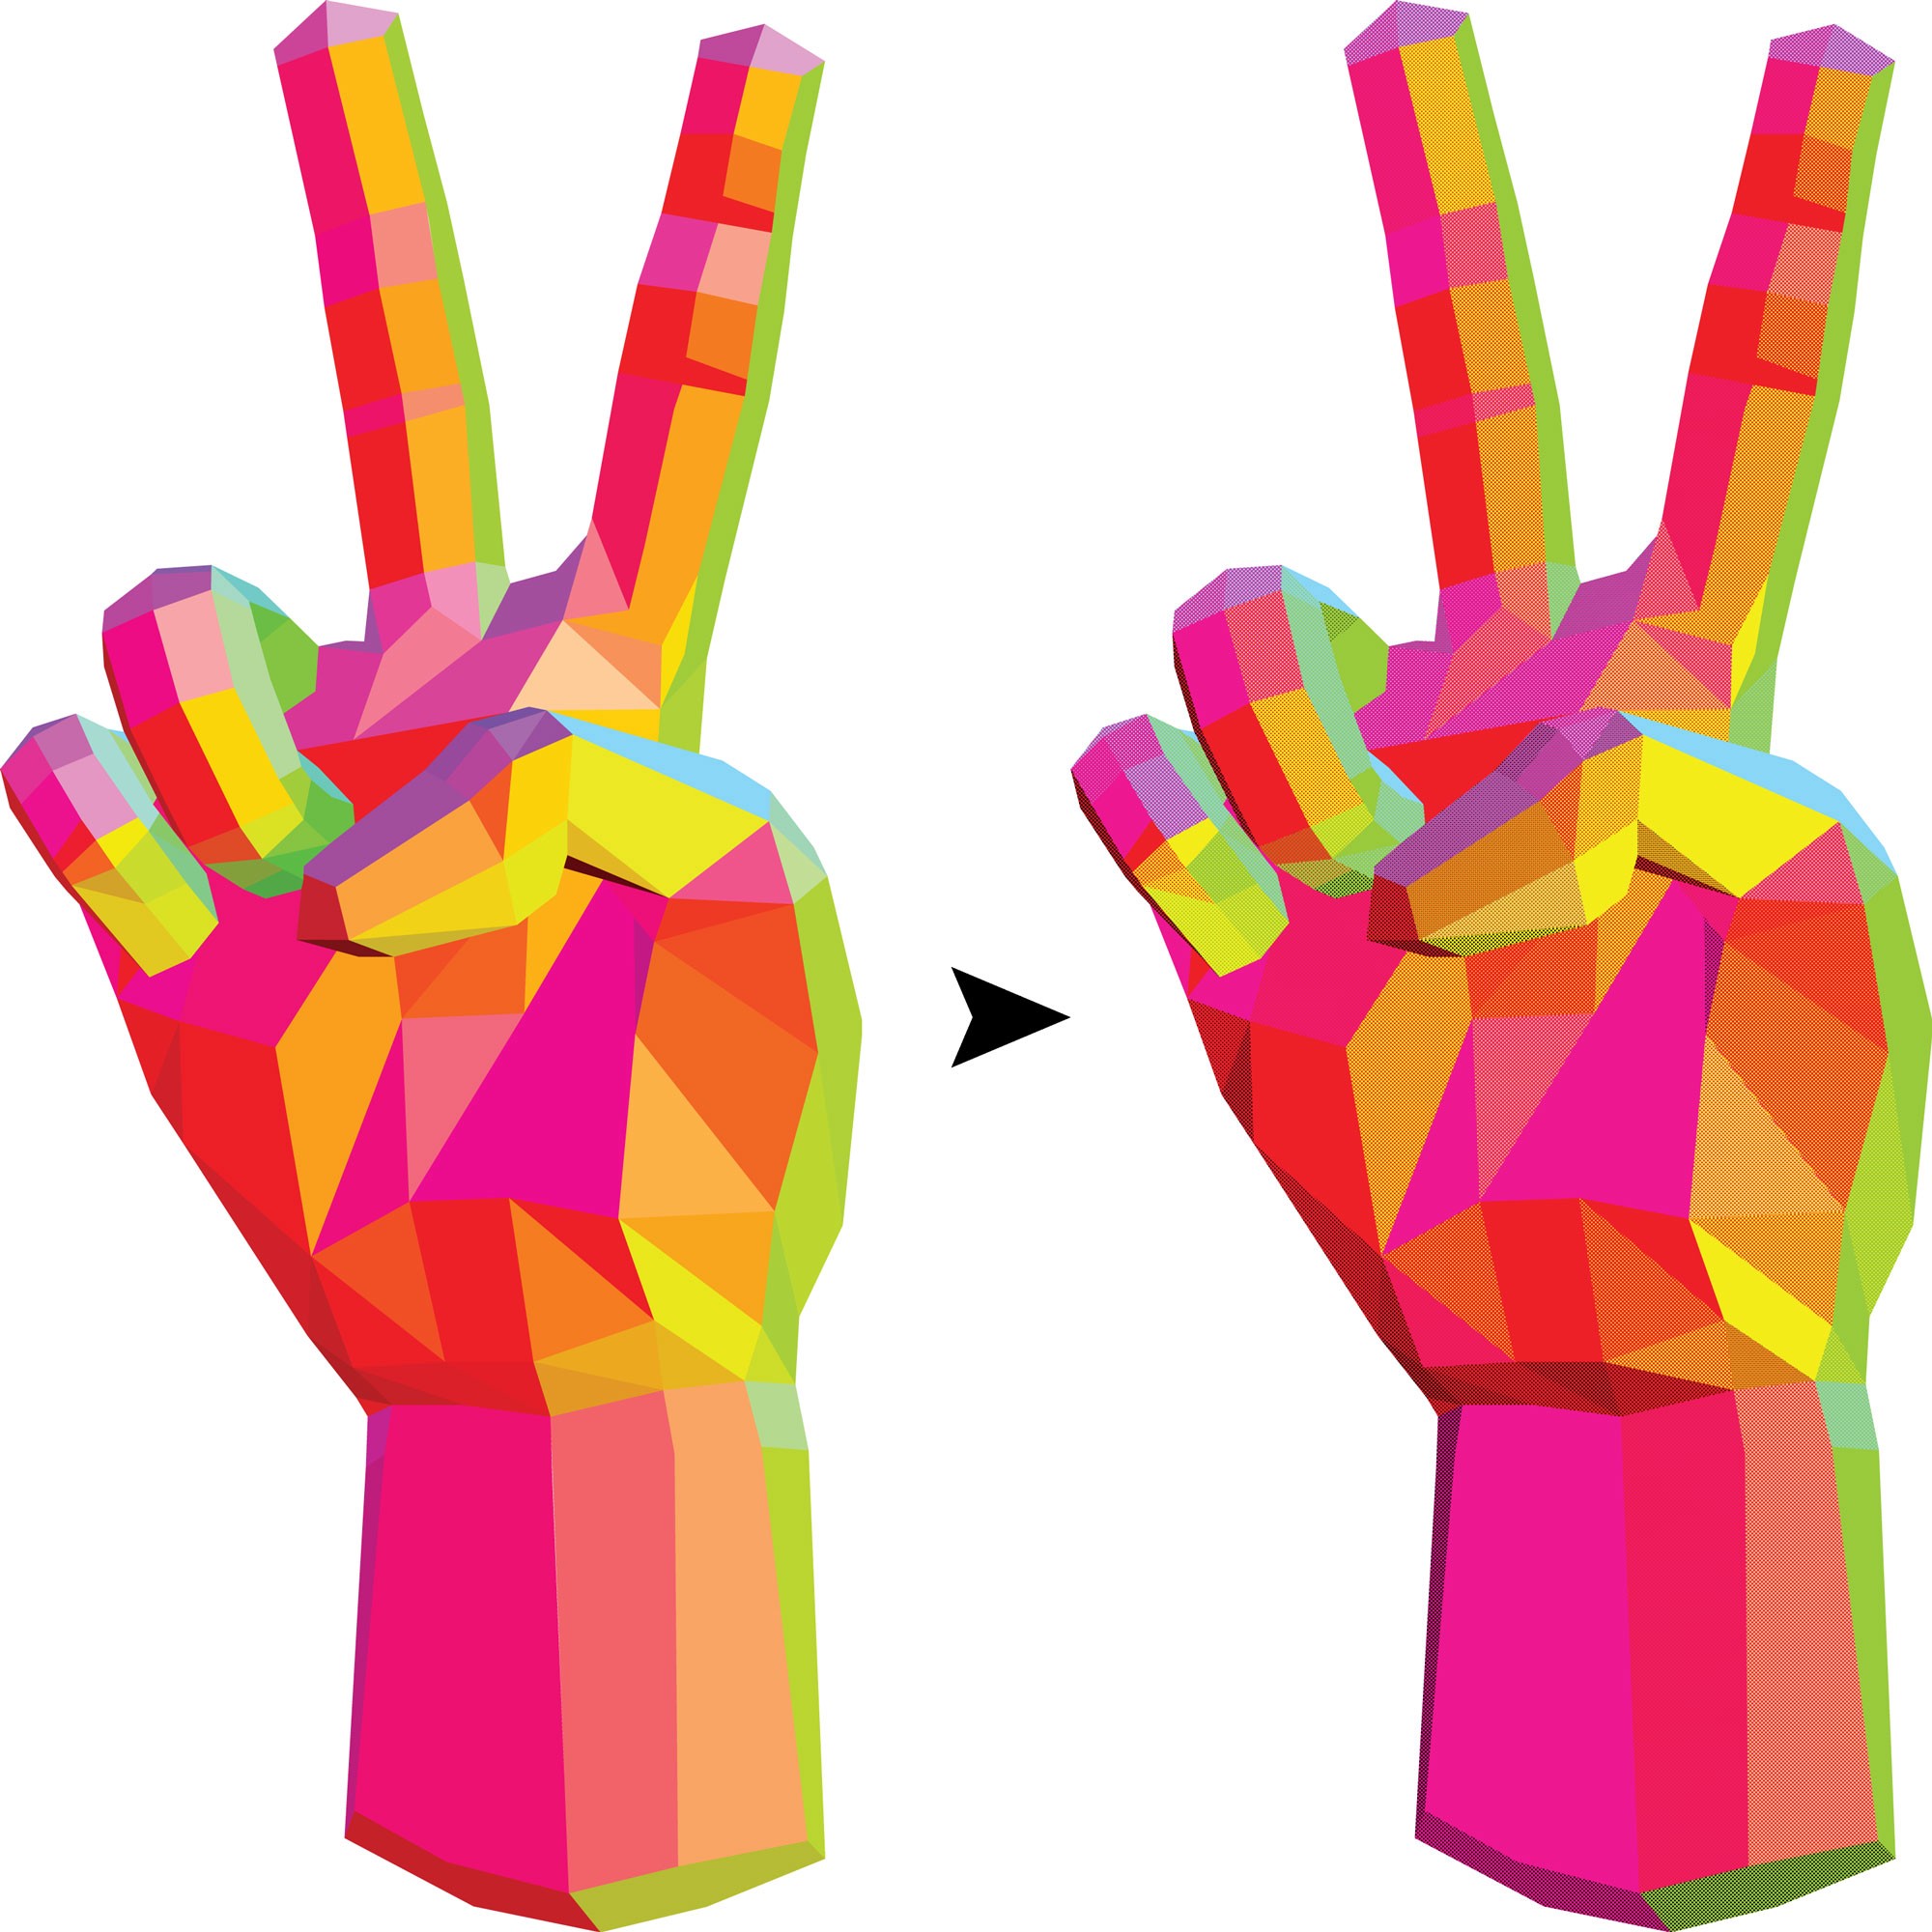
Step 7: Match colors.
It?s time to reduce the colors of your design. Select an object in your design, and change its fill to the closest color swatch you chose. Copy it and paste it in front (CMD/CTRL + F), and then change that new objects fill to some halftone patterns until you find one that looks like the original color when zoomed out. Do this for every object in your design.
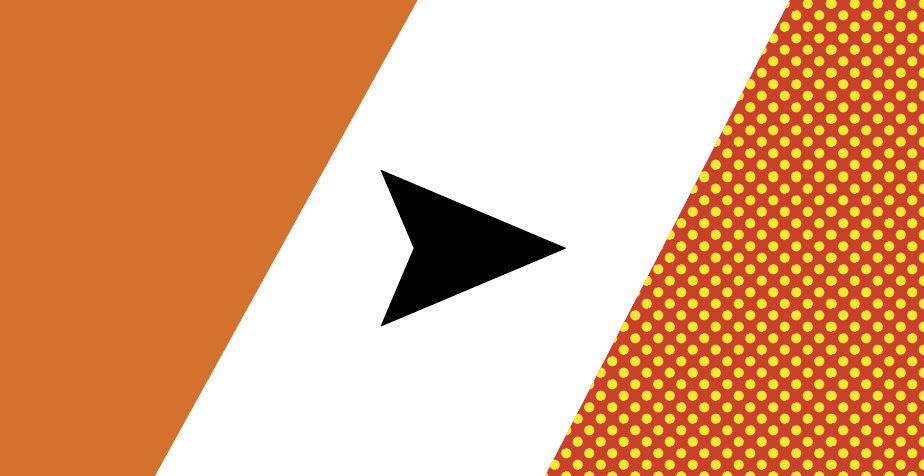 Red + Yellow = Orange
Remember that if you?re sending this design to print, you don?t want to send it with a bunch of patterns in the design. You want each dot to be its own object. Select all, then click Object -> Expand? and in the resulting dialog, click the fill checkbox and then click okay. This will make your design much harder to edit, so do this as a final step before handing it off to the print shop.
FIN.
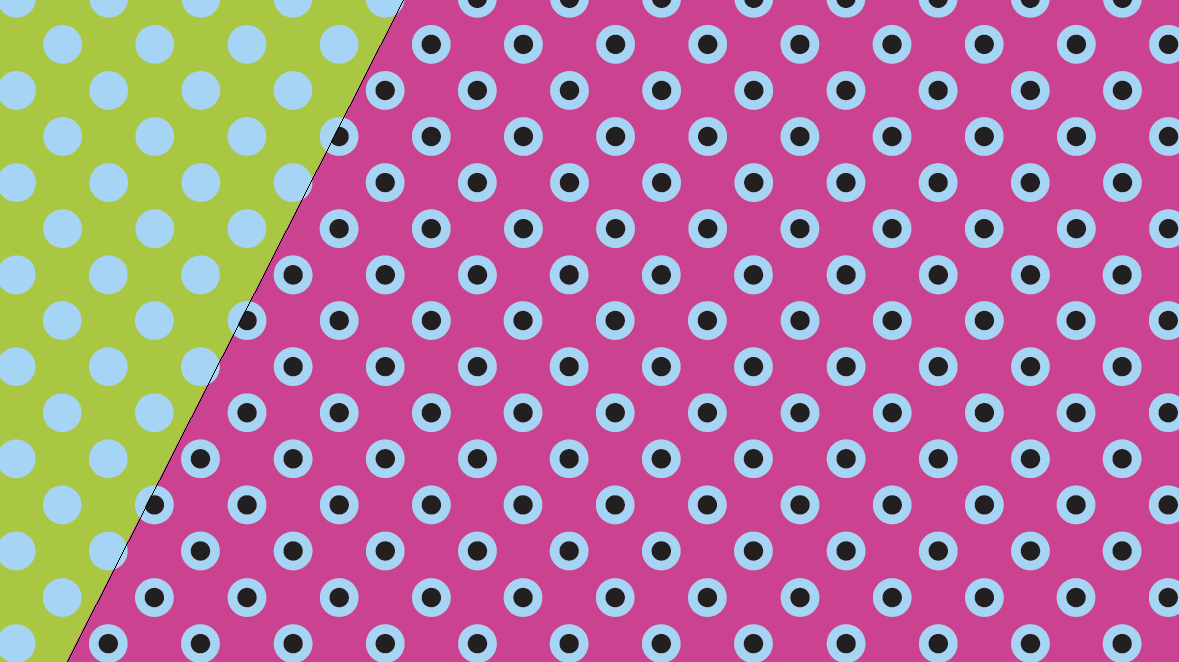
Go forth and make some great halftone designs! If you enjoyed this tutorial, check out the inspiration for it, the tee I designed on Cotton Bureau.
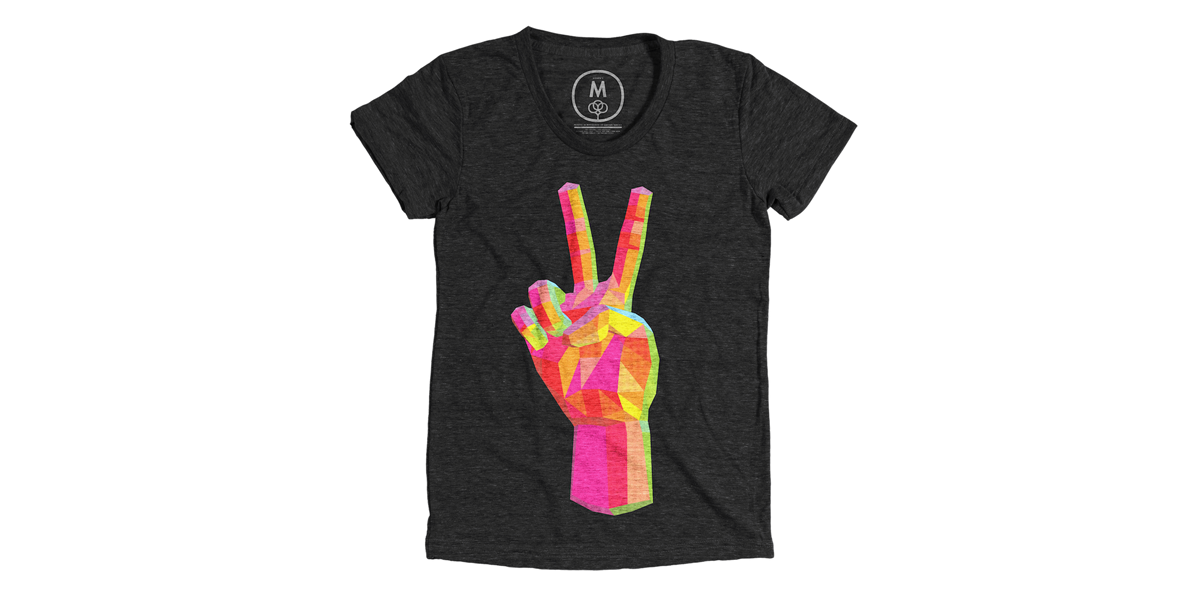 The inspiration for this tutorial.

