
It can sometimes be tricky to get the right size picture to fill that fabulous locket you bought your loved one but this article will help you do just that using OddPrints. Please also see How to print photos for a heart locket.
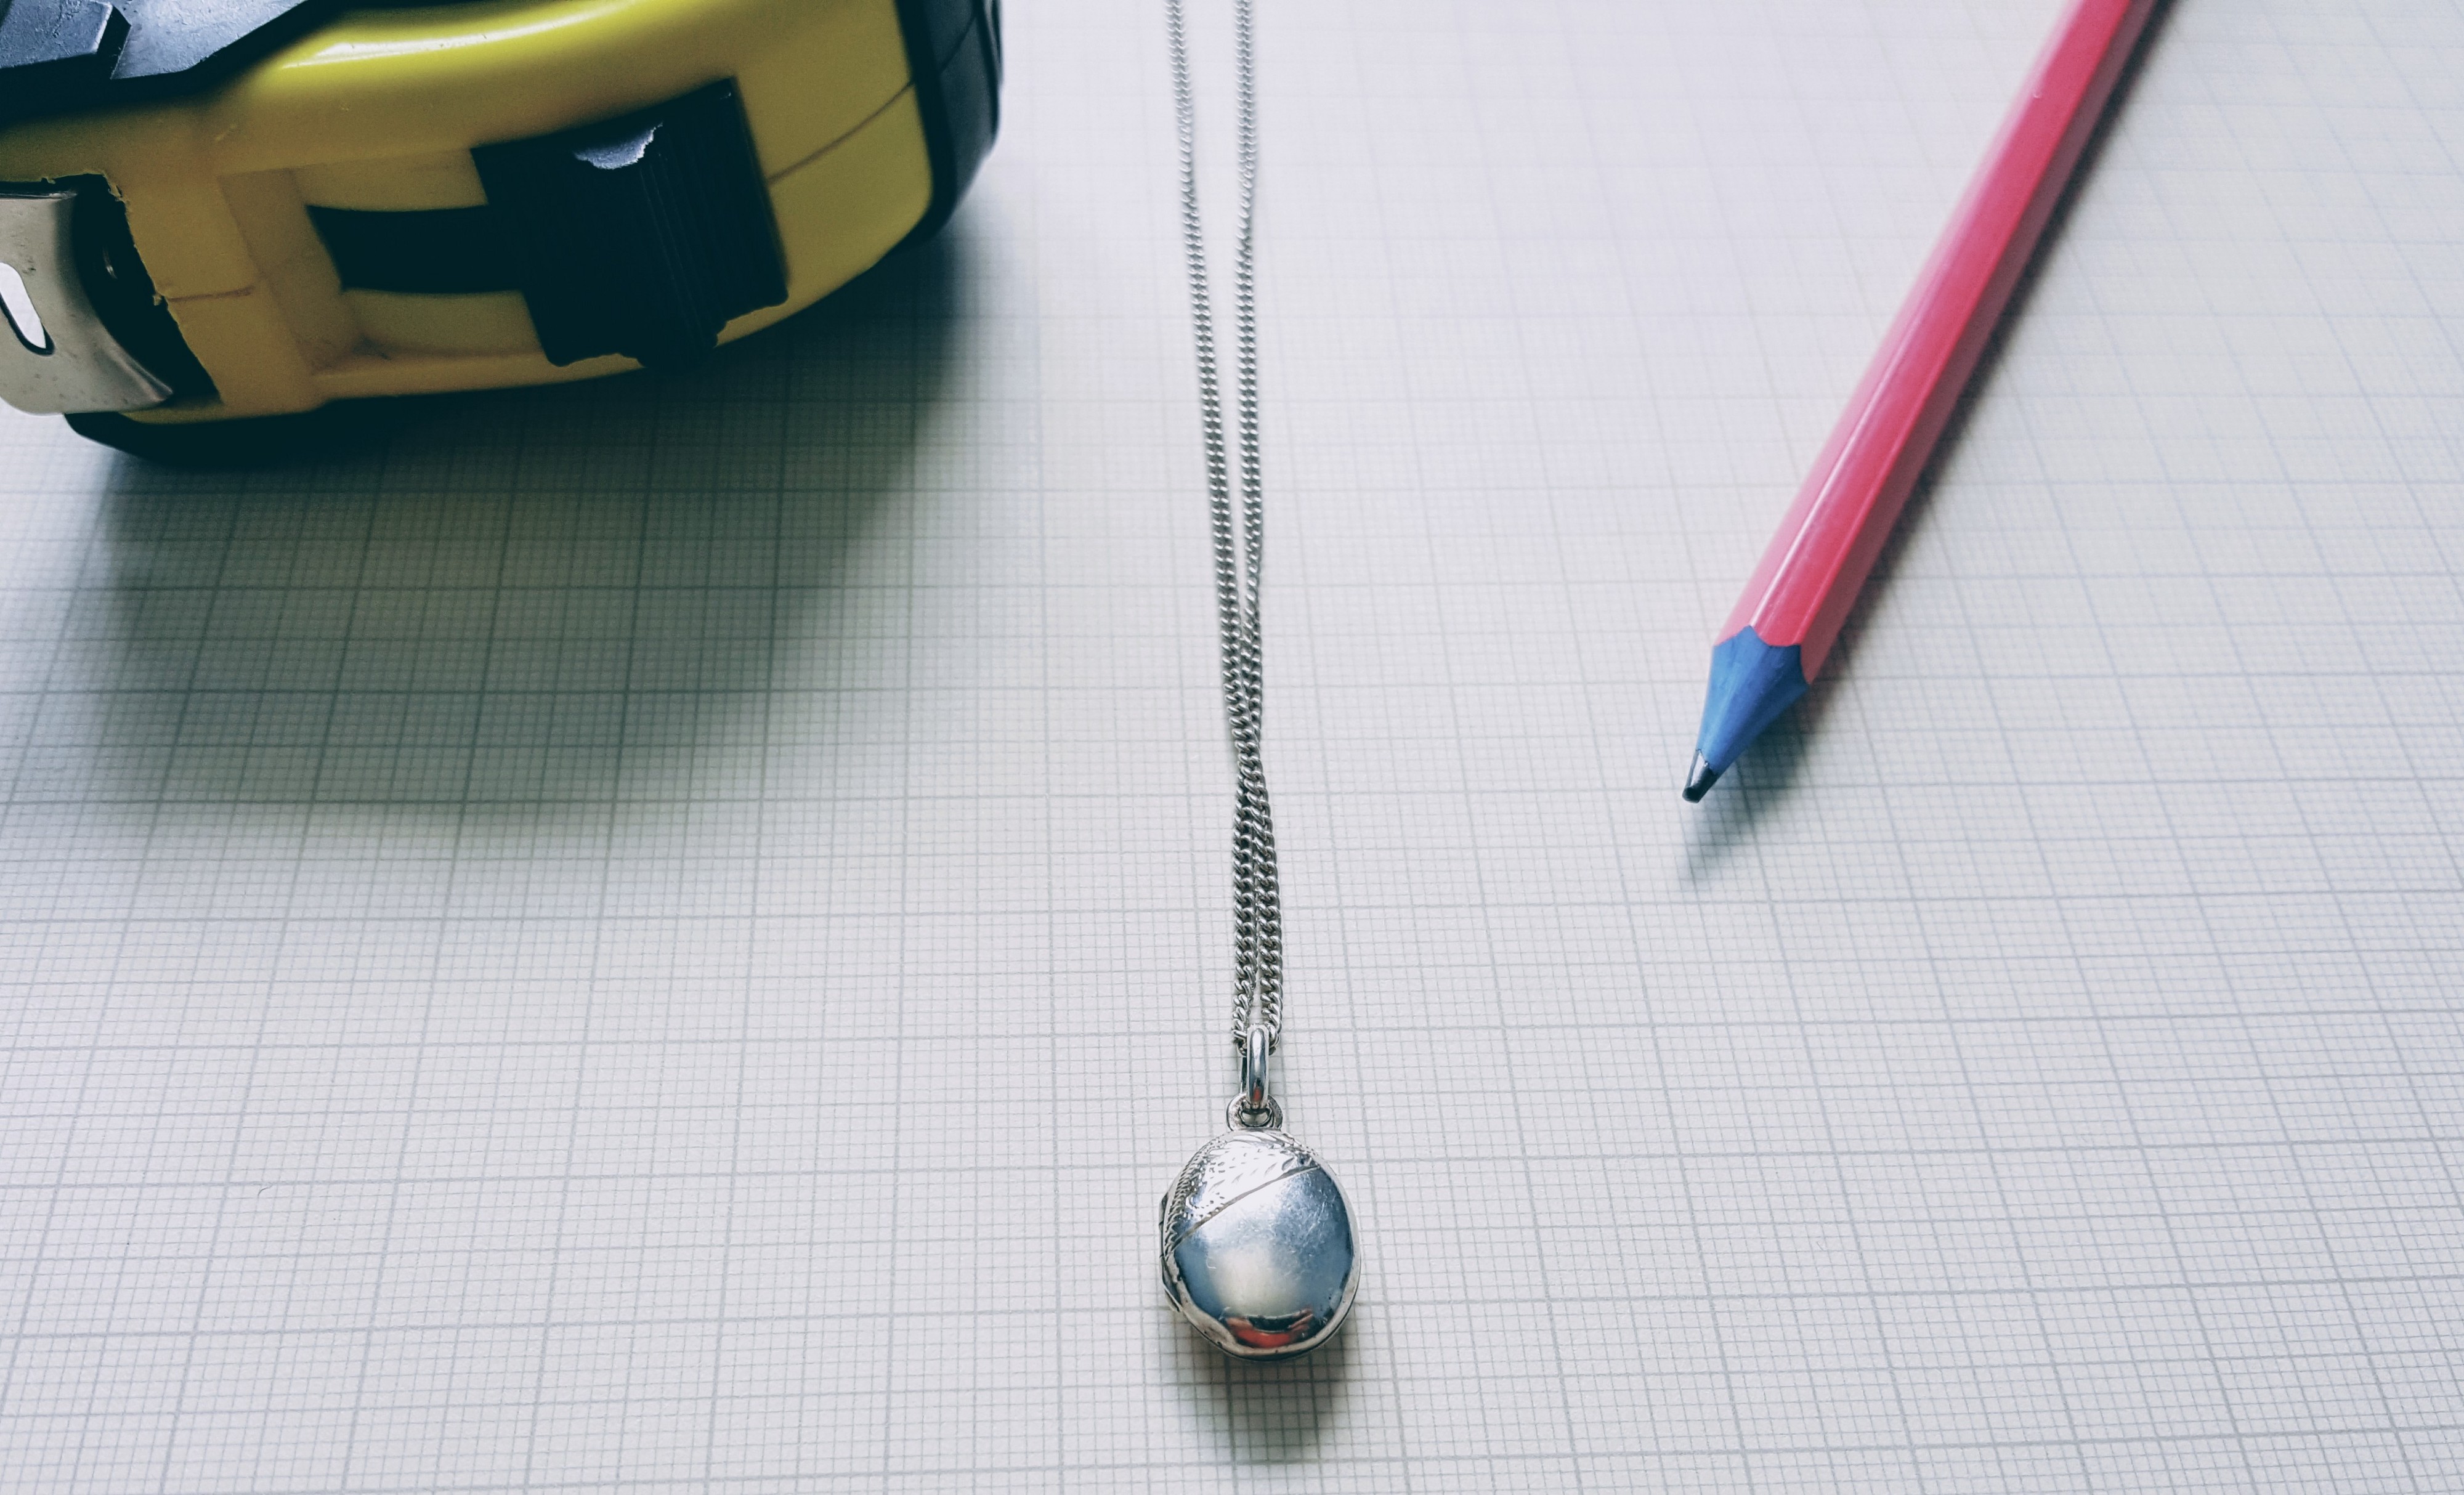
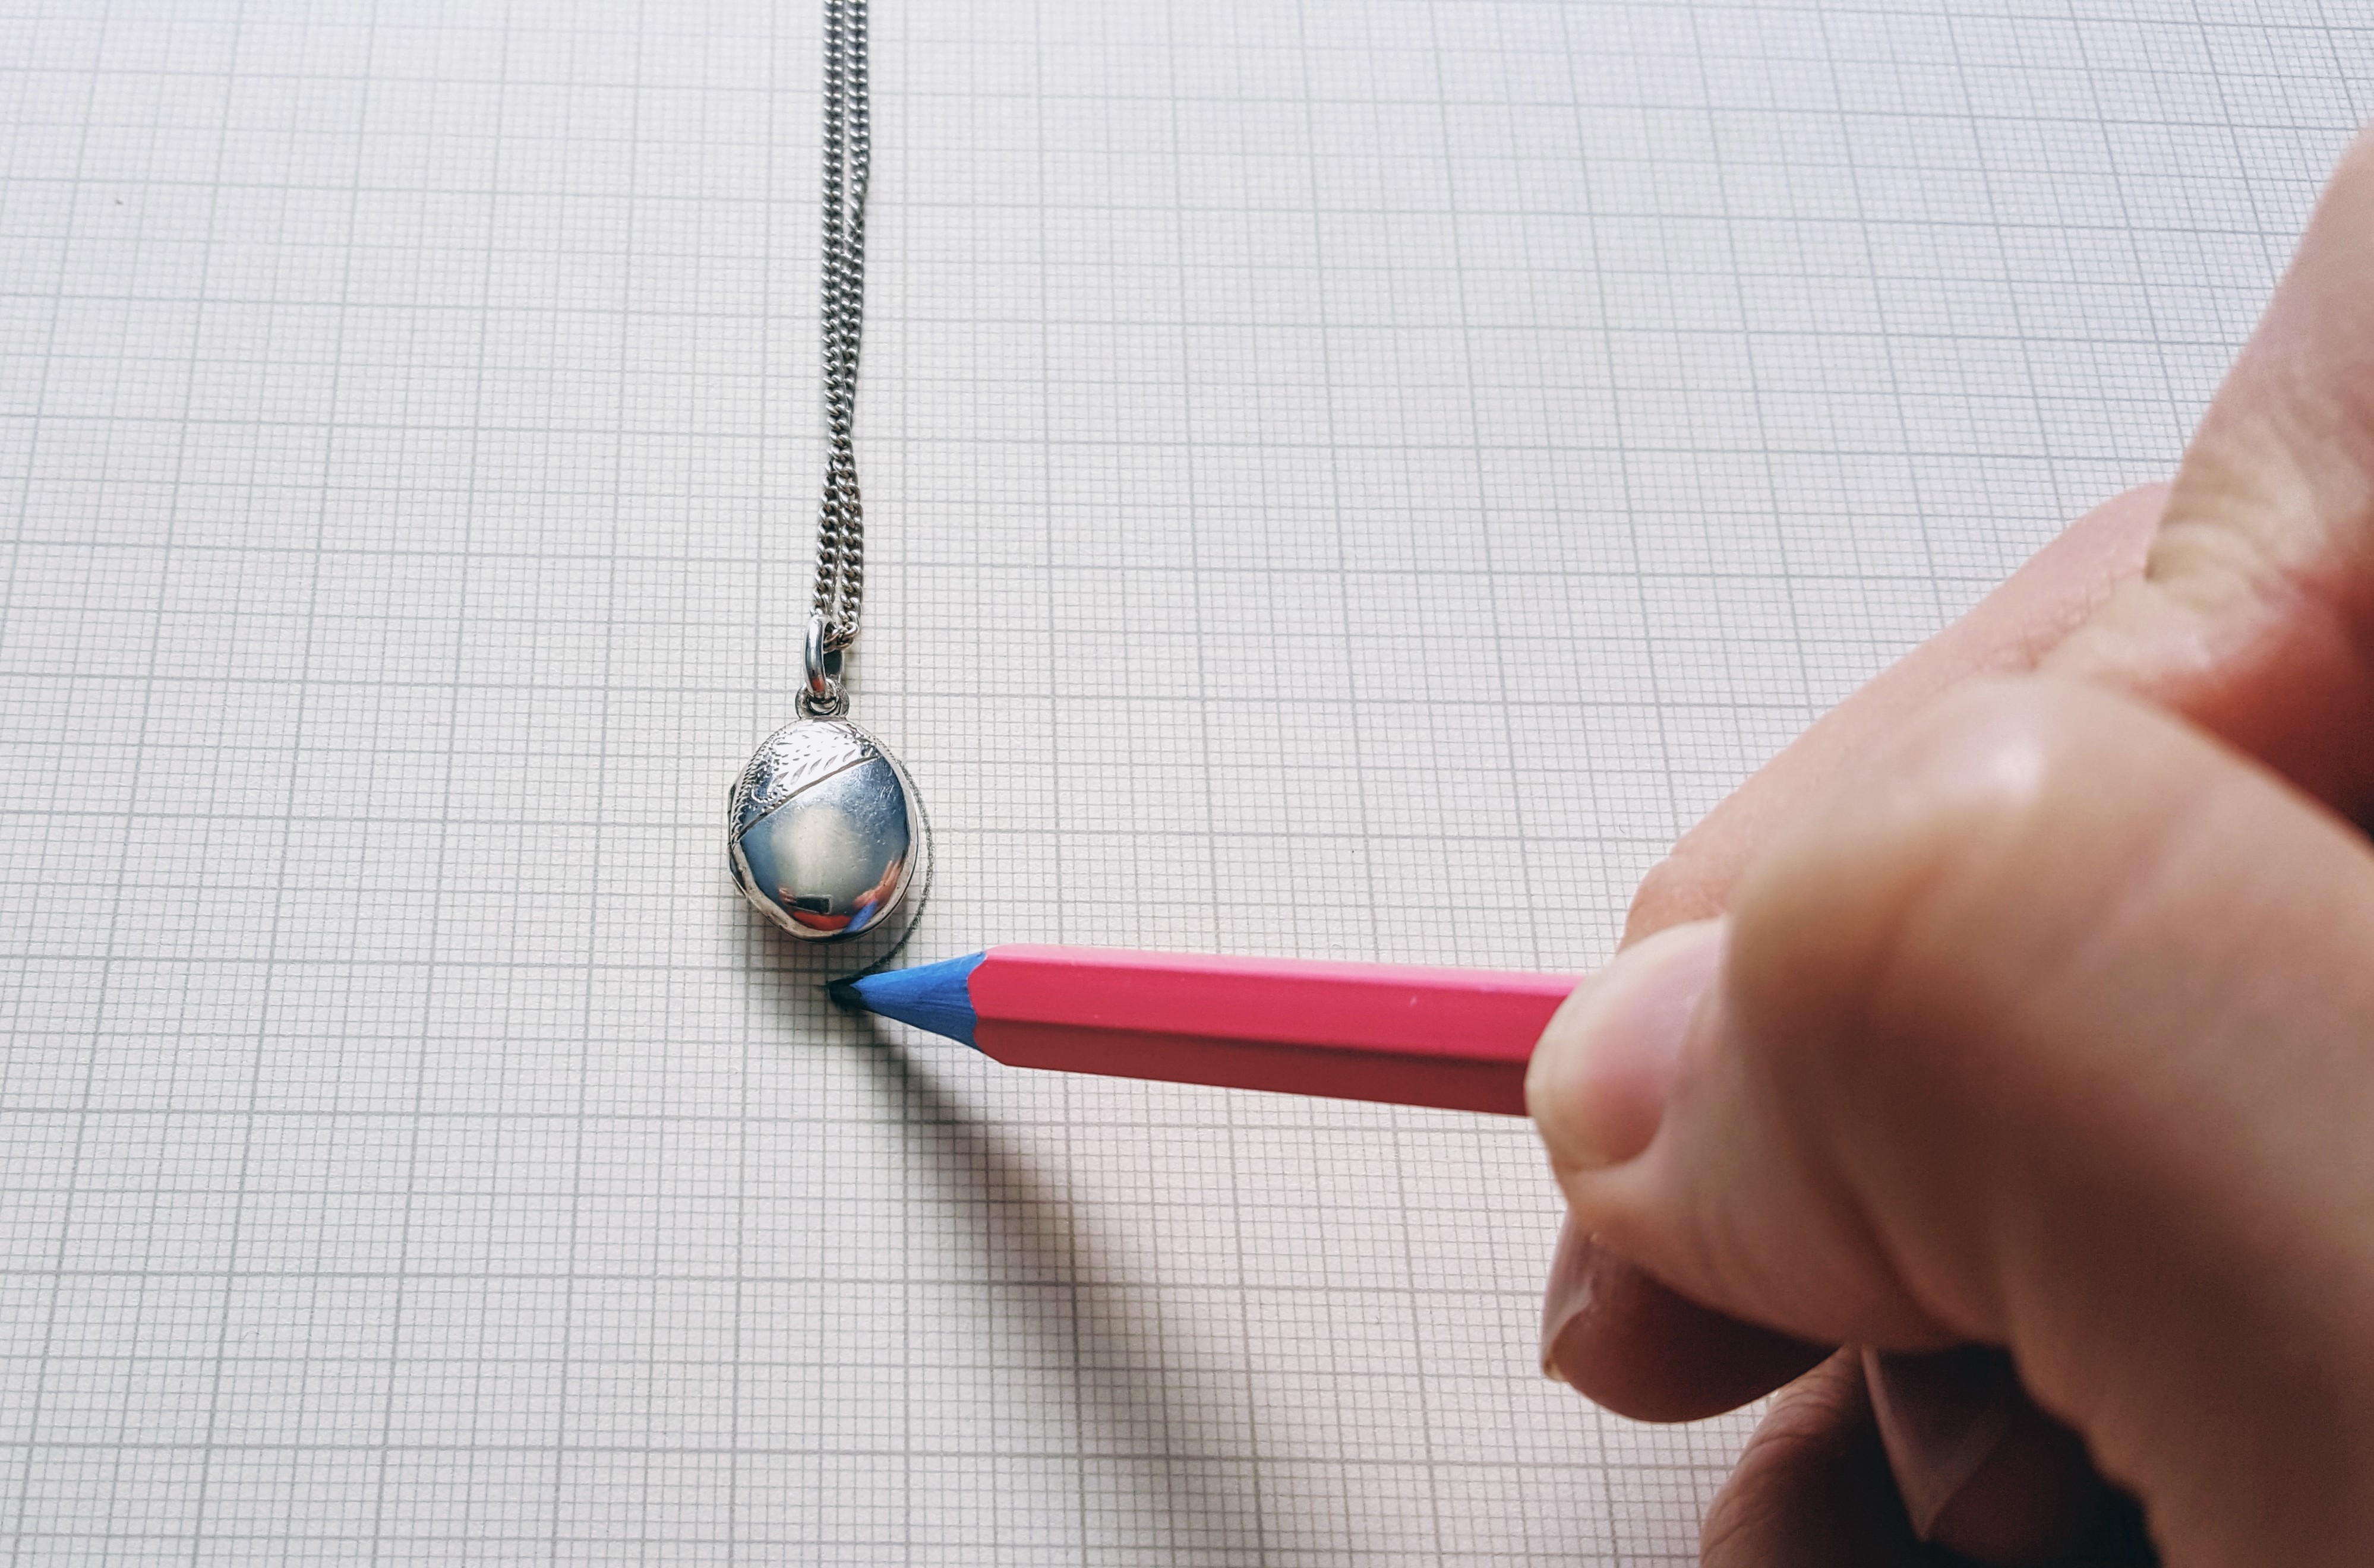
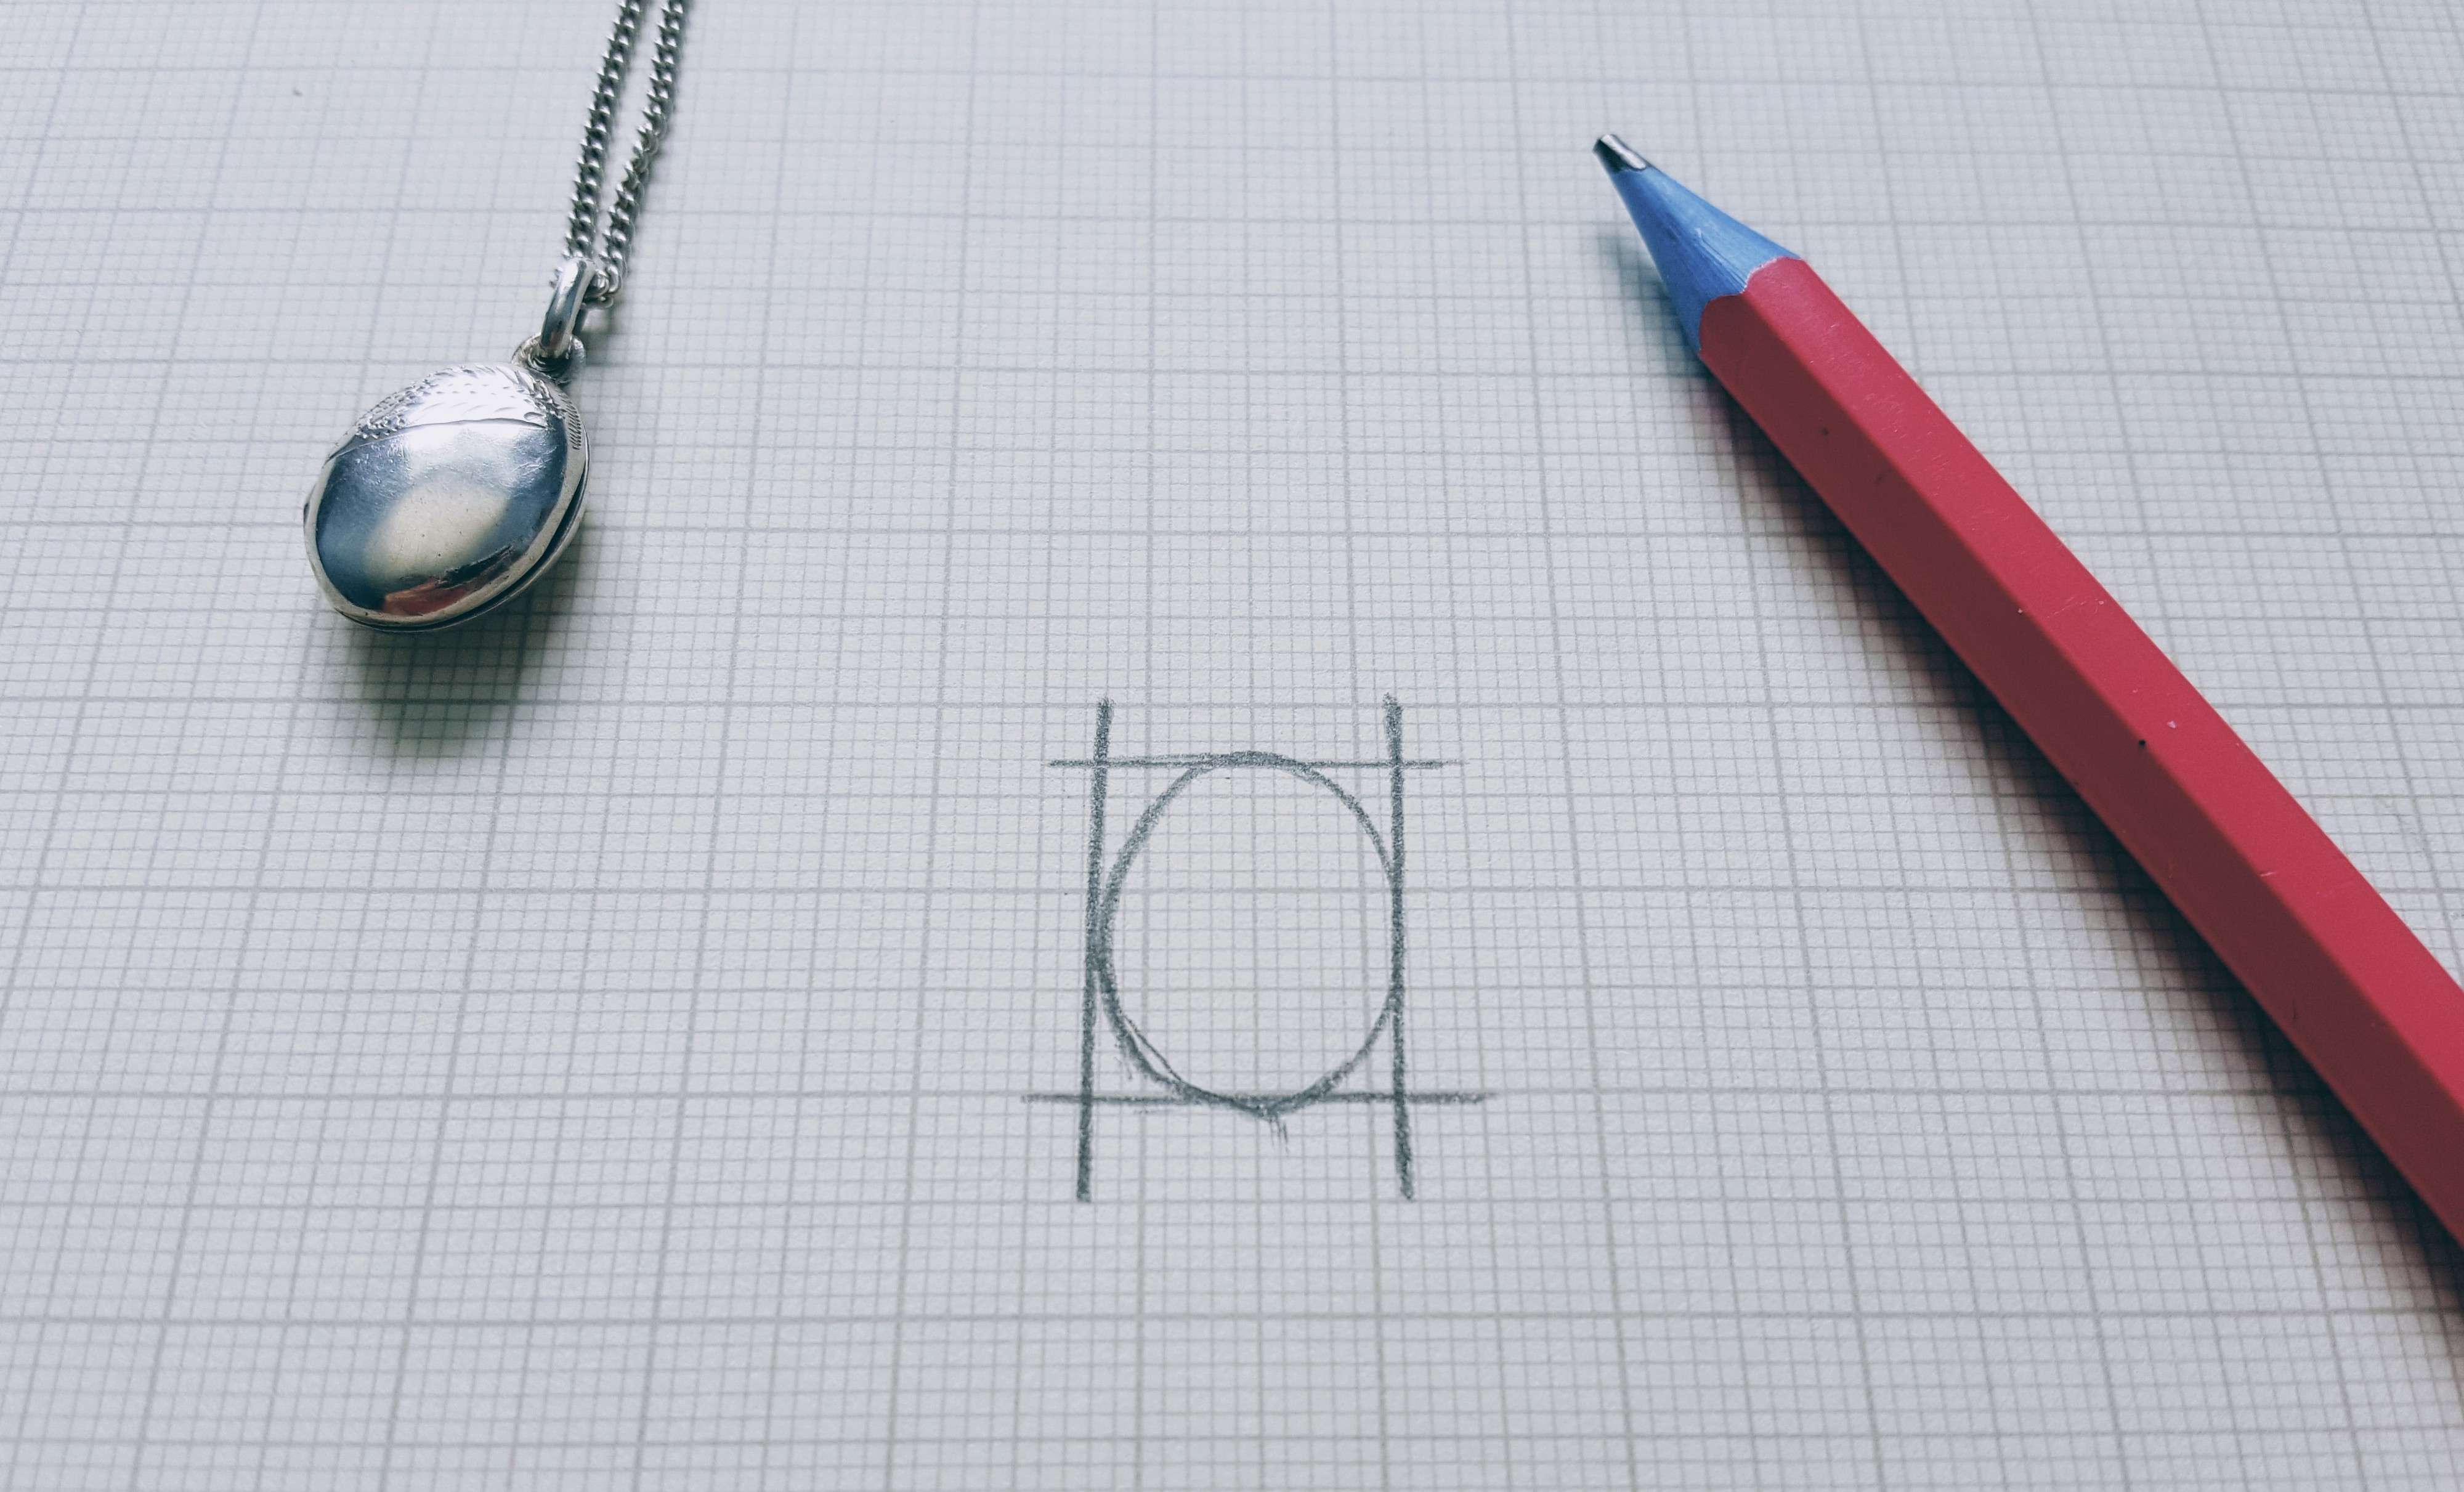
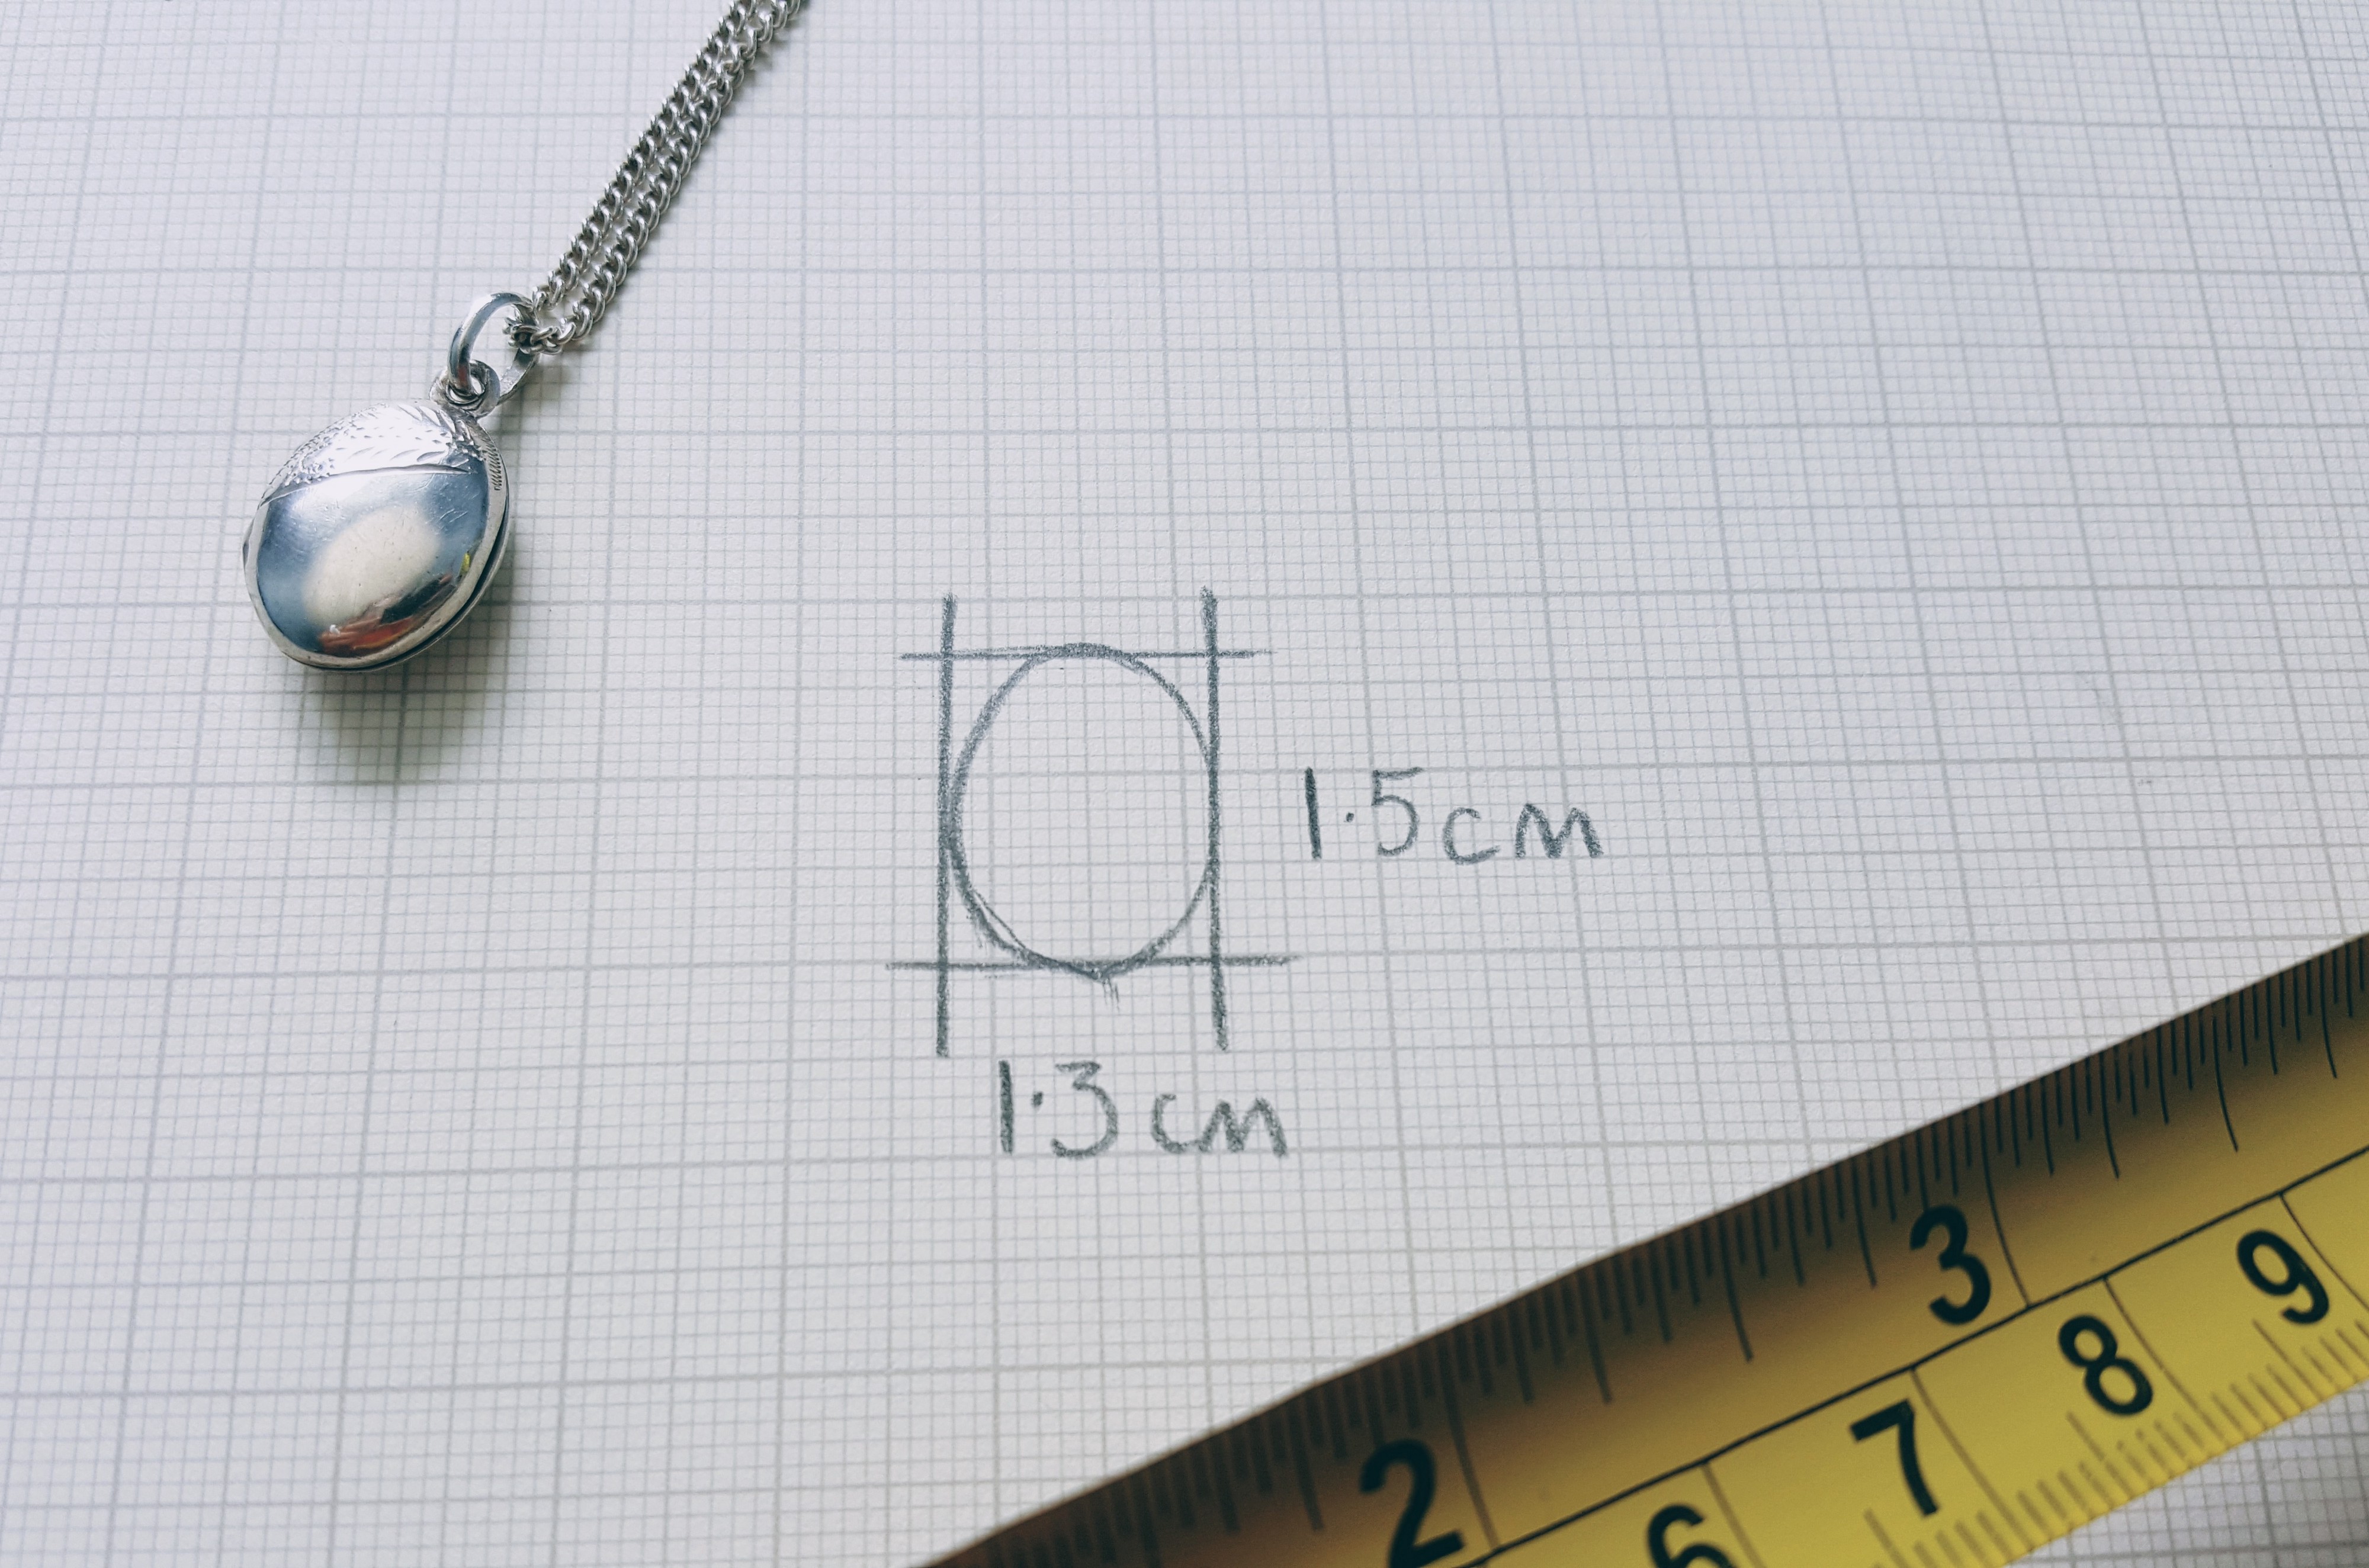
Lockets all come in different shapes and sizes so you need to get the right measurements for your specific locket. To do this it?s best to lay your locket down on a piece of paper to trace around it, then draw a rectangle or square that fully contains the shape of the locket window.
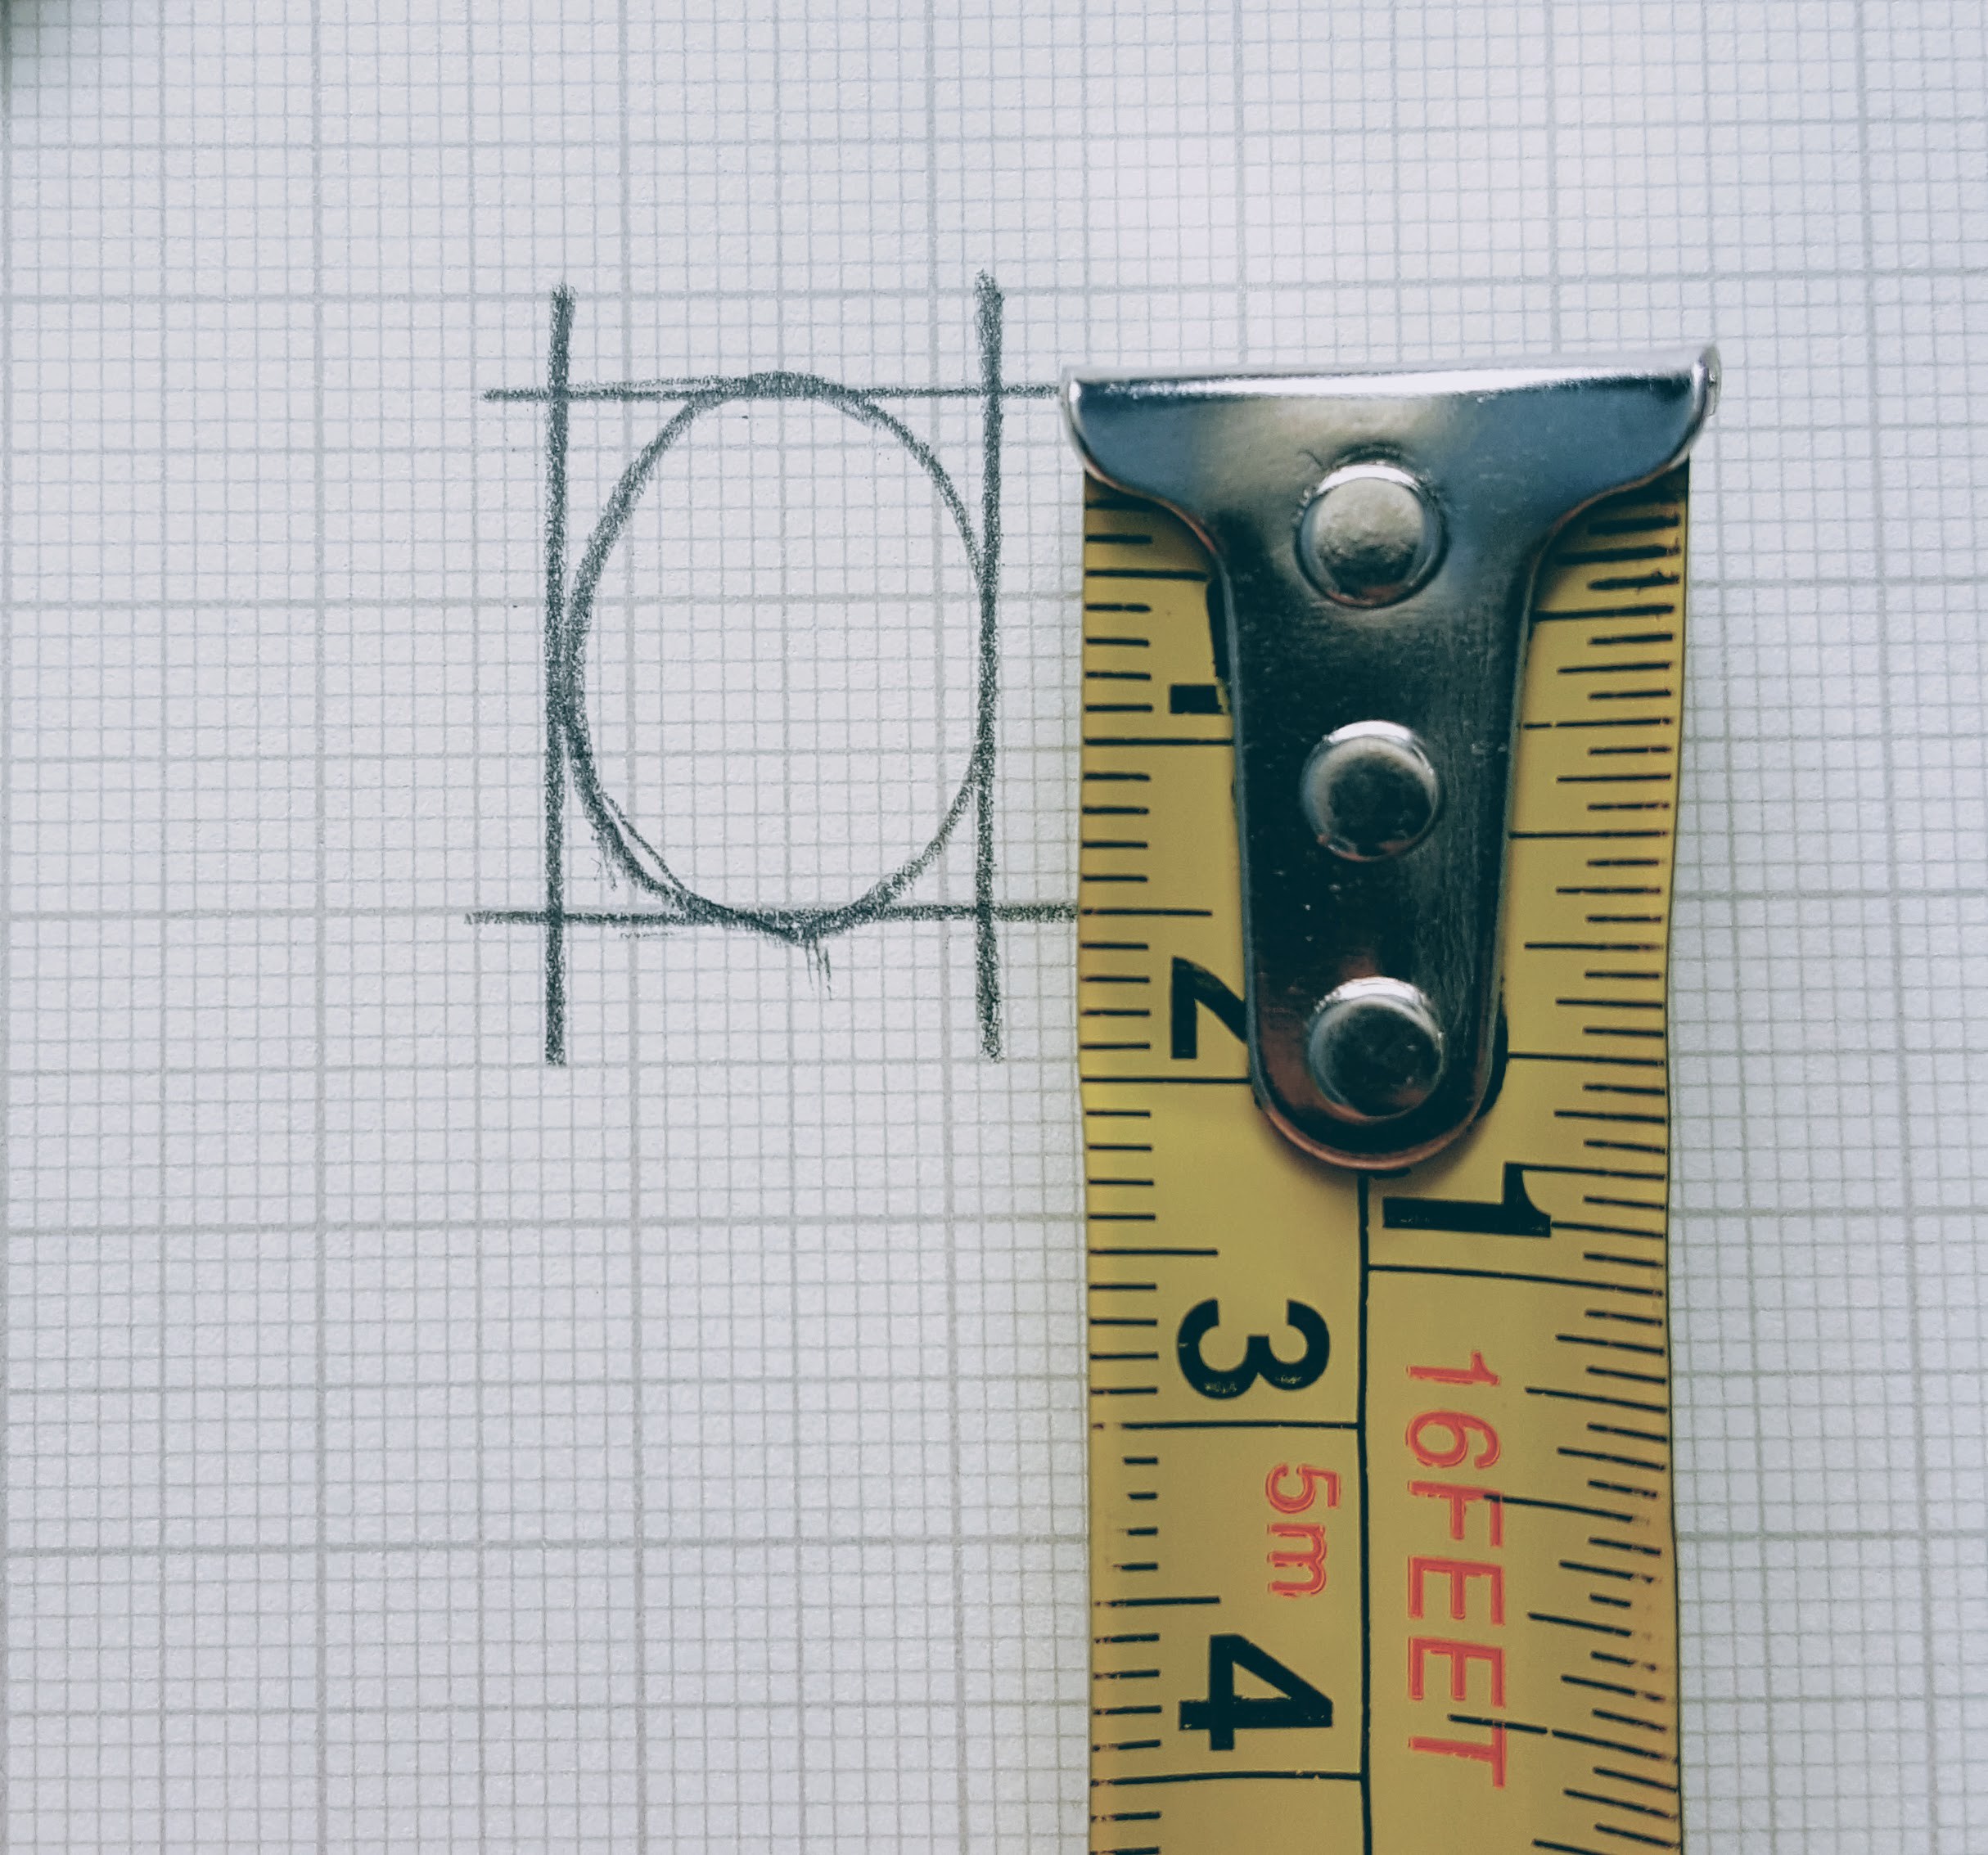
Once you have this you can use a measuring tape or ruler to measure the sides of the square/rectangle. This is the size you need to enter on our site as the ?frame size?. Enter width x height, and ensure you select centimetres or inches from the drop down menu on the right.
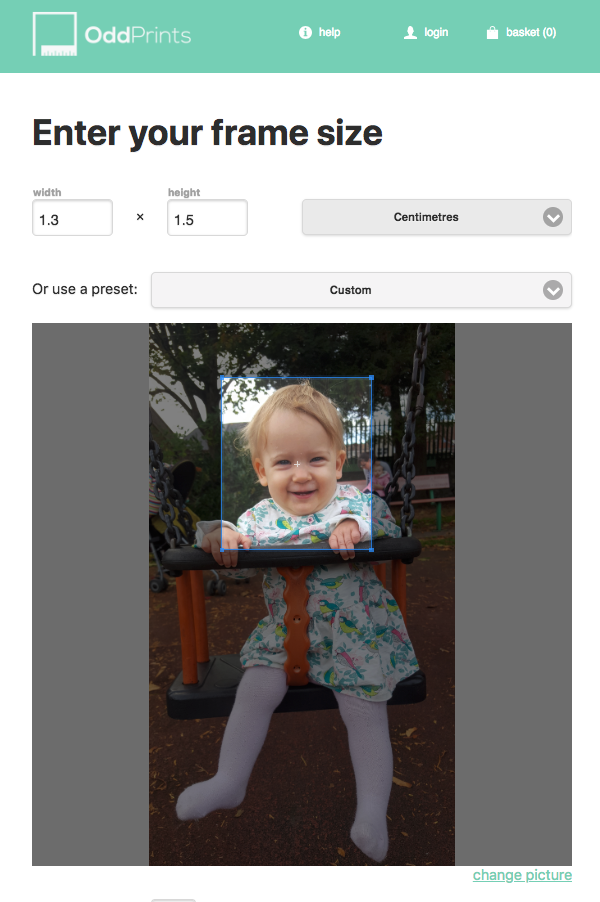 The screen shot above shows the measurements added to the frame size boxes and centimetres selected in the unit dropdown box. The blue cropping tool has been resized and moved closer to the child?s head.
If you are unsure about the exact size to order, it is advisable to order 2 or 3 different sizes ? try subtracting a couple of millimetres from the measurement you took of the locket window. This way you will have options when cutting.
When ordering for a locket, the key thing is to make sure the image you upload has enough background around the subject?s face so that they don?t get clipped off (i.e. not a photo with the face right in the corner).
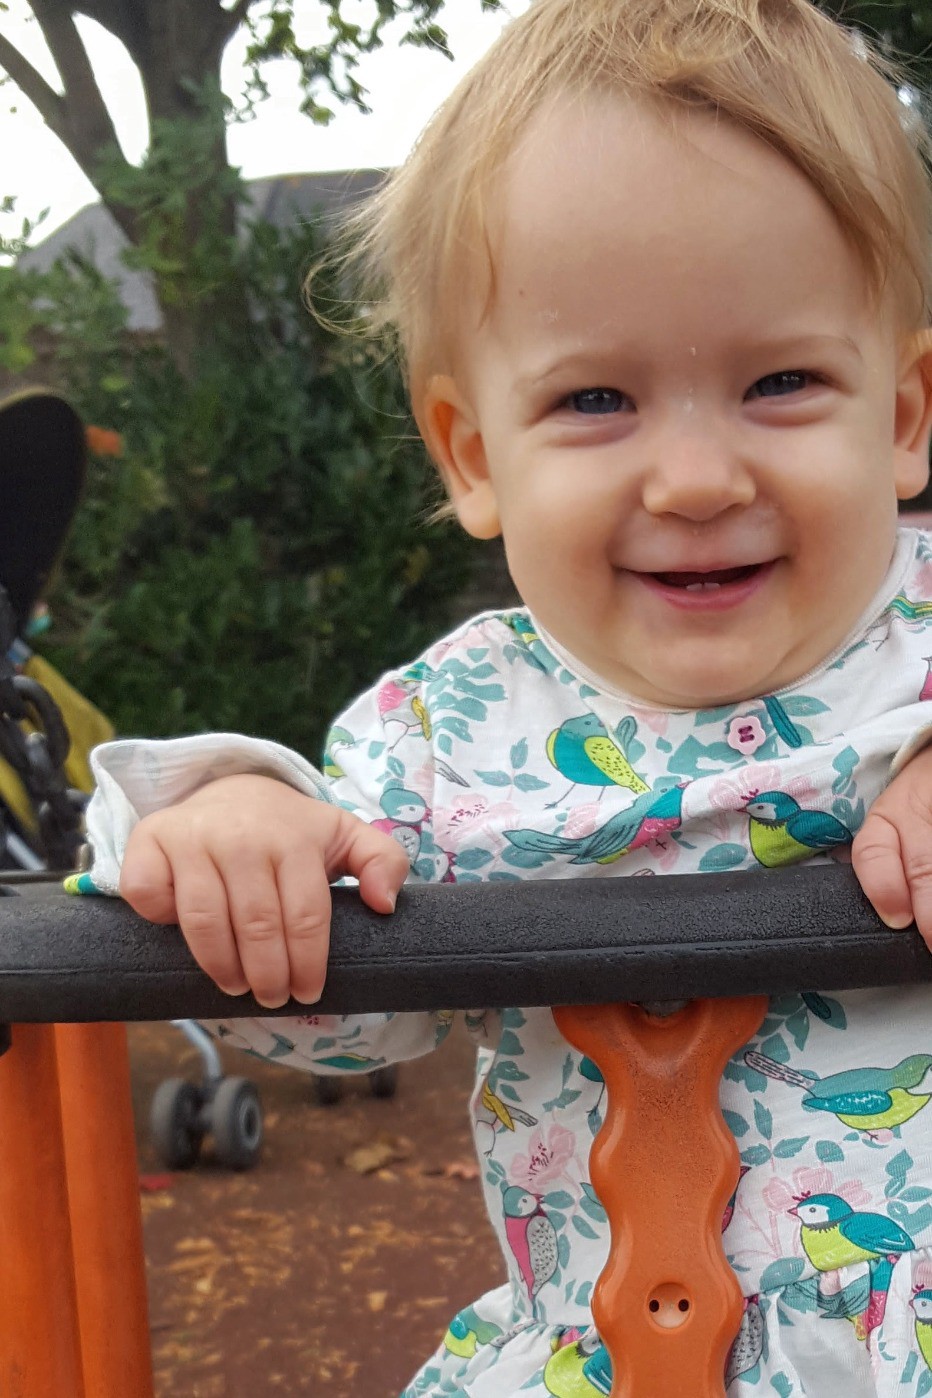
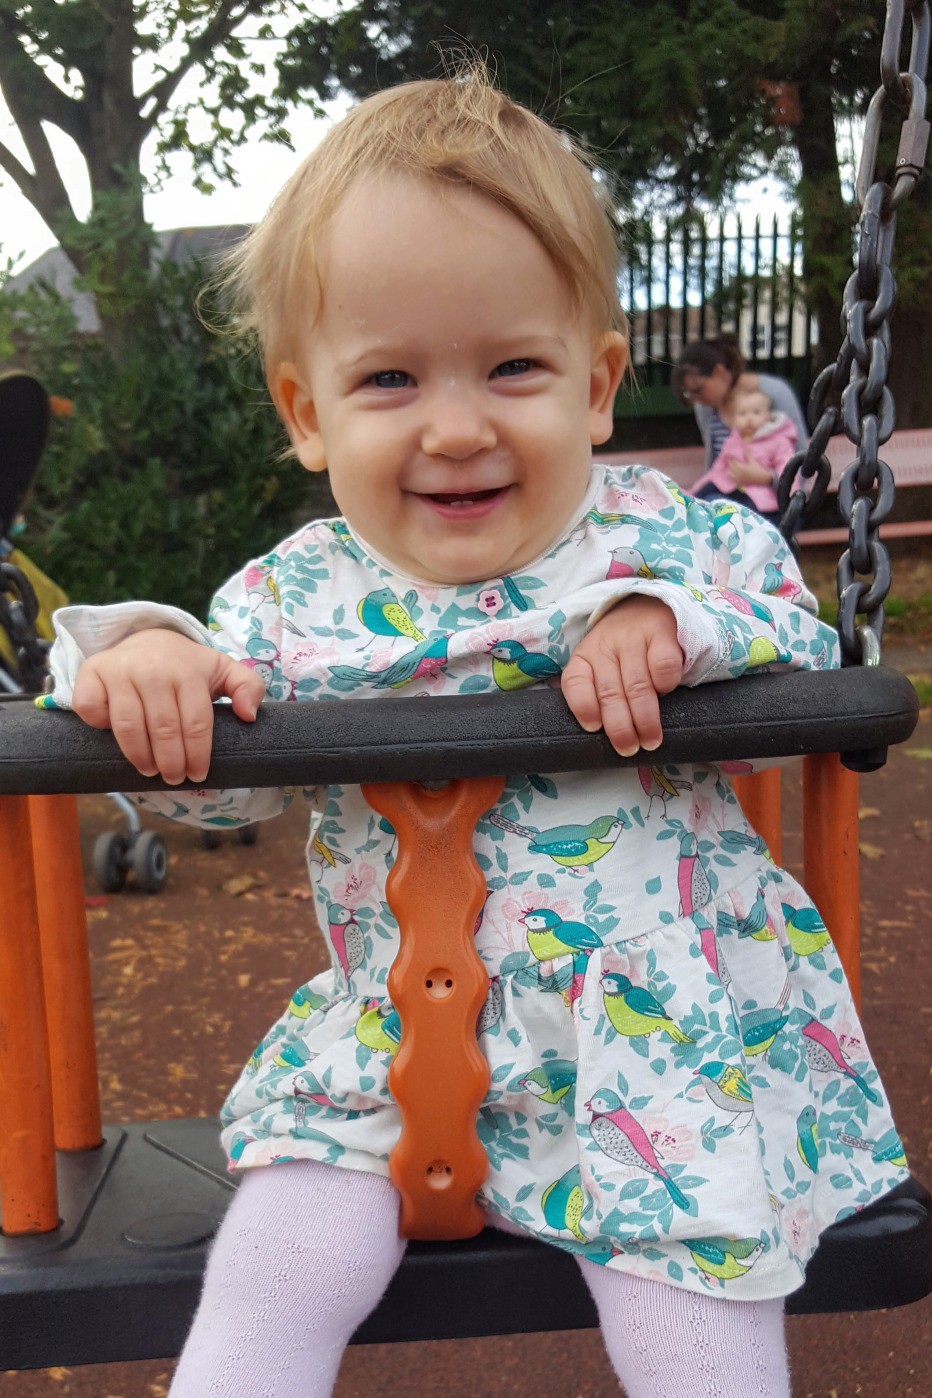 The image on the left is not a good photo to use as the face is too near the right edge and will be clipped off when trimming for the oval locket. The image on the right is a good example, it has plenty of background environment around the face for trimming.
Be sure to check the ?How it looks when it?s been printed out? and ?How it might look in a frame? sections further down the editing page so you can get a better idea of how your image will look when resized and printed.
A useful option on the website is ?TILING? which is located under the ?How it looks when it?s been printed out? section. If you turn this ON it will automatically duplicate your locket image and fit as many as possible onto one 6″ x 4″ page. This means you get multiple prints for the same cost as one.
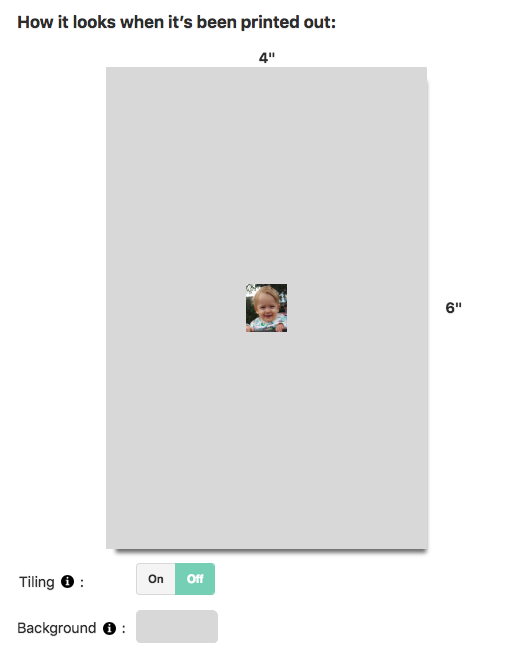
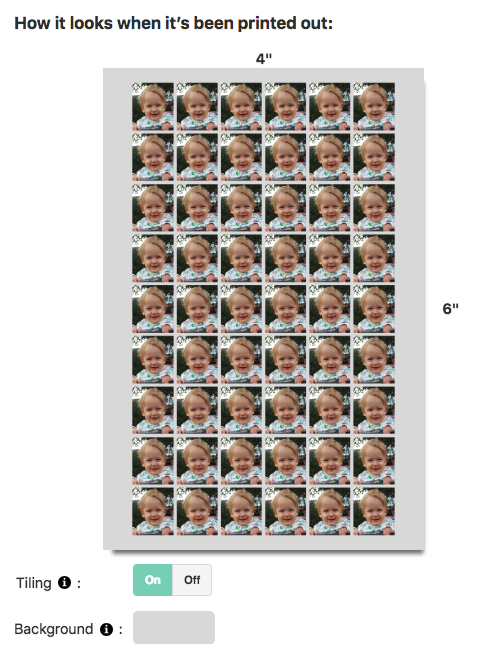 The screen shot on the left shows tiling turned off and only one image on the page. The screen shot on the right shows tiling turned on and the image has been duplicated multiple times. It?s your choice whether you use the tiling option or not but it costs no extra.
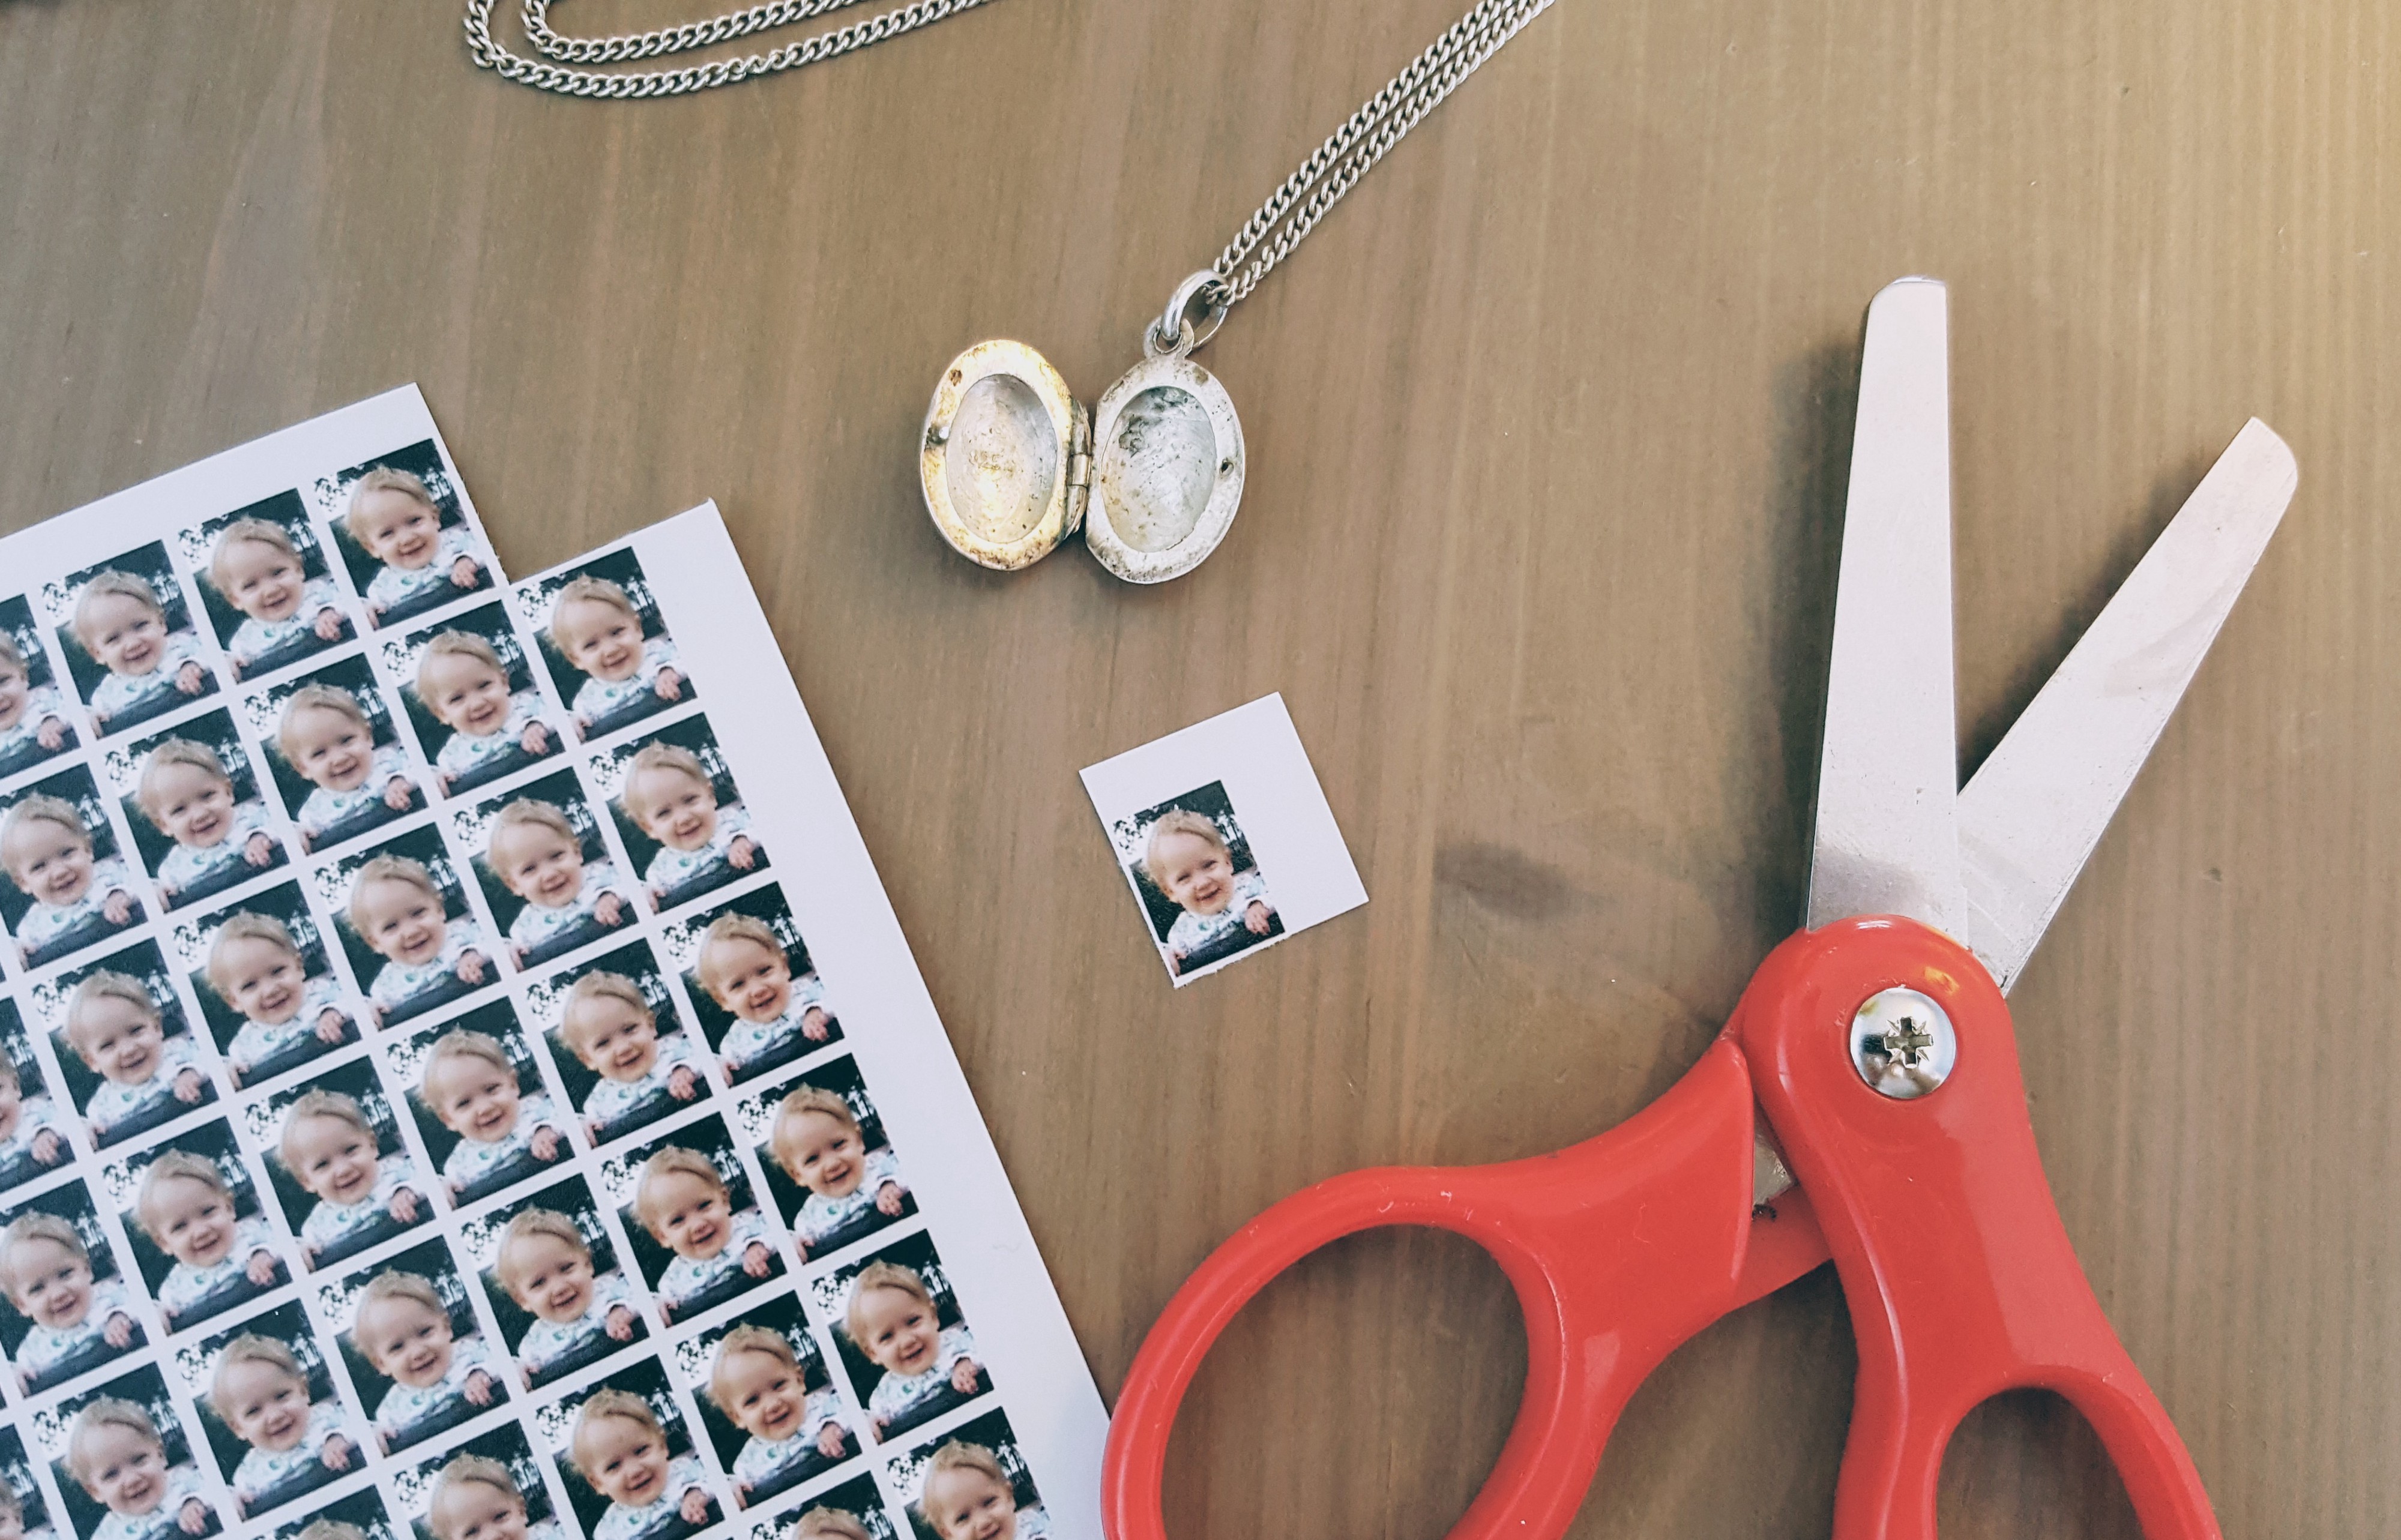
It?s a good idea to check your print in the checkout before paying by clicking on the thumbnail to enlarge it.
Once you receive your prints in the post trim them down and fit into your locket.
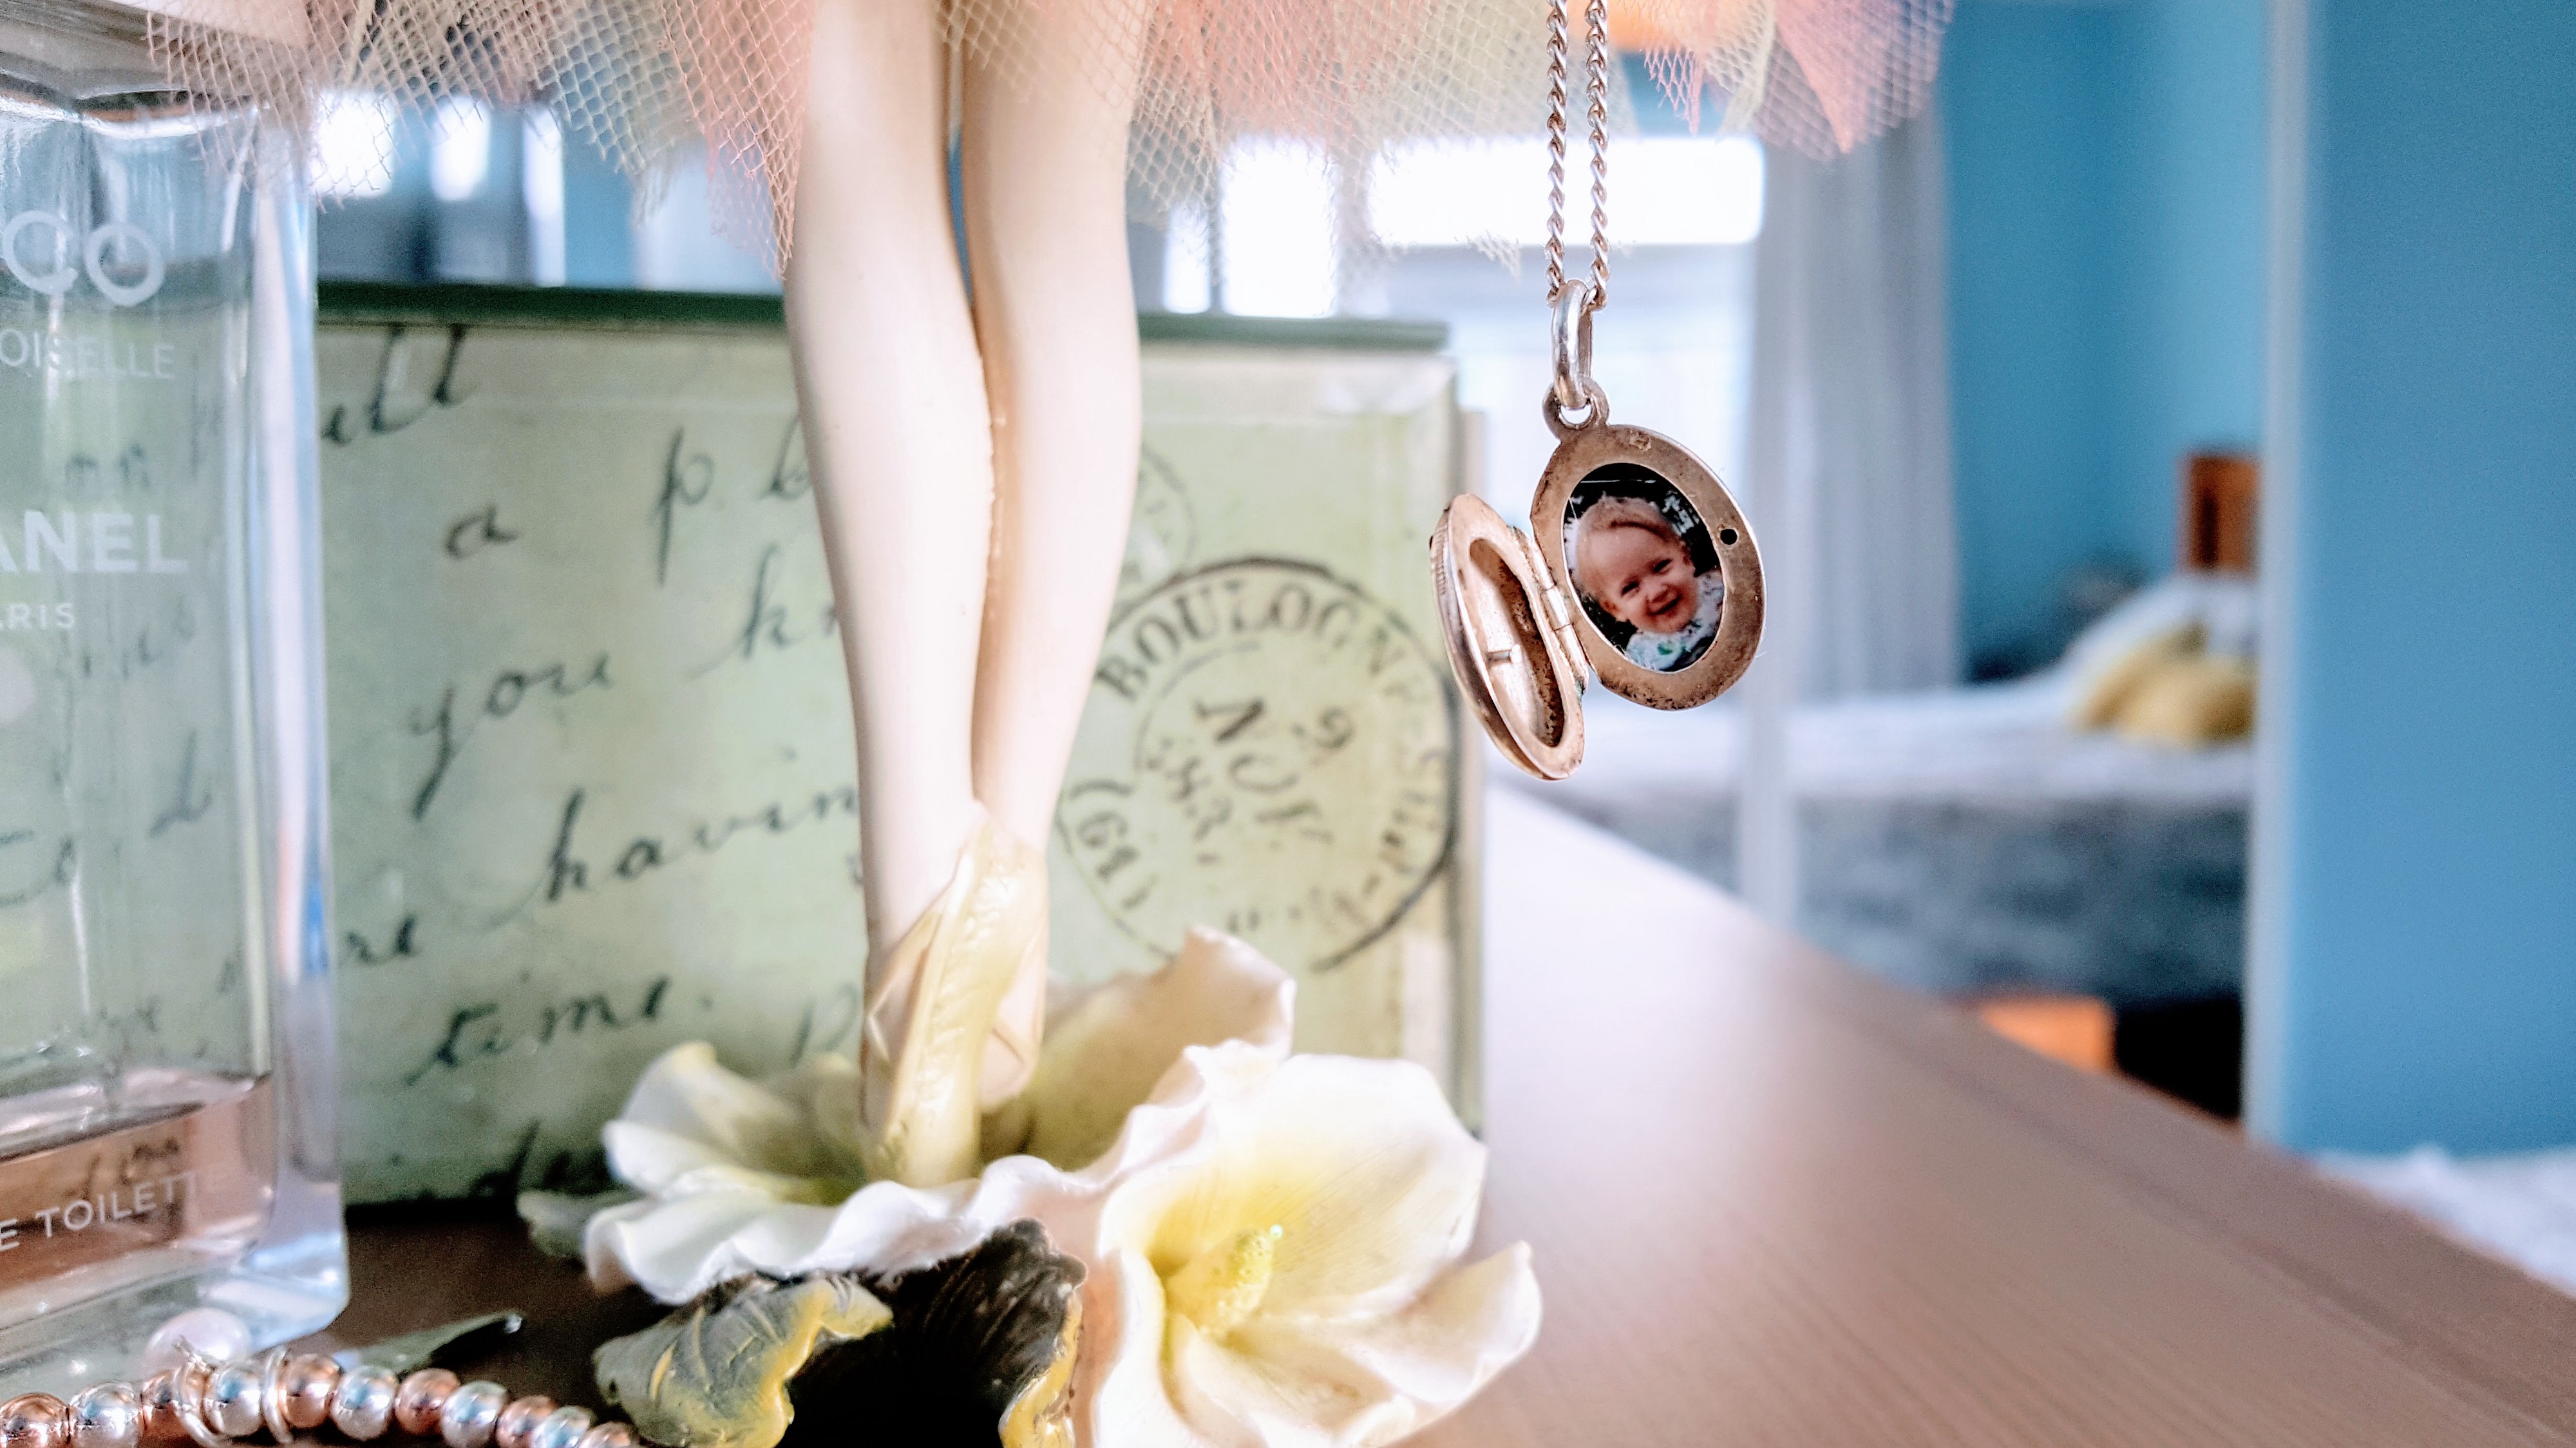
And you end up with the perfect gift! 🙂

