 Image Source: AWS
With all the talk about the Segwit2x fork (that has now been postponed), I decided to get my feet wet in mining cryptocurrencies.
Initially, I chose to mine ether, then Monero coins, on Ubuntu 16.04 servers using their accelerated computing instances, but my curiosity got the best of me and I started wondering what it would take to mine actual bitcoins.
Every forum and blog I searched advised against even trying. So much so, that I couldn?t find any recent tutorials on GPU mining for bitcoin.
I took it as an opportunity to create one myself.
Here?s how:
Note: folks have it correct. Bitcoin mining on the cloud without an ASIC miner does not yield any profit. Still, it?s a fun experiment.
Step One: Get cloud hosting.
a) Sign up for AWS.

First things, first: sign up for a free account at Amazon Web Services. AWS offers virtual machines, storage, and a host of other services ? in some cases, for free during your initial 12-month trial.
Warning: Account verification can take up to 24 hours.
b) Navigate to the services console.
Once your in, navigate to the home page and select EC2.
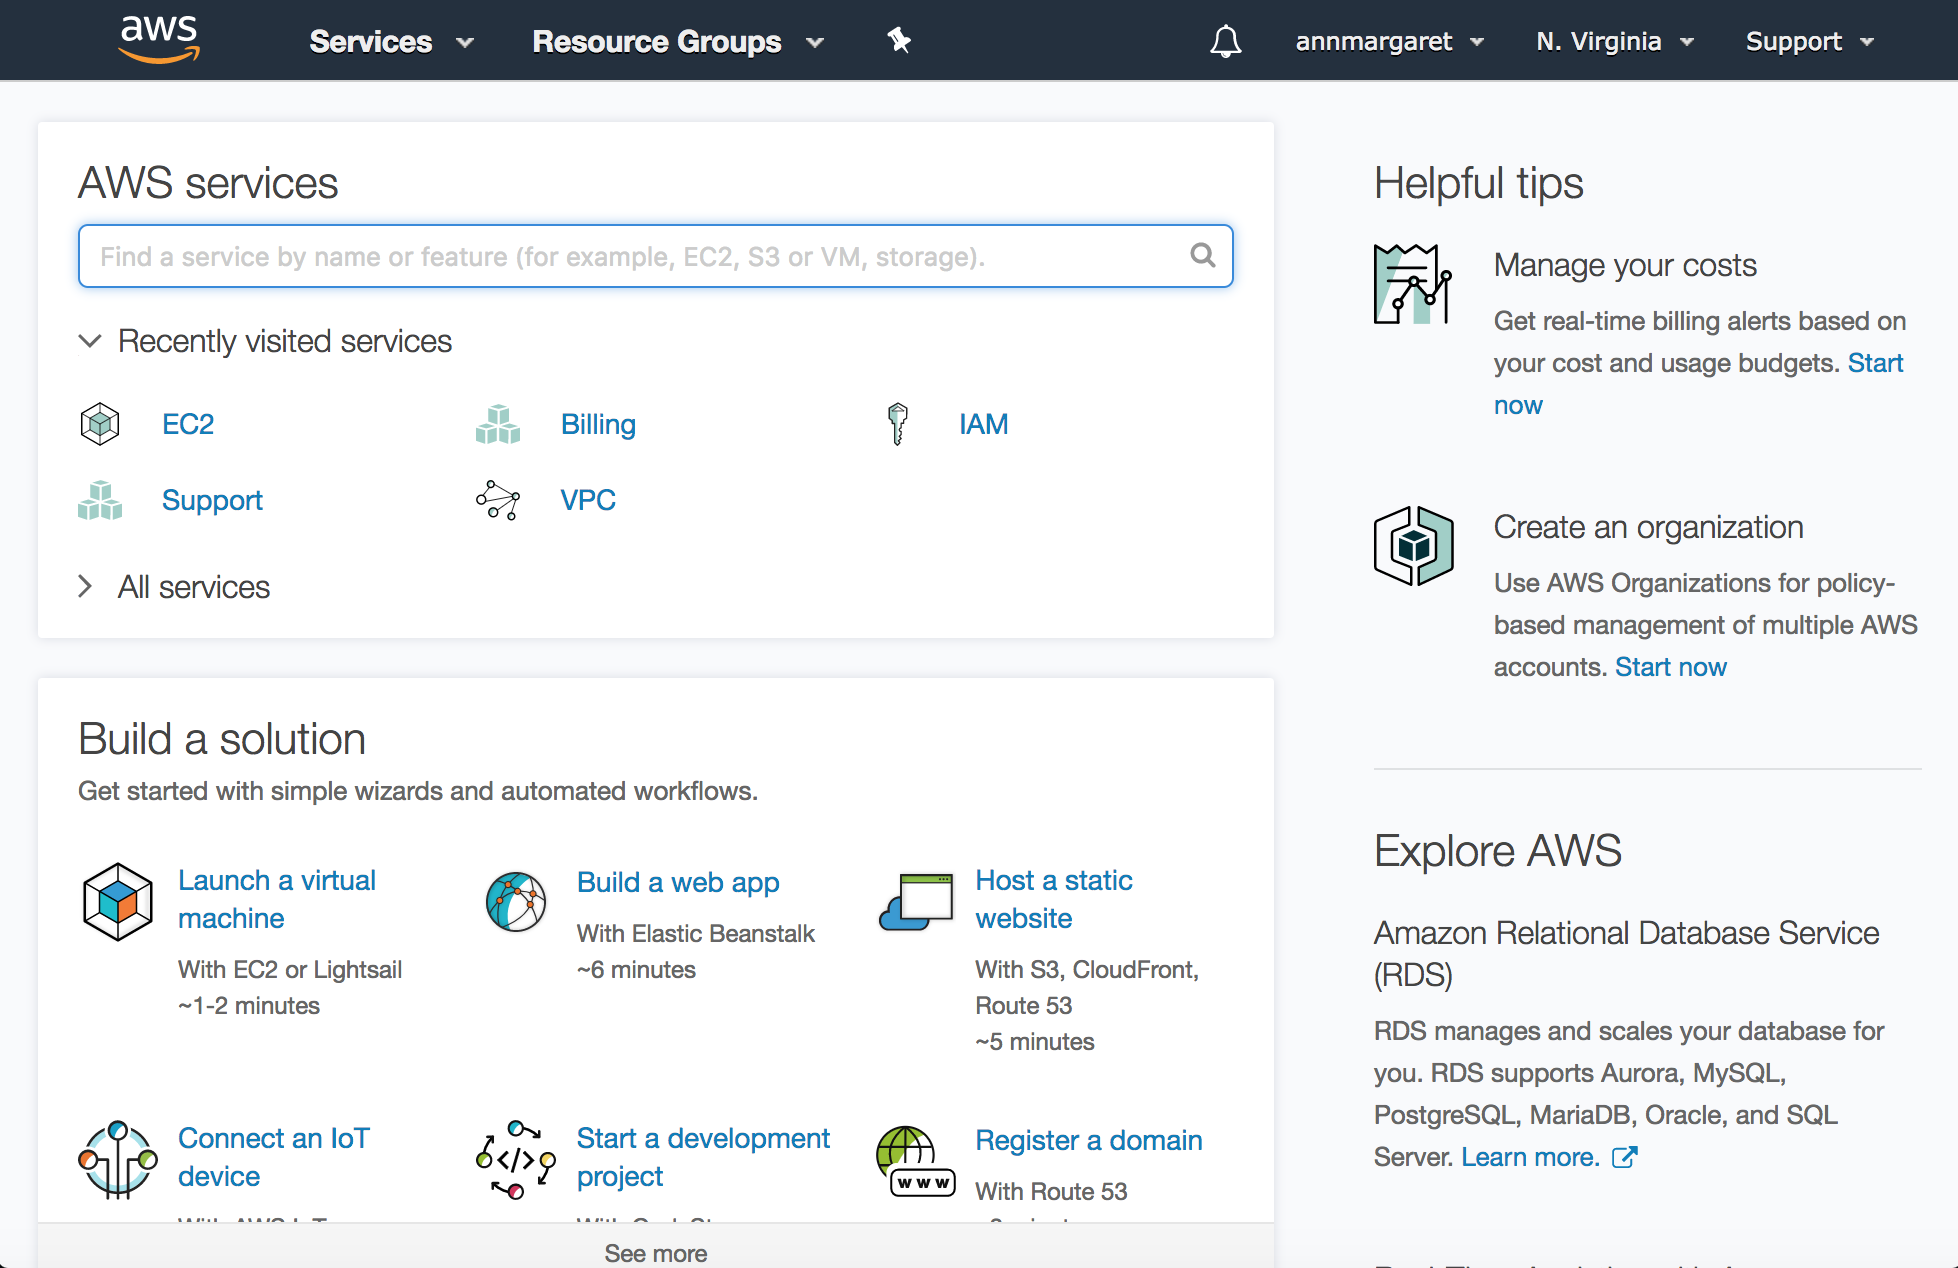
This brings you to the EC2 dashboard:
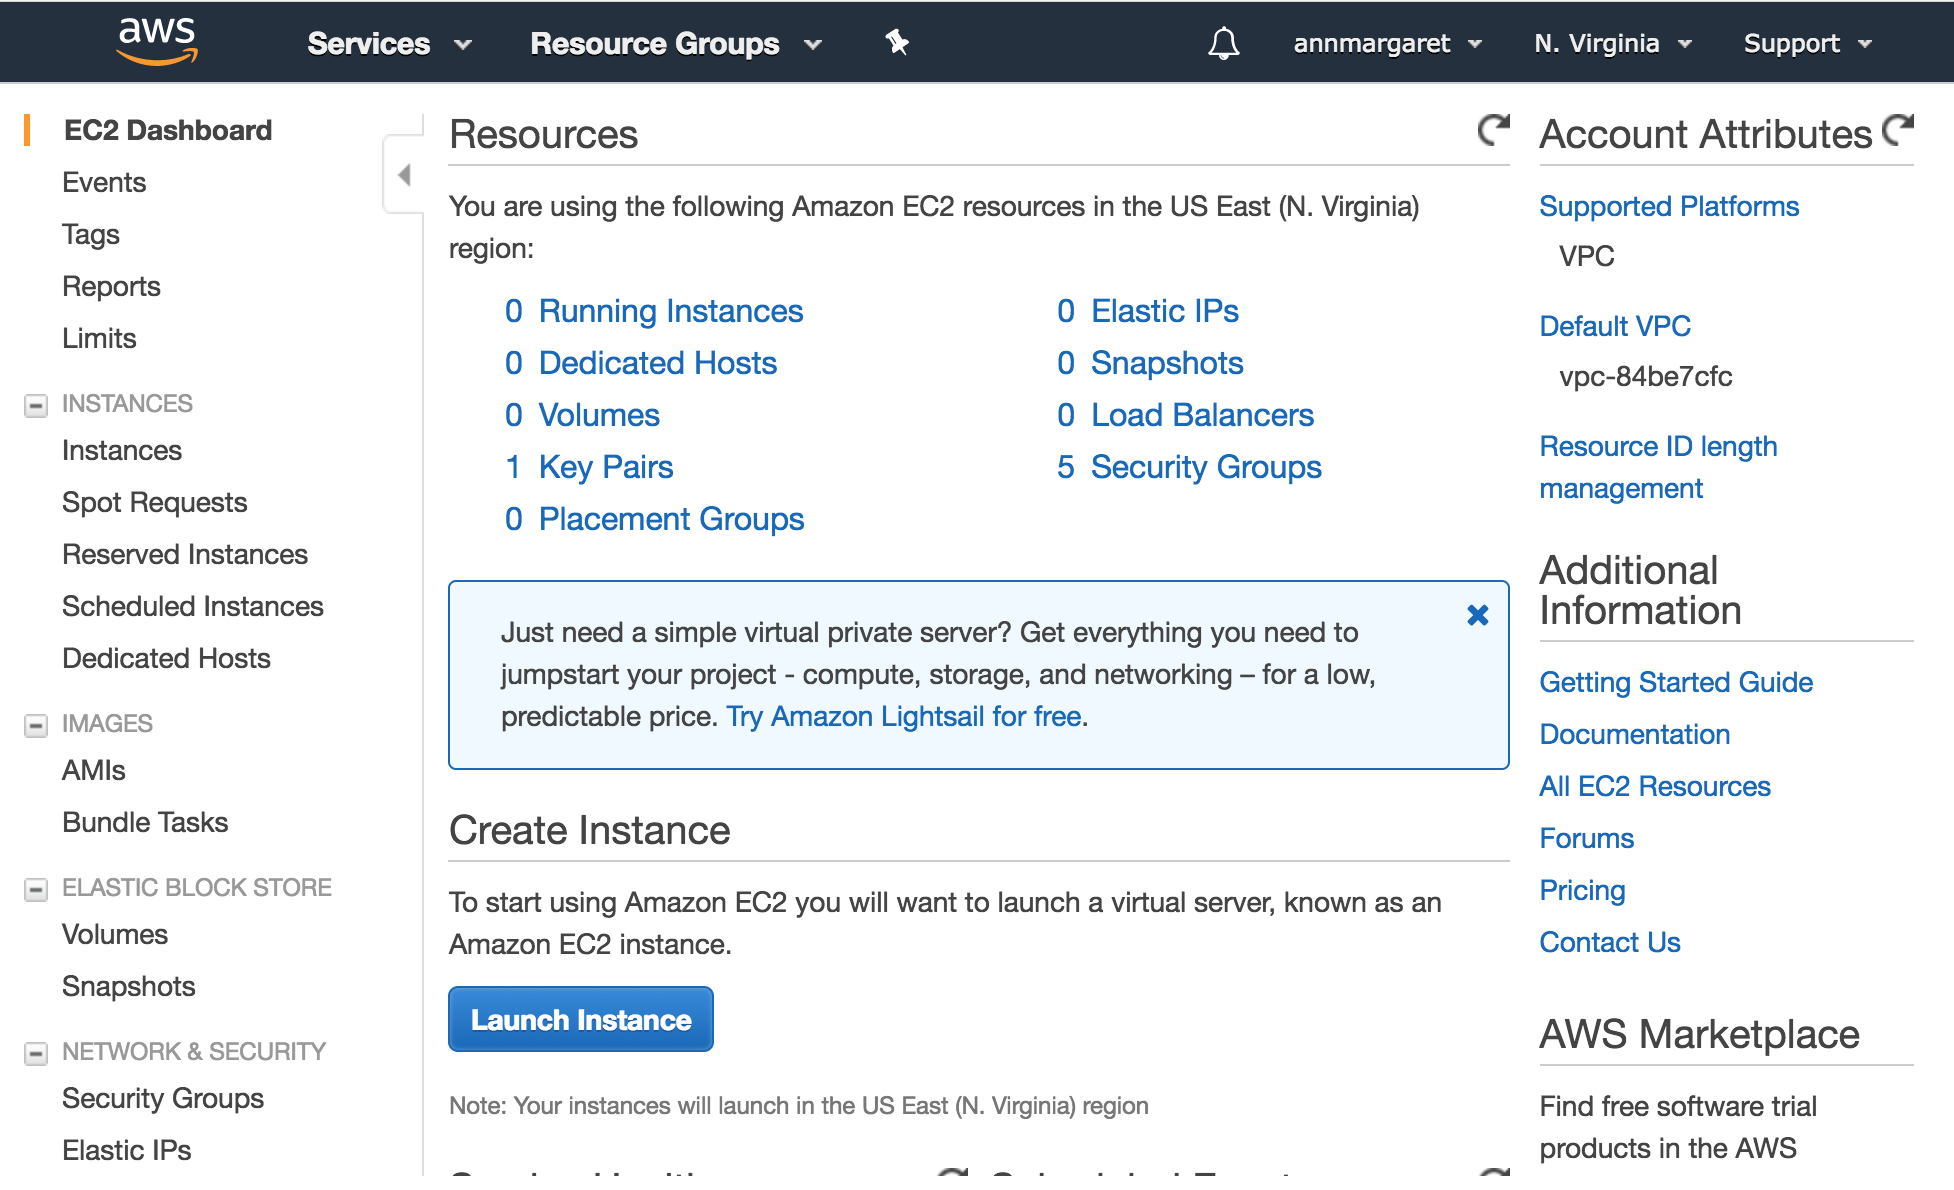
The dashboard gives you access to anything and everything you?d ever need concerning launching and maintaining your VM. Including security. Let?s deal with that next.
Step Two: Create security settings.
a) Setup a security group.
On the left-side menu, at the bottom, under the submenu ?Network & Security,? select security groups, then click on the bright blue ?Create Security? group button in the top nav.
A modal will pop up.
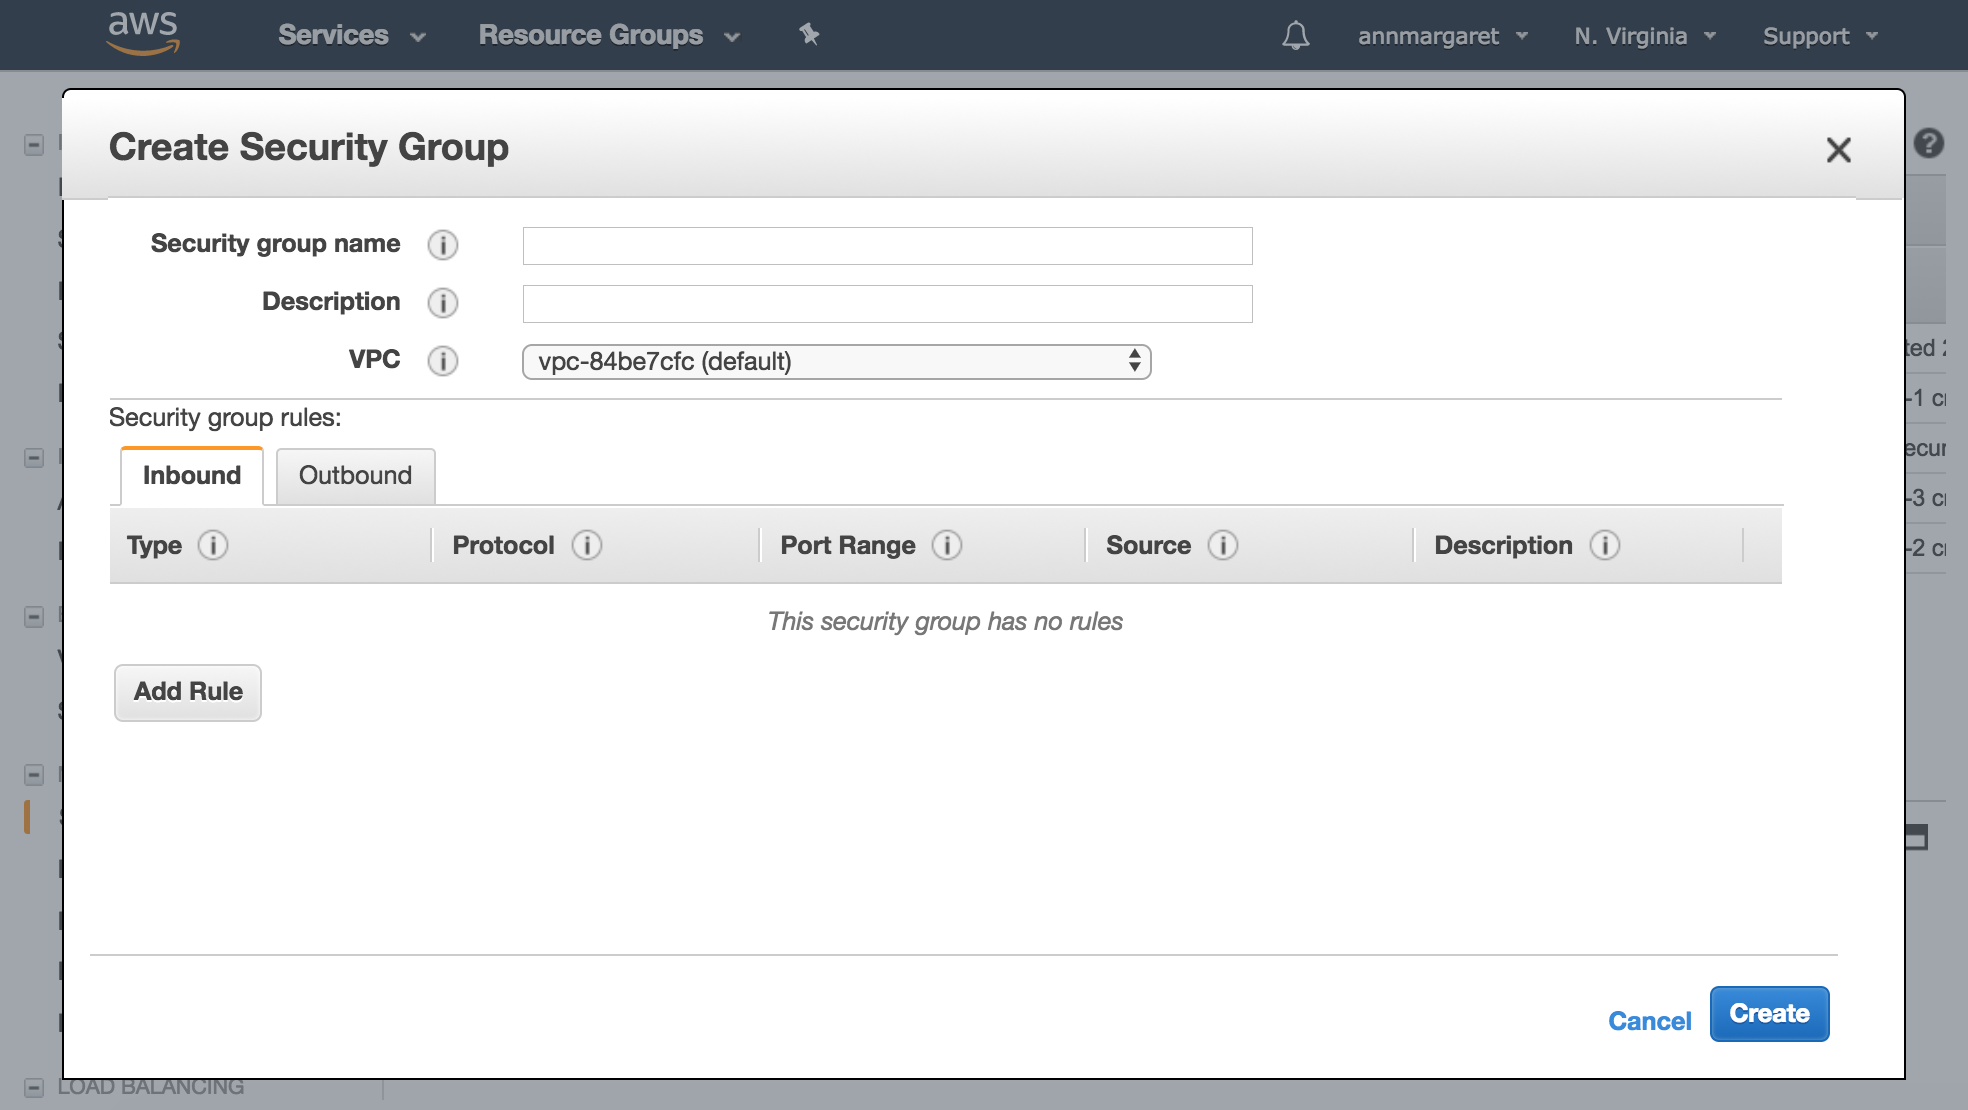
Give the group a name and a description, and keep the VPC to the default setting. Below that, you?ll see a tabbed panel asking you to create some access rules for the group. Don?t worry about that. We?ll keep with the default settings here, too. We?re mostly concerned with Inbound Rules, so select the Inbound Tab and click Add Rule.
We?ll be creating three in total:
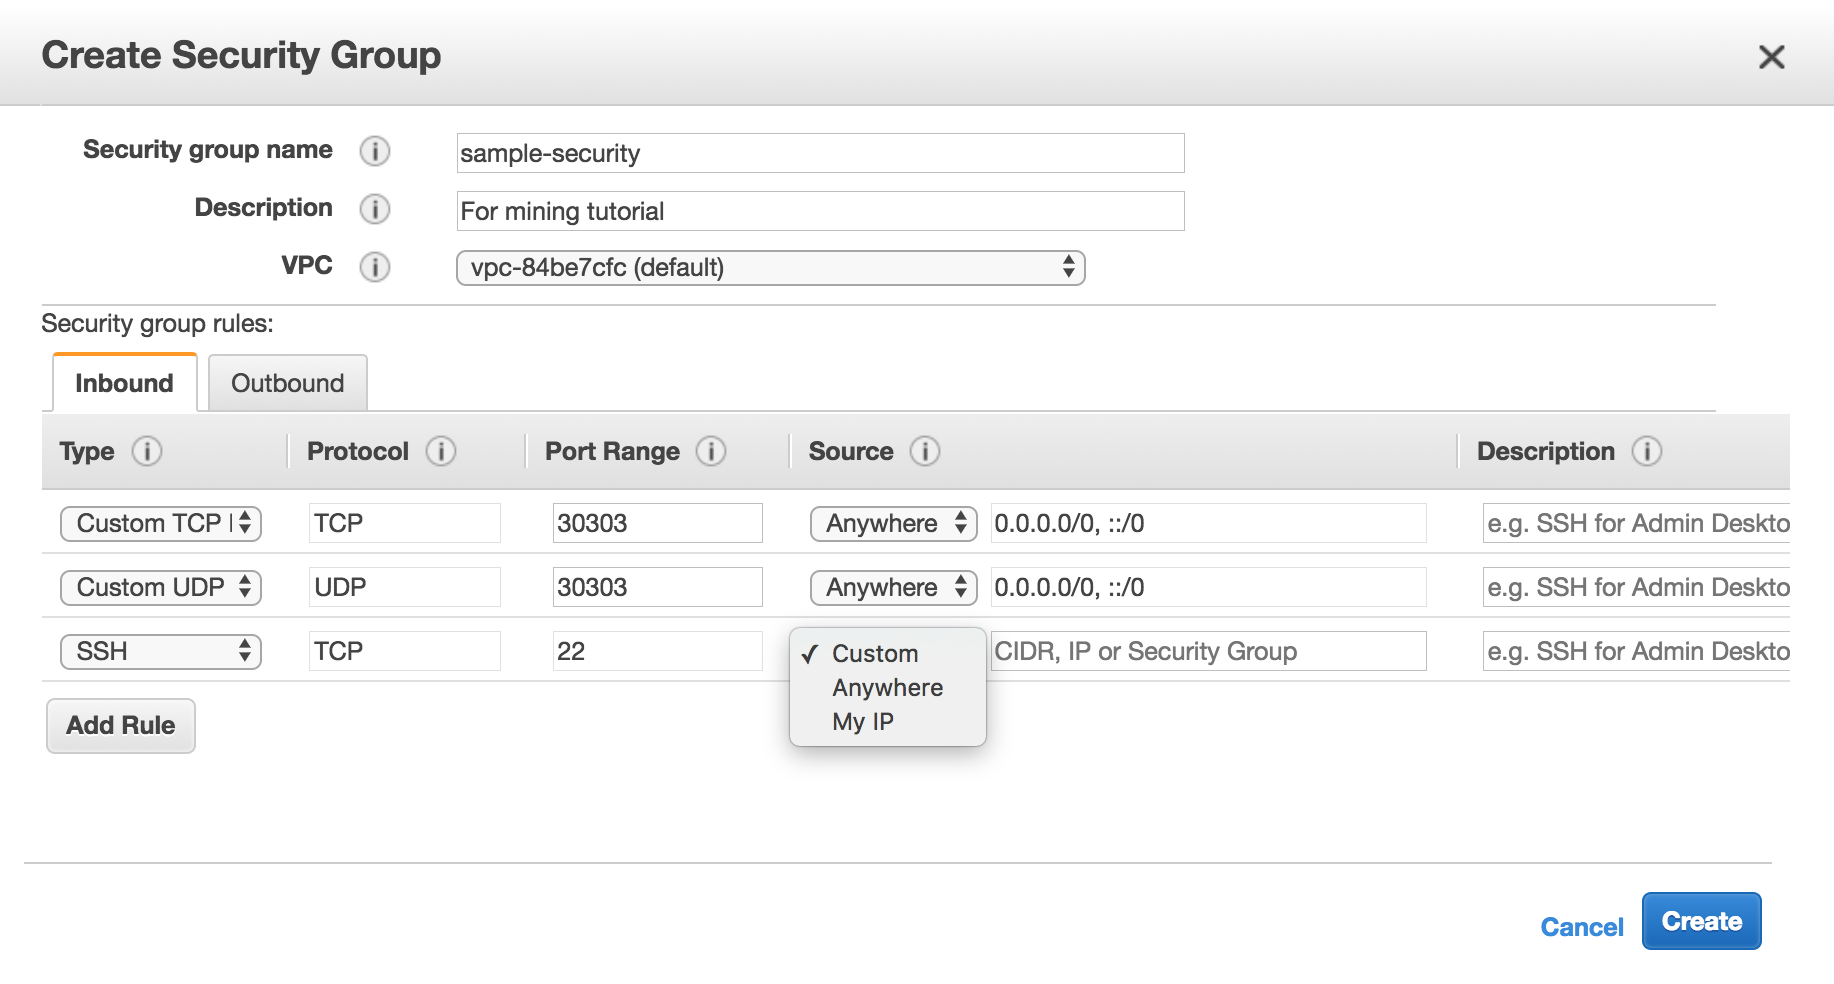
For the SSH Rule, you?ll want to select ?My IP? under source, and the input area will populate your device?s IP address for you. Then click create.
b) Create a key pair.
Now, under the same ?Network & Security? submenu,
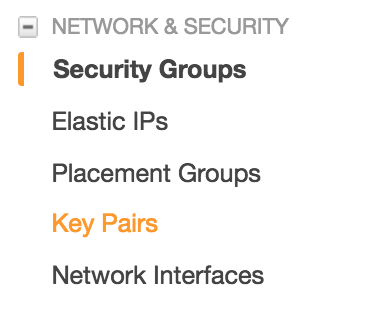
you?ll want to click on ?Key Pairs? and then click on the blue ?Create Key Pair? located in the top nav of that page.
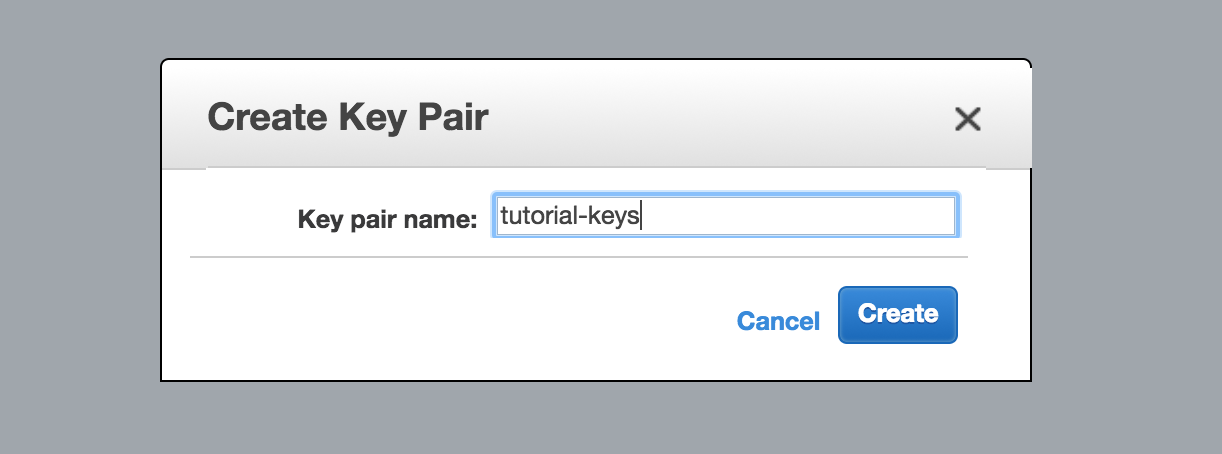
Once you hit create, you should see the .pem file in your downloads.

The contents of this file enable you to connect with the remote instance you?ll be launching in the next step. Put this file somewhere safe, and where you can remember, as you?ll need it every time you attempt to reconnect with your server.
Step Three: Get an Ubuntu server up and running.
So before we get started, here?s the thing. Accelerated computing power, even in the cloud, isn?t cheap.
In effect, EC2 instances work like leased VMs with passthrough capabilities to stellar graphics cards. You can use Azure or Google Cloud Computing, but to be honest, if you?re a MAC user most familiar with Linux and looking for lower hourly rates, AWS seems to be the best option.
Can?t I just use Virtualbox and run a server for free?
The answer: it depends on your hardware and whether you know how to passthrough your hardware?s GPUs to a Virtualbox VM. That can take some time, still considered to be very experimental, and most commercial devices (like my Macbook) don?t have GPUs capable of hashing at a fast rate.
AWS takes care of virtualizing the hardware for you.
But again, yes, EC2 instances of the g2, g3, and p2 flavor can run you a pretty penny. We?ve also been forewarned that we?ll be competing with massive bitcoin mining farms that use ASIC miners that blow GPU mining out of the water.
So, this is more of an experiment than anything else. Nevertheless, let?s do this.
Luckily, AWS allows you to bid on instances with several GPUs at below market prices
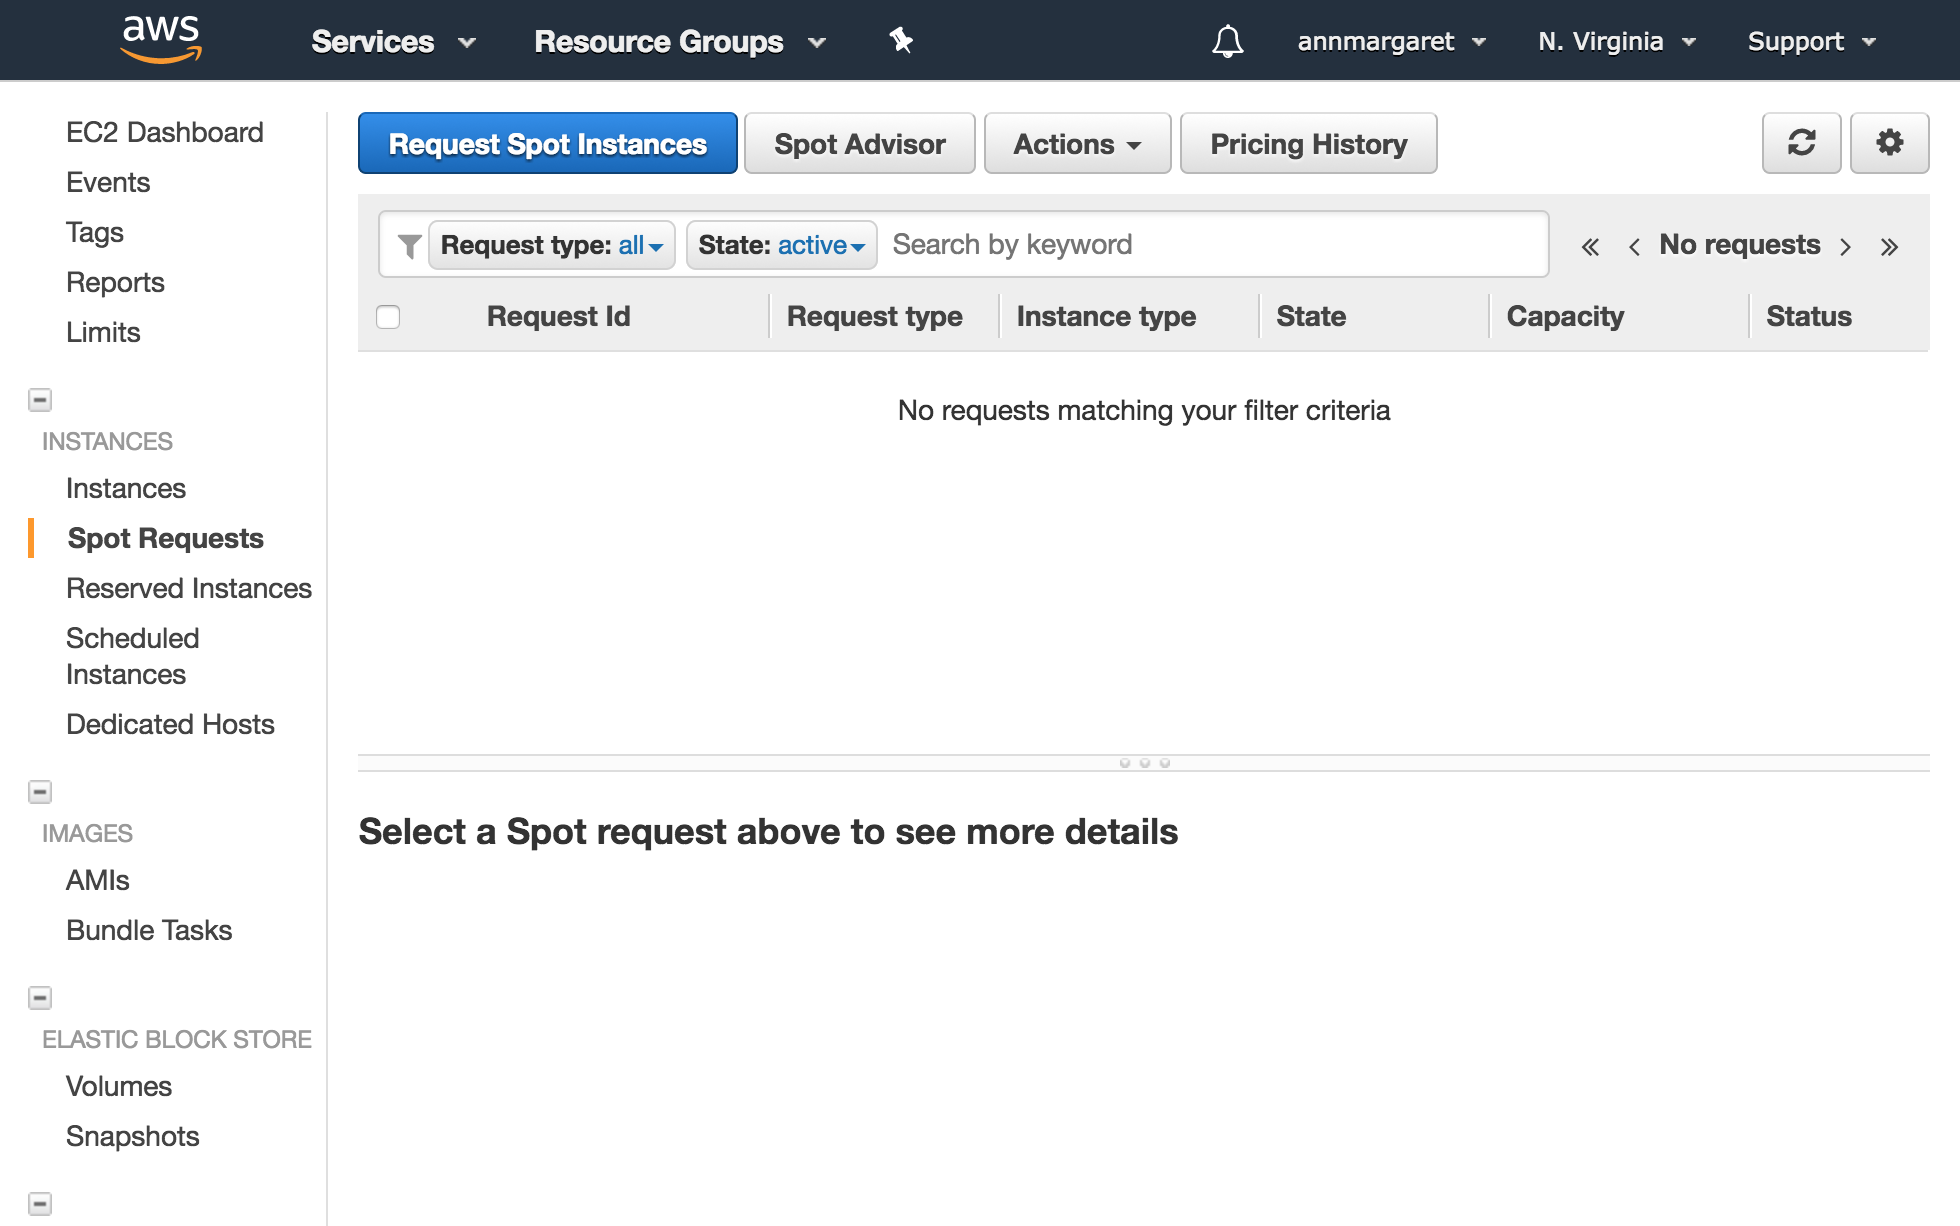
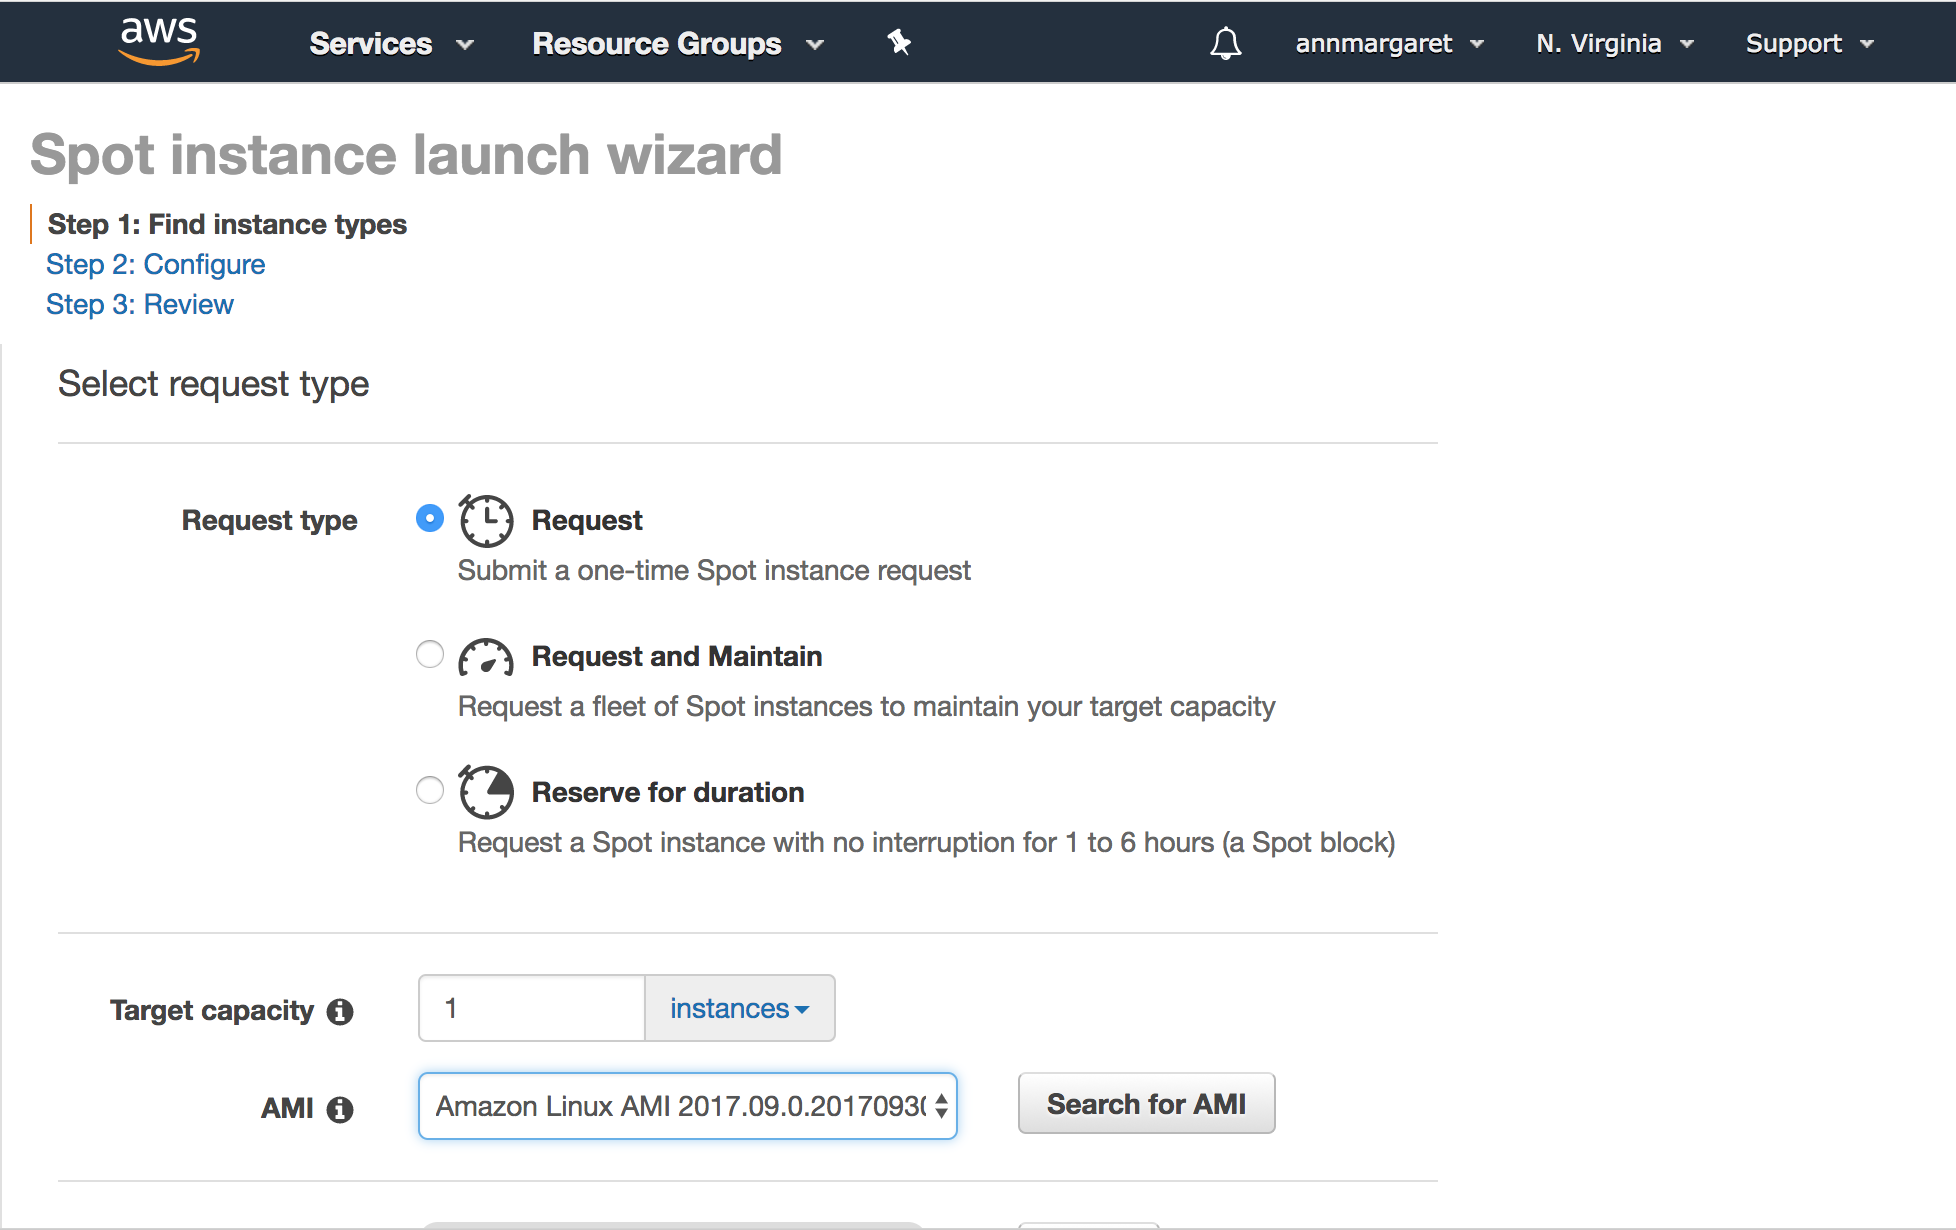
a) Start a Spot Request for an EC2 instance.
Navigate to Spot Requests in the side menu, and click the ?Request Spot Instances? button in the top nav.
b) Choose an AMI.
Next, search for an Amazon Machine Image (AMI )? basically a template for your server that comes pre-set with certain software installations and configurations ? that gives you the latest version of Ubuntu (16.04 aka Xerial).
I already have some saved:
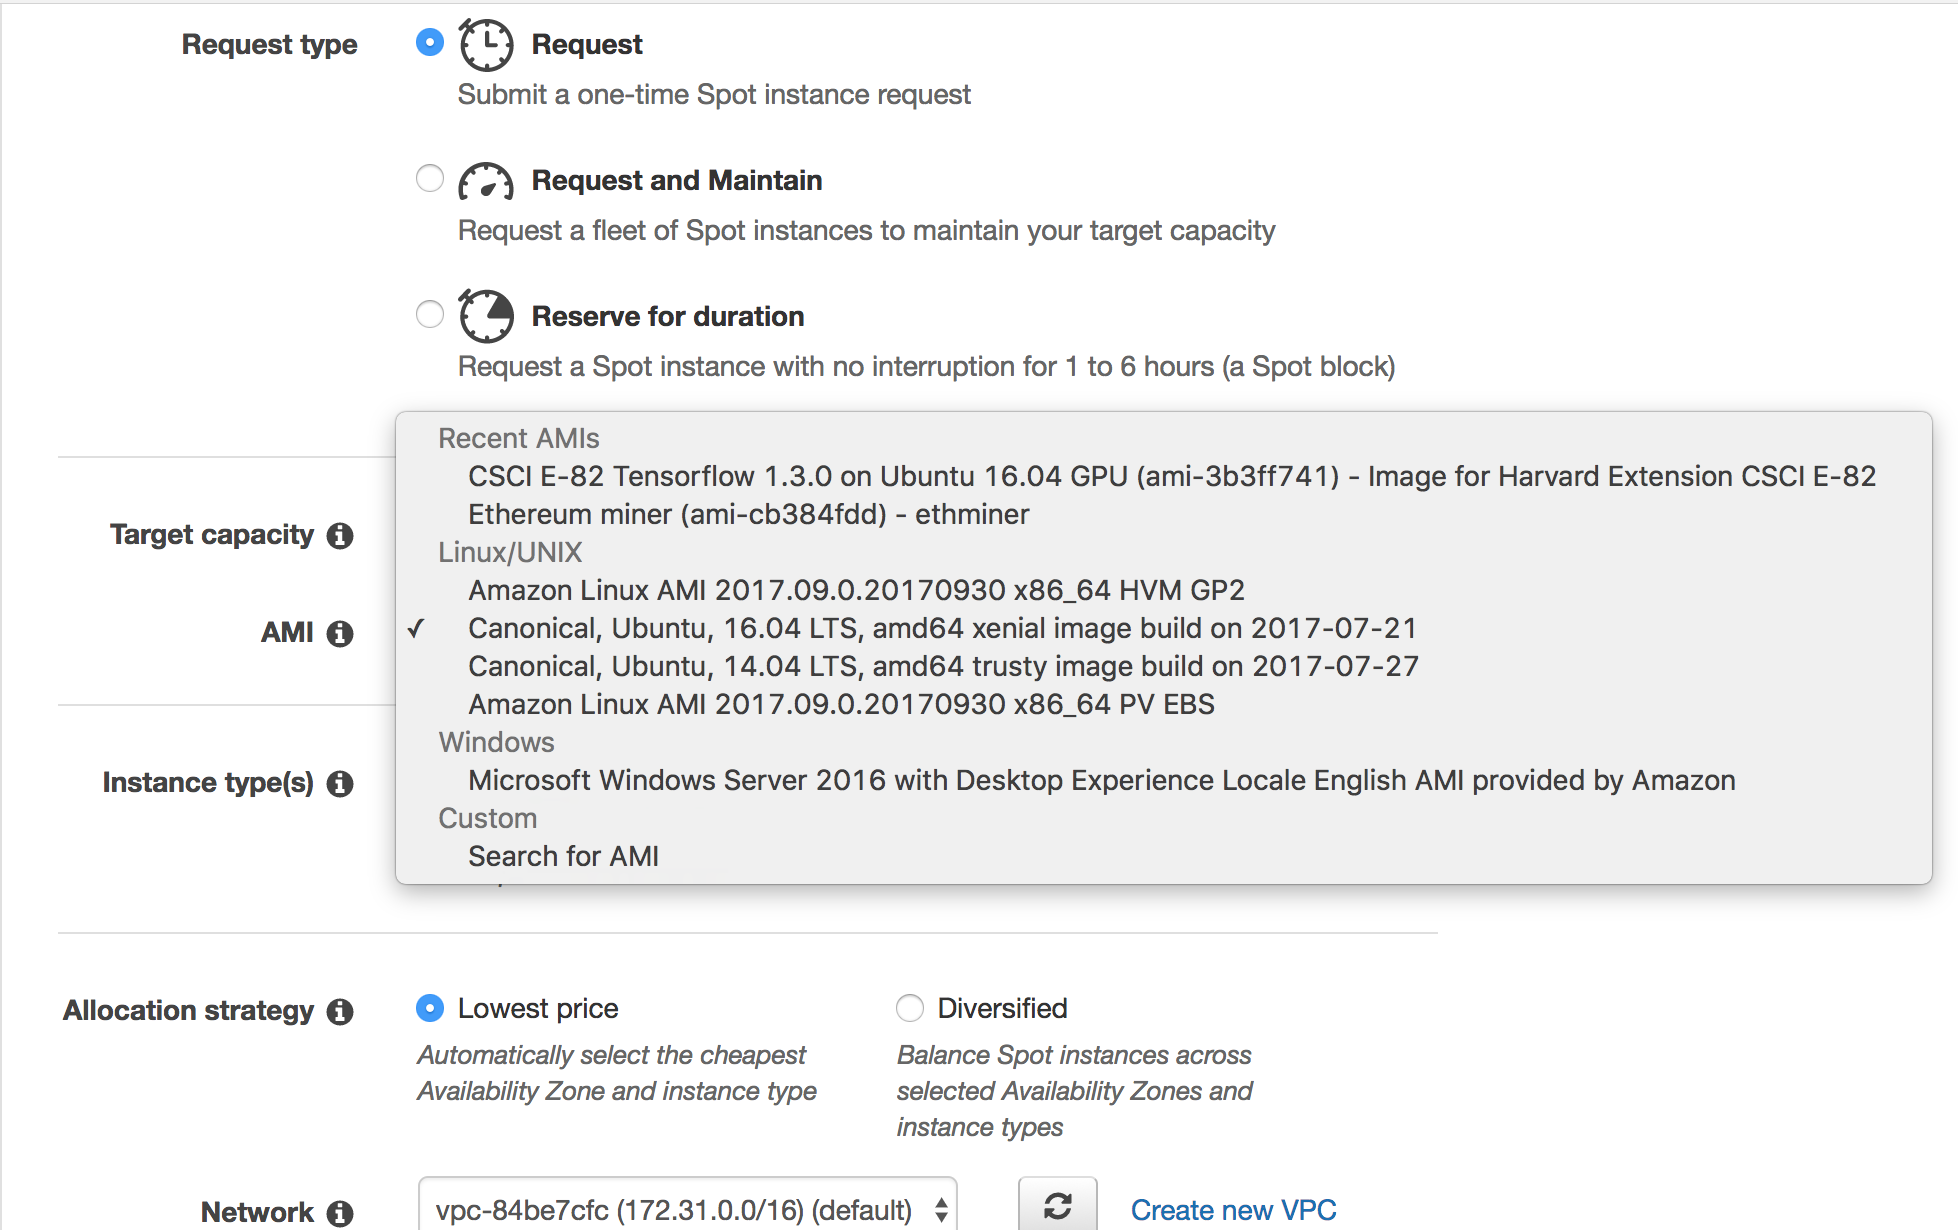
You can find the one I?m using for this tutorial by clicking Search for AMI, selecting ?Community AMIs? from the dropdown , and inputing ?ami-cd0f5cbx? into the search bar.
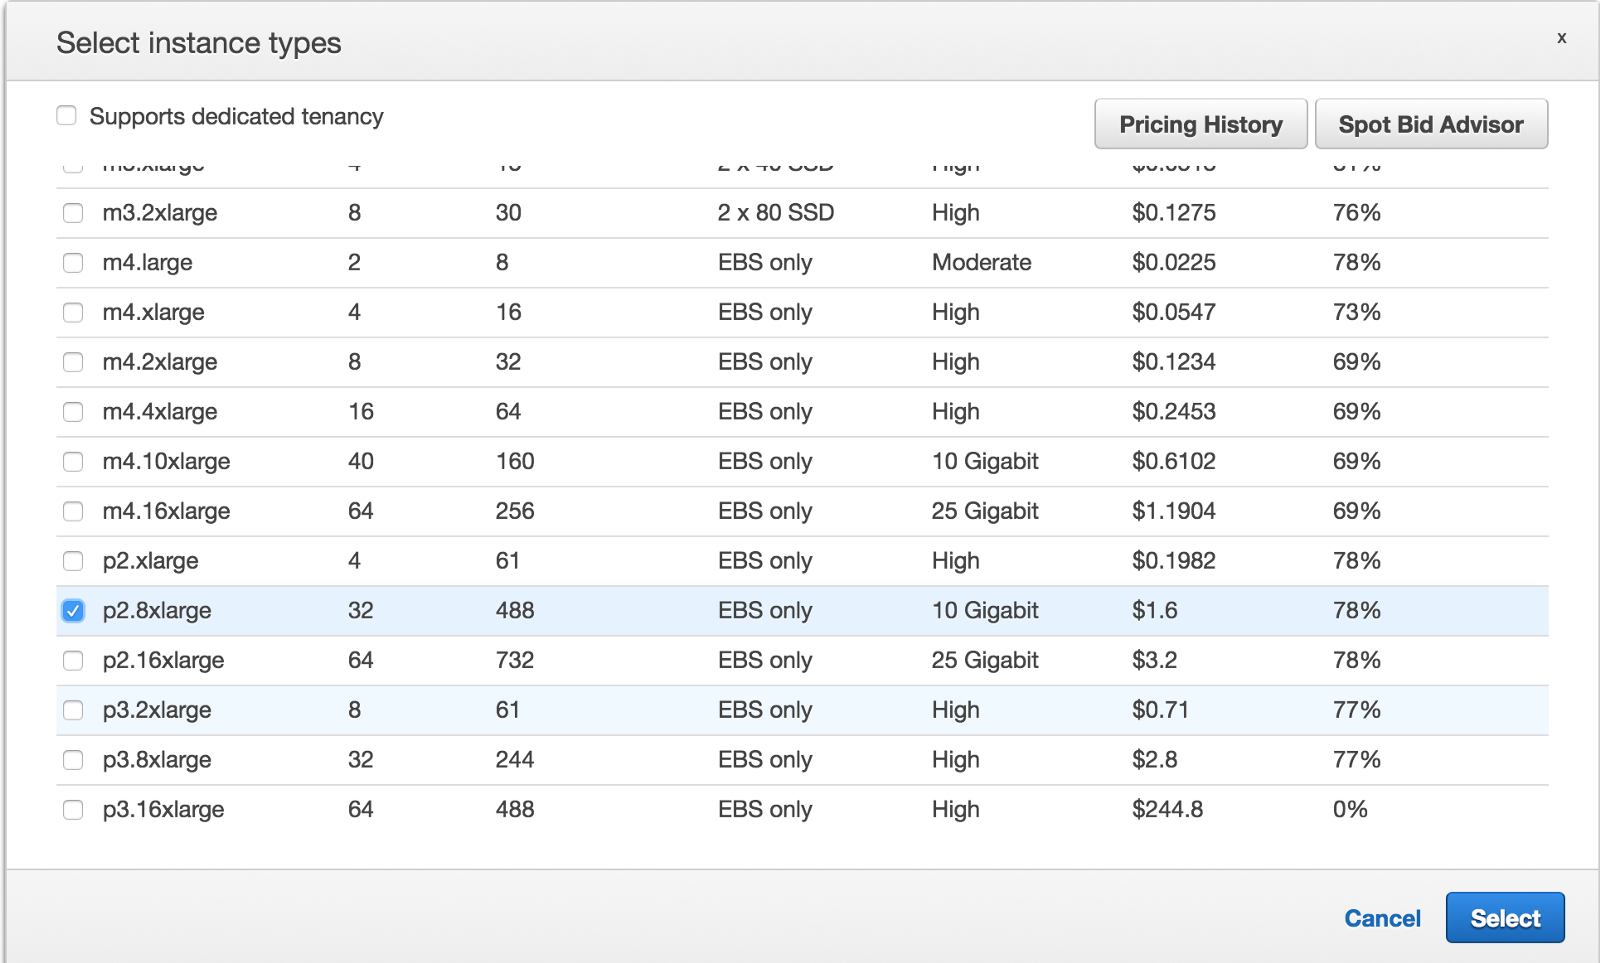
c) Choose an instance type.
The instance types that offer NVDIA cards belong to the g2, g3, p2 family. I?ve played around with all three families, and while all do fairly well with mining scrypt coins, p2 by far offers the most punch.
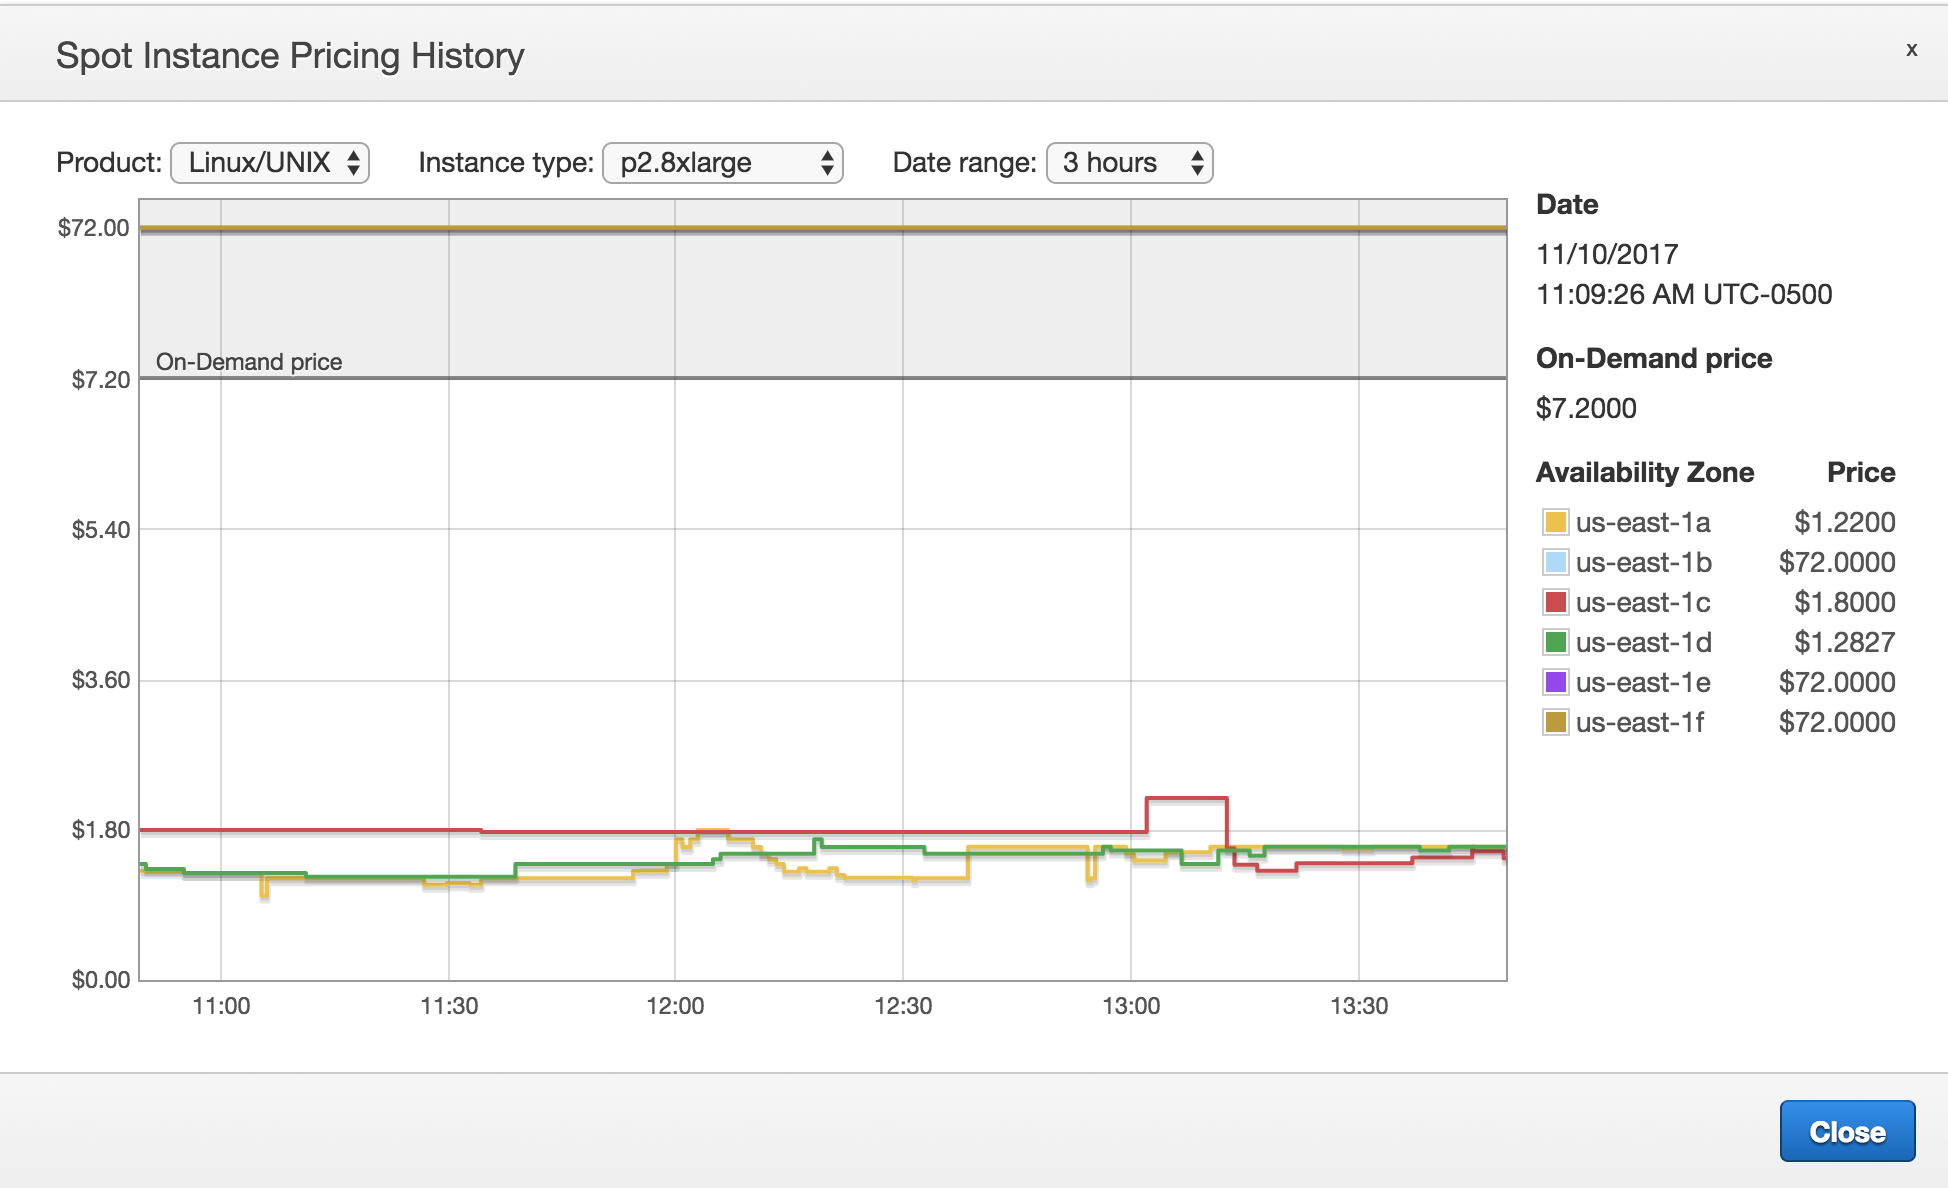
Unfortunately, it?s also the most expensive of the three. Hourly bidding prices fluctuate between $1.4?$1.7, depending on the time of day. I?ve been keeping track of optimum pricing, and as a rule of thumb, you can find lower prices for g2 instances after midnight, and lower prices for p2 before noon.
AWS also offers pricing history you can refer to:
I?m gonna go with the mid-sized p2 instance (p2.8xlarge). This will give you 8 GPUs to work with.
Other specs for this instance:
- 8 NVIDIA K80 cards
- 32 virtual CPUs
- 488 GiB of Ram
- Peer-to-peer communication between GPUs
Bam.
These instances do well with deep learning and gaming, for example.
d) Choose your allocation and pricing strategy.

It?s best to stick with the details. If you?ve got the heart, you can opt-in to setting a max price. Beware, your instance can terminate if bid prices go beyond your max price.
In saying that, AWS won?t charge for the interrupted hour. Tread lightly.
e) Configure your storage settings
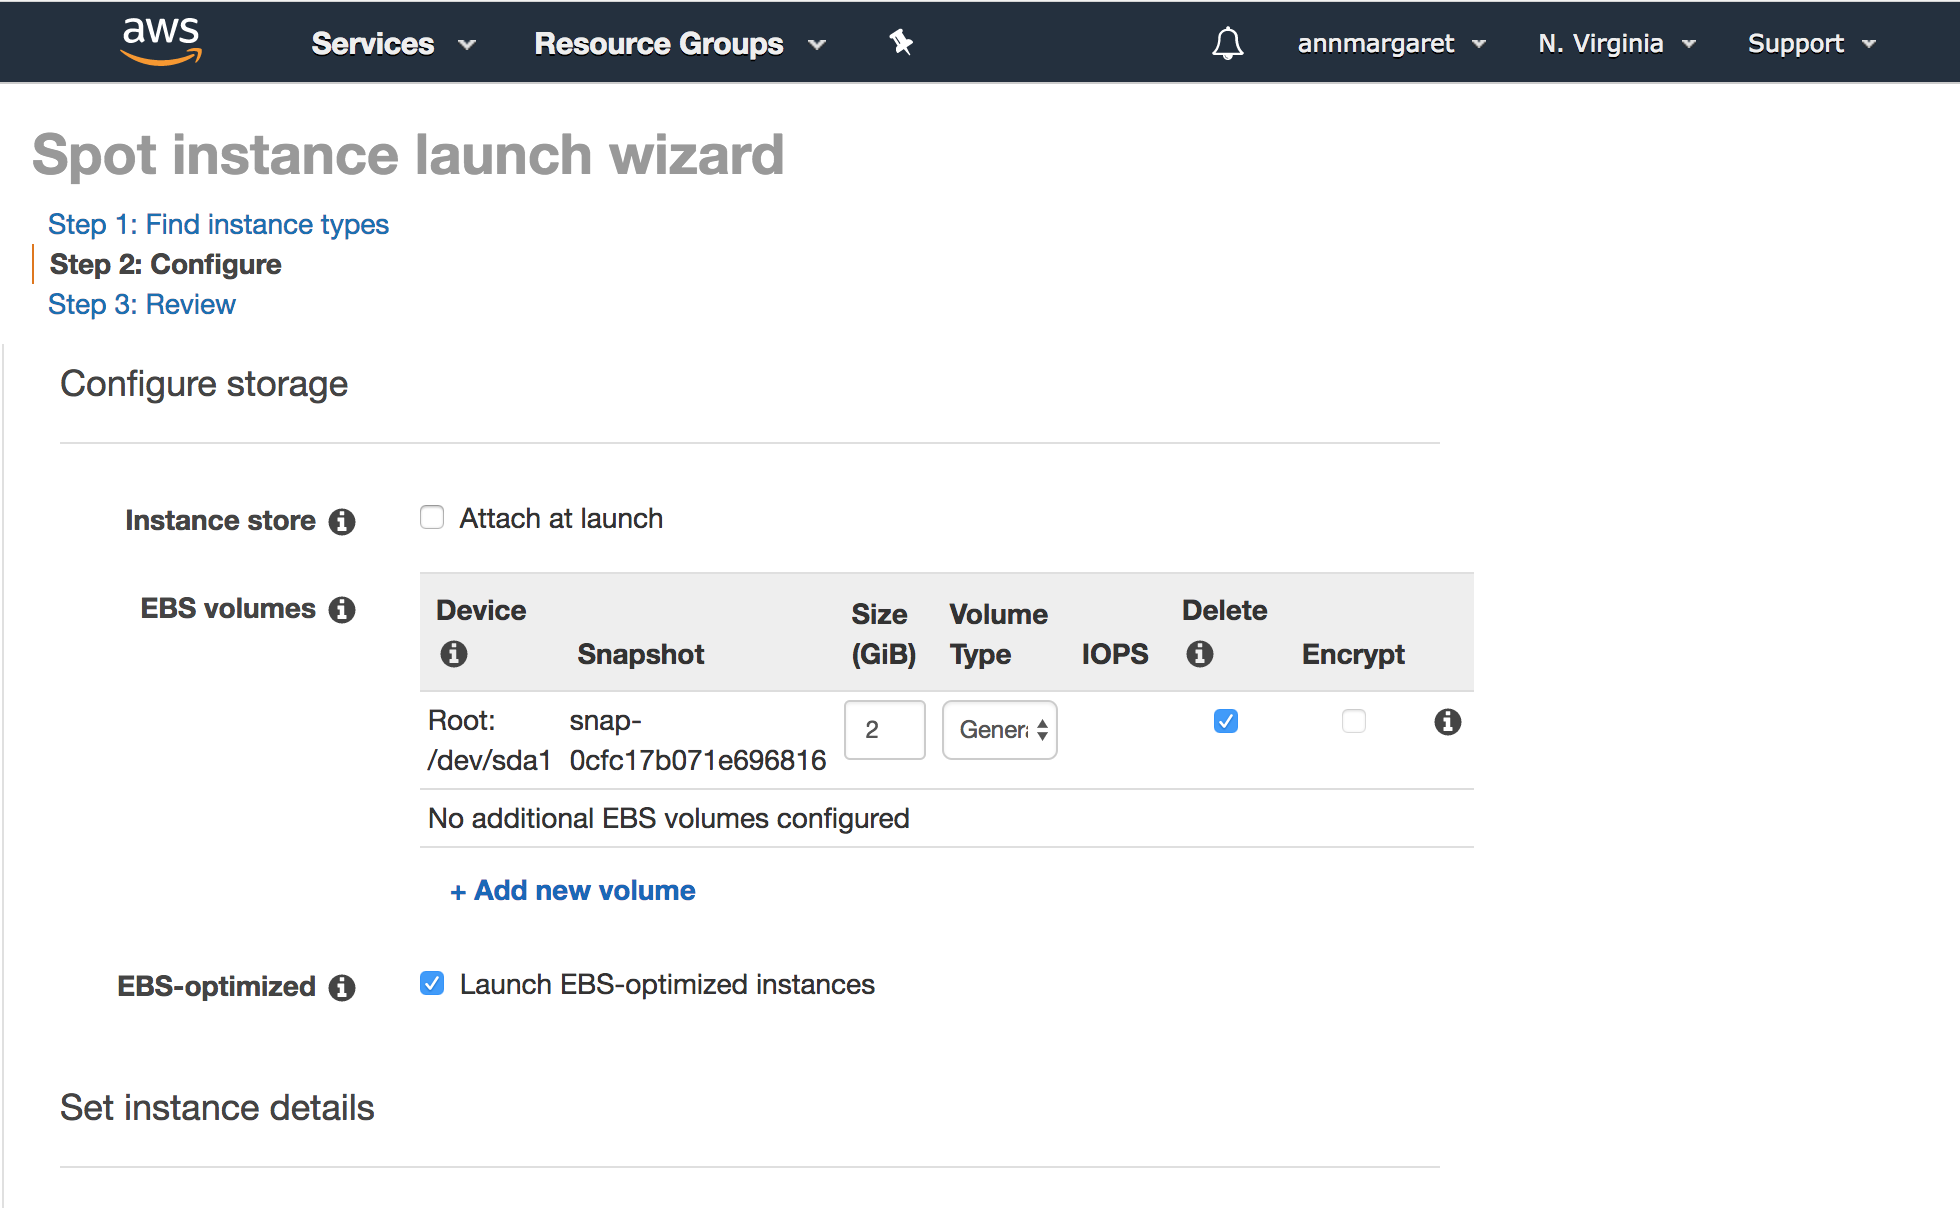
We won?t be downloading any blockchains, so we don?t need too much storage. 20GiB+ root storage should do the trick for what we?re trying to achieve.
f) Configure security settings.
Now choose the key pair and security group you created in the previous step and click next.

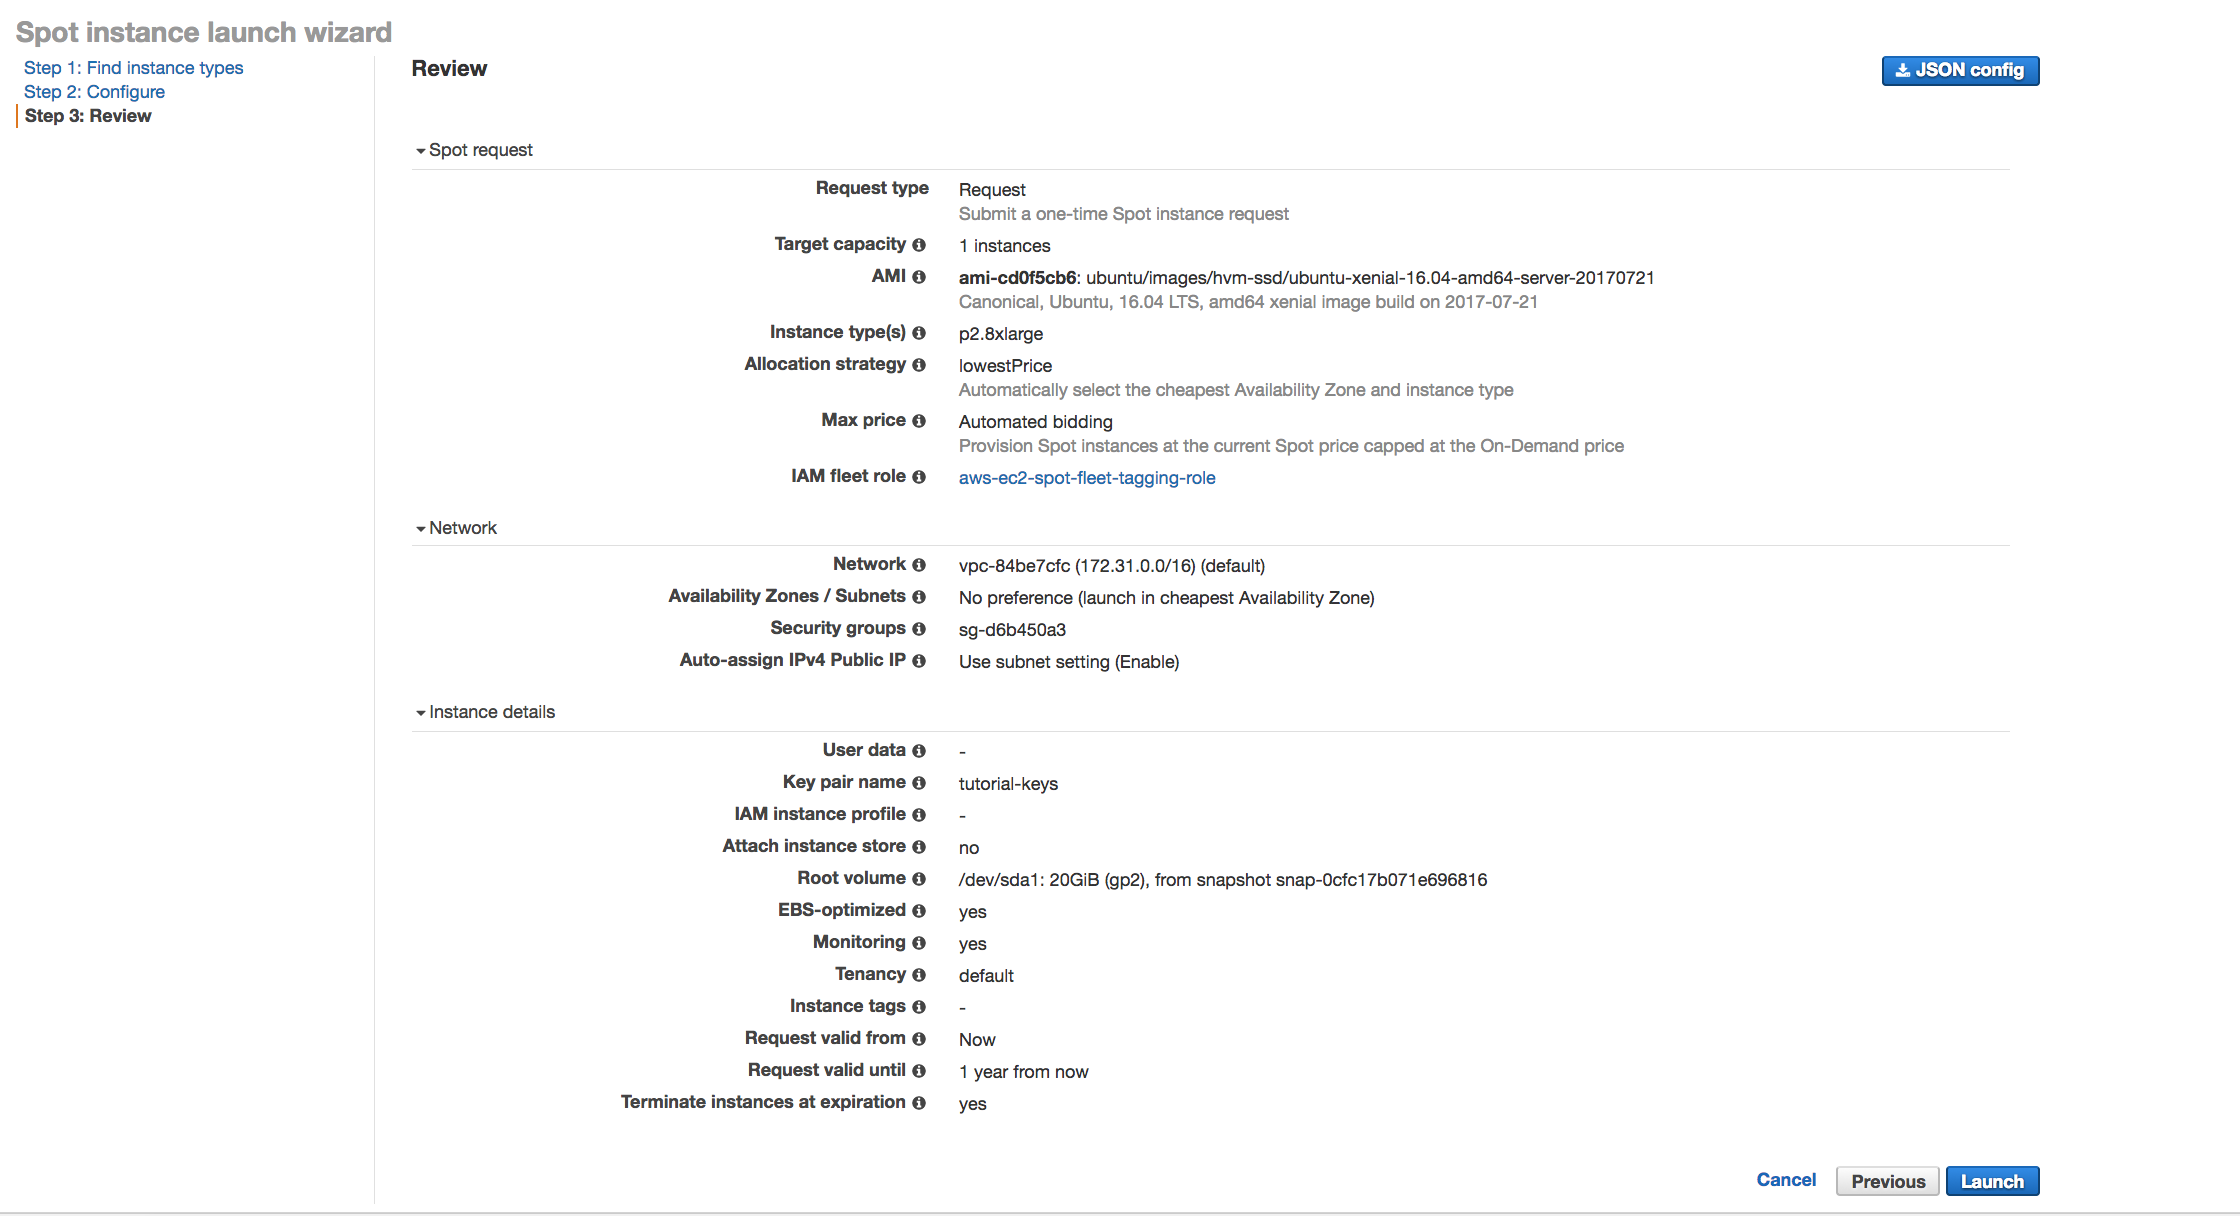
g) Review your request.
Make sure everything?s the way you want it, and click launch
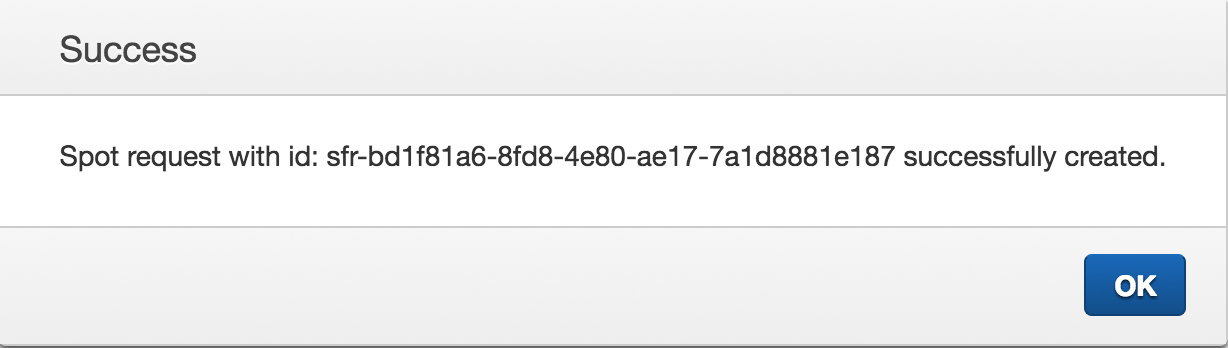
A modal will pop up to let you know you?re request has gone through.
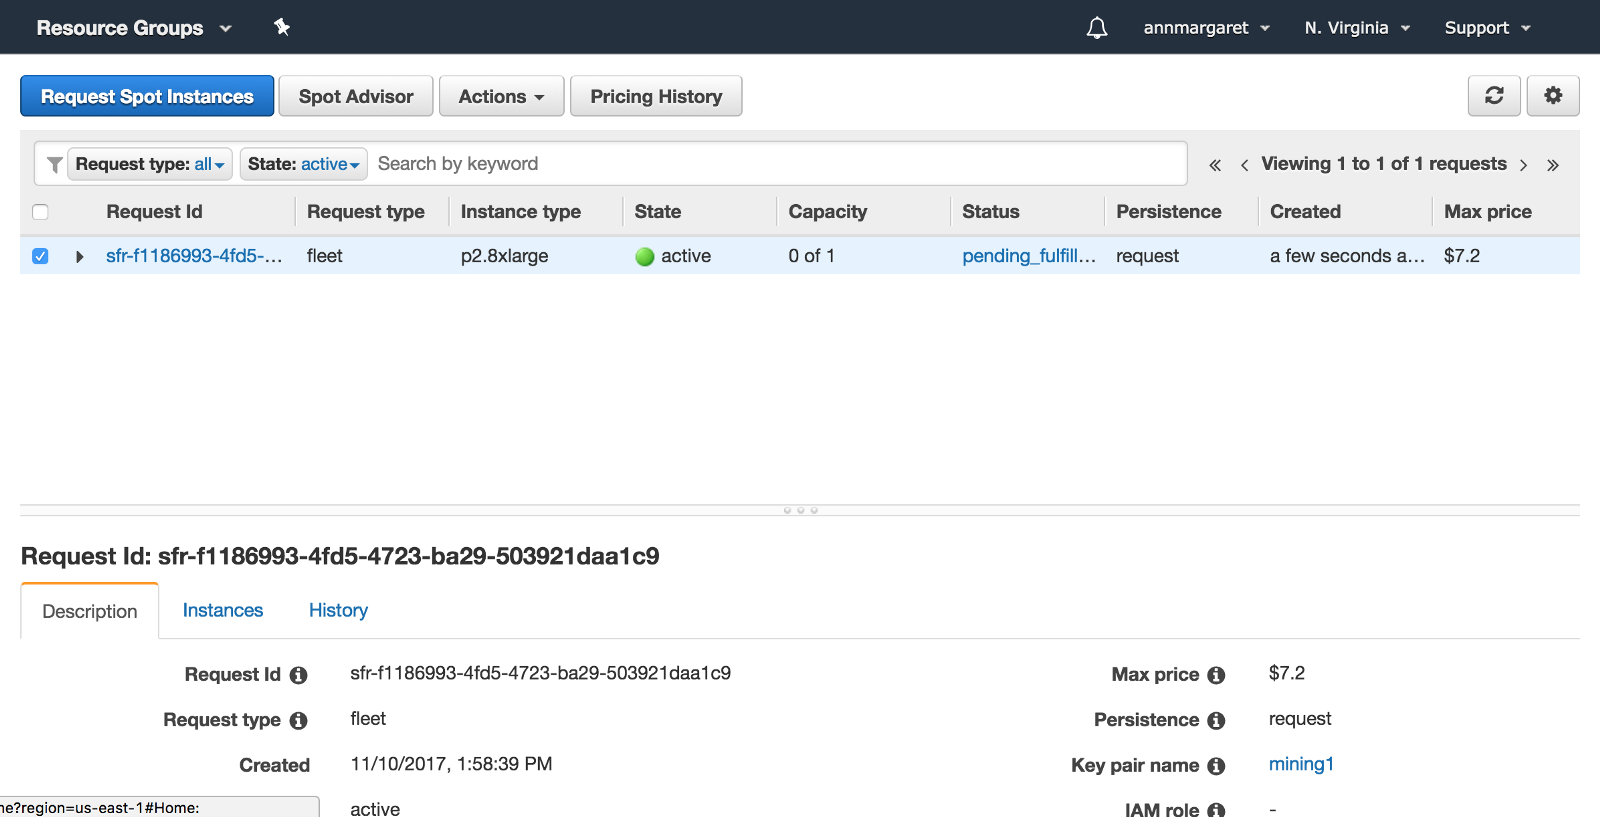
h) Wait for your request to be fulfilled.
Now this part, can yield errors ? most likely, because of spot limitations for free-tier users. If you run into this type of error, you can contact AWS support and start a increase limit request.
Tip: when you file the support ticket, ask to be contacted by phone. It speeds up the service time quite a bit.
Eventually, your request should be fulfilled.

Step Four: Connect to Your Ubuntu Server
a) Check your instance state.
In the left menu, select EC2 Dashboard again, and click on Running Instances.
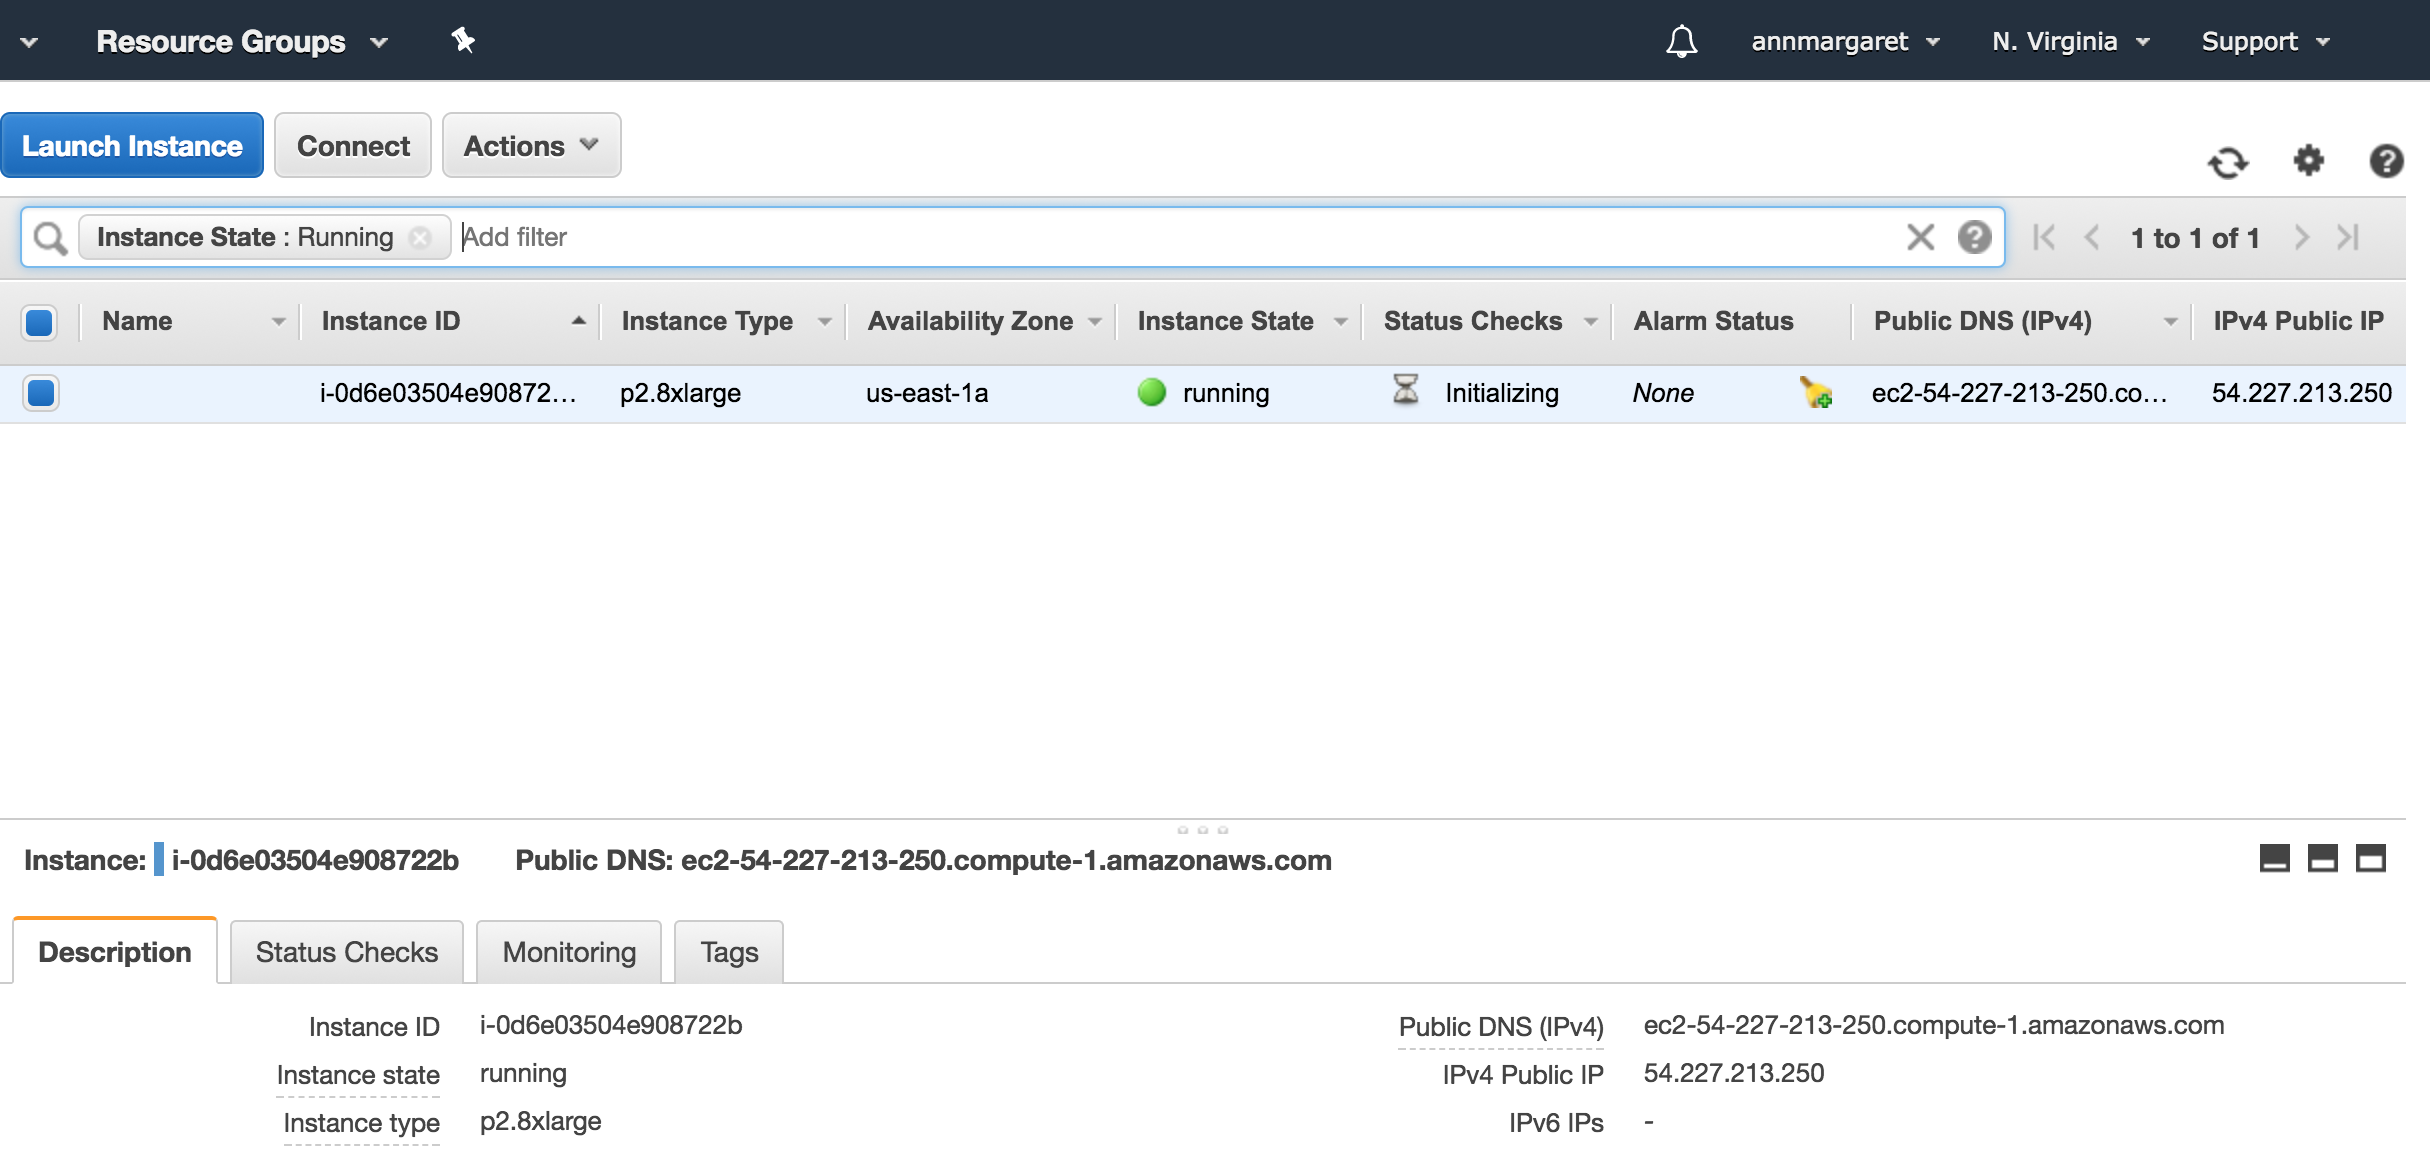
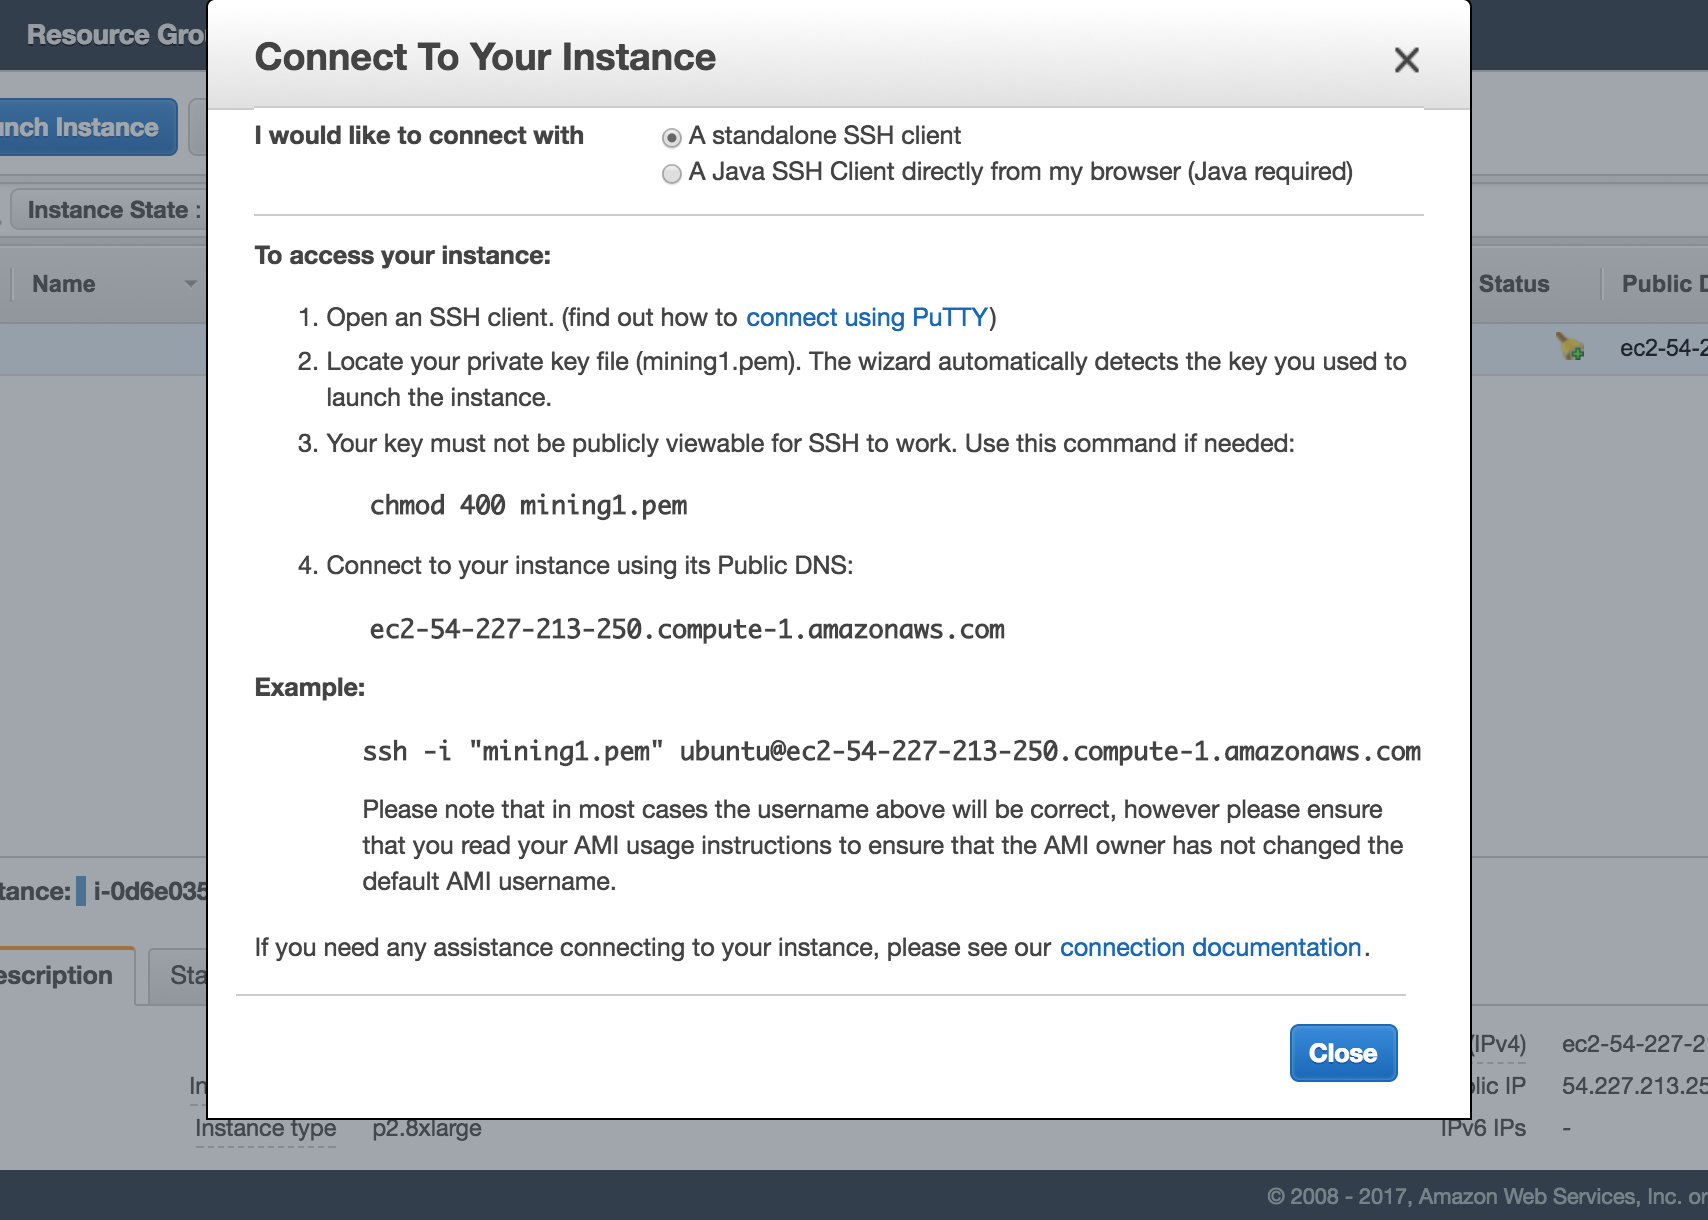
b) Get the public DNS for your instance.
In the top menu, click the Actions button, then choose connect. This should bring up instructions for how to SSH into your new server.
 Don?t be confused by the inconsistency. By right, based on previous steps, the .pem file should be tutorial-keys.pem.
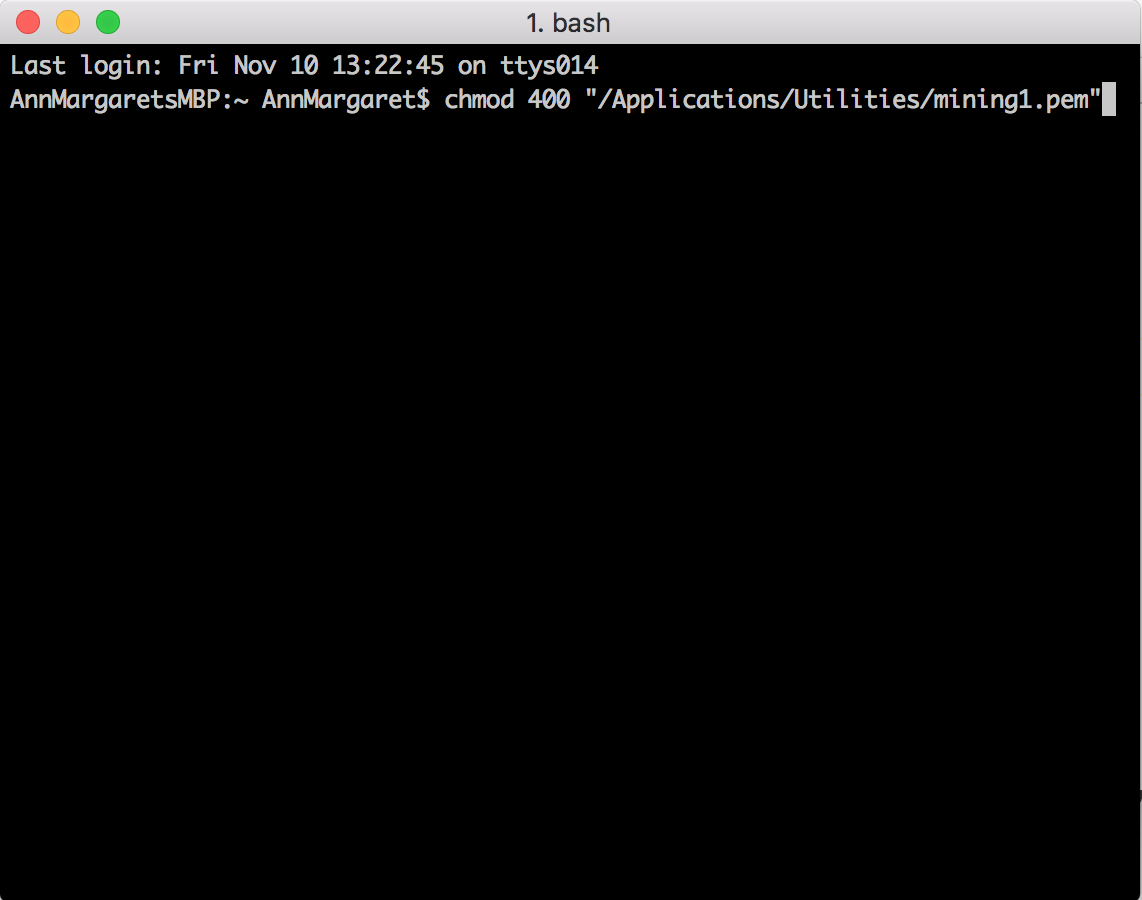
c) Protect your .pem file from accidental overwriting.
Remember that .pem file (your key pair) you downloaded earlier? Open up a terminal and enter the command:
chmod 400 “/path/to/your/file.pem”
So for example, I put this .pem file I?m using in my Utilities folder, located in my Applications directory:
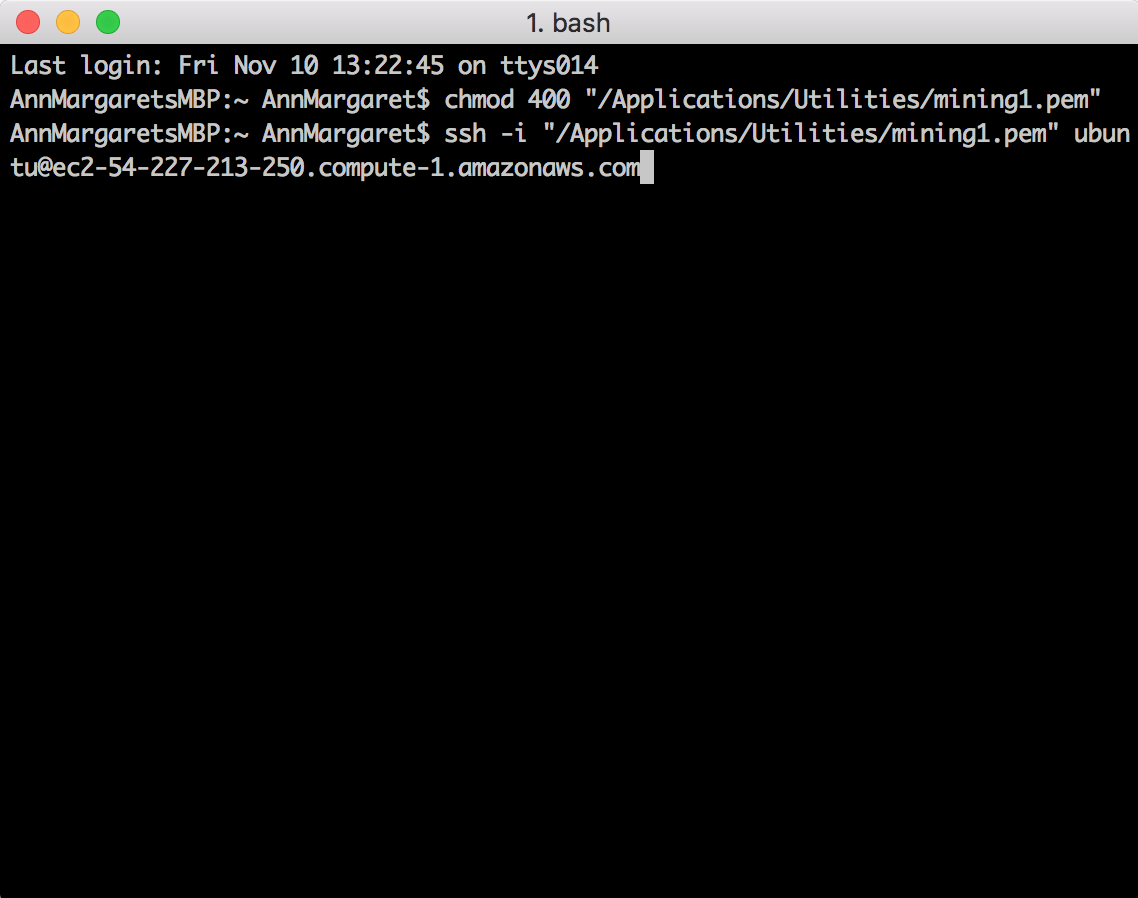
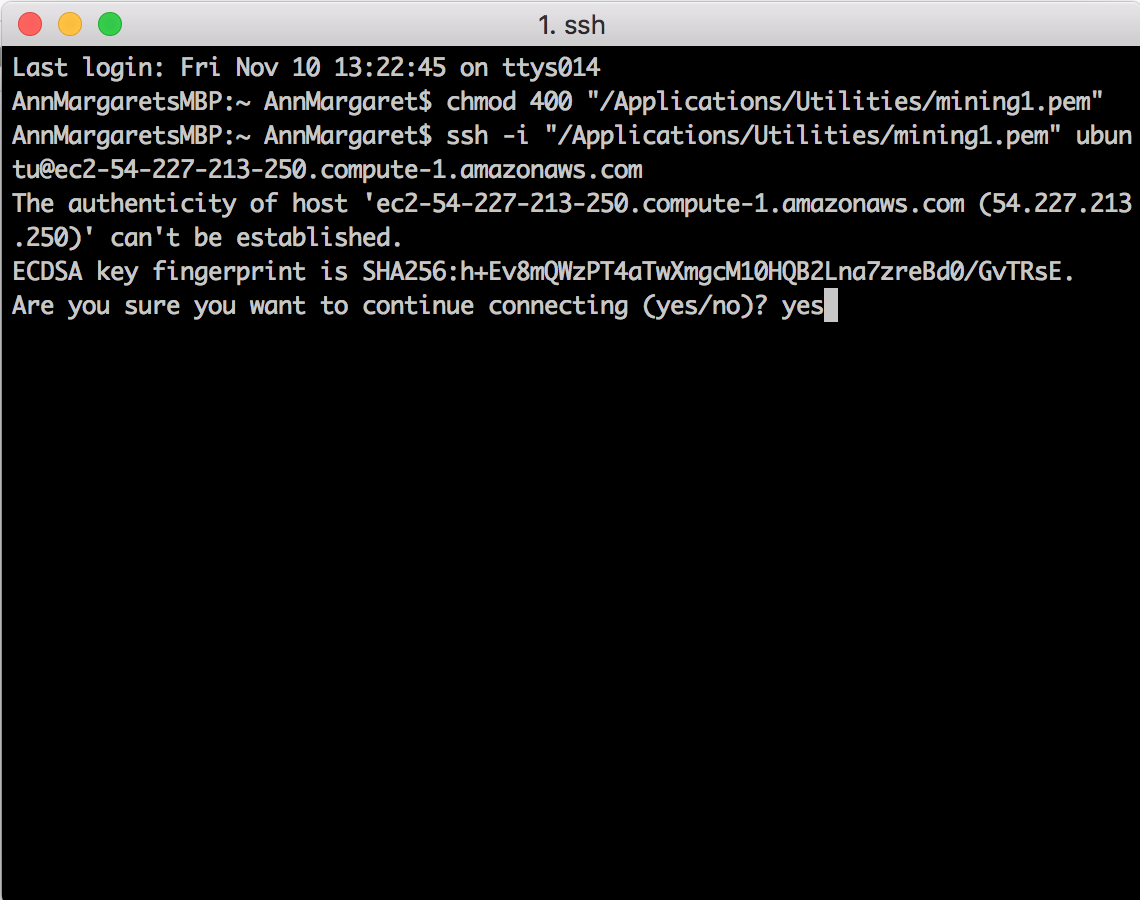
d) SSH into your instance.
ssh -i “/path/to/your/file.pem” [email protected]
It should look something like this:
e) Type ?yes? + enter to continue connecting.
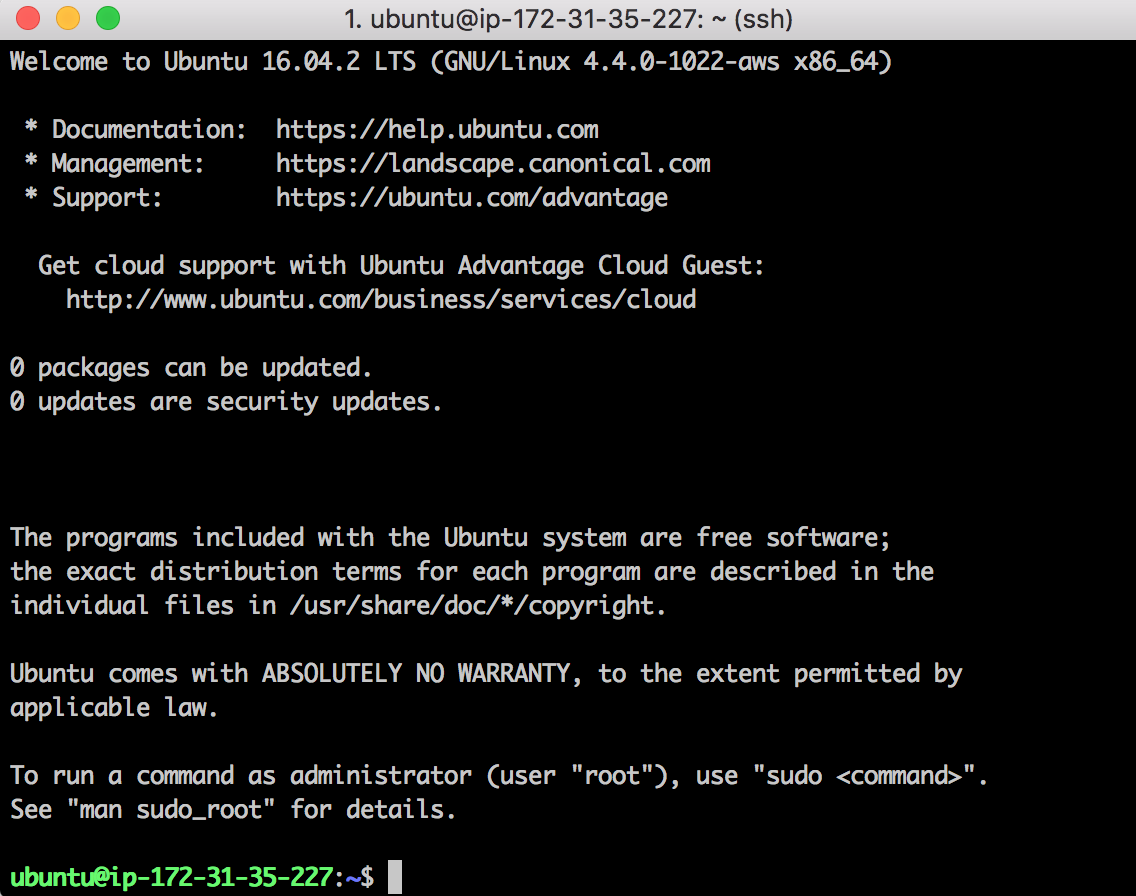
f) And you?re in.
Step Five: Install Project Dependencies
a) Check for Ubuntu 16.04 software updates.
sudo apt-get update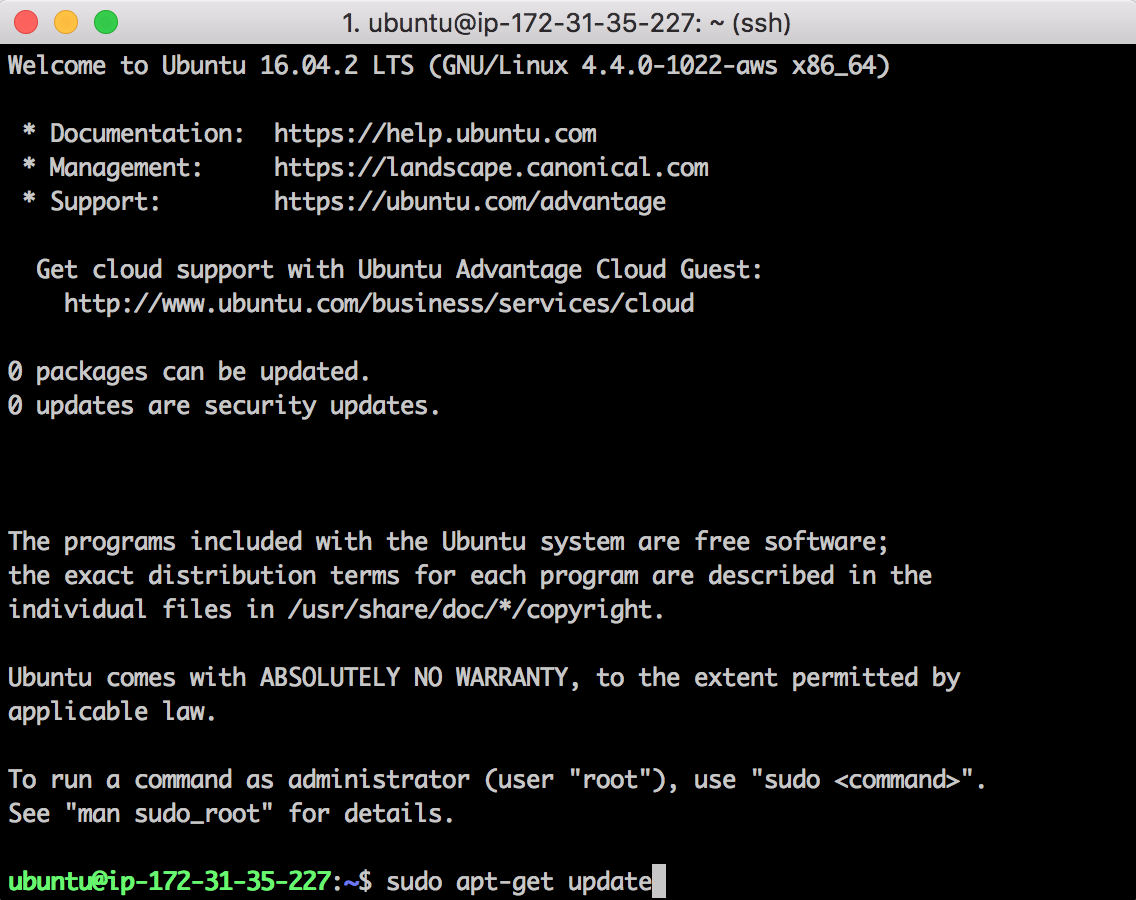
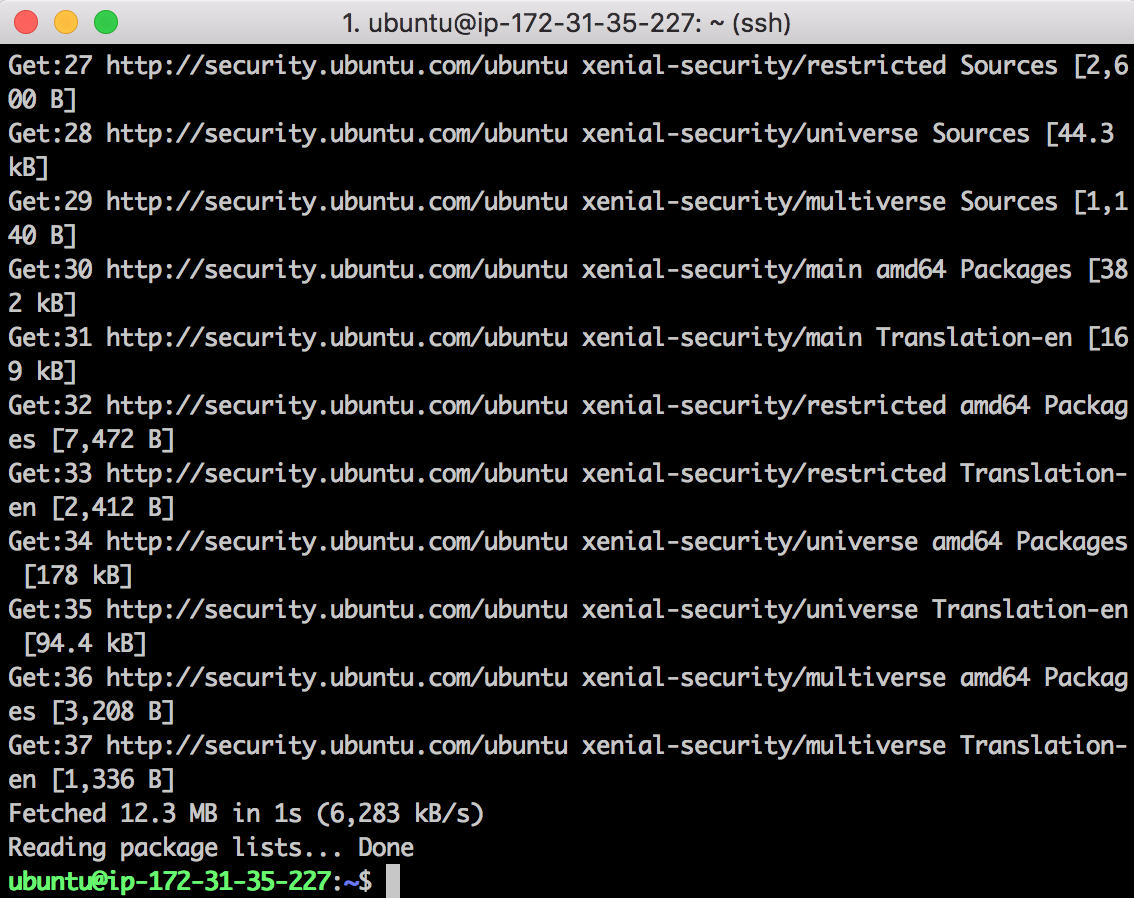
Xenial has a few updates?
b) Install the necessary dependencies to run a miner.
Now, I?ll admit, this might be a bit overkill. Some of these dependencies are only optional. However, if you?d like to experiment with different miners and potentially other cryptocurrencies besides bitcoin, this list should cover it:
sudo apt-get install -y freeglut3-dev libx11-dev libxmu-dev libxi-dev libgl1-mesa-glx libglu1-mesa libglu1-mesa-dev gcc make libcurl4-openssl-dev autoconf git screen libncurses5-dev opencl-headers build-essential protobuf-compiler libprotoc-dev libboost-all-dev libleveldb-dev hdf5-tools libhdf5-serial-dev libopencv-core-dev libopencv-highgui-dev libsnappy-dev libsnappy1v5 libatlas-base-dev cmake libstdc++6-4.9-dbg libgoogle-glog0v5 libgoogle-glog-dev libgflags-dev liblmdb-dev python-pip gfortran libjansson-dev uthash-dev autogen libtool pkg-config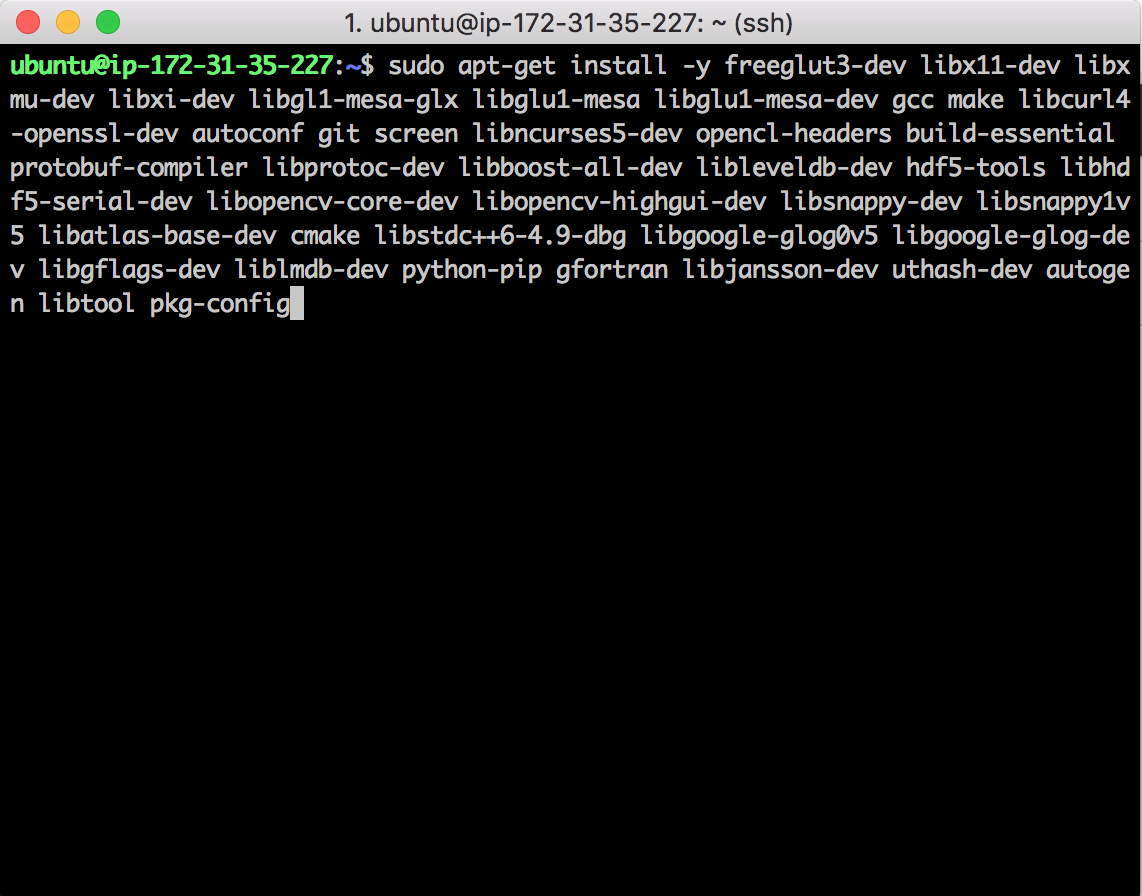
Step Six: Download + Install NVIDIA/NVIDIA Drivers
a) Download NVDIA from the web
wget http://us.download.nvidia.com/XFree86/Linux-x86_64/375.20/NVIDIA-Linux-x86_64-375.20.run
You should get a 200 OK HTTP response.

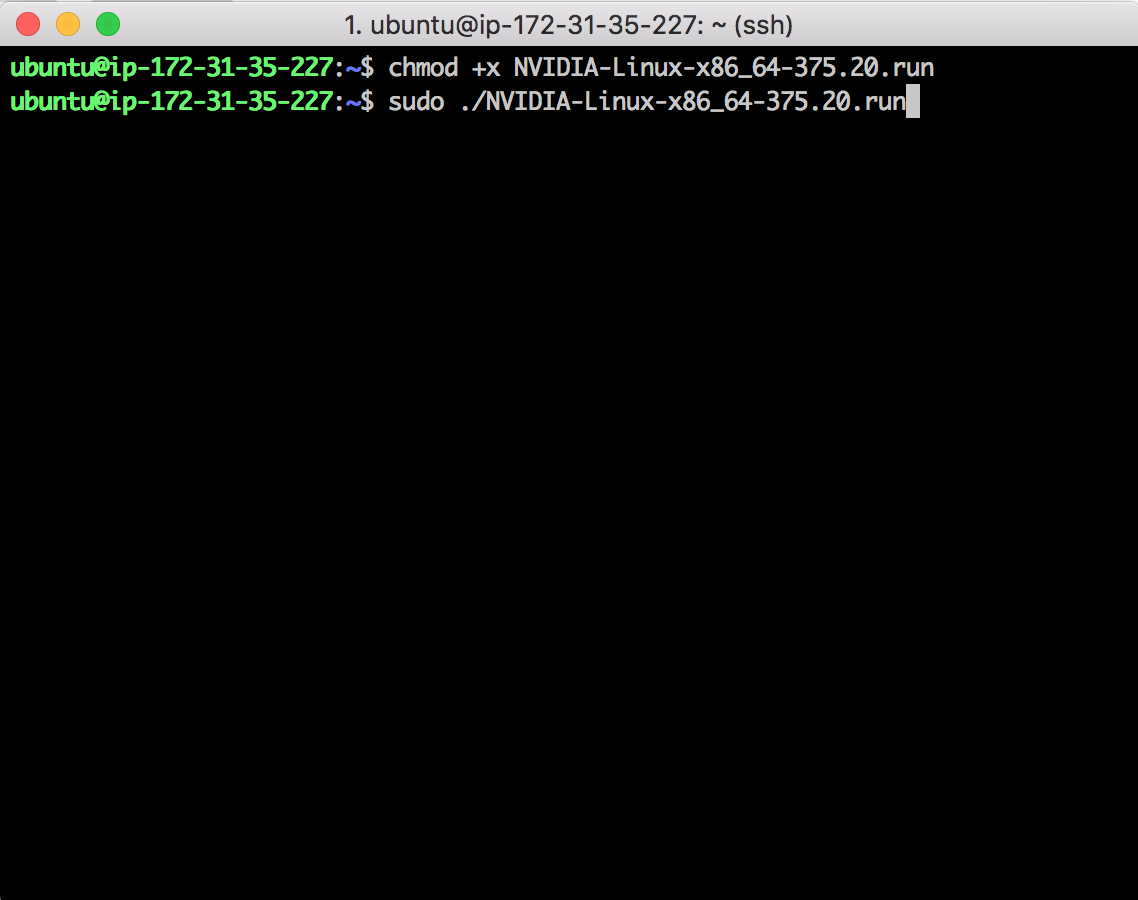
b) Make the NVIDIA installer file executable?
chmod +x NVIDIA-Linux-x86_64-375.20.run
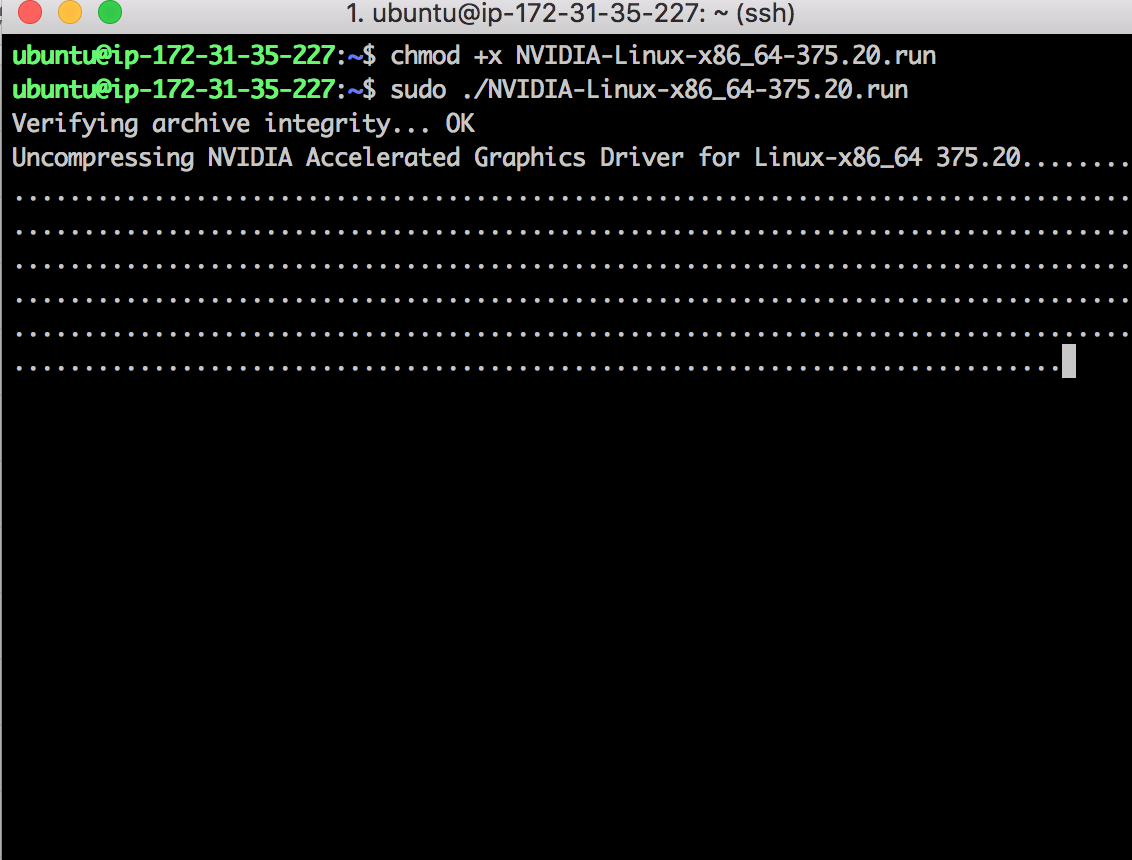
c) Run the installer.
You can tell it?s working by the loader?
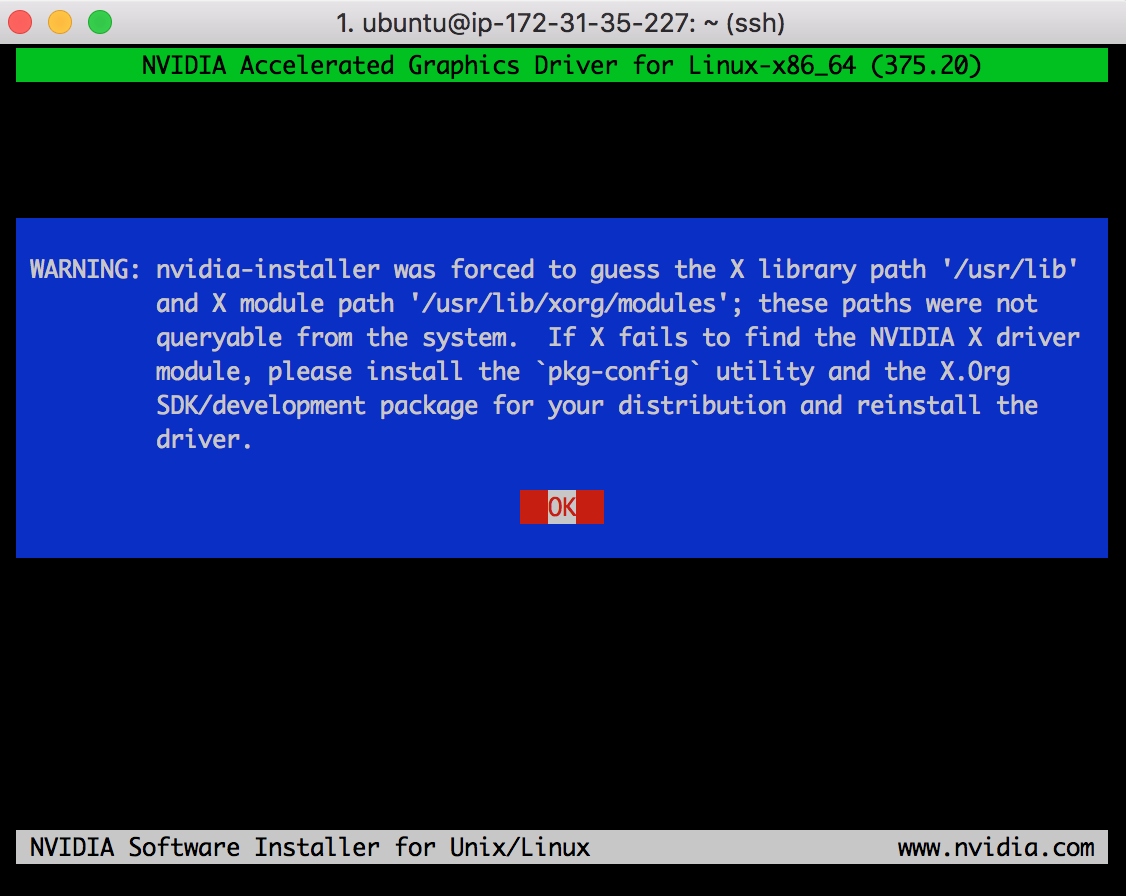
d) Accept the NVIDIA license agreement terms.

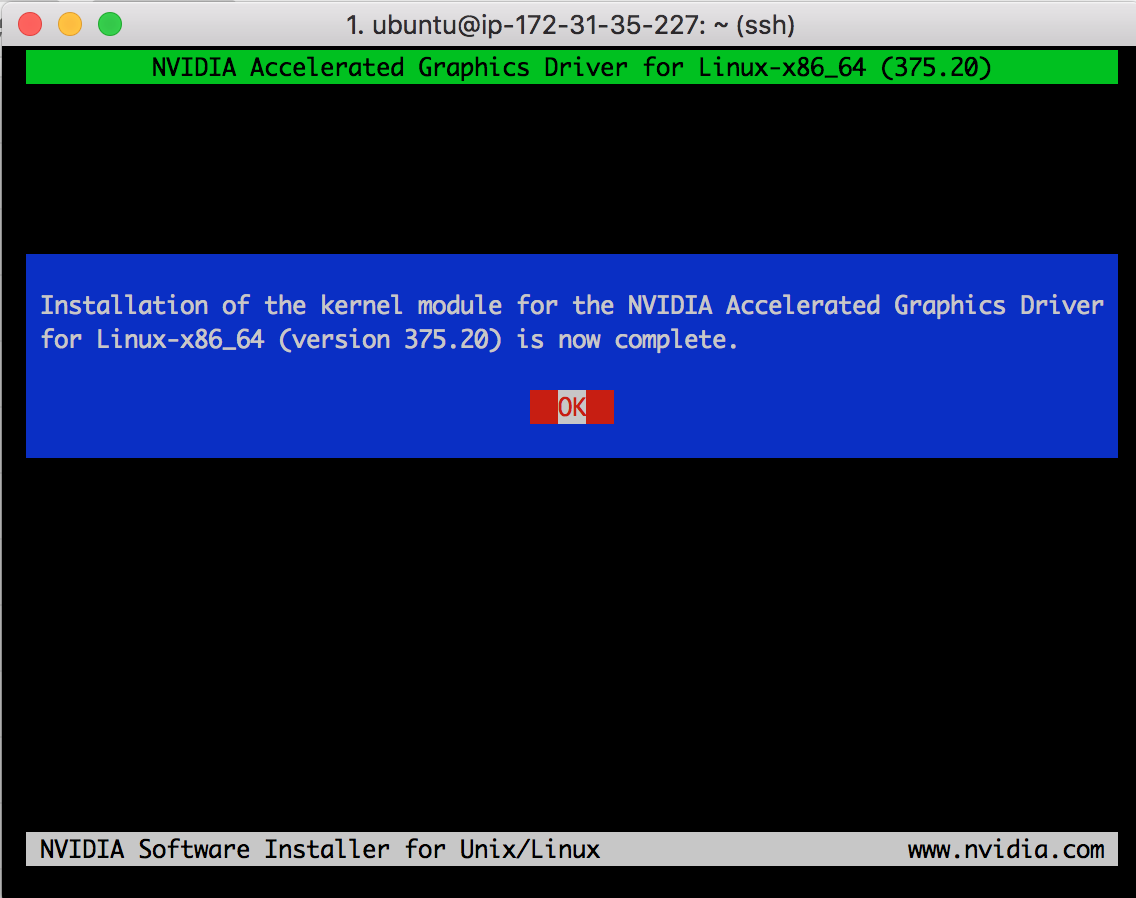
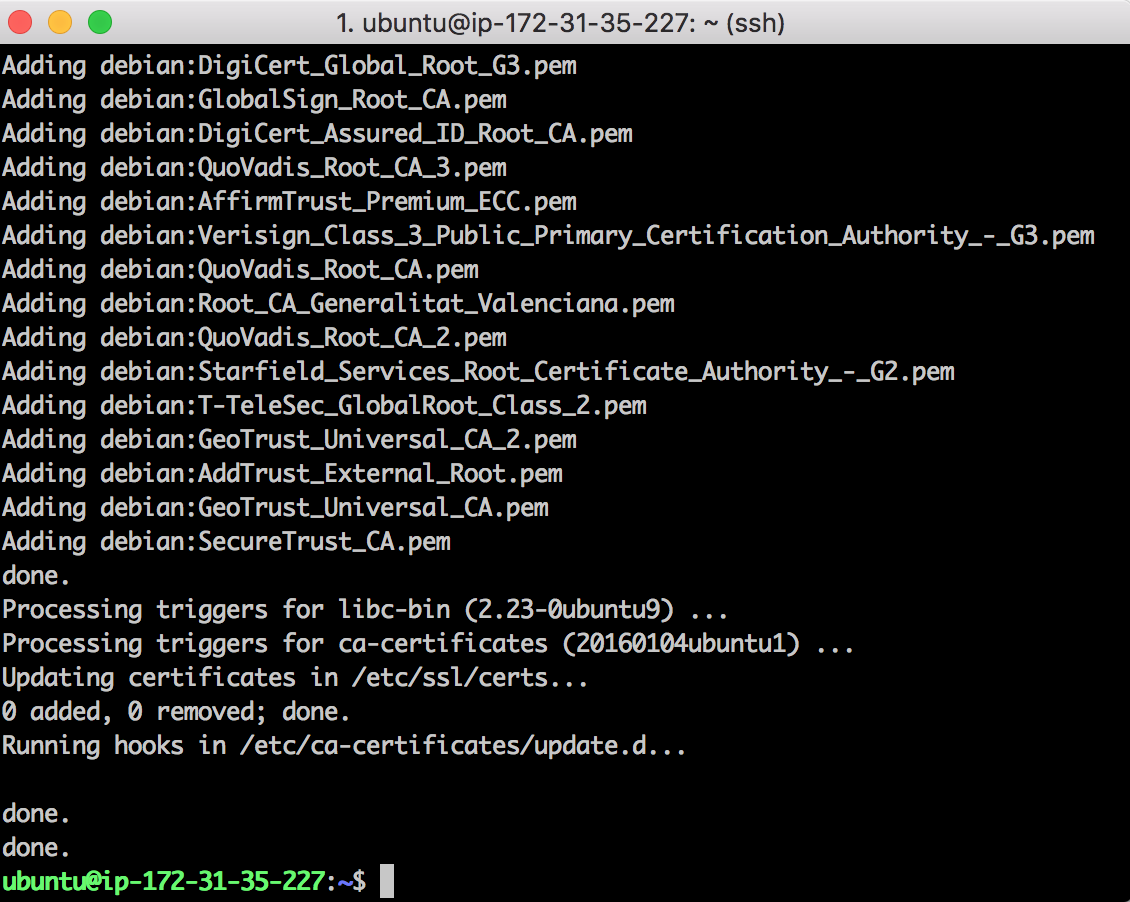
After the kernel modules build?
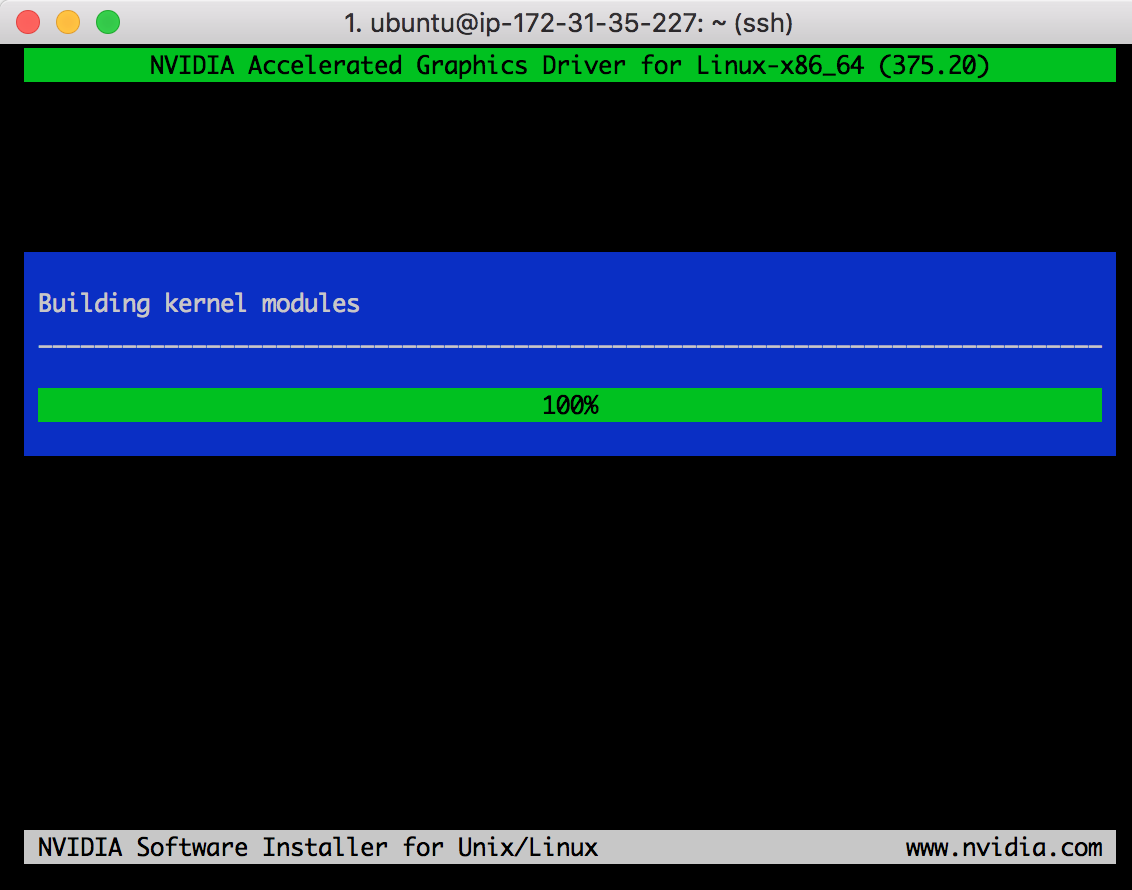
Just hit enter to OK to push through the warnings

Installed.
e) Install Ubuntu Drivers Common Package.
This enables us to list GPU devices working on our server.
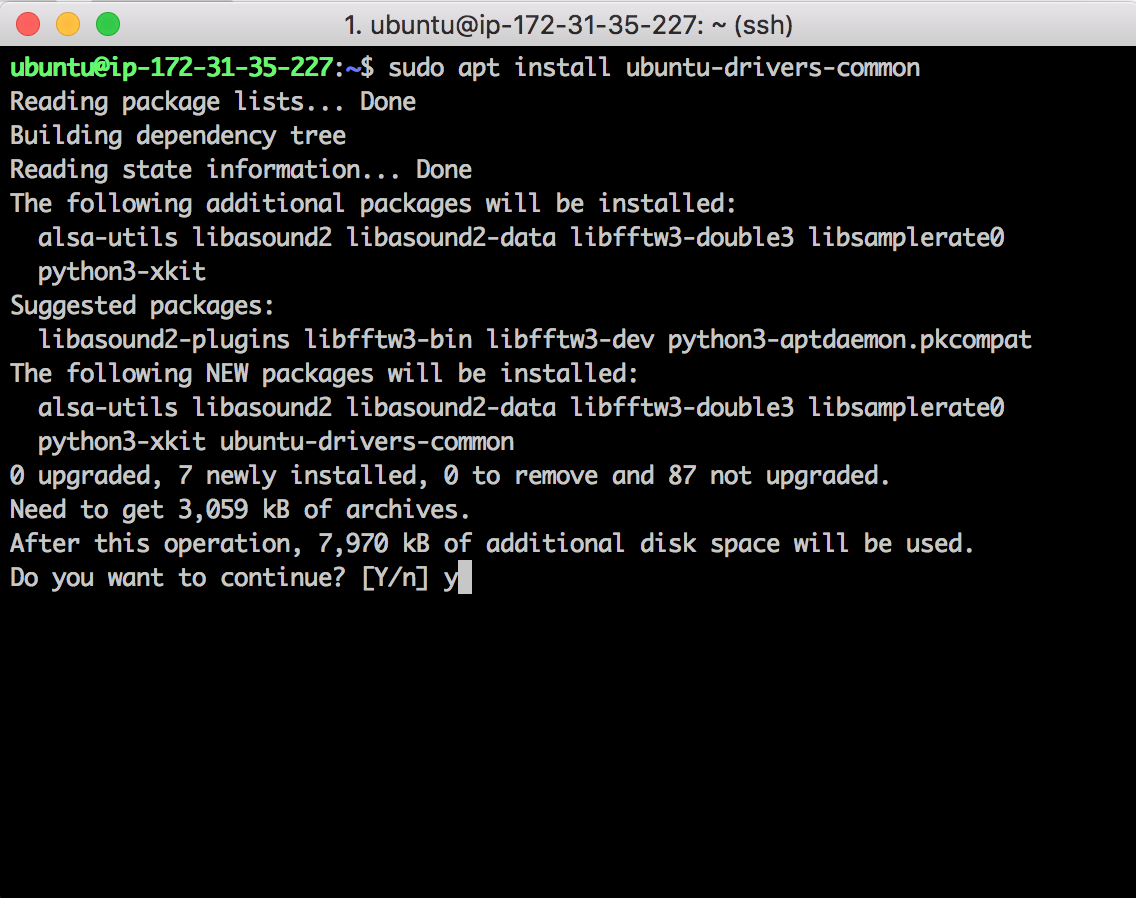
sudo apt install ubuntu-drivers-common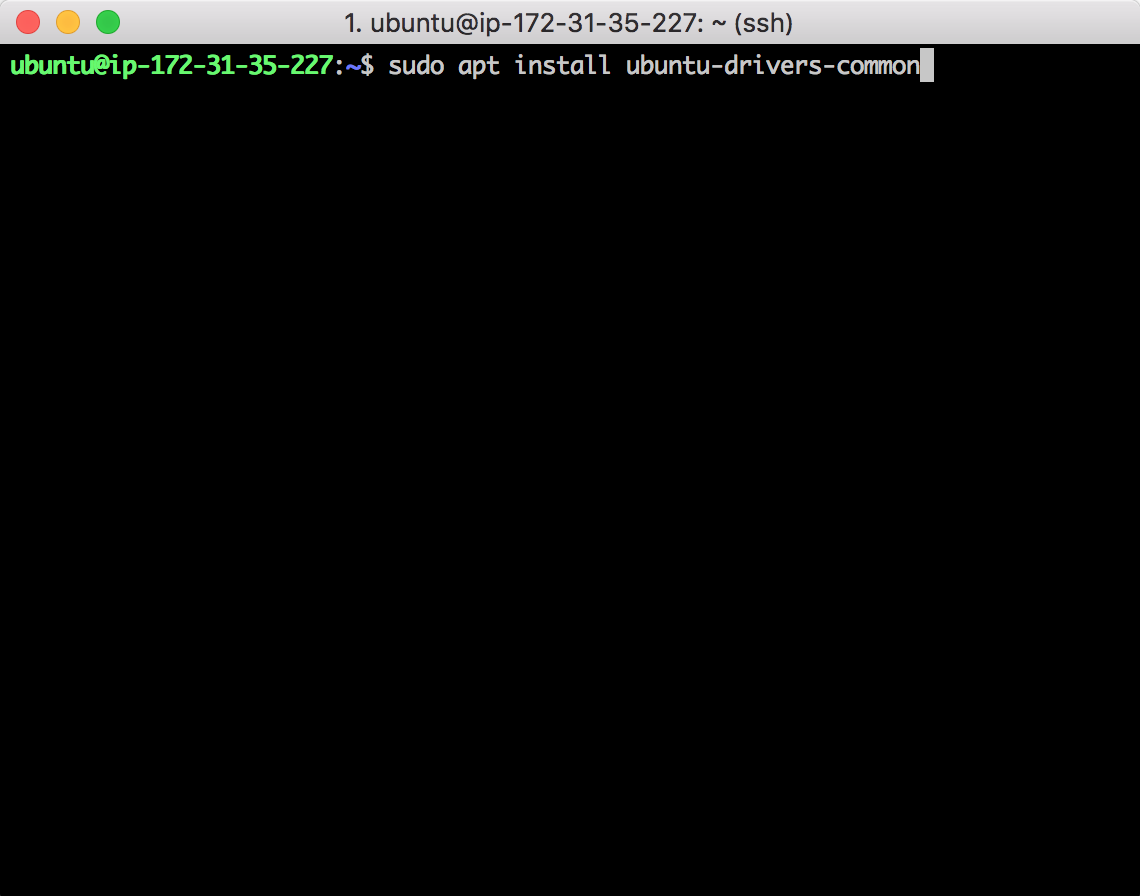
and choose y + enter to finish the installation.
f) Auto-install latest NVIDIA Driver.
sudo ubuntu-drivers autoinstall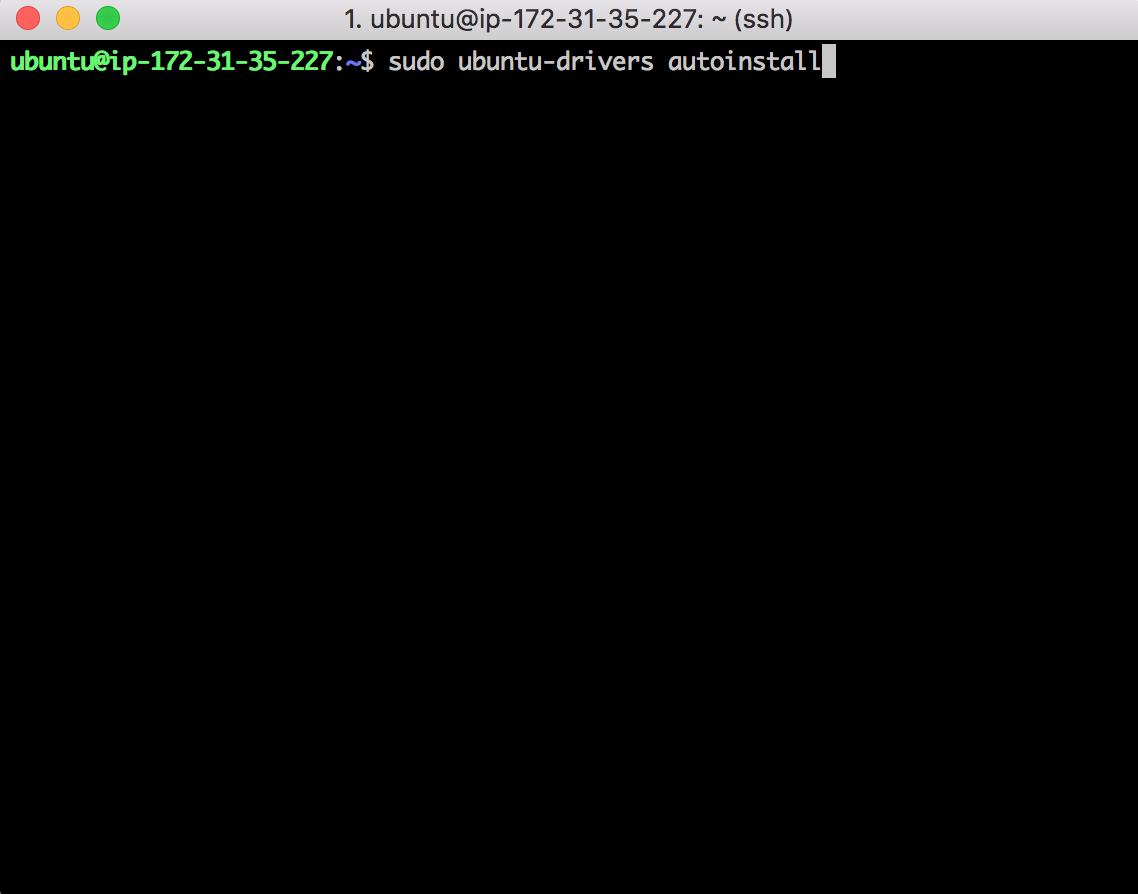
Done with setting up NVIDIA. Next, install CUDA 8.
Step Seven: Install CUDA 8.0
What is CUDA? Simply put, CUDA enables parallel processing on our machine and gives our GPUs a dramatic performance boost.
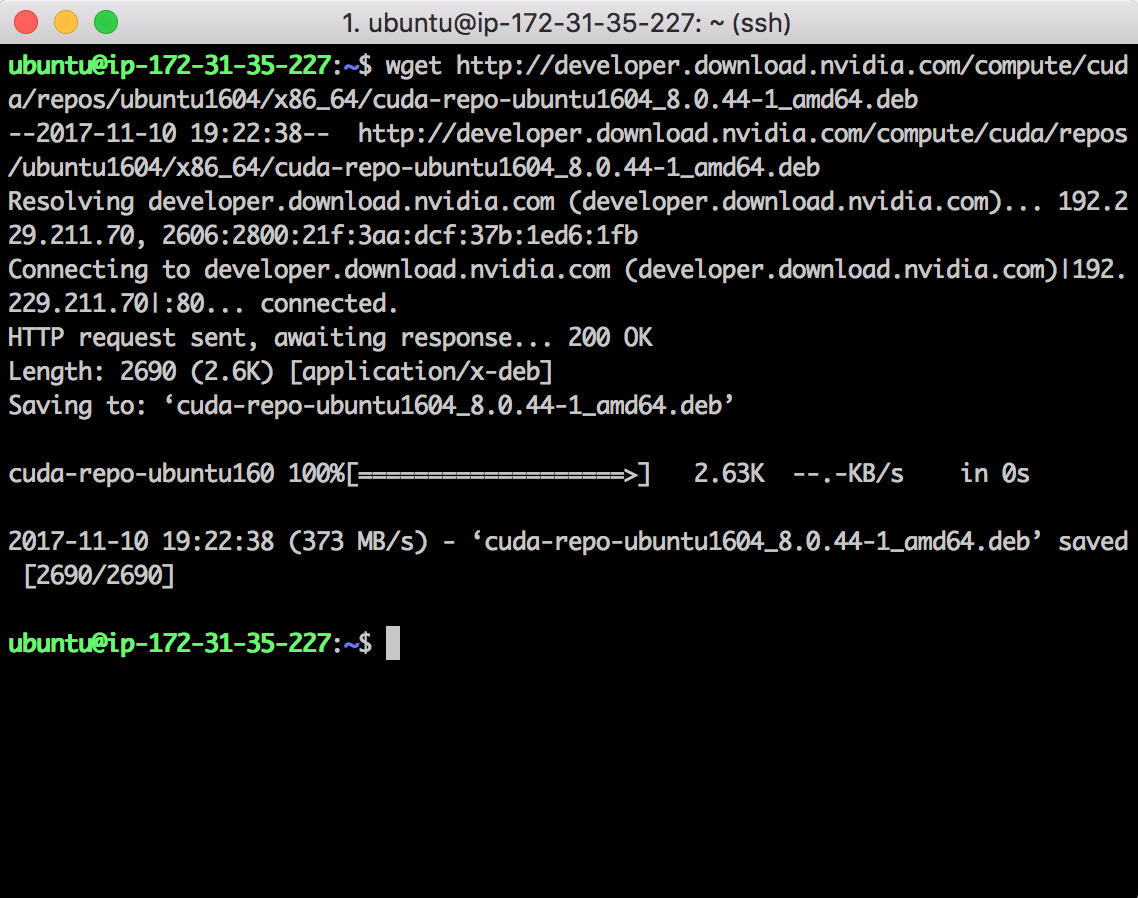
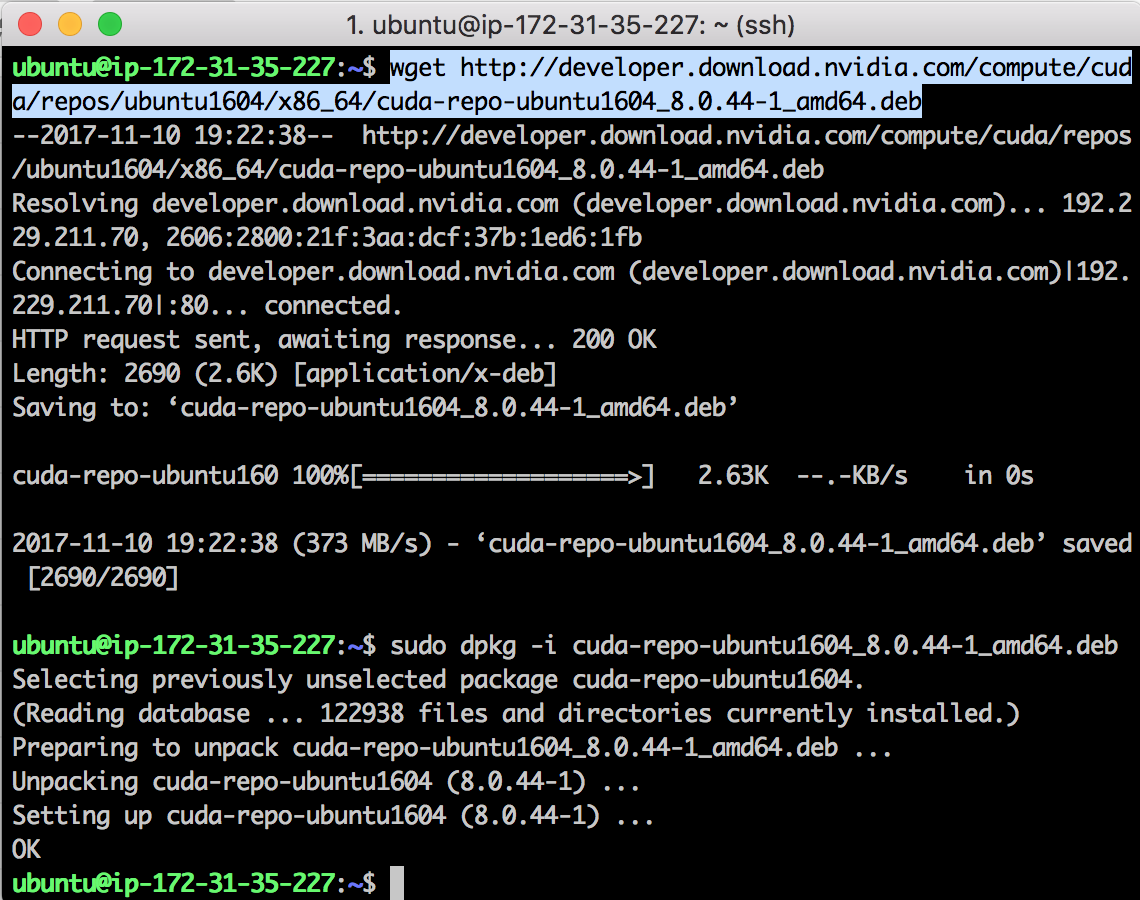
a) Download CUDA 8.0 for Ubuntu 16.04
wget http://developer.download.nvidia.com/compute/cuda/repos/ubuntu1604/x86_64/cuda-repo-ubuntu1604_8.0.44-1_amd64.deb 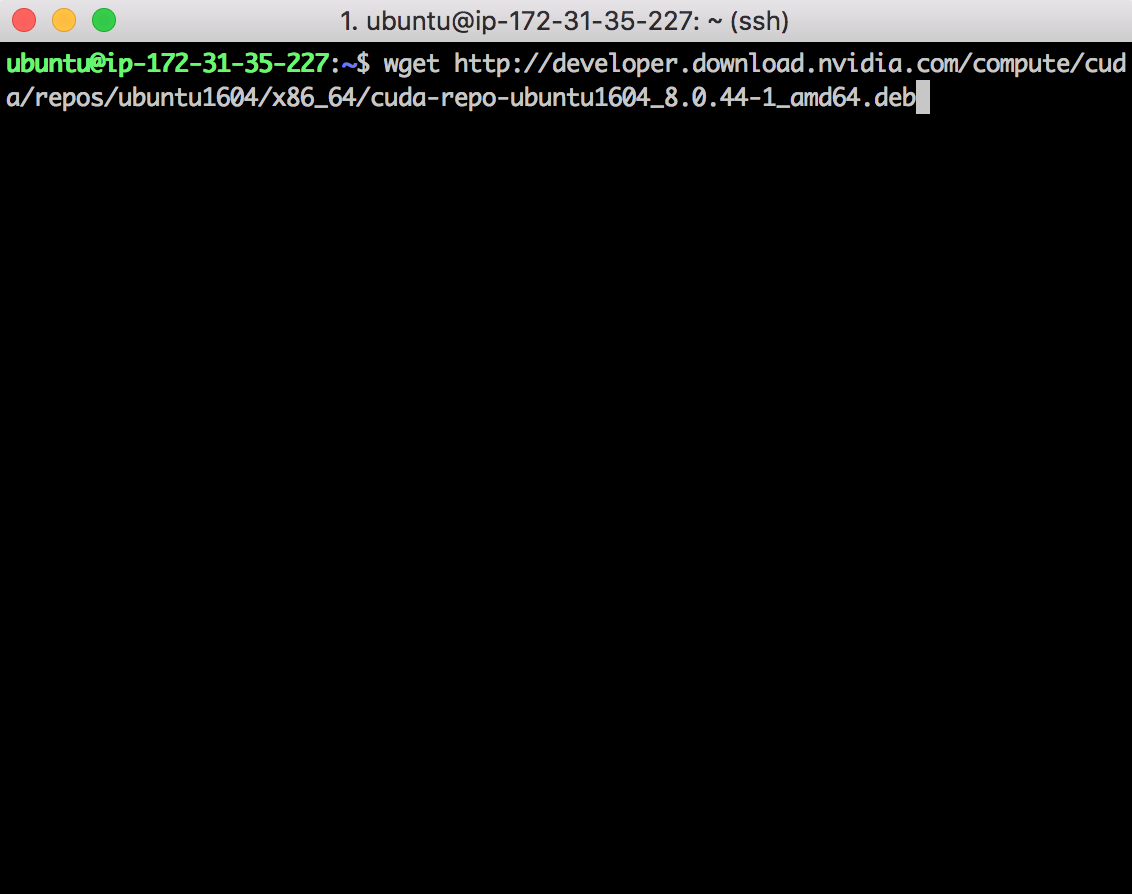
You should receive a 200 OK HTTP Response.
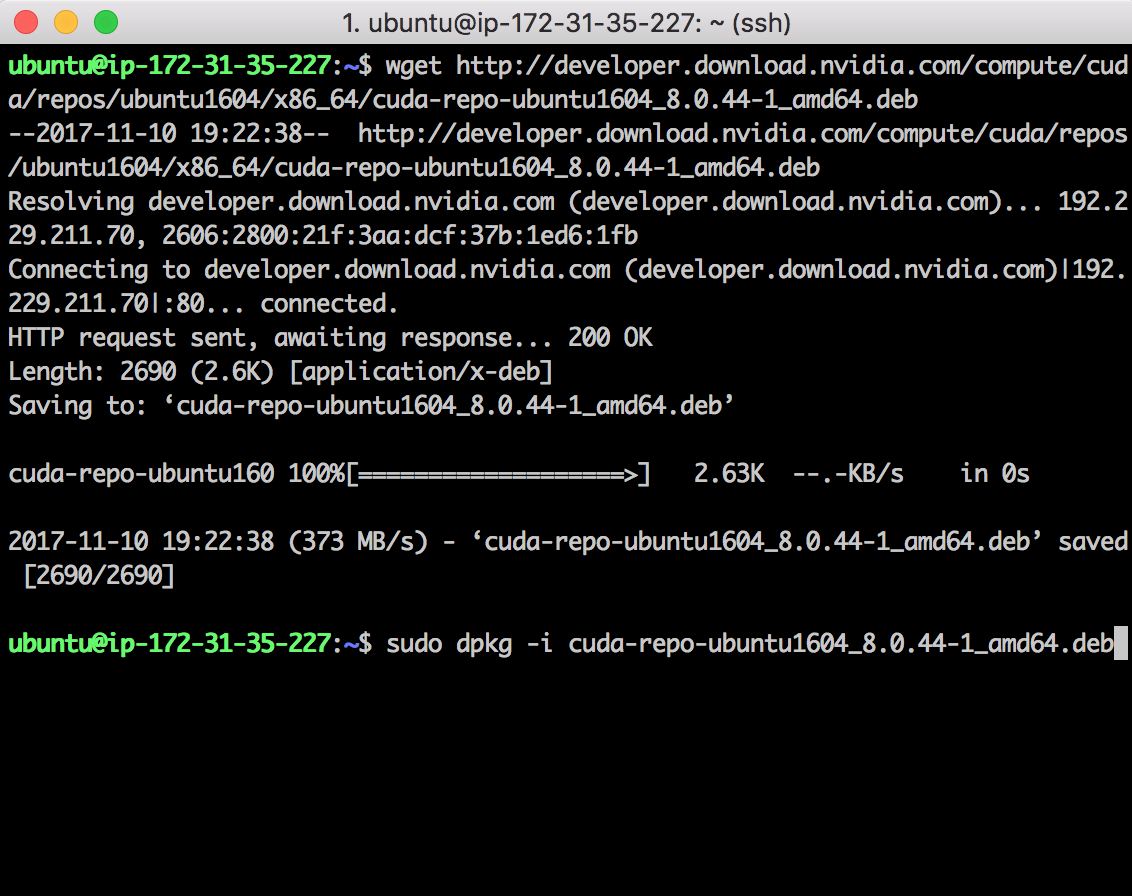
b) Unpack the CUDA 8.0 download.
c) Check for updates.
sudo apt-get update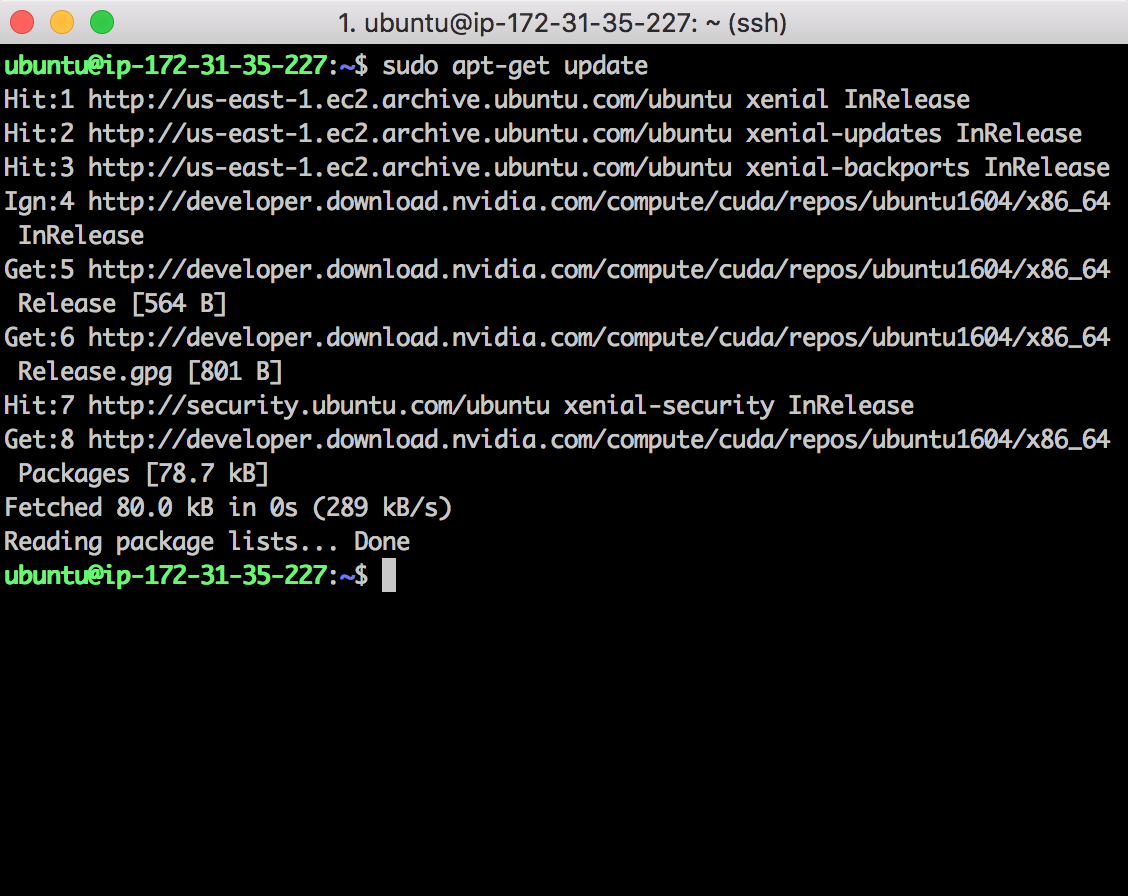
d) Install CUDA.
sudo apt-get install cuda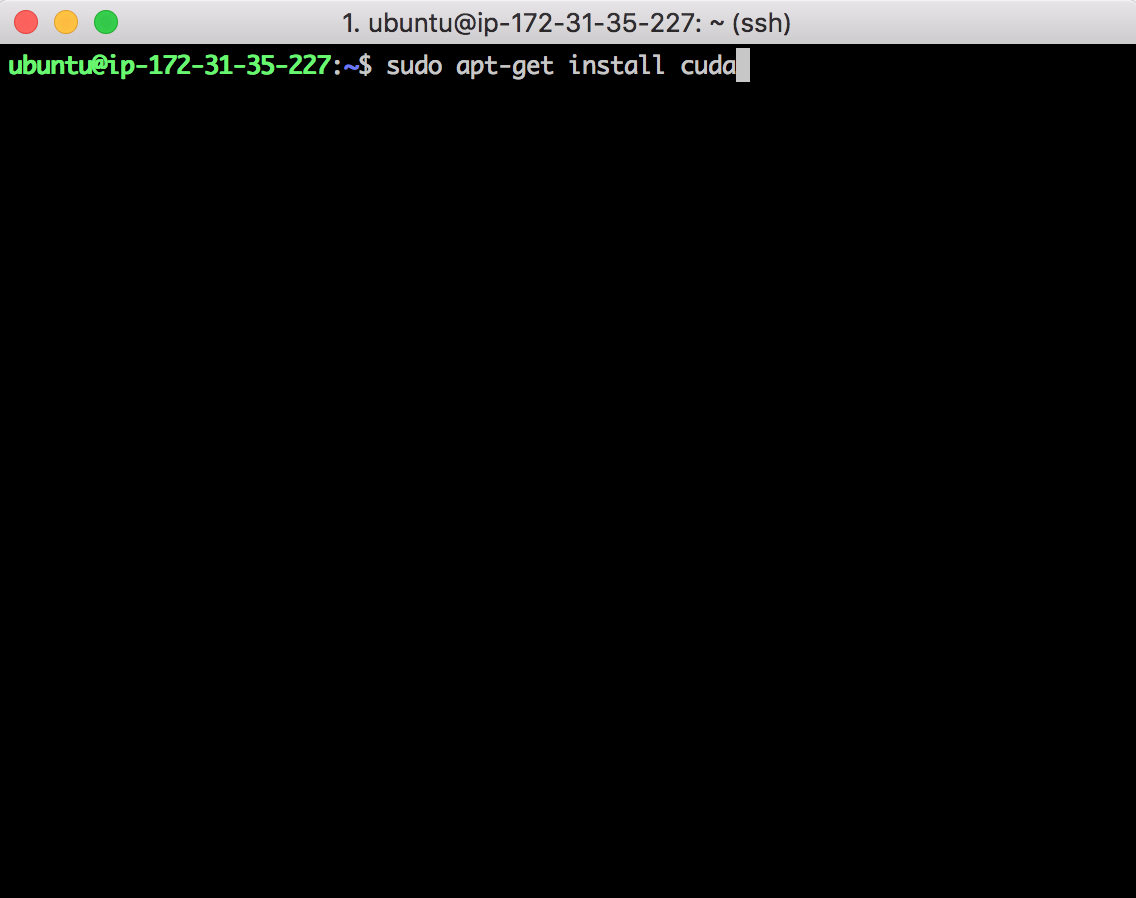
and type y and enter to complete.
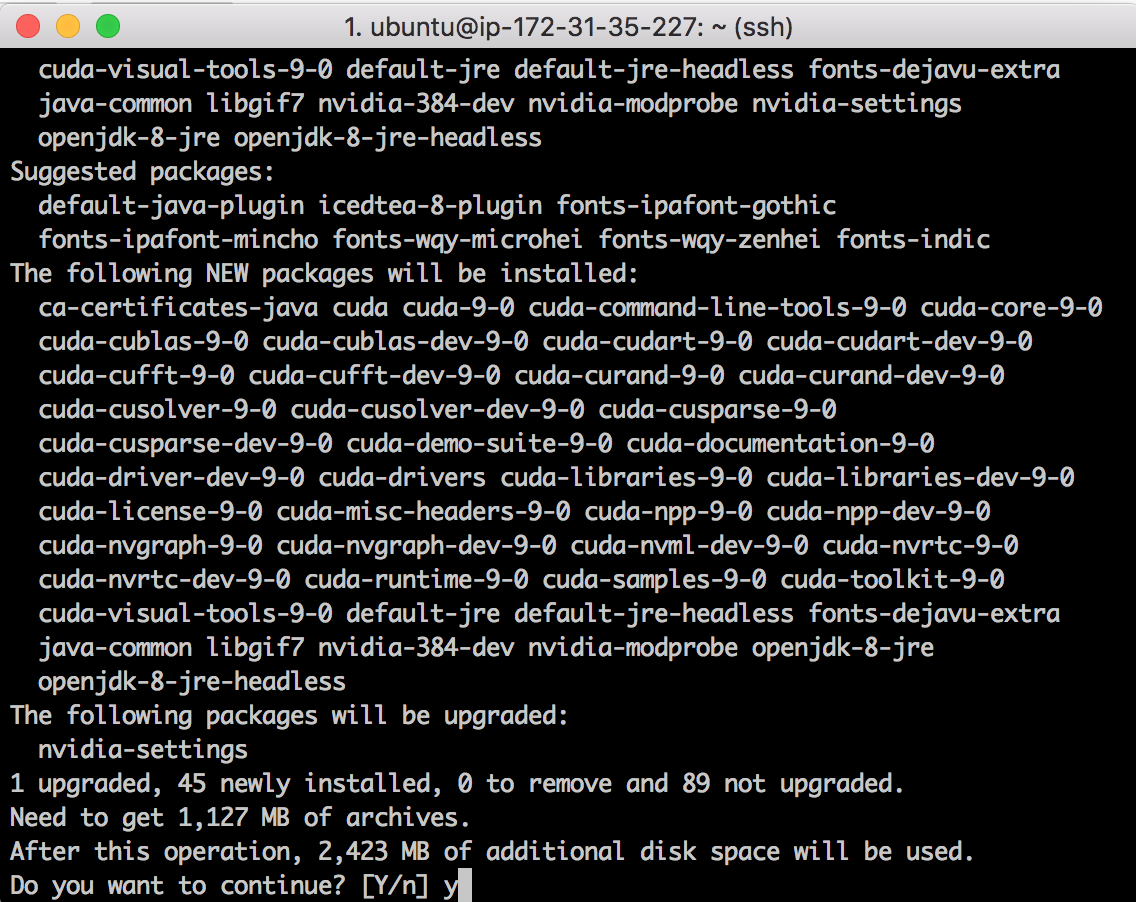
CUDA 8.0 installed!
Update: Alfonso, in the comments section, kindly provided the commands to install CUDA 9.1. For a more recent version of CUDA, use the following:
wget http://developer.download.nvidia.com/compute/cuda/repos/ubuntu1604/x86_64/cuda-repo-ubuntu1604_9.1.85-1_amd64.debsudo dpkg -i cuda-repo-ubuntu1604_9.1.85?1_amd64.debsudo apt-key adv ? fetch-keys http://developer.download.nvidia.com/compute/cuda/repos/ubuntu1604/x86_64/7fa2af80.pub sudo apt-get update sudo apt-get install cuda
e) Check out the GPUs!
nvidia-smi
Dope.
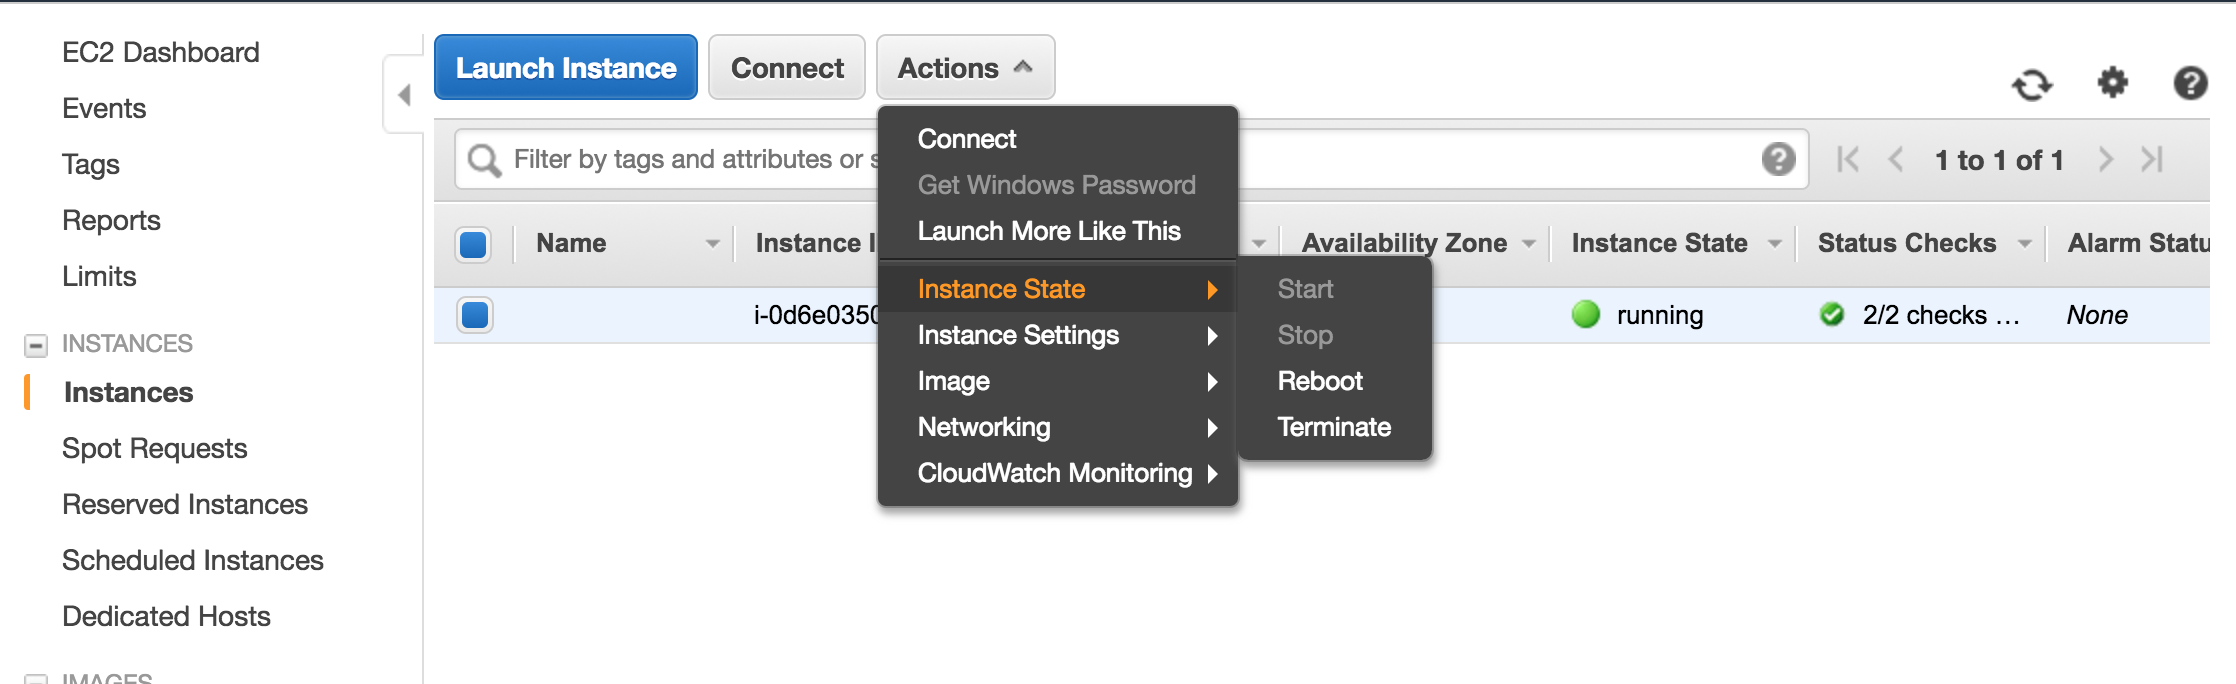
Now, you?ll want to reboot your instance.
You can do this one of two ways:
sudo reboot
or
Go back to your instance in AWS, select Actions > Instance State > Reboot.
Step Eight: Download BFGMiner
Note: I tinkered with other miners that utilized the stratum proxy, but said repositories make still use HTTP protocol (rather than HTTPS). As of October 2017, that makes using a stratum proxy much more difficult. The file setup.py file used for out-of-the-box implementations still makes HTTP requests and produces an error. No bueno.
a) SSH back into your instance.
You might have to give it a minute or two before you can connect again.
b) Switch to the root user.
sudo su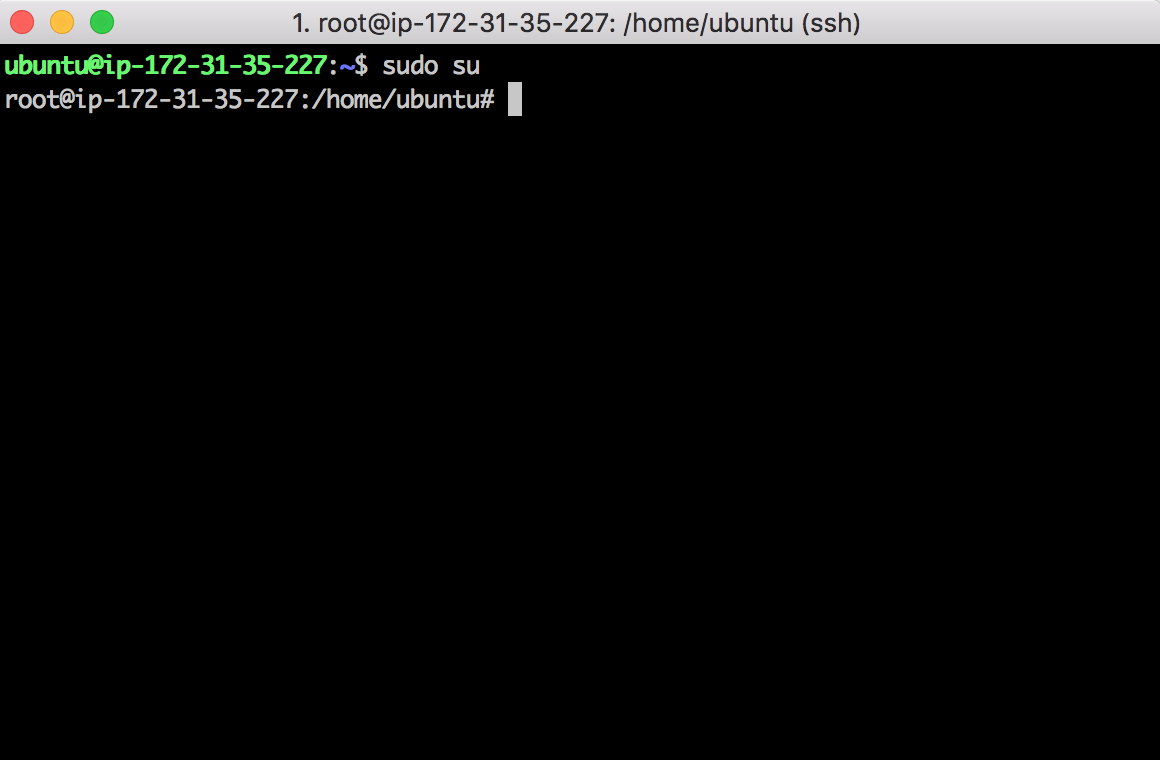
Now we don?t need to prefix our commands with keyword ?sudo? anymore.
c) update and upgrade everything.
apt-get update && time apt-get dist-upgrade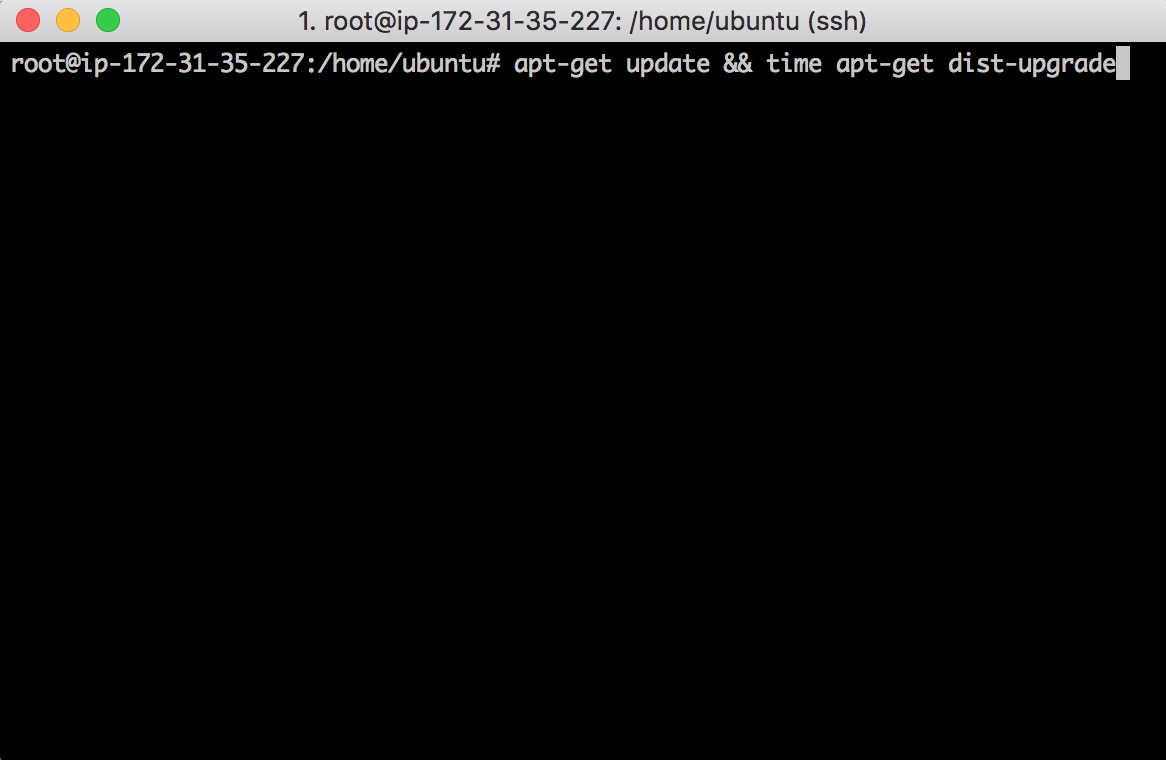
and type y and enter to finish upgrading packages.
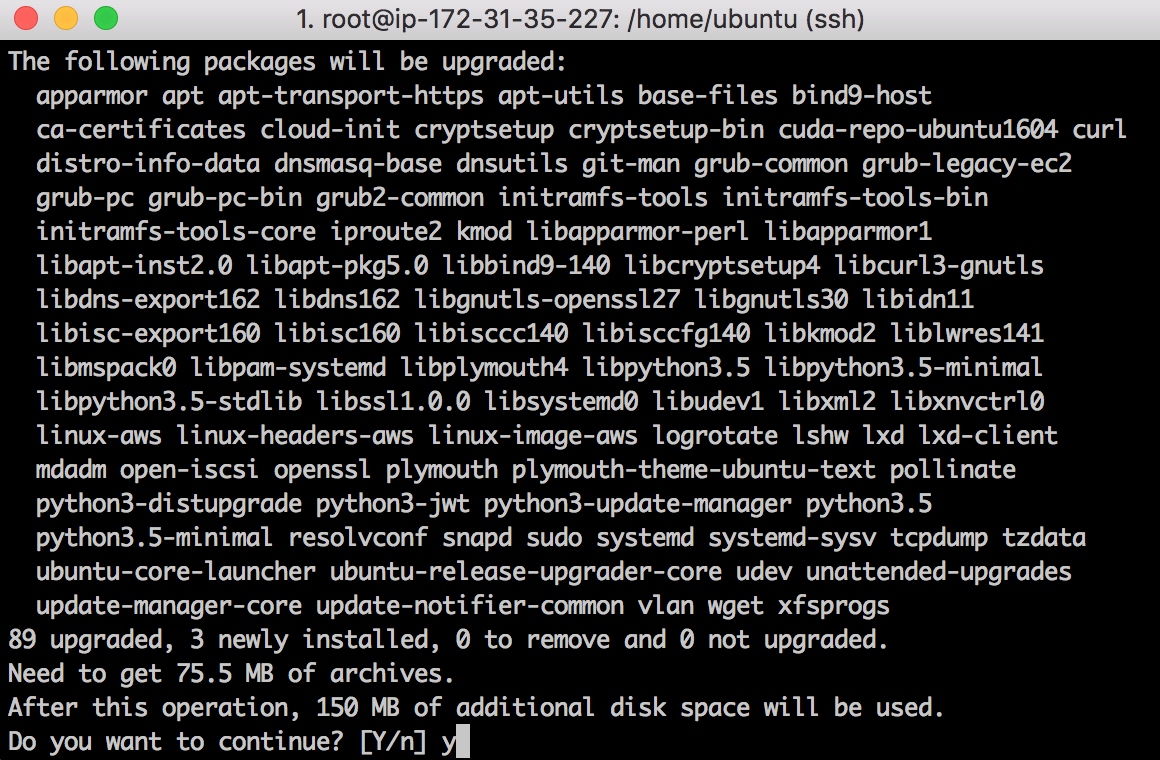
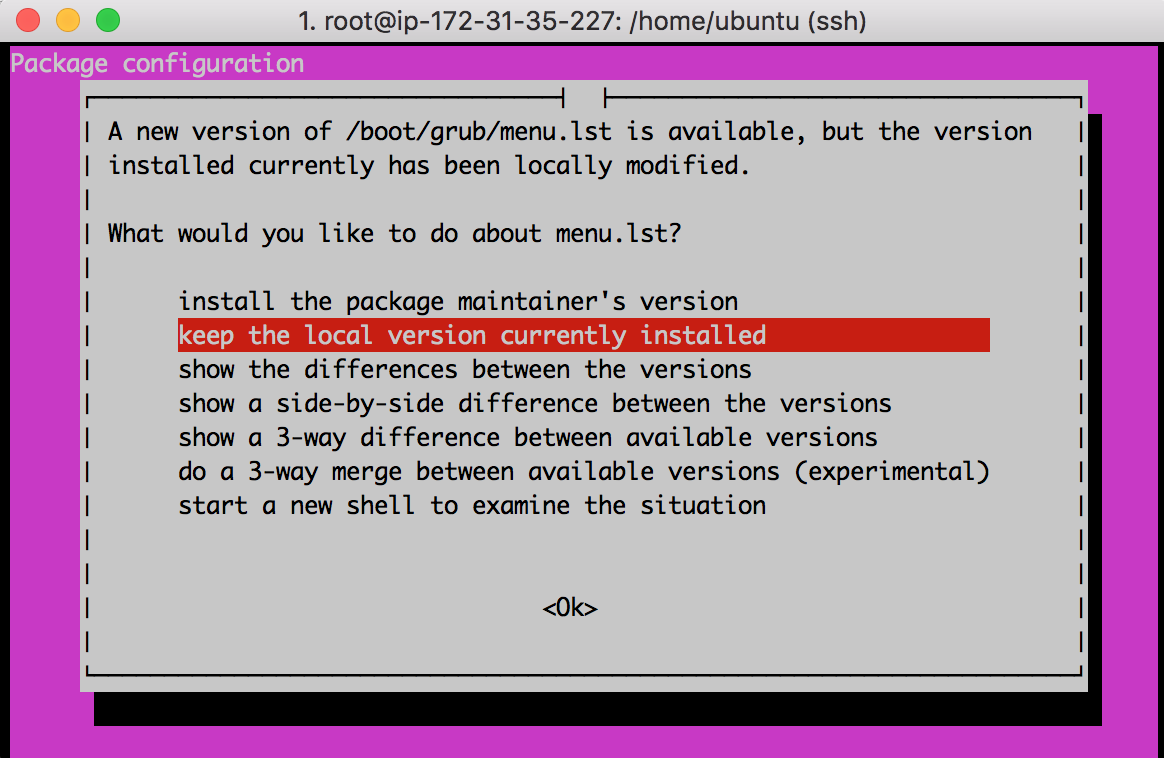
Some special configuring might be requested of you. Just ?OK? the default options.
d) install bfgminer for mining bitcoins.
apt-get install bfgminer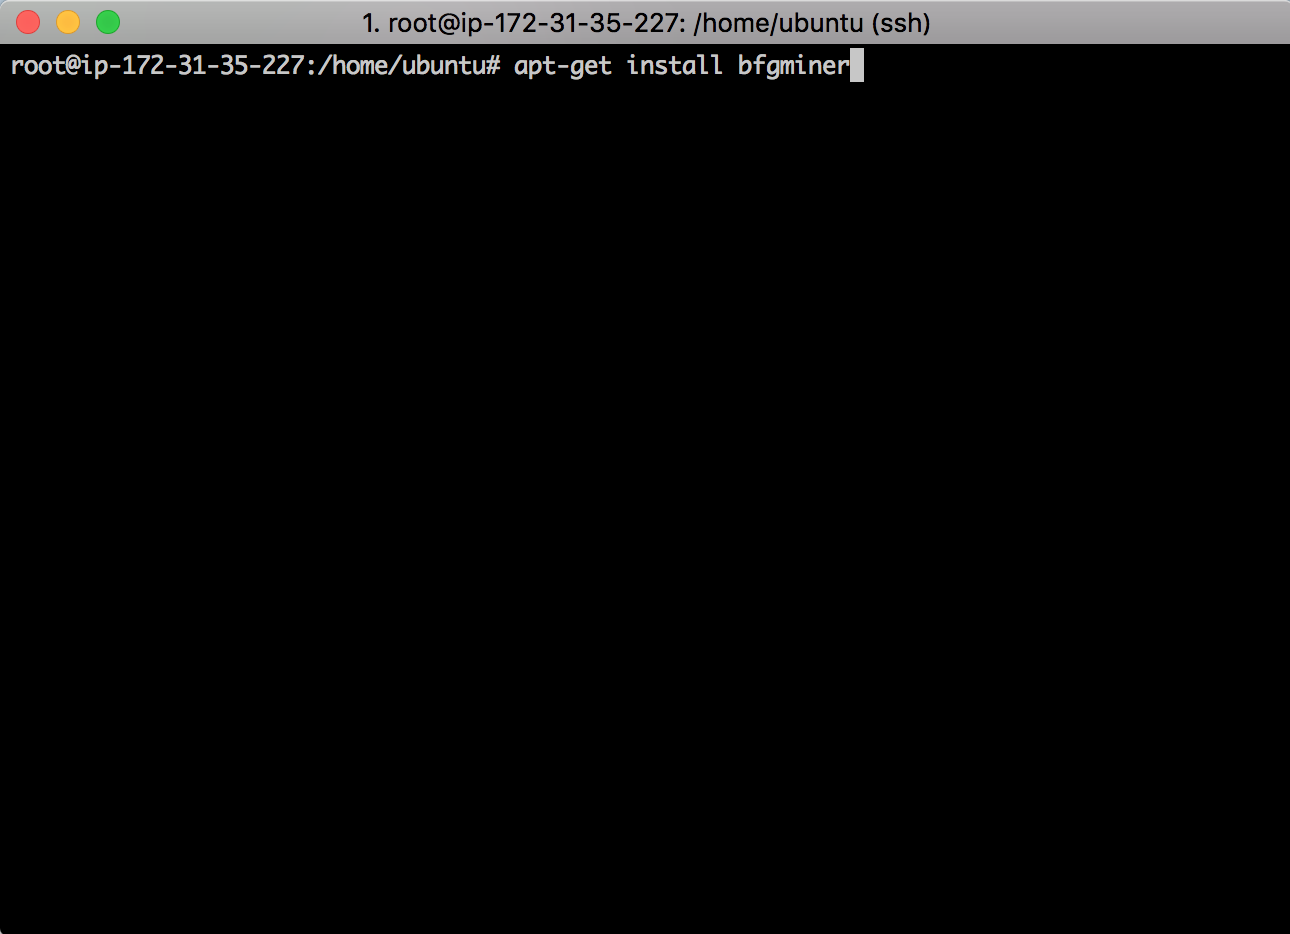
And we have our setup!
Step Nine: Create a bitcoin wallet
Now, in order to receive any sort of reward or payout for our mining, we?ll need an address to send our coins to.
By far, Coinbase has the most popular wallet/US exchange right now. As an Ethereum enthusiast and developer, I?m most familiar with Coinbase.
a) Signup for Coinbase.
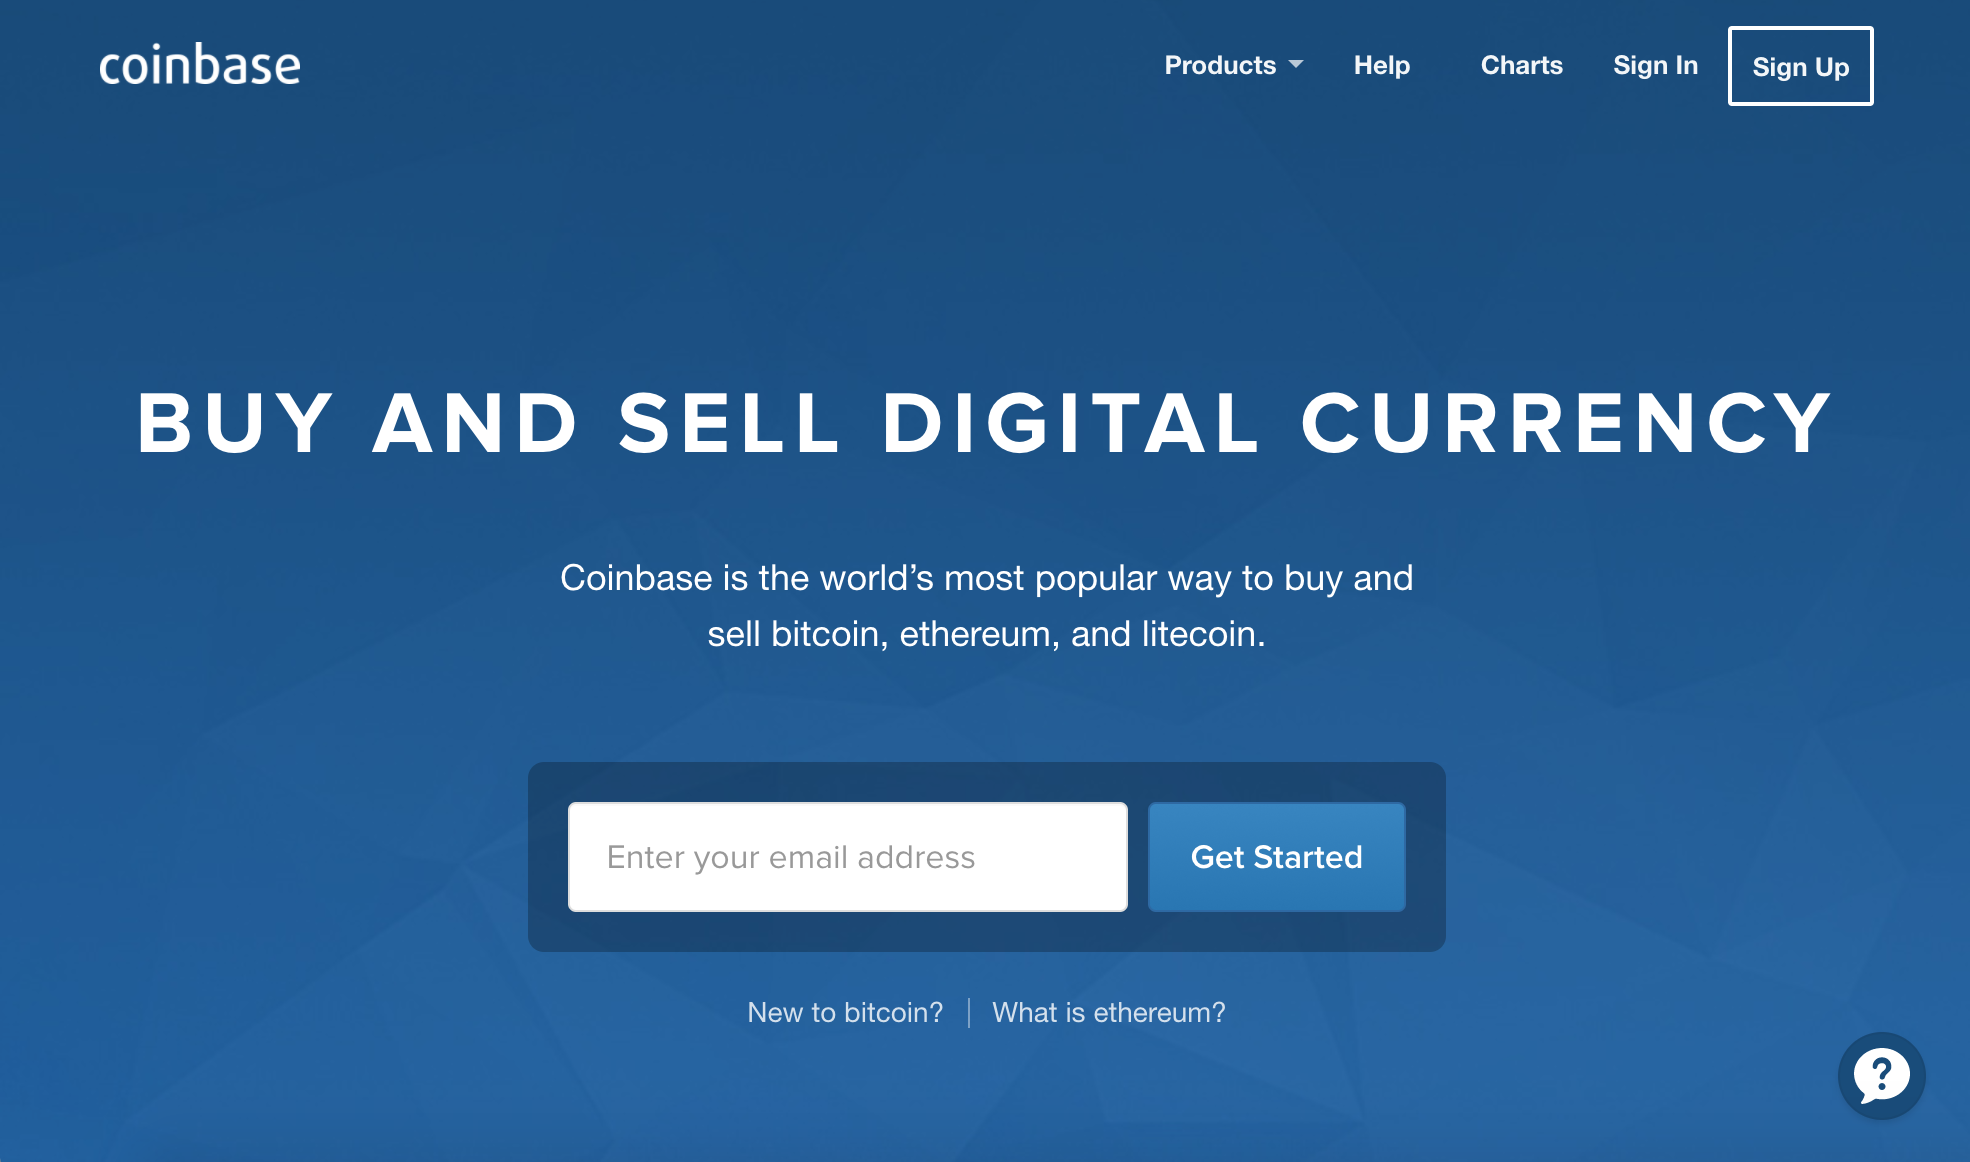
However, Coinbase doesn?t allow you to mine directly to their wallets? addresses (most likely, because every once in a while the addresses change).
I still think it?s a good idea to keep Coinbase as your primary wallet, but the verification process can be a bit lengthy. Since we?ll still need a secondary address to link to our miner, I recommend using JAXX. (Feel free to use whichever wallet you?d like, though!)
b) Sign up for JAXX.
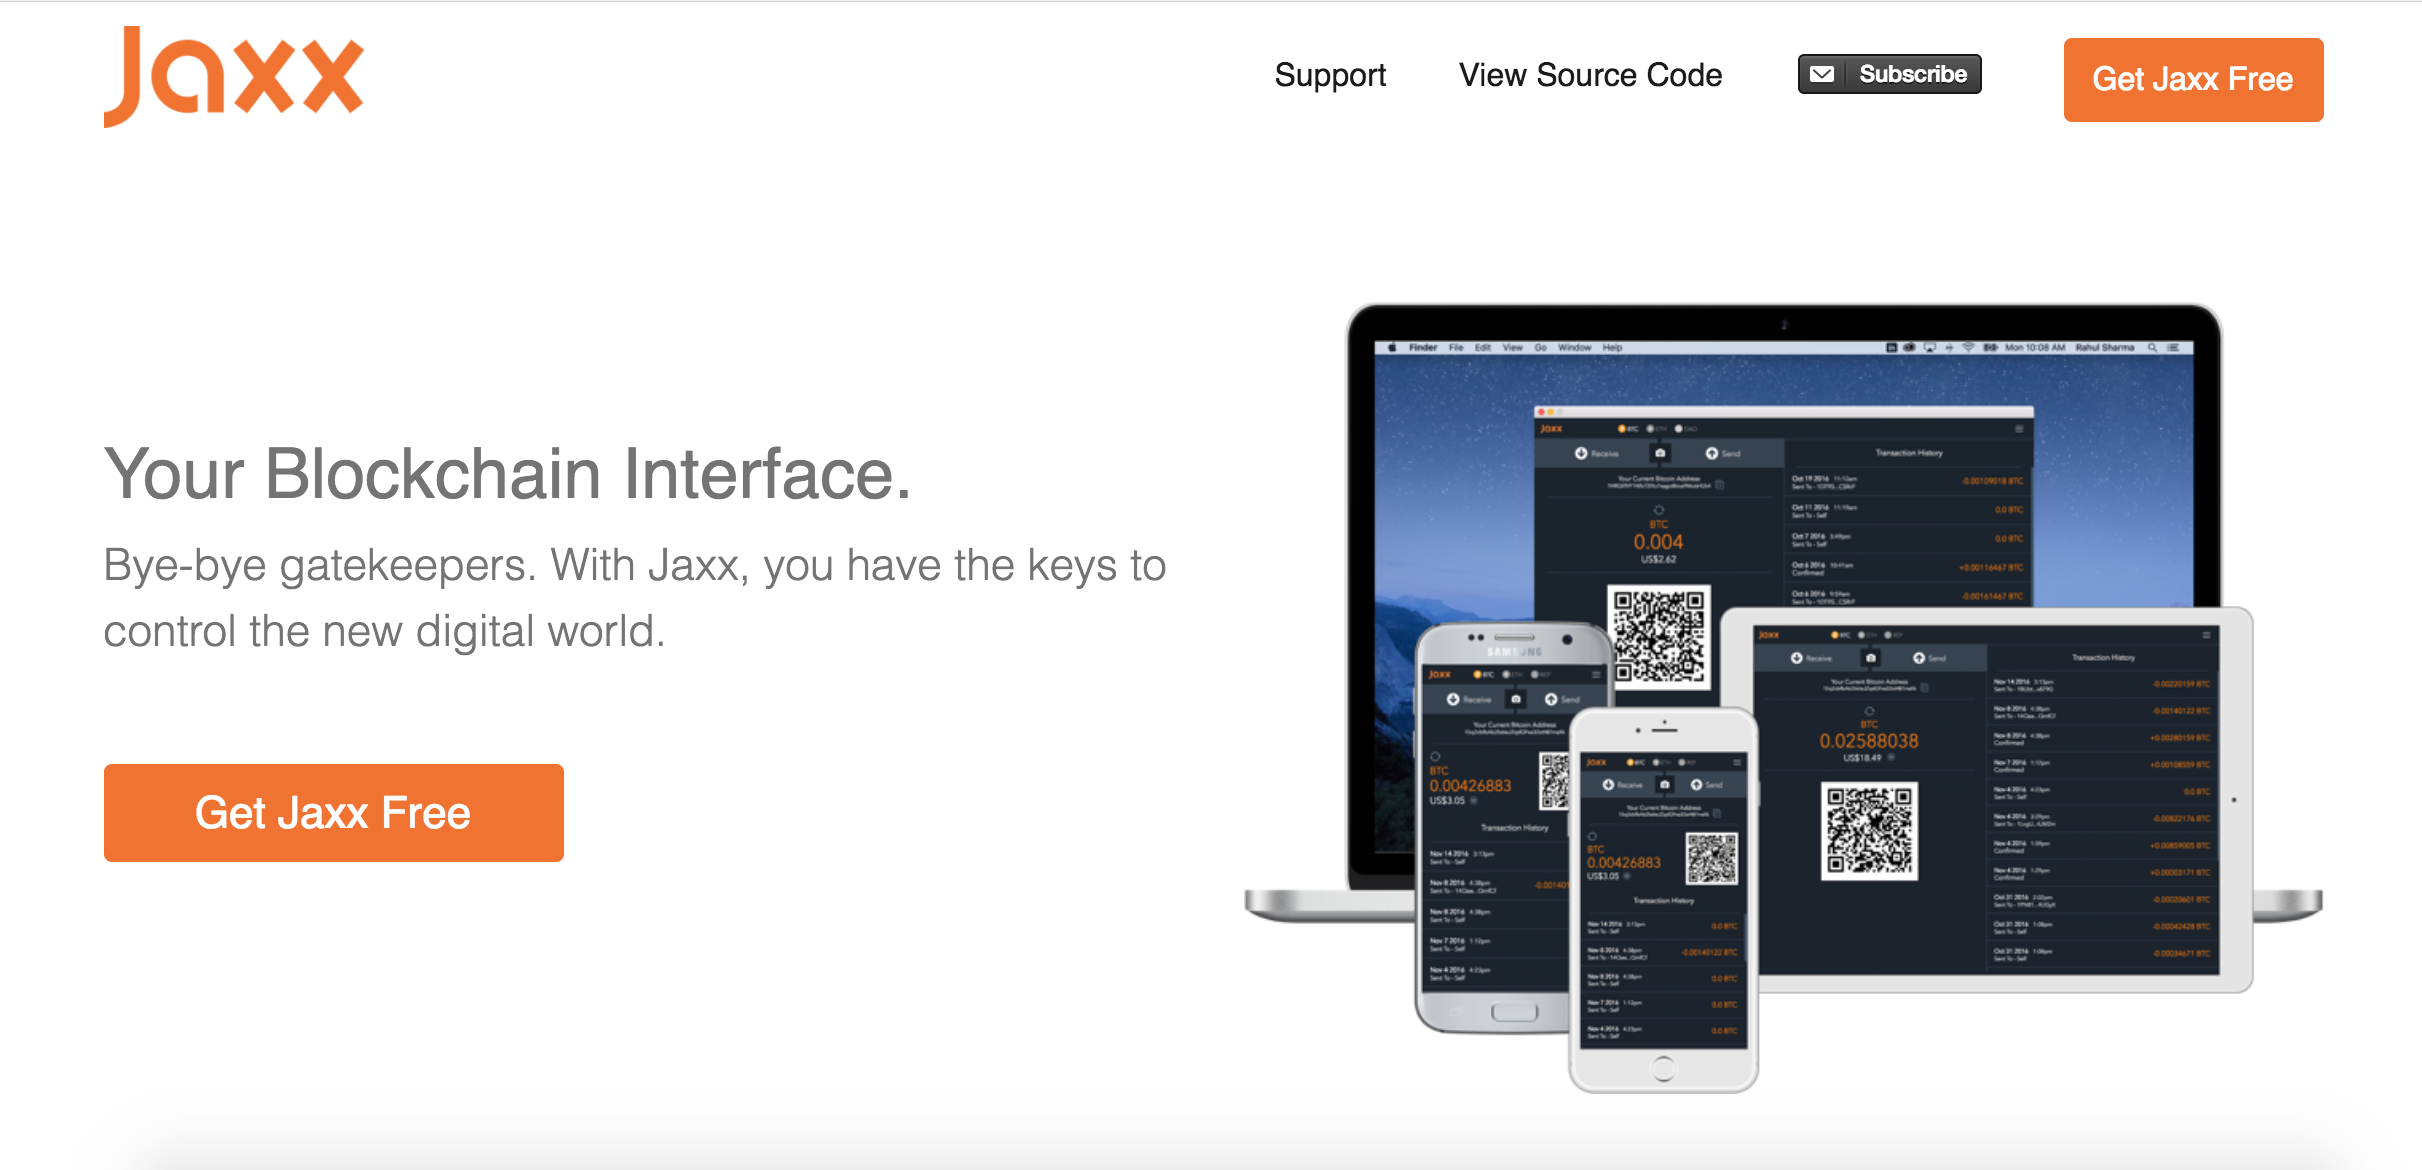
You can download the JAXX app for any device and create a wallet in minutes. From there, you?ll have a public bitcoin address you can mine to.
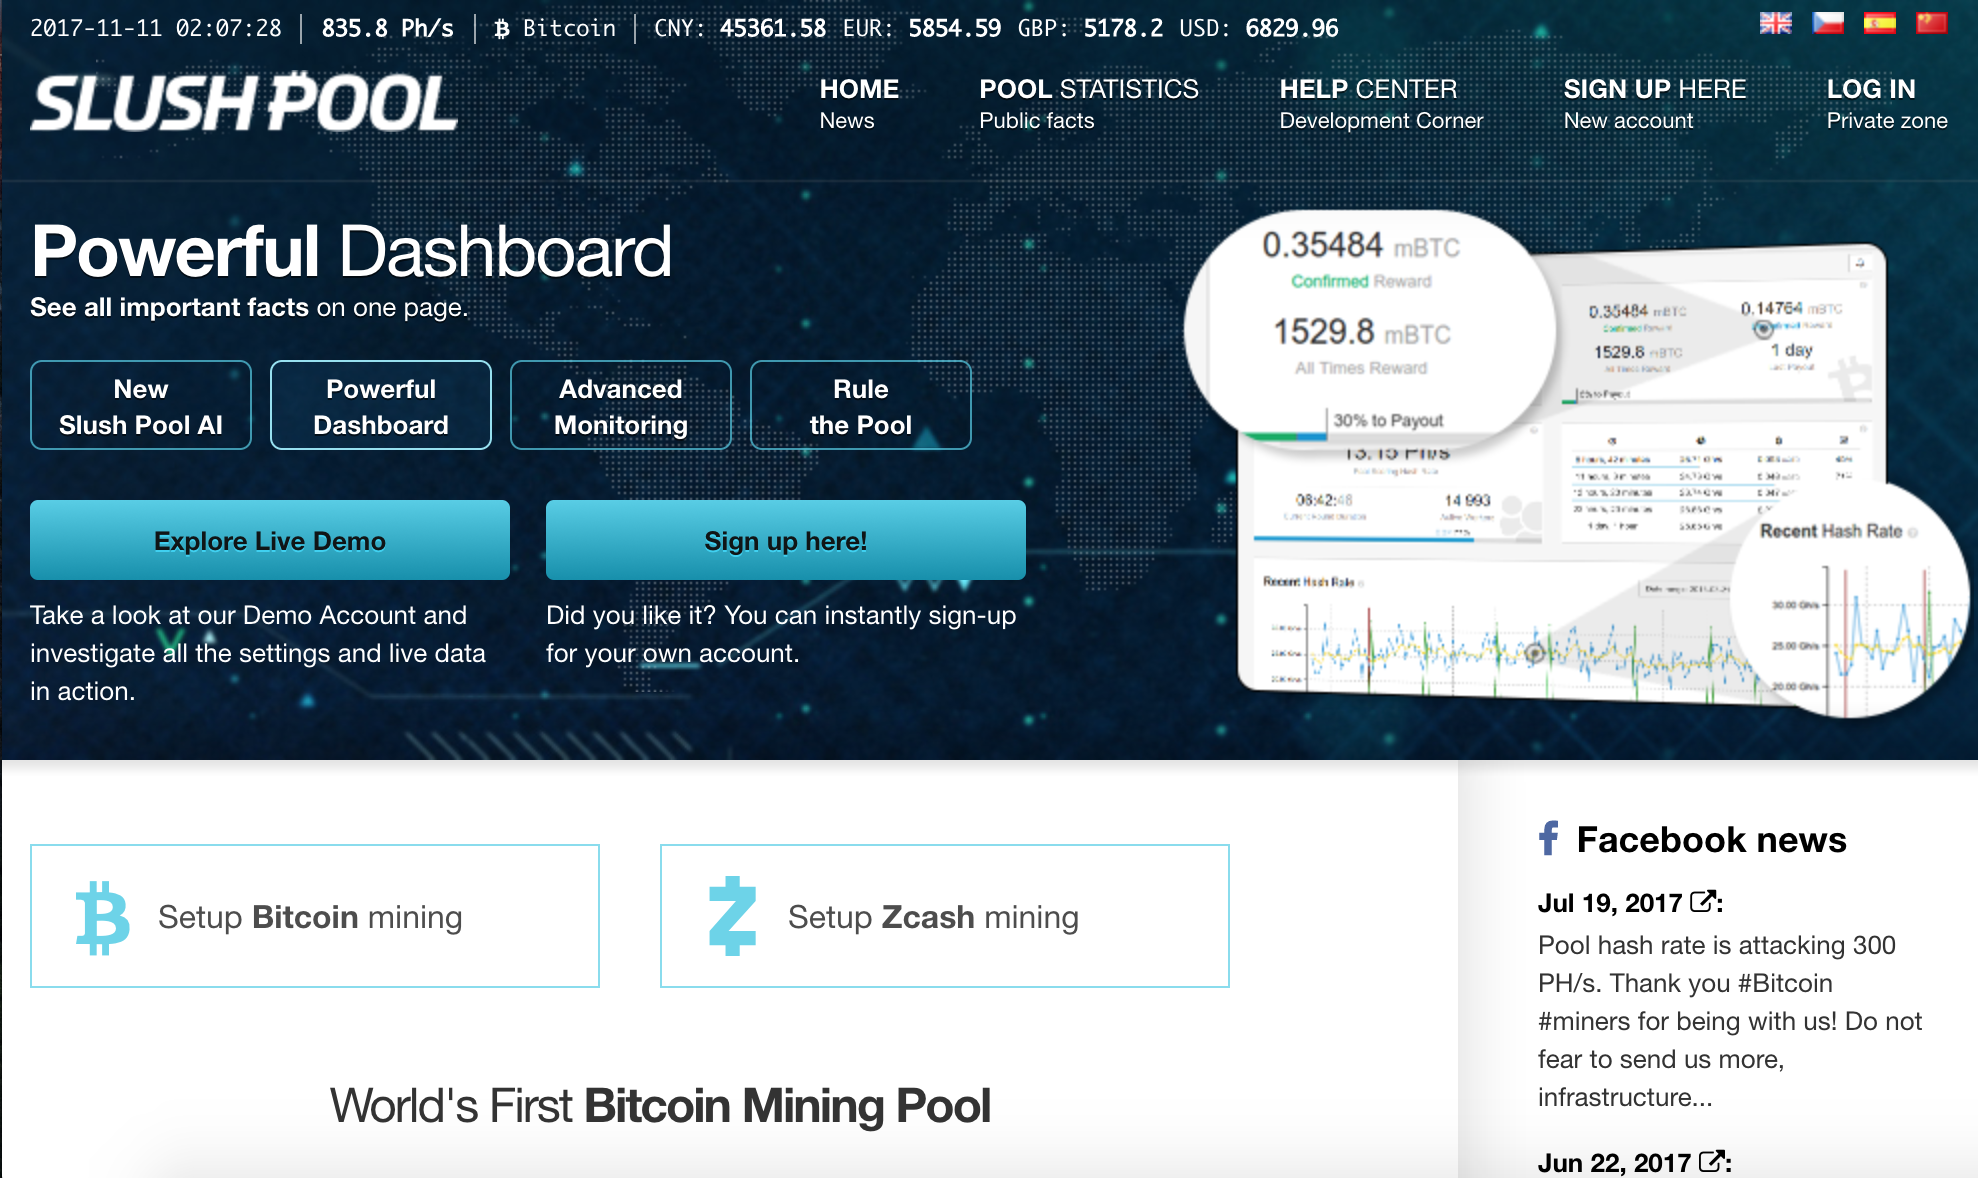
Step Ten: Join a mining pool
In the past few weeks, I?ve come across tons of great mining pools ? Dwarfpool and Minergate, for example. However, I think for GPU mining bitcoin, Slush Pool has a great interface, great service and useful dashboard to understand what?s going on.
a) Join Slush Pool.
b) Navigate to my account.

c) Create a new worker.
Choose Workers from the top nav and name a new worker something cool, using the permitted character types.
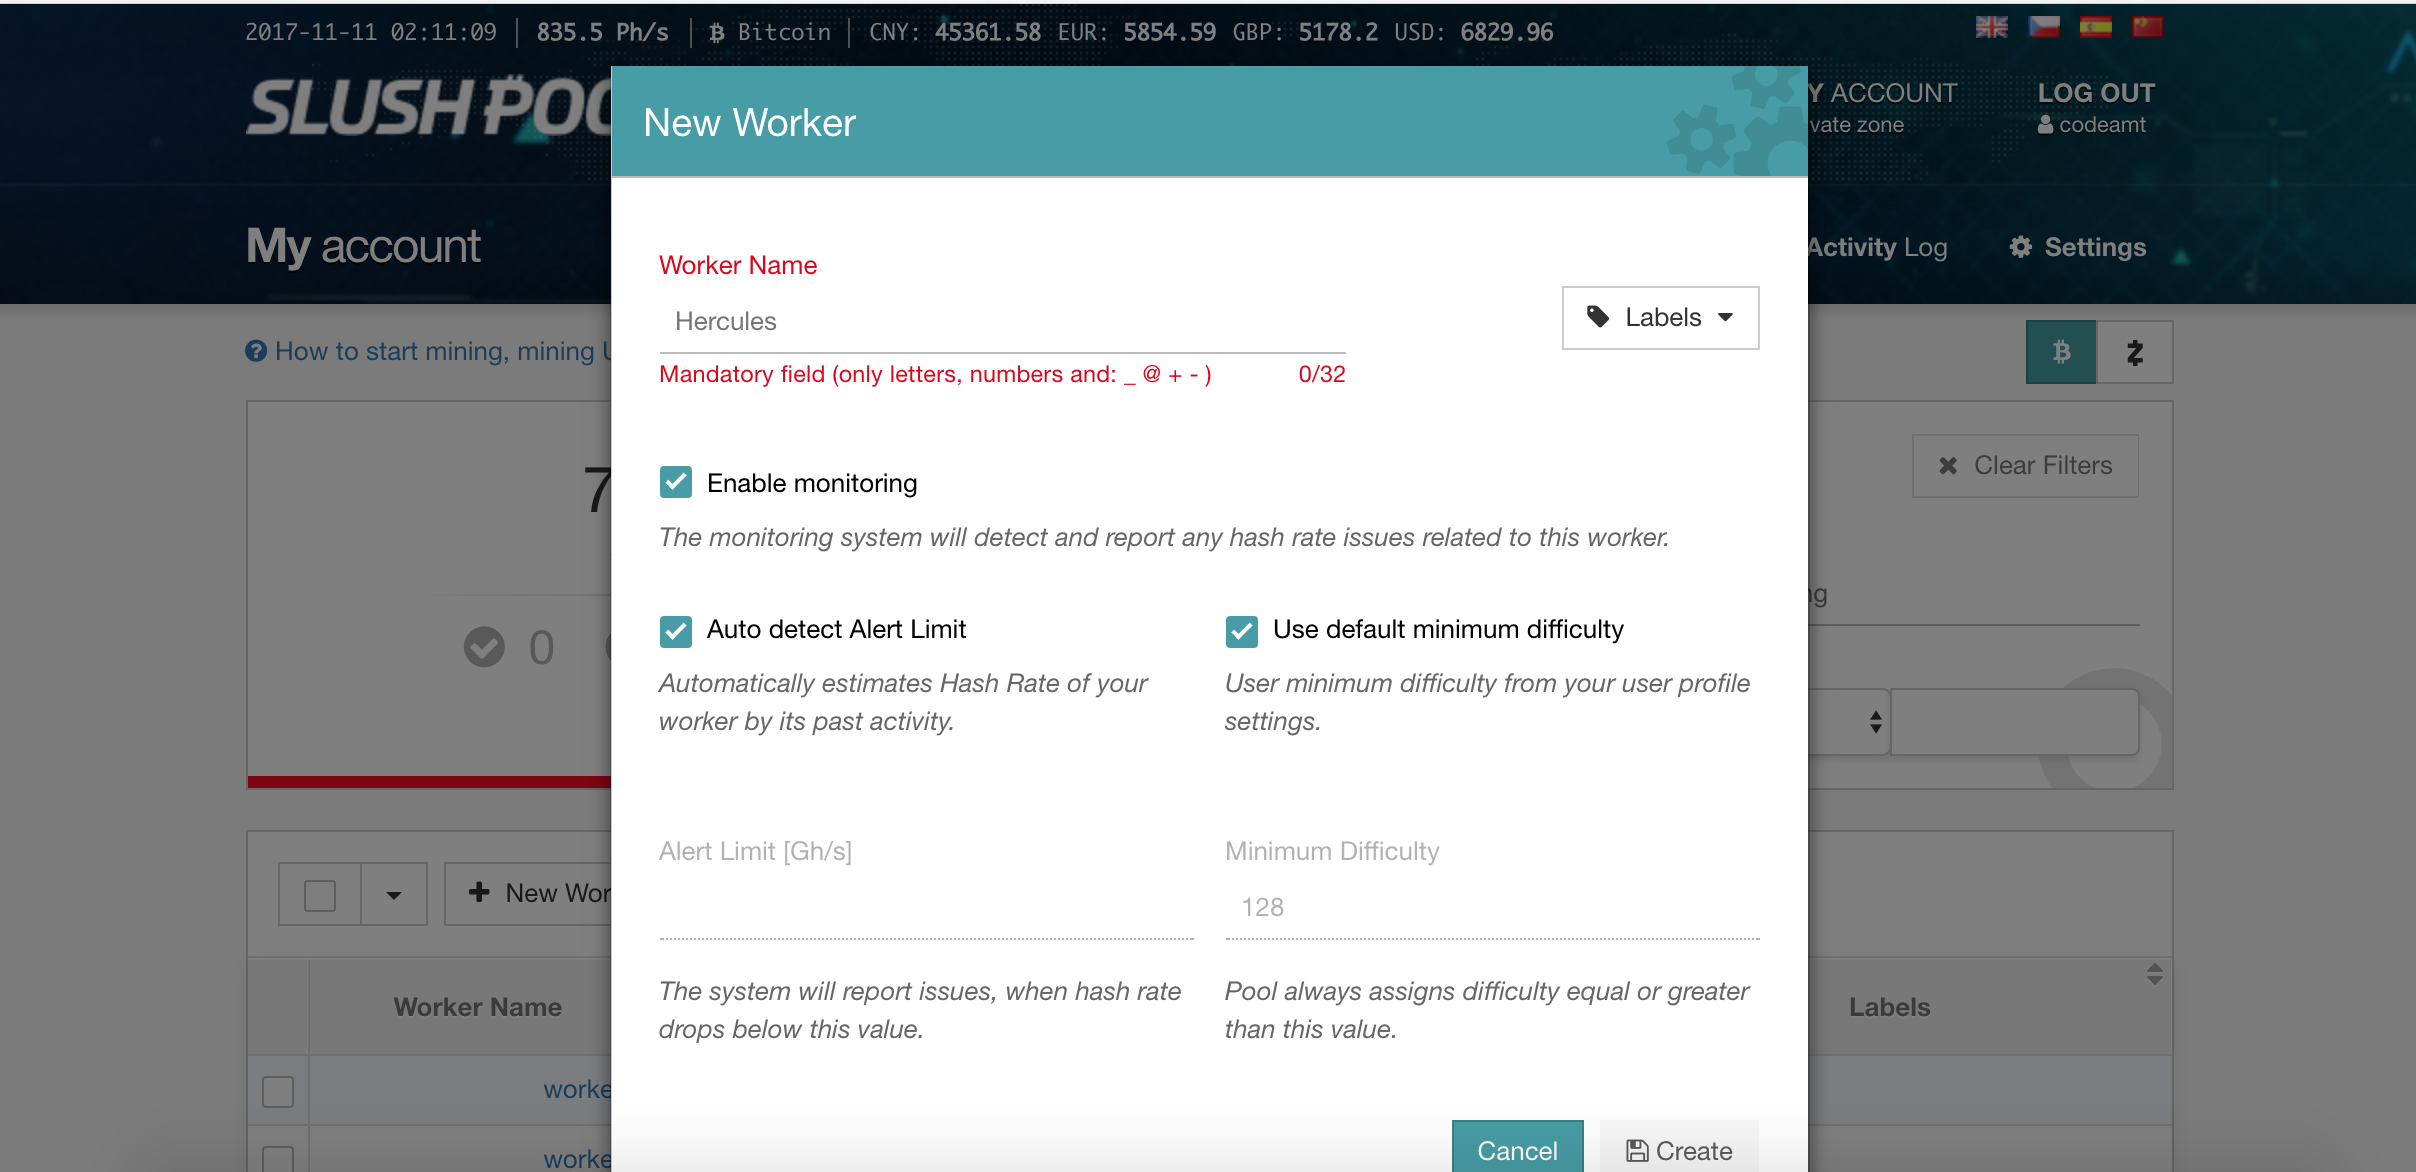
Click Create.
Now navigate to Settings and add your wallet address for payouts.
Step Eleven: Start Mining!
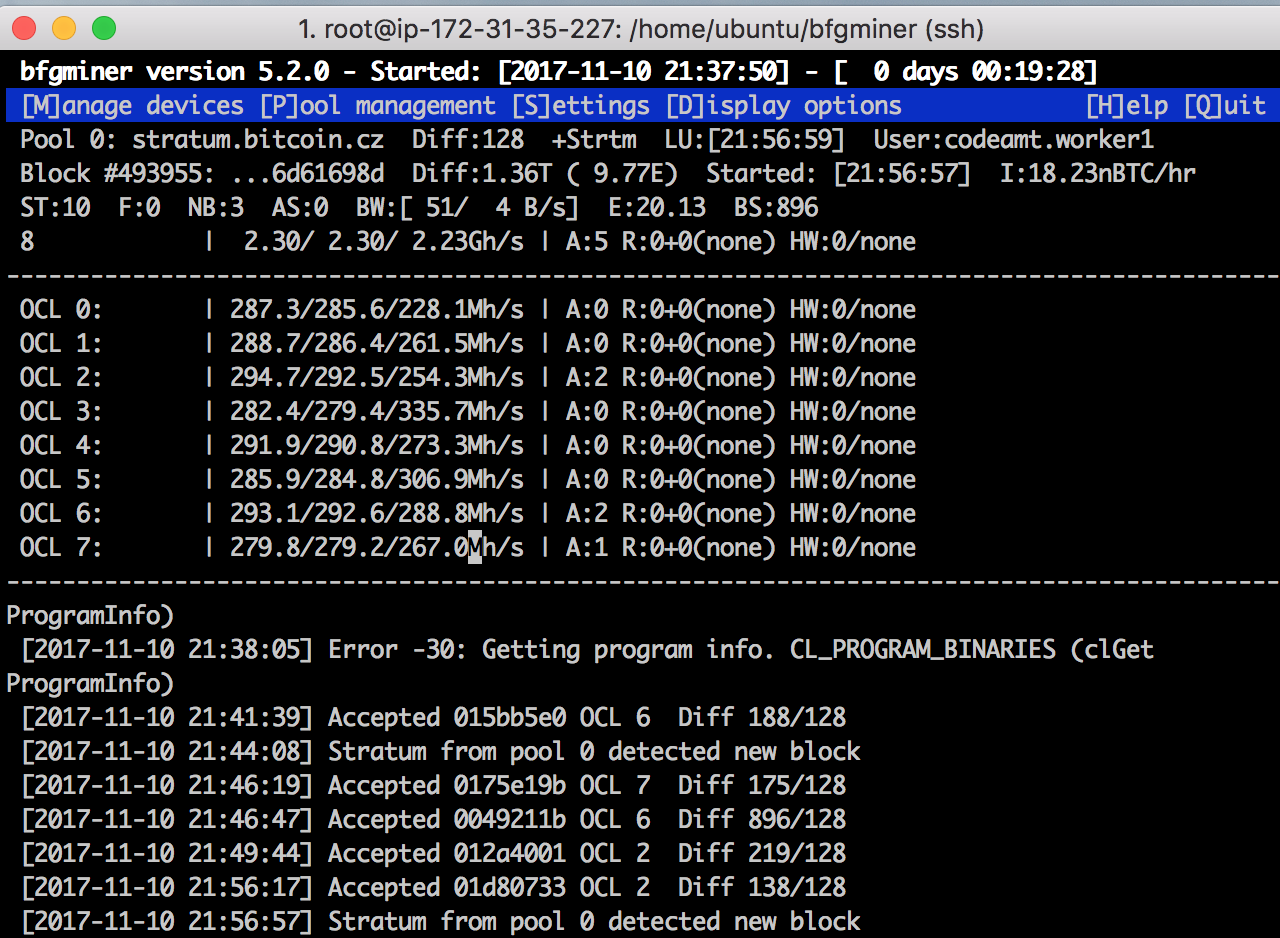
a) Start up bfgminer.
Now that we have a pool username and a worker, we can start the bfgminer.
To run the miner, type:
bfgminer -o stratum.bitcoin.cz:3333 -O your_username.your_worker_name:x -S opencl:auto
And it?s going.
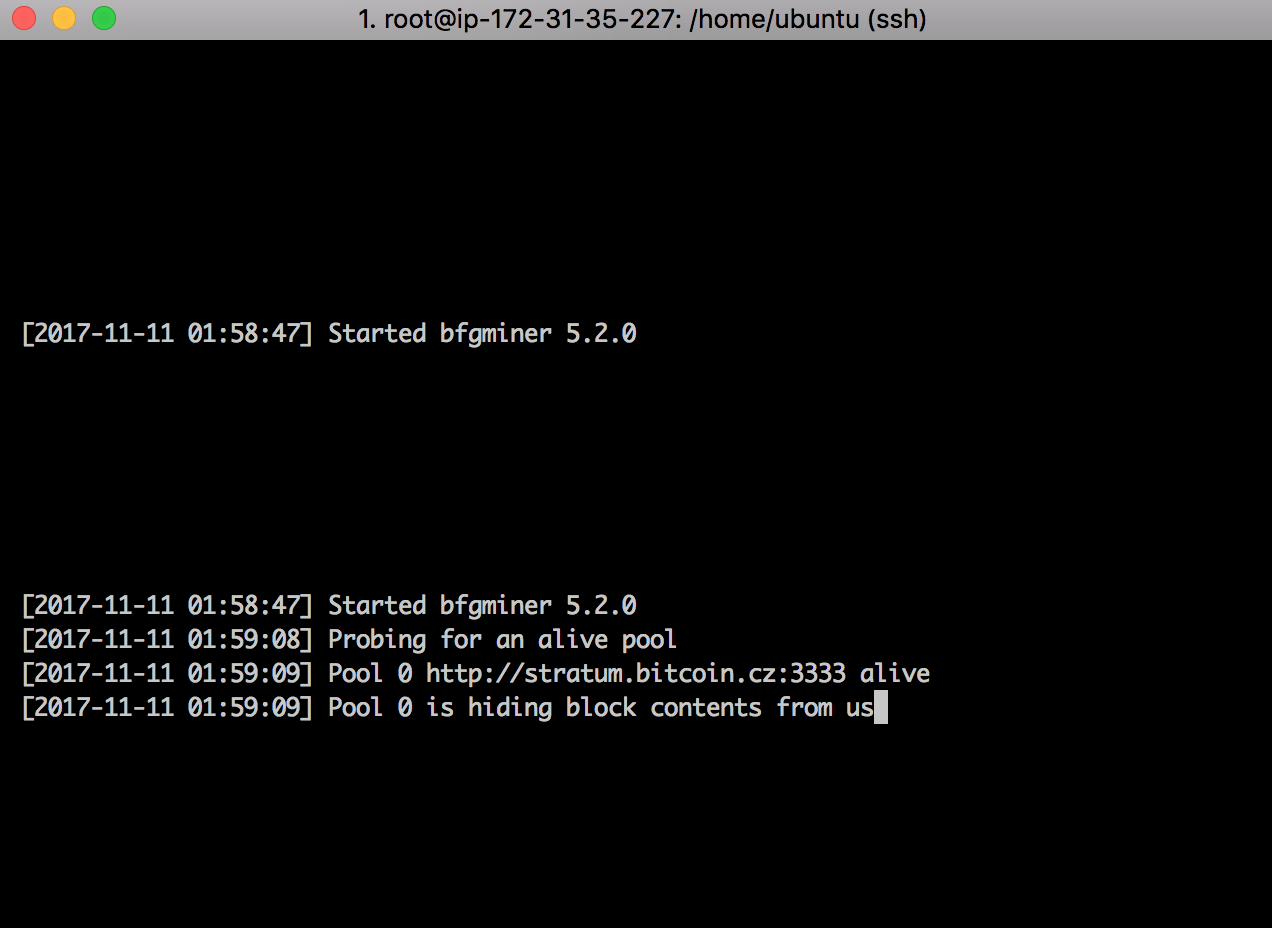
Don?t mind the error we get. After a few minutes, you?ll notice that your getting some shares!
The Hashing Speed isn?t out of this world, but better than I expected (quite honestly).
And grabbed a few block shares with fairly high difficulties! Highest accepted share difficulty: 12.2k!
After giving it some warm up time, my slush pool clocked me in at a peak speed of about 4.121 Gh/s!
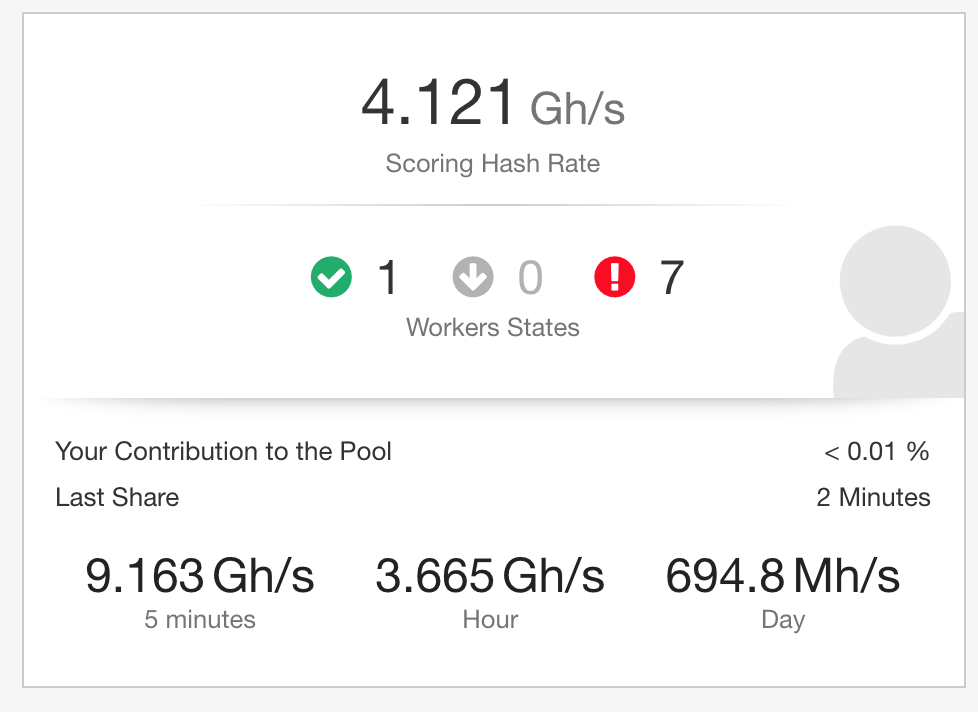
Not bad! Minuscule in comparison to an ASIC miner, but moving. Some hours of mining only yielded about .00000007 BTC. (Not profitable.)
Welp. I might just have to stick with ethminer or minerd until I can get more GPUs.
Some Closing Thoughts?
In my downtime, I?m going to play around with the hashing algorithm to see if I can?t get more speed. I?ve just joined a deep learning specialization on Coursera, so this served as some good practice for me. I?ll keep you posted on any progress with BTC GPU mining.
If you appreciated this post, feel free to send me a tip in ether or bitcoin!
bitcoin address: 1ARn8yHJmeo8WvAebUJVuz2pfn7jfg6BLg
eth address: 0xcf8ee917fb71feddf9478d2c8a6ee22c51f8611d