A tutorial by Charlotte Rantz
So you?ve got a group of friends who share a similar interest, and want to meet other people with similar interests and form a small community. This is a great way to form online connections from people all over. Discord is a great online platform that can host such a community.
(See end for my own thoughts and plans)
If you already have discord account, you can skip to step 2.
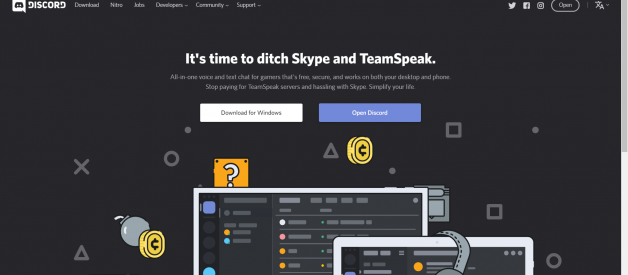
- Download:Step one is downloading discord. It?s pretty simple. Simply search https://discordapp.com/ in whatever browser you use and click the download option. This should allow you to create an account once it has been downloaded to your desktop, which works for both PC and Mac.

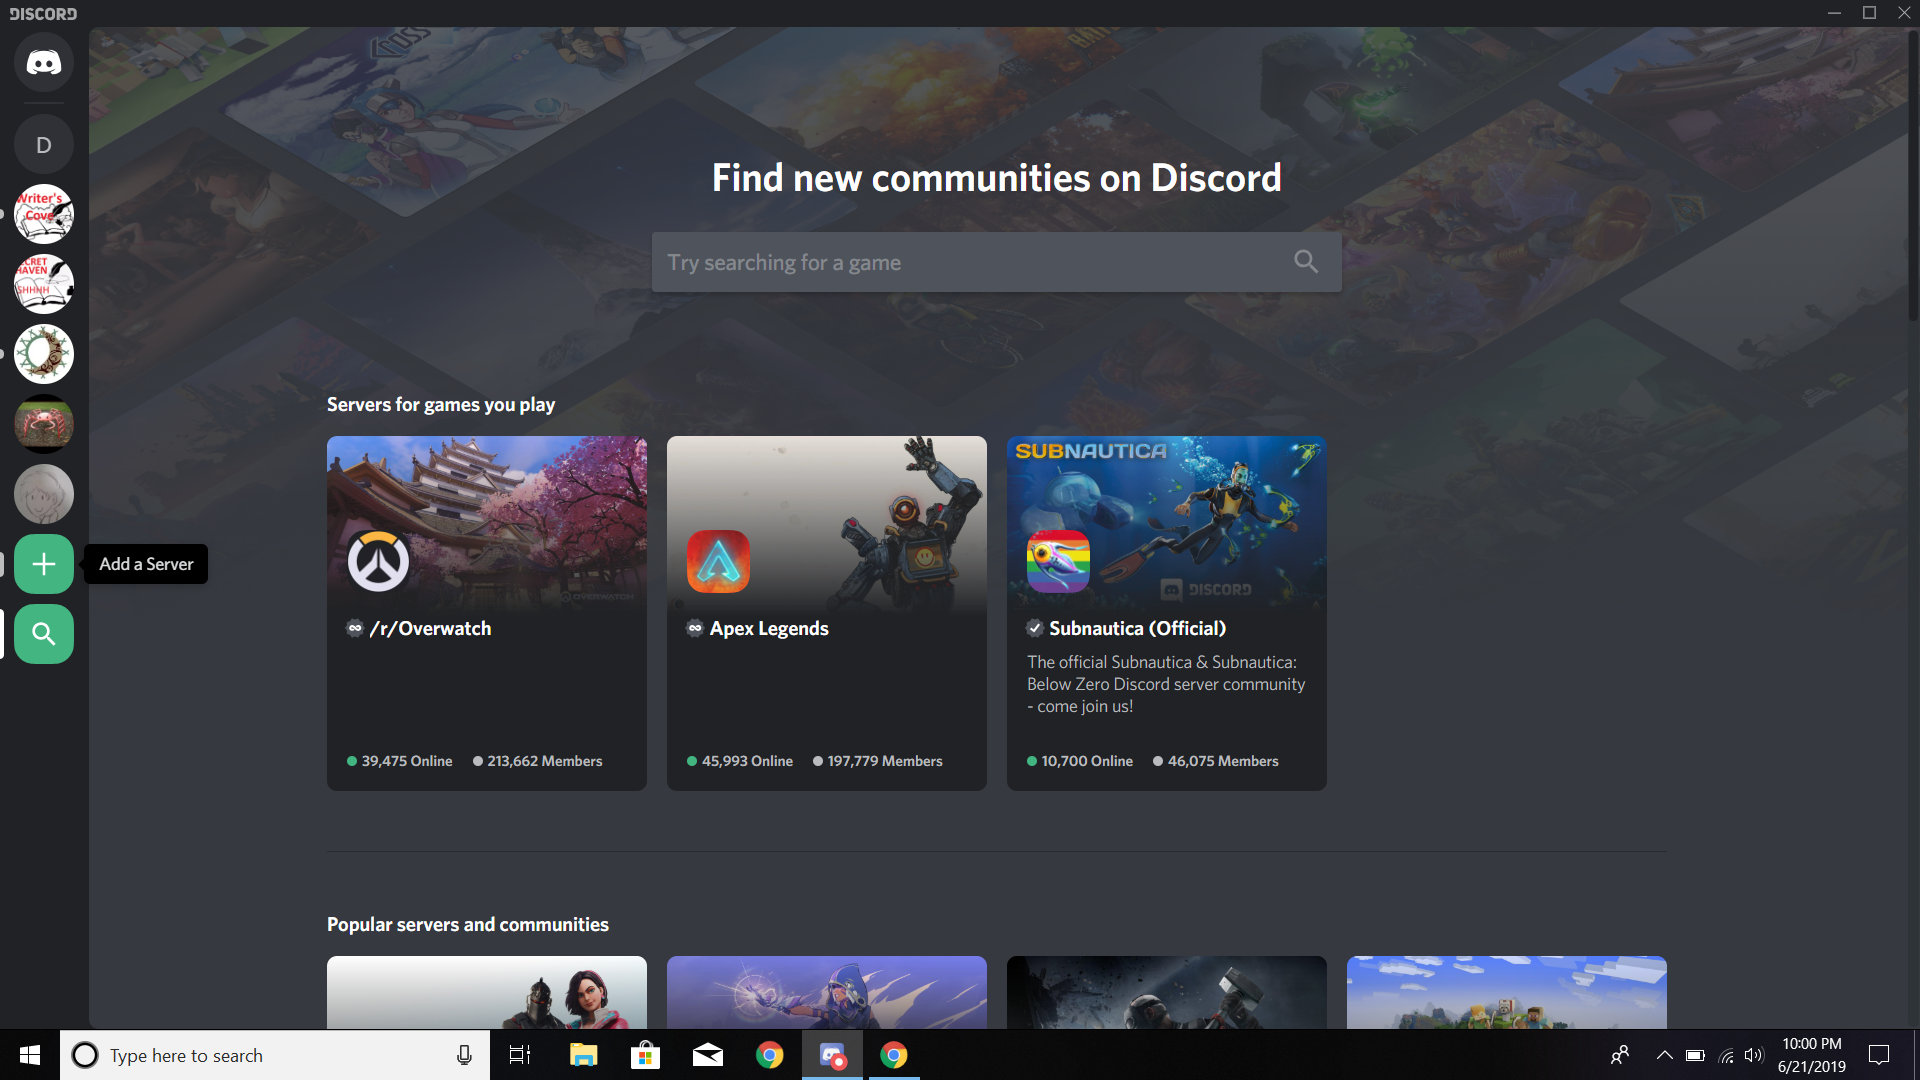
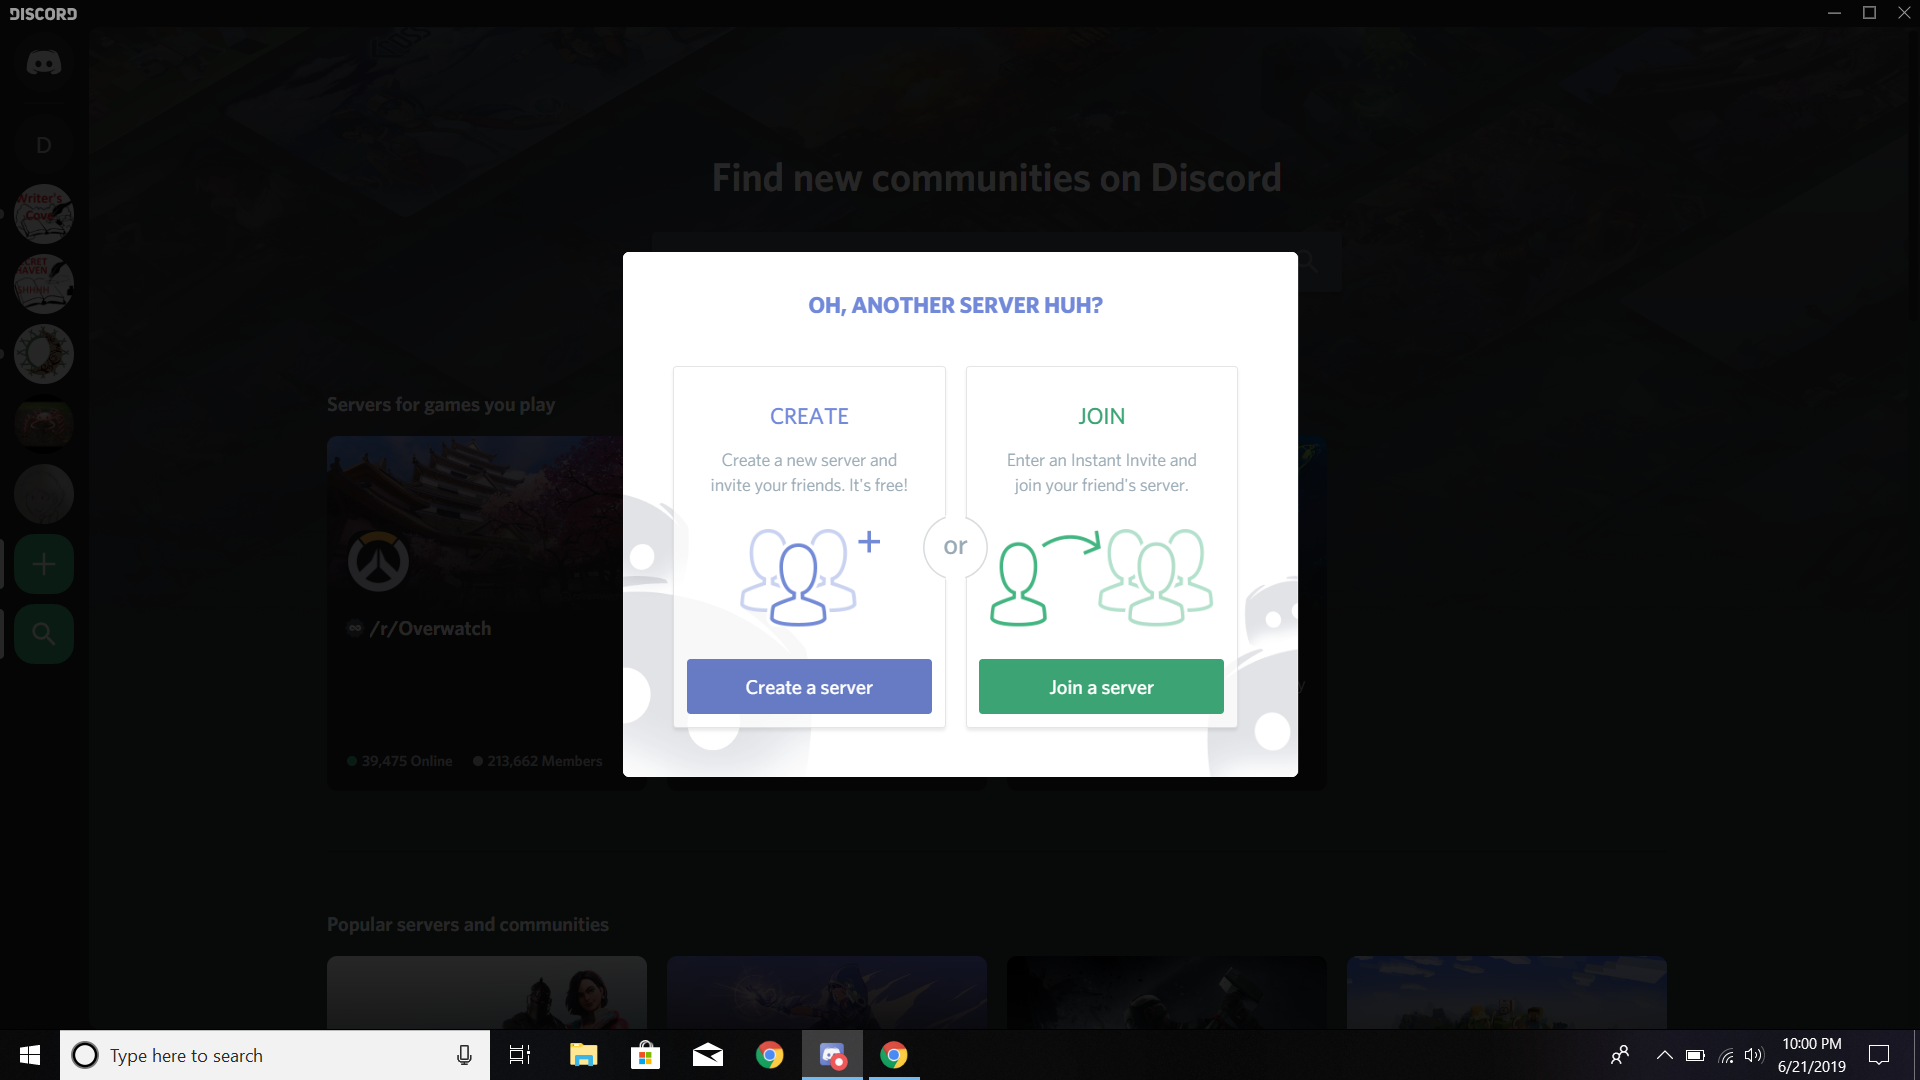
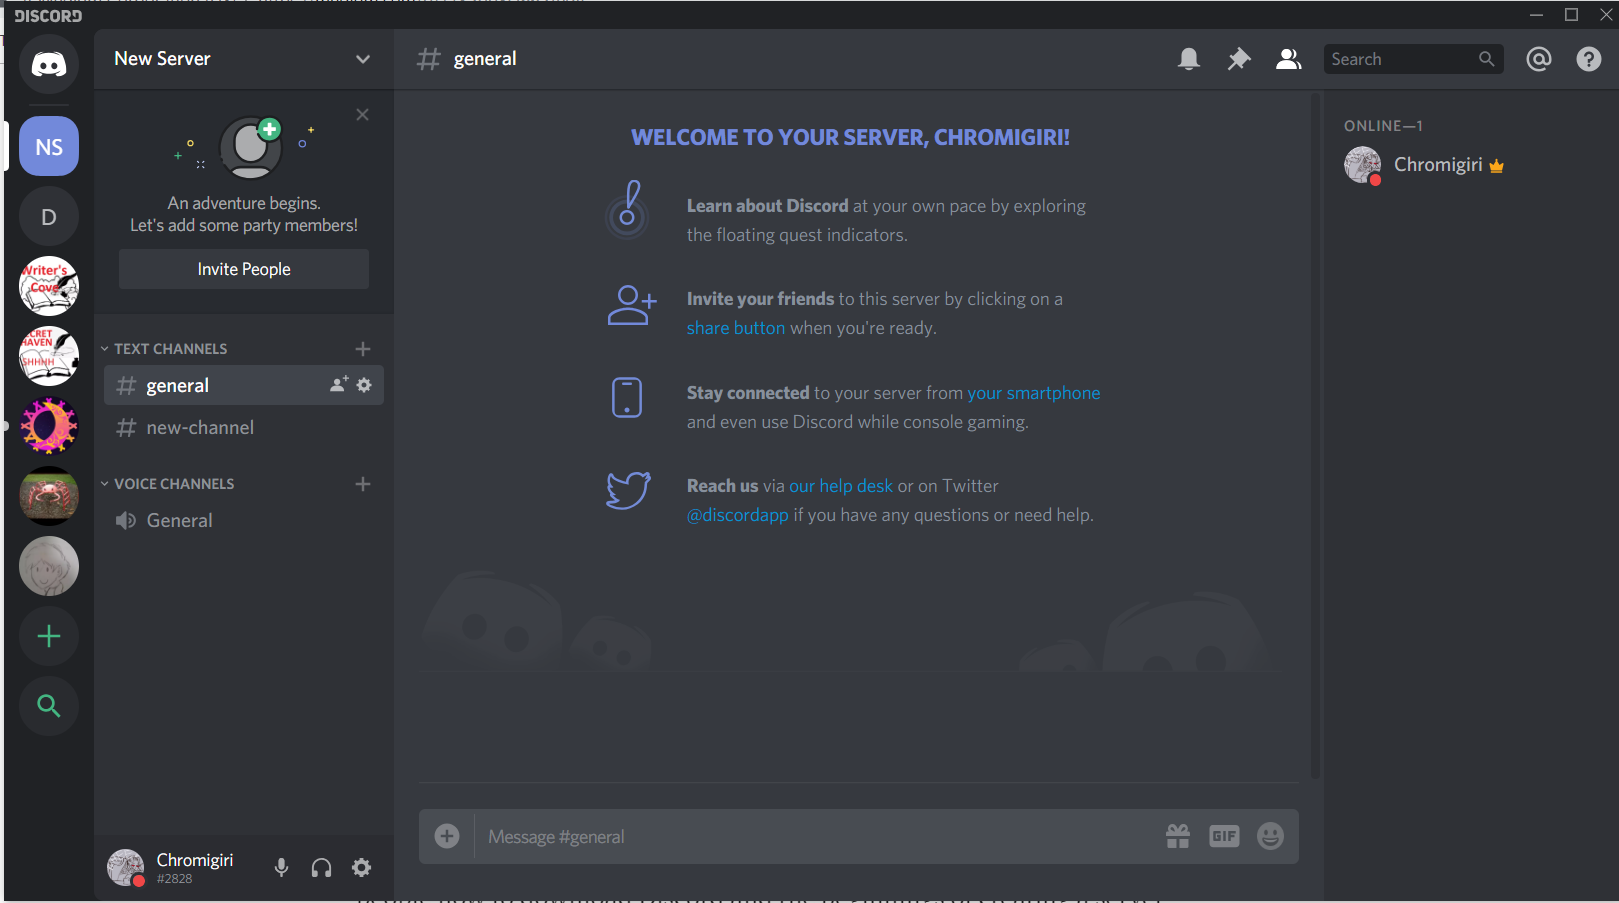
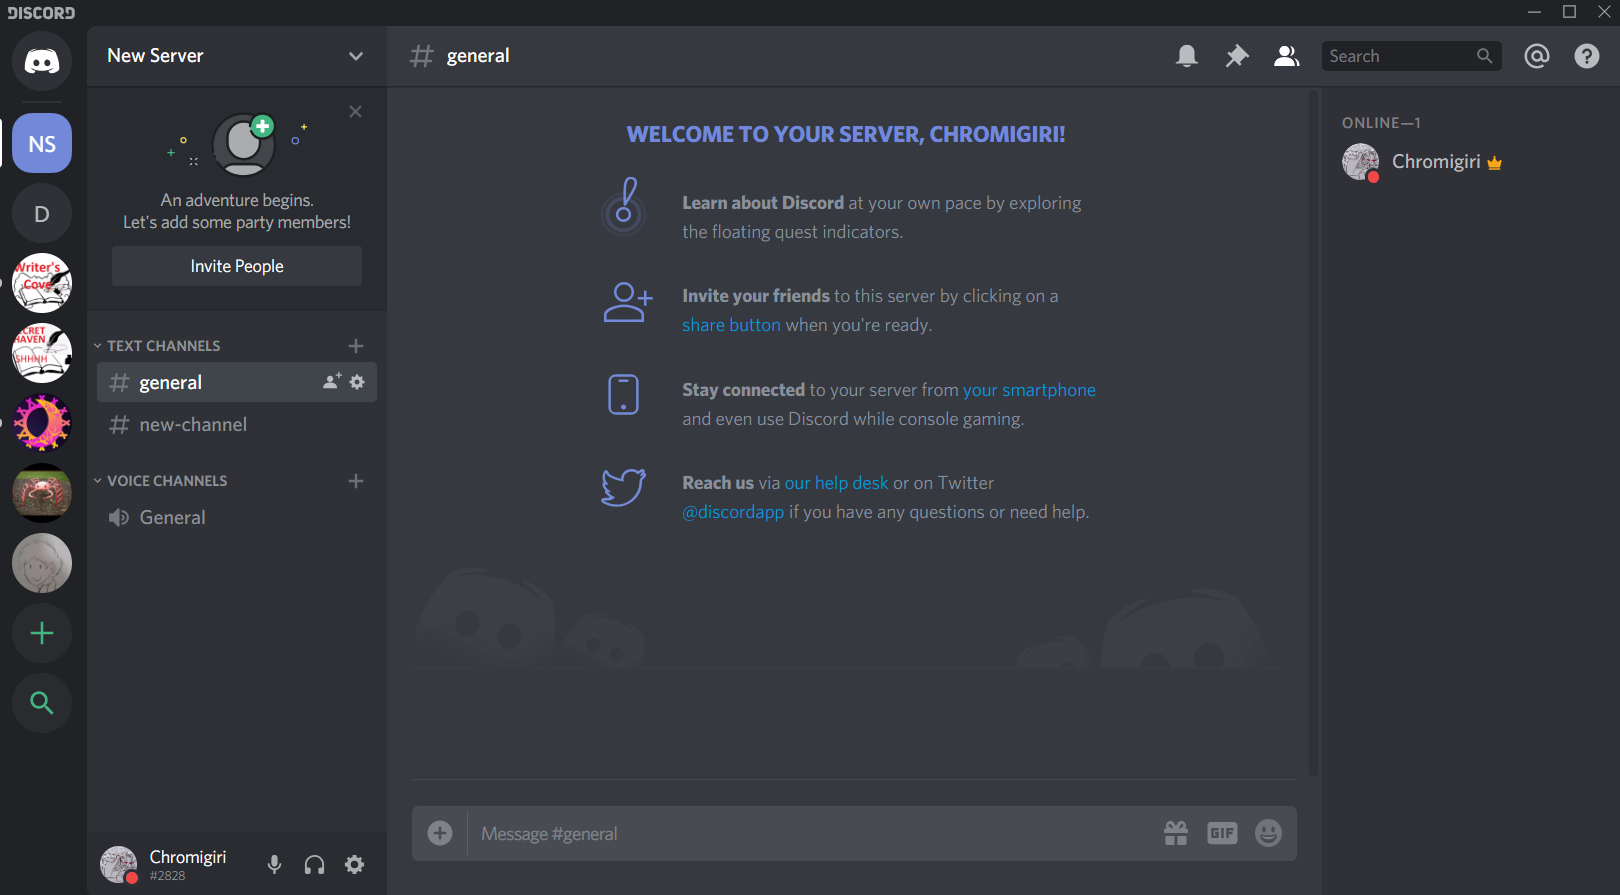
2. Creating a New Server: Once discord has been downloaded, and the app has been opened, click on Add a Server, which is the plus sign symbol on the left, and select Create A Server.
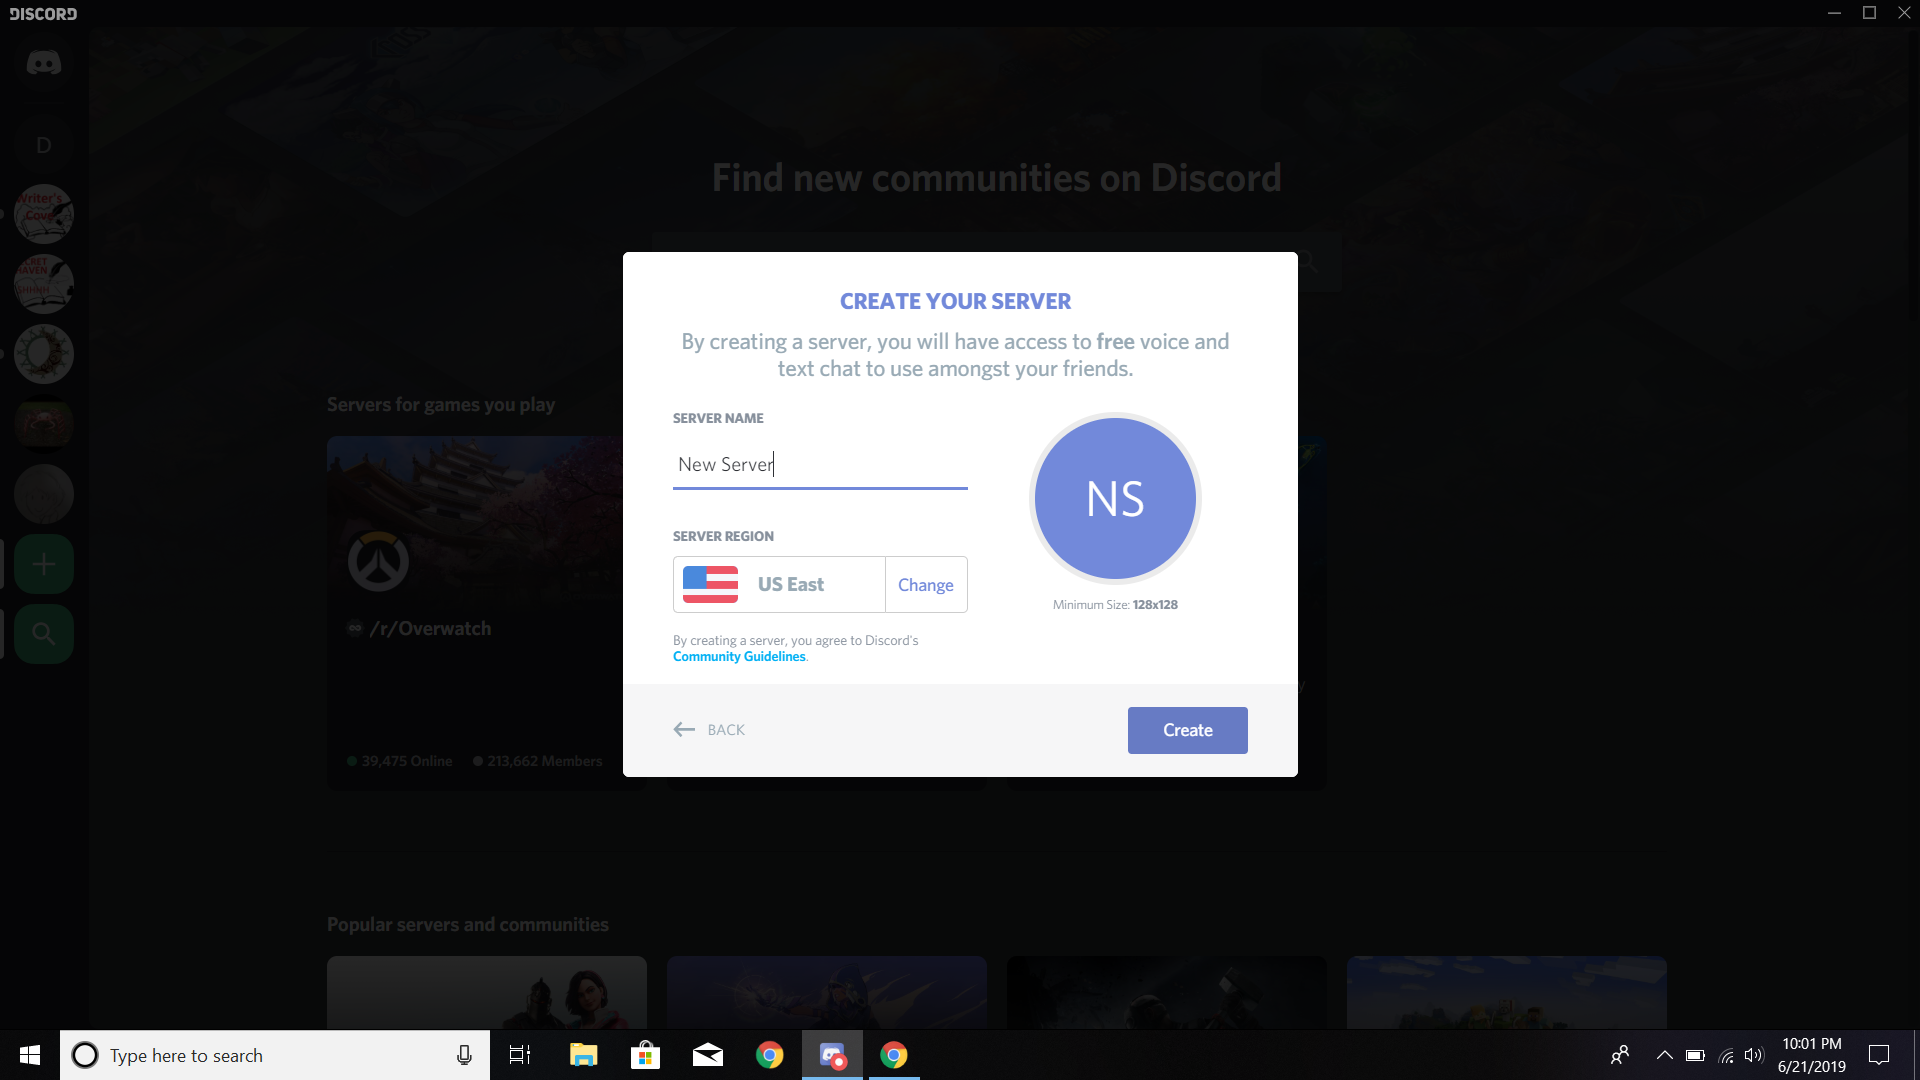
3. Customizing:Name your server. Give it a theme, icon, and region where the server is hosted, then hit create!
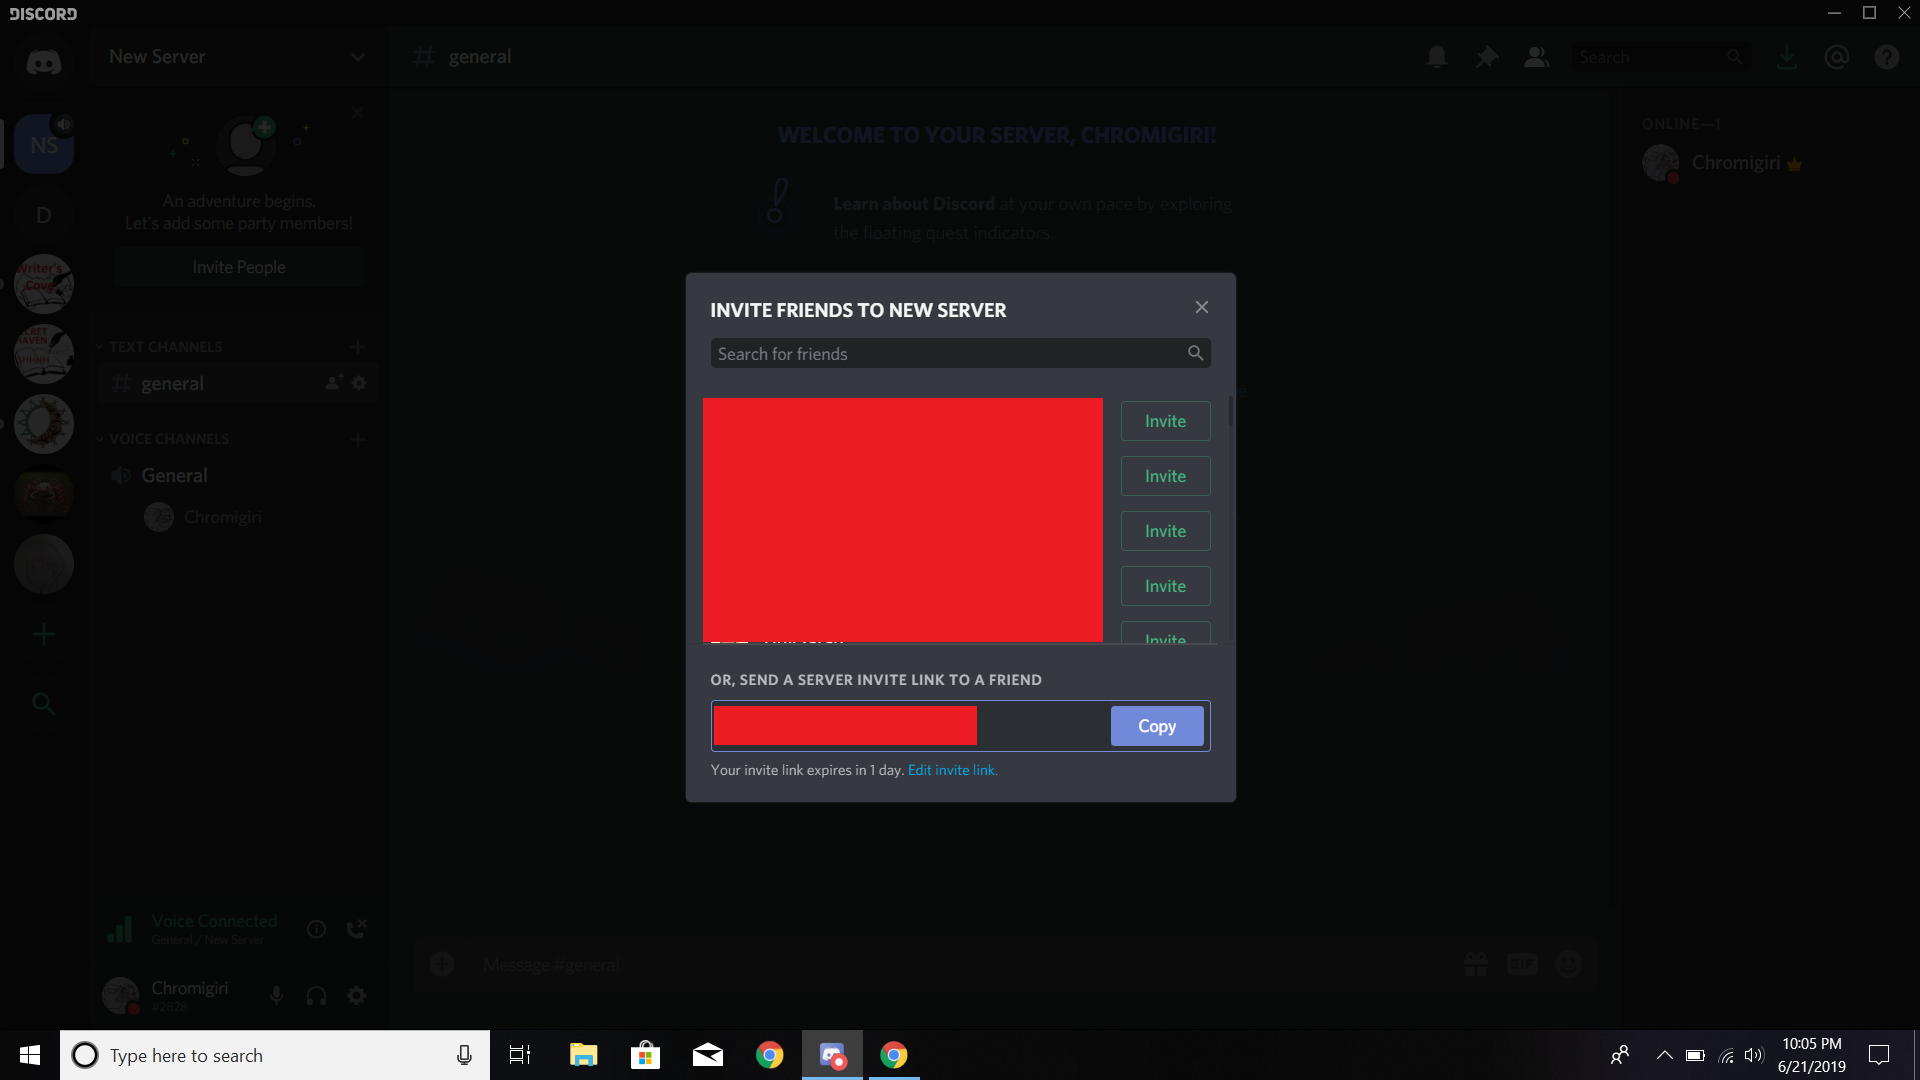
4. Invite friends. You can add more in the future, and you?ll receive a link that you can send out for people to join said server. You can make that link temporary, which will expire in 24 hours, or you can make it permanent and use it for advertisement to get other people to join!
 (Names and link edited out for privacy)
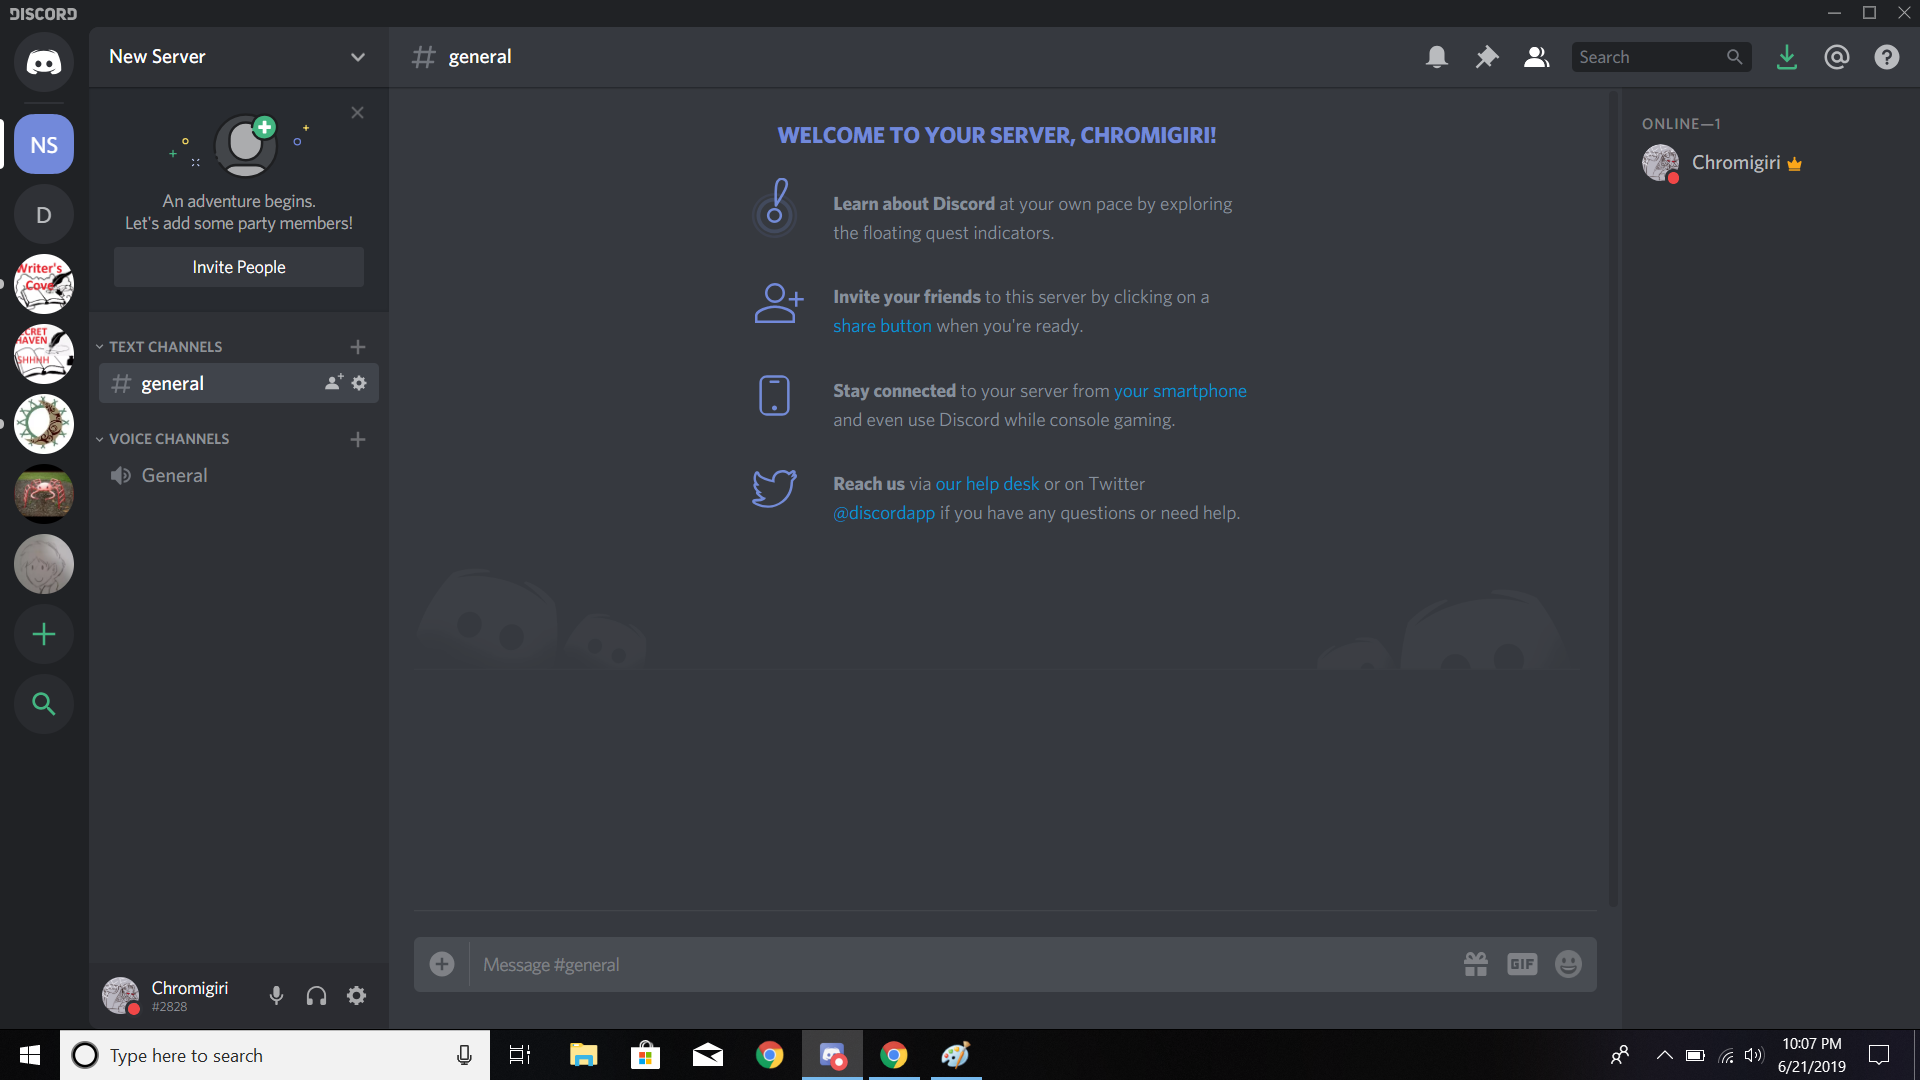
5. Organizing:Now?s the time to get organized. Organize your server for personal preference. If you look on the left you can options to edit different channels. This can be helpful with editing different topics while down the road. You can create entire new categories, and new channels within those categories.
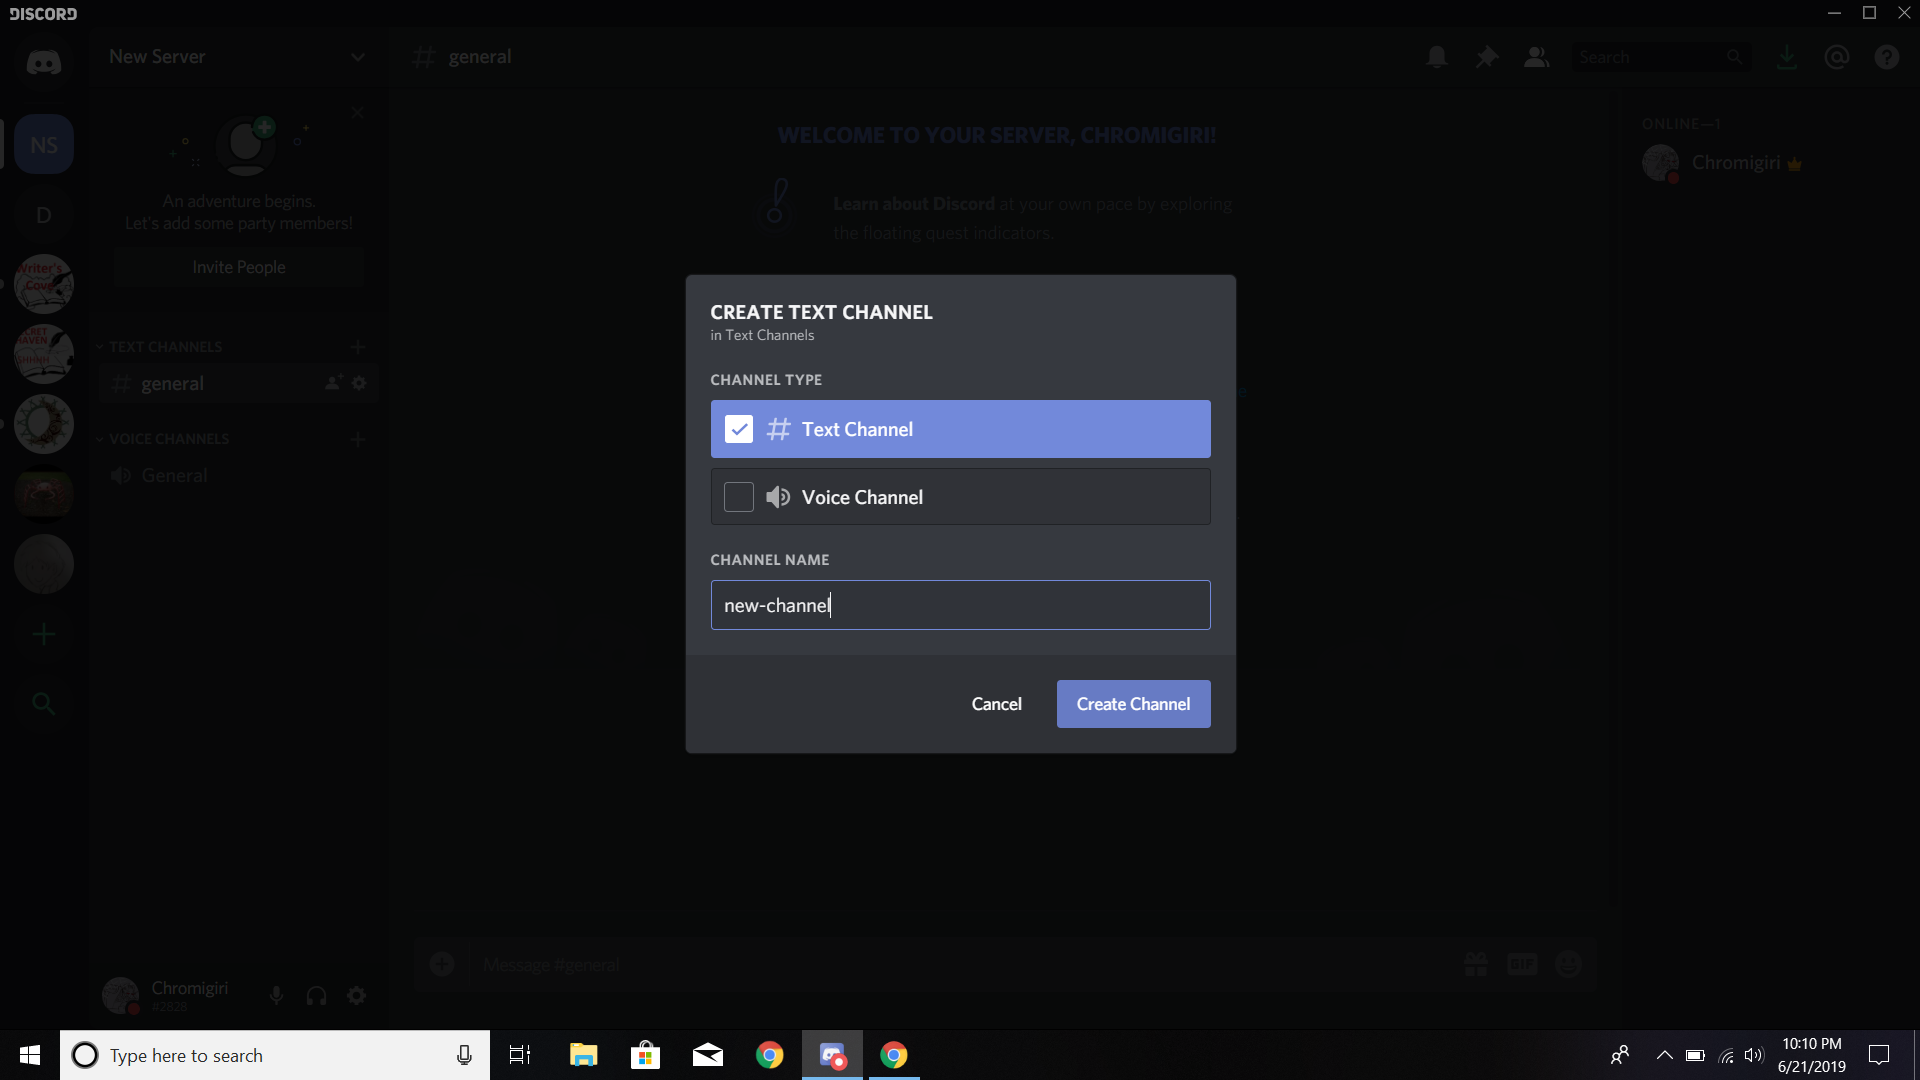
6. Editing Text Channels:You can go within each channel directly and edit whatever settings you see fit to.
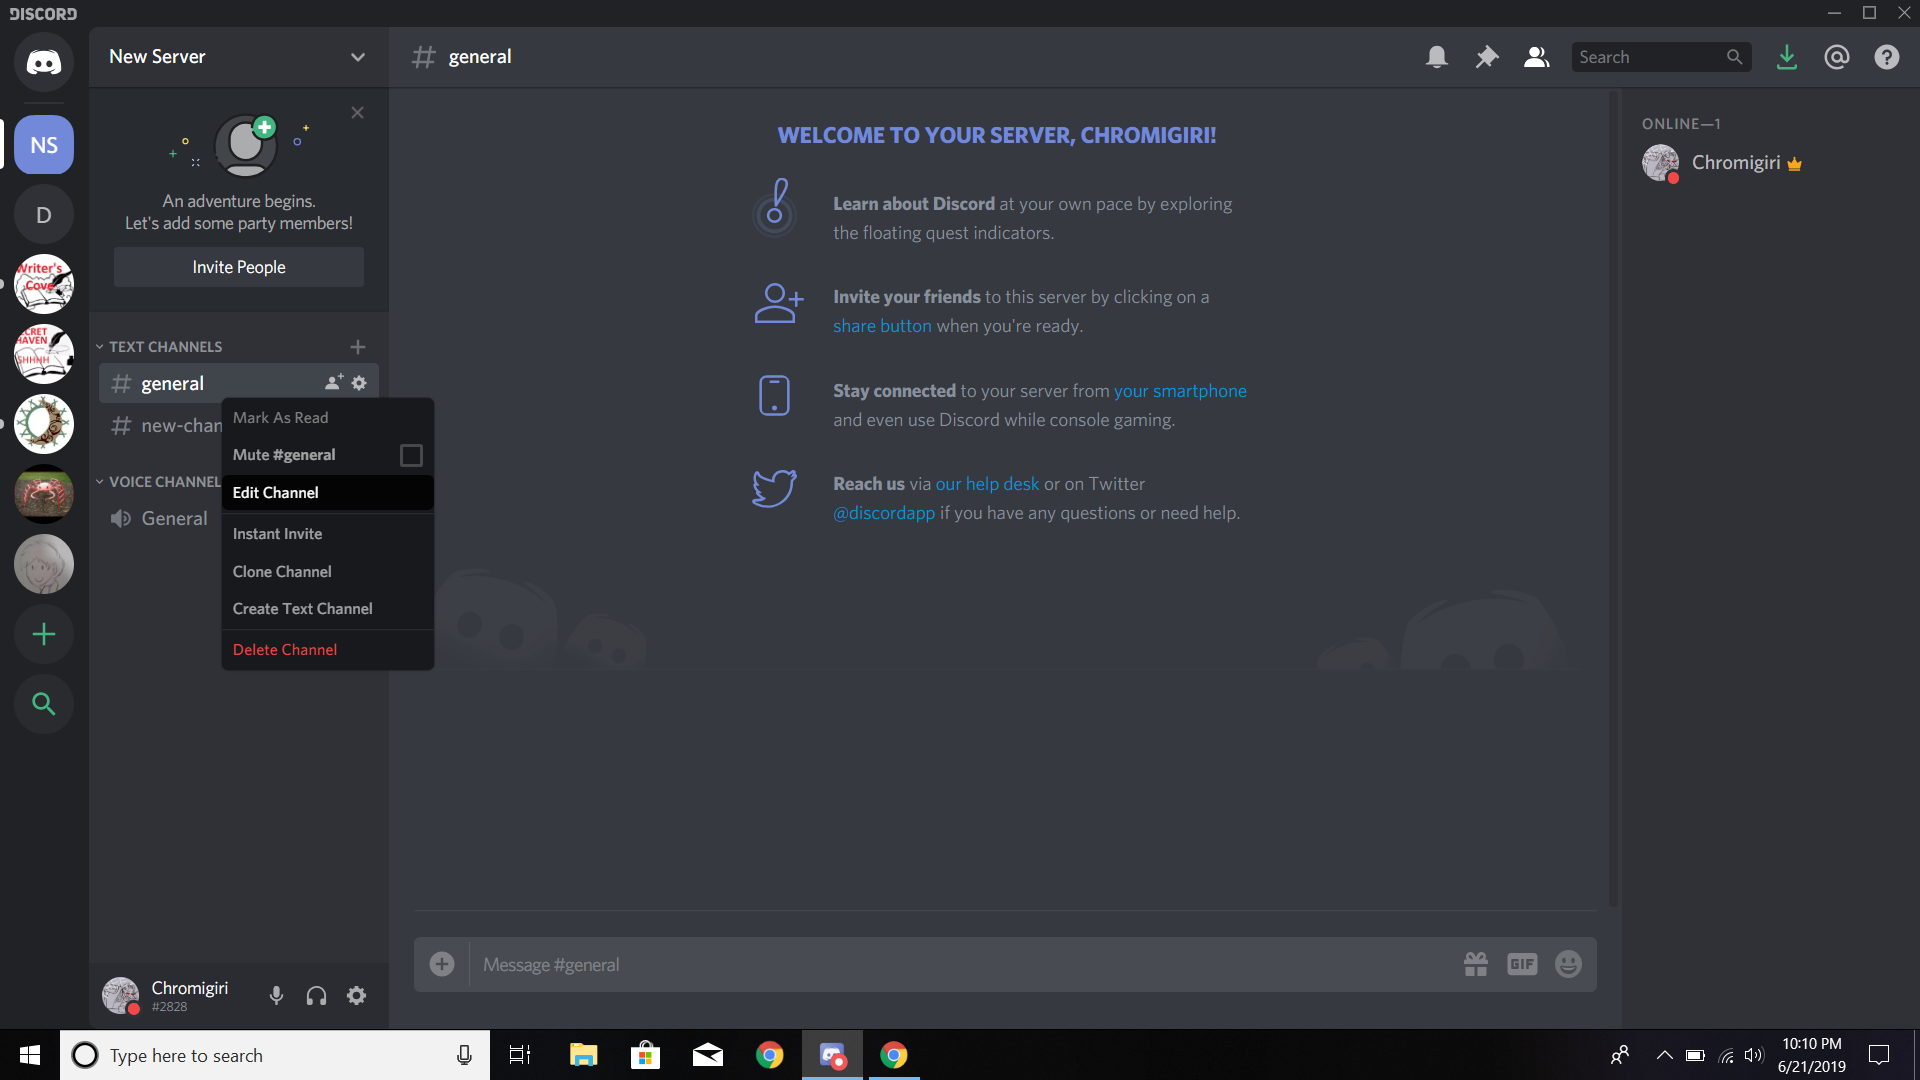
You can rename it, set a channel topic, add restrictions to the amount of time messages can be sent one after the other, and even restrict to adult viewers only.
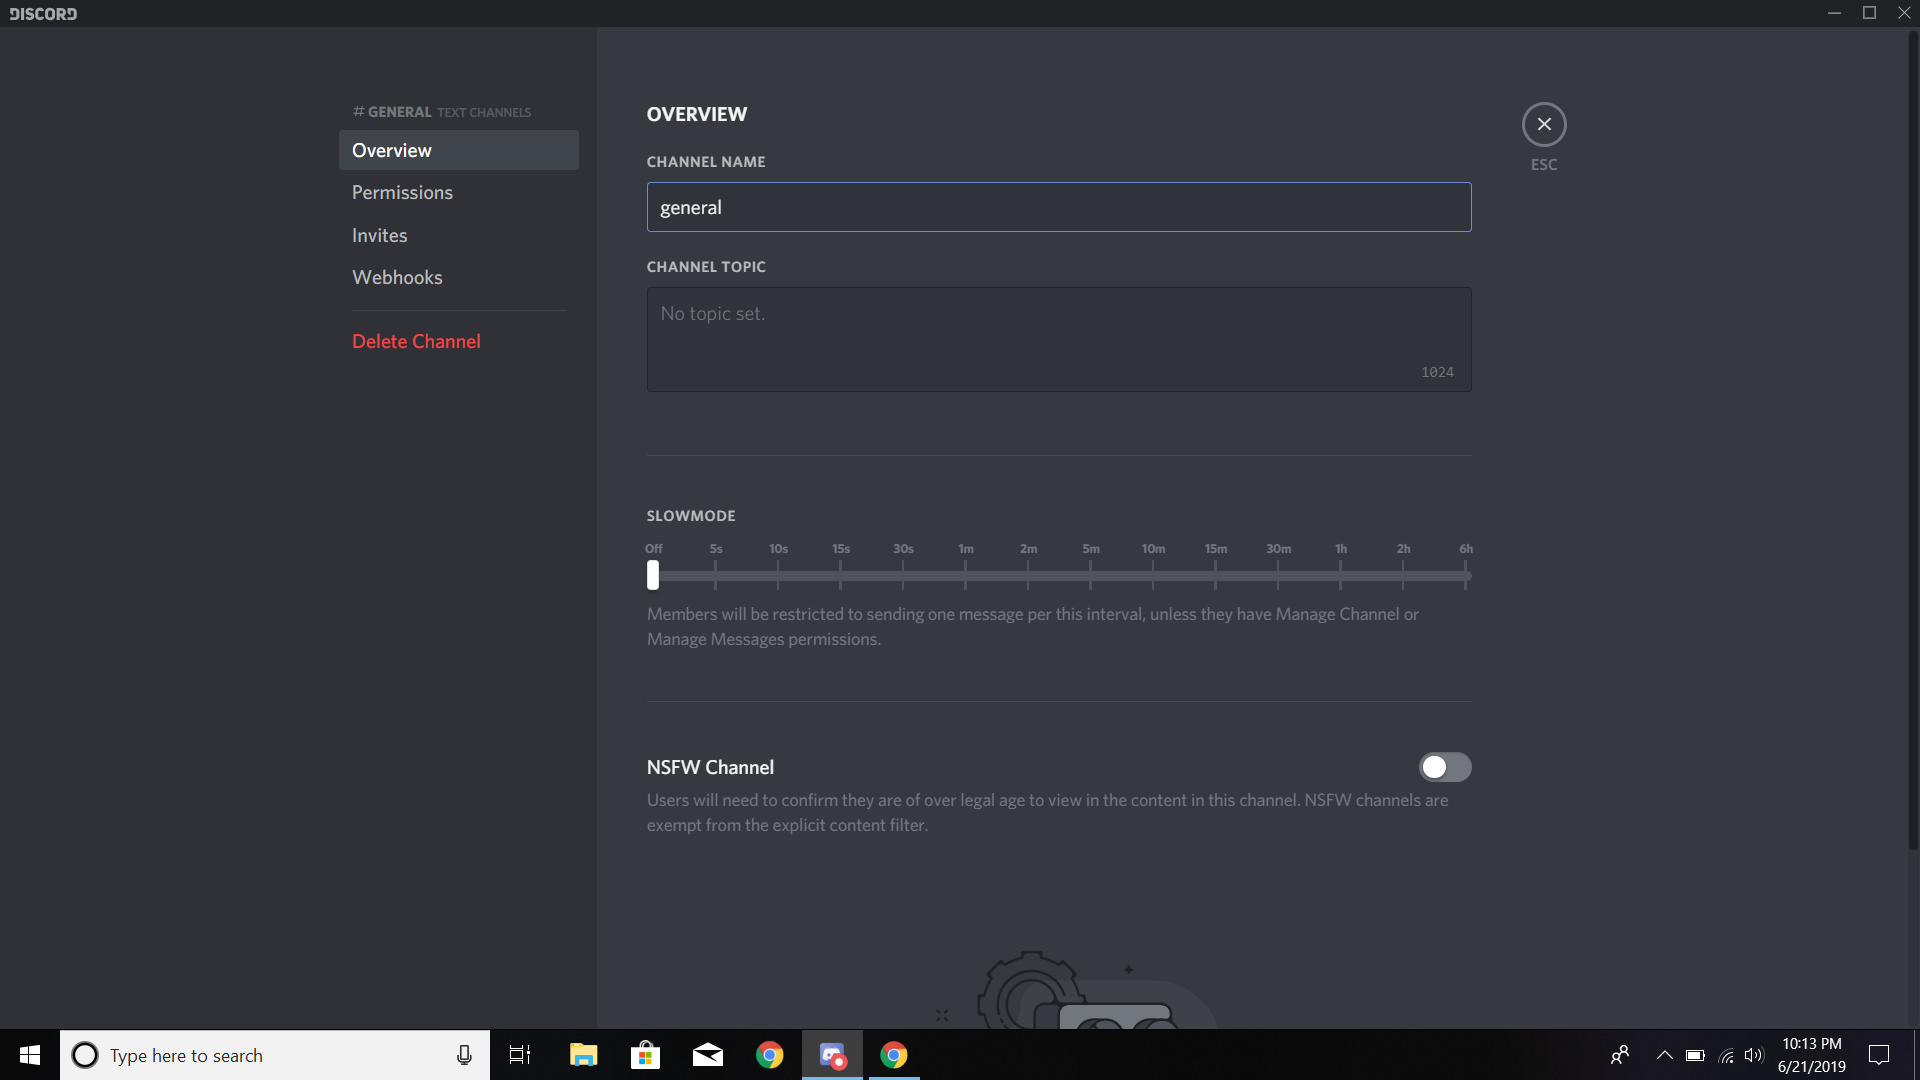
You can even set individual permissions for certain roles, which I will get into in the future. With these permissions, you can prevent certain people from posting in or even viewing selected channels.

7. RolesThis segment is very important because it applies to your users. Within your server, you can create roles that you can give to members of the server. Under these roles, you can give power to others, such as creating moderators that can delete, pin, edit messages, etc. You can also ban certain roles from viewing, or posting in other channels.
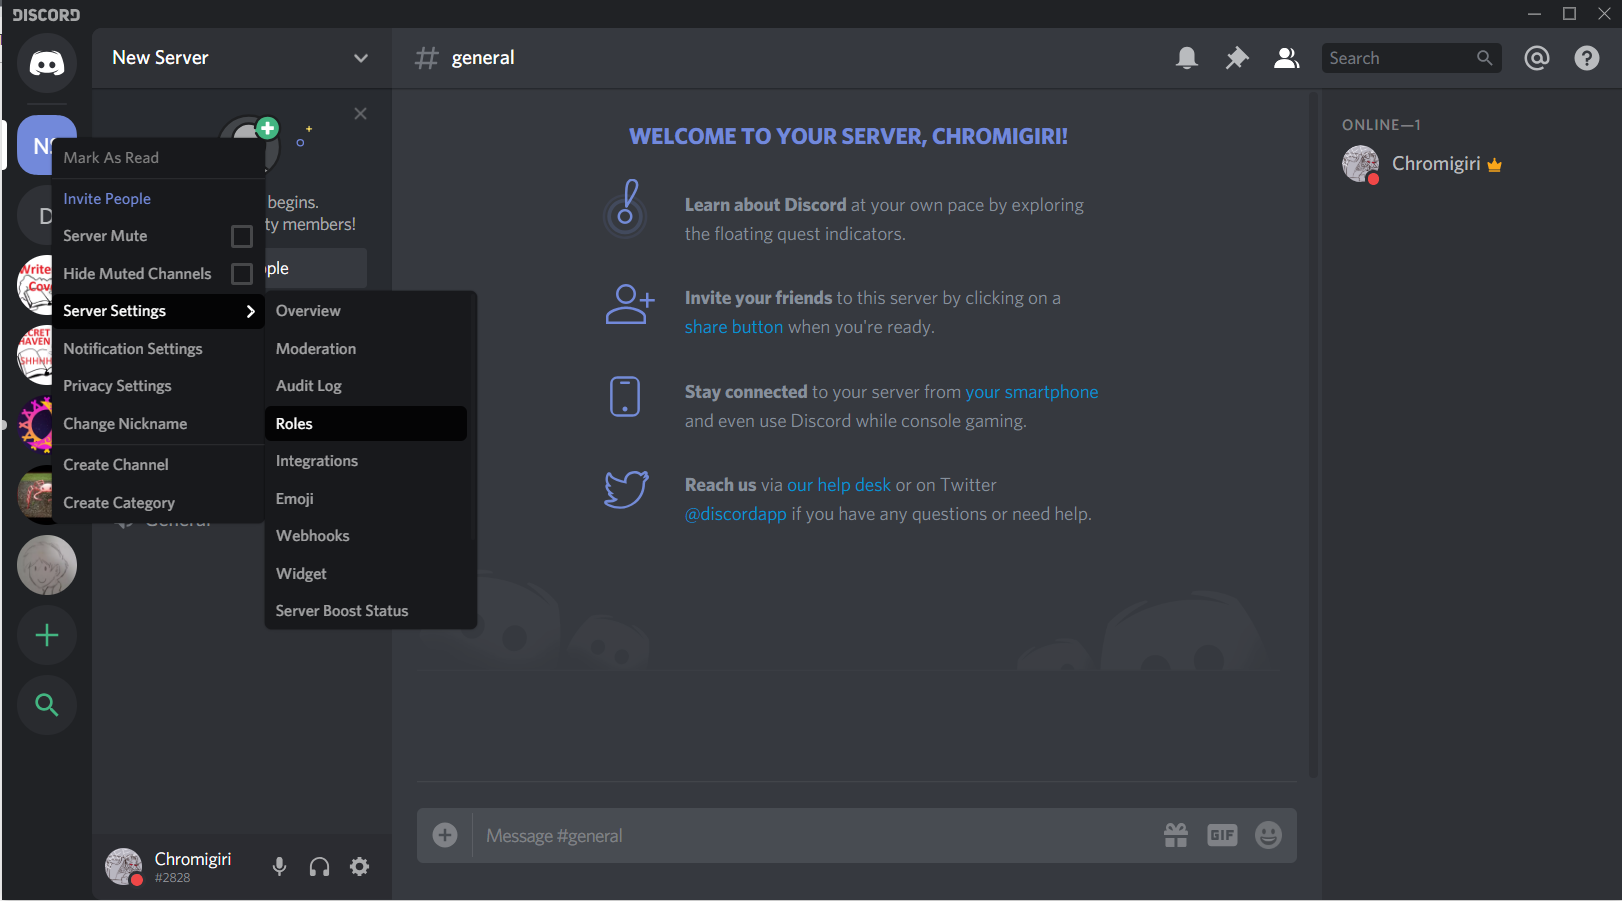
Return to the main area of your server and right click its icon on the left. Move your cursor down to Server Settings, which will bring up another drop-down menu, and click Roles.
You?ll see a list of rolls. With a new server, the only one that comes pre-made is @everyone, which as you can probably guess, applies to everyone. If you select the mini plus sign just above it, you can create a new role.
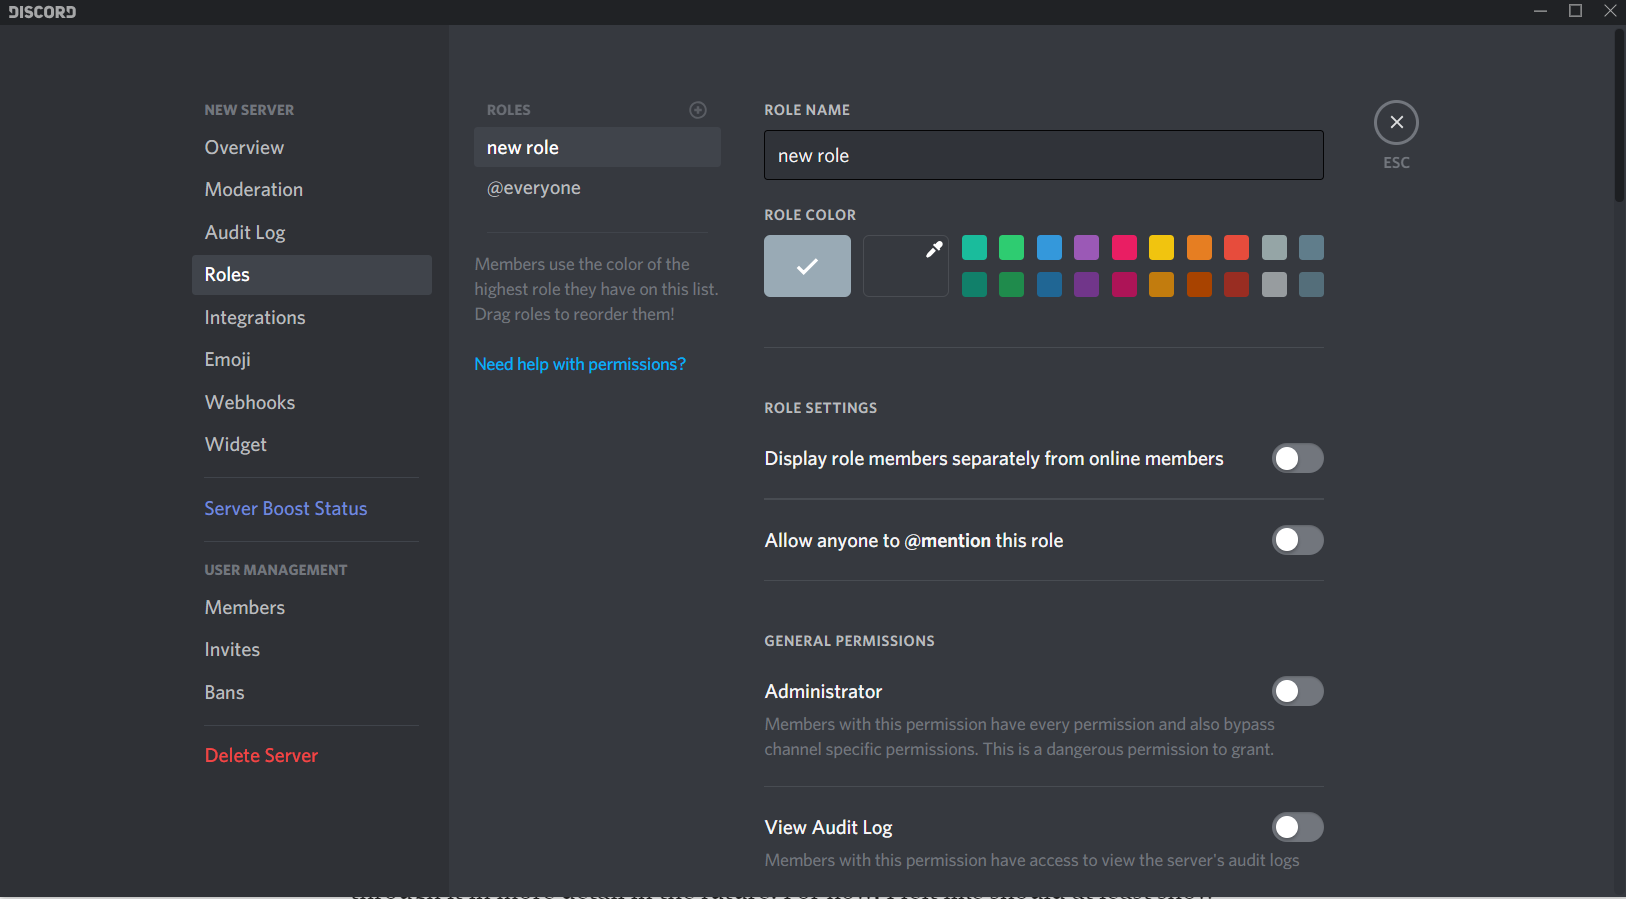
You can give that role a name, new color, and change their permissions by clicking the switch option next to the settings. It will turn green or blue when it?s turned on. Make sure you save your changes, which is an option that will pop-up at the bottom of your screen.
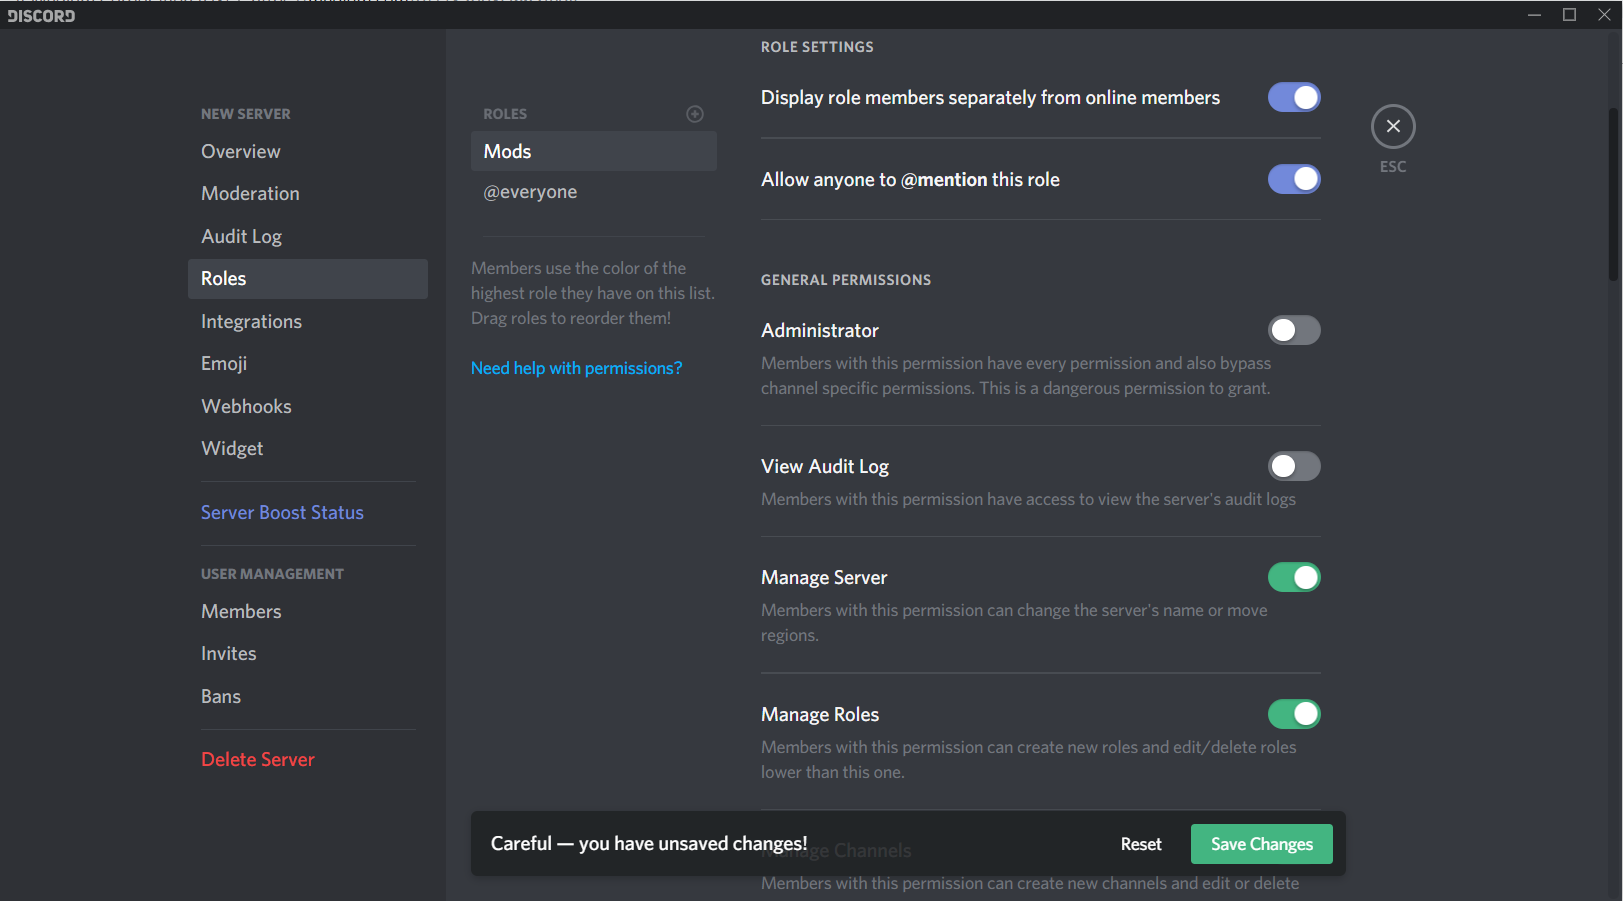
You can allow those given that role to do selected things, such as minor abilities like editing and pinning messages, to larger ones such as kicking or banning members, editing the server, and managing roll permissions. You can even give them as much power as yourself as an admin. Be careful with who you give that power to! You can always go back and change who can do what.
As owner of the server, you are automatically classified as an admin. However, you still have more power than anyone else with the role of admin. They can?t touch you.
8. Send out Invites:And that?s it for the basics of creating a new server! When you believe your server is complete, you can send out that link by clicking the invite option in the top left:
9. Keep an Open Mind:
Remember, you have a responsibility as a server owner! Listen to your users for their thoughts and feedback. Be kind and considerate of others.
Most importantly, be open to criticisms. There?s always room for improvement, otherwise you?ll drive people away (That?s actually what happened to a previous writing server that I was a part of that drove me and my friend to create our own server. The previous owner expected absolute obedience from their moderators and expected them to do all the work, and was not open to other people?s criticisms).
If everything goes smoothly, you should have a successful discord server. Be ready to meet all kinds of people!

